Bitter melon greens with paneer
I do so love you, Alemany Farmer’s Market! I love all the other farmer’s markets too but you are soooo special.
I have found that there are two types of farmer’s markets in the Bay Area. There are farmer’s MARKETS and then there are FARMER’S markets. The former are a lot about marketing. They sell produce, sure, but a lot of it is overpriced, and more than half the stalls are filled with high-profit-margin goods like infused oils in precious glass bottles. I can do that for free at home in an emptied jam jar and no preciousness.

Alemany Farmer’s Market (Copyright: Kurt Rogers, The Chronicle)
But Alemany farmer’s market, you truly are a FARMER’S market. I love you because you tickle my fancy every time I visit. Where else can I find corn that is blue and smaller than my palm and sticky. Where else can I find a fleshy, hairy stalk that is labeled ‘wild potato’ (even Google flopped on that one). Where else would I see tiny blotchy eggs that were apparently laid by a quail. Where else would I find a prickly pink egg, and not only giant taro with their purple stem still attached but also taro leaves. Where else can I find not one, not two, but three or four choy-related greens.
And no matter how strange and unfamiliar the sight I see, there’s always a crowd of customers expertly assessing, holding, pressing, rifling through the produce. There I stand, mystified, in awe, only to be elbowed aside by a little old lady with her cloth bag who has zeroed in on the unnamed leaves and is tossing aside the rotten ones and snagging the good ones. She is gone before I can gasp — excuse me, lady, can you save some for me, and by the way, what on earth is it?
In this farmer’s market, advice abounds. As soon as I pick up a fruit or vegetable and stand there regarding it, someone or the other’s voice will speak up beside me — you chop it, you fry it with garlic. Or boil it with chicken. Or what have you. More often than not, the English is broken and heavily accented and the accents could come from any part of the world from Africa to Vietnam. If San Francisco is a microcosm, then Alemany Farmer’s Market is a micro-micro-cosm. Or a micro-cosm-cosm? Something like that.
Best of all is when this market reintroduces me to some childhood friends that I didn’t at first recognize. The other day this happened to me twice. First I see these pretty round leaves tied in a bunch. The person at the stall informs me that they are moringa leaves, grown all over the world from Africa to the Himalayas to South-east Asia, a miracle vegetable that can cure all sorts of ailments. Sounds familiar, but what is it? Hold that thought…a post on that will come next.

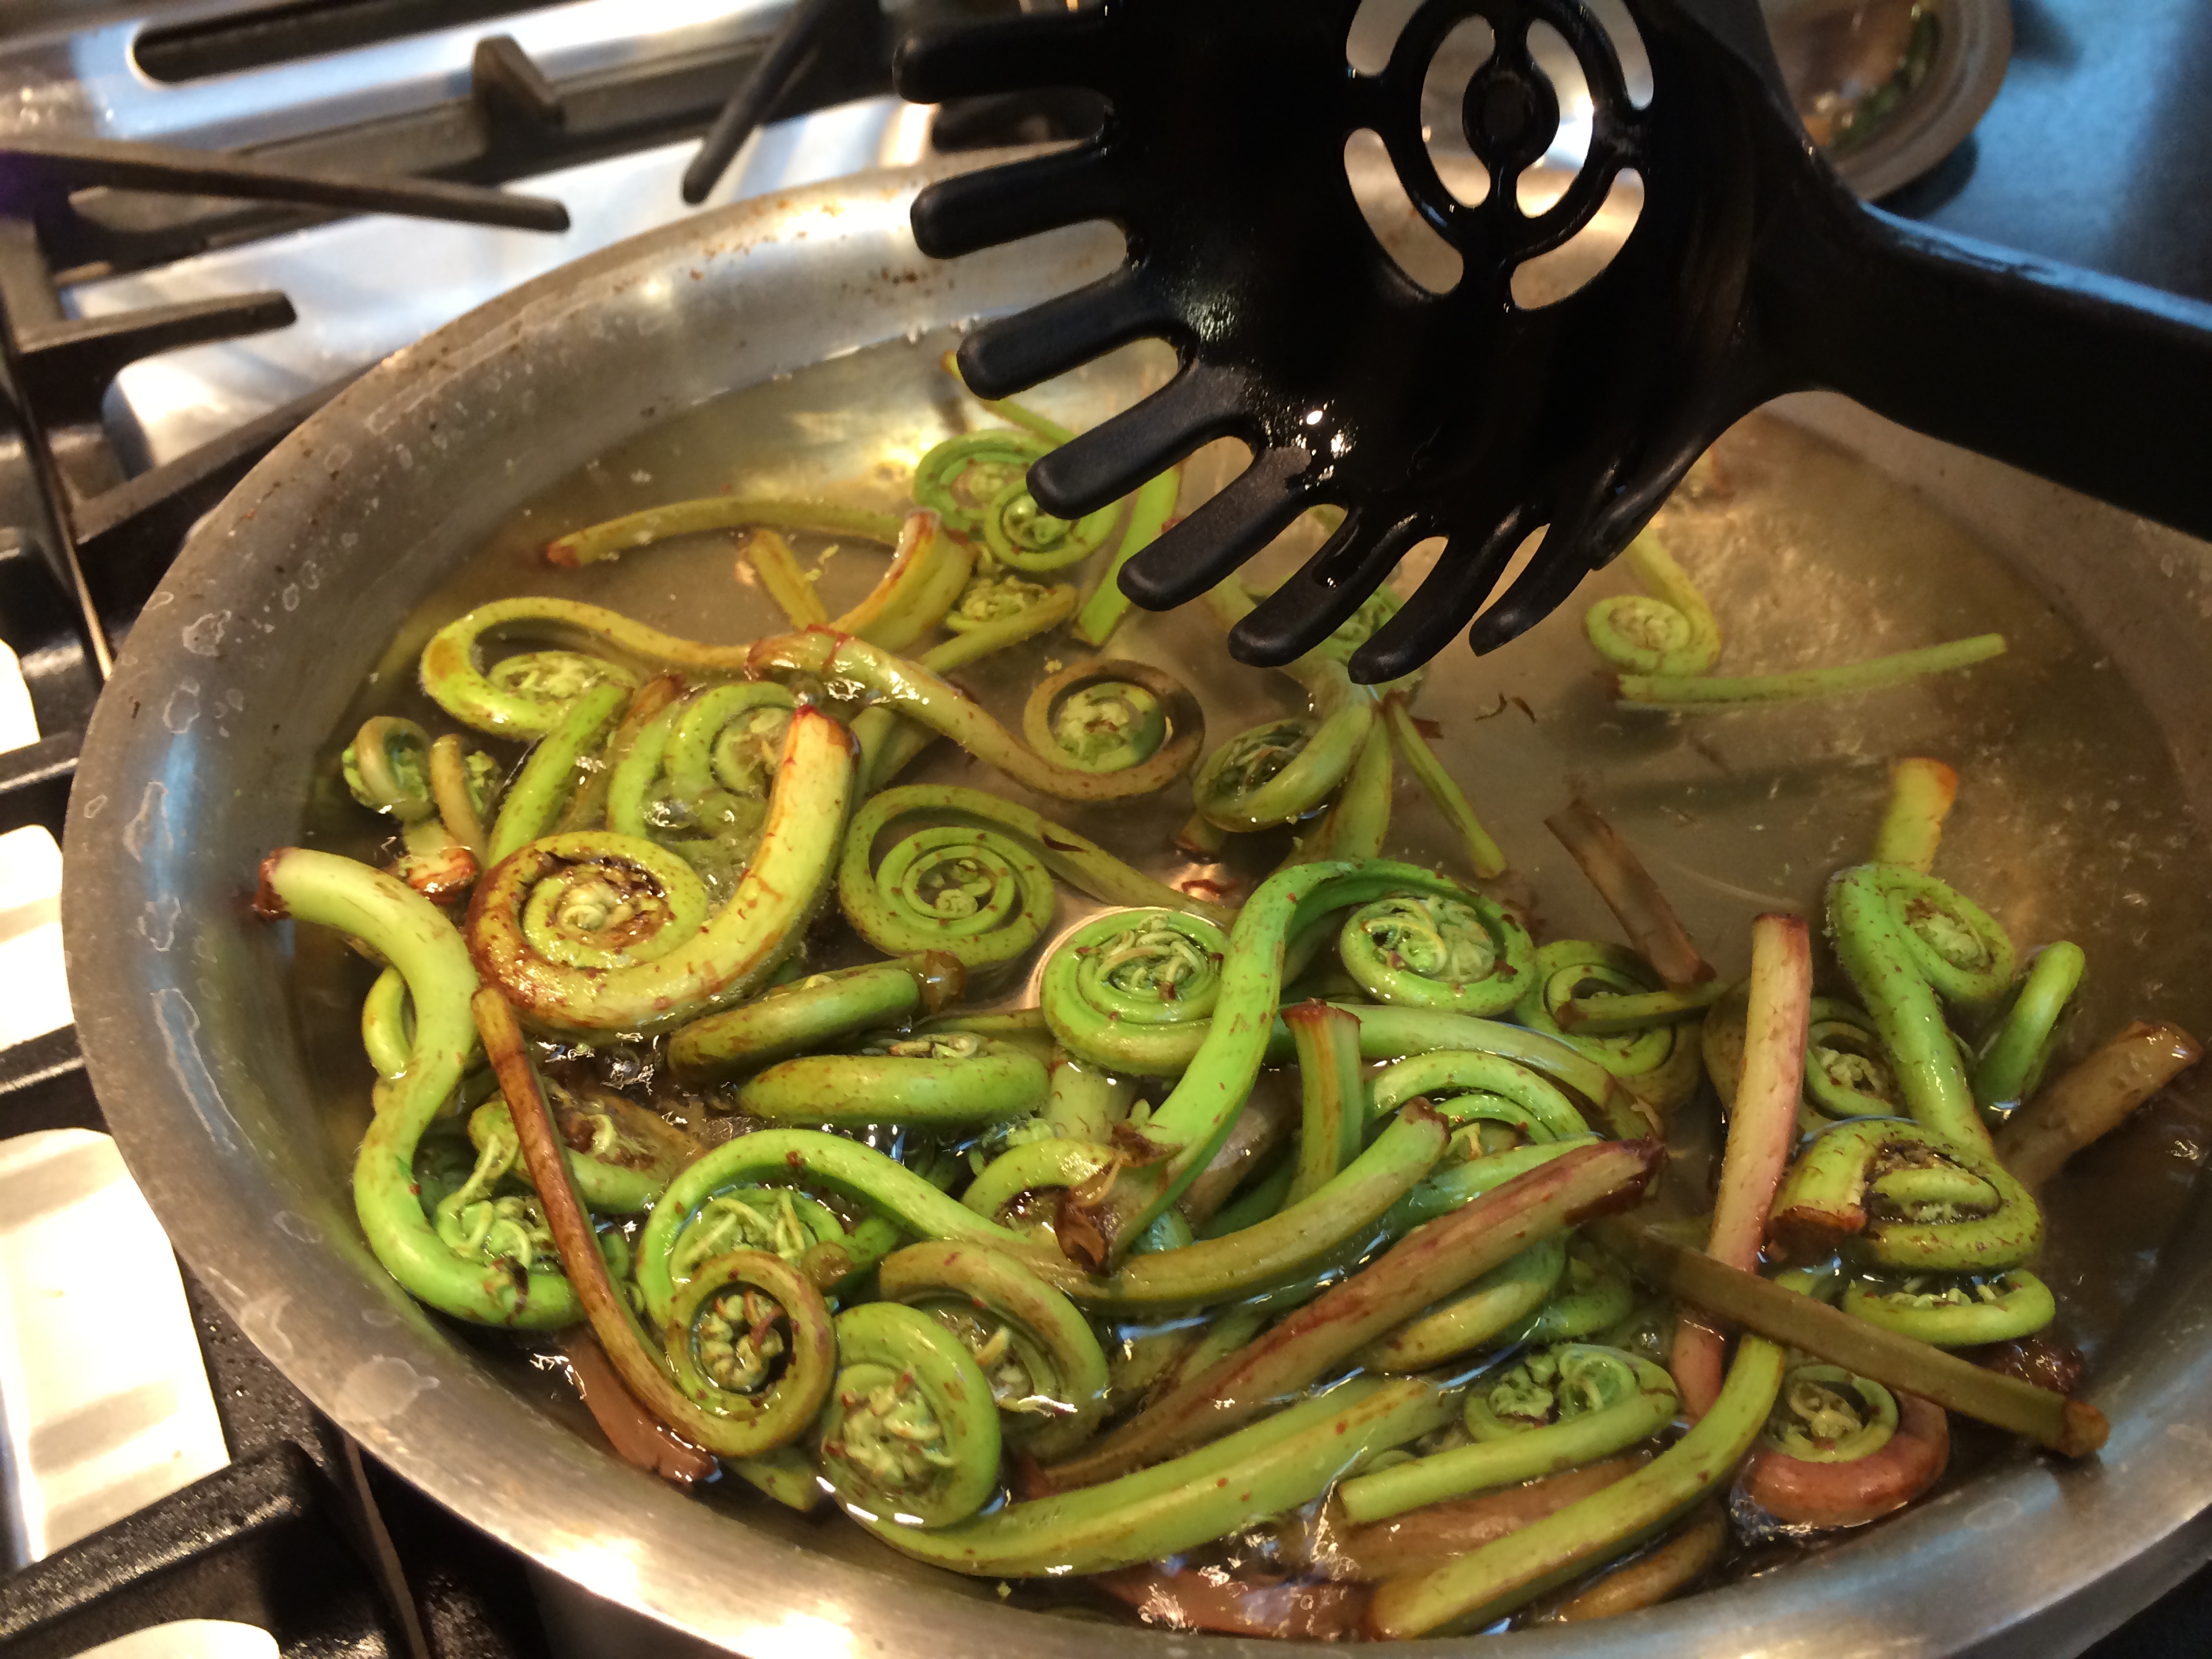
Bitter melon greens
Next I see a stall with these simply humungus bunches of bright green leaves with tendrils sticking out all over. Turns out these are leaves from the bitter melon plant — bitter gourd, karela, call it what you will. Well. That is an old friend and I love it. I have cooked with it many times. But I didn’t know that the leaves were edible too.
Bitter melon greens with paneer
Turns out they are, down to the stems. They are certainly bitter though, so I tried cooking them with something creamy to smooth out the bitterness. I used ghee and paneer.
The other thing about this recipe is that it is more of a mindset rather than a fixed set of steps. If you don’t have paneer, you might substitute with ricotta. If you don’t have the bitter melon greens, either dandelion greens, radicchio or frisée would be a great replacement. Out of the spices used, if you don’t have one, just leave it out, although of course the character of the dish will morph. The cumin seeds in particular, I would try not to leave out. Heat can come from any source like the cracked red pepper that the Italians use. Ghee of course, can be replaced with butter. Mmm…now I can’t wait to try this completely new recipe with all the replacements made! Here are pictures of the process.

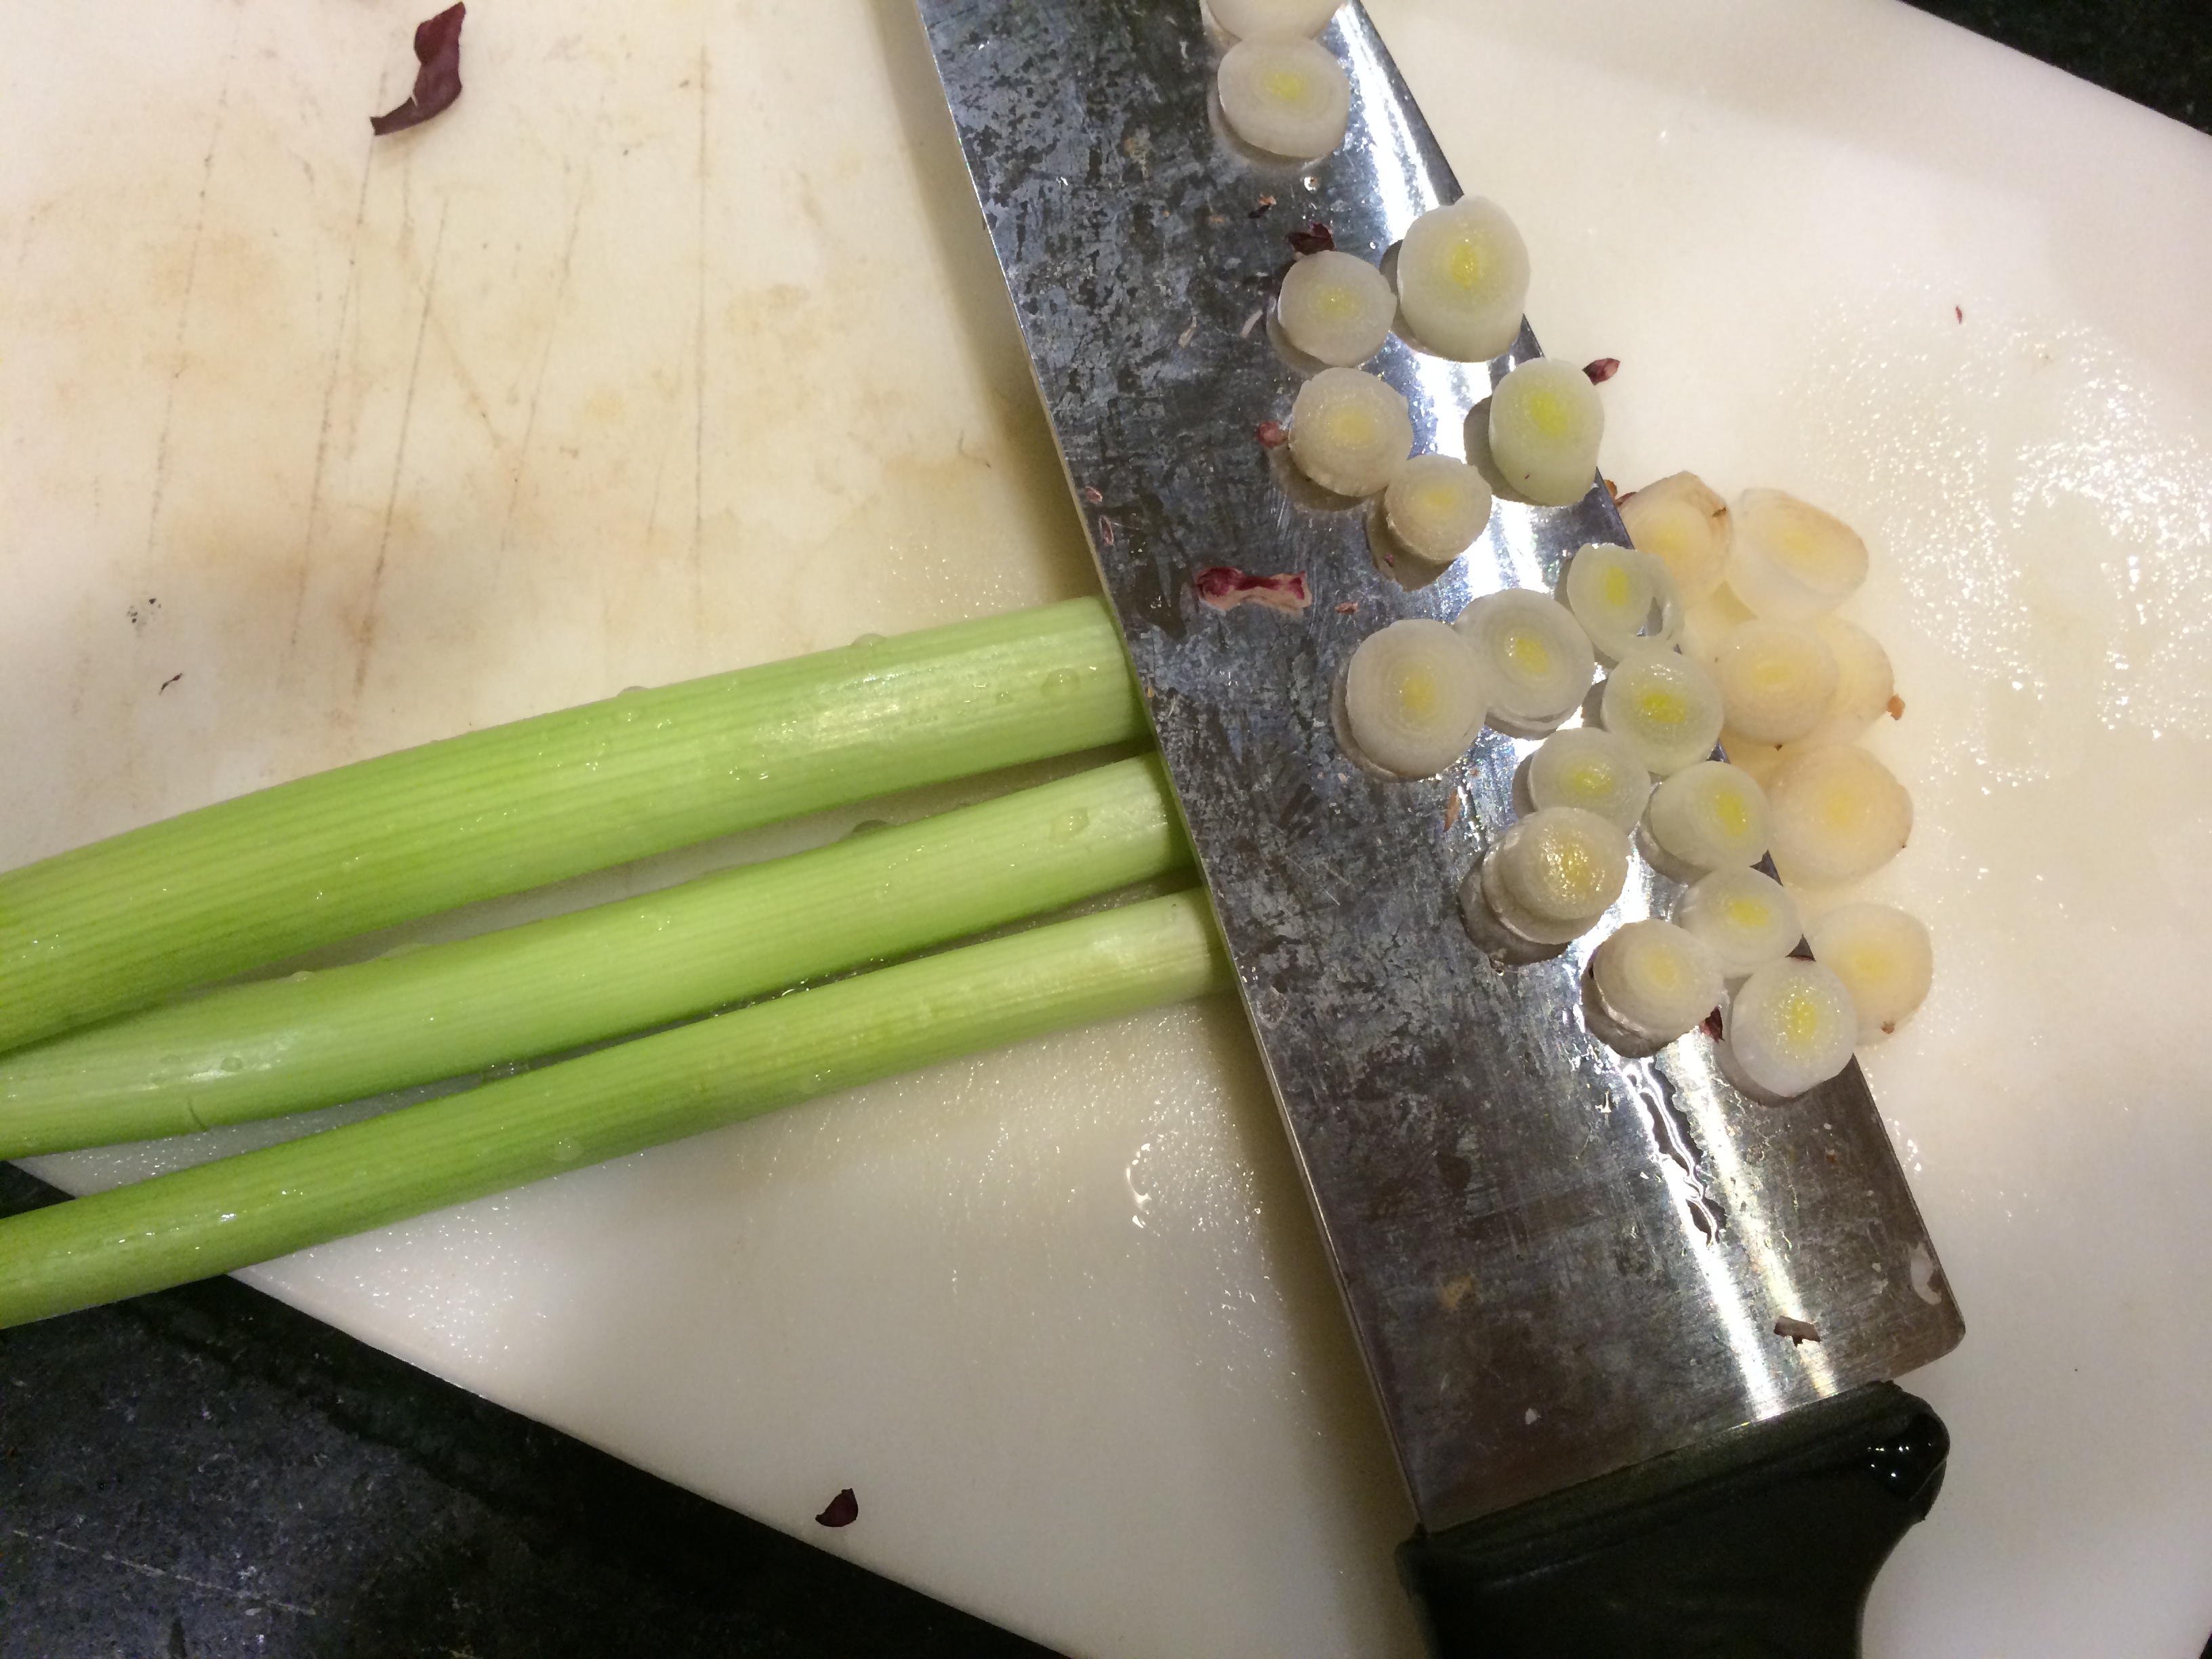
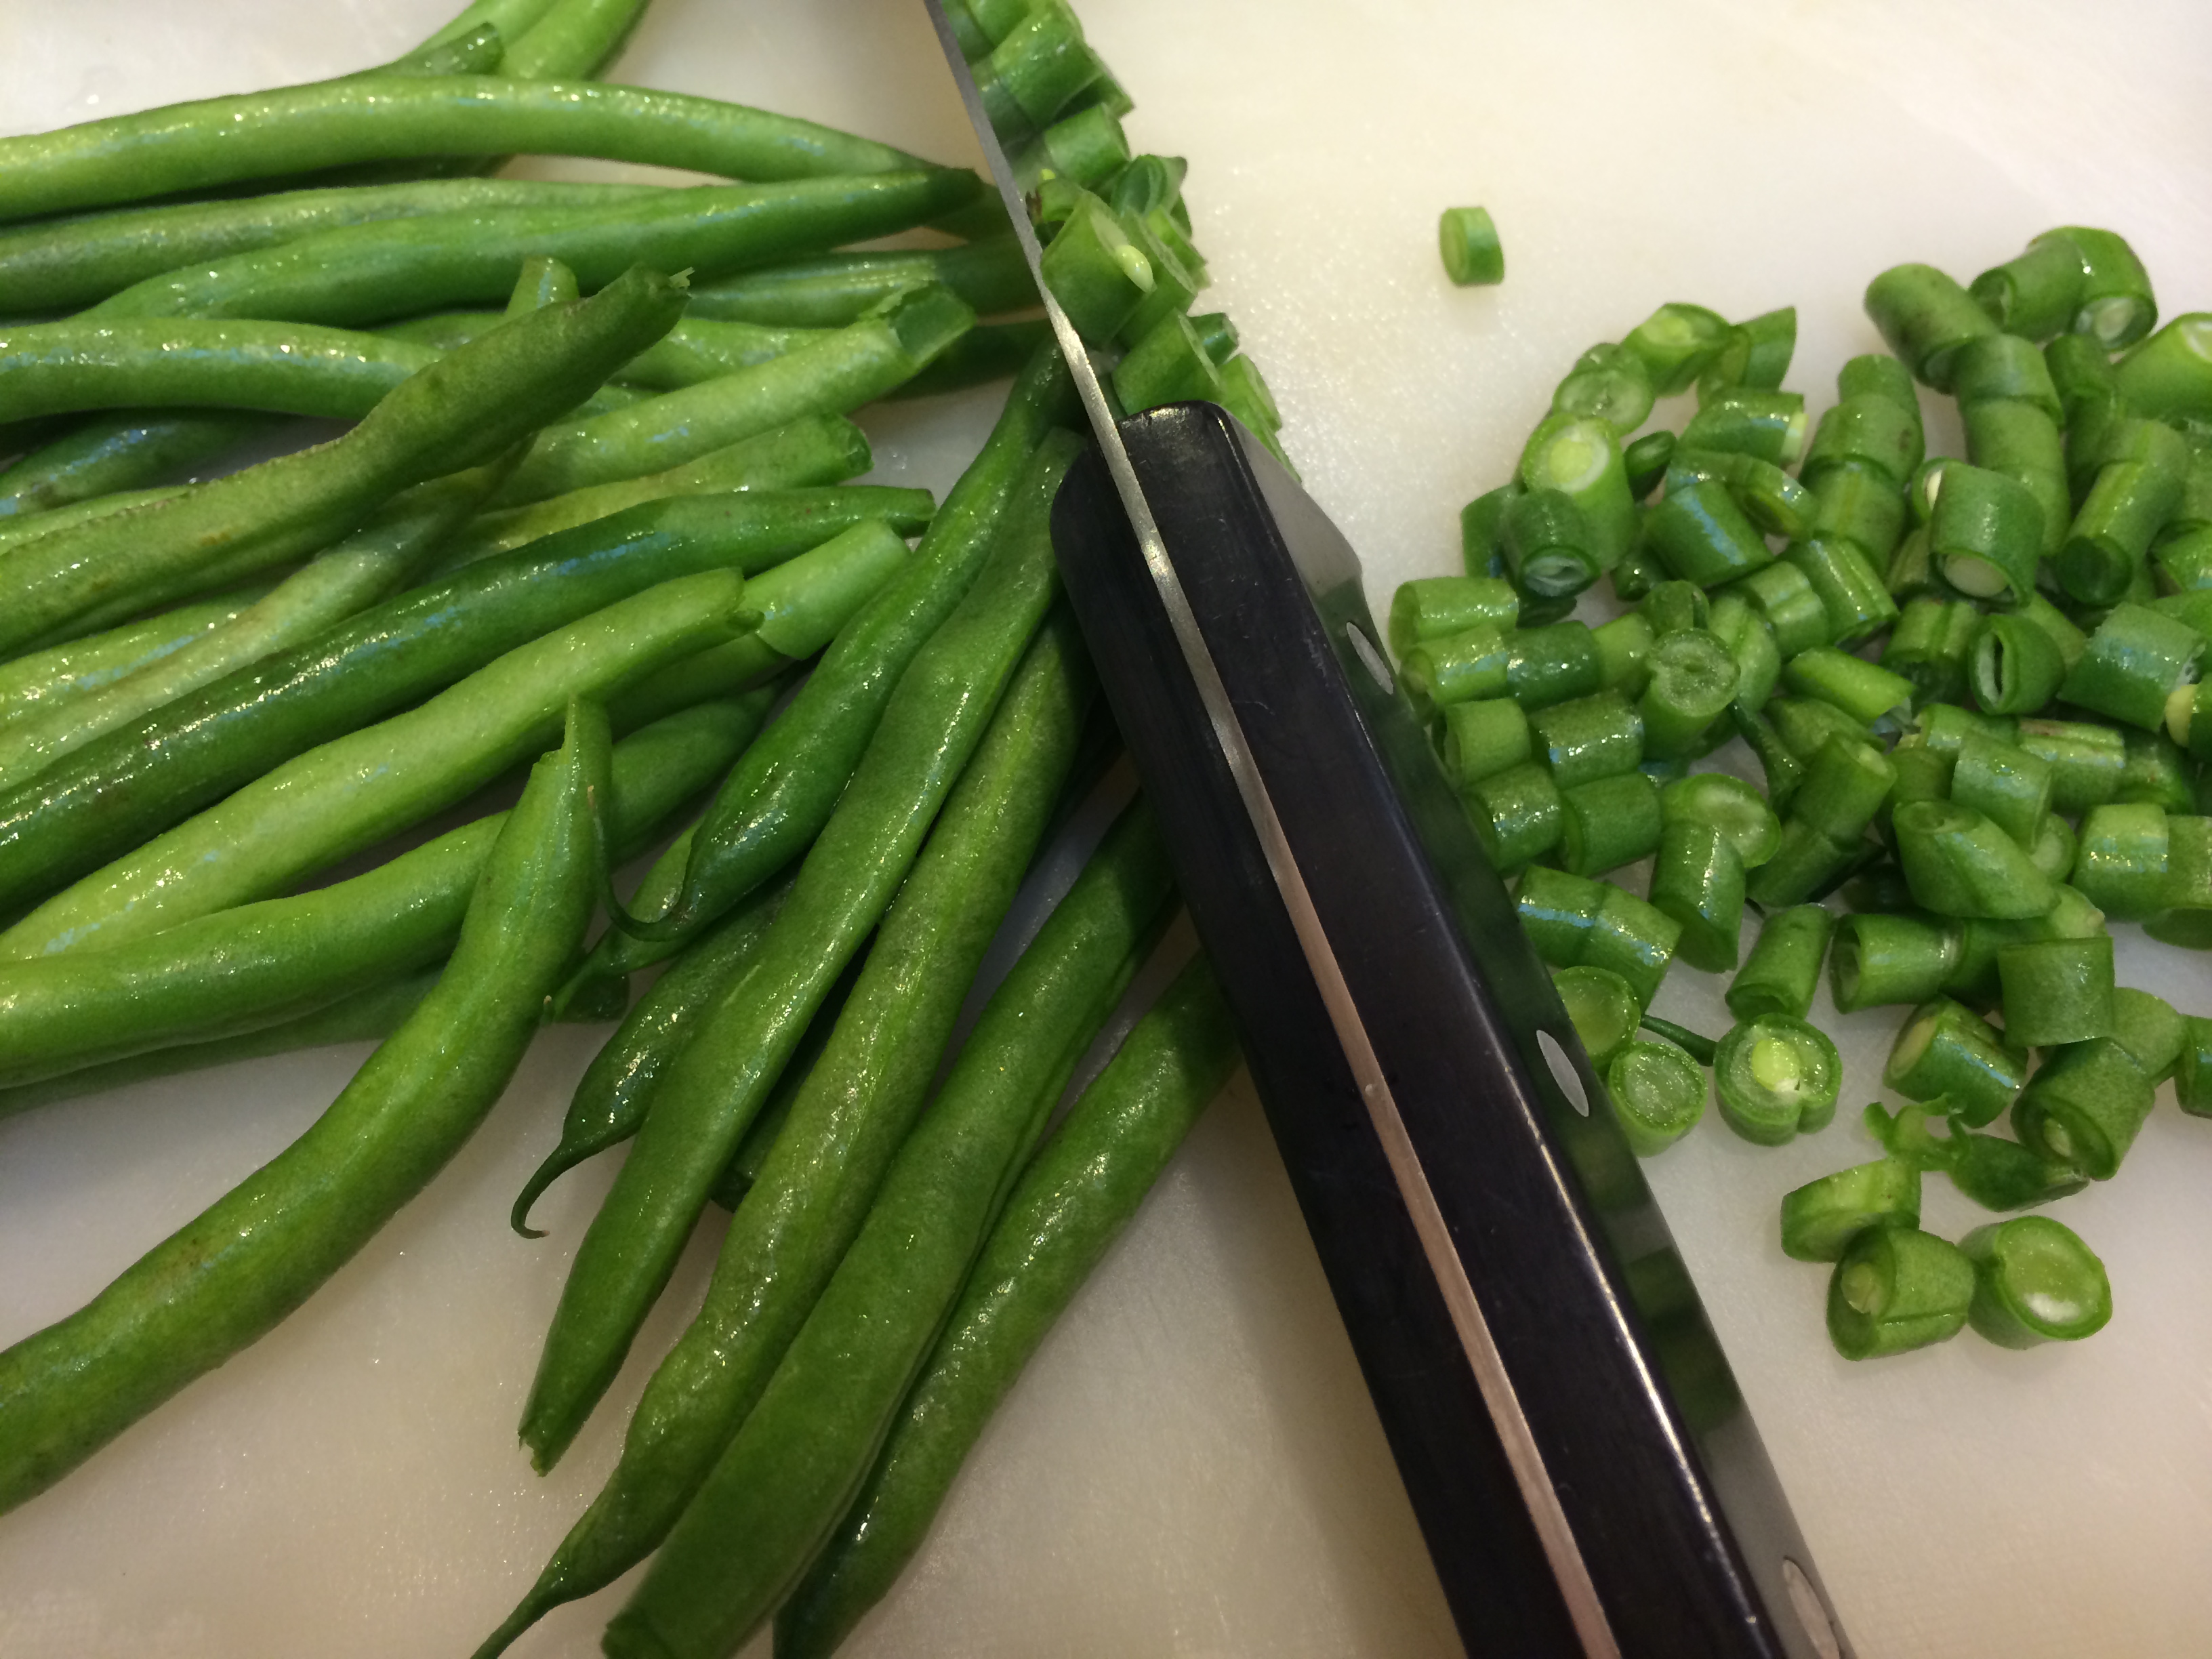
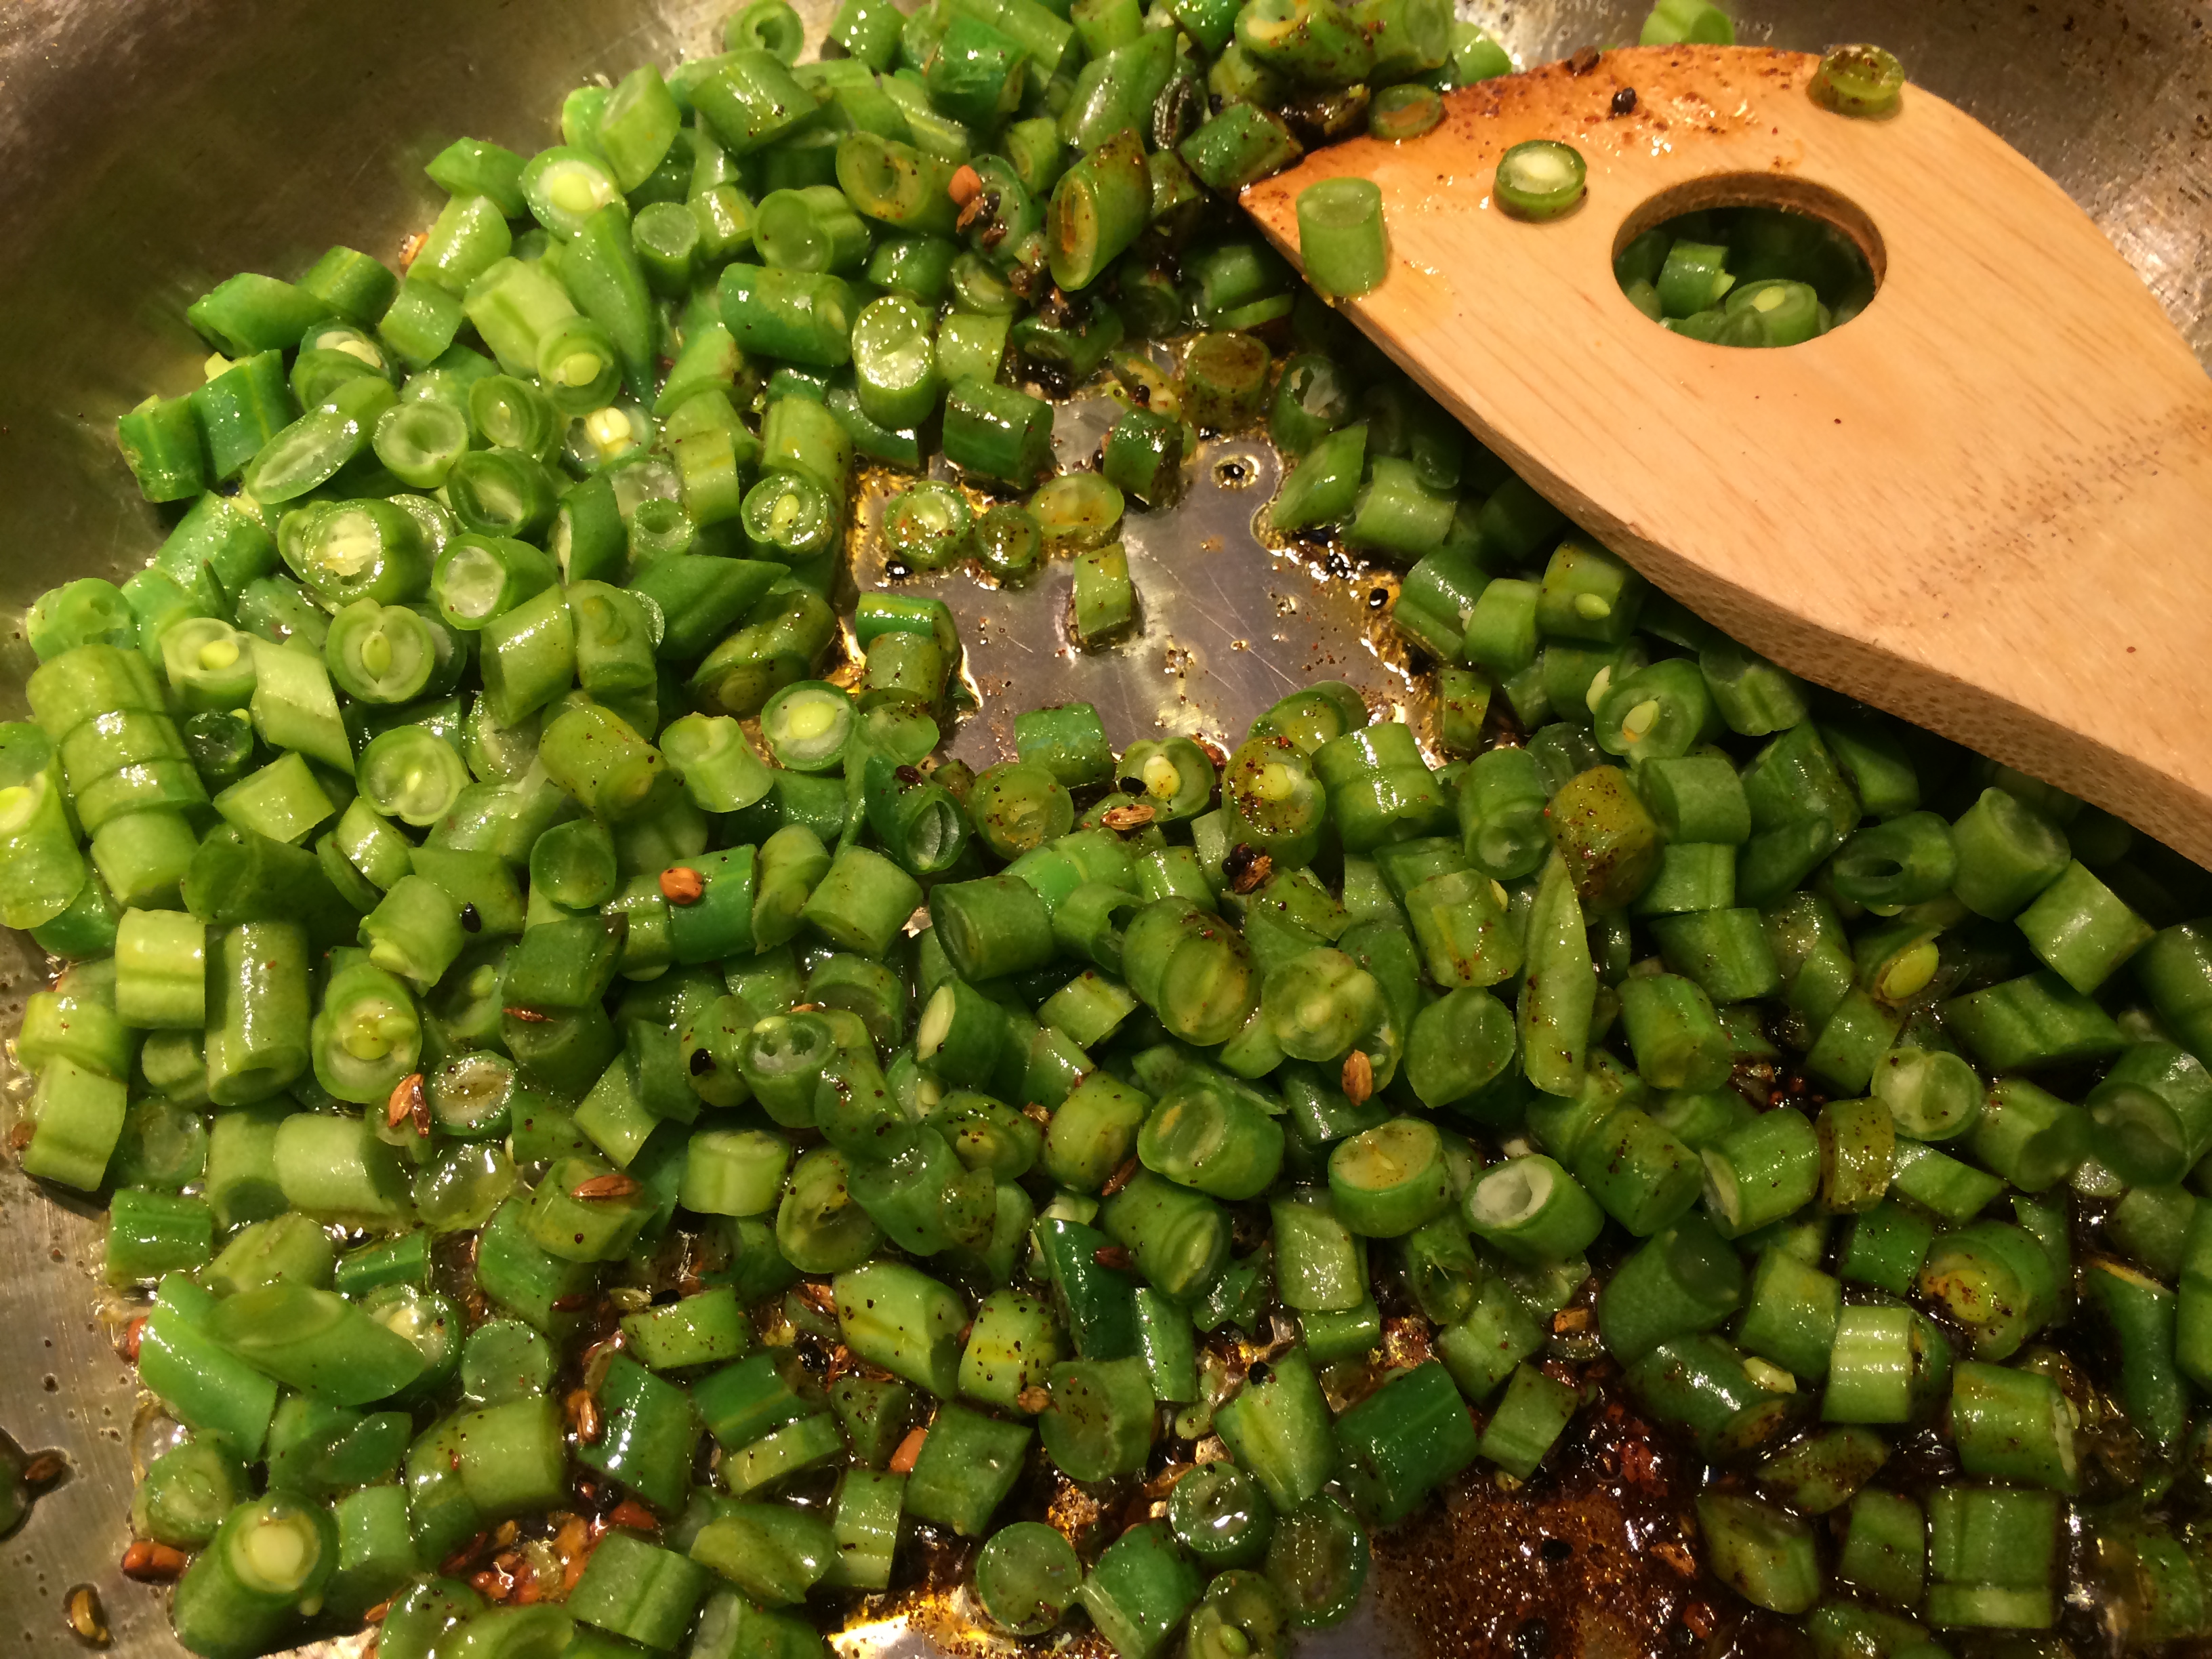
Slicing the greens

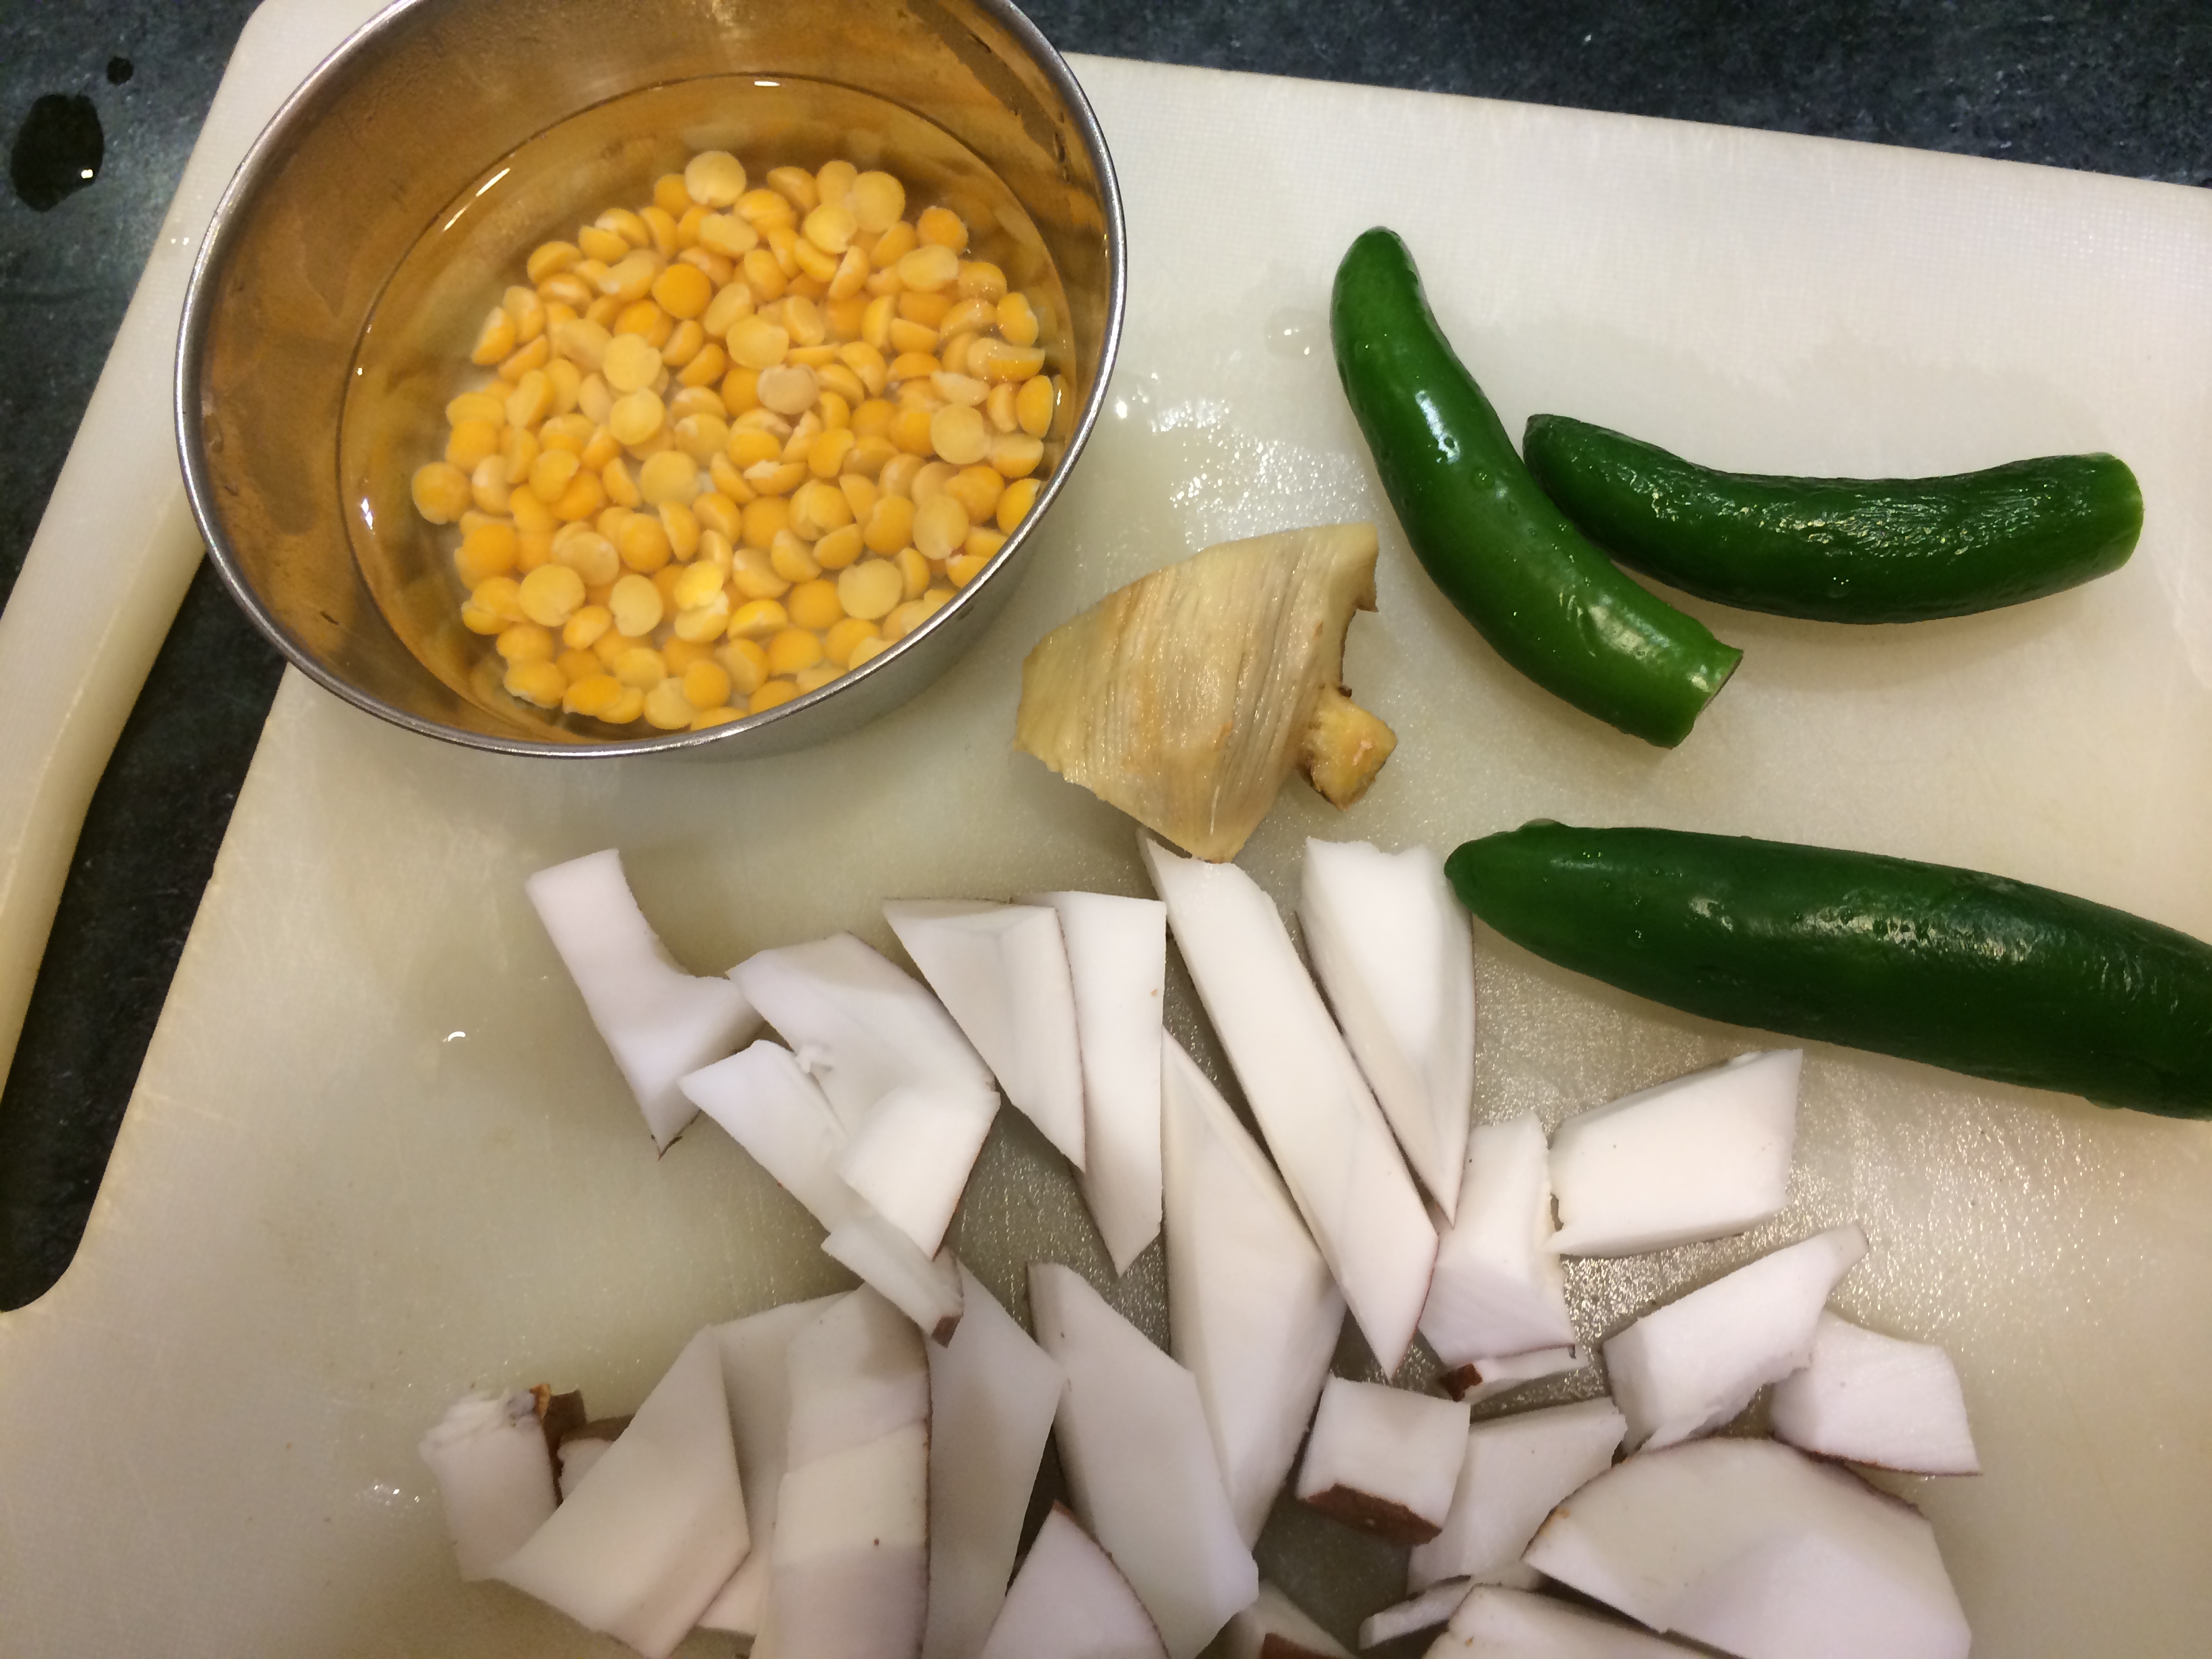
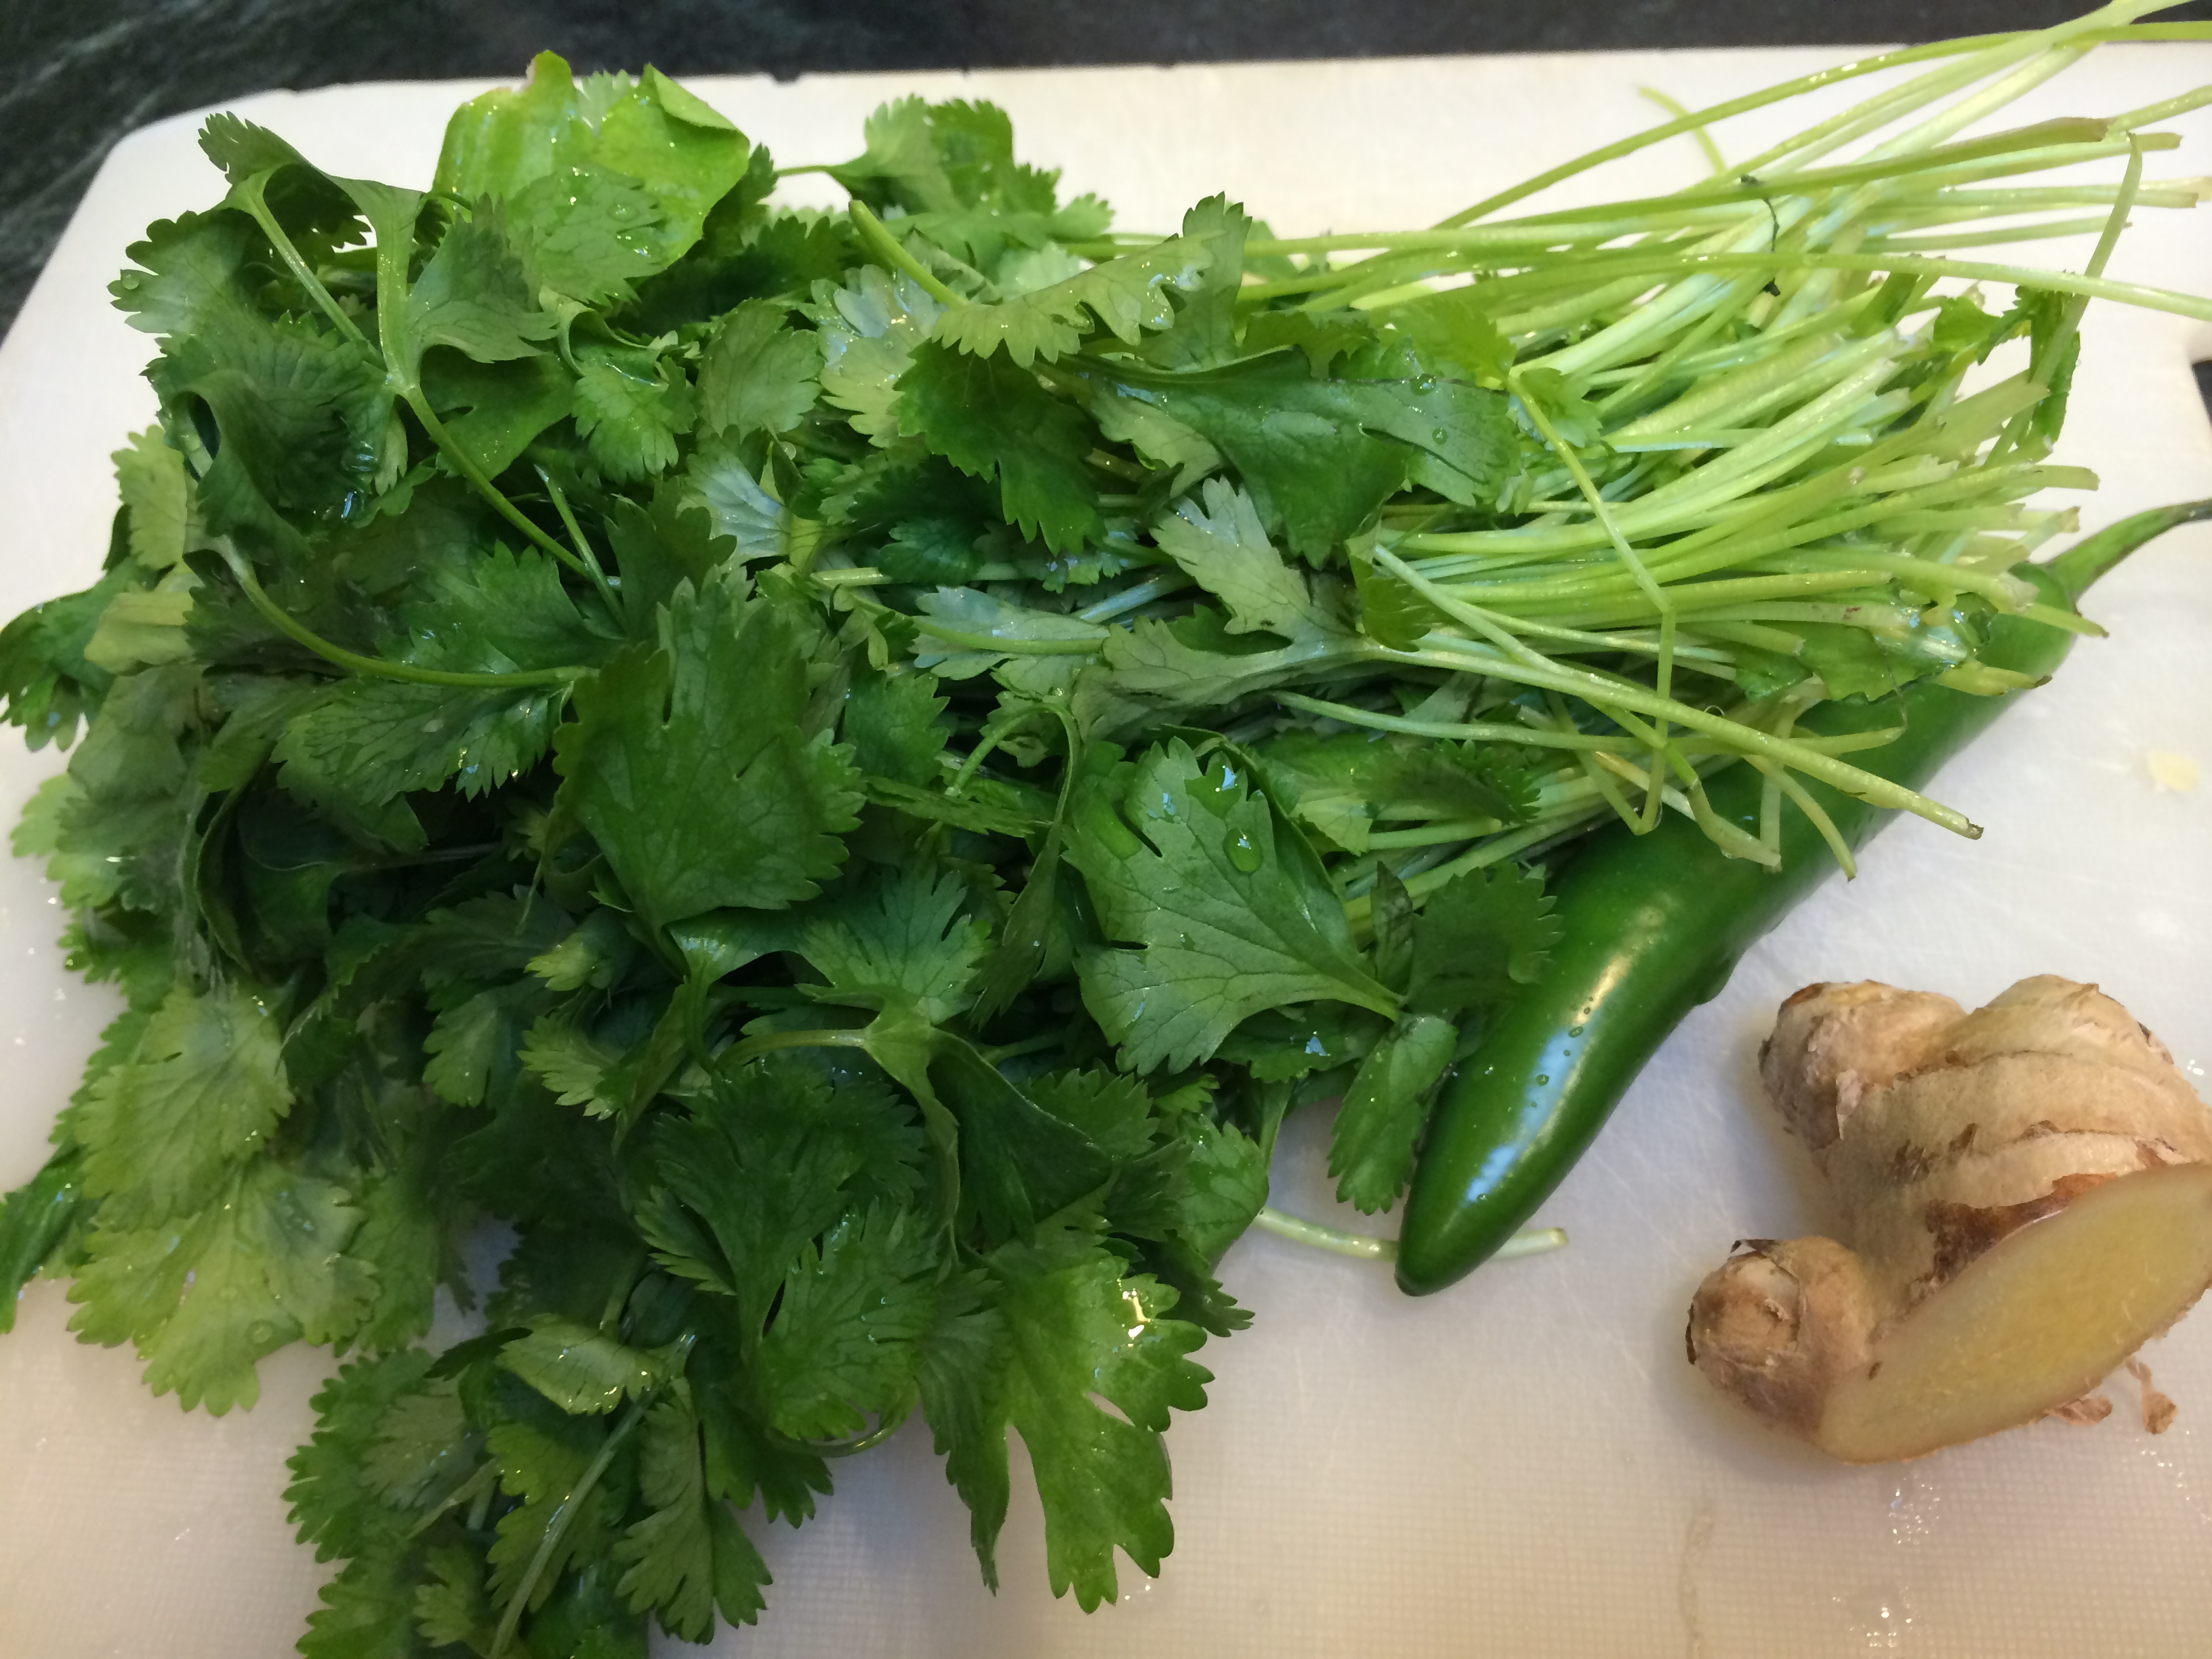
Other ingredients: paneer, onion, garlic, chili, cumin

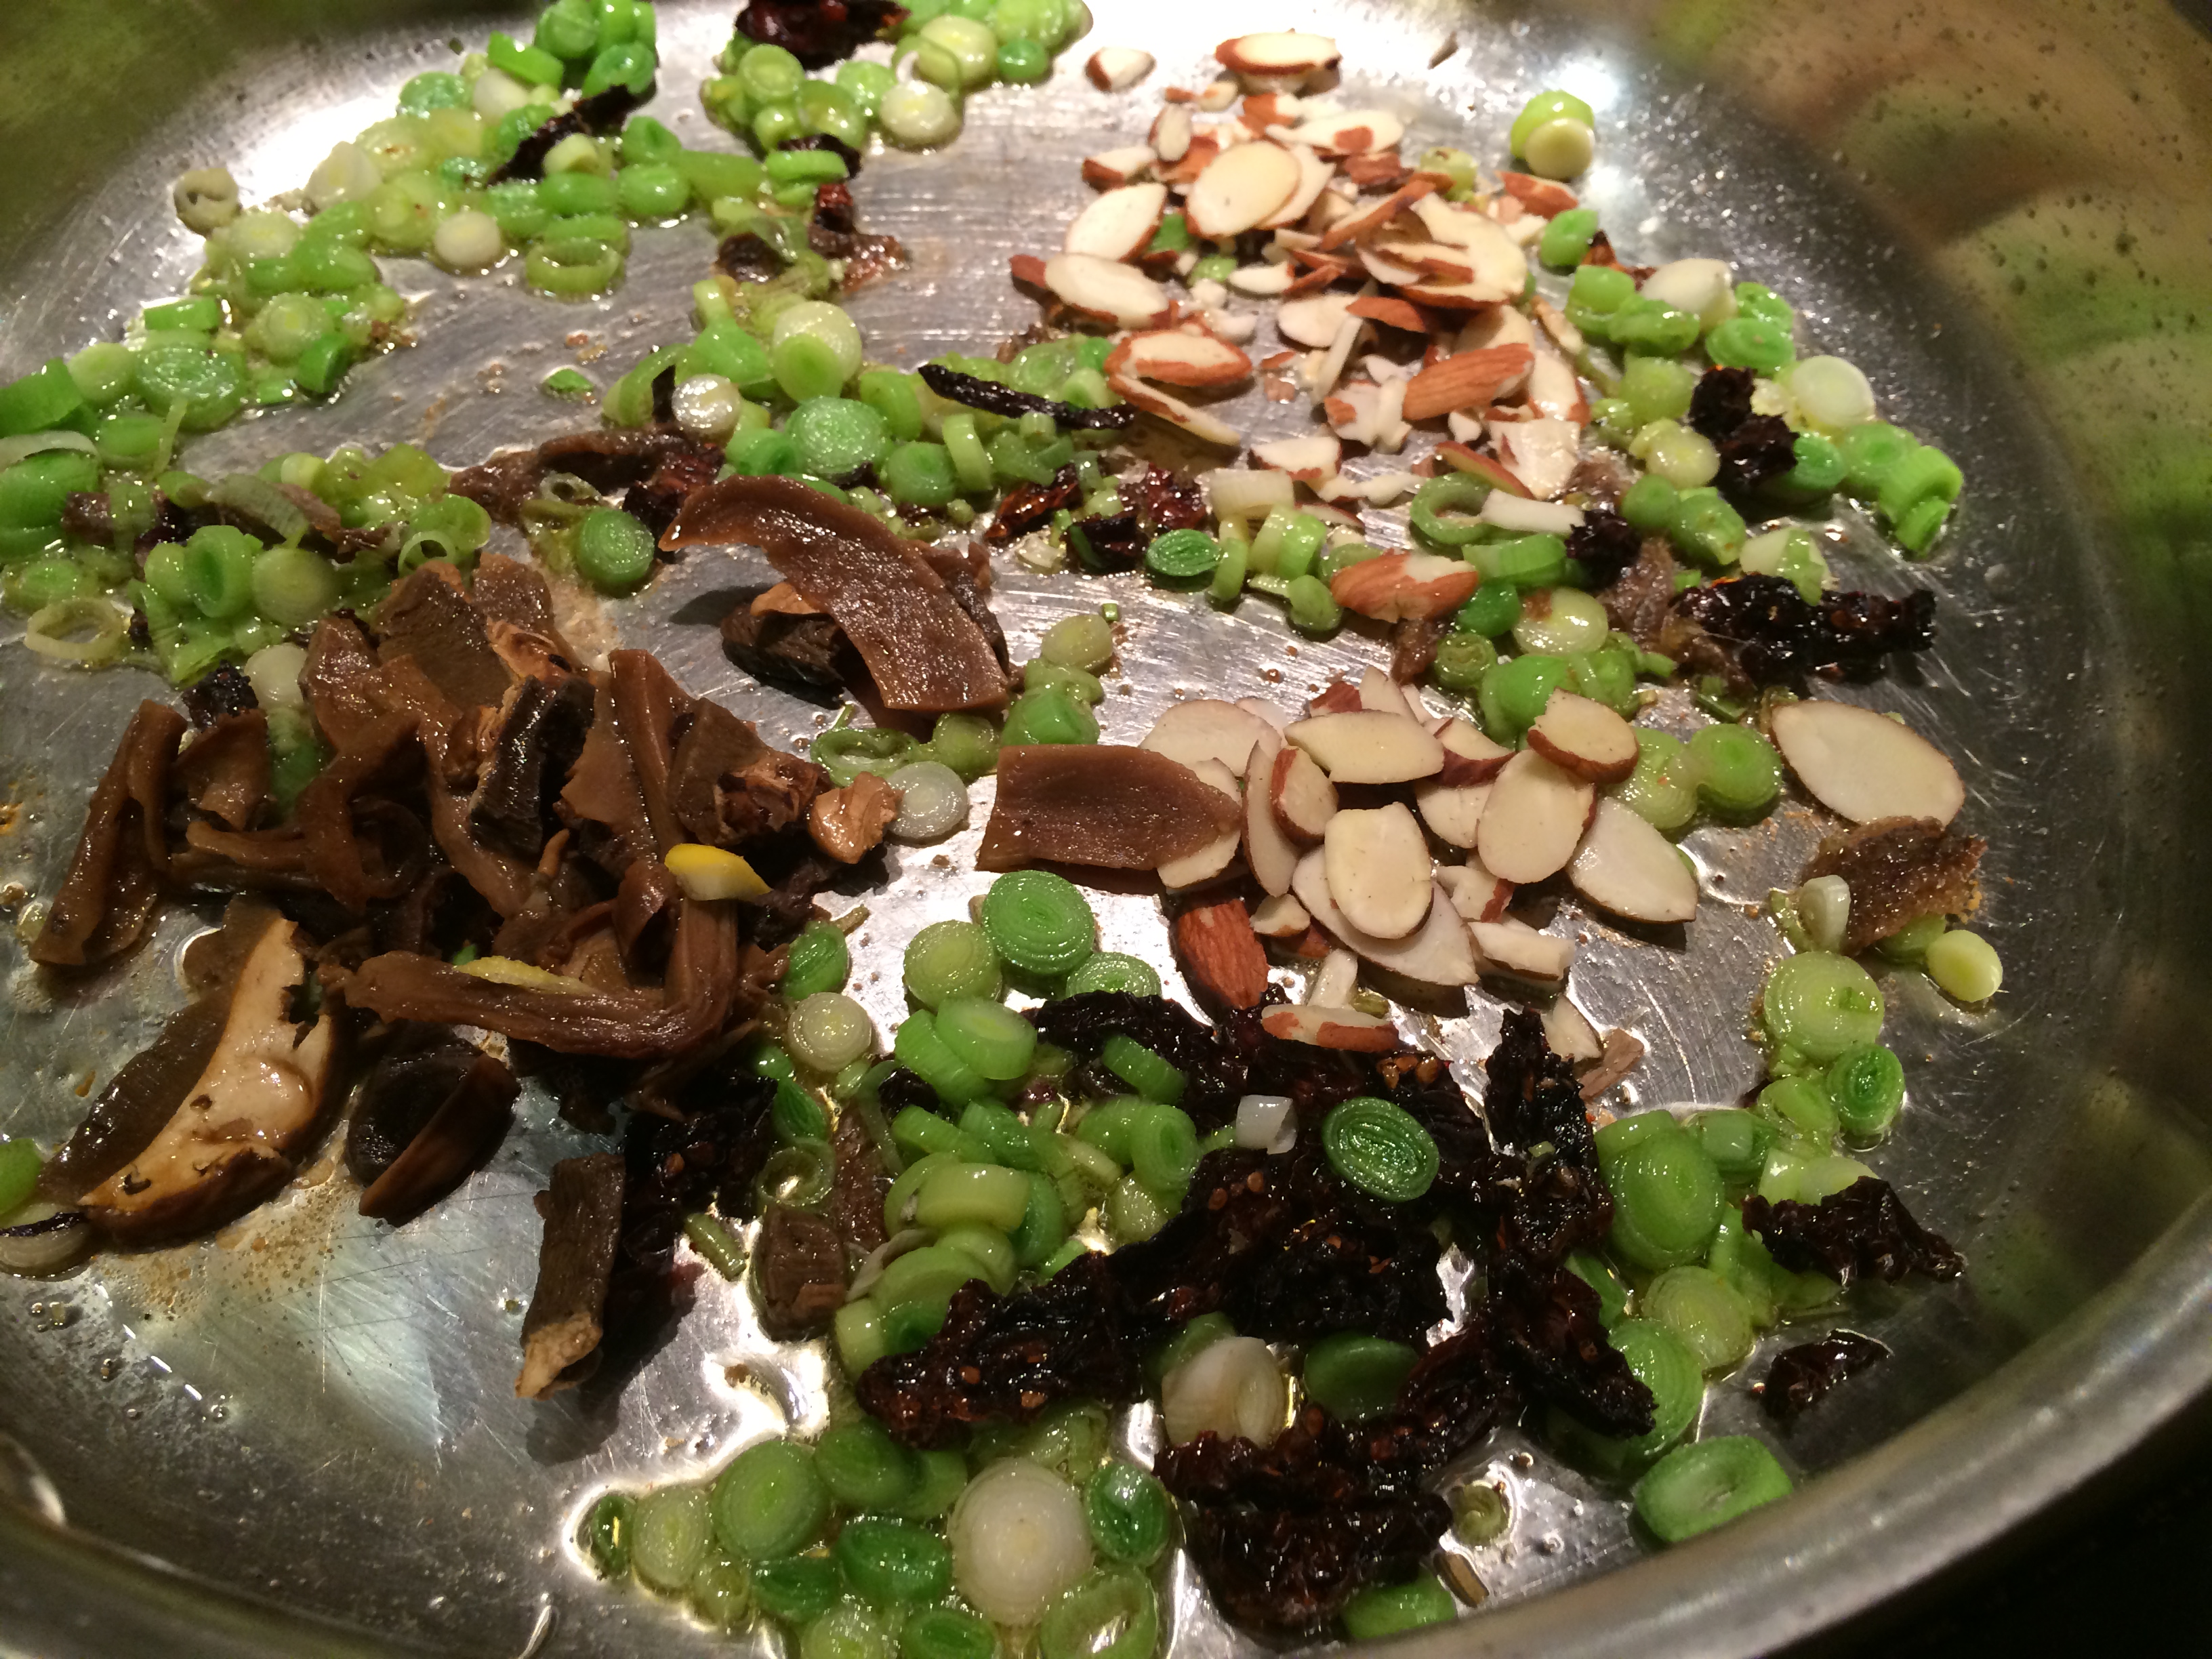
Frying garlic, chili, onion

Paneer goes in

Powdered spices go in

Stir to coat

Greens go in

Done
Bitter melon greens with paneer
Ingredients
- 1/2 pound paneer
- Half a bunch bitter melon greens
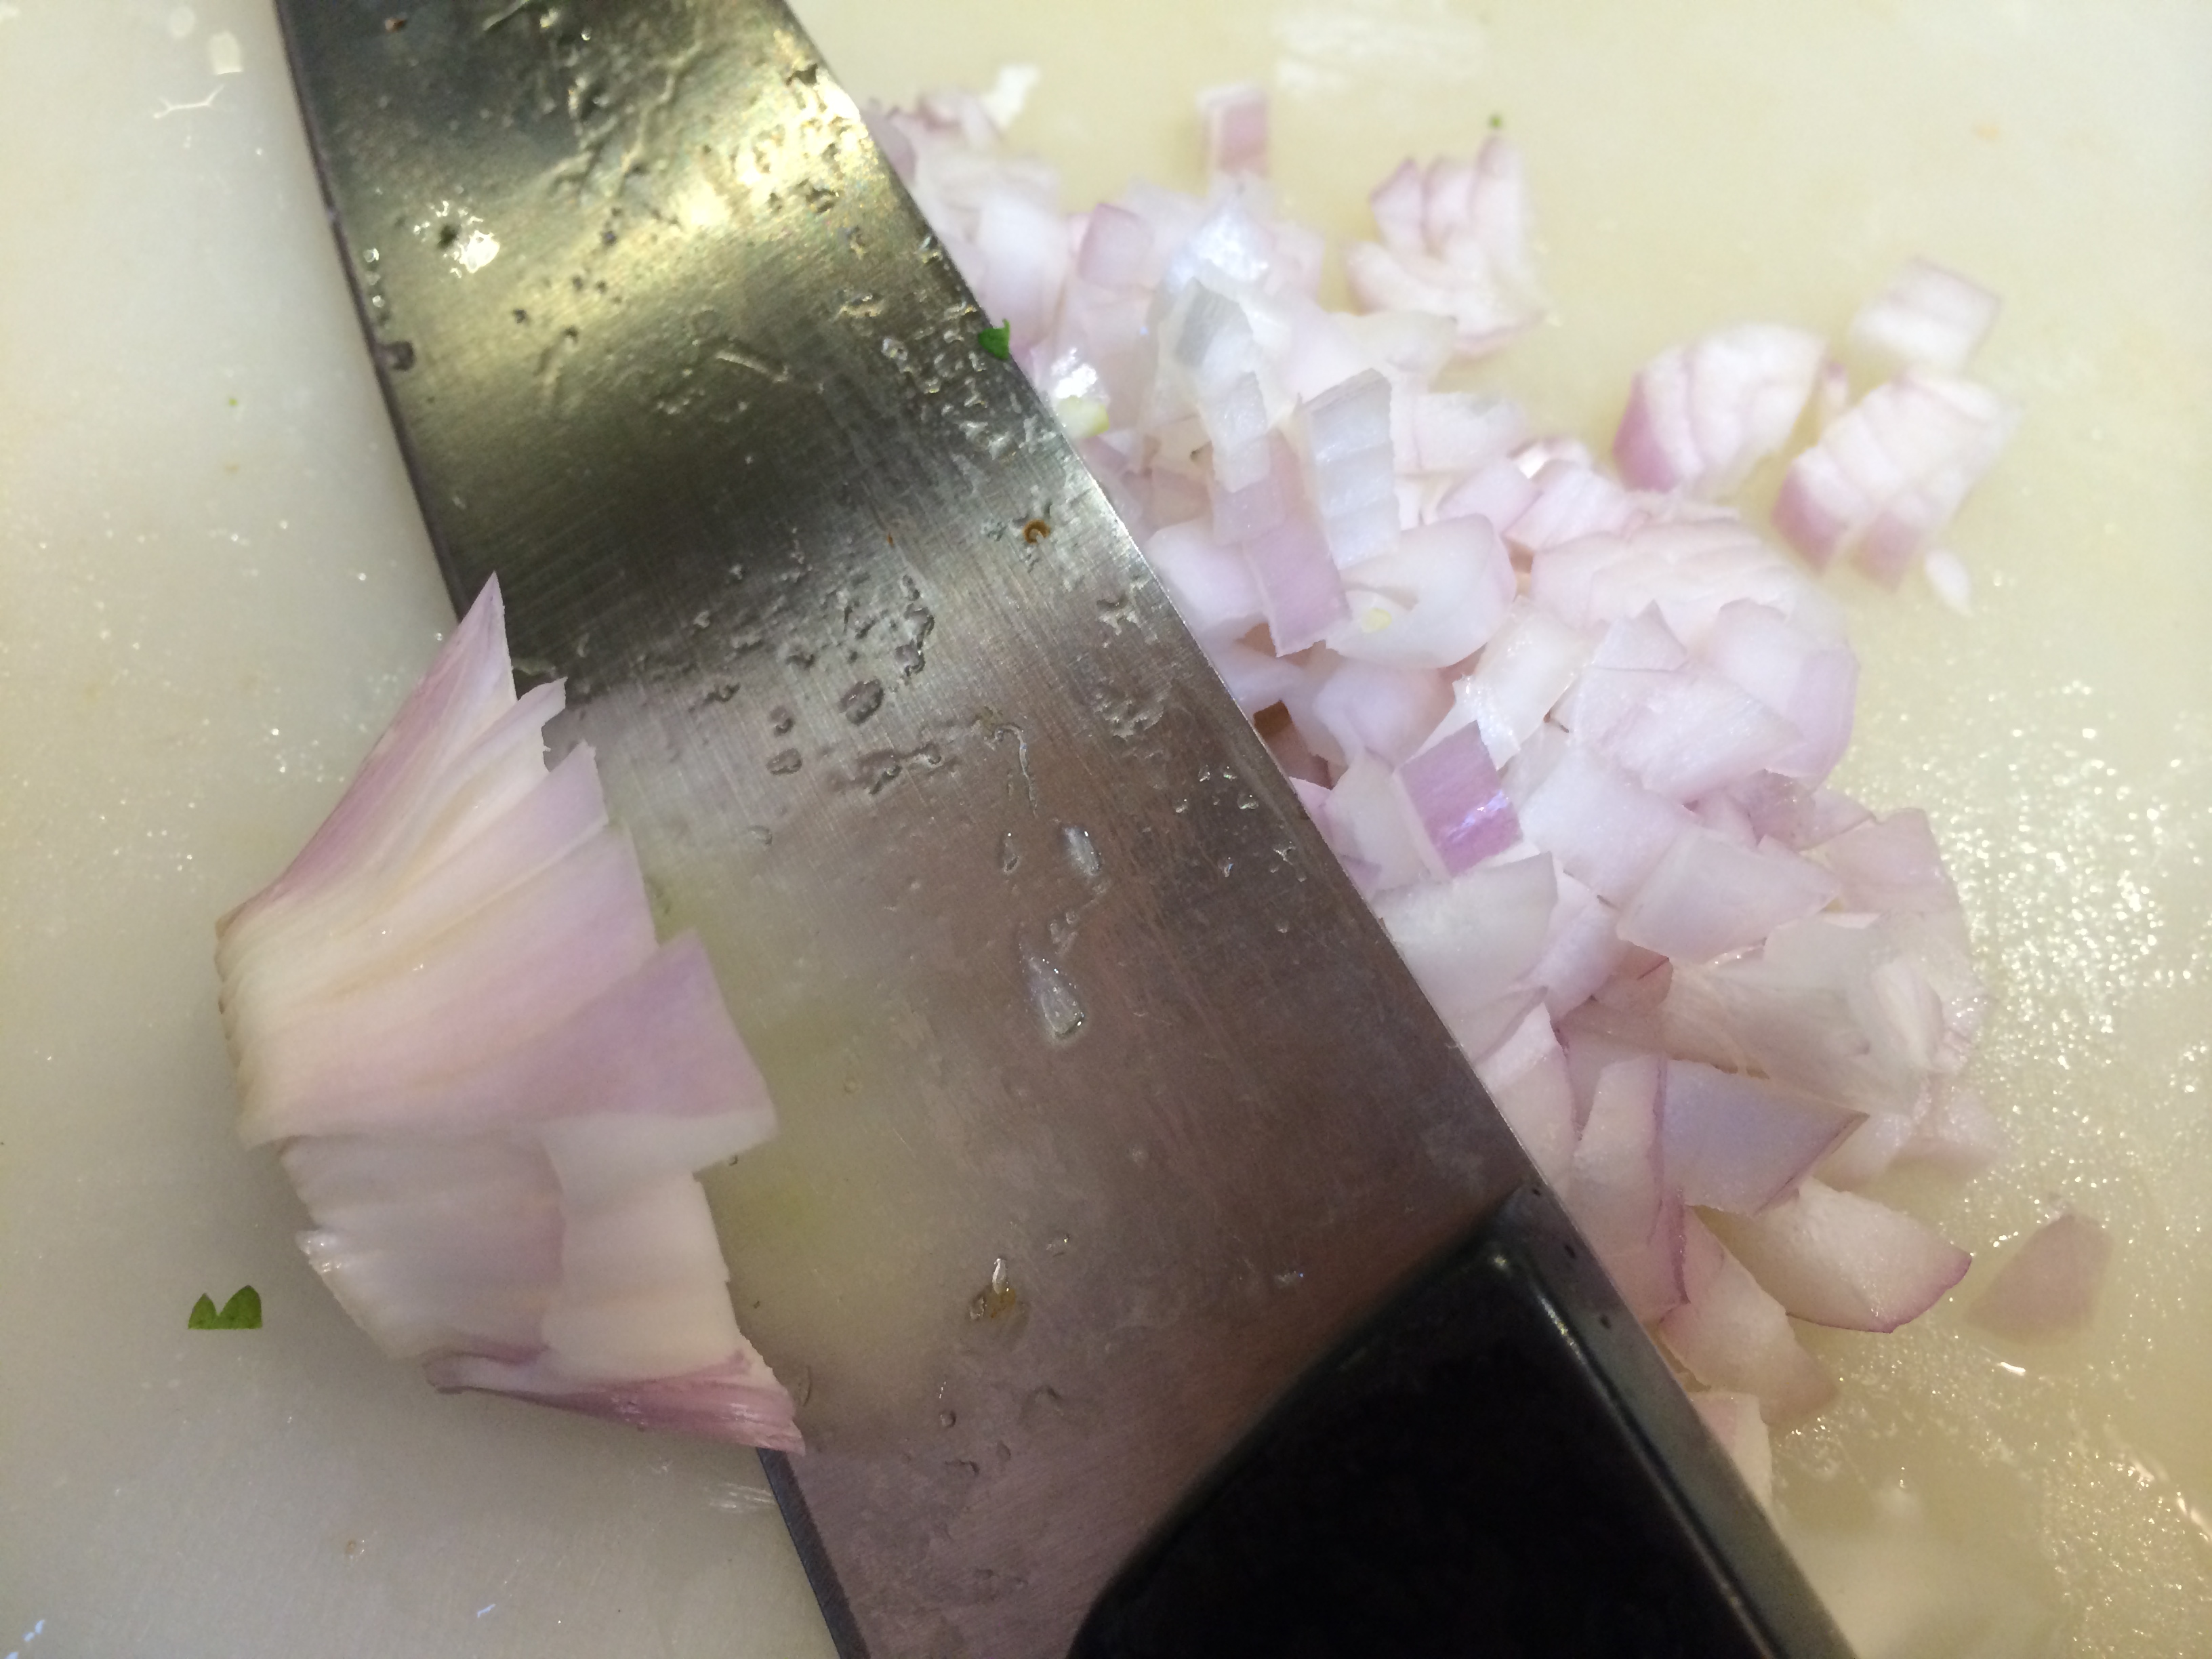
- 1 large shallot or half a medium onion, chopped fine
- 4-5 cloves garlic, sliced
- 1-3 serrano chilies, sliced
- 1 teaspoon cumin seeds
- 1/4 teaspoon turmeric powder
- 3/4 teaspoon salt
- 1/2 teaspoon red chili powder (optional)
- 1 tablespoon ghee
Method
Rinse and slice the greens. The finer you slice the greens the better the final result. I ultimately didn’t get it super fine but I did try to ensure no stem was longer than half an inch. Dice the paneer into little blocks about 1/4 inch on each side. Finely chop the shallot, garlic and chilies.
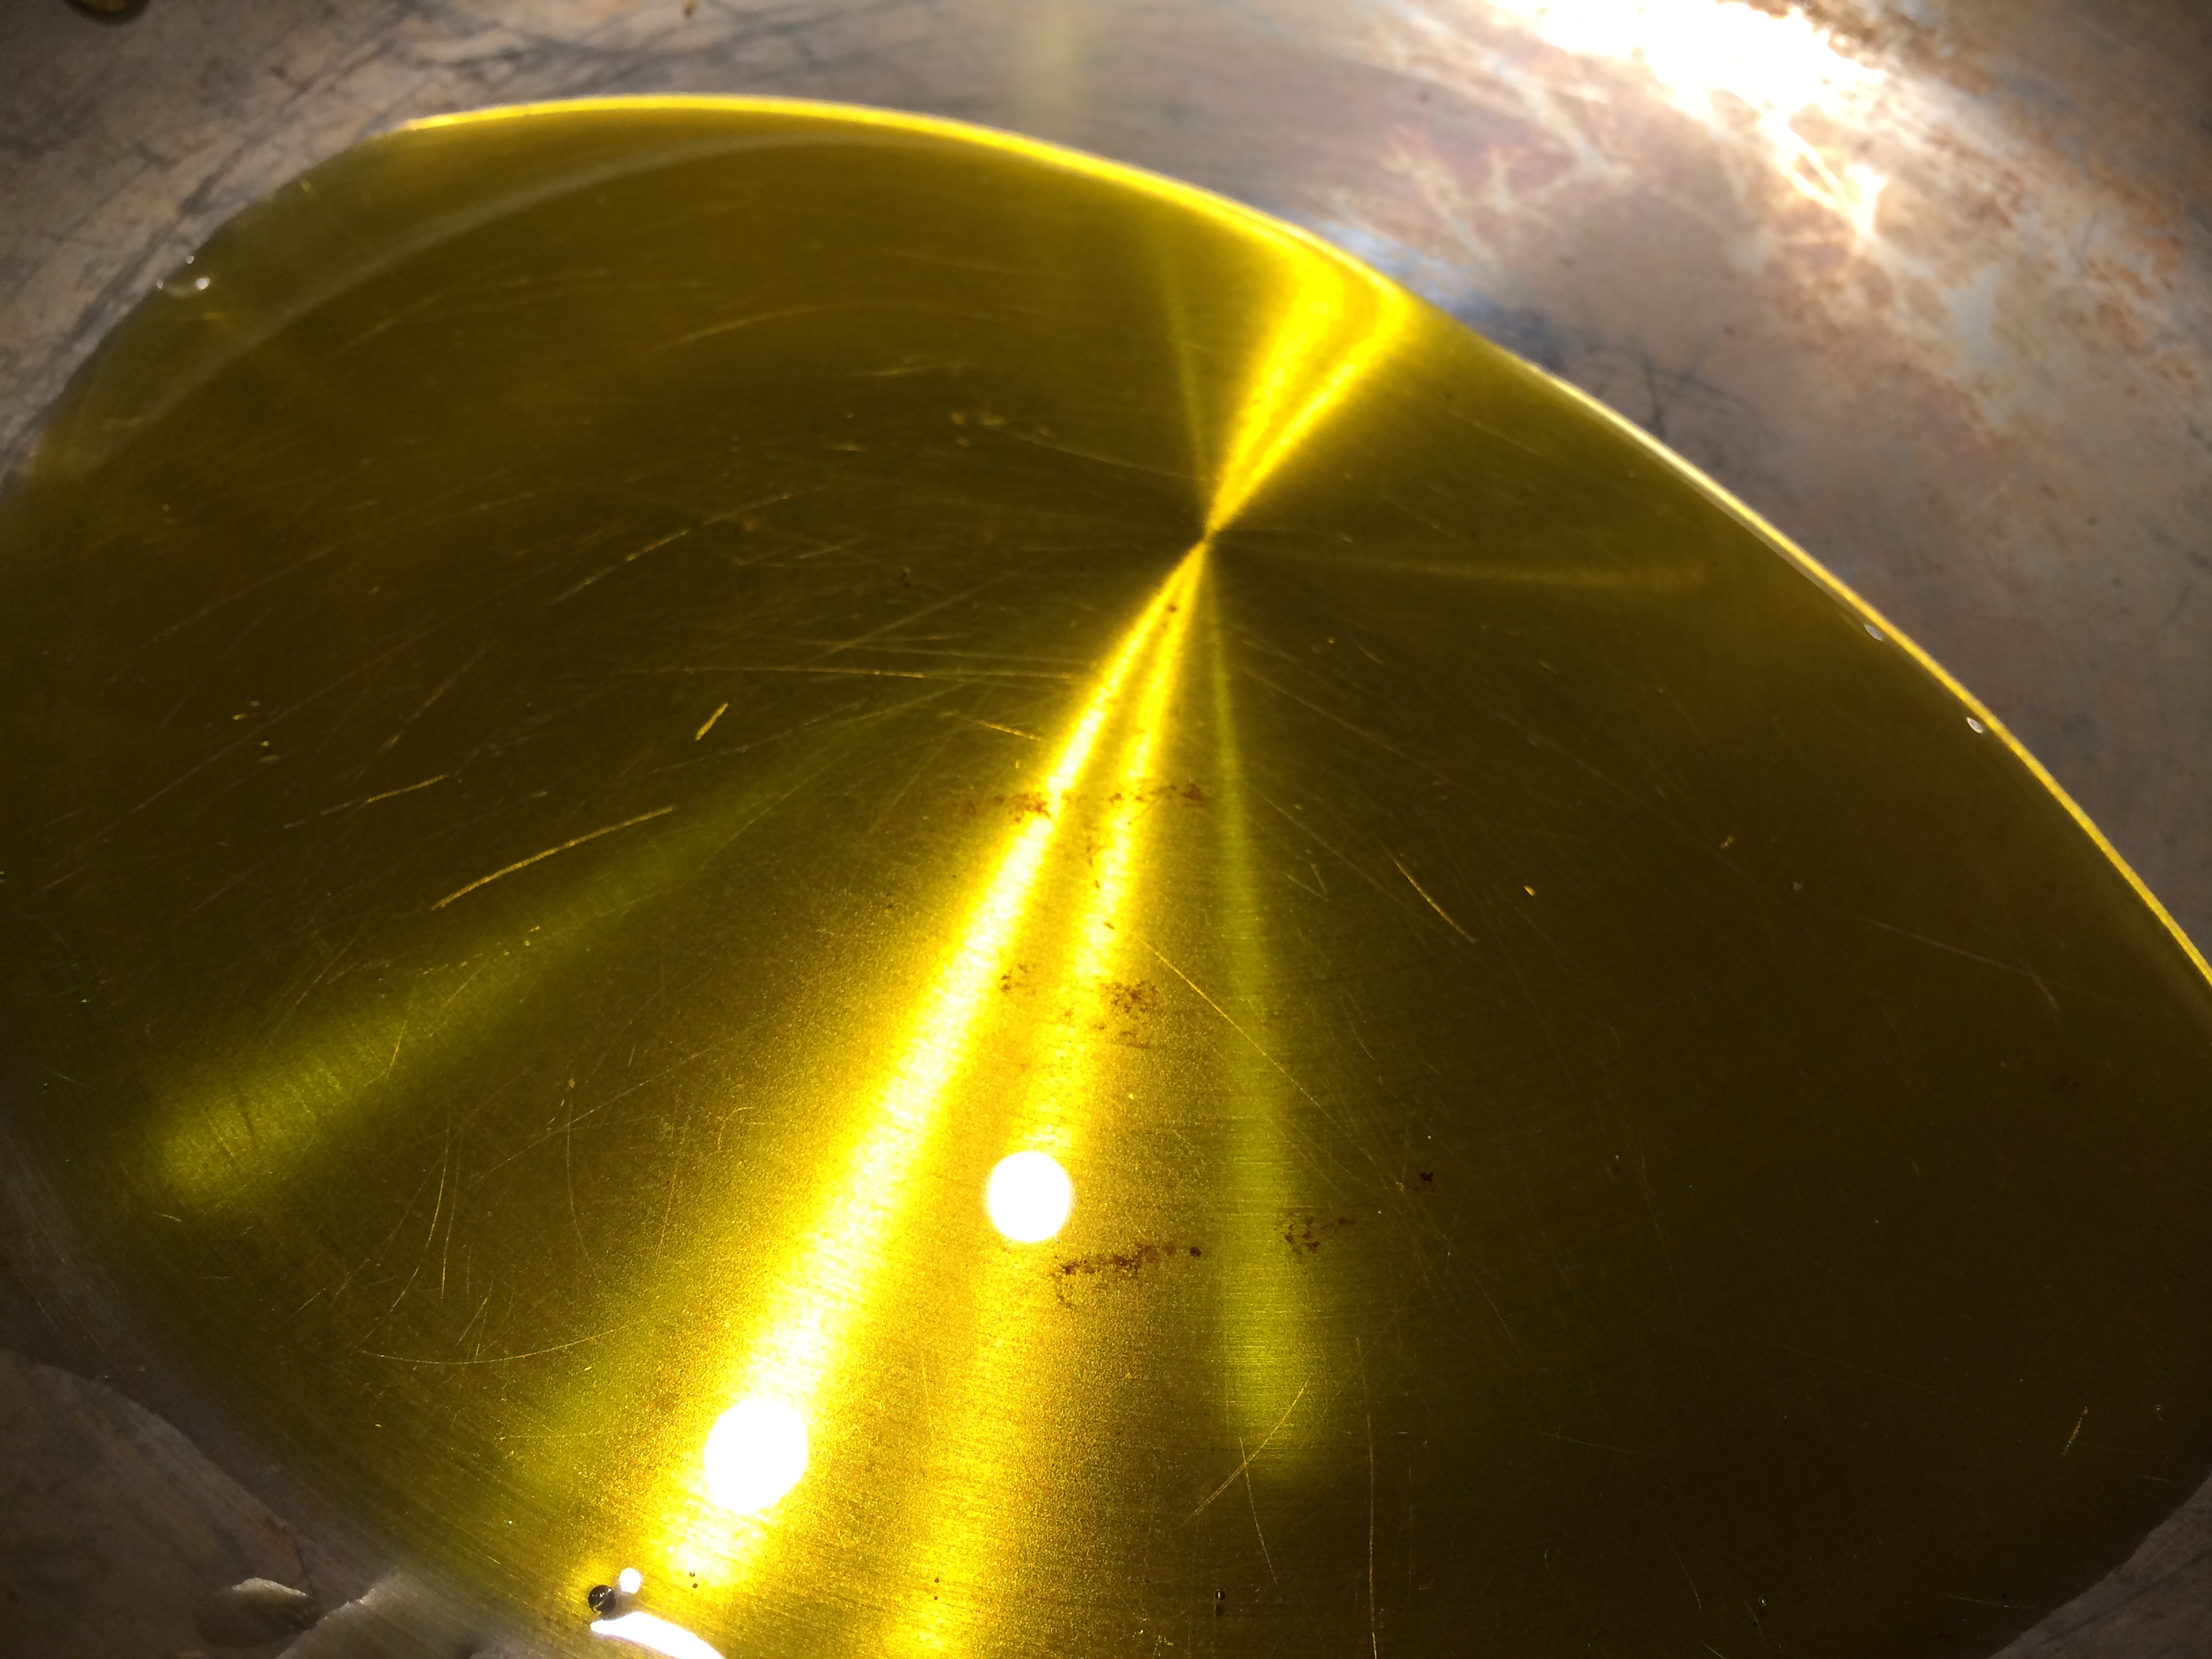
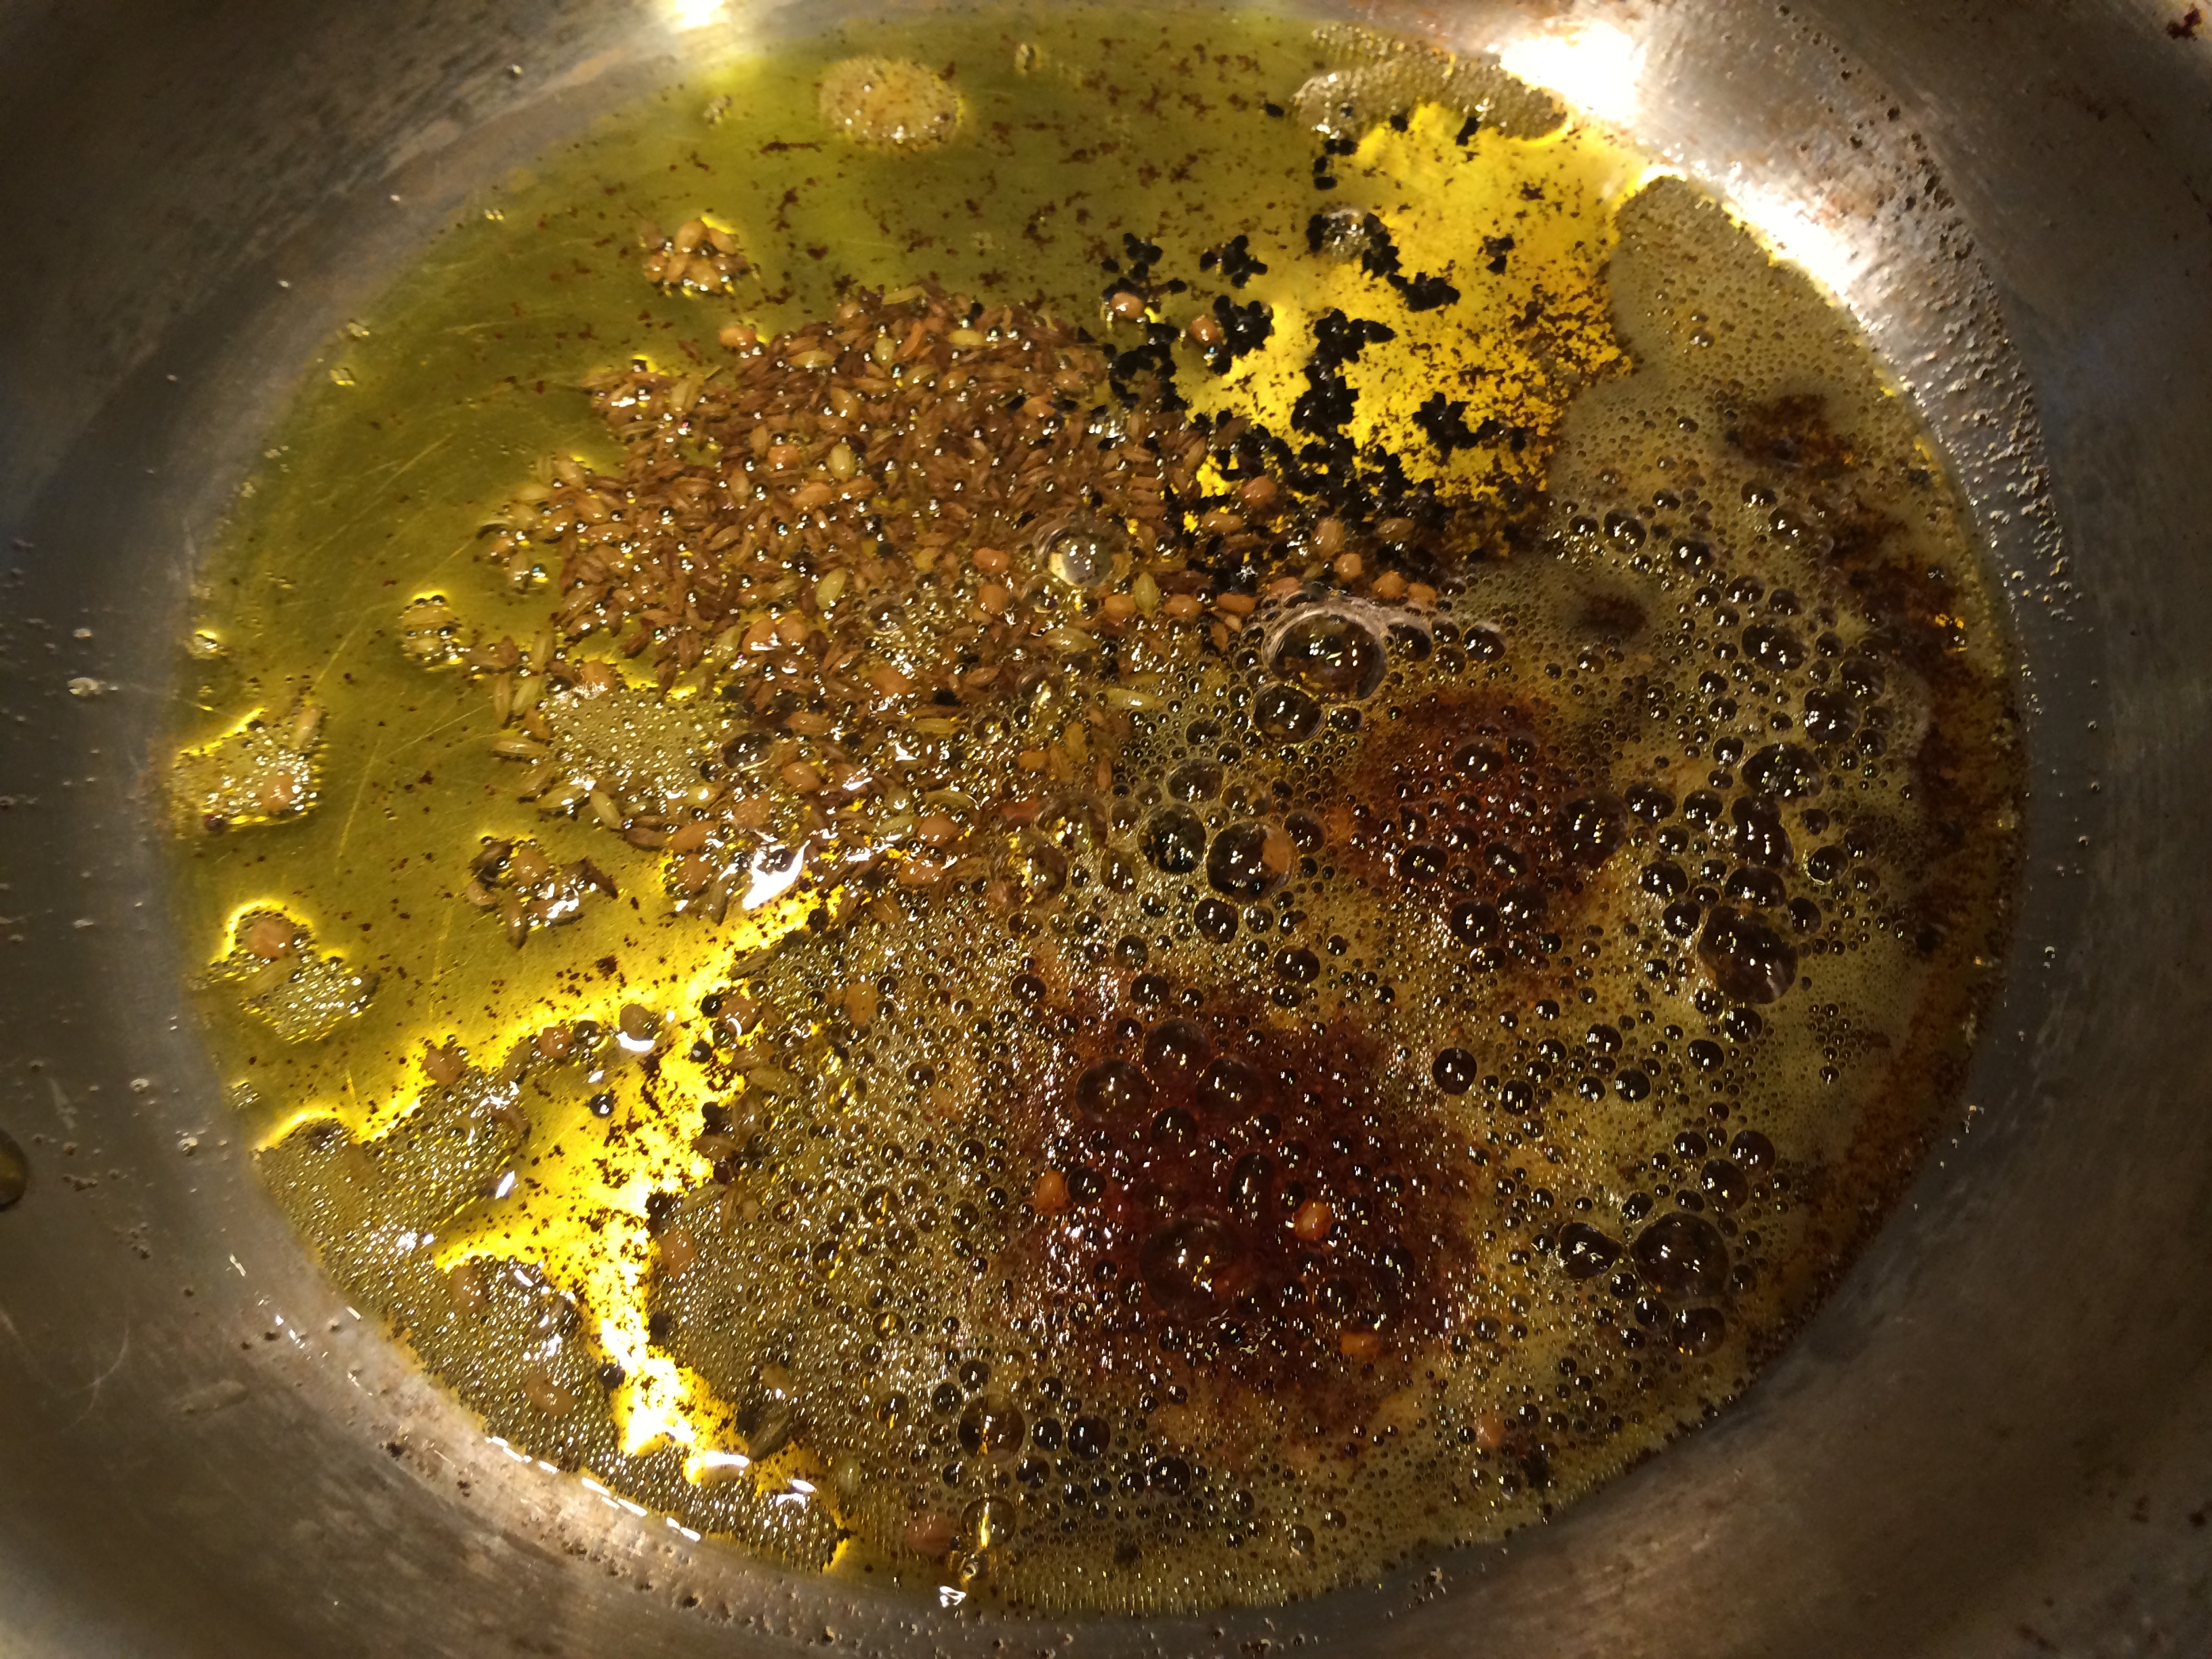
Heat the ghee in a wide pan on medium heat. When it is shimmering, put in the cumin seeds. They will presently sizzle, then in goes the garlic and chilies. Let them get a little shriveled (couple minutes) and put in the onion. The onion only needs to cook until pink and translucent, not browned.
Put in paneer at this point, along with the dry masalas (turmeric powder, red chili powder and salt). Stir to combine. Greens go in next. Toss with paneer and spices. Then don’t need to cook for long. When they look shrunk down and shiny, add about half a cup of hot water, cover and cook on low for just about 4 minutes and you are done.
This goes well with chapatis/rotis or rice.
Let's connect...