Global Stew
Once you learn a new method of cooking it can lead to a bit of an explosion of ideas. The new method in this case is the one I wrote about in this post about red kidney beans—it is about cooking beans in a slow cooker or low oven, over six hours. It has all the virtues of crockpot cooking, which is that you set it and forget it; and requires no prep such as soaking, sautéing, except stuffing all ingredients into the pot. Even tough beans that one normally soaks overnight and then pressure-cooks succumb to the slow but steady blandishments of the oven.
Well, there is no reason, obviously, to limit oneself to that one recipe. Here I experimented with a set of ingredients drawn from a variety of regions of the world, that all came together in my Bay Area kitchen.

Global stew with polanta
There is the black-eyed pea, ancestrally African, which itself is a bit of a global traveler, having found its way to Northern India as an occasional character actor, and to the New World on slave ships.
There is the cranberry, that Native Americans first explored the use of and now is a staple of the American Thanksgiving feast.
Pine nuts are a staple of Italian cooking, but the pine is a pretty widespread tree, so their use is known all over the globe. In the Americas, there are treaties that protect the right of Native American tribes to harvest them. In China, a certain species of pine nut has been known to ‘disappear’ your taste (temporarily) and leave a bitter metallic one in its place.
The use of the bay leaf I learned at my mother’s knee; while the use of tomato paste came from my mother-in-law. Butternut squash is my husband’s favorite, and happens to be one of those vegetables that were made by humans by crossing two of nature’s somewhat problematic products—in this case, the gangly gooseneck squash and the ginormous Hubbard.
Spinach on the other hand is just spinach.
On we go. Notice how short the ‘method’ part of the recipe is.
Global Stew
This can be eaten as a hearty soup, or a stew, with some soft rolls or crusty bread on the side. We enjoyed it with polenta. It would also make a very nice all-in-one side for a steak or chicken for a paleo type of meal. None of the beans or the squash turn completely into mush, which is nice; but they are completely tender and cooked through.

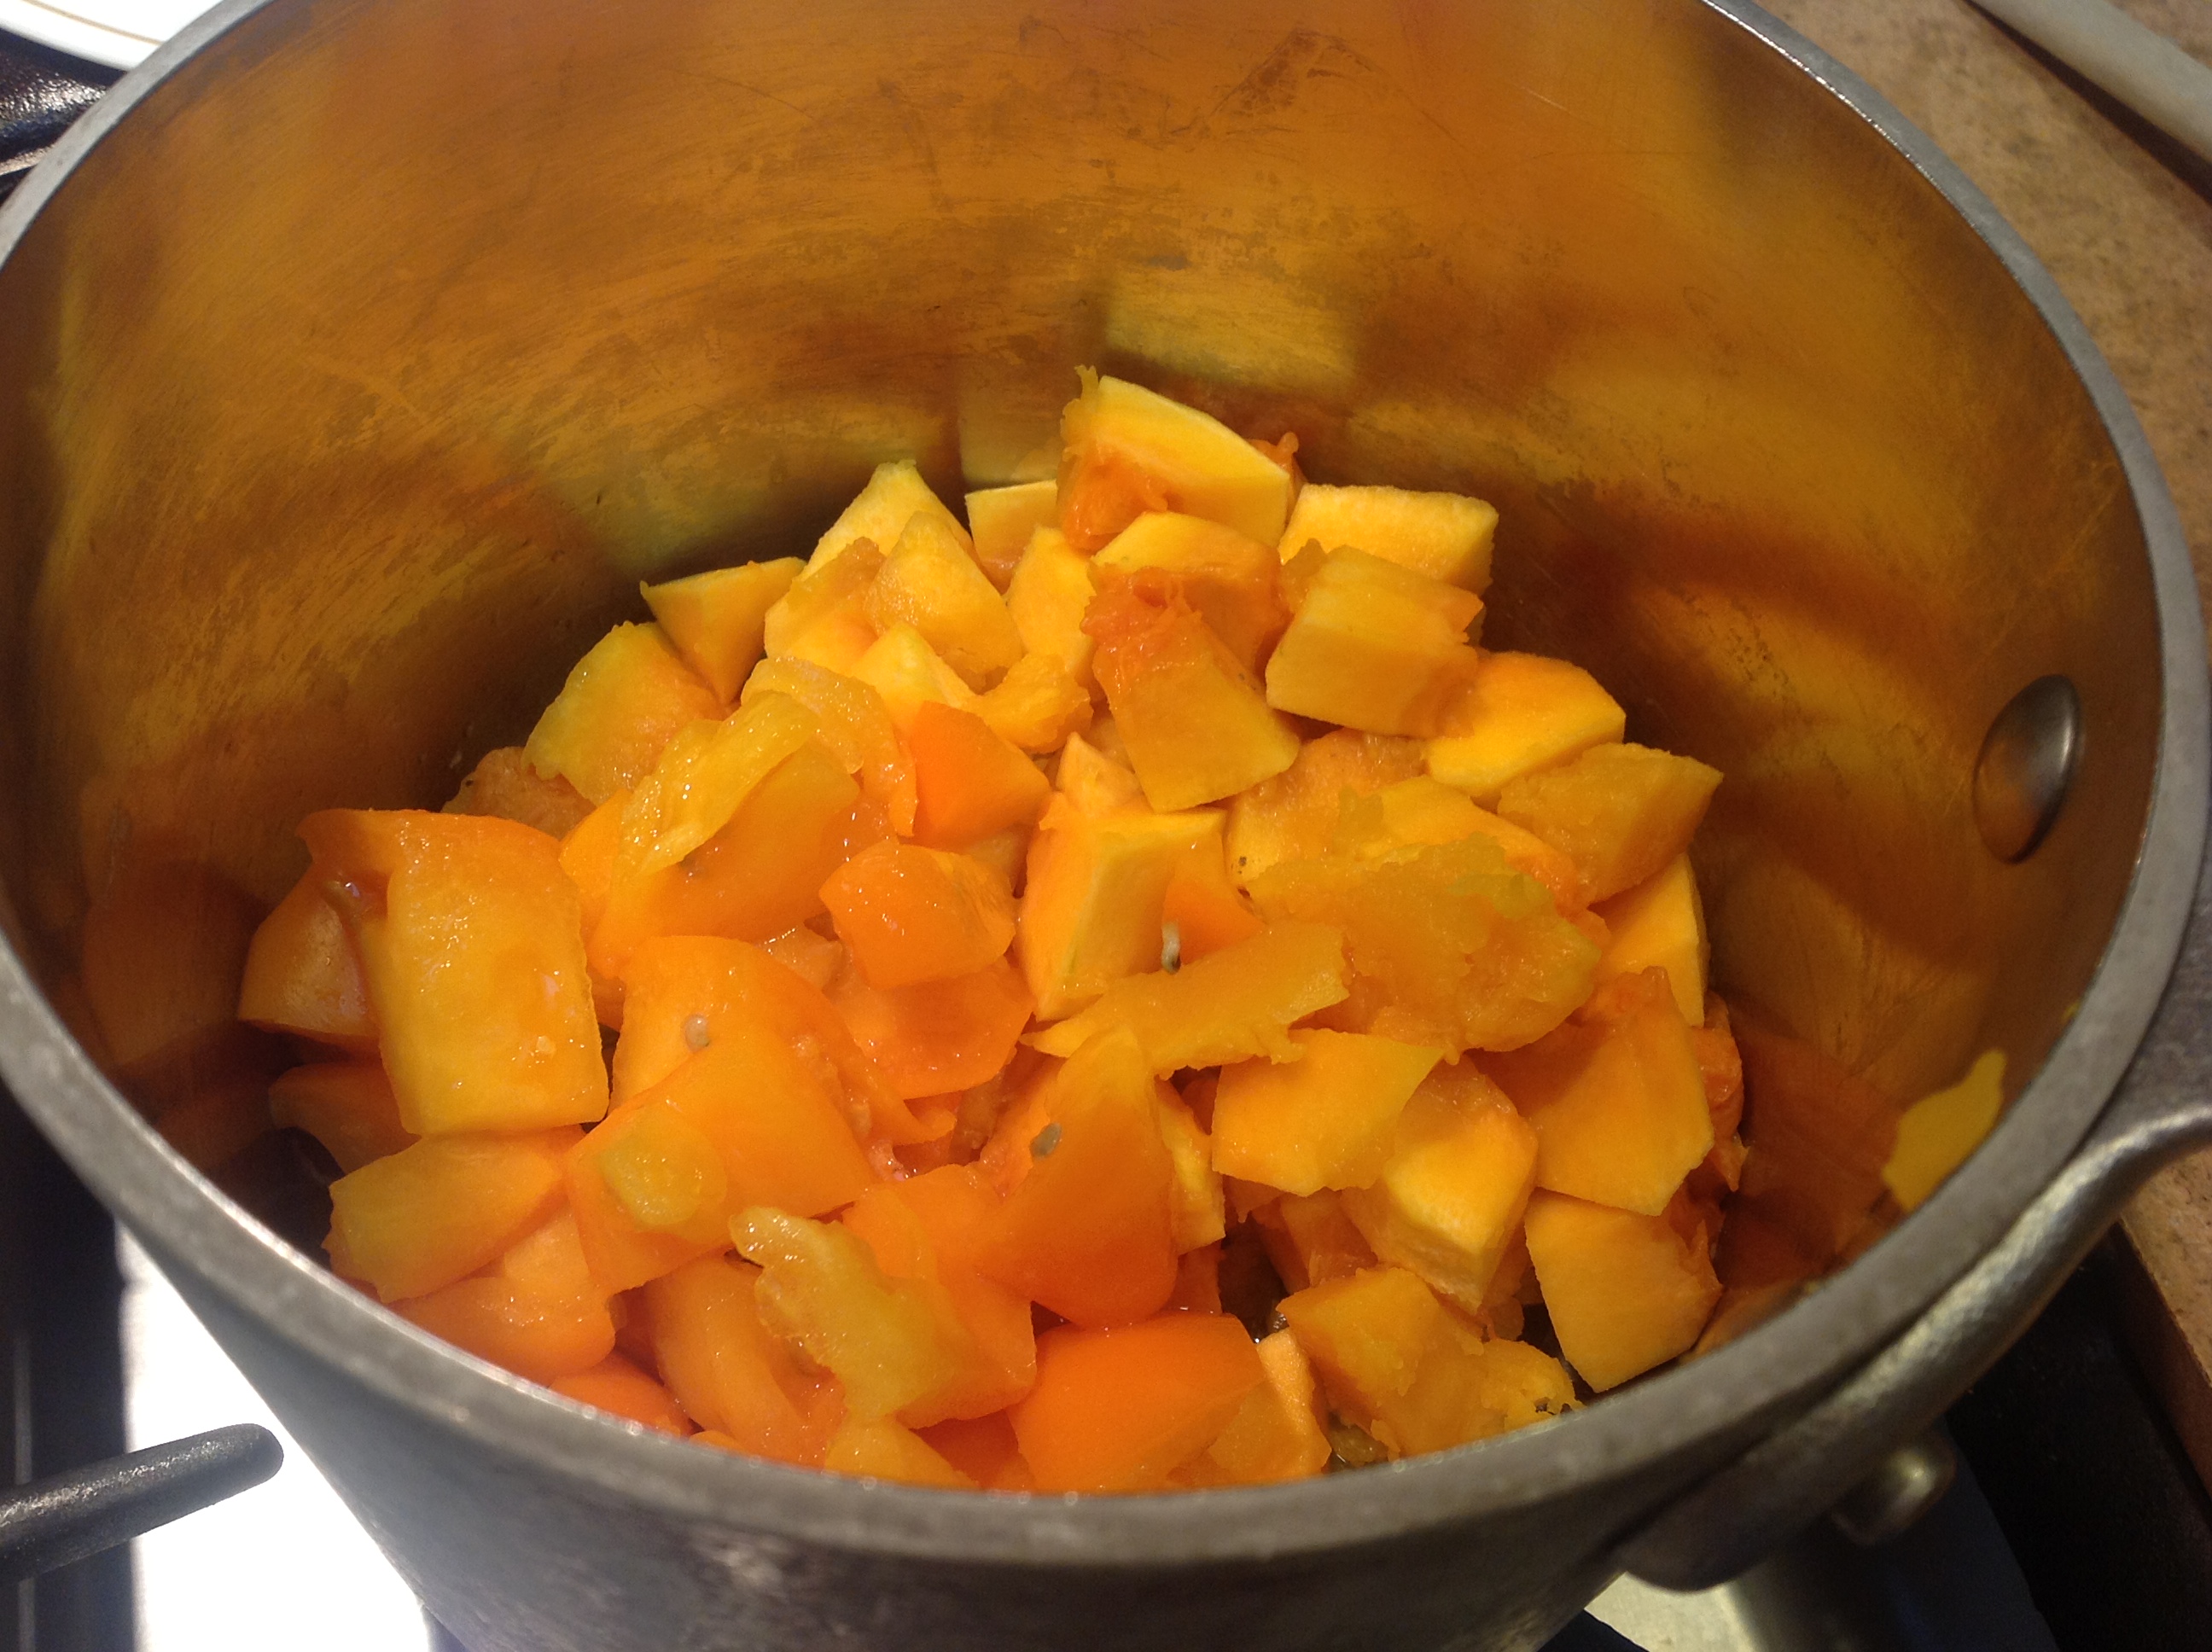
butternut squash layer

More ingredients

All ingredients layered on

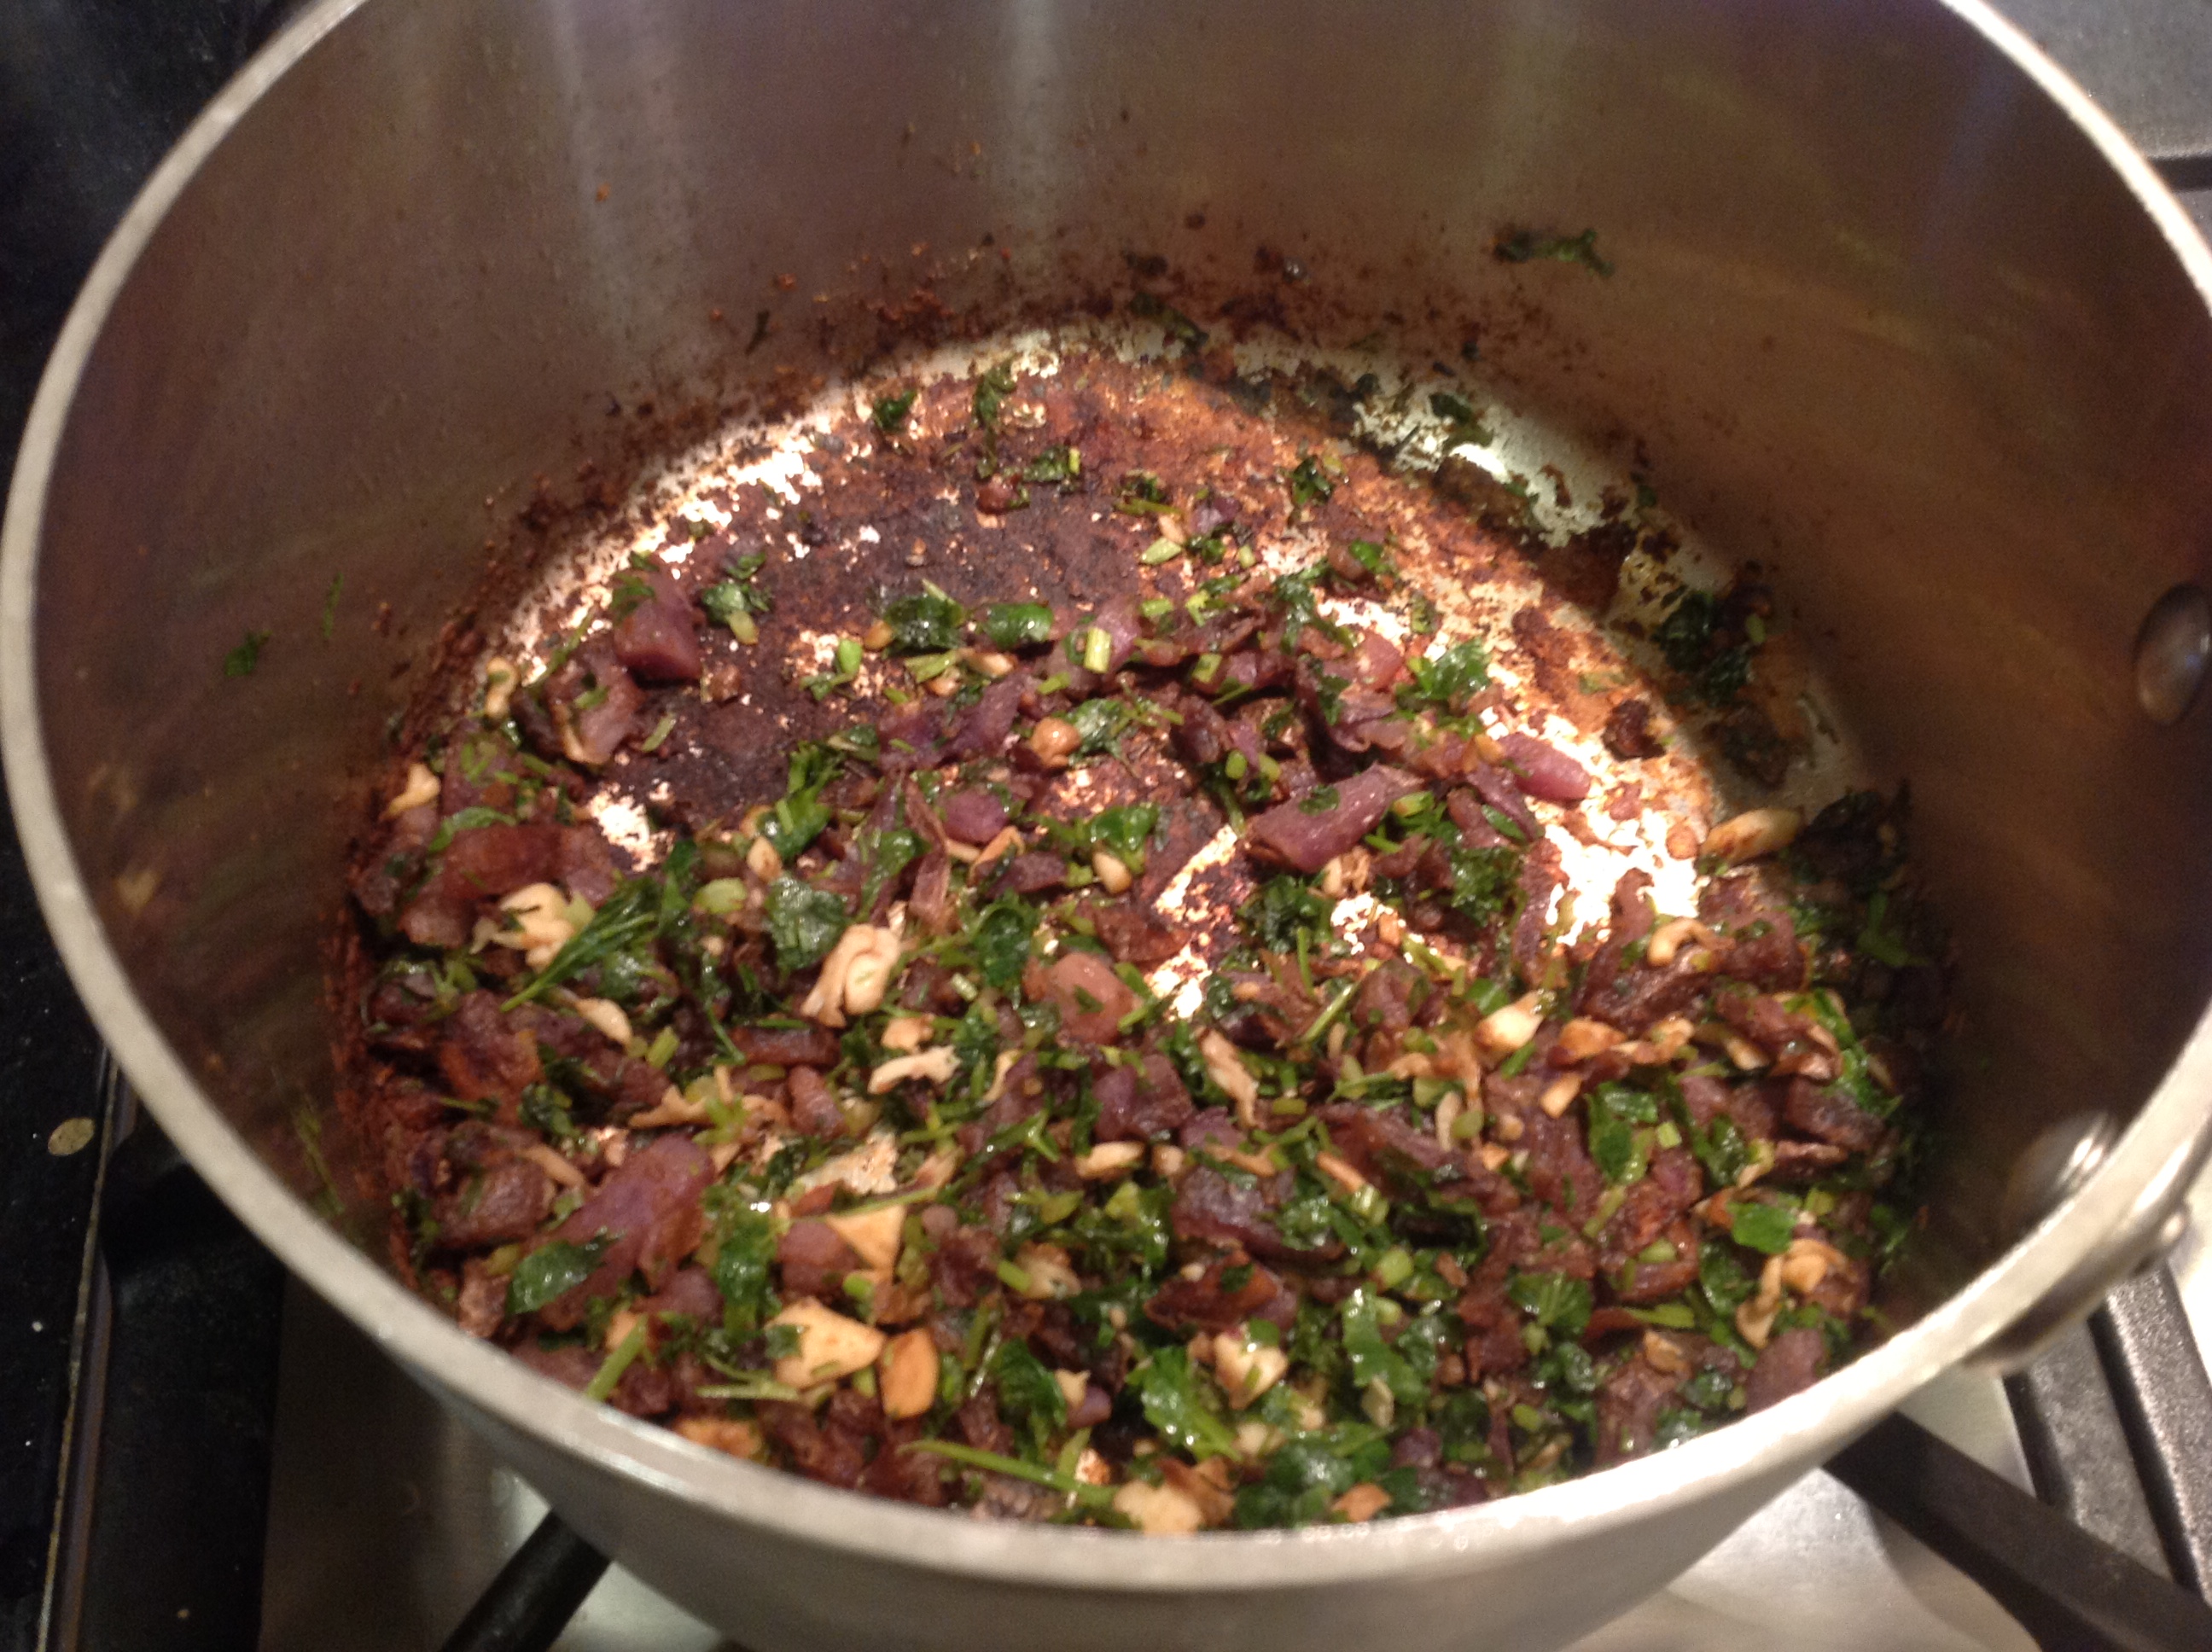
After six hours in the oven

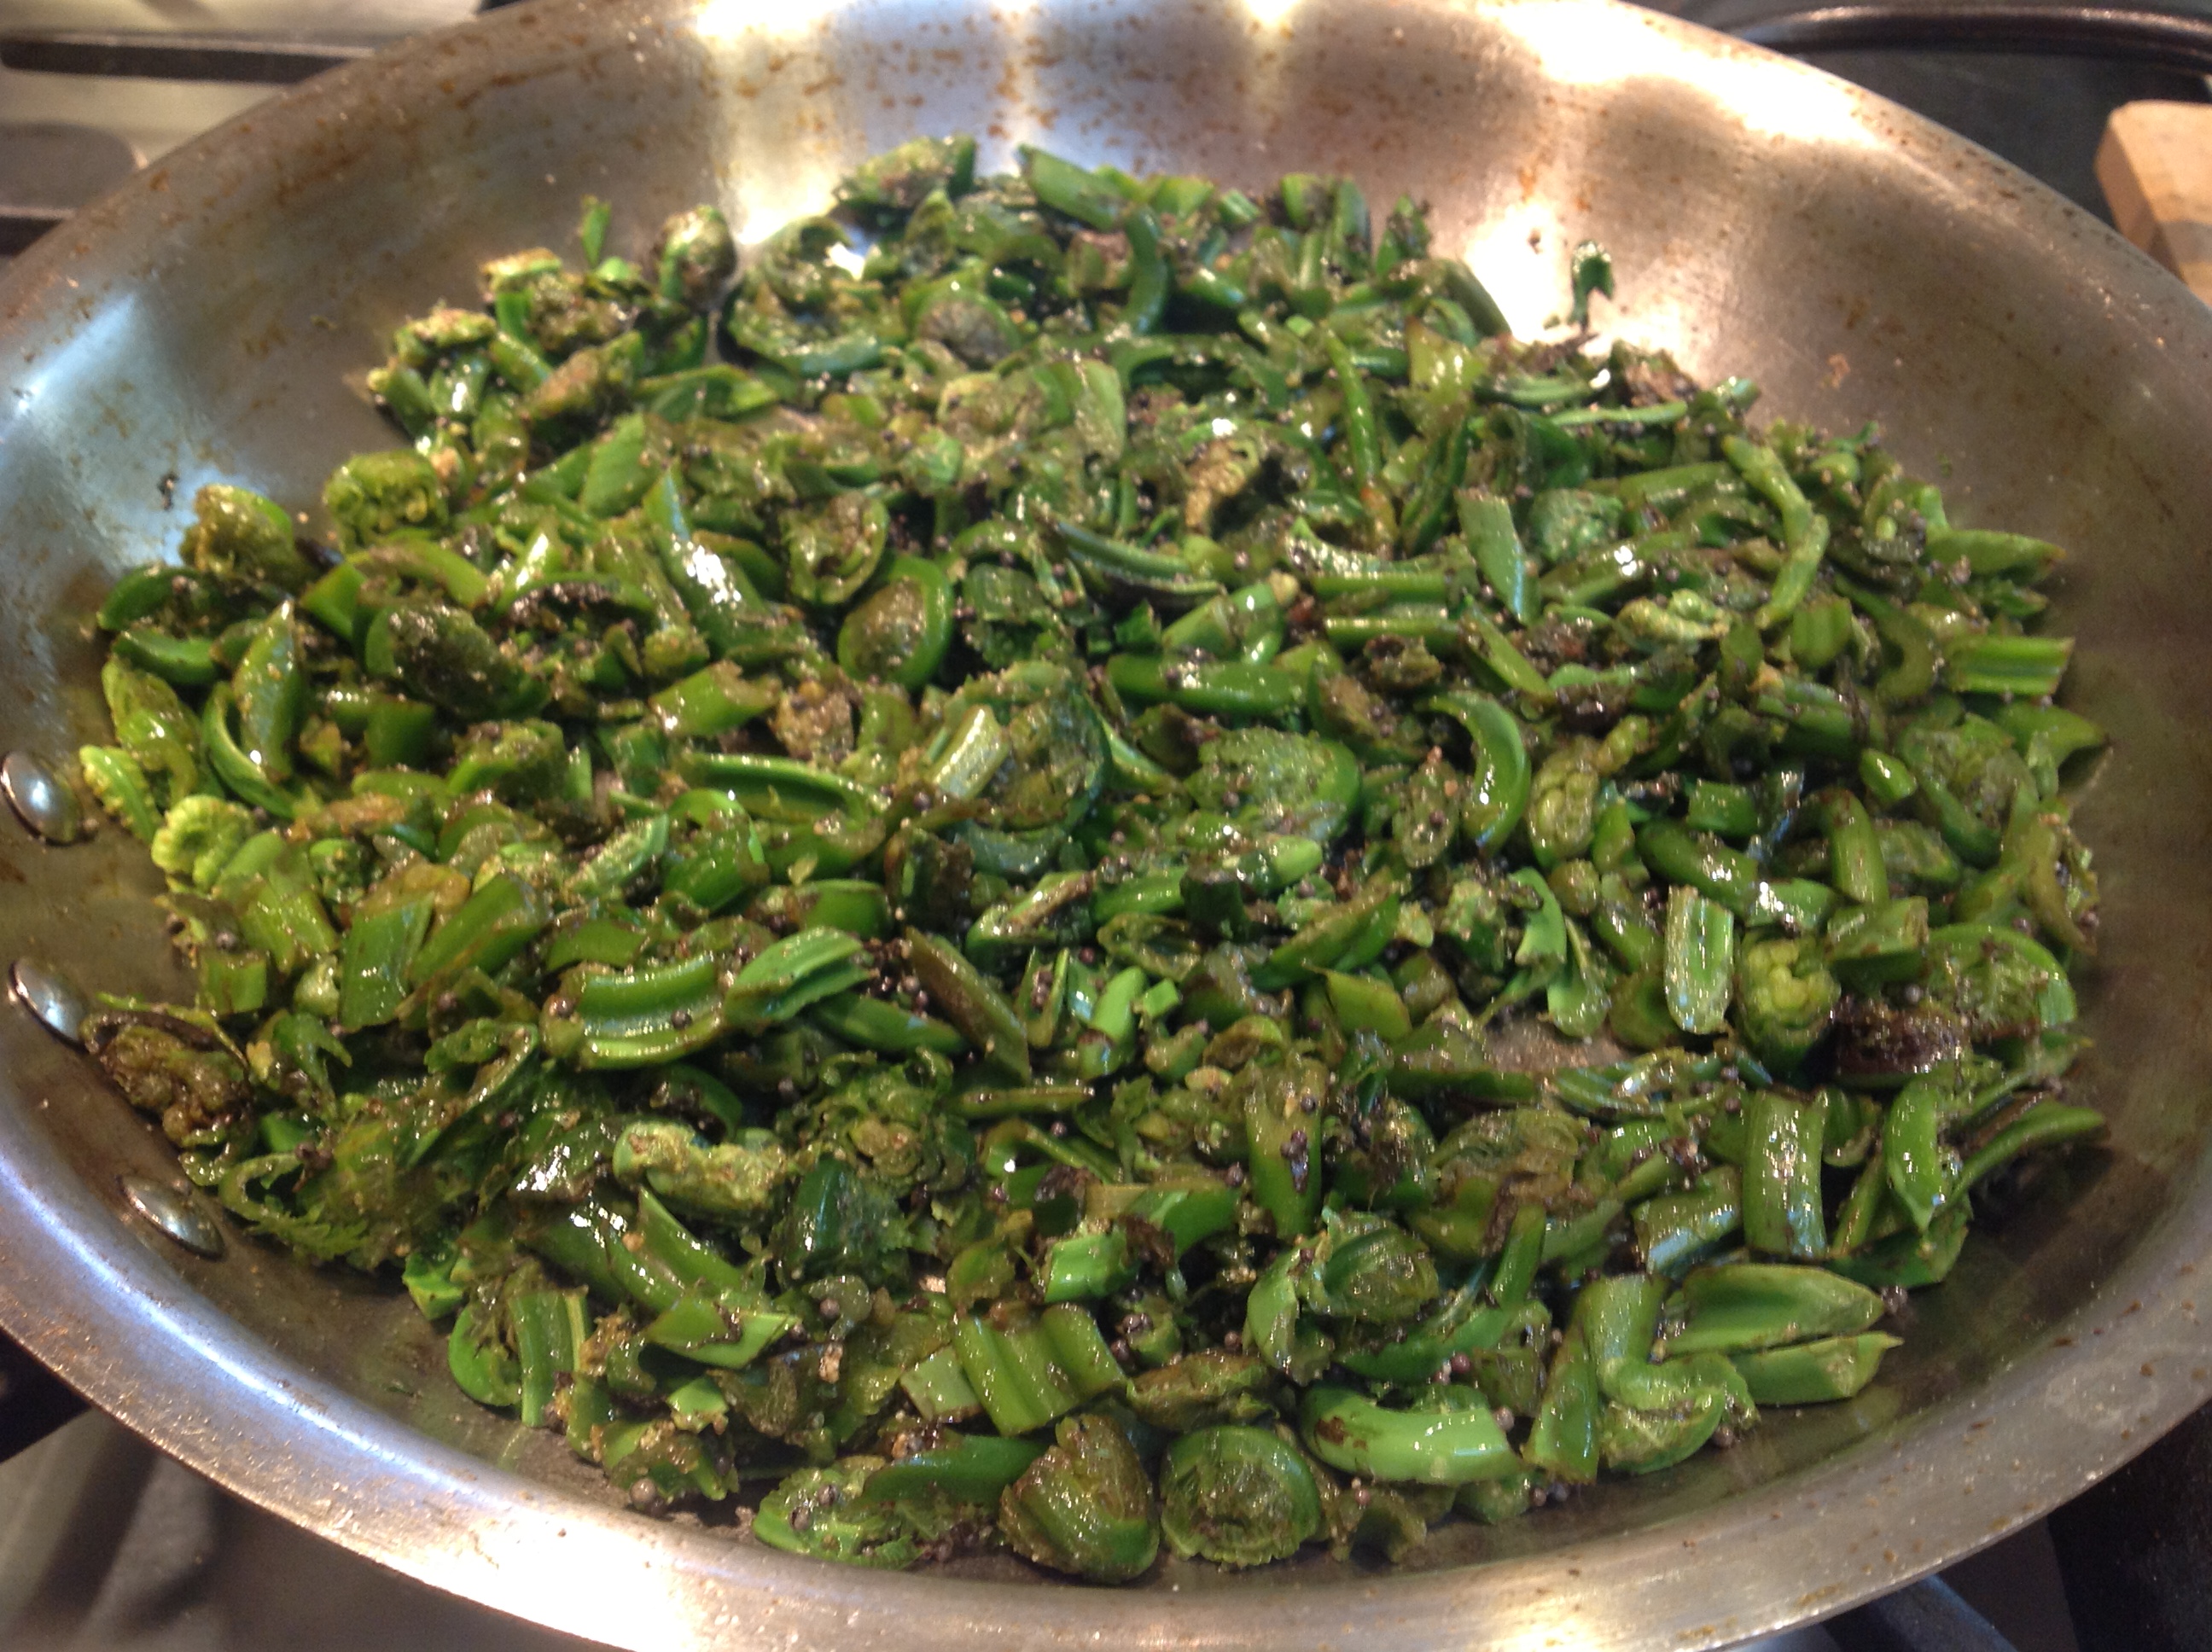
Stirred. Yum….
Global stew
Ingredients:
- 1/2 cup black-eyed peas (dried beans)
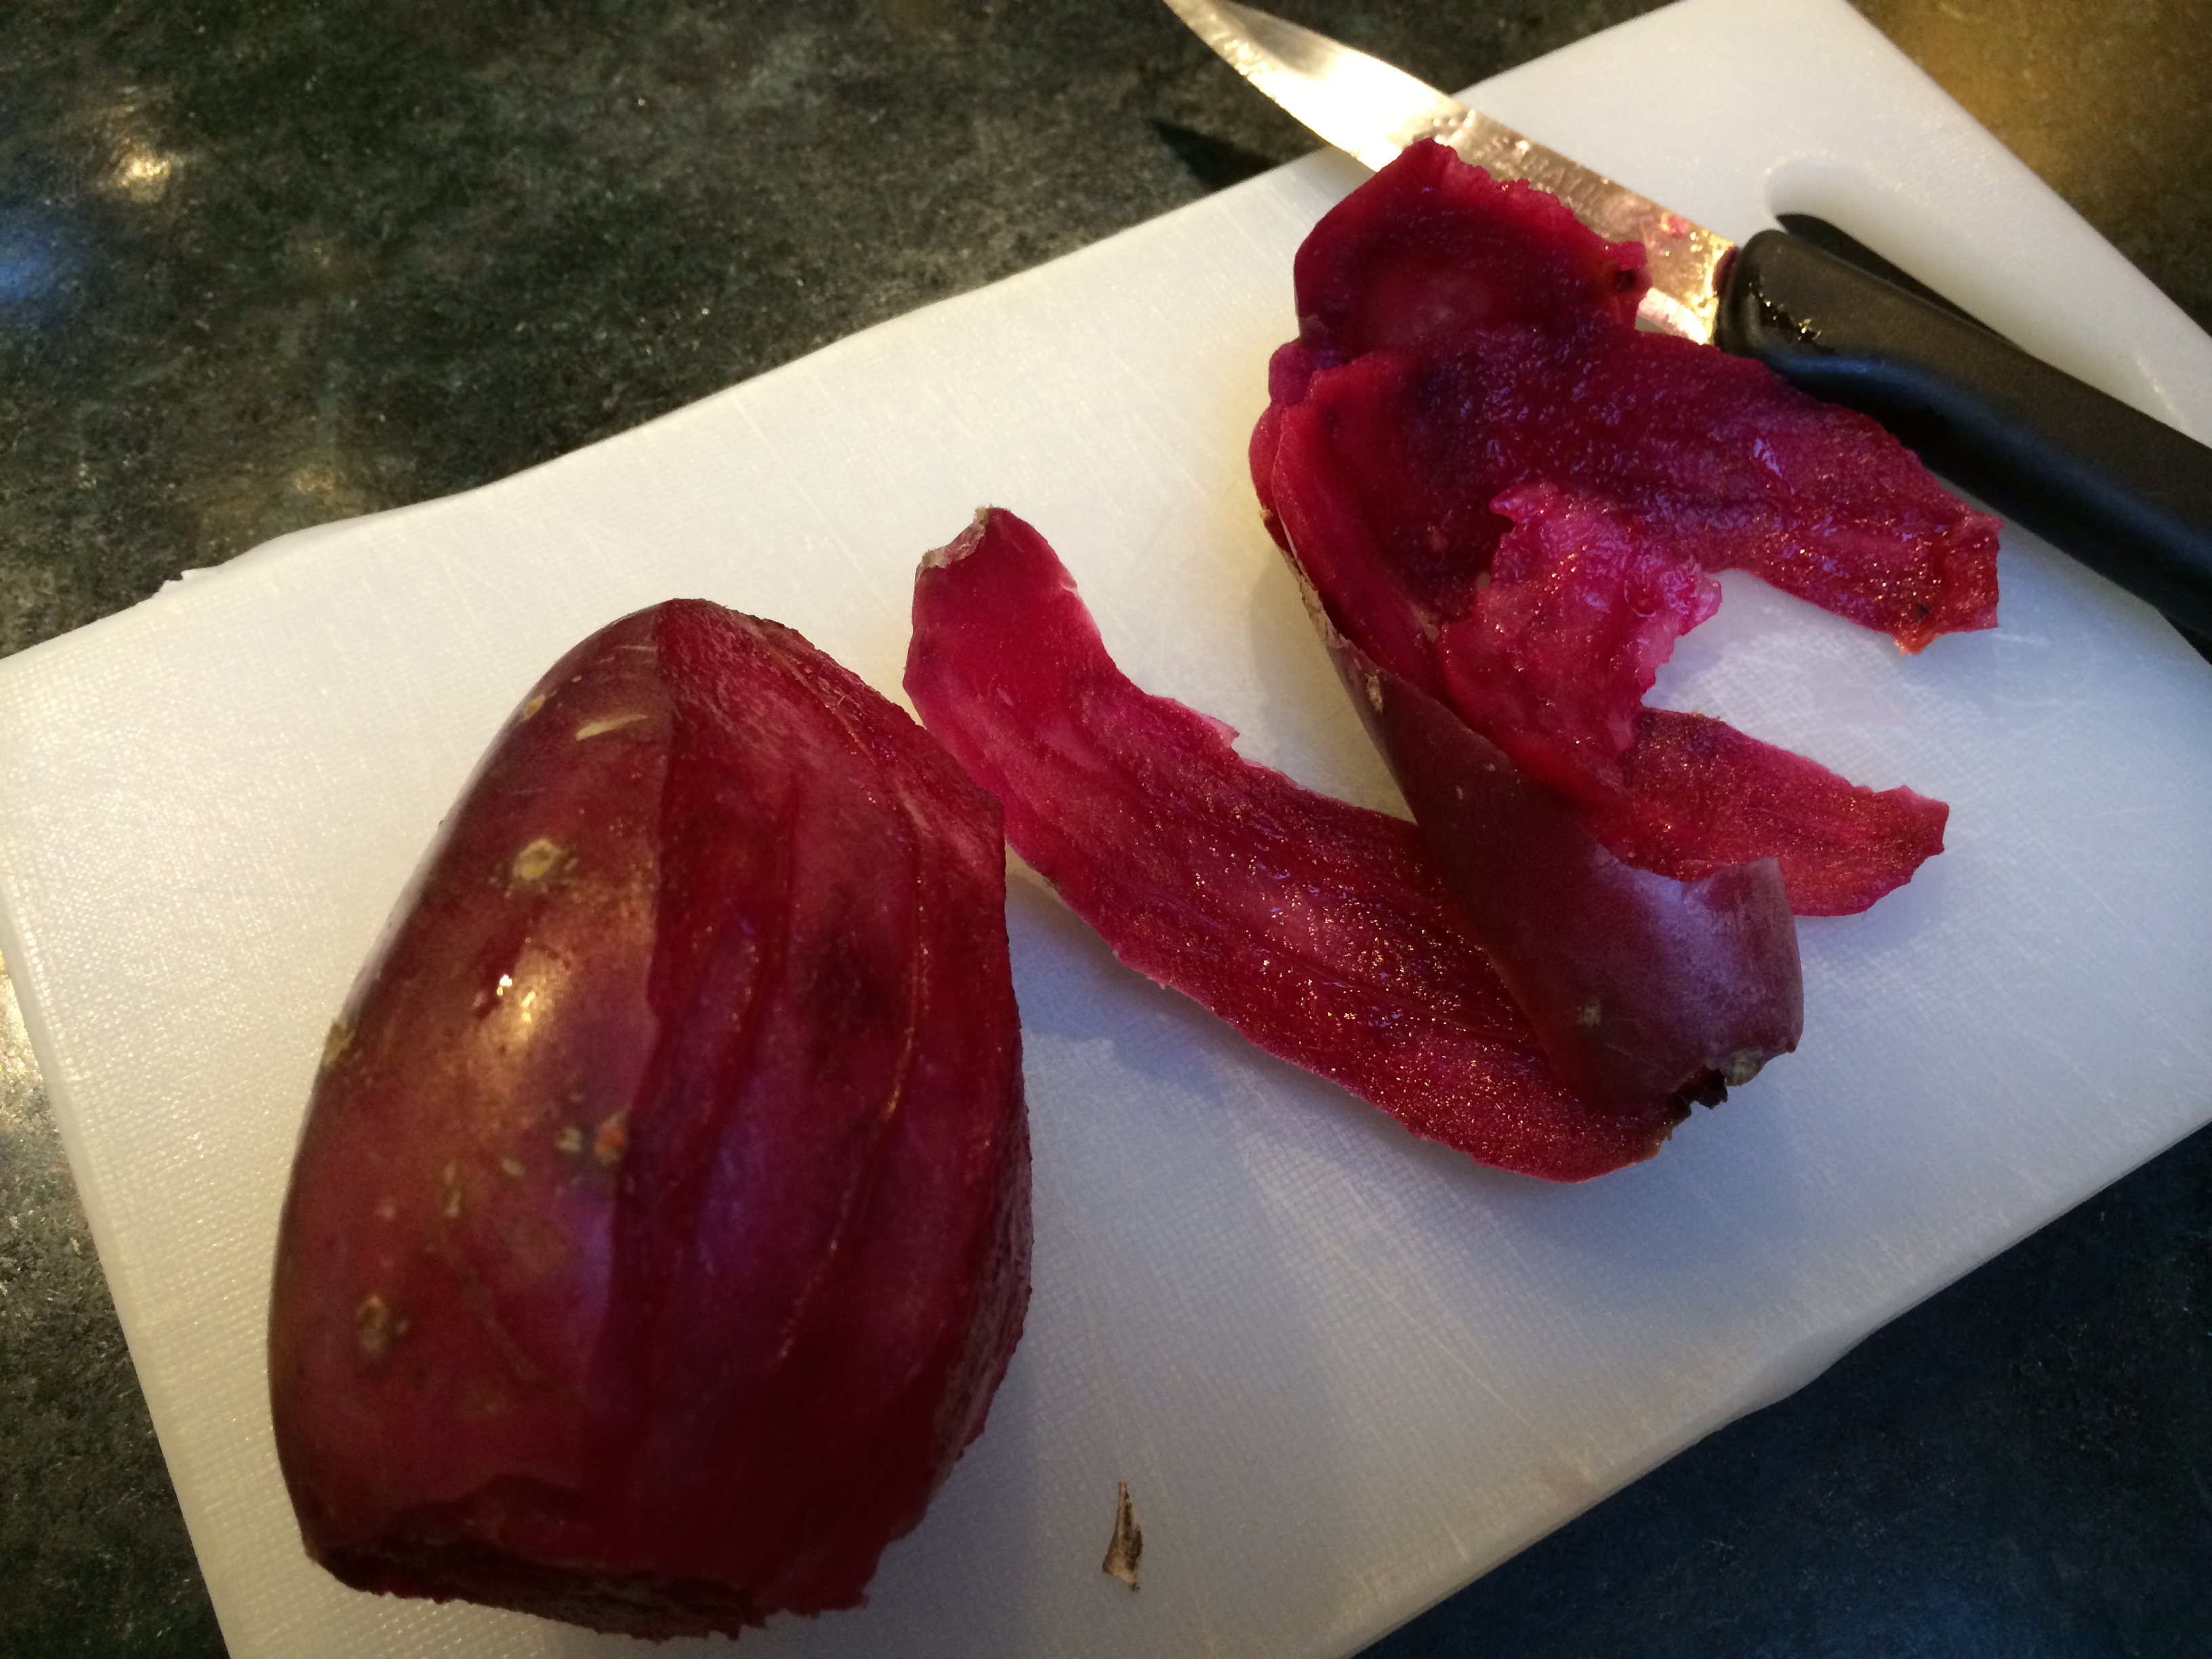
- 1/2 butternut squash, peeled and cubed
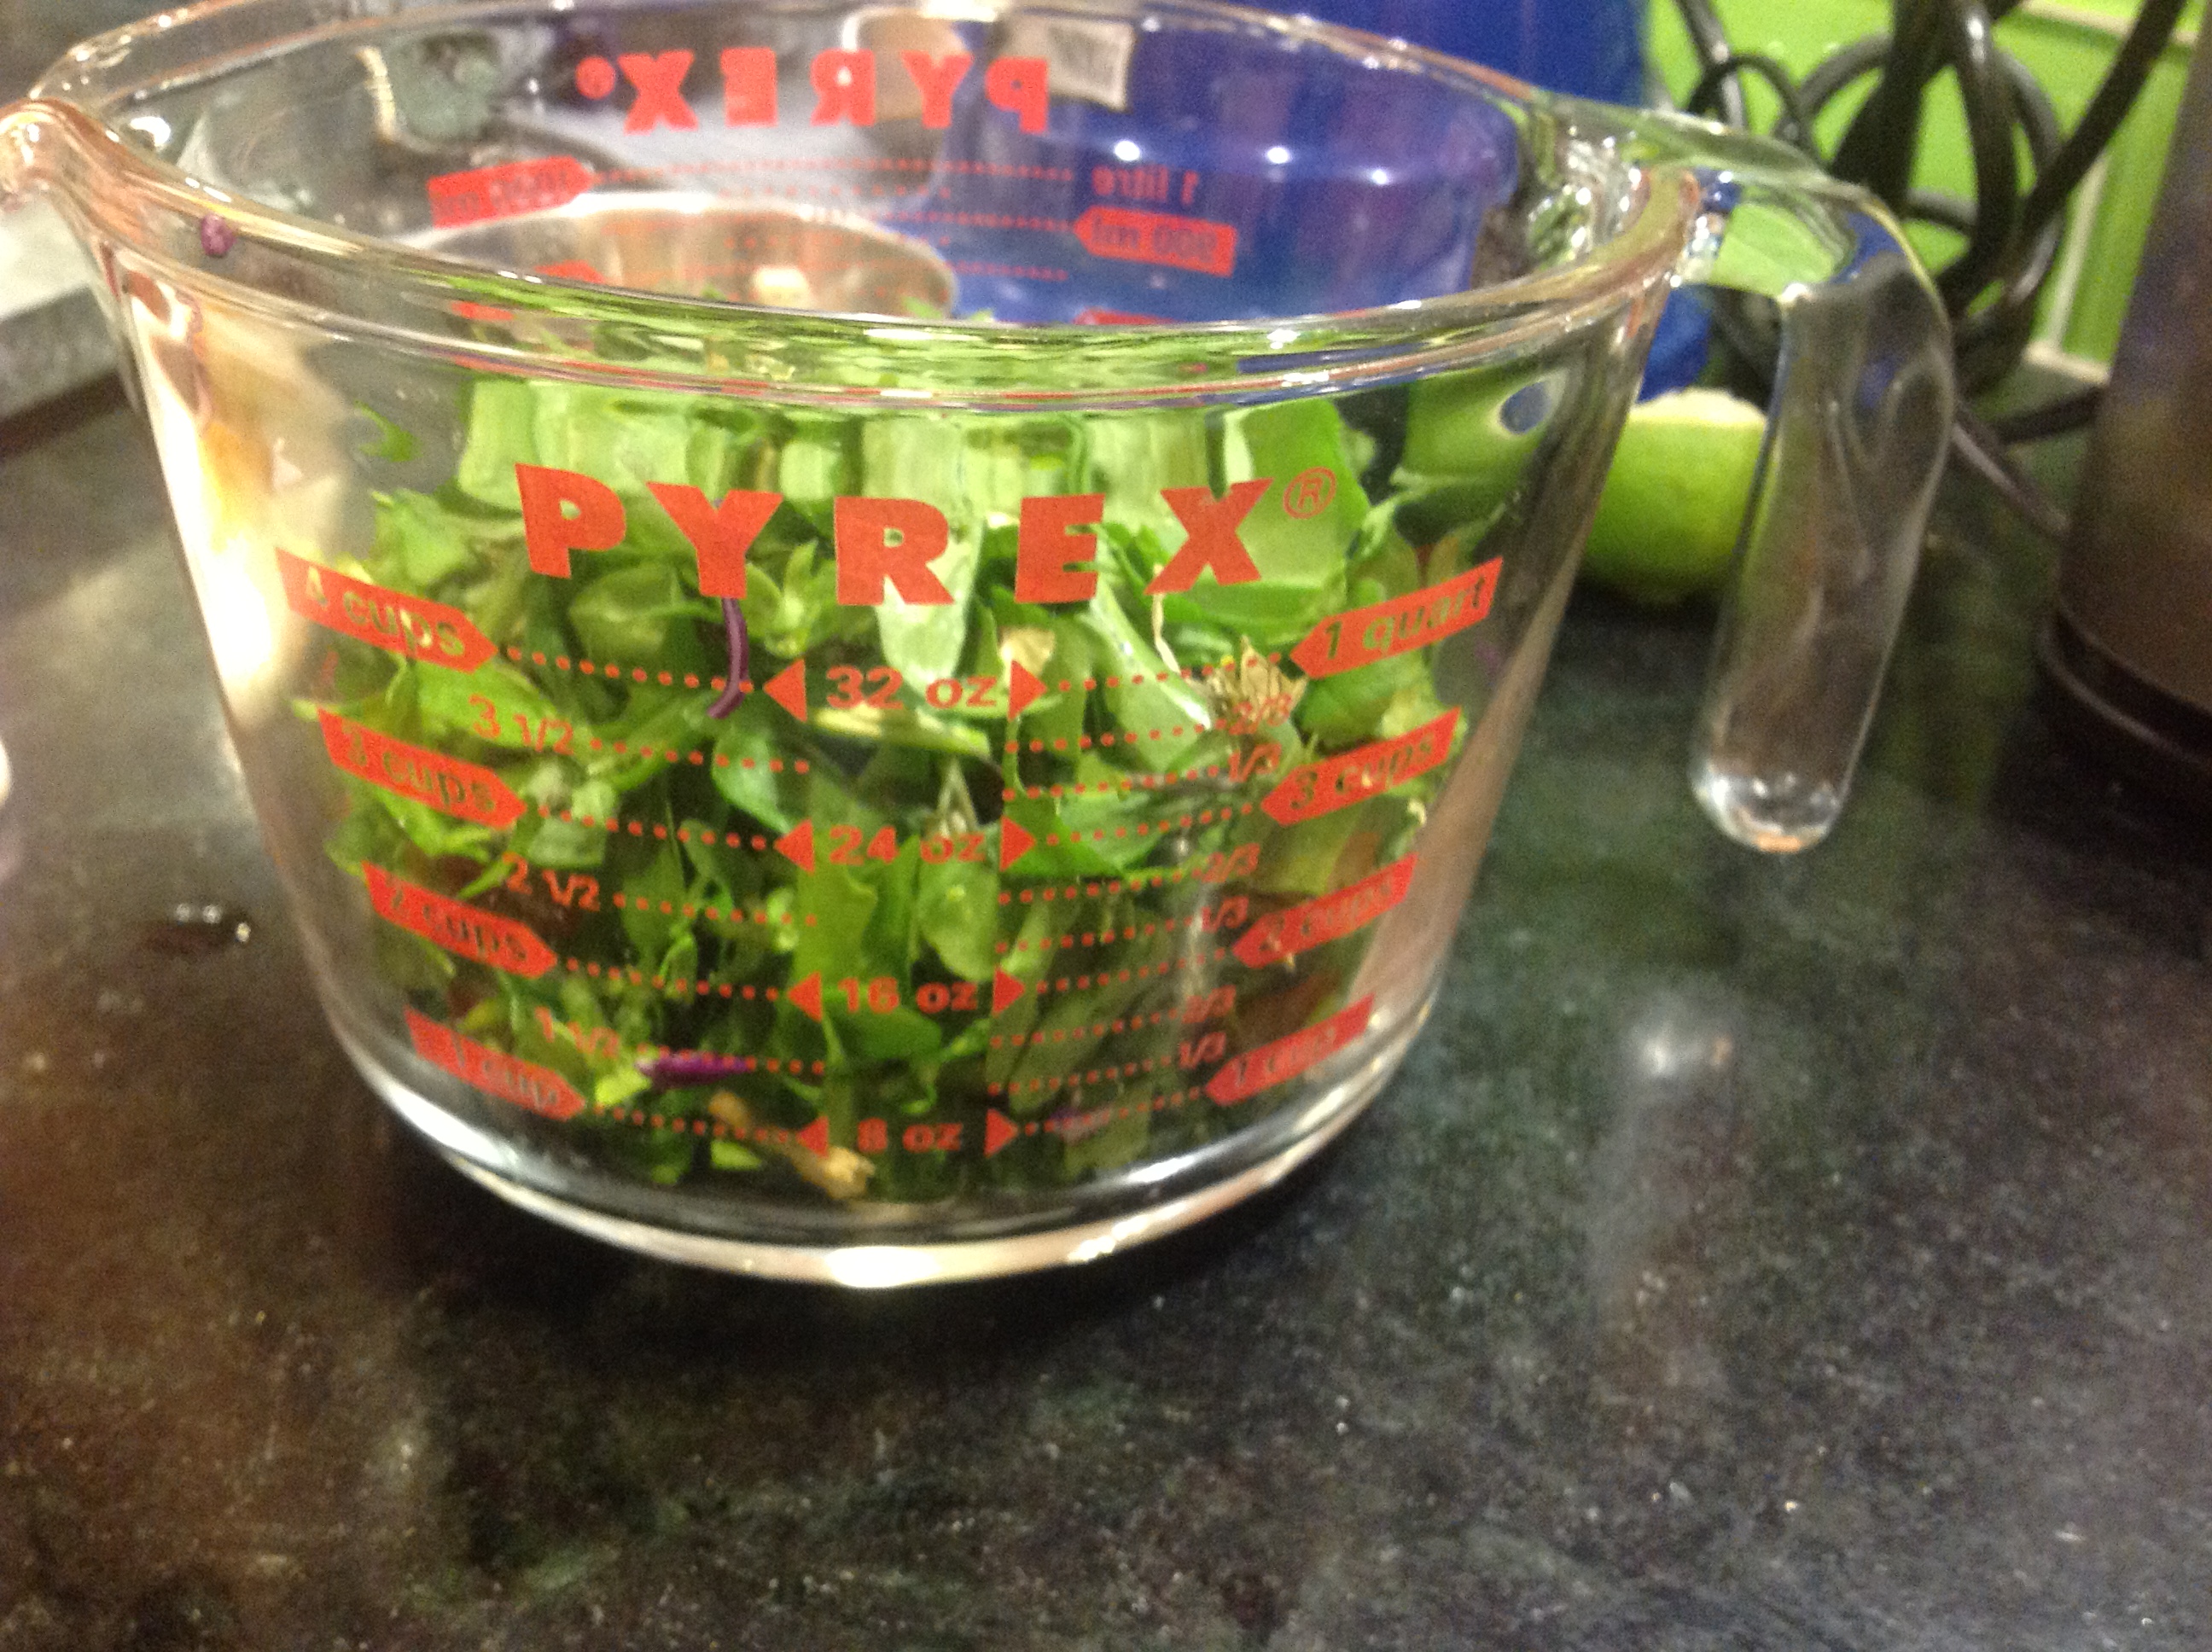
- 4 cups spinach
- 1/2 onion, diced small
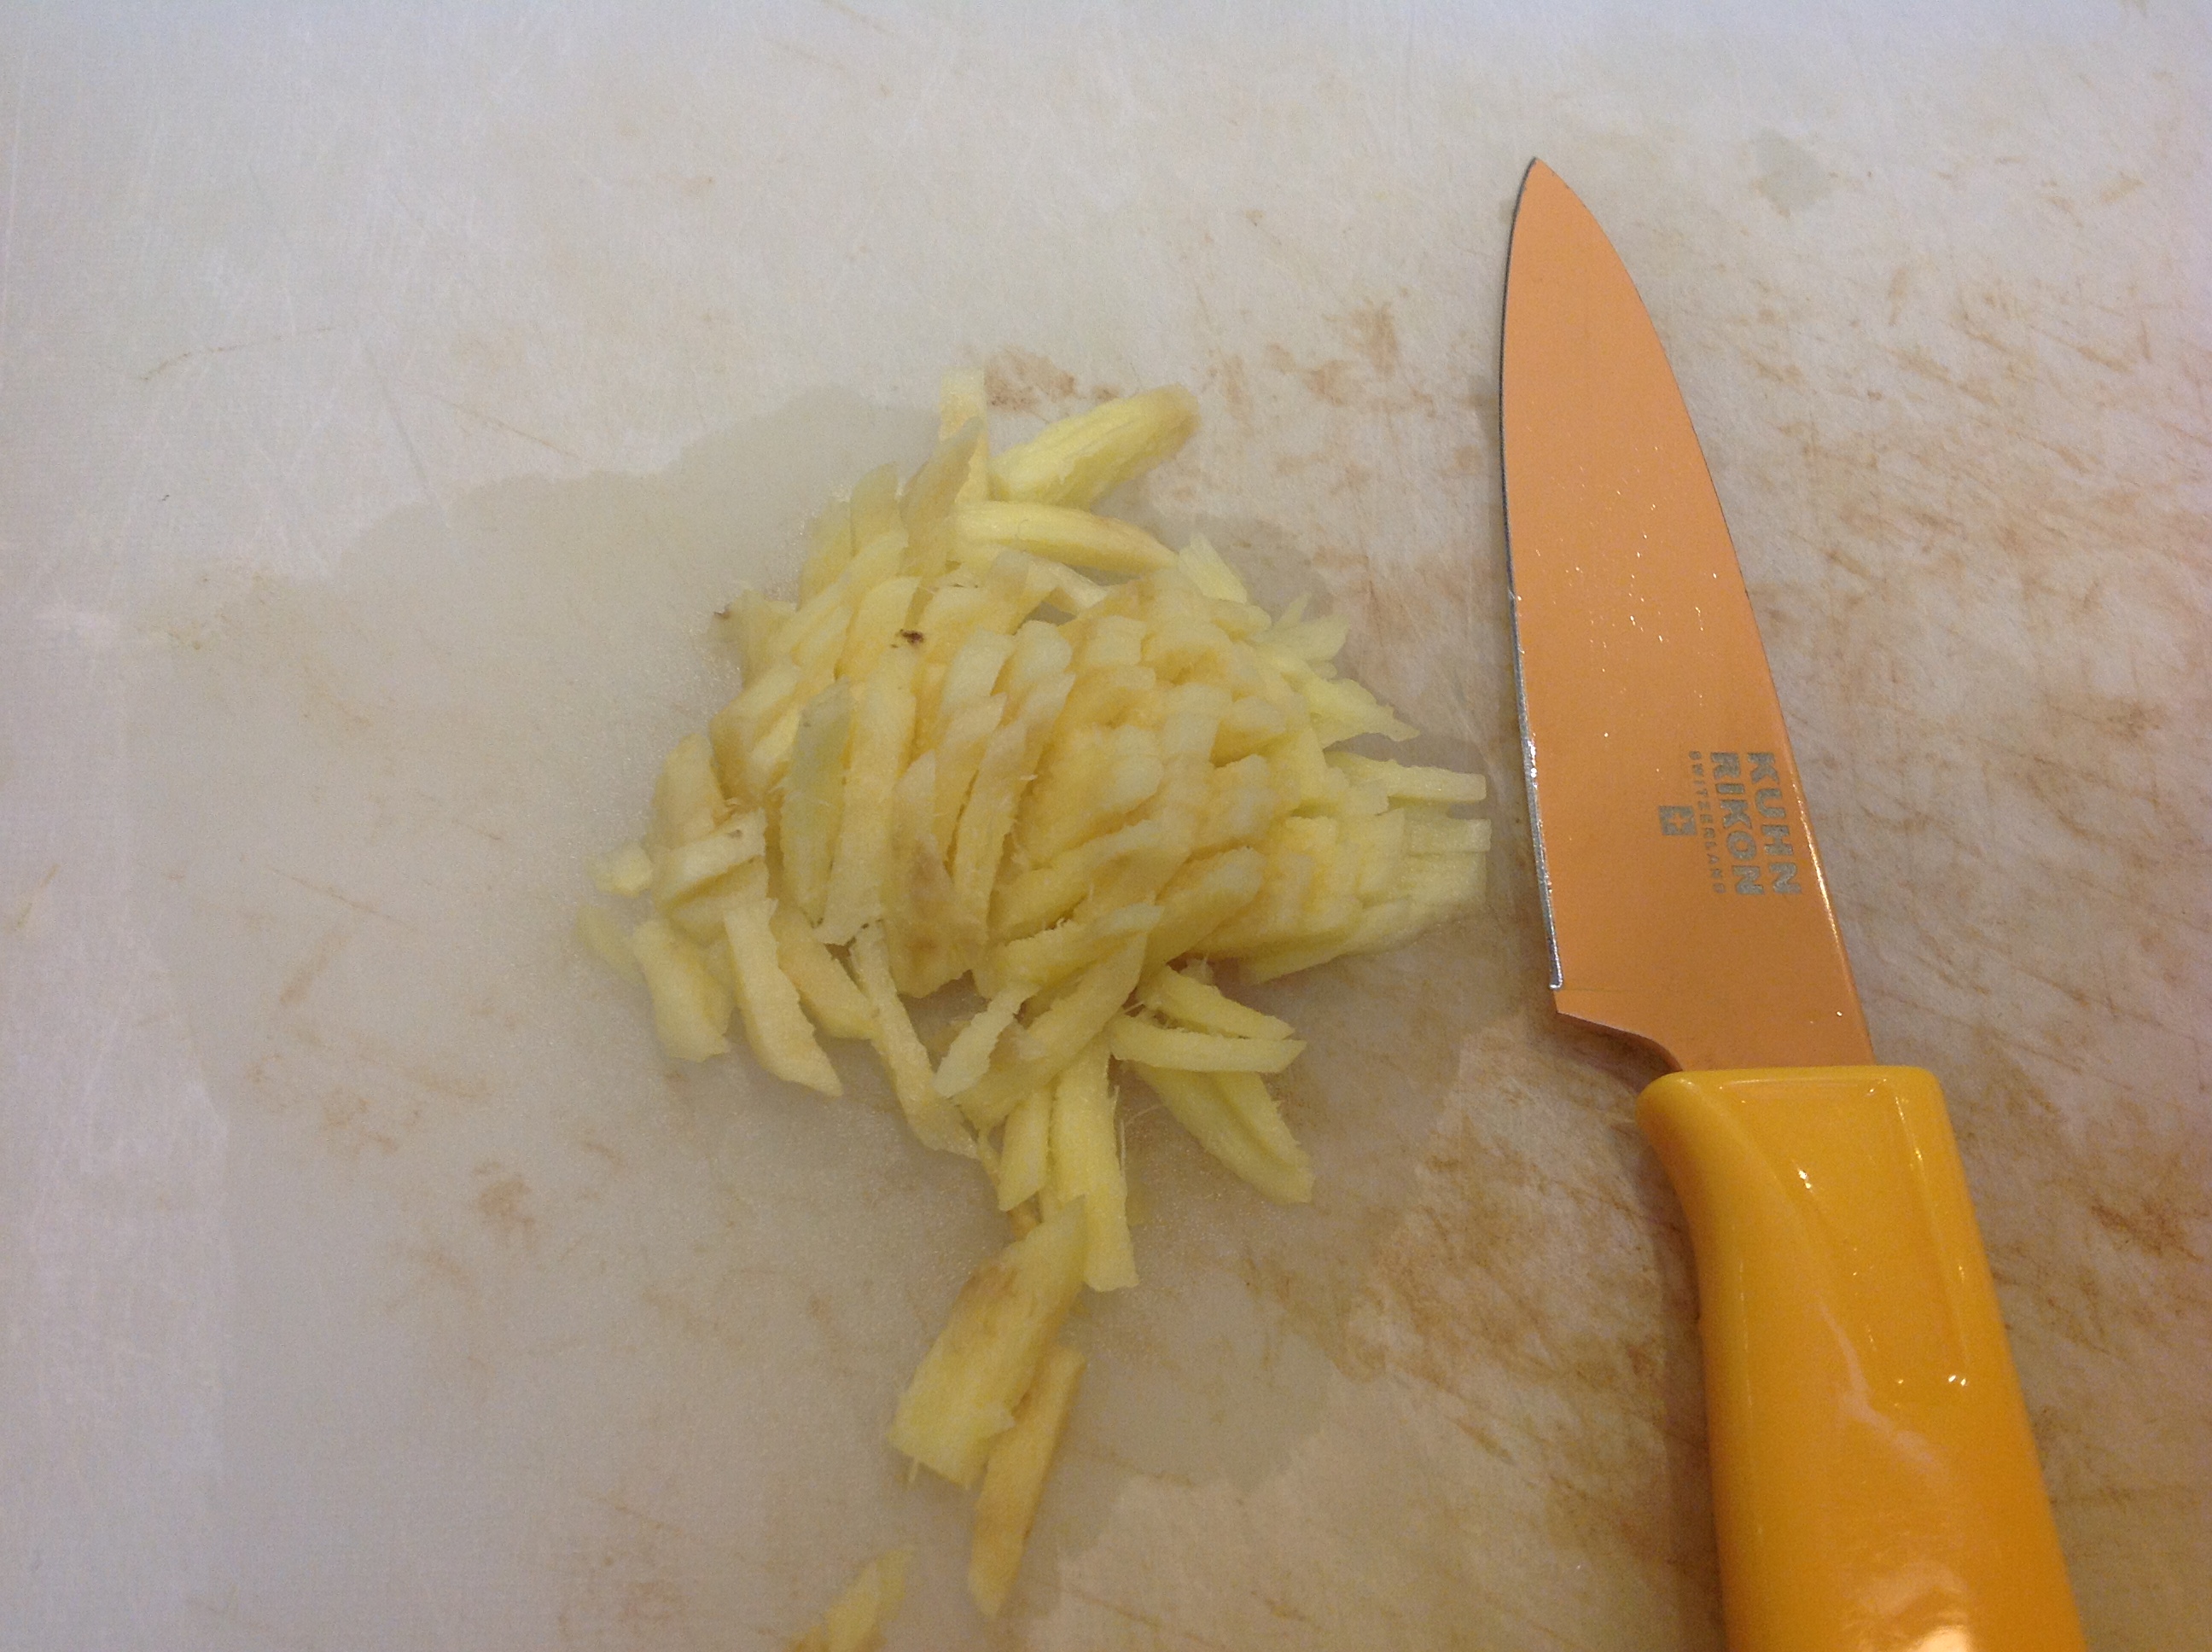
- 3 cloves garlic, smashed
- 1/4 cup tomato sauce or 1 tbsp tomato paste (optional)
- 1/4 cup pinenuts
- 1/3 cup cranberries
- 1 bay leaf
- 1 teaspoon paprika
- 1.5 teaspoon salt
- 2 tablespoons olive oil
- 2 cups water
Method:
Layer all the ingredients (order not important) in a dutch oven with a tight-fitting lid. Put it in an oven heated to 250ºF for six hours. Take it out, give it a gentle stir, and serve.
(Click here to find me on Facebook and here on Twitter.)


 Soup fond nicely browned and water added

![IMG_0459[1]](https://theoddpantry.com/wp-content/uploads/2013/08/img_04591.jpg)
![IMG_0462[1]](https://theoddpantry.com/wp-content/uploads/2013/08/img_04621.jpg)