Khichdi
Good morning everyone! I have been away from my blog home for a long time, but I have certainly not neglected my kitchen. Meanwhile, global warming has given us the warmest January on record, and our San Francisco February, which ought to be dreary and cold, has instead been sparkling with sunshine.
Still, it is time for some winter cooking, no? Let’s talk about khichdi.
What is khichdi? Simply put, it is comfort food, rice cooked with a dal or two. One of my go-to books on cooking, World Vegetarian by Madhur Jaffrey, describes it as the risotto of India. When I first read this, I had not heard of nor eaten any Italian food other than spaghetti and pizza. So at the time my thought was — aha! so risotto is the khichdi of Italy!
But is it? I suppose, in a vague, cross-cultural kind of way. But really, there are differences.
With risotto, the starchification of the rice is so much fetishized that it impacts many choices. The choice of the grain — Italians use a plump starchy variety, that will nevertheless hold on to a firm core. Khichdi on the other hand, can be made with the ‘normal’ medium or long grained rice that you use for other cooking. The cooking technique — risotto is stirred and stirred with nominal additions of water until the starch is drawn out the the rice. The result is something like the Asian congee, or a porridge, but with more definition. While khichdi — starchy though it may be, the effect is produced just by the addition of more or less water.
More importantly, the additions. Risotto can have vegetables, but also seafood and sausages and other meats. While khichdi must, must, must…simply must! have dals cooked along with the rice. Otherwise it is not a khichdi. Since dals take longer to cook than rice, you are already looking at a somewhat gloopier texture, rather than the ideal of each grain of rice being separate. Vegetables are optional. Meats are never used. Carnivores, look away, khichdi is not for you. Though there is the bastardized British version called kedgeree, where, I hear, fish such as kippers are often added.
The accompaniments. With risotto, it seems, one can never have too much parmesan or cheese of one sort or another. For khichdi however, plain yogurt is utterly appropriate. And ghee is the cooking medium of choice.
Split green mung khichdi
There are probably as many versions of khichdi as there are families in India. In my family, this khichdi was eaten every Monday night, along with this dish. It uses a handful of split green mung cooked along with the rice. The texture is meant to be a little wetter and more gloppy than plain white rice, but don’t go all the way to porridgy.
Now just cooking the rice and dal along with some ghee and salt will give you a good dish. But here I have fancied it up a tiny bit with cashews and fried onions.

Rice and split mung measure

Whole black pepper and cumin
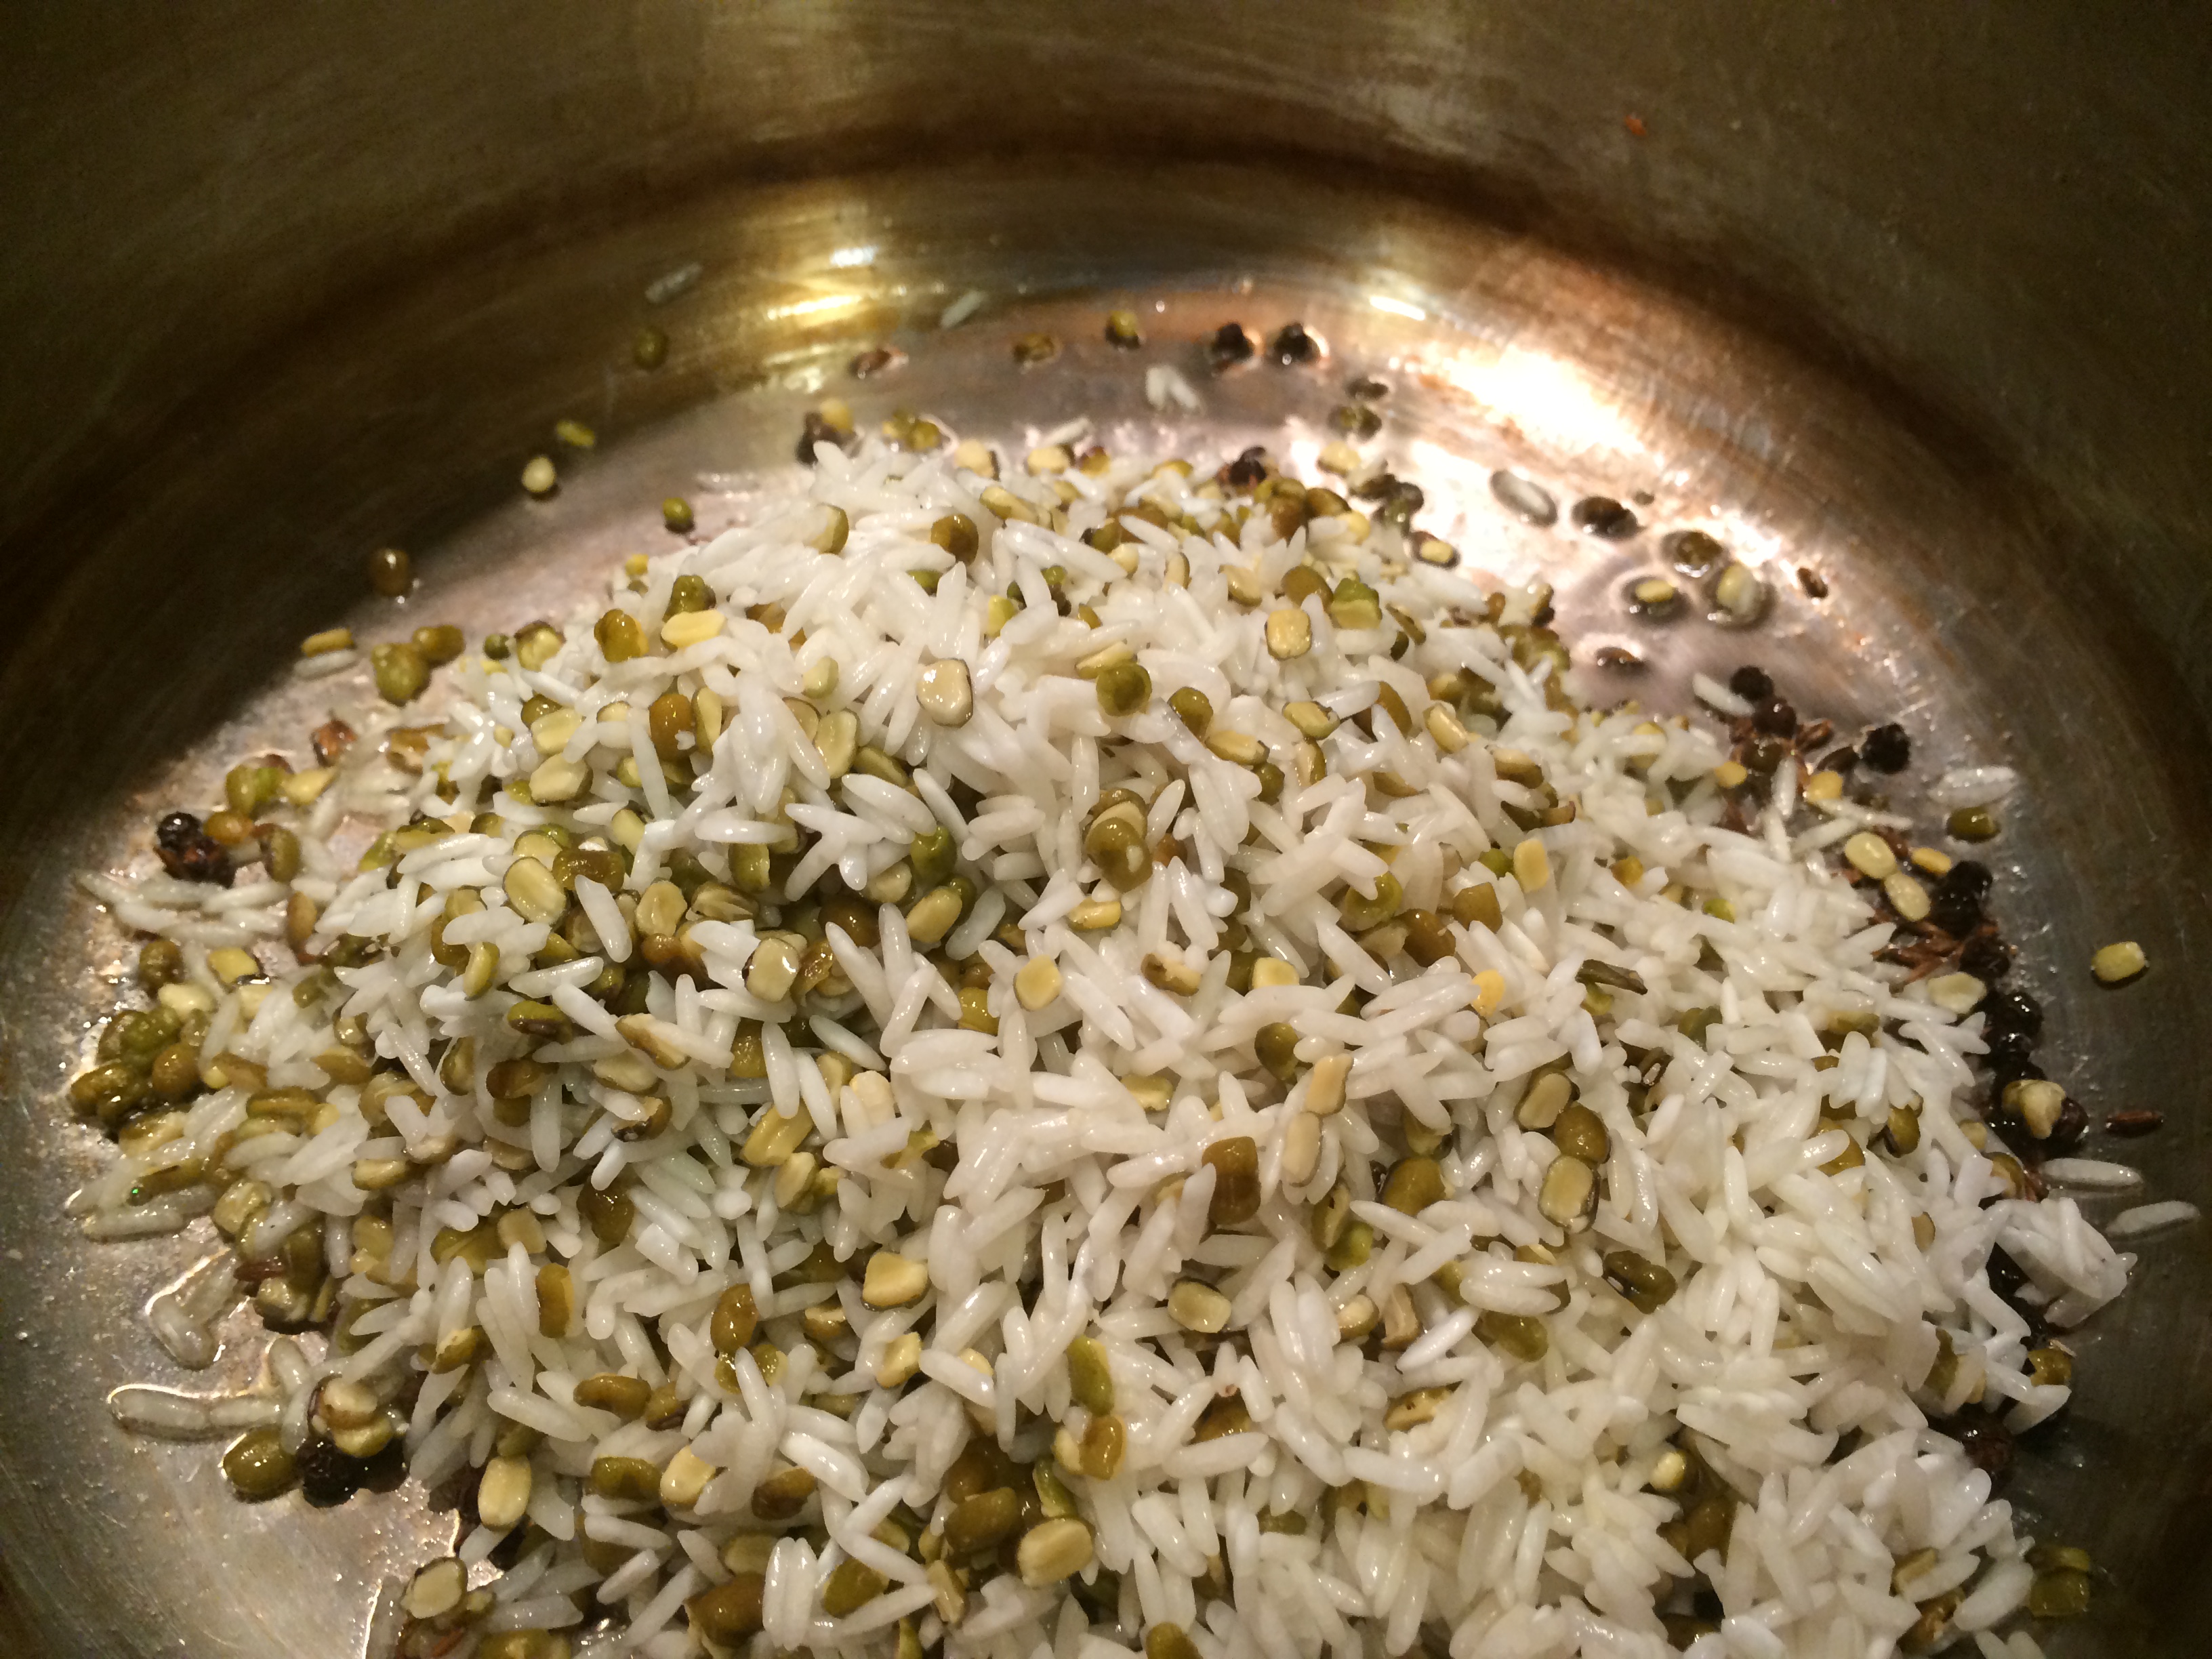
Washed and rinsed

Black pepper floating to the top

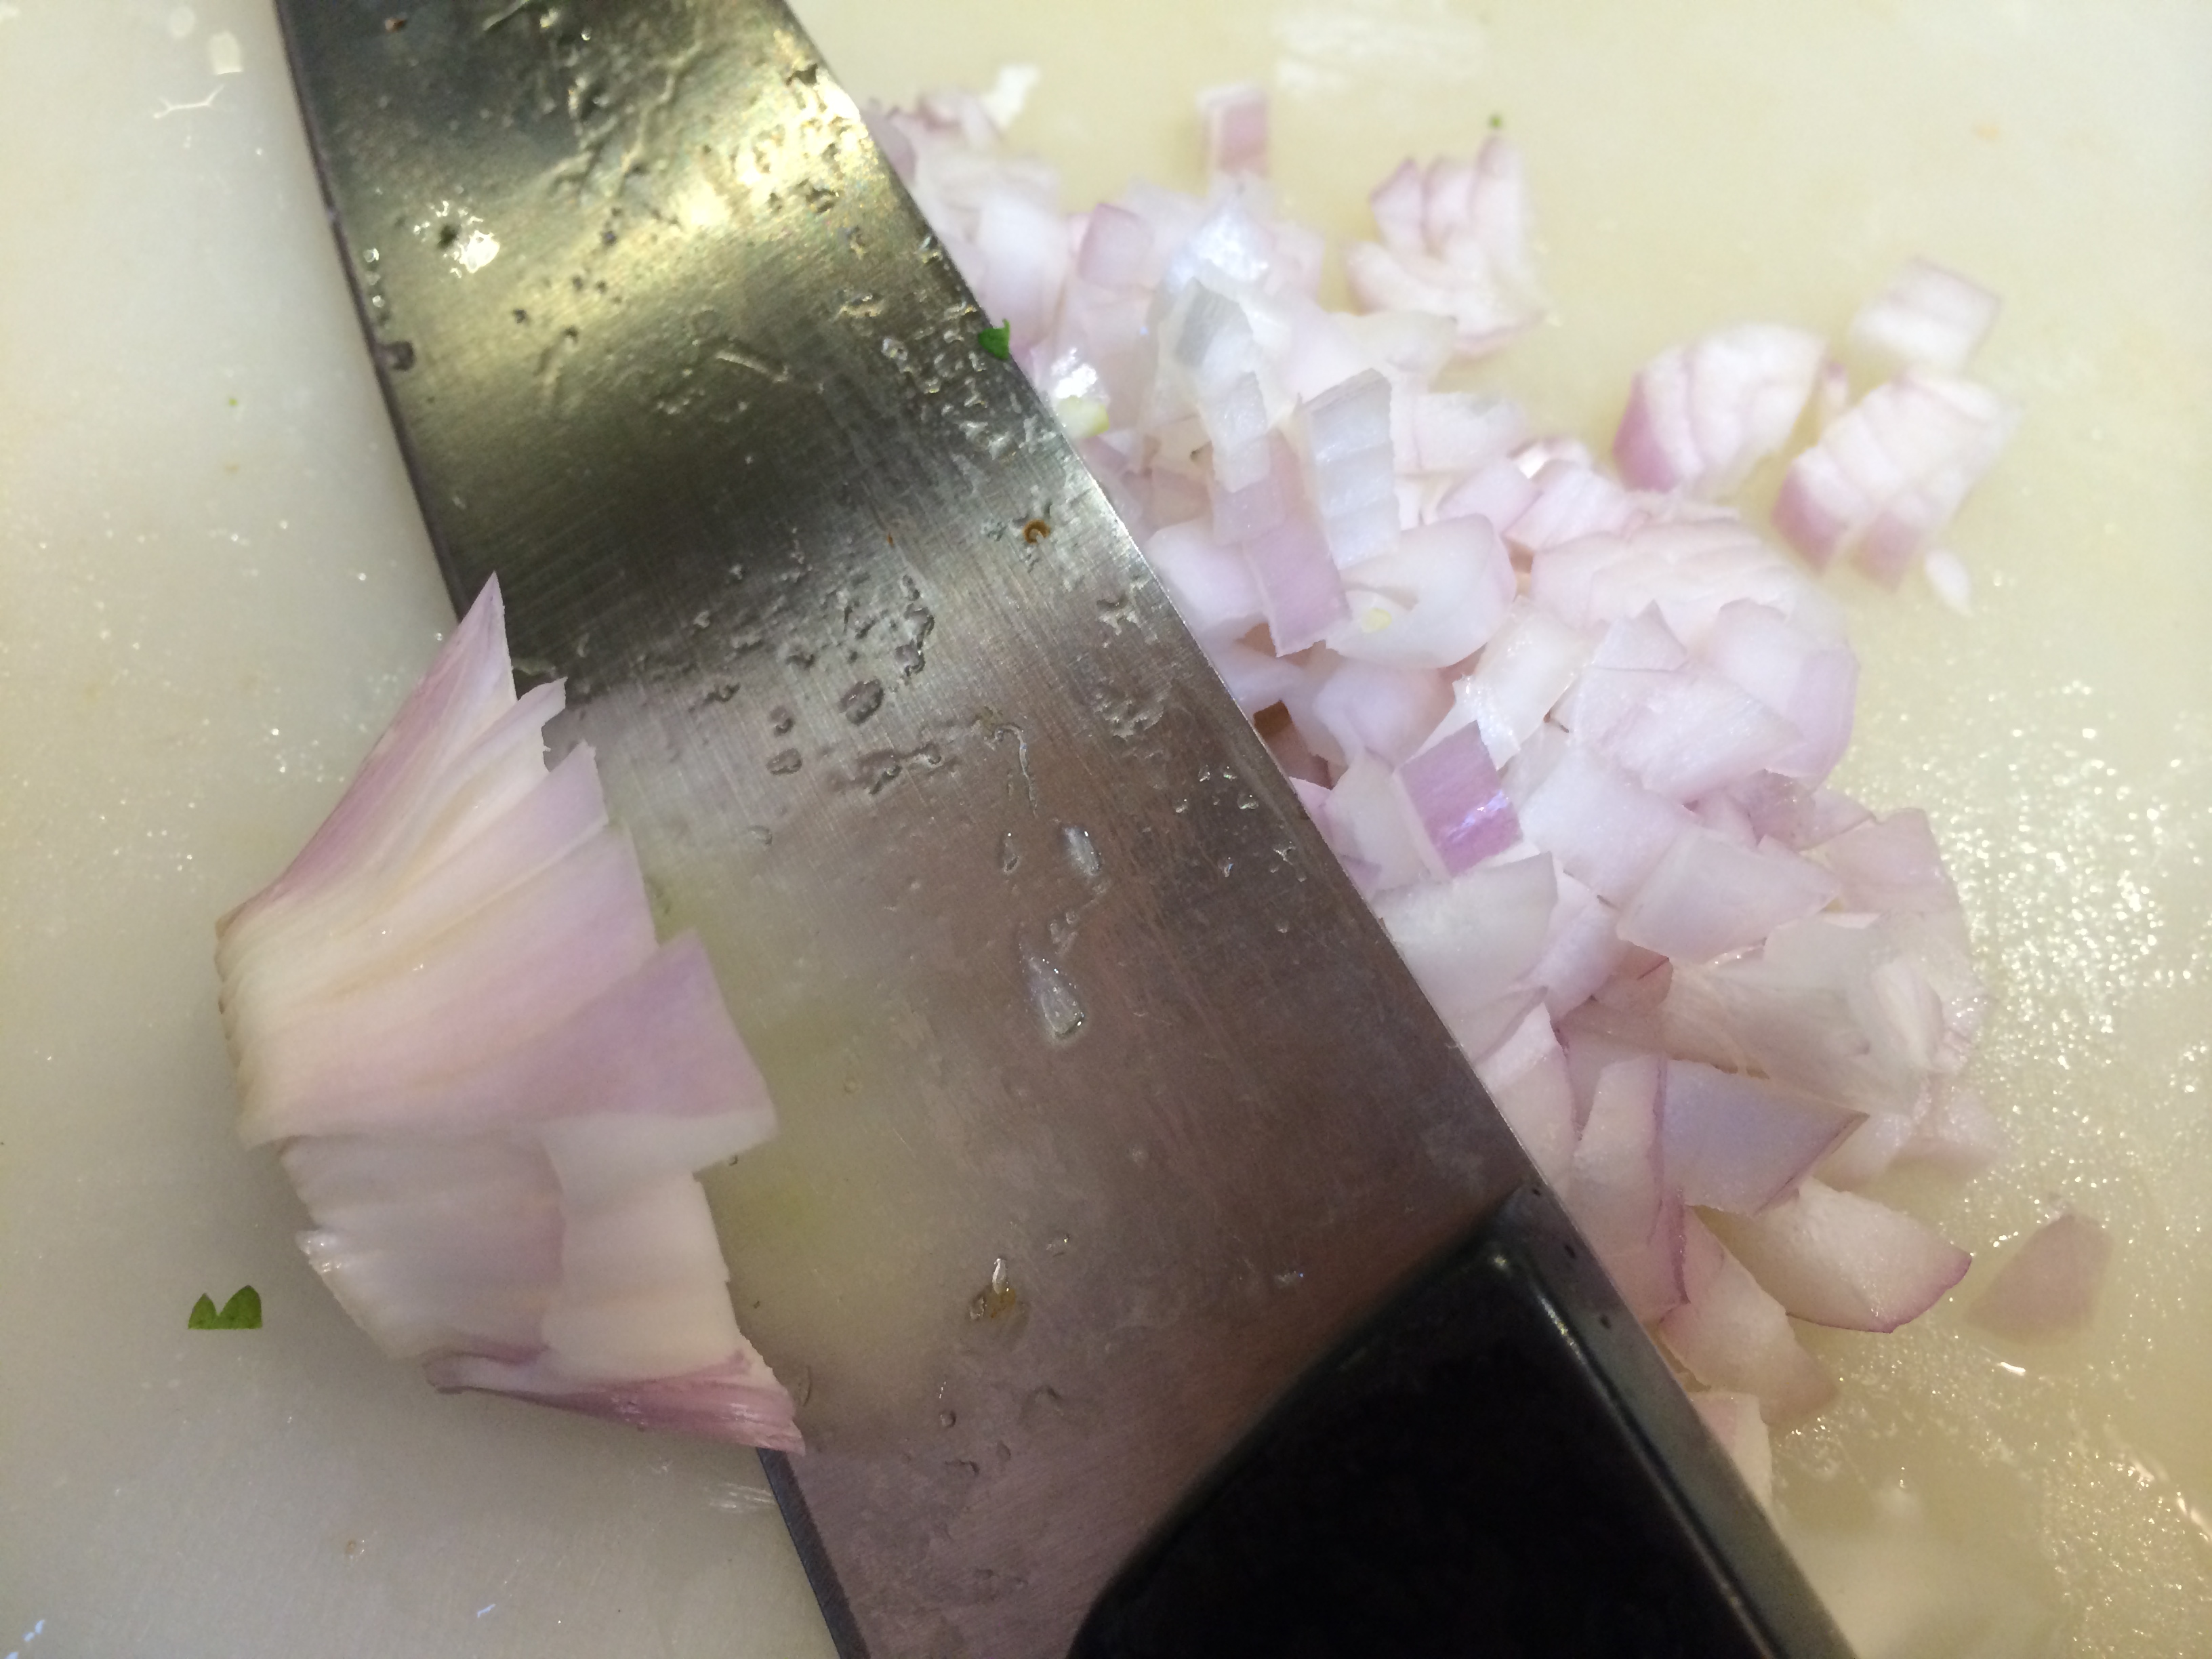
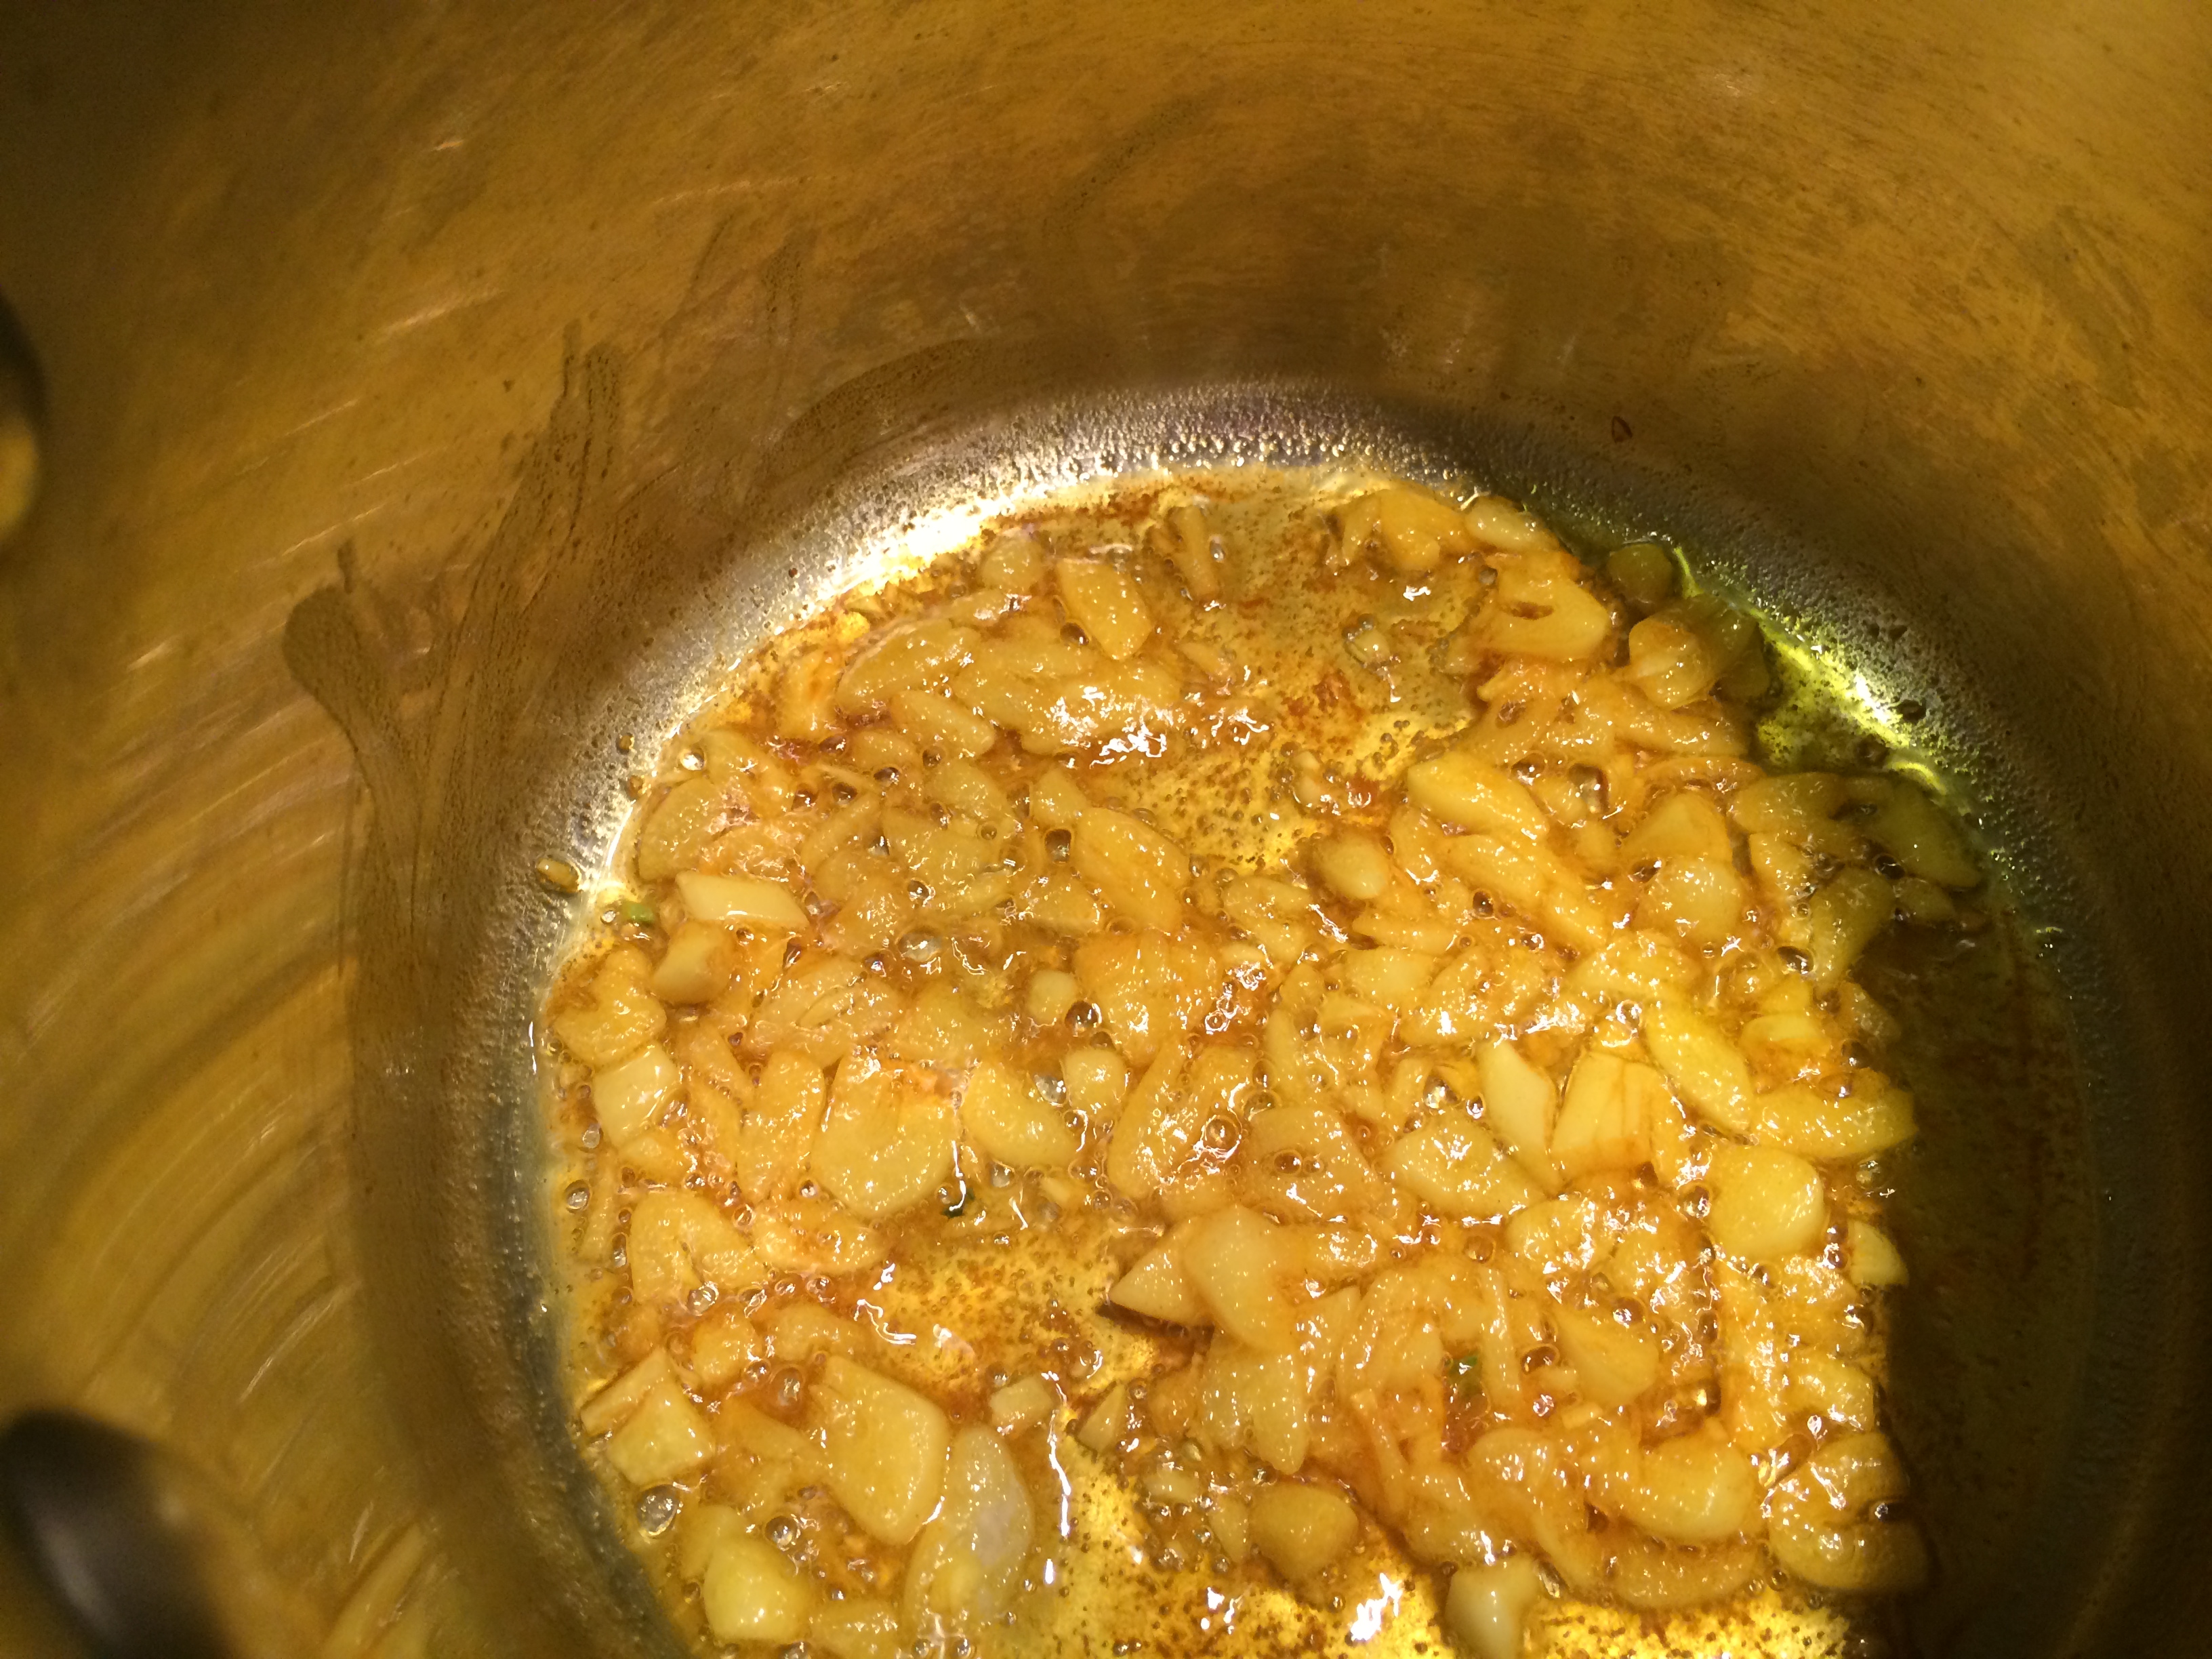
Frying onions and cashews
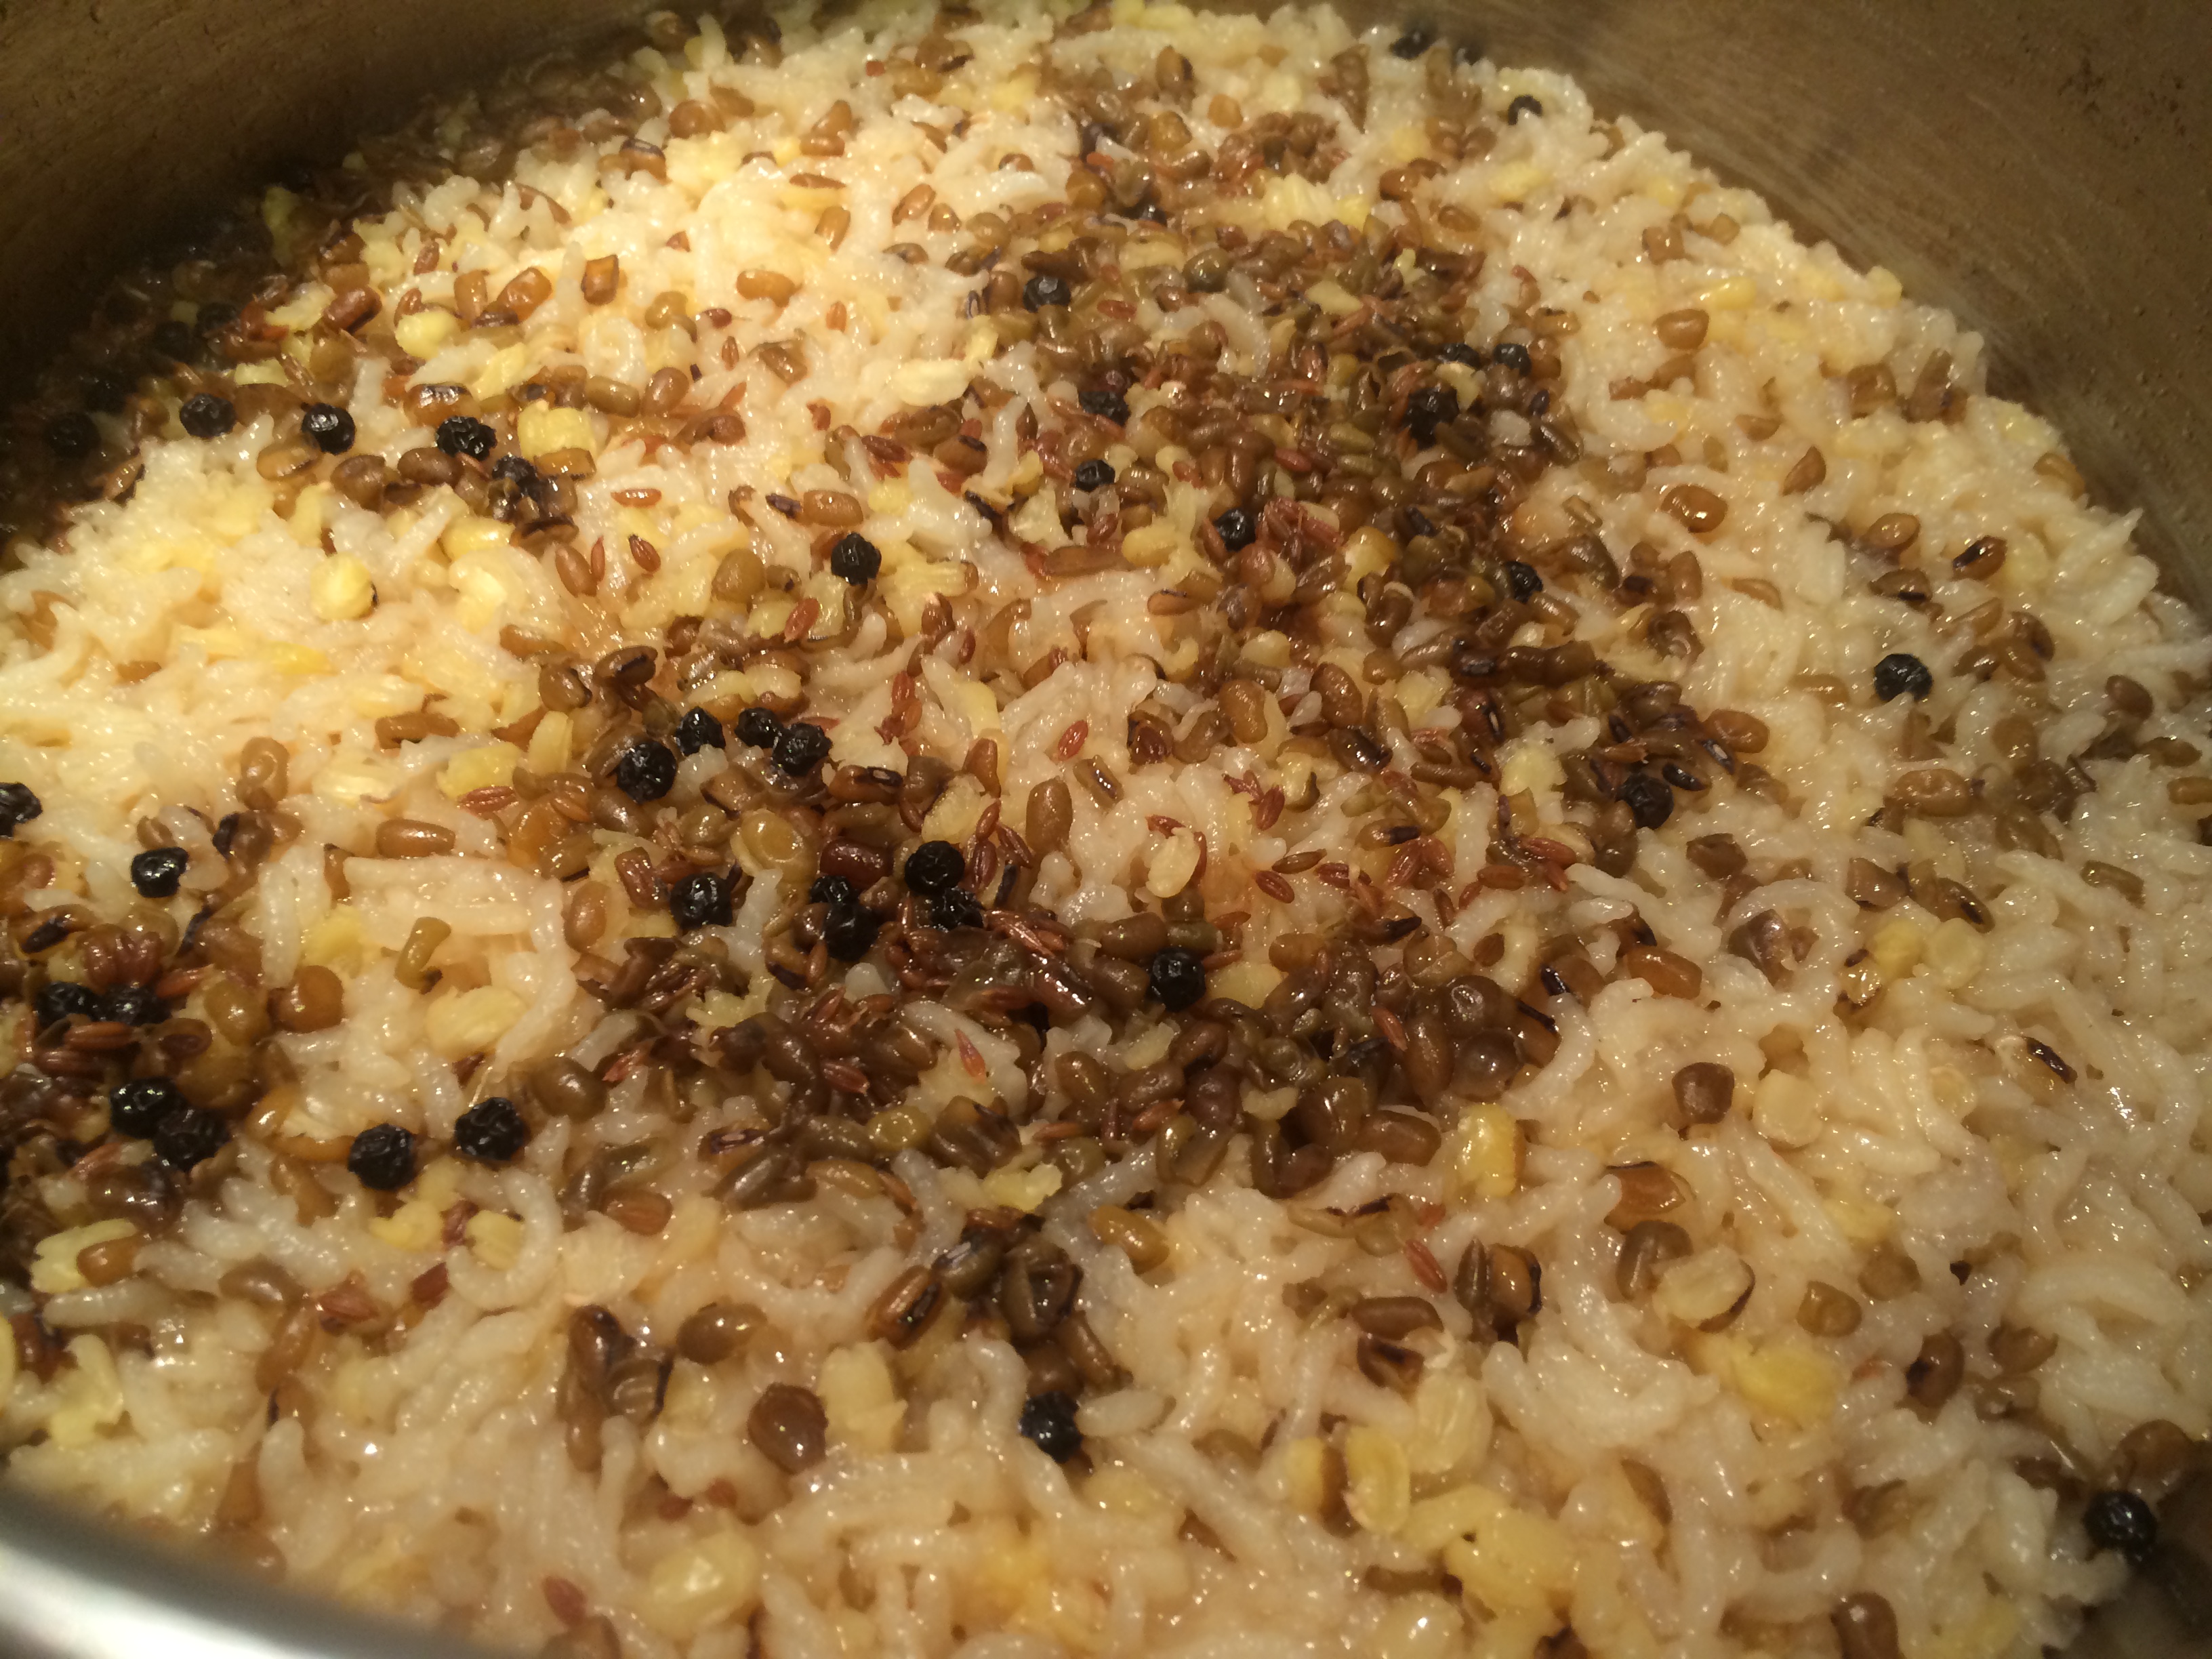
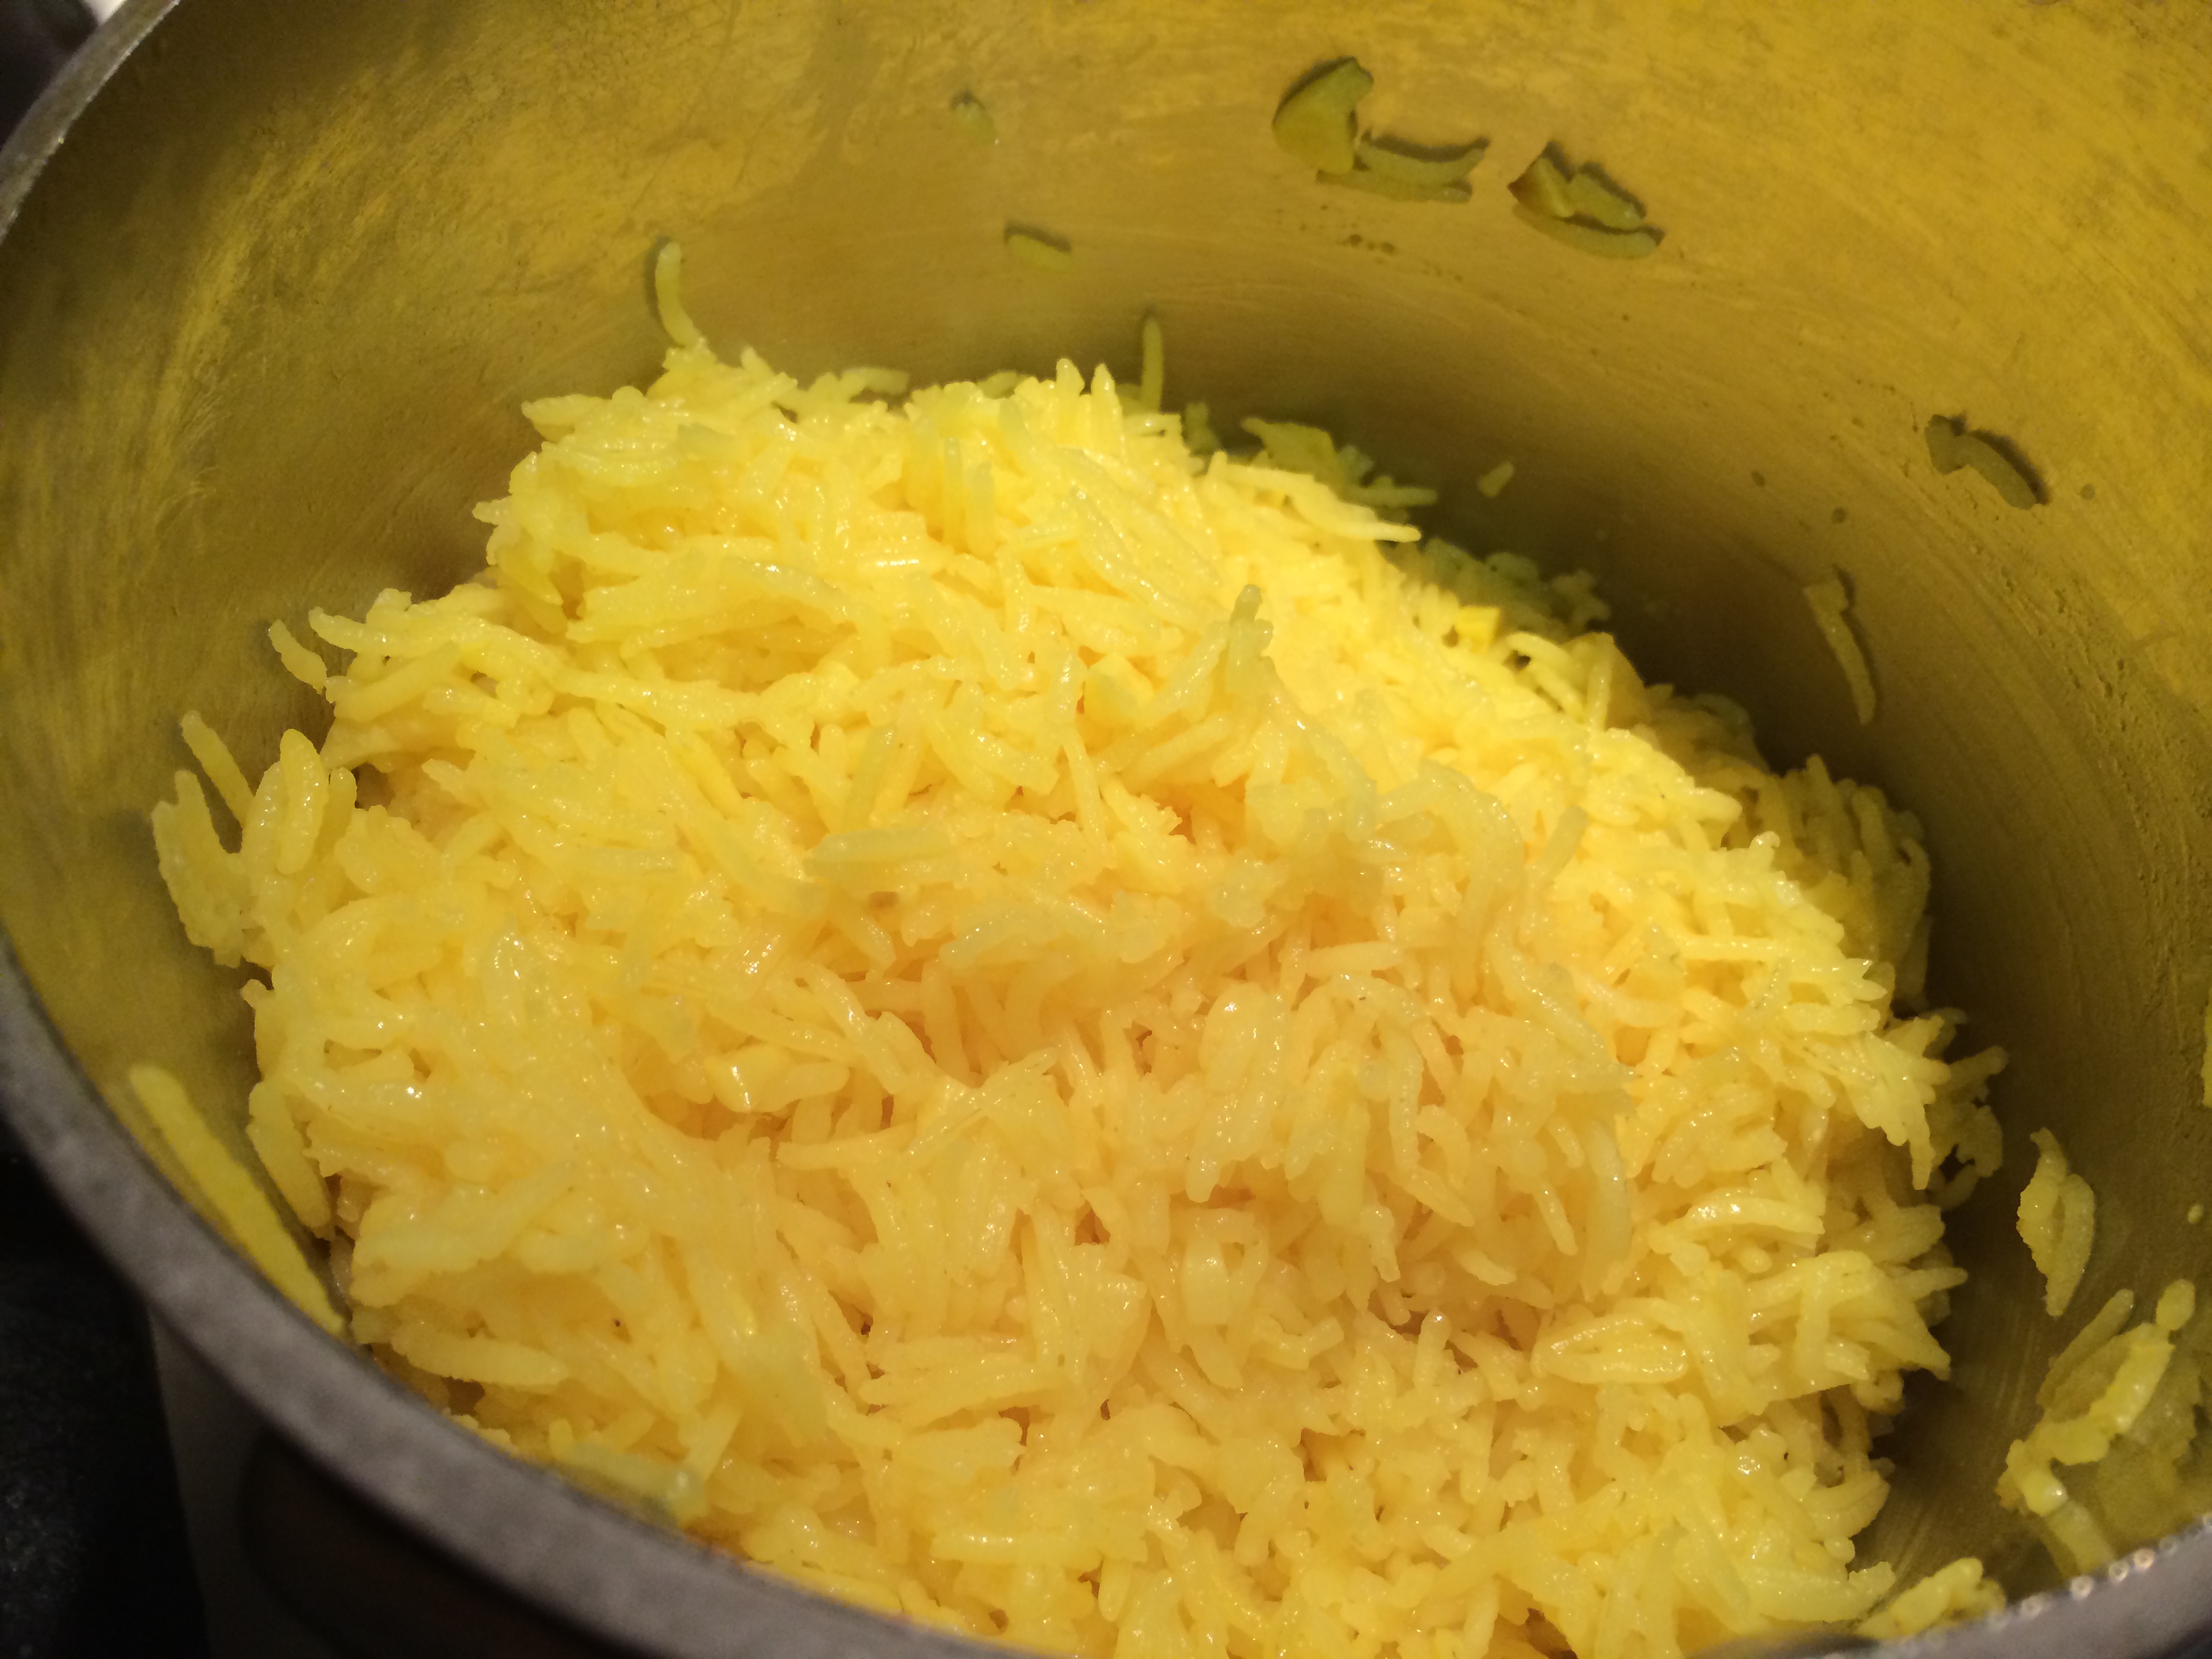
Cooked

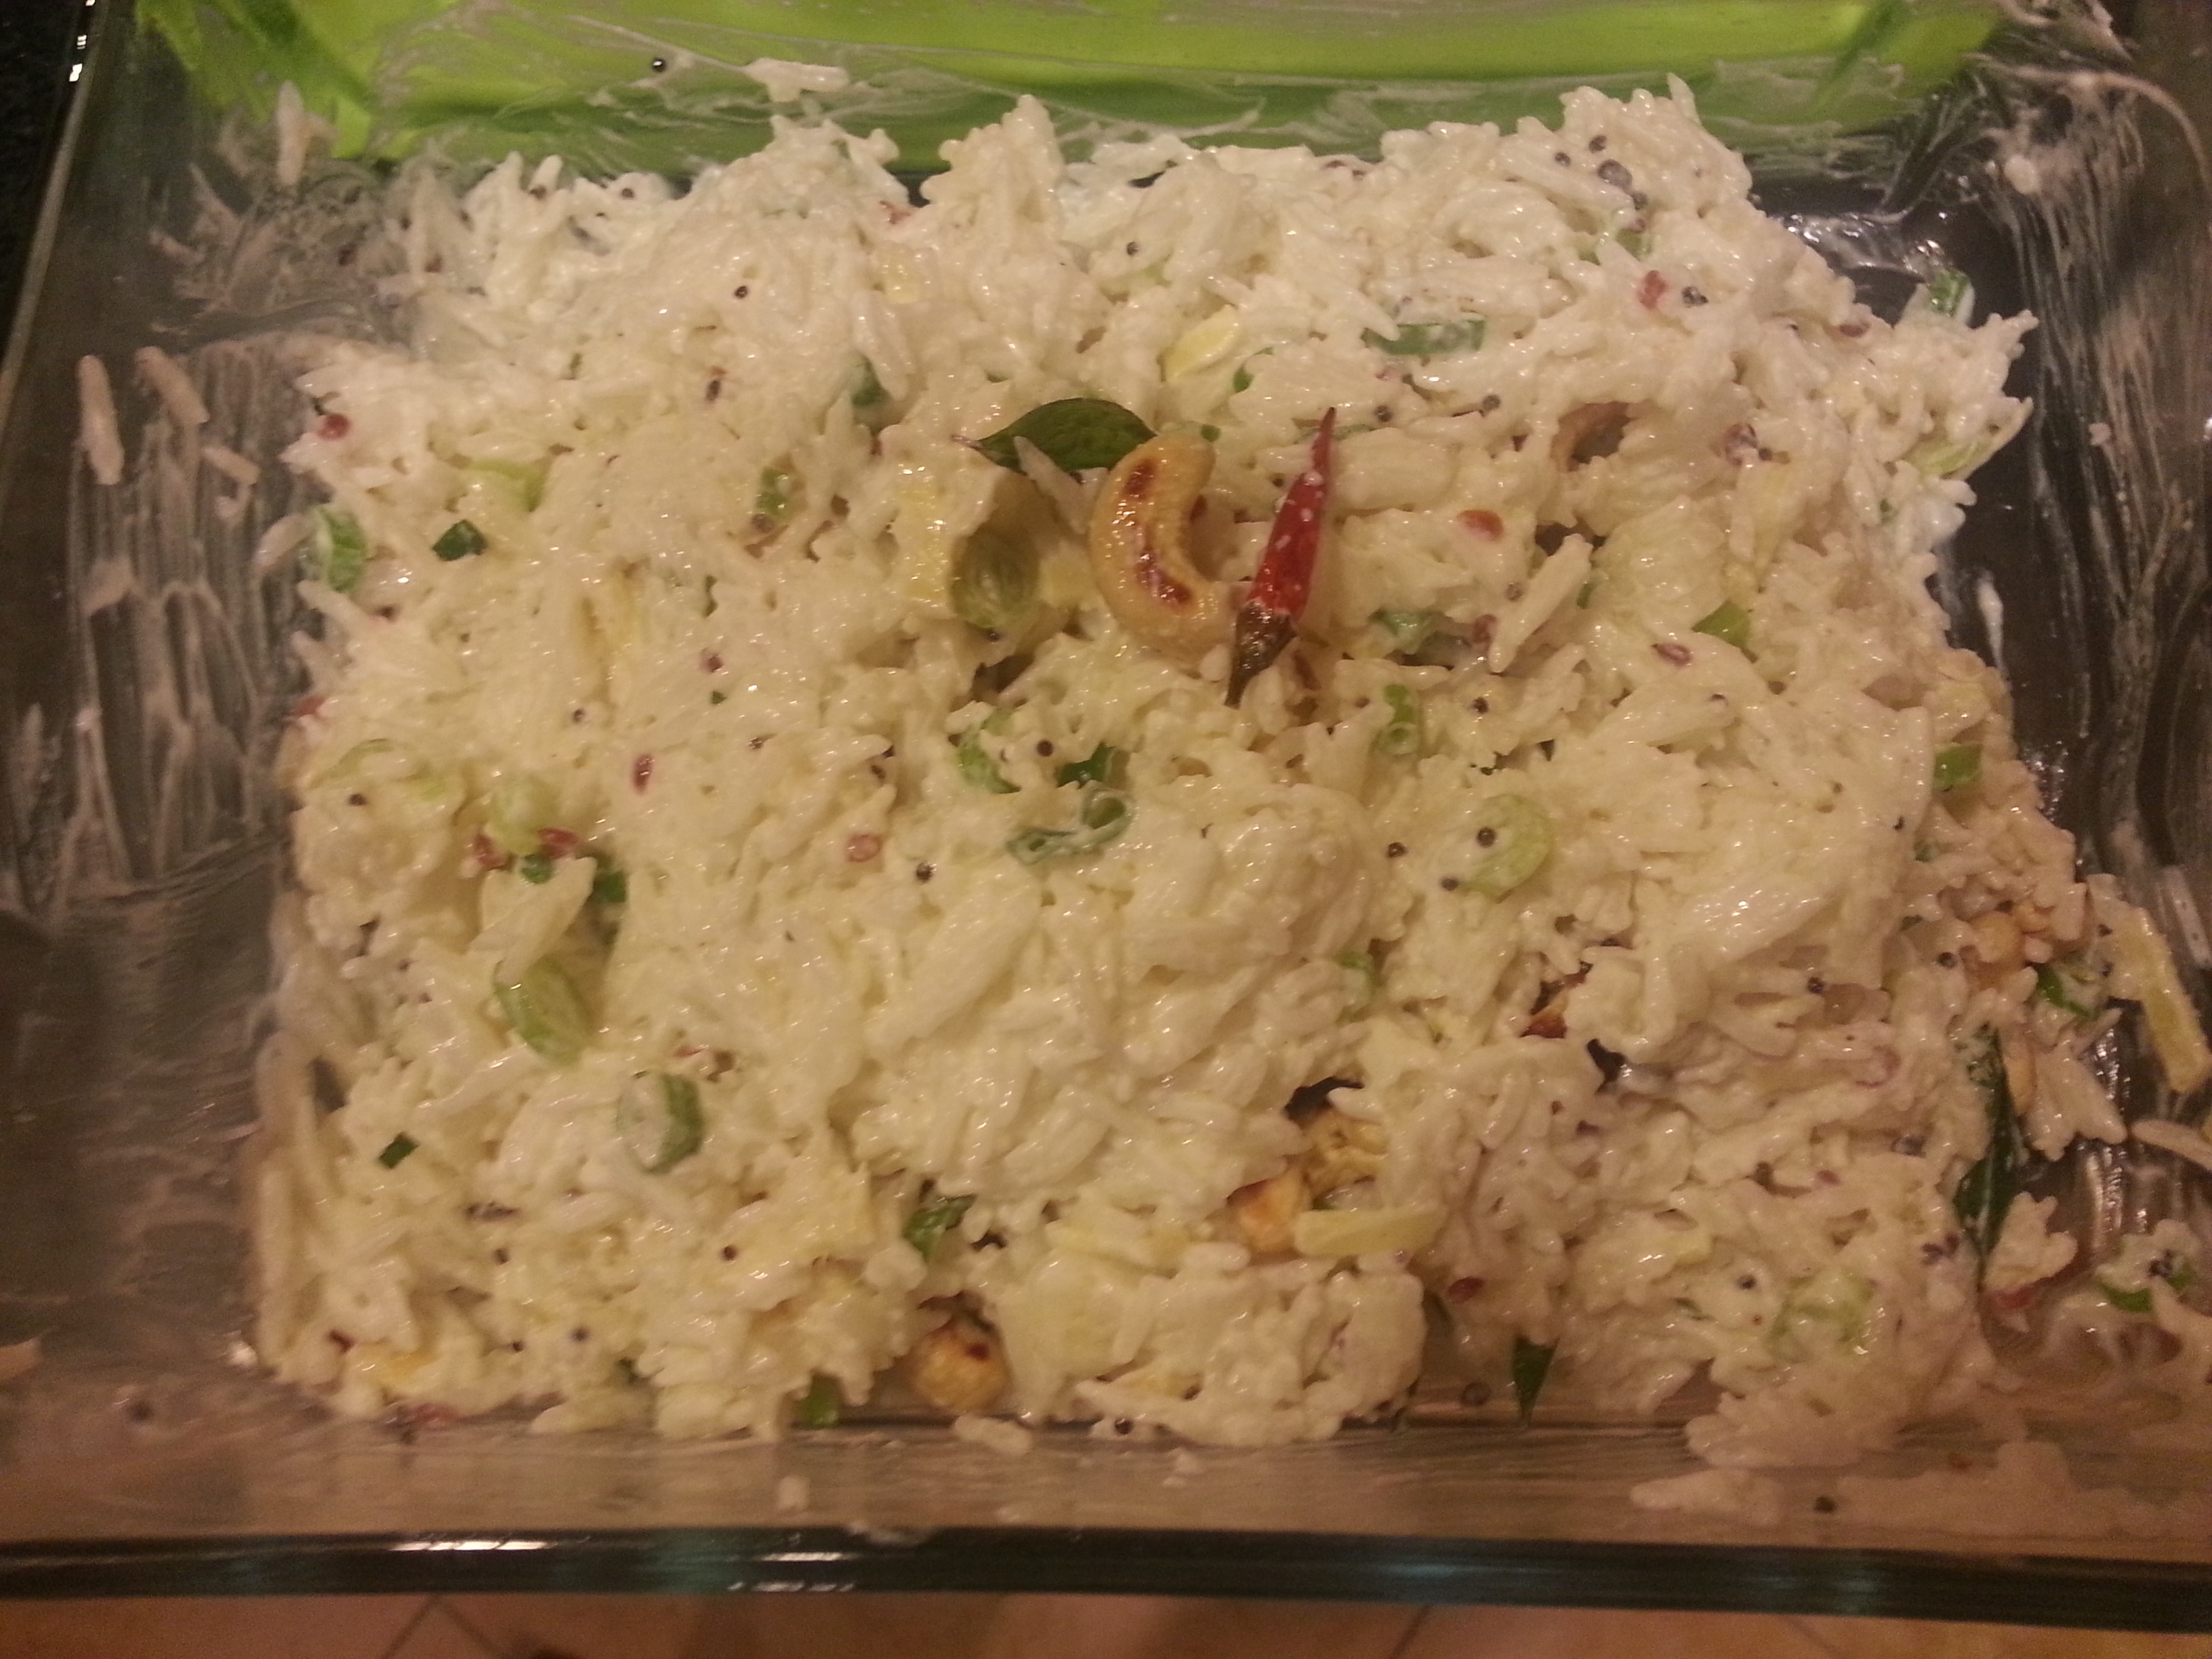
Topped
Khichdi with split green mung
Ingredients:
- 2/3 cups medium- or long-grain rice
- 1/3 split green mung
- 1 tablespoon ghee
- 1 teaspoon whole cumin seeds
- 1 teaspoon whole black pepper
- 3/4 teaspoon salt
- 2.5 cups water
- 1/4 medium onion, sliced
- a tiny fistful raw cashews
Method:
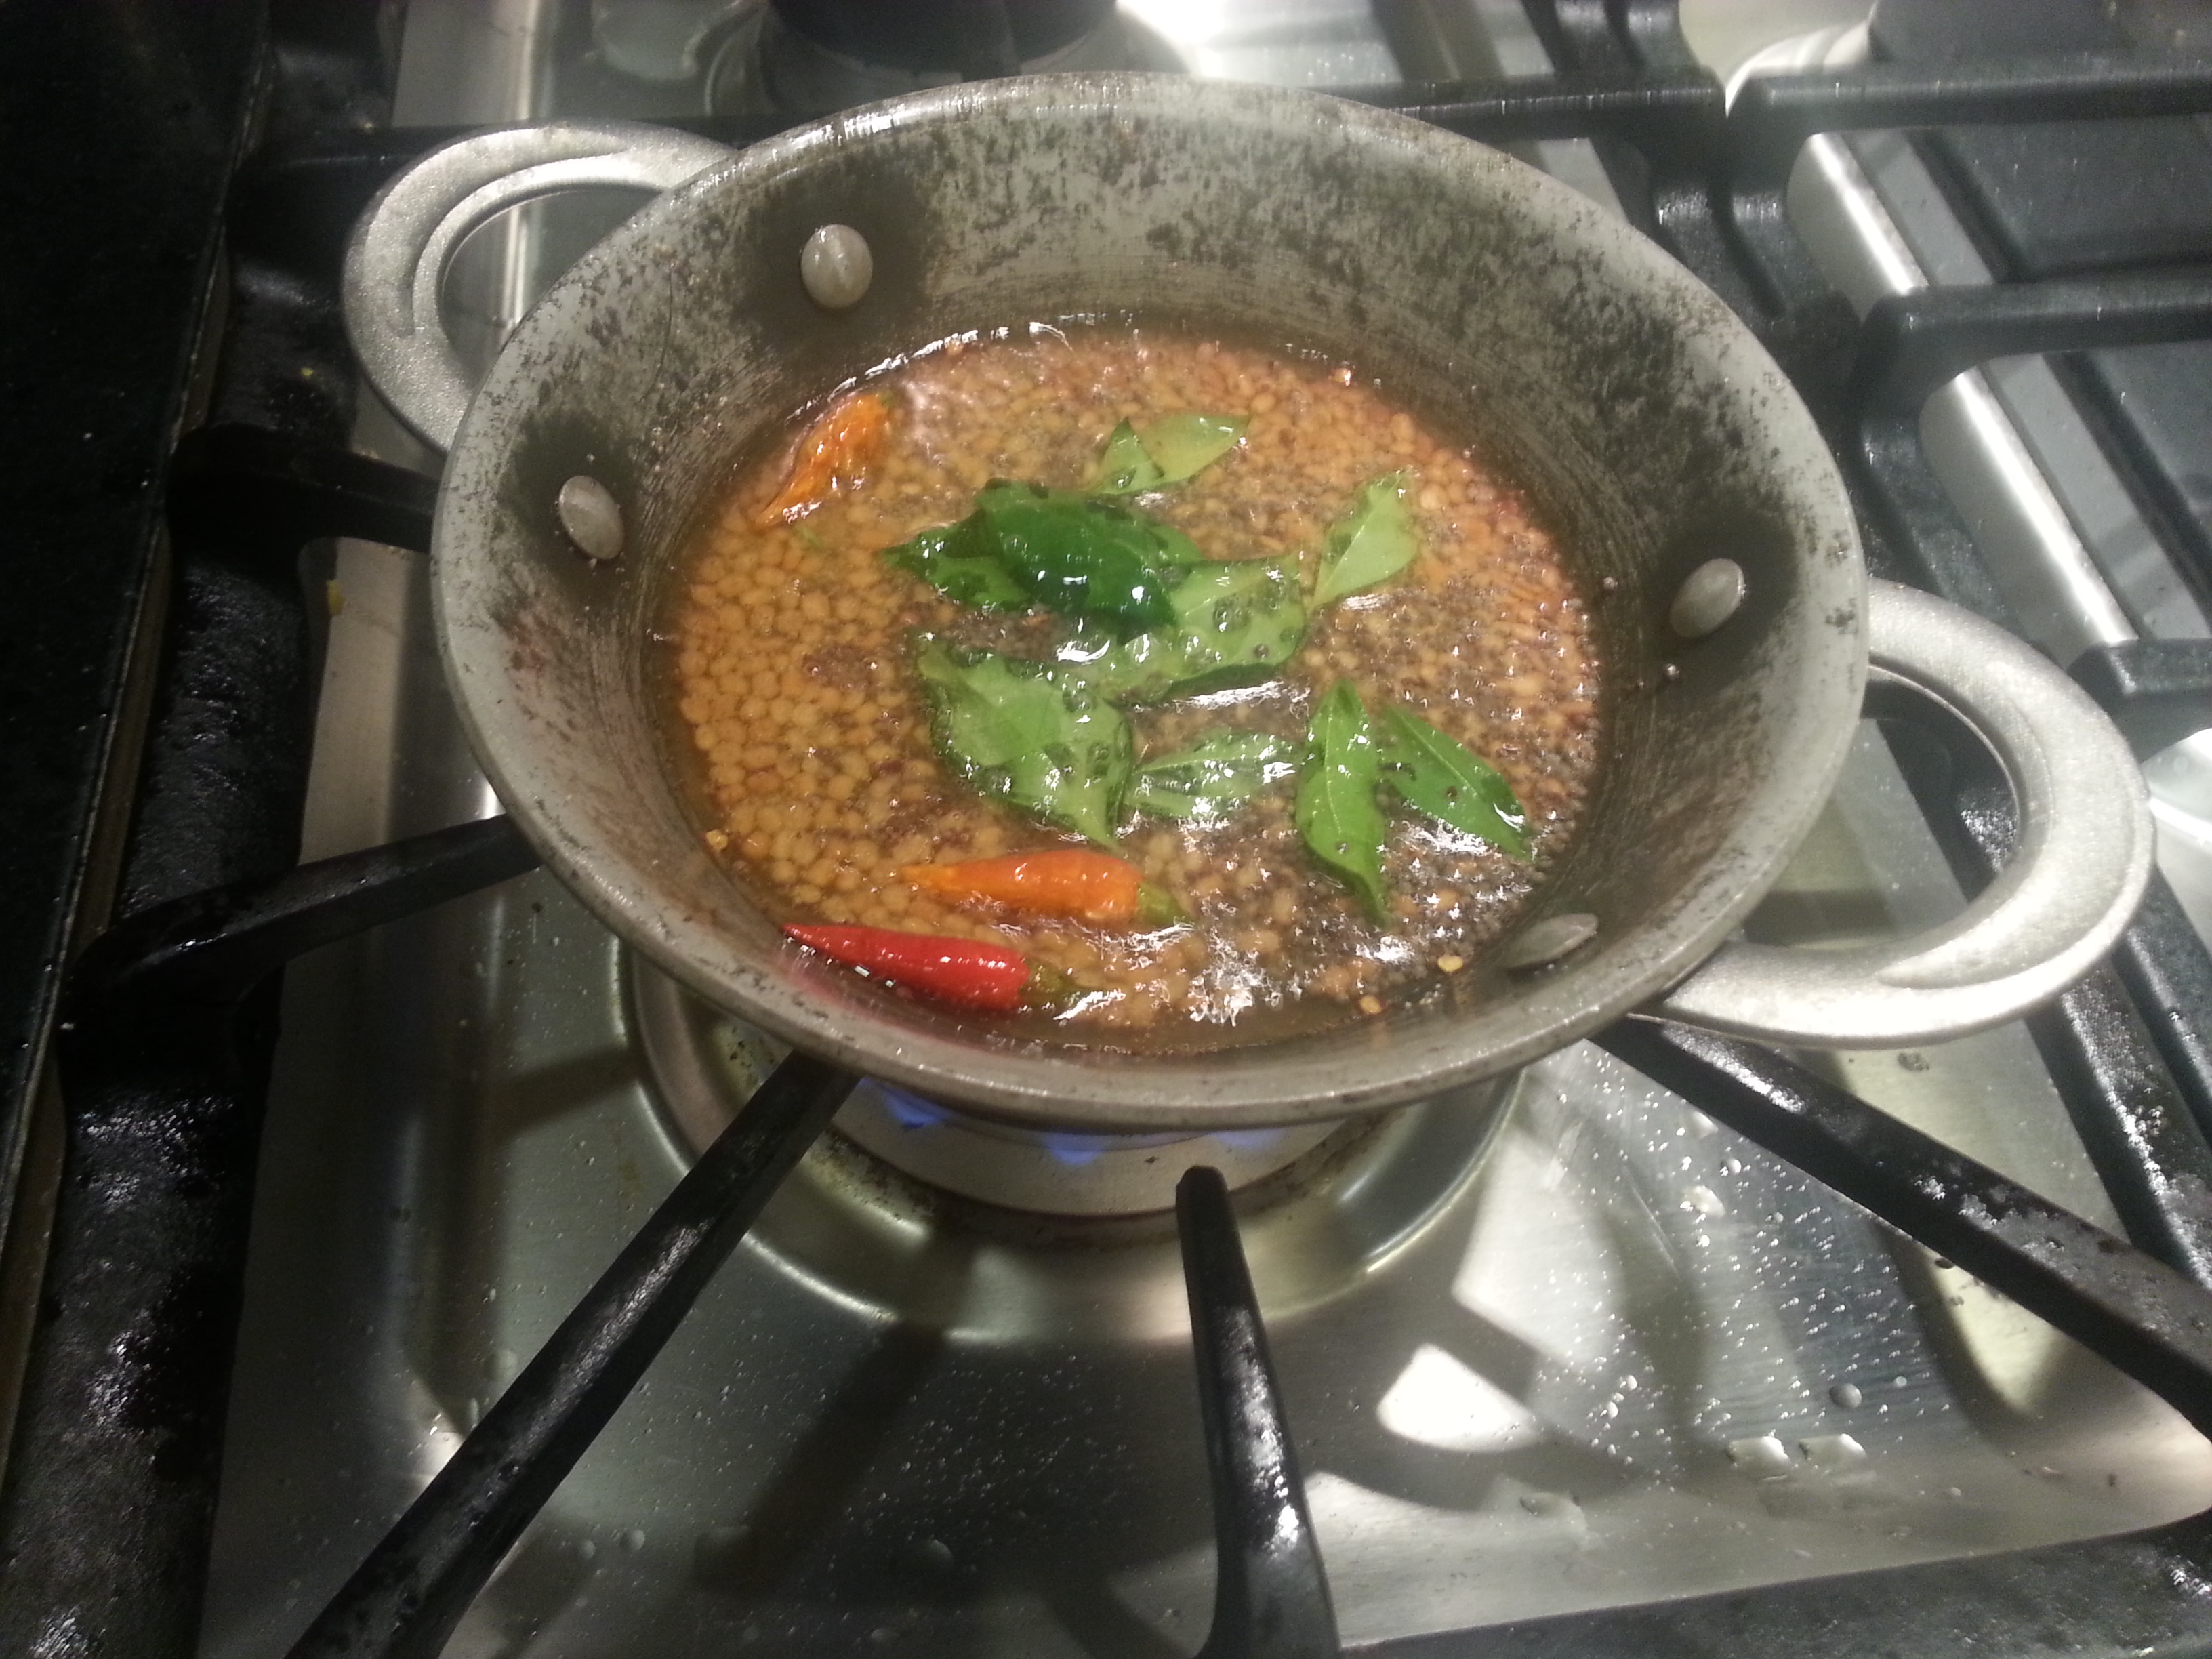
Rinse and drain the rice and split mung together. Put in in a pressure cooker or a nice hefty pot along with two and a half cups water, the salt, the cumin and black pepper. At this point, swish it around so that all the whole black peppers float to the top. This way, it will be easier for you to pick them out after the cooking is done.
Pressure cook for 15 minutes, or, if boiling in a pot, bring to a boil, cover tightly, and simmer for 45 minutes. Uncover and pick out the whole black peppers.
Separately, heat ghee in a small thick-bottomed pan. Fry sliced onions in it until browned; then give the cashews a light browning as well. Mix this in with the rice, but reserve some to add to the top as garnish.
Enjoy it with some plain yogurt on the side and some sharply tasting pickles or chutneys, some kadhi, or this spinach wonder.