Vegetable pulao with tomato soup
One of the first dishes I ever tried cooking on my own was flavored rice cooked with a few vegetables. This is known as a vegetable pulao — or pilaf — or pulav, the standard-est and basic-est of Indian home recipes. So why has it taken me this long to blog about it?
Because sometimes the simplest things give you the most trouble. It has taken me years for me to get this right. Sometimes the rice isn’t cooked through. If it is, it is cooked too much. Or the vegetables are cut too big and raw on the inside, or they have turned to mush. If all goes right regarding the timing, the thing is tasteless. Gah.
One way to get around these problems is to cook the rice and vegetables separately then combine them. But while there are many perfectly fine recipes that rely on this method (many from the south — yogurt rice, lemon rice, tomato rice etc.), for vegetable pulao, the flavors must fuse, which means cooking together is a must. They must come out with a flourish, all perfectly done at the same time. They say each grain of rice must be separate, so add that to the list of requirements. It must be gently spiced, but not too much — too much would kick it over into being a biryani. That’s fine, but that’s not what we are after.
So now, finally, I present to you my pulao secrets, recently discovered after many years of trial and error, which should make all doubts vanish under the first whiff aroma that hits you when you open the pot. Here they are.
Secrets of pulao
- Be stingy with the water. The vegetables you add will leave off some steam of their own, so I would use about a quarter less water than you would with plain rice.
-
But if you do that, the danger is that the rice will cook and expand and rise above the water line, leaving the upper layer uncooked. Curses! To get around this problem, we use a pressure cooker. (I believe a tightly closed dutch oven slow-cooked in an oven would work as well, but that is not what I did.)
-
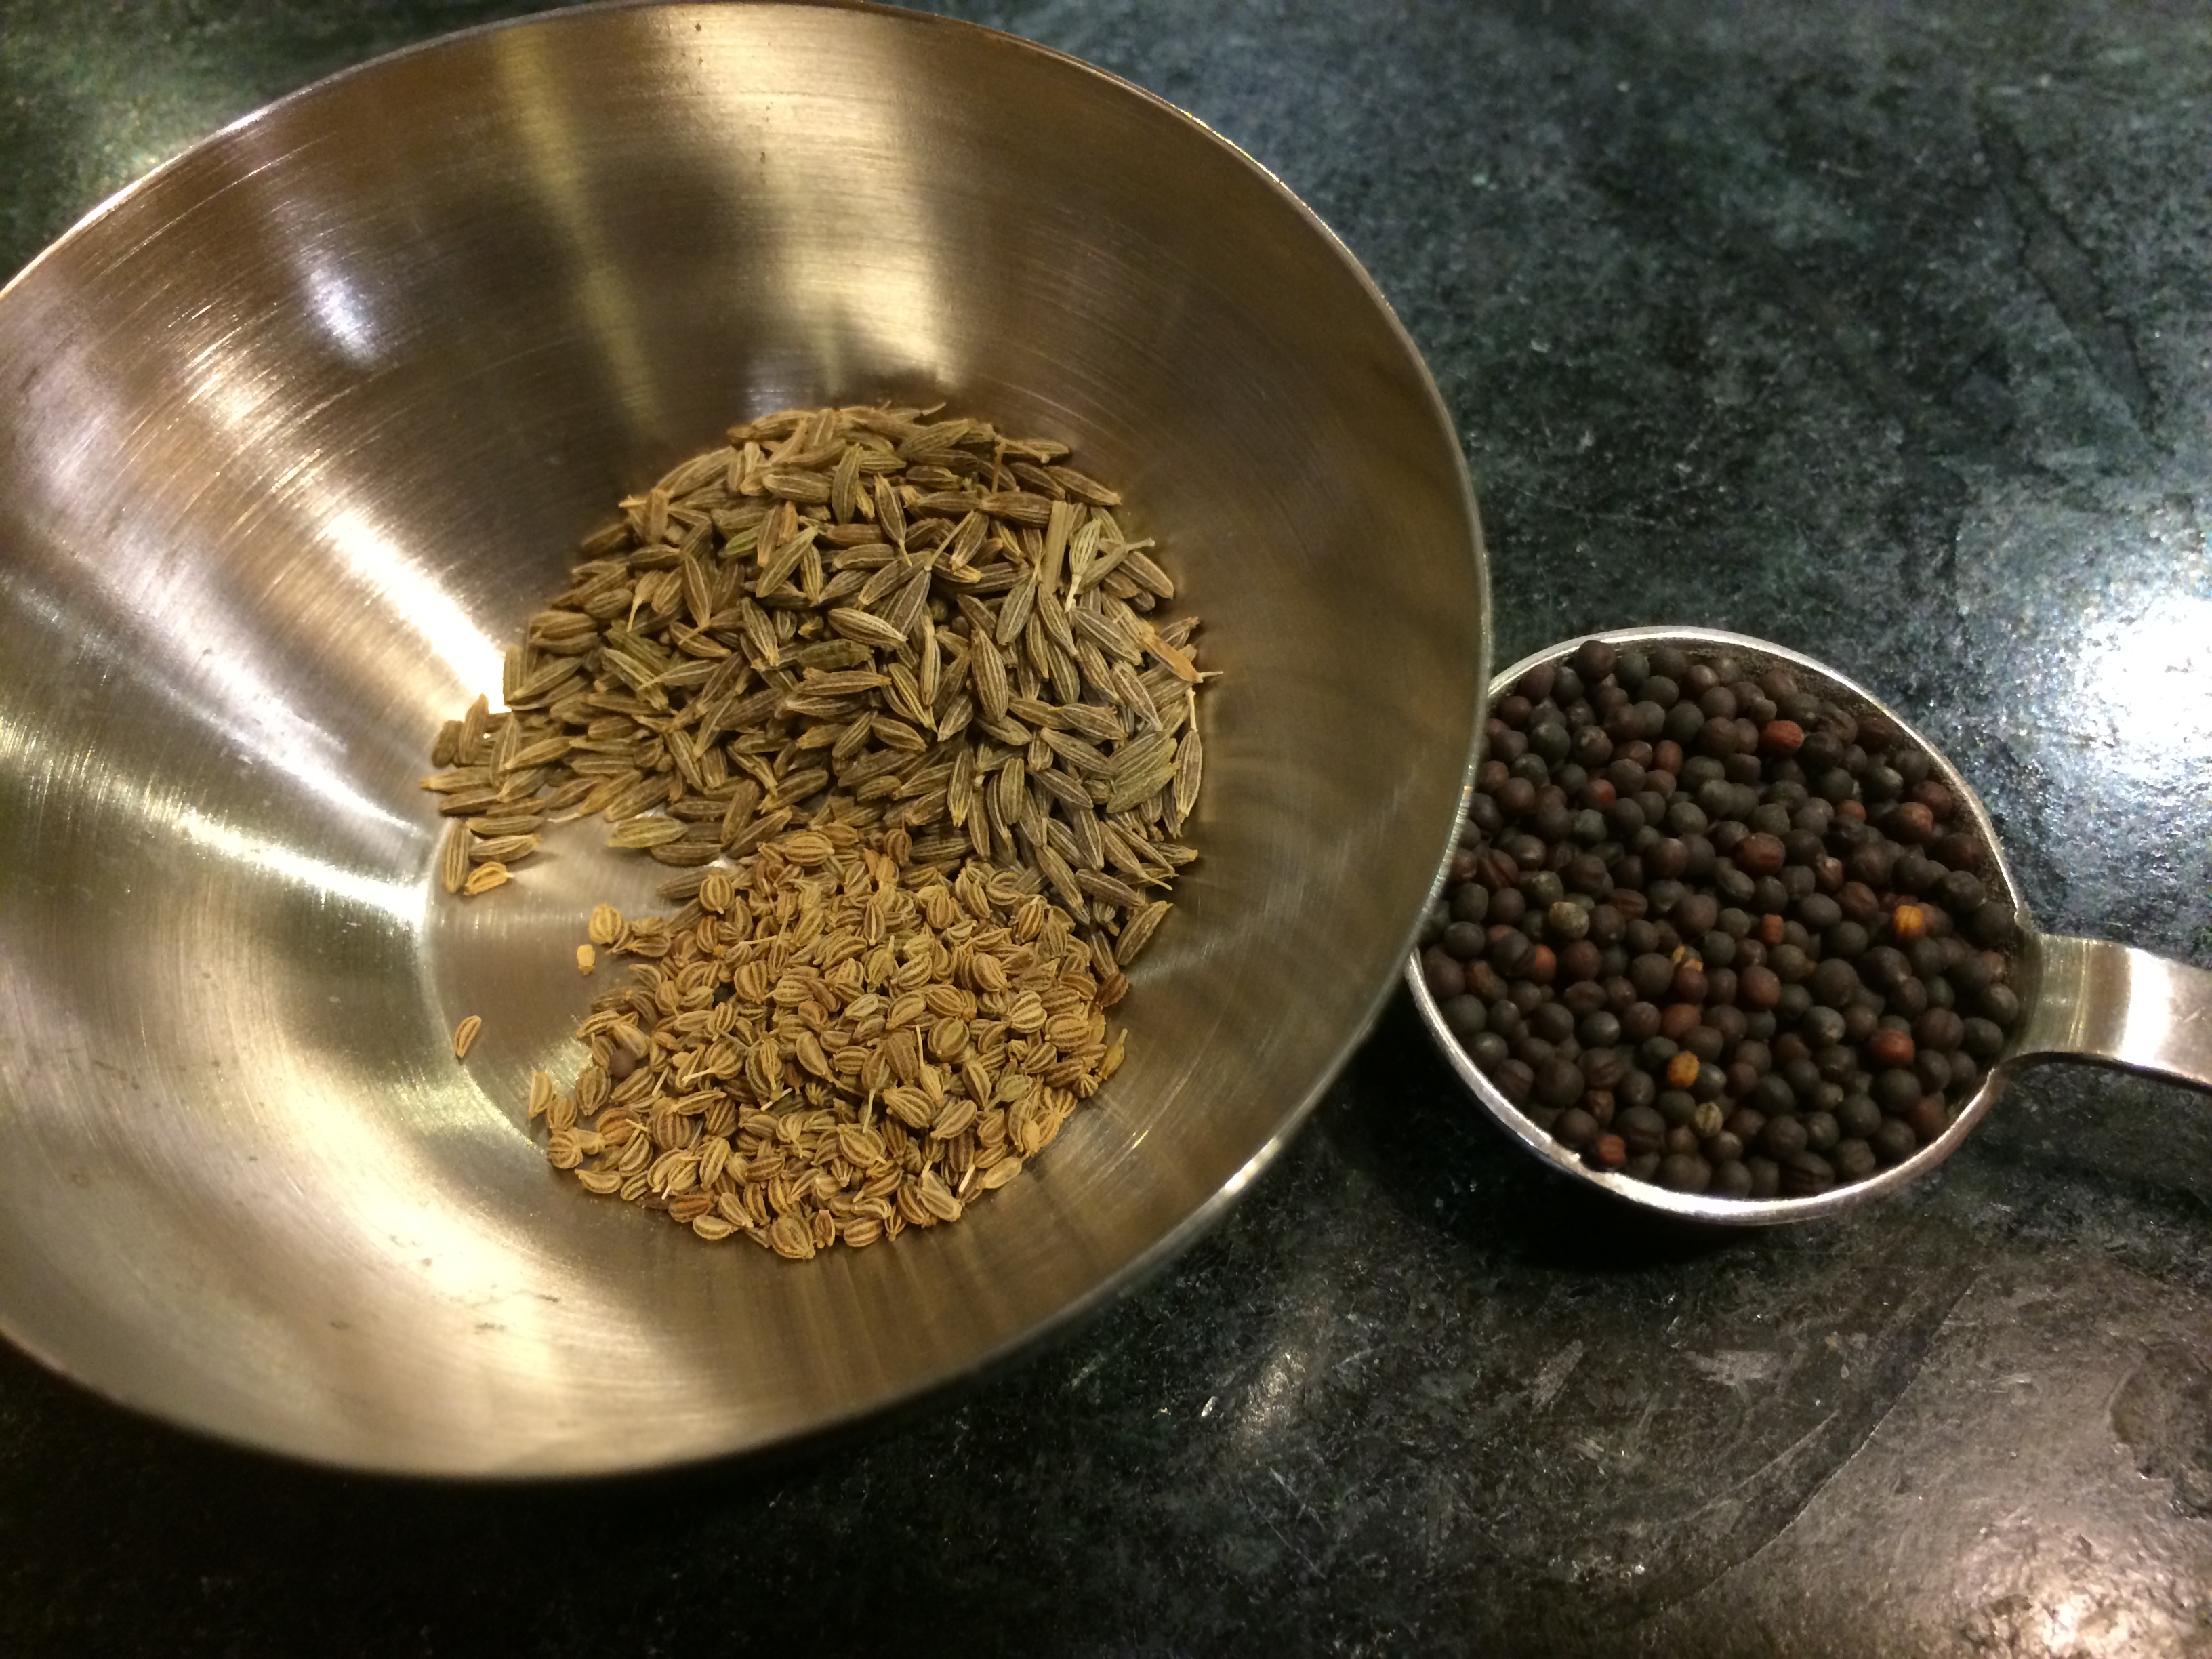
Do not use vegetables that will turn to mush, like tomatoes or zucchini. The vegetables that you do use must be diced. I use vegetables like green beans, carrots, peas, cauliflower, cabbage, bell peppers, celery, etc.
-
Rice tends to be a bit bland, so you need to fire on all cylinders where the aromatics are concerned. So that means — garlic, ginger, green chilies, onion, and yogurt for richness.
-
Now this is the most important — do not caramelize the onions! Cook them till softened, but not browned. A lower flame would help. This is because what we are after is a savory flavor, not a sweet caramel browned flavor (there are other excellent rice dishes that explore this profile, we will go into that at some point).
Armed with these tenets we are ready to begin.
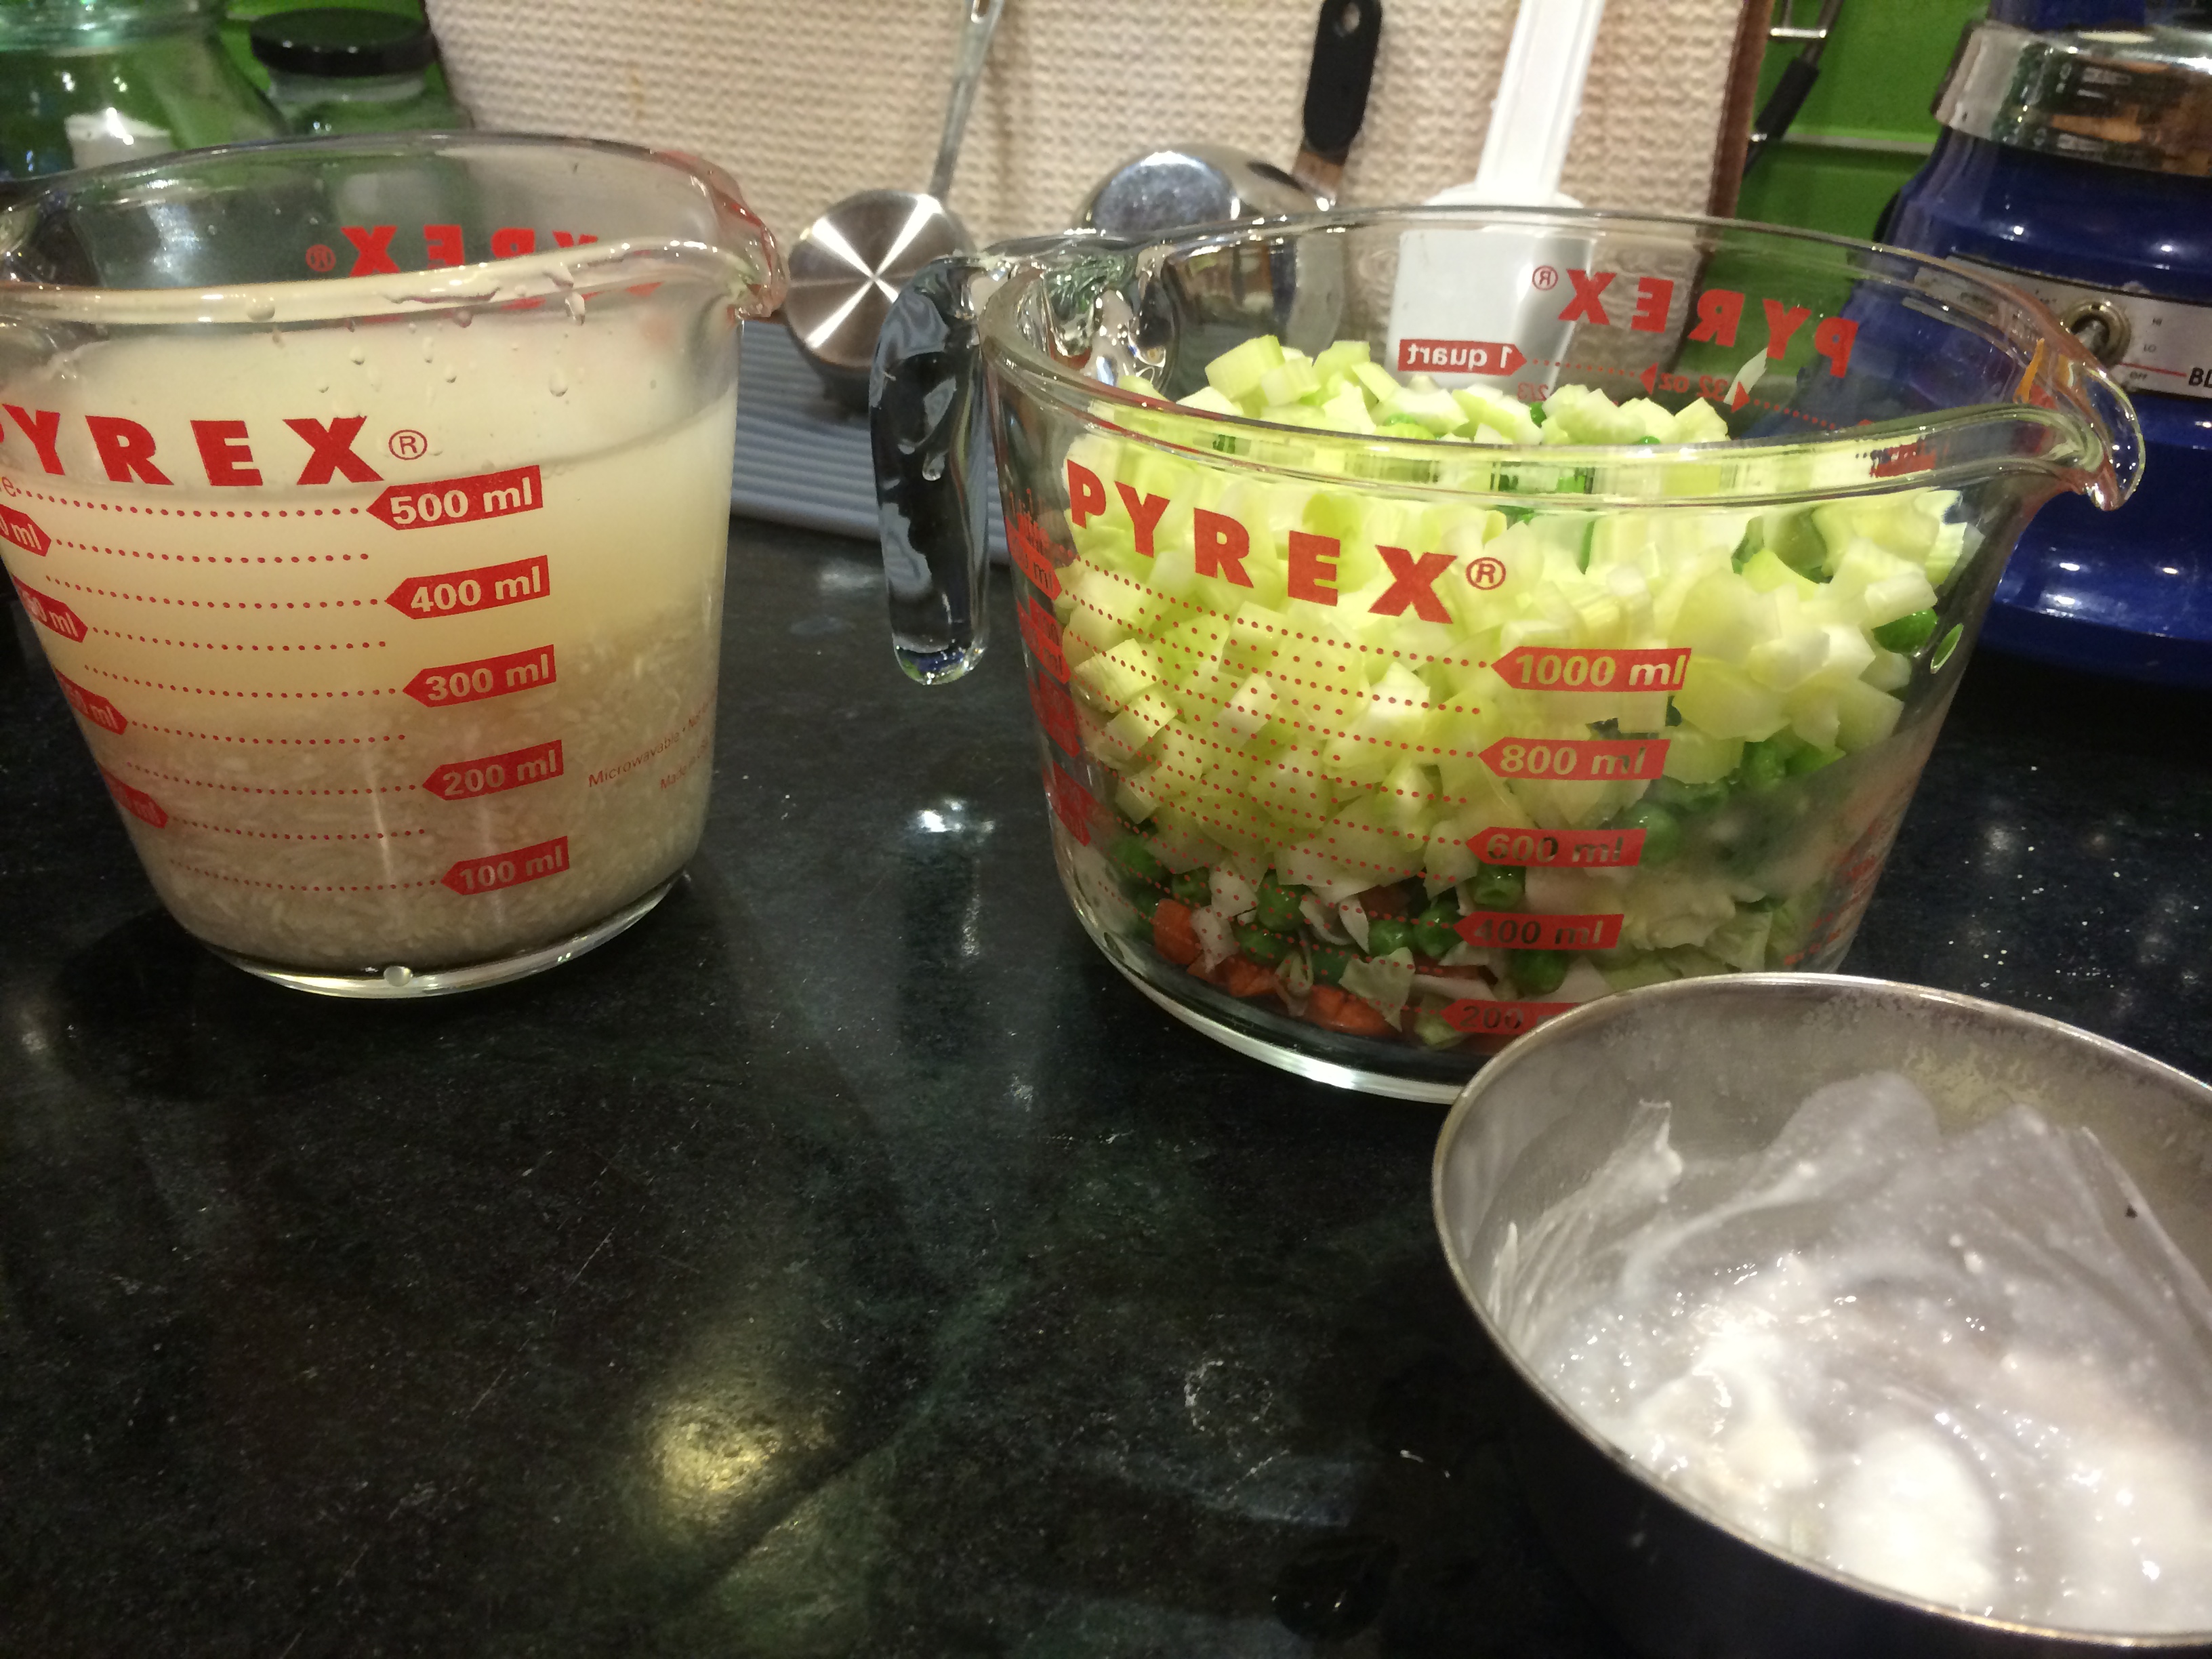
Rice soaking and vegetables diced

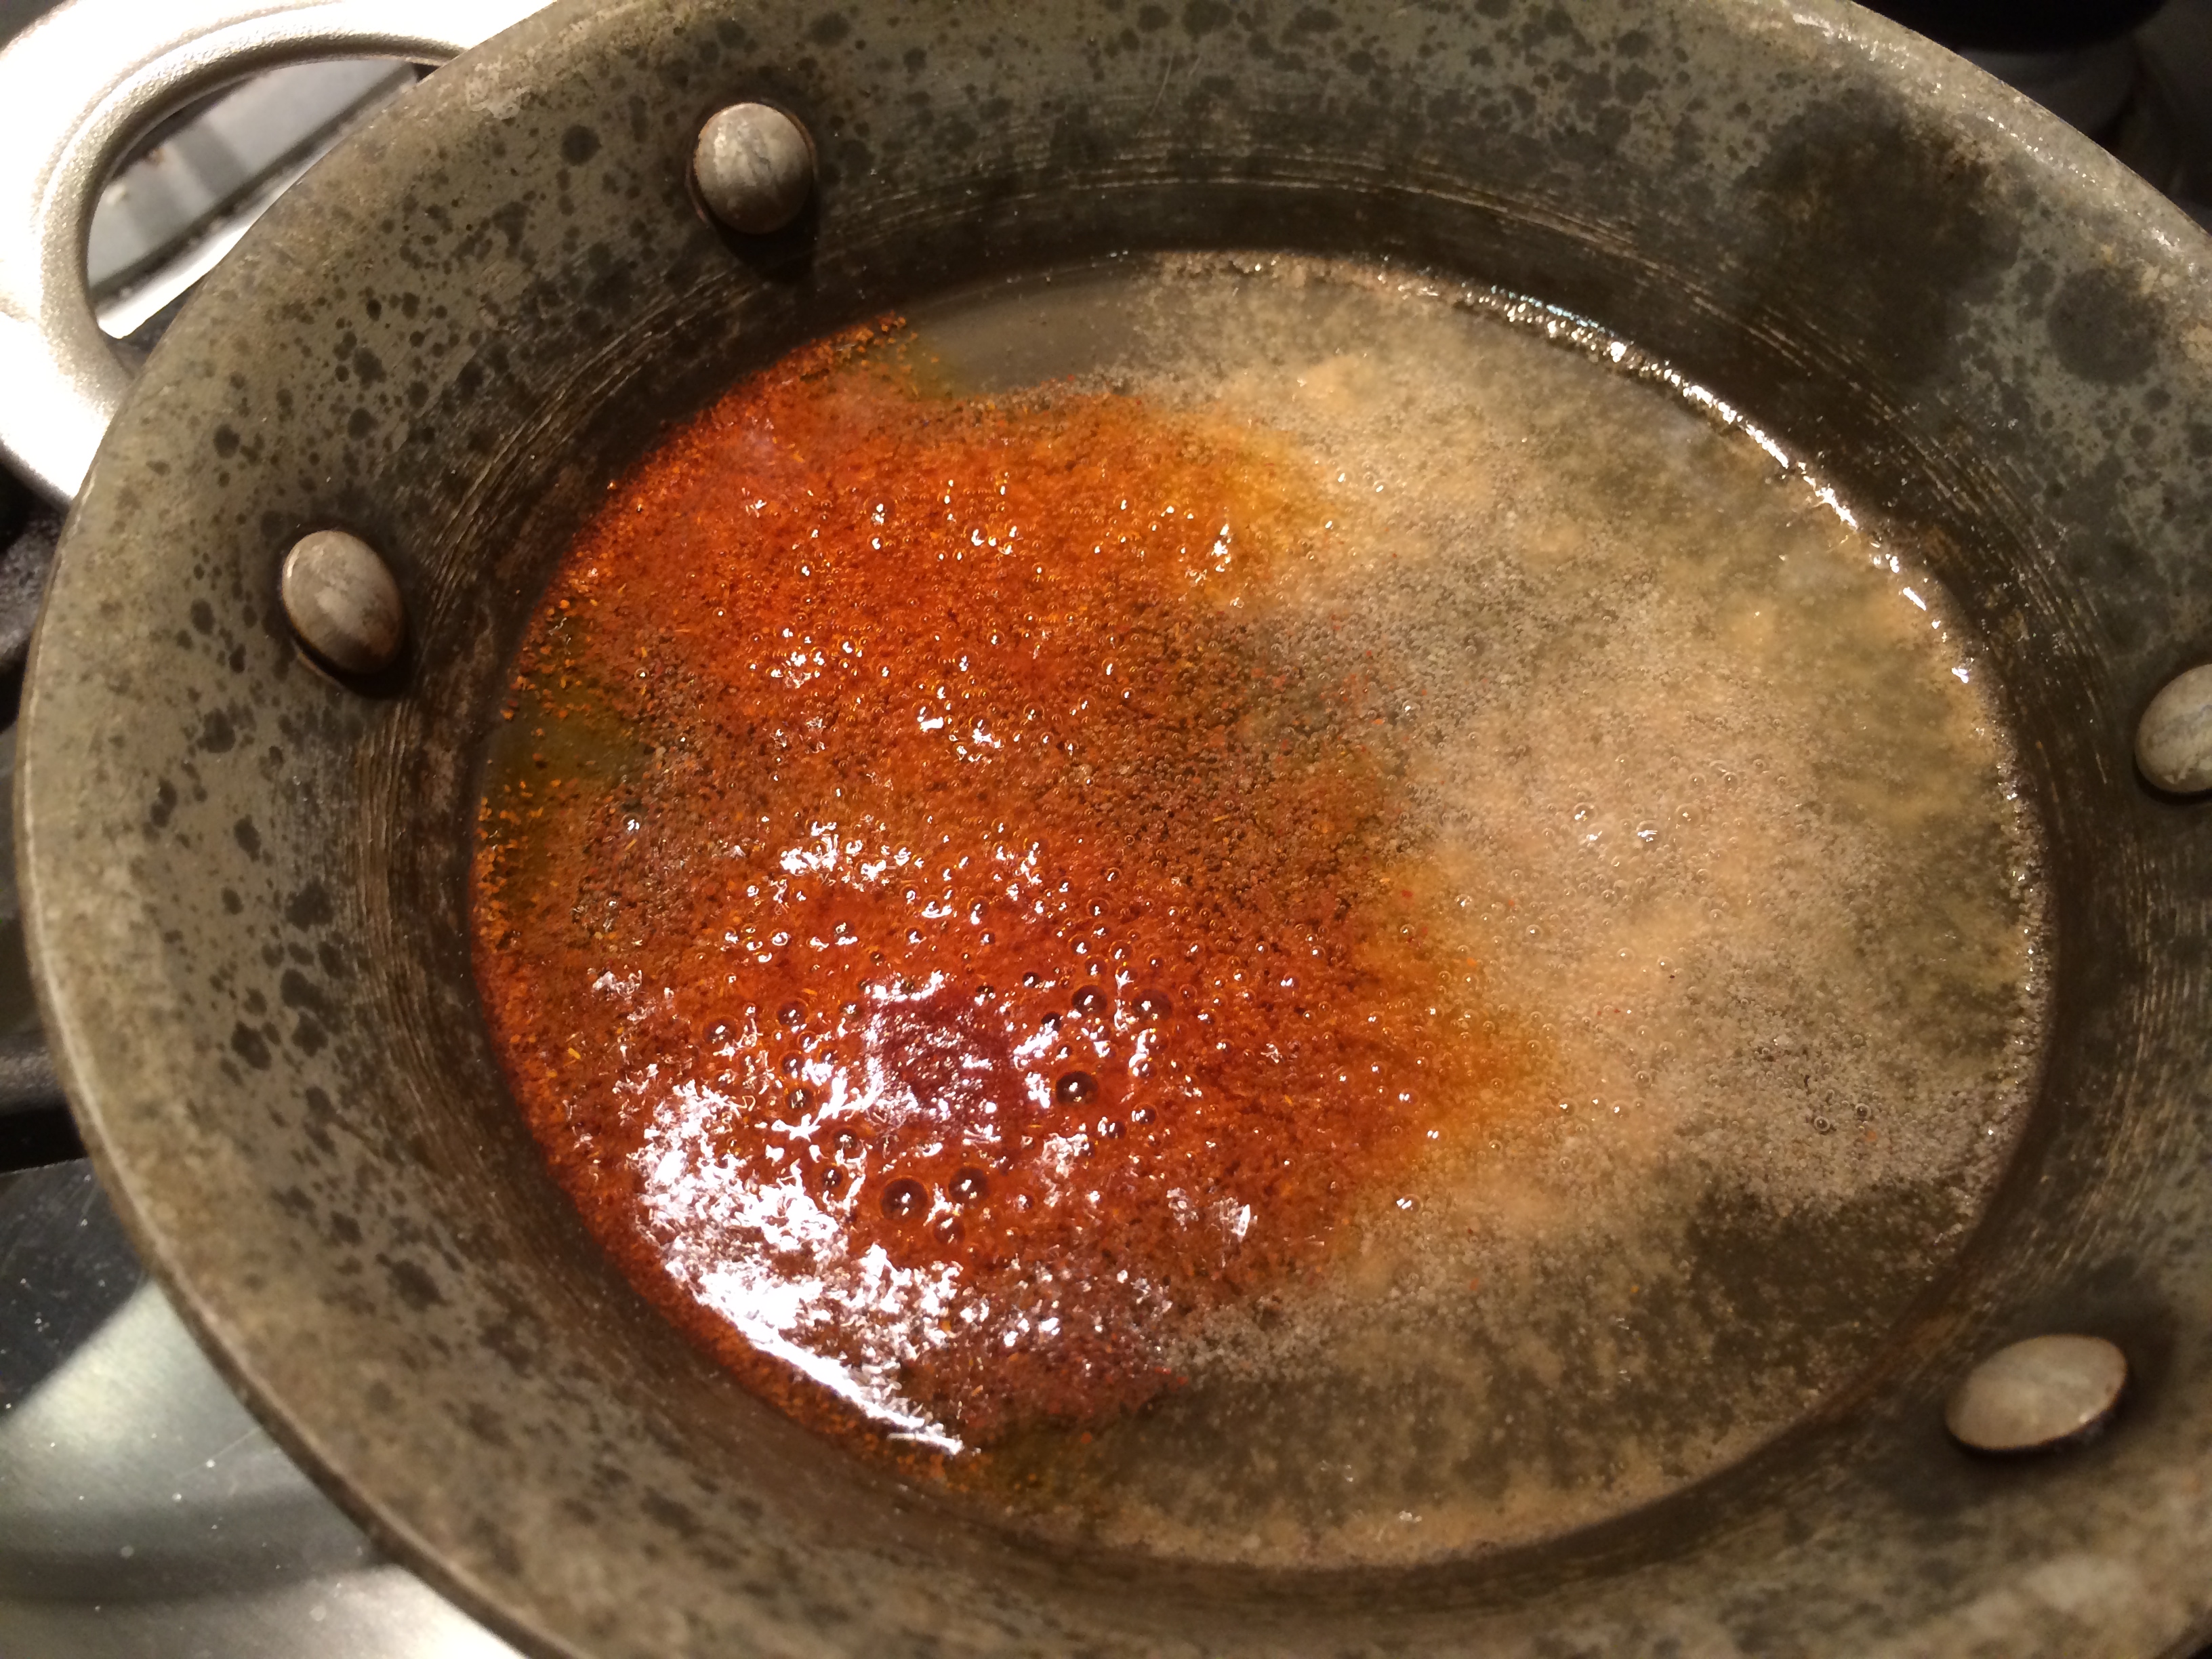
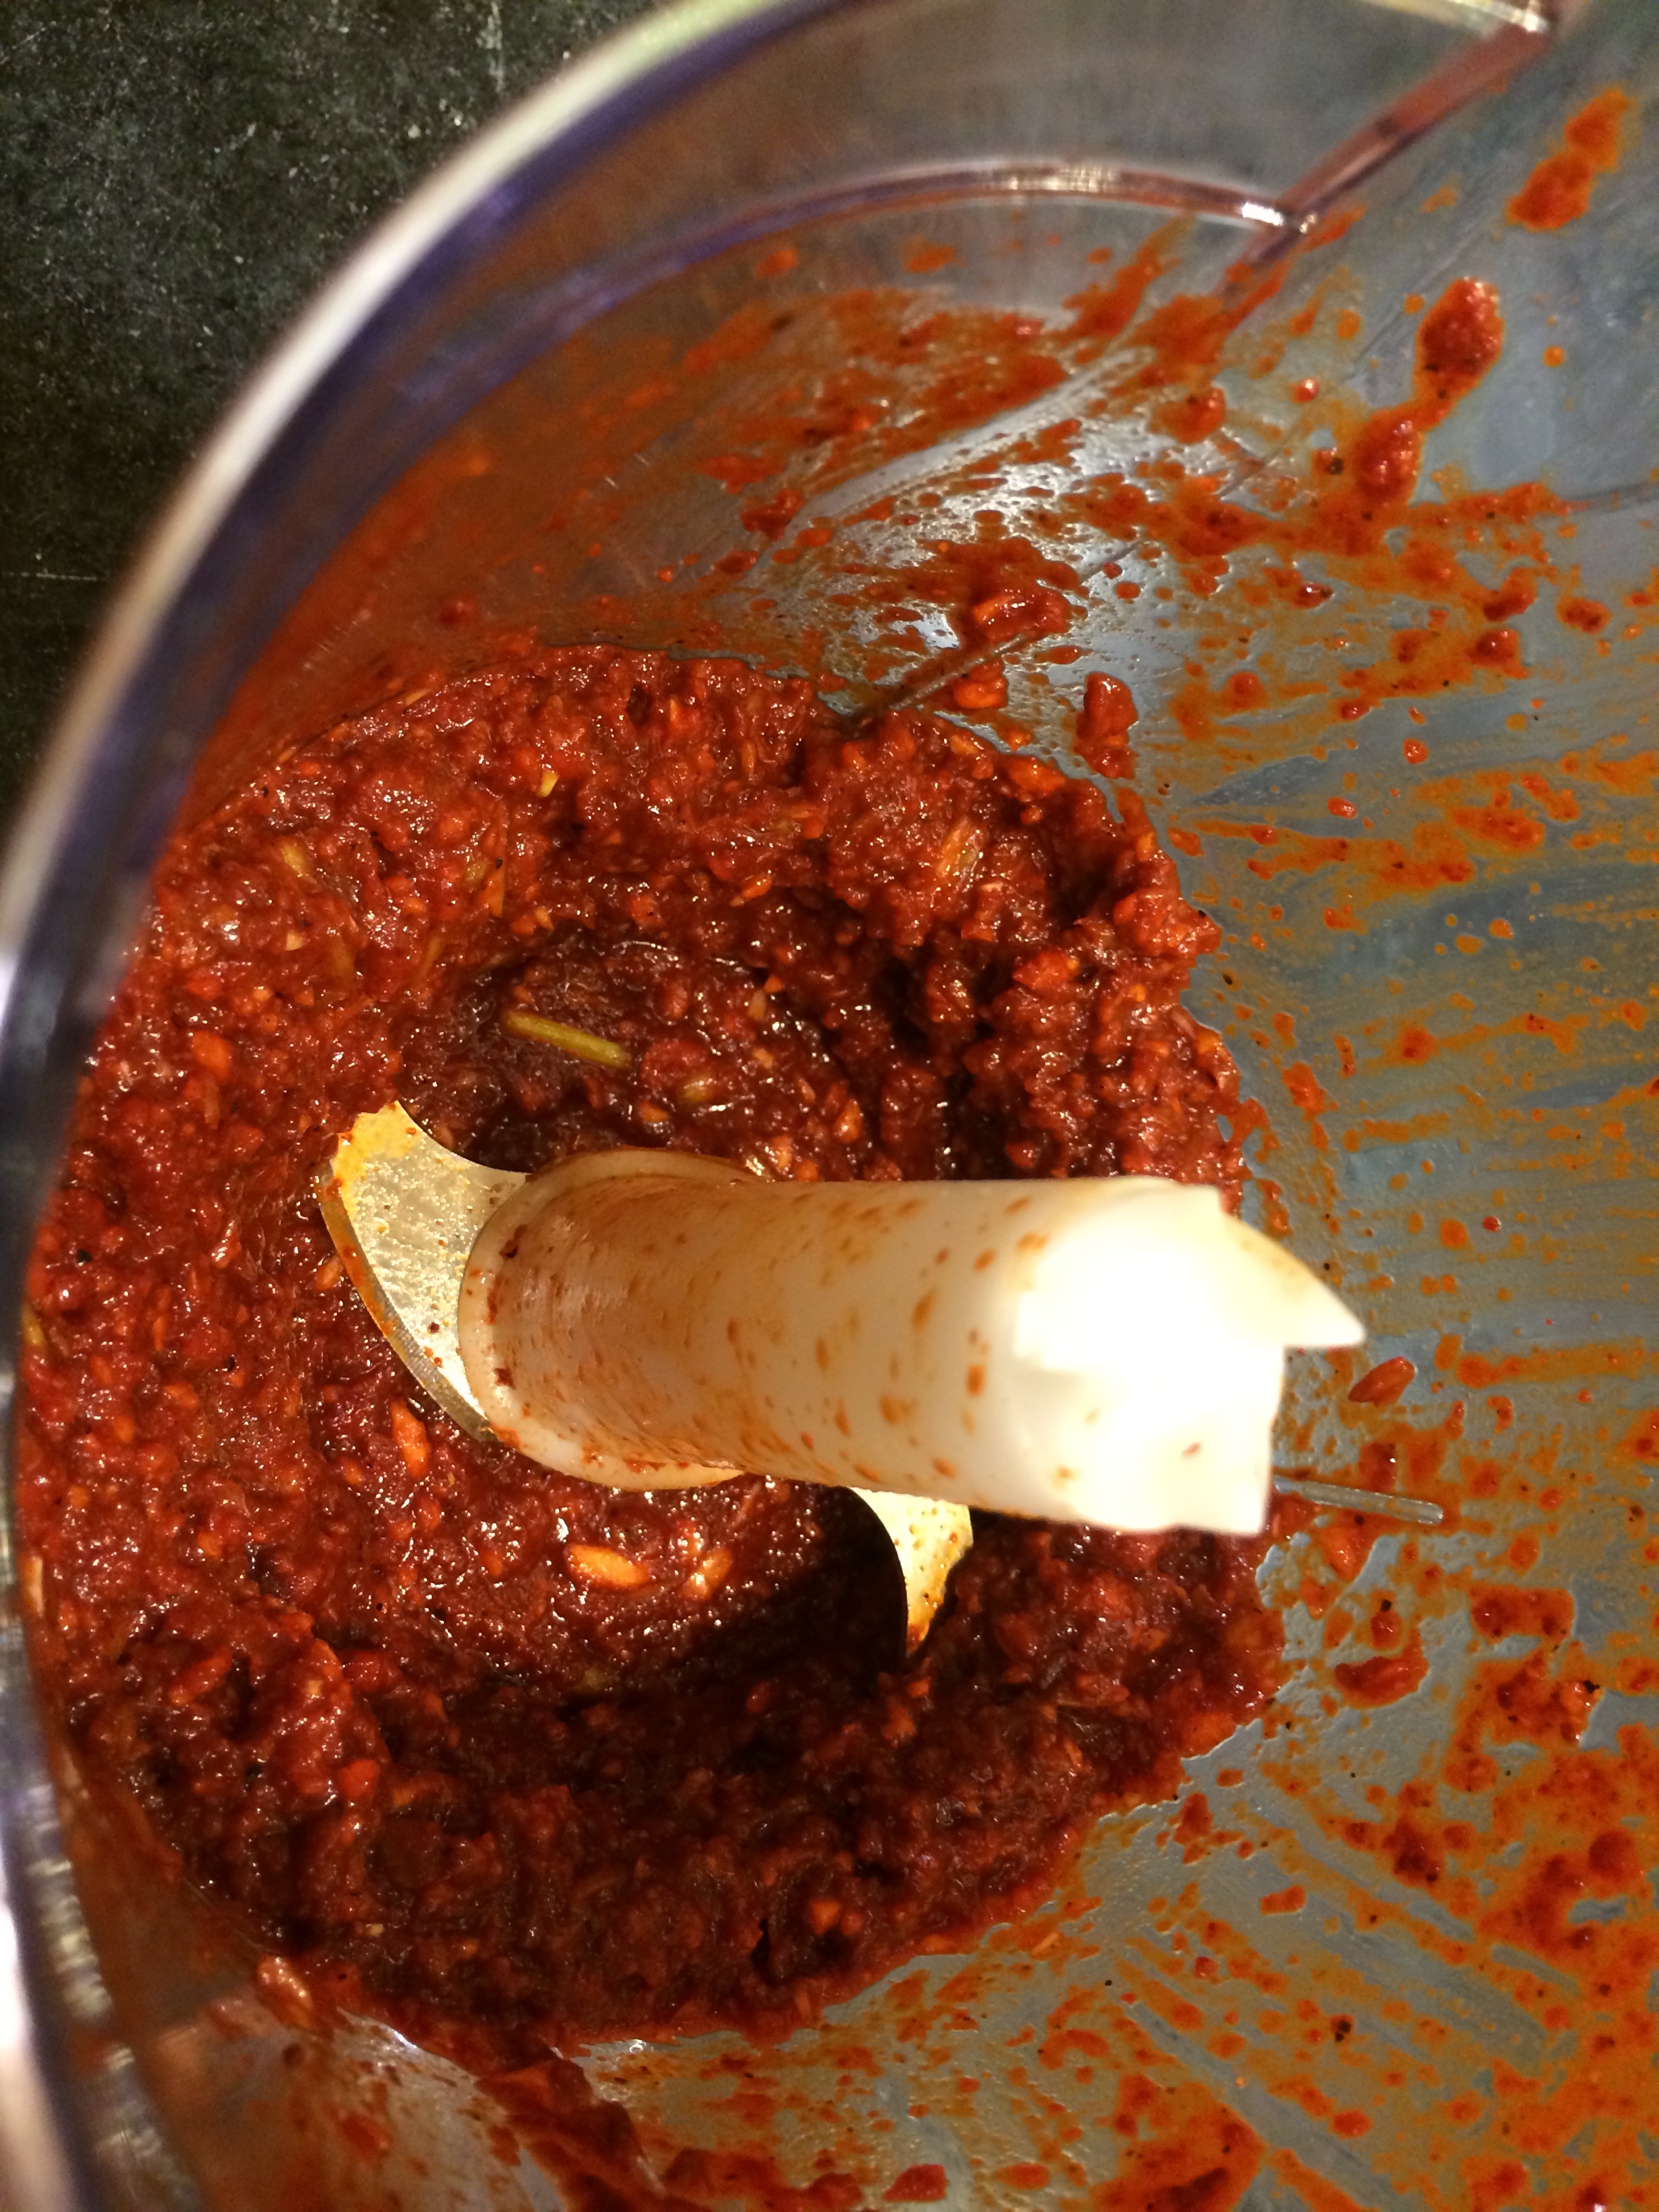
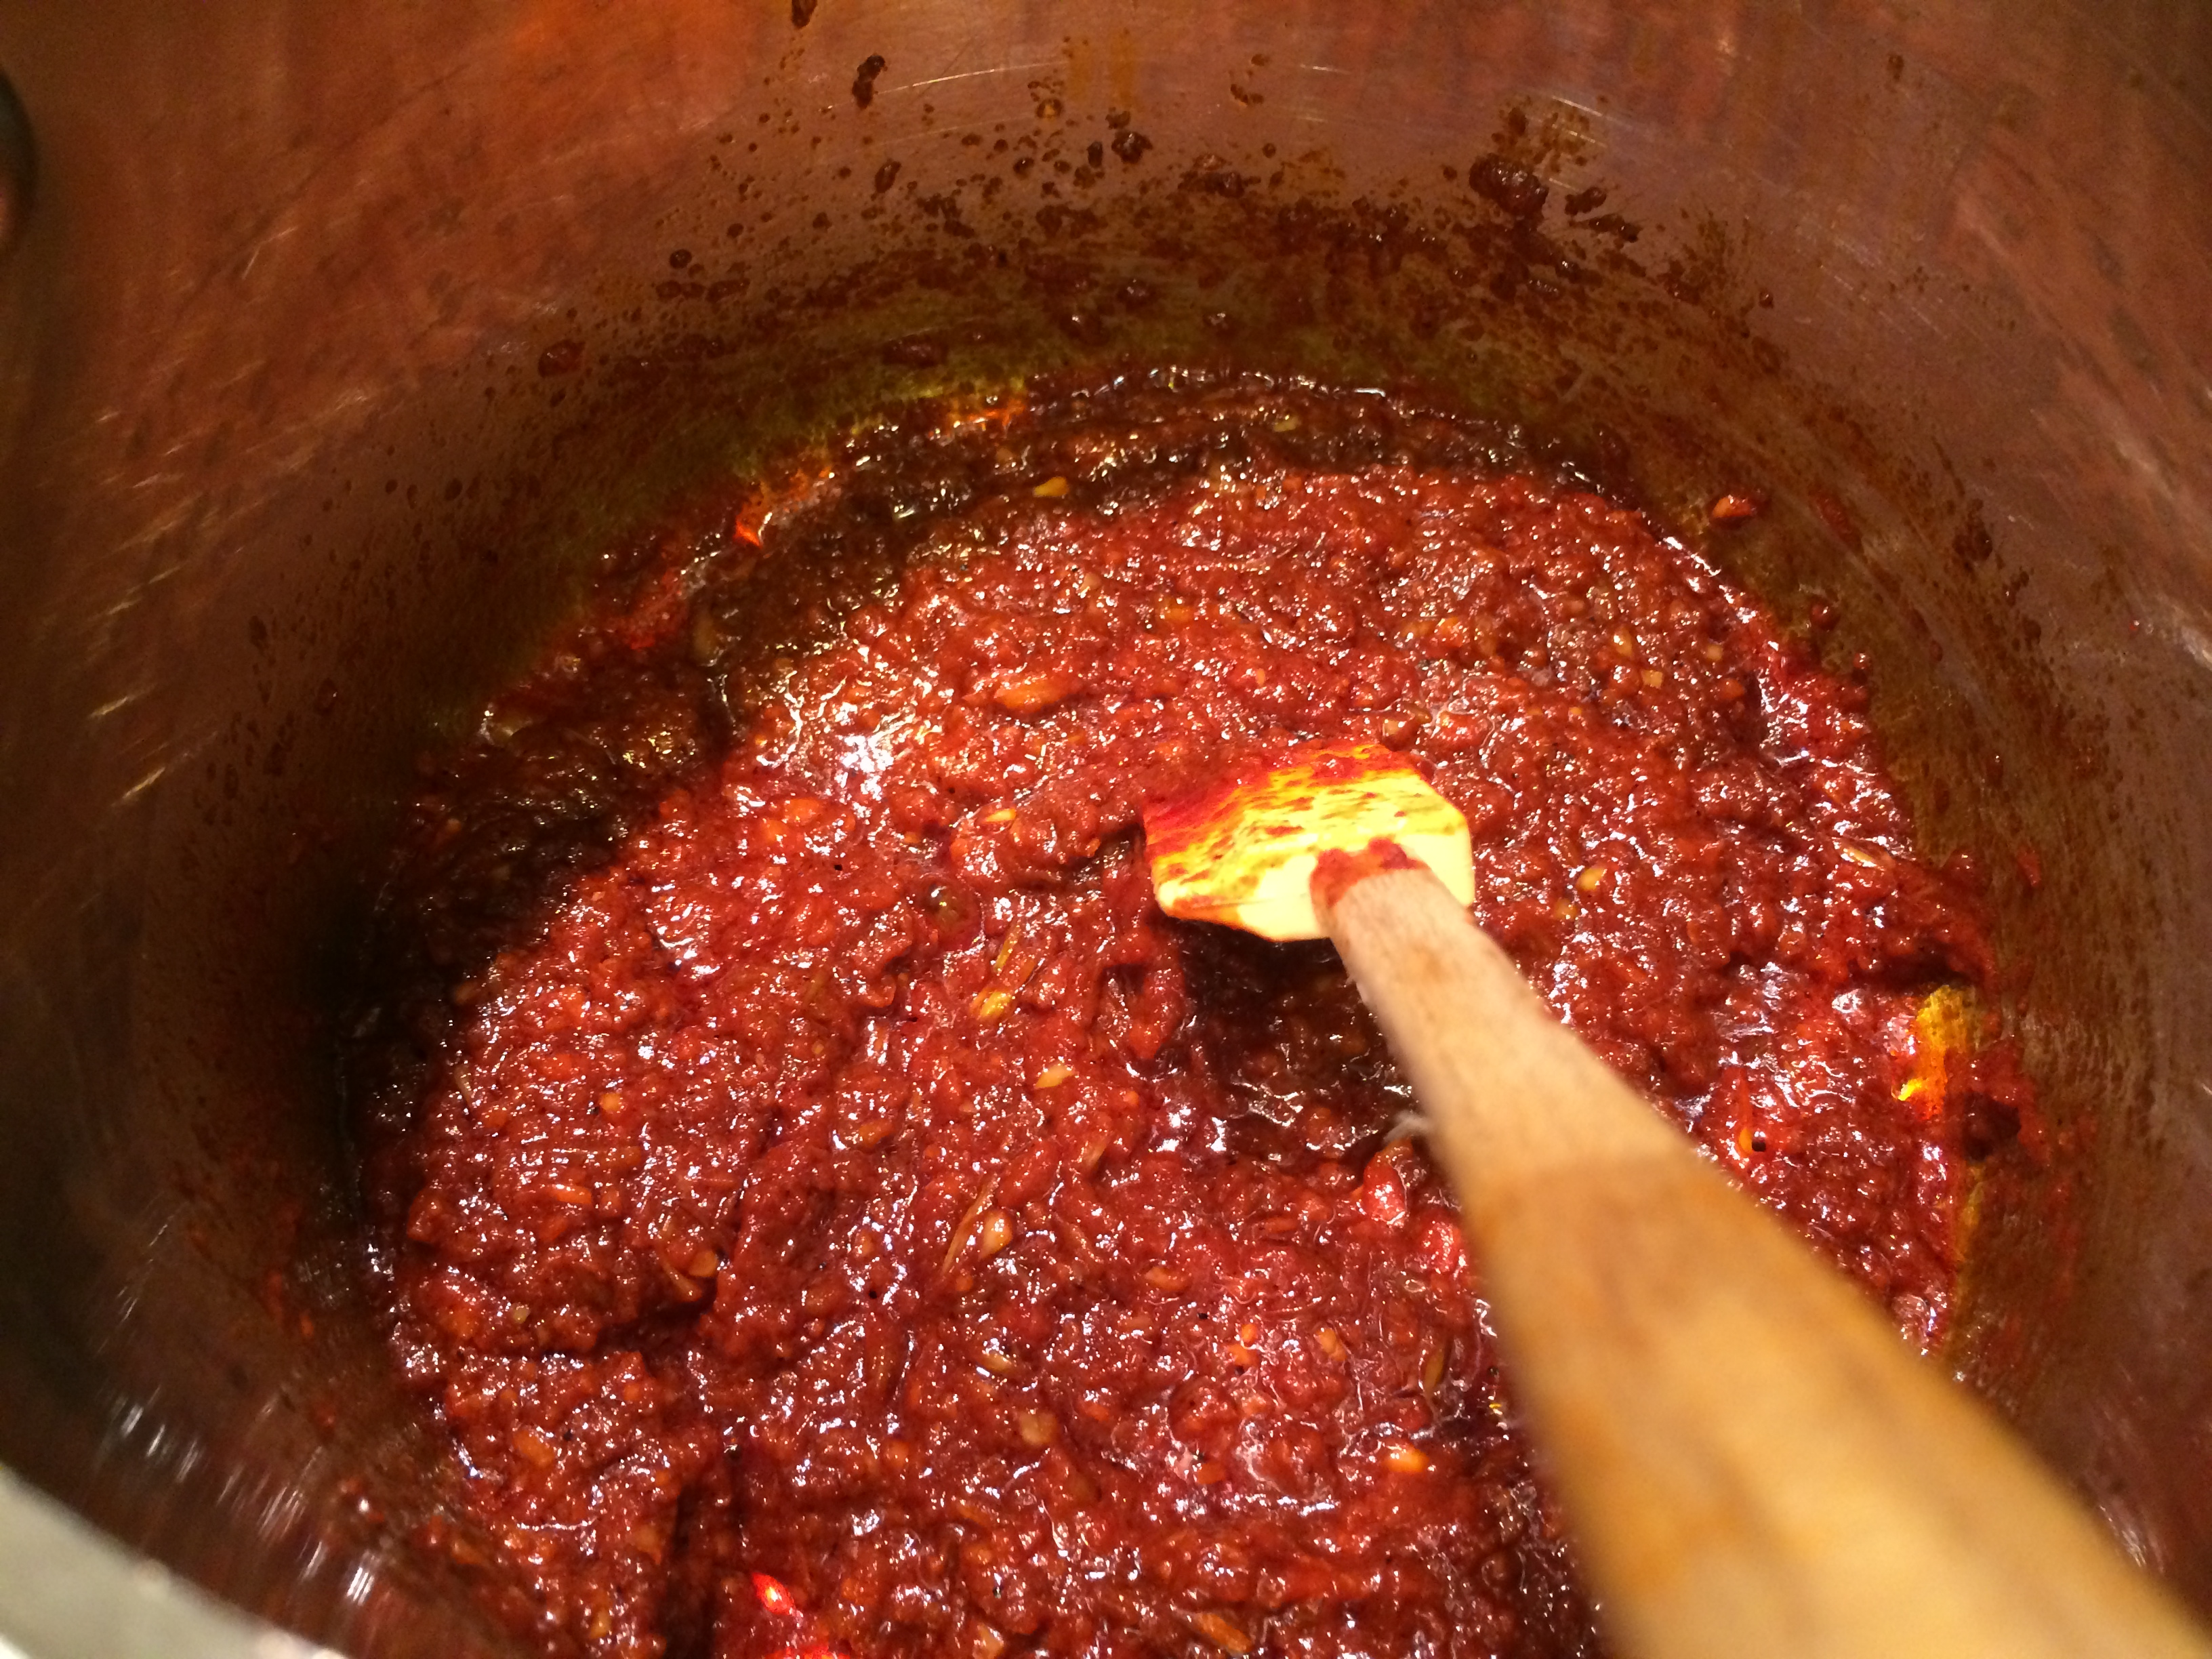
Ginger garlic chili paste with yogurt

Onion cooking with bay leaf and cardamom

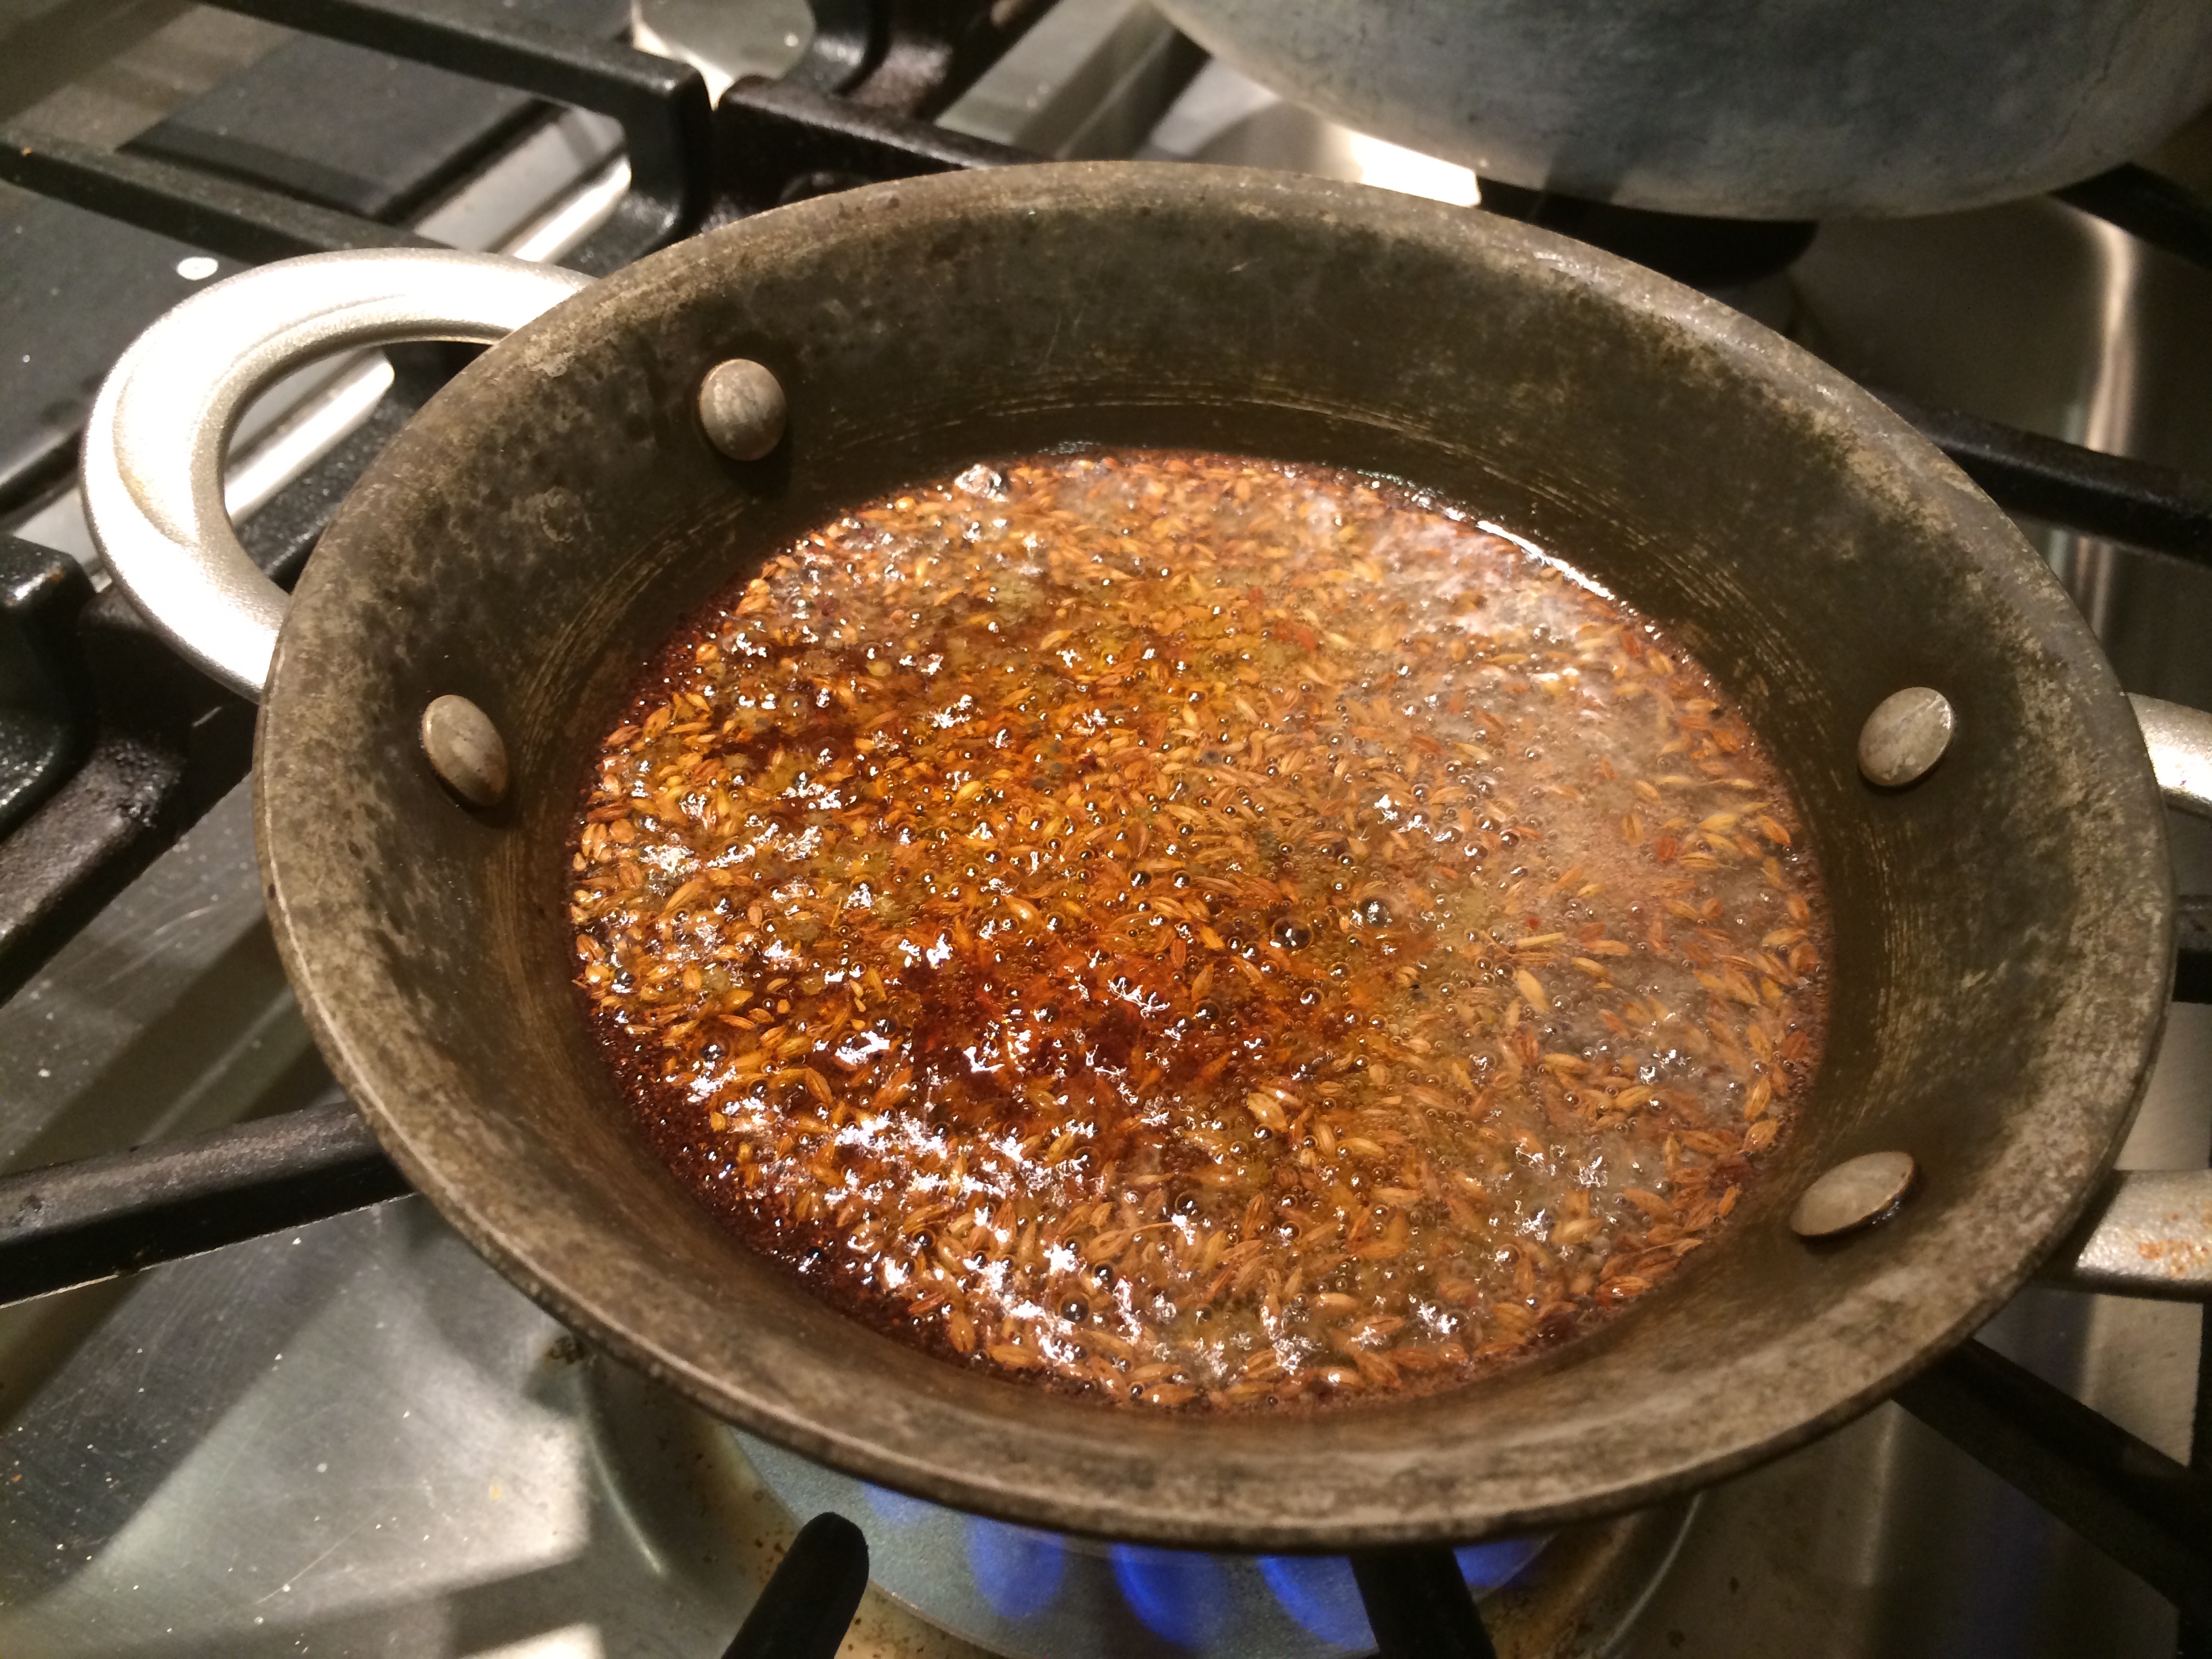
Paste enters

Paste drying up

Vegetables enter

Rice enters

Done
Vegetable Pulao
Ingredients
- 1 cup long-grained rice
- 1.25 cup water
- 4 cups diced vegetables, mix of carrots, peas, beans, cauliflower (cut slightly larger, because it has the tendency to turn to mush if overcooked), bell pepper, celery, potatoes
- 1 black cardamom
- 1 bay leaf
- 1/3 cup diced onion (this will be about half a medium onion)
- 3-4 cloves garlic
- 1 inch piece ginger
- 1-3 fresh green chilies
- 1/4 cup plain yogurt
- 1 teaspoon salt
- 2 tablespoons oil
Method
Rinse and soak the rice for about half hour. Dice the vegetables — those that cook quickly (like cauliflower) can be left larger, those that cook slowly (like carrot) can be cut smaller. Blend the yogurt along with ginger, garlic and chilies to make a paste.
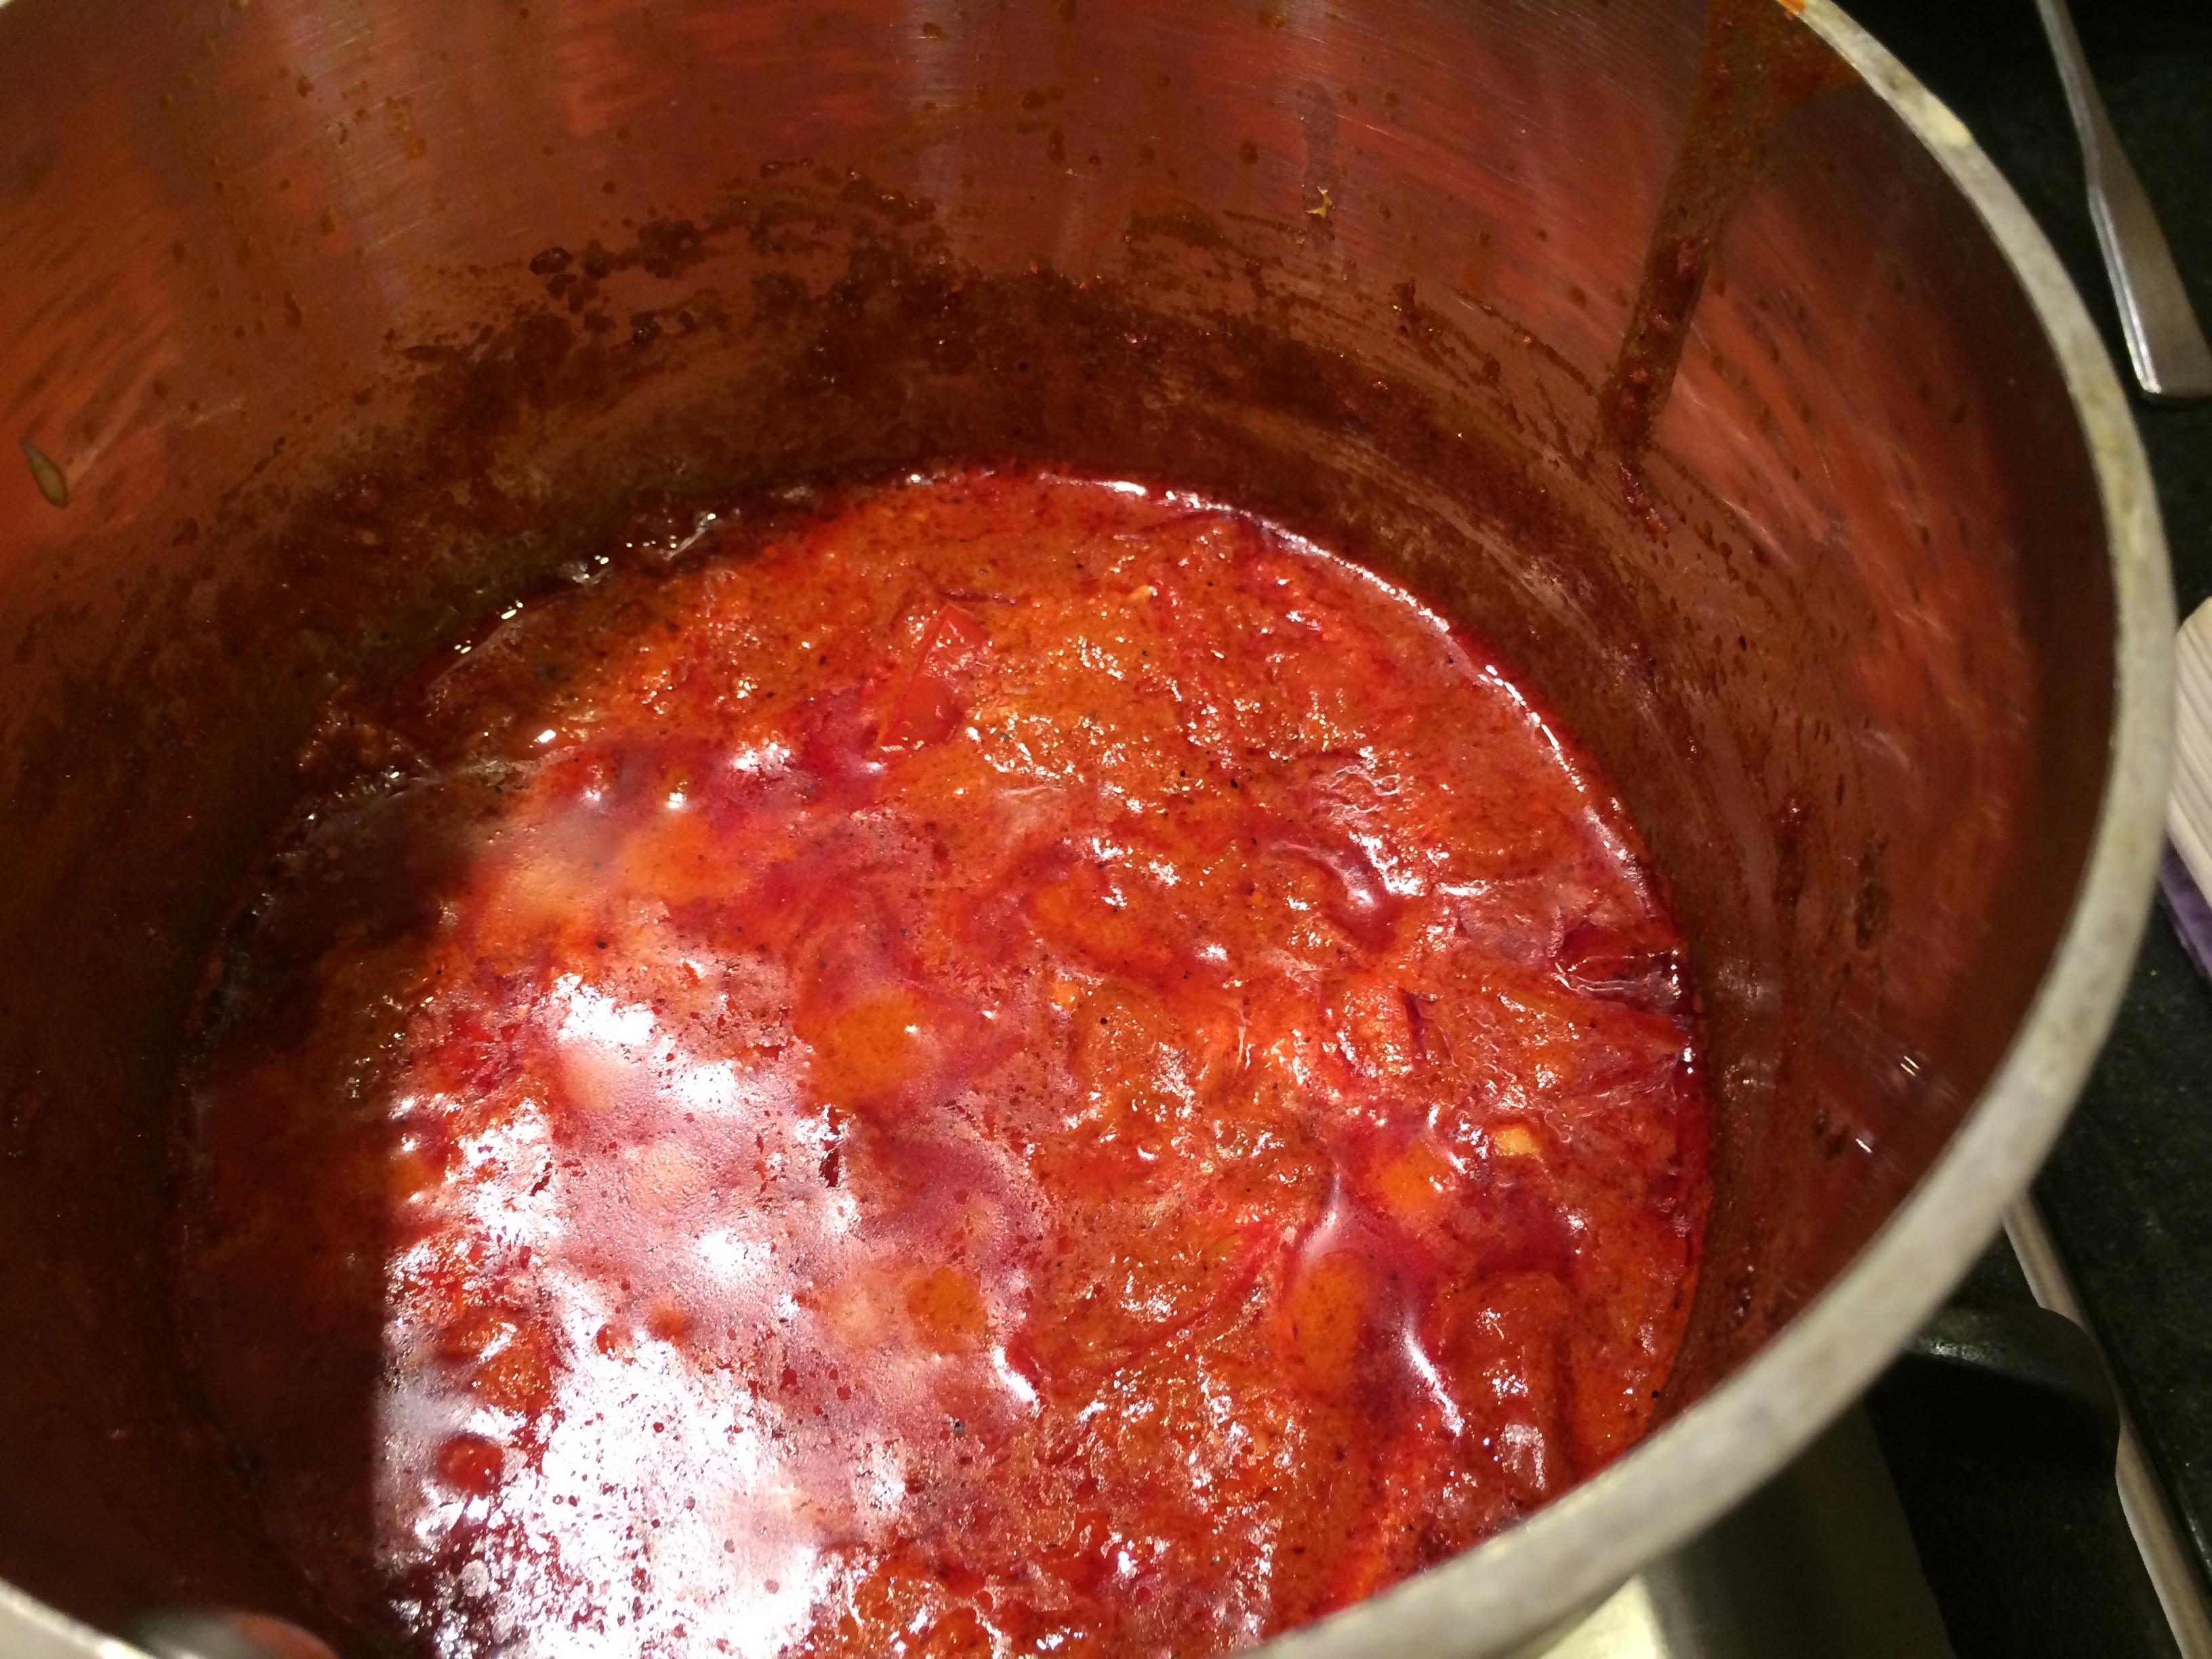
Heat oil in the pressure cooker or dutch oven on medium heat. When it shimmers, put in the cardamom and bay leaf. Let them cook until an aroma arises. Then put in the onion. It can cook for a few minutes until softened. Now put in the paste and stir to combine with the oil. In about five minutes of cooking, the paste will have dried up and the oil will show separating from the paste.
Now you can put the vegetables in, and simply toss them around to mix with the oil. Drain the rice and add that in as well, and stir to coat the rice with the oil and spices. Now put in the water and salt, and pressure cook for 15 minutes. If you are using a dutch oven, cover it tightly and cook it in the oven for about 20 minutes at 250ºF.
Let it sit covered for a few minutes after taking it off the heat. Before serving, fluff it up lightly with a fork.
(Click here to find me on Facebook and here on Twitter.)