Roasting corn
There was a time when corn was a delicious starchy snack. You had to cook it to enjoy it, and sometimes for quite long. But when you did, the kernels had this indescribable corny flavor that you could enjoy with butter, or chilies, or lime, or a number of other ways.
Wait. Rewind. Start over.
There was a time when corn was nothing but a big grass called teosinte, and the cob was basically a stick, and there were maybe five kernels on it. And they were covered with a hard shell. This corn was, shall we say, inedible.
So various talented ancient breeders who saw the possibilities in corn bred it to grow bigger. And bigger. And made the kernels edible. Then, tasty. Richly colored with purple and red hues, the cobs would make as good a decoration as the kernels would a nutritious tortilla, if you ground them up and slaked it with lime.
Fine. Then came people (closer to modern times) who didn’t care much for these splashy colors and wanted food to be pure white (picky eaters) possibly to better match their bone china. So they bred corn white.
Great. Unknowingly, they also said goodbye to the wonderful nutrients carried in the purple and red hues. Then they realized that if you pick corn and eat it right away it is sweet. If you wait even a few hours, it is starchy. So they got into a sort of fever to eat corn as soon as it came off the farm like one, two, three, ready…pick…eat!
Then came test-tube-wielding lab-coated people who found a teeny-tiny-leetle thing you could change in corn to make it stay sweet longer, so they did. This corn was not really a very good organism, since it could not reproduce on its own. But it was a very desirable crop.
Sweet corn. A sensation. The lab-coats had nowhere left to go but down. They made corn sweeter. And super-sweeter. Closer and closer to candy. Until there wasn’t much difference left between this and this.


Stop! Just stop already. We recently bought corn at the grocery store and ate it eagerly for dinner…such a disappointment. Sweet it was, very much so; but none of that wonderful corn flavor that comes with the starch. We felt like we had eaten dessert early. Where does one go if one misses the savory flavor of corn that goes with a bit of chili, a bit of lime; perhaps some charring? Where does one go for corn of such arrested development?
To the farmer’s market!
Sticky corn
The other day at the farmer’s market I found mounds of corn that went by the name of sticky corn. Some were purple, some not. They were quite a bit smaller than the regular cobs. What they exactly were was a mystery to me, but judging from the people crowding around the piles I guessed that sticky corn is an Asian specialty.
It turns out that way back in the 1500’s almost right after the Portuguese found corn in America, they brought it to China, where it became quite popular. Now once in a while corn will develop waxy grains. Normally this is a defect and the waxy grains don’t bode well for corn itself. But the Chinese, already used to sticky rice, treasured and tended to the defective sticky corn. It became a delicacy.
Breeding away in backwaters of China, sticky corn escaped this drive to turn everything sweet and easy.
From the 1500’s to present-day farmer’s markets in the Bay Area where certain Indian immigrants (me) are sick and tired of candy-sweet corn and are craving the roasted starchy flavor. Of course I swooped in and grabbed some.
Roasted corn
Now I was trying to recreate a specific thing. All over Mumbai there are food stalls that serve but one dish — roasted corn. There are coals and there is fire, and a simple red chili and salt combination with some lime. It turned out that sticky corn needed pre-cooking to achieve this dish but it turned out delicious.
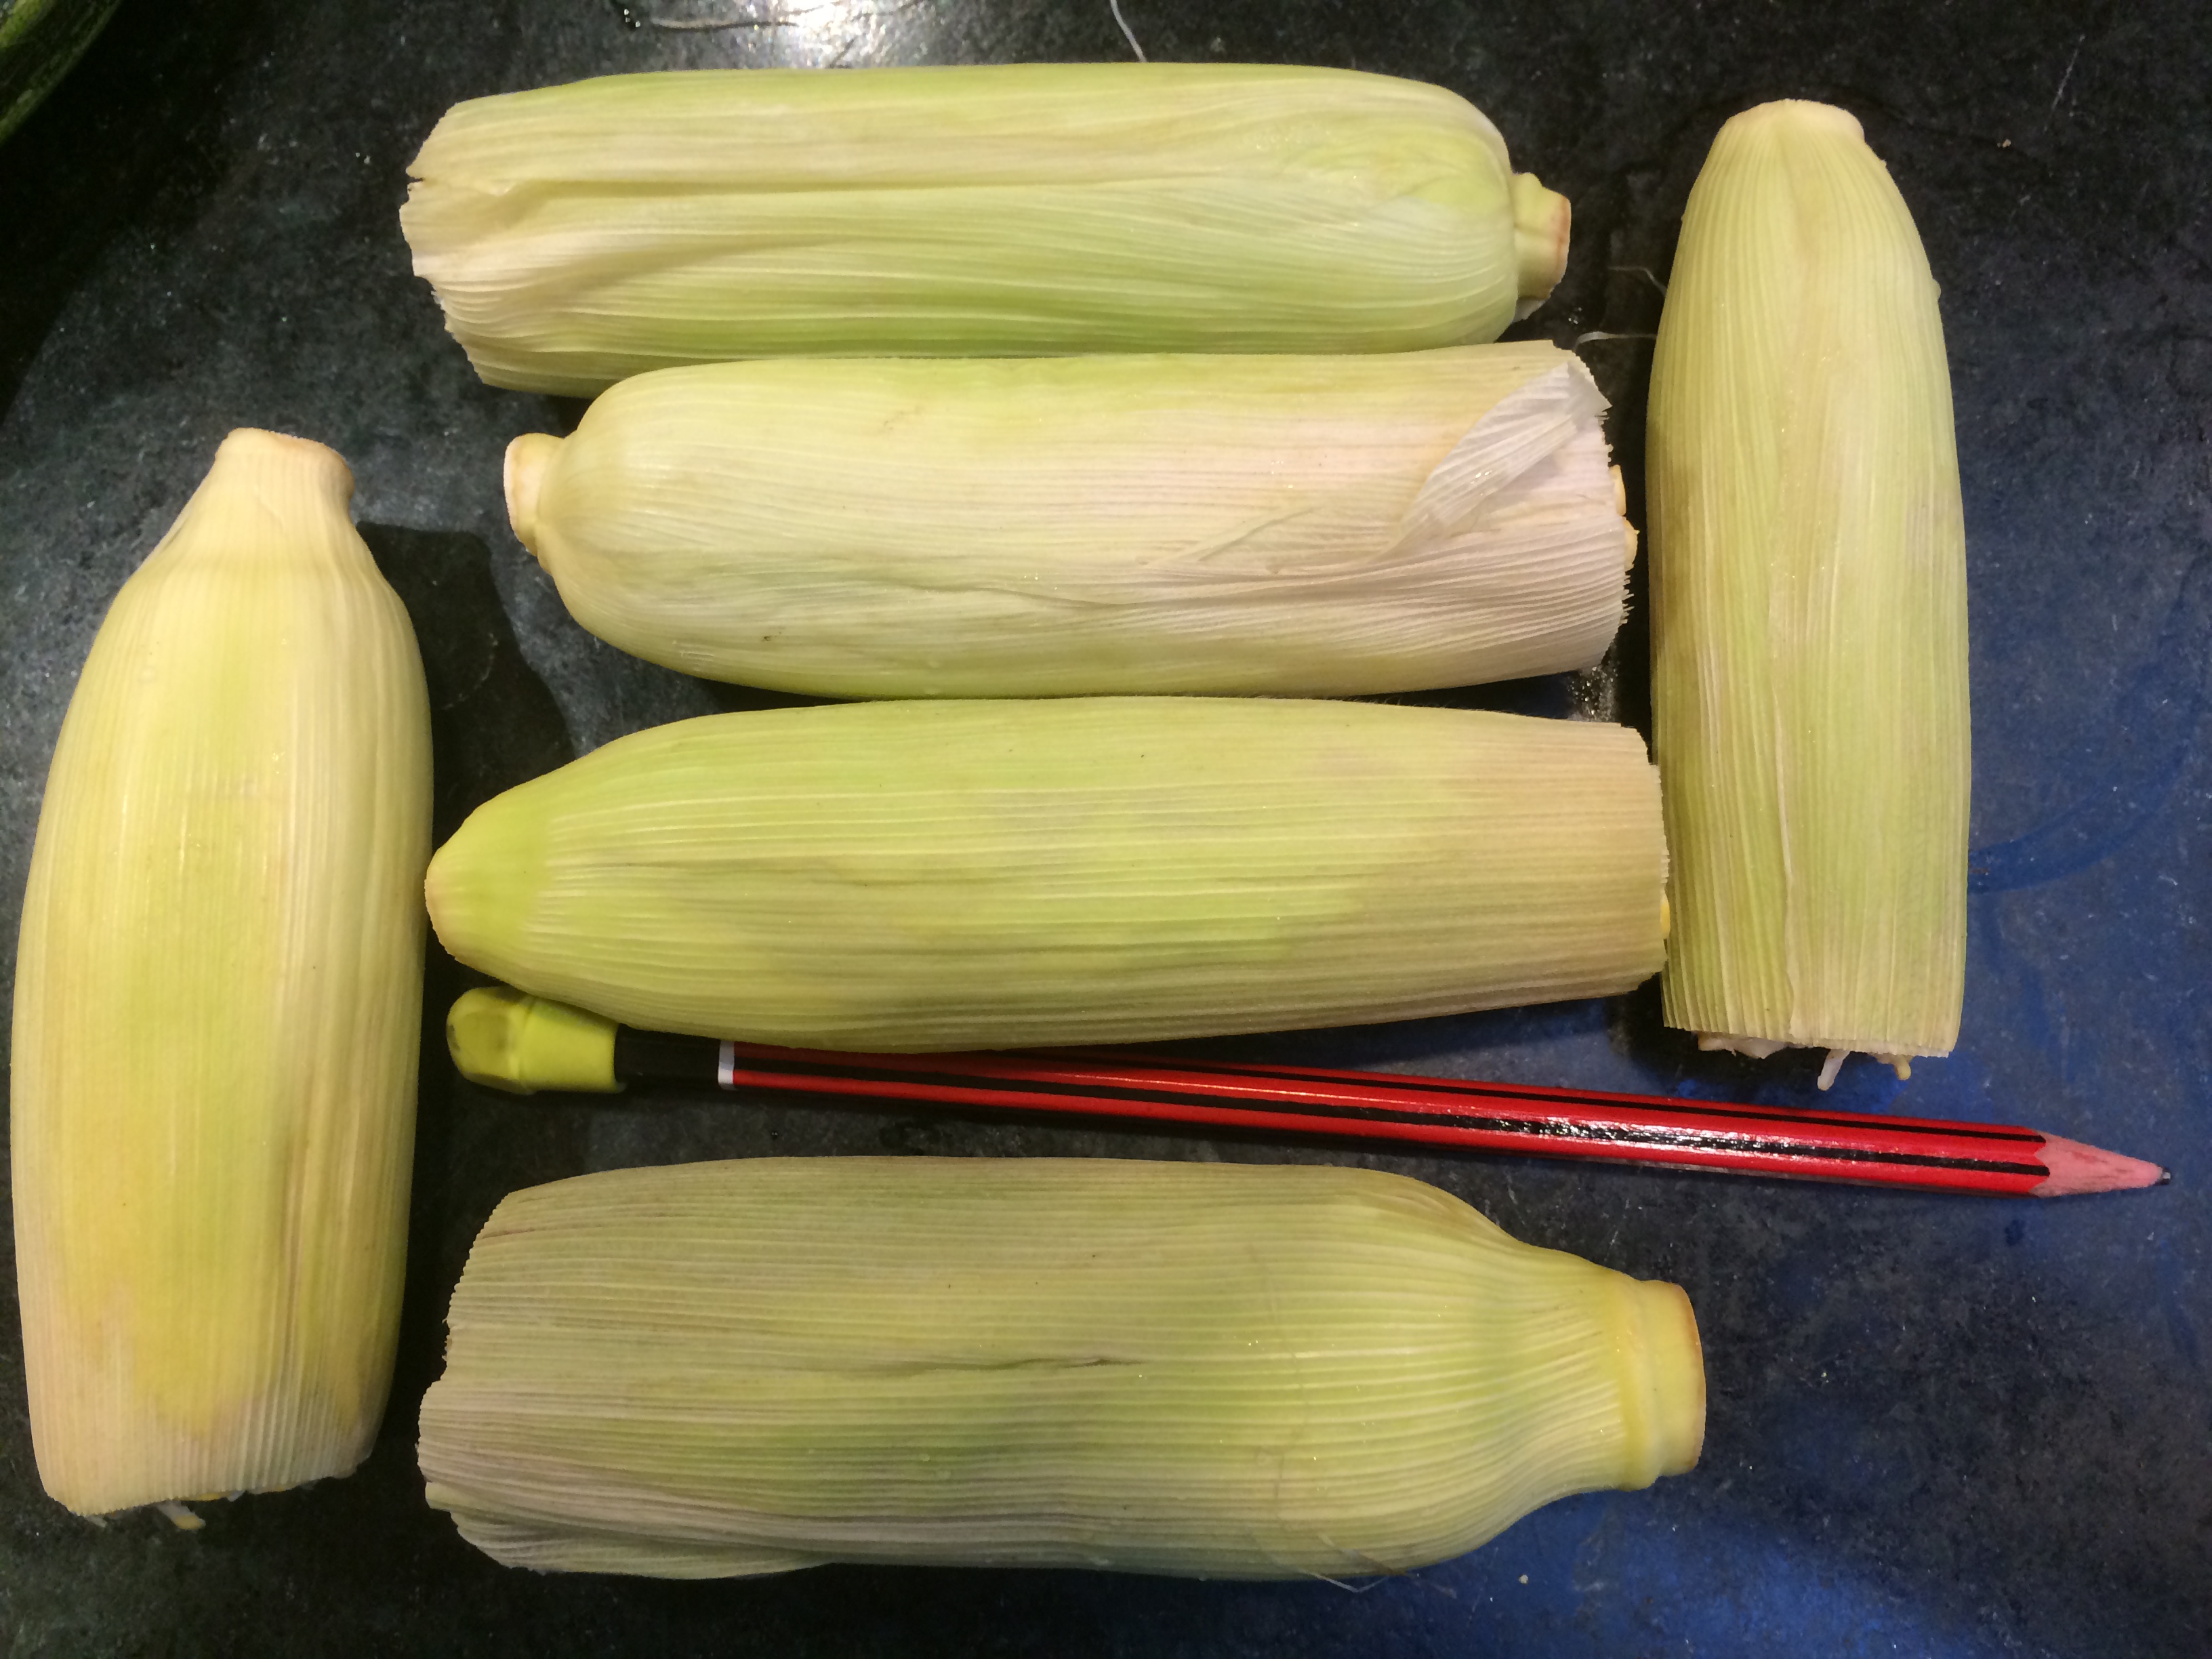
Sticky corn with pencil for scale

Sticky corn in pot for boiling

Boiled

The kernels when boiled

Roasting

Served
Roasted sticky corn
Ingredients:
- Sticky corn in their ears
- Red chili powder
- Salt
- Lime or lemon
- Butter or ghee (optional)
Method:
Pressure cook the ears of corn for 15 minutes with some salt added to the water. If you don’t have a pressure cooker you can boil them for 45 minutes instead.
Take the leaves off the cobs. Hold them with tongs and roast them over an open flame, turning slowly, for about seven minutes each until evenly charred. If you like, rub some ghee or butter over. Serve with quarters of lime and a small bowl with a mix of red chili and salt, so that by dipping the lime in the powdered mix, and rubbing the lime over the entire cob, all the flavorings can be added at once.