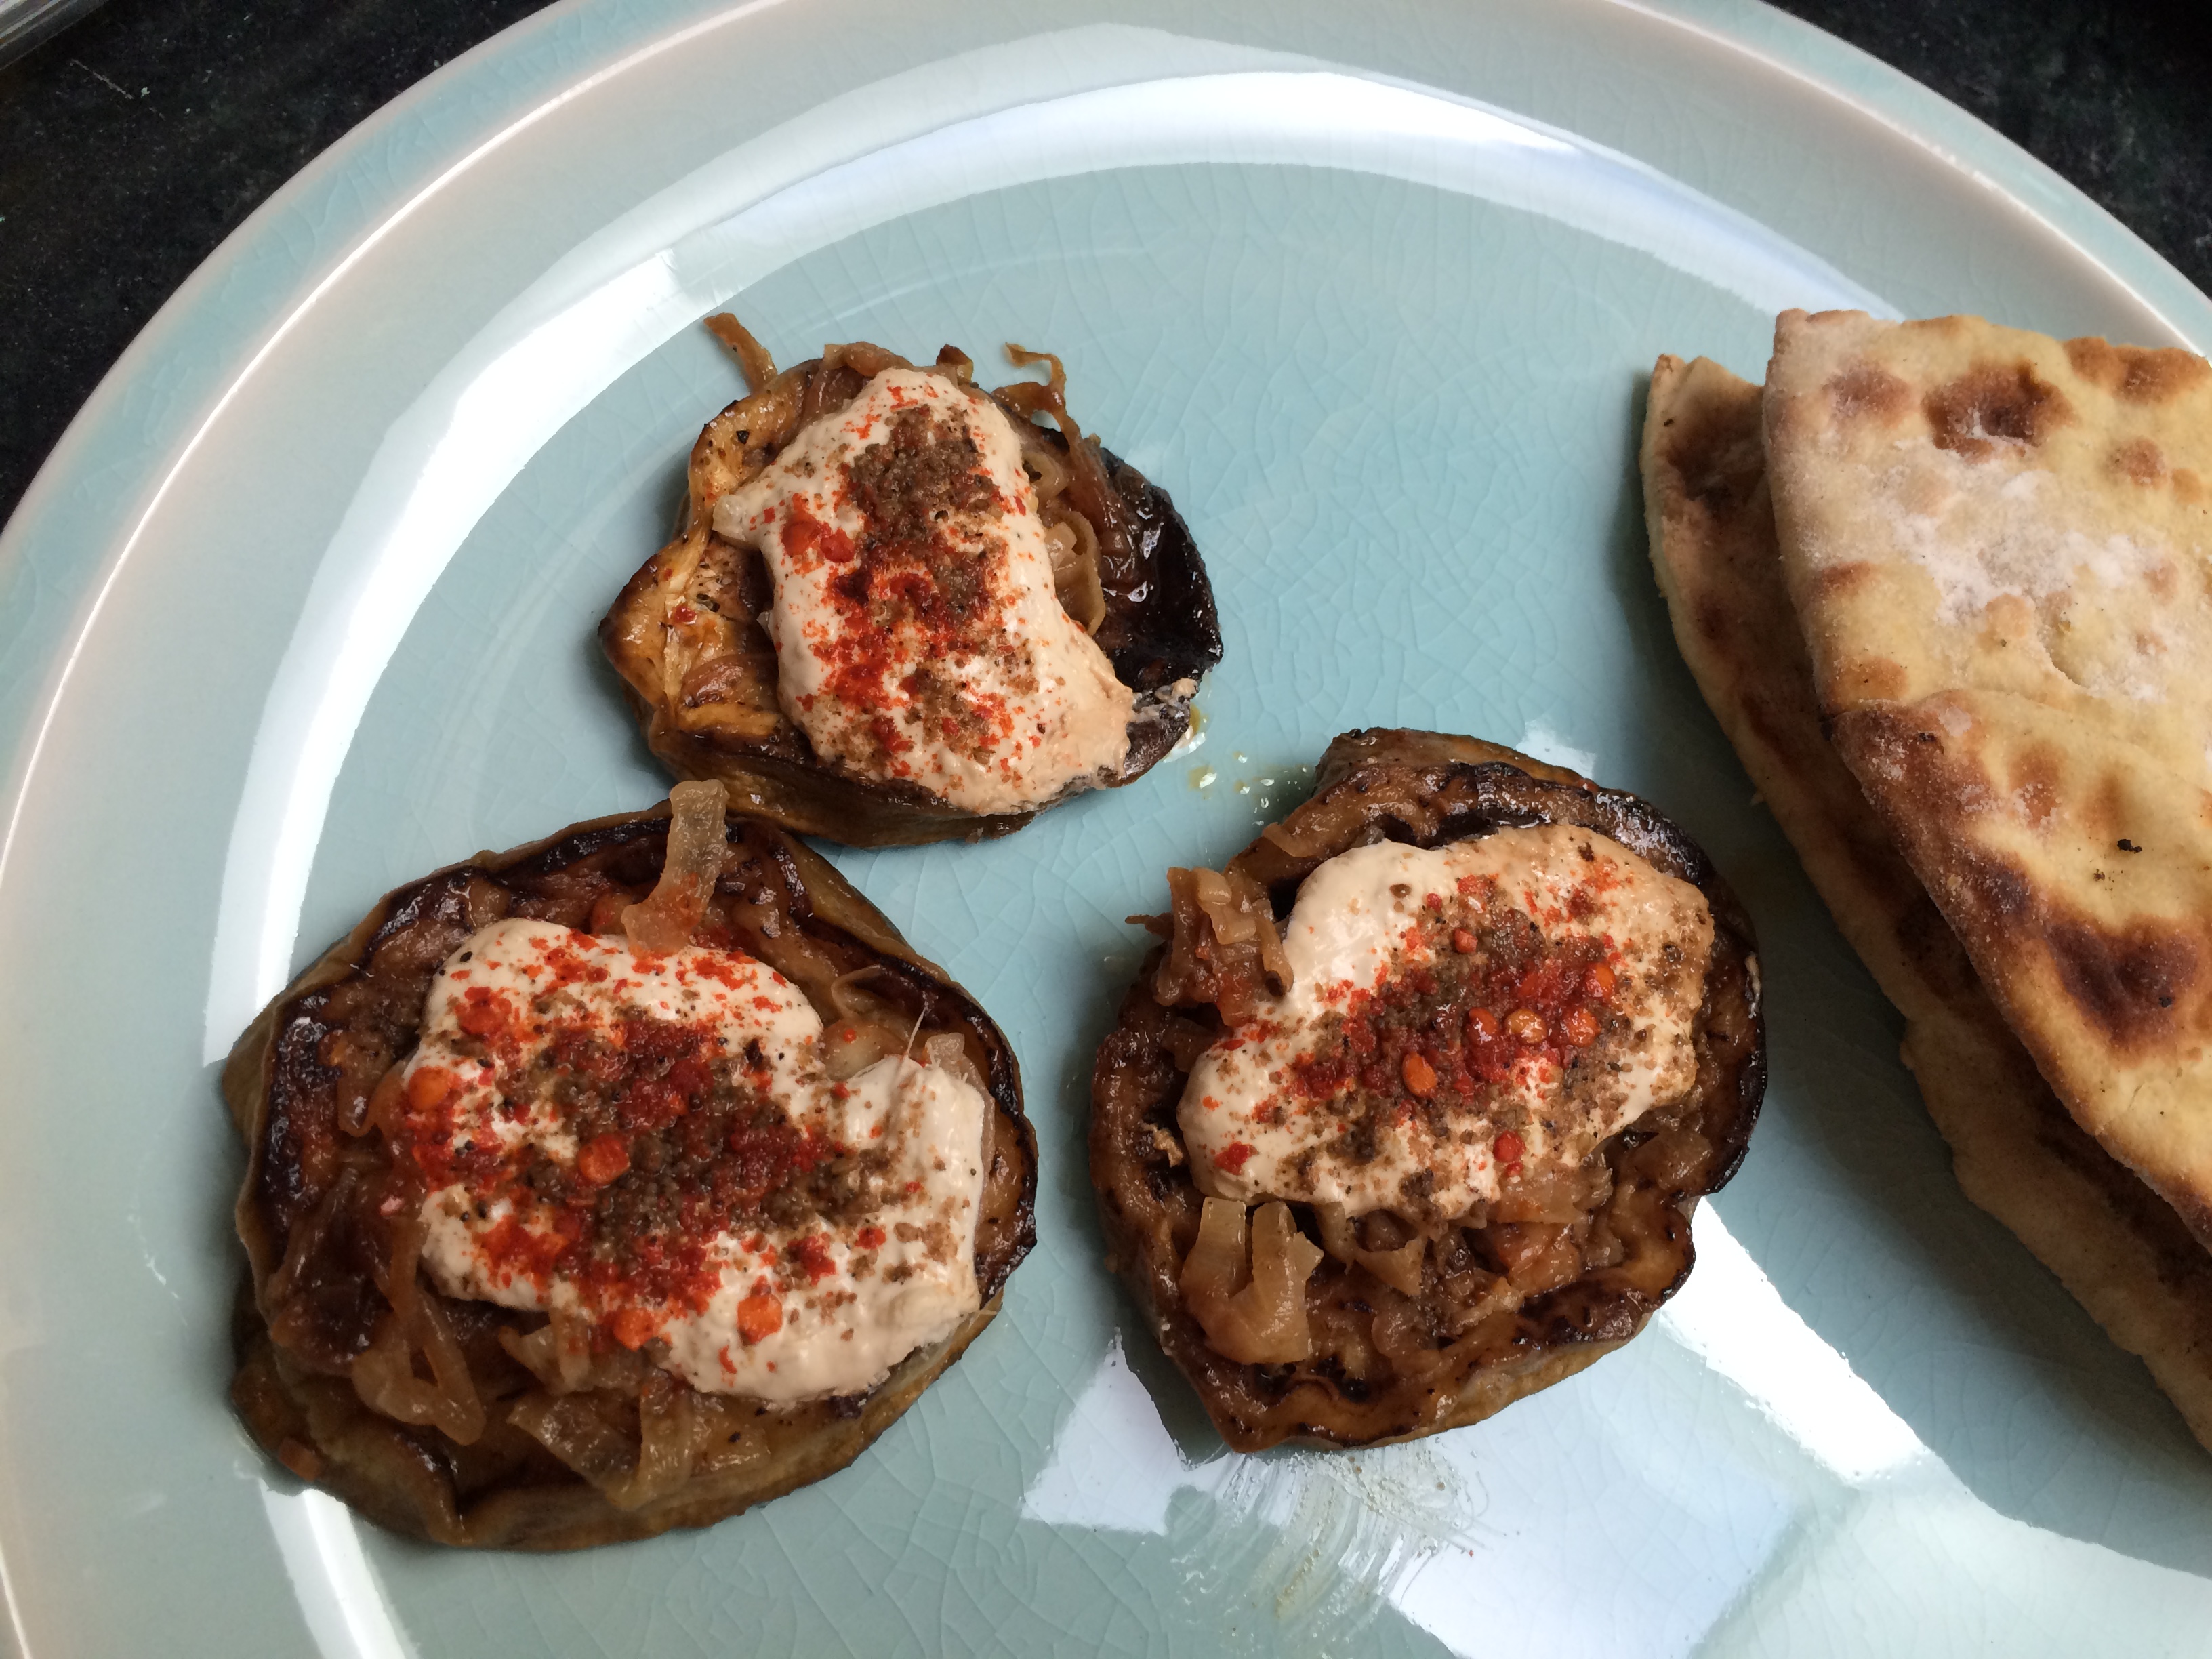
Eggplant topped with yogurt
Call it eggplant, call it aubergine, or call it brinjal. Many will tell you that this is their most hated vegetable. I’m not sure what it is — is it that the flesh turns mushy and dark when cooked? Or that it is studded with seeds throughout? Or is it the sharp and yet bland flavor?
Whatever it is, while most people are cowering in fright from the onslaught of the dreaded eggplant, a vast swath of Asia from Iran to northern India is shoveling great mouthfuls of it down the hatch and passing the dish around for seconds. Why? What have they discovered?
One, that eggplant must be cooked through. Completely soft on the inside, almost charred on the outside. None of this fashionable light grill-marks with the al dente bite remaining. (What is the deal with that anyway? Why can’t we cook each vegetable the way the vegetable itself demands it, instead of applying one fashionable cooking method to all?)
Two, use oil. Enough oil. Be not afraid of the fat — haven’t you heard? Fat is good for you again! Eggplant soaks in oil like a sponge, they say, in faintly disapproving tones; not mentioning the crucial fact — that the oil, once it hits the inside at heat, is turning a rubbery sponge into sheer lusciousness.
The other trick? That eggplant goes well with the aromatic trio — onion, garlic and ginger, used in creative ways; and goes specially well layered with plain, thick, slightly-sour-and-slightly-creamy yogurt.
Eggplant peel — a fraught subject. And pre-salting?
One of the first disputes we had in our marriage was over eggplant peel. I love how it crisps up and adds a nice dimension to each bite of pan-grilled slices. While for my husband the peel sliding off the flesh in long strands causes psychic distress. In order to ever be able to have eggplant for dinner, I had to get him to partake; and in order to get him to eat it, I had to peel it.
So I do. But if you do not have a problem with the peel, you should leave it on, because the purple hues of the peel contain the same purple nutrient that blueberries do.
Also, I read in a lot of cooking advice that one must salt the eggplant for 30 minutes, and drain the resulting liquid, in order to remove the bitterness. I’m not sure what I am missing but I don’t find eggplant bitter in the first place. I never pre-salt it, and the result is not in the slightest bit objectionable. Is it possible that the eggplant of yore was indeed bitter and we have bred it out over the centuries? Yes, it is possible. So, skip the salting.
Baingan ki Boorani
A dish very similar to this was made in our home to be eaten with rotis. It is a classic all over Afghanistan and other parts of North India. Madhur Jaffrey has covered it in several of her books as well. But my recent inspiration came from the Feeding the Sonis blog, where Sanjana has made a dish with the same ingredients but different presentation. Check it out!
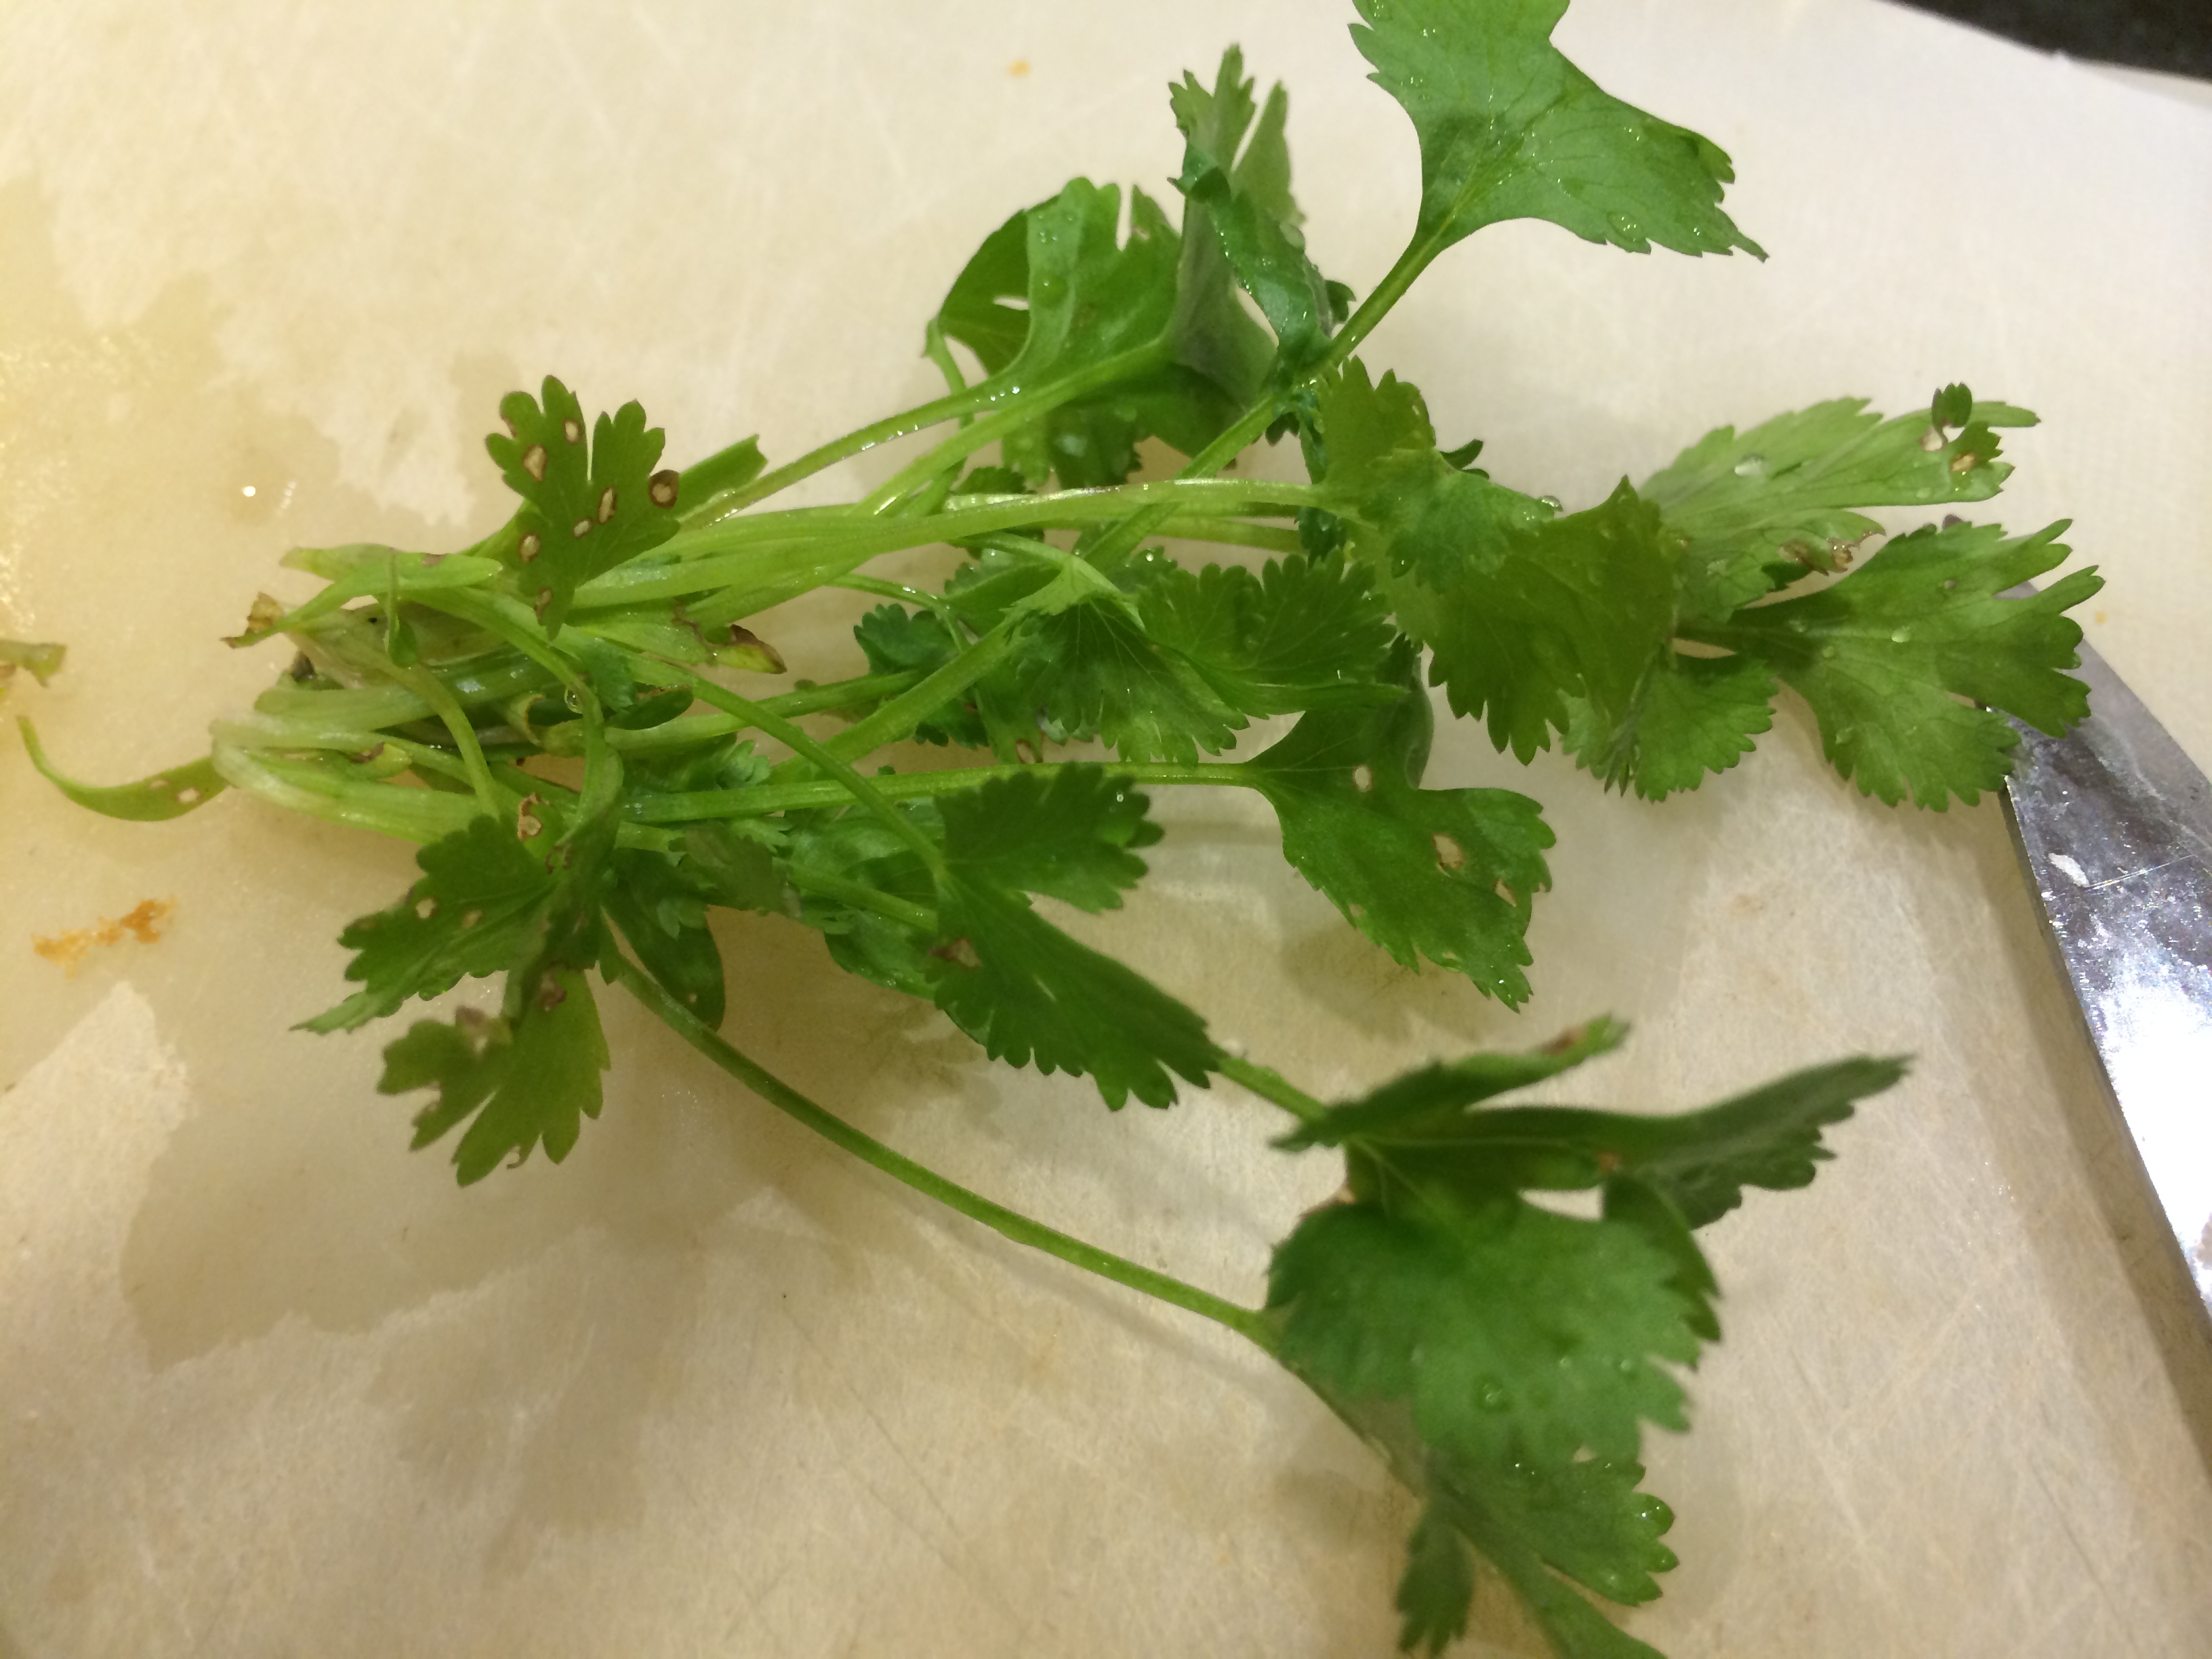
It involves pan-fried eggplant slices covered with flavored yogurt. Here, let your imagination be your guide. I did not add any green herbs, but anything from mint to scallions or cilantro would work; I did not make a tomato gravy, but that could be used to cover the eggplant slices as well.

Slicing eggplant, half inch thick

Tic-tac-toe cuts on one surface

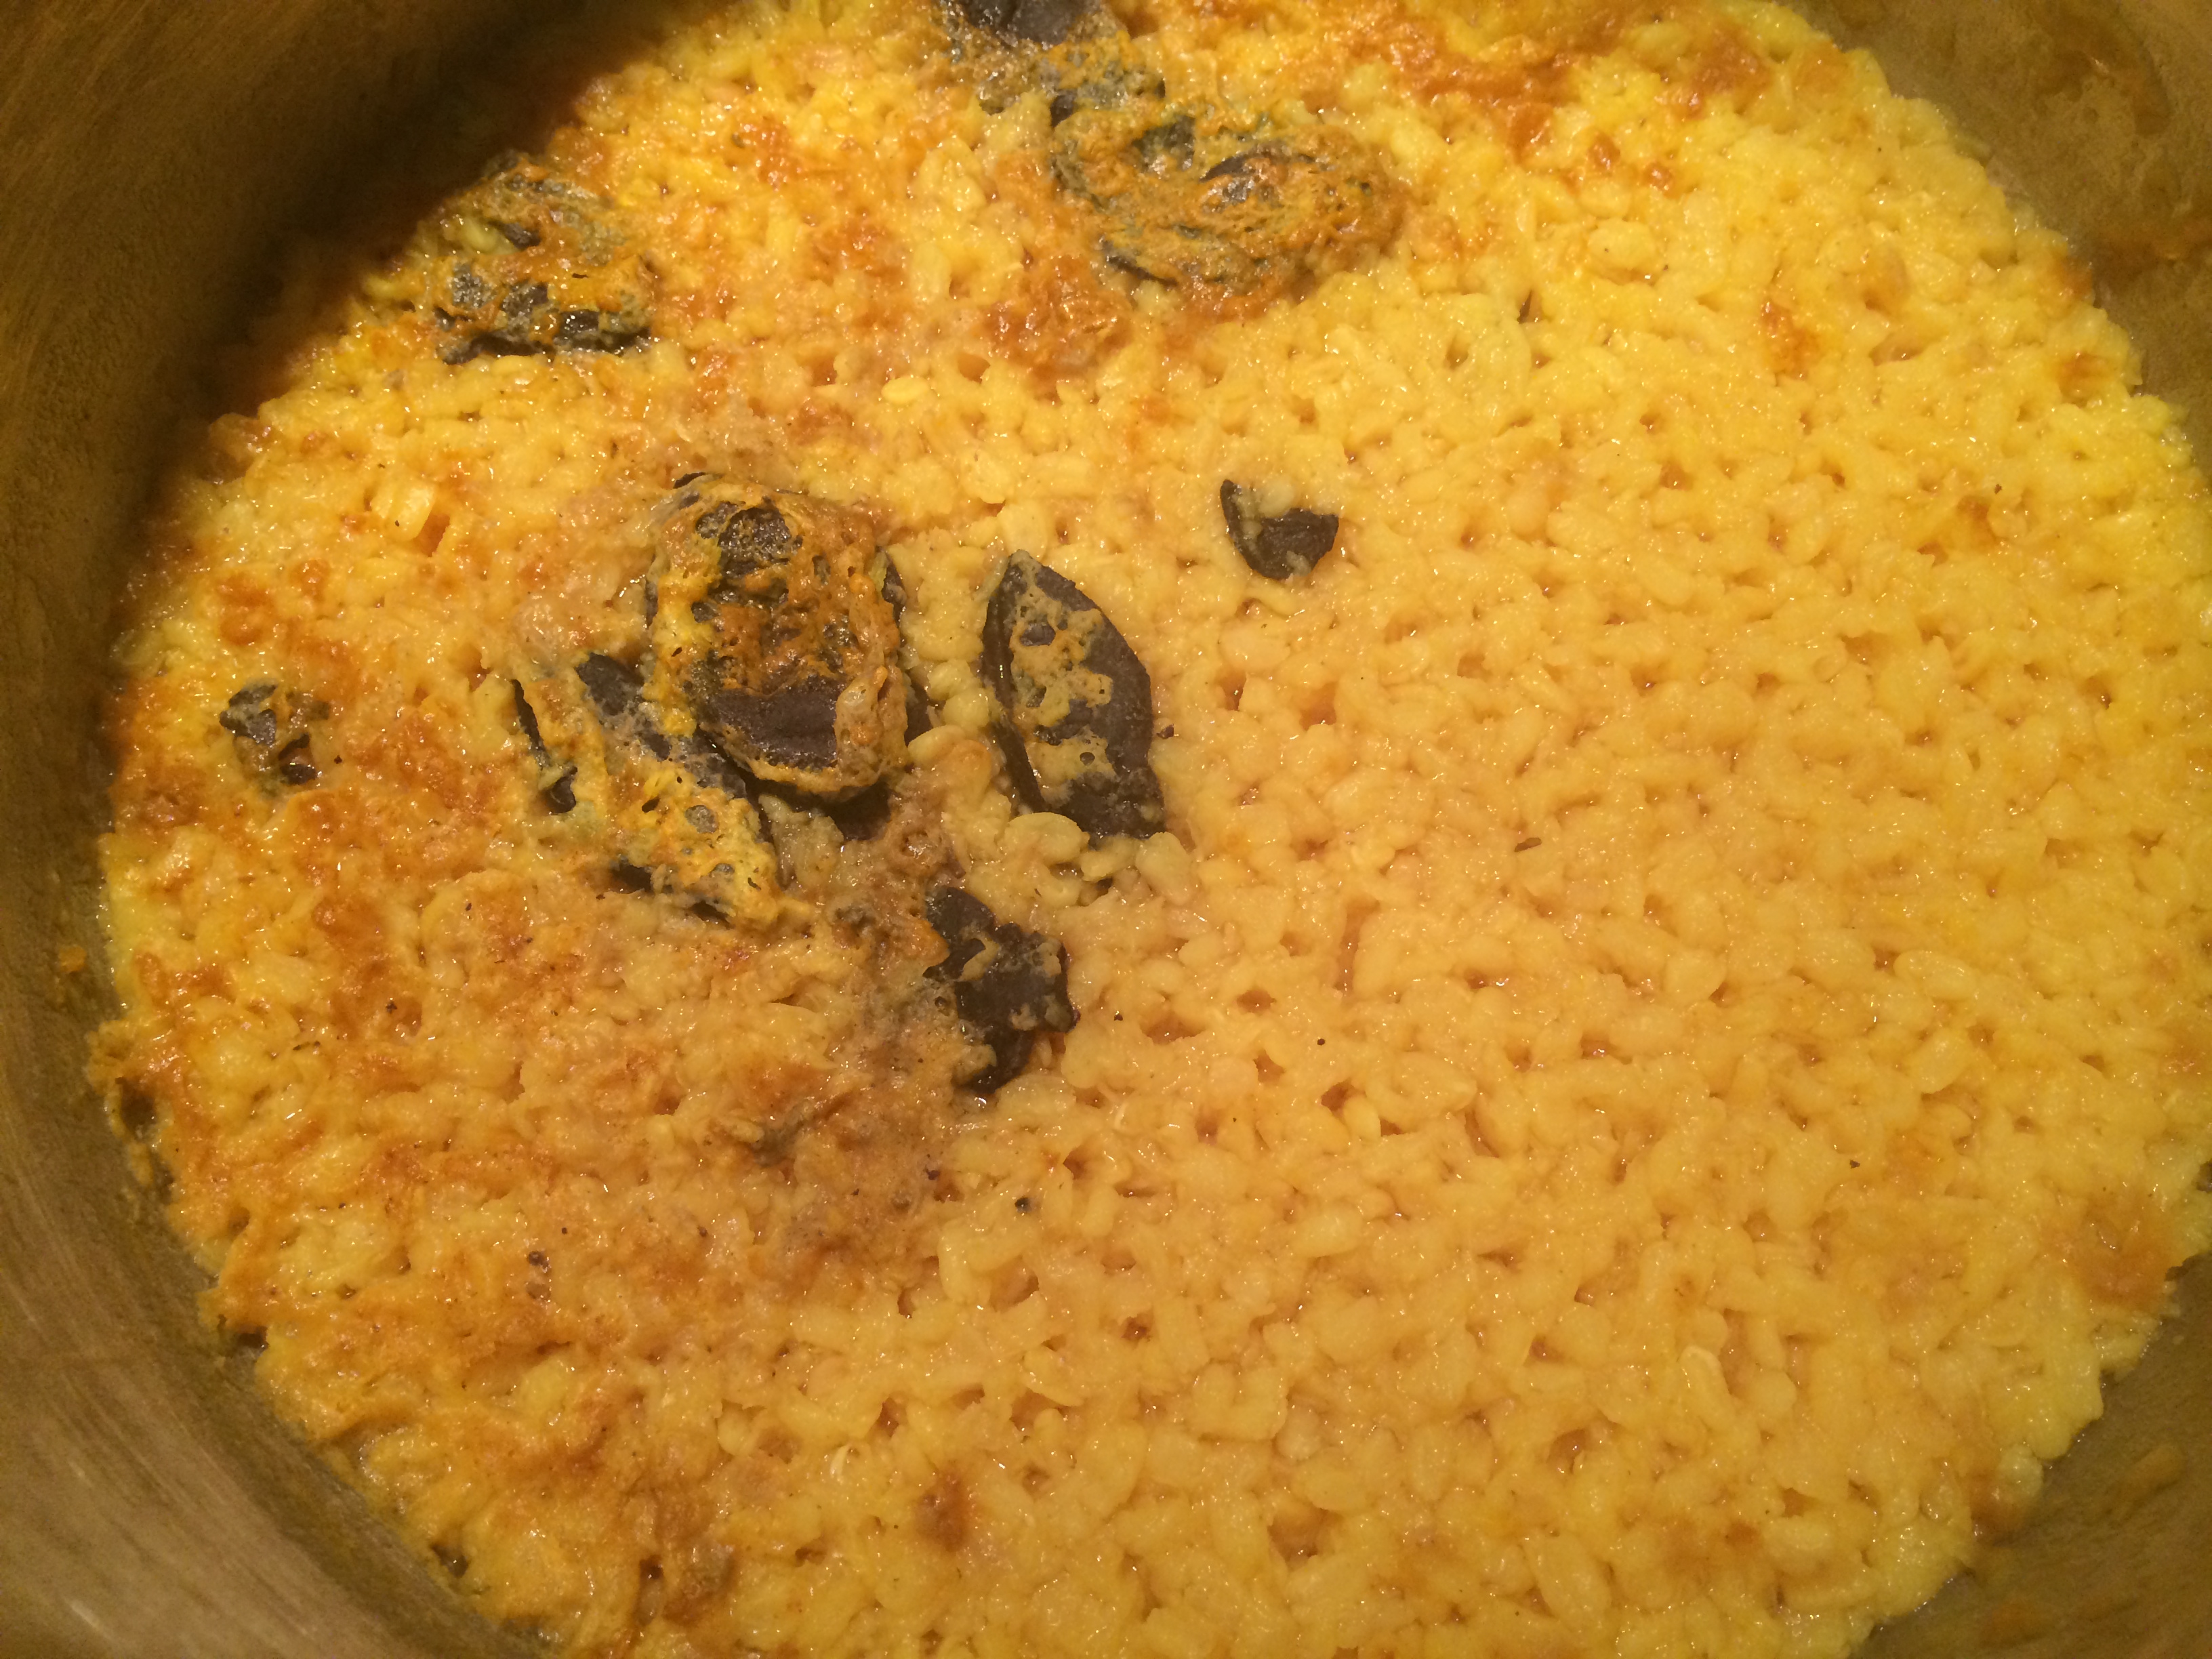
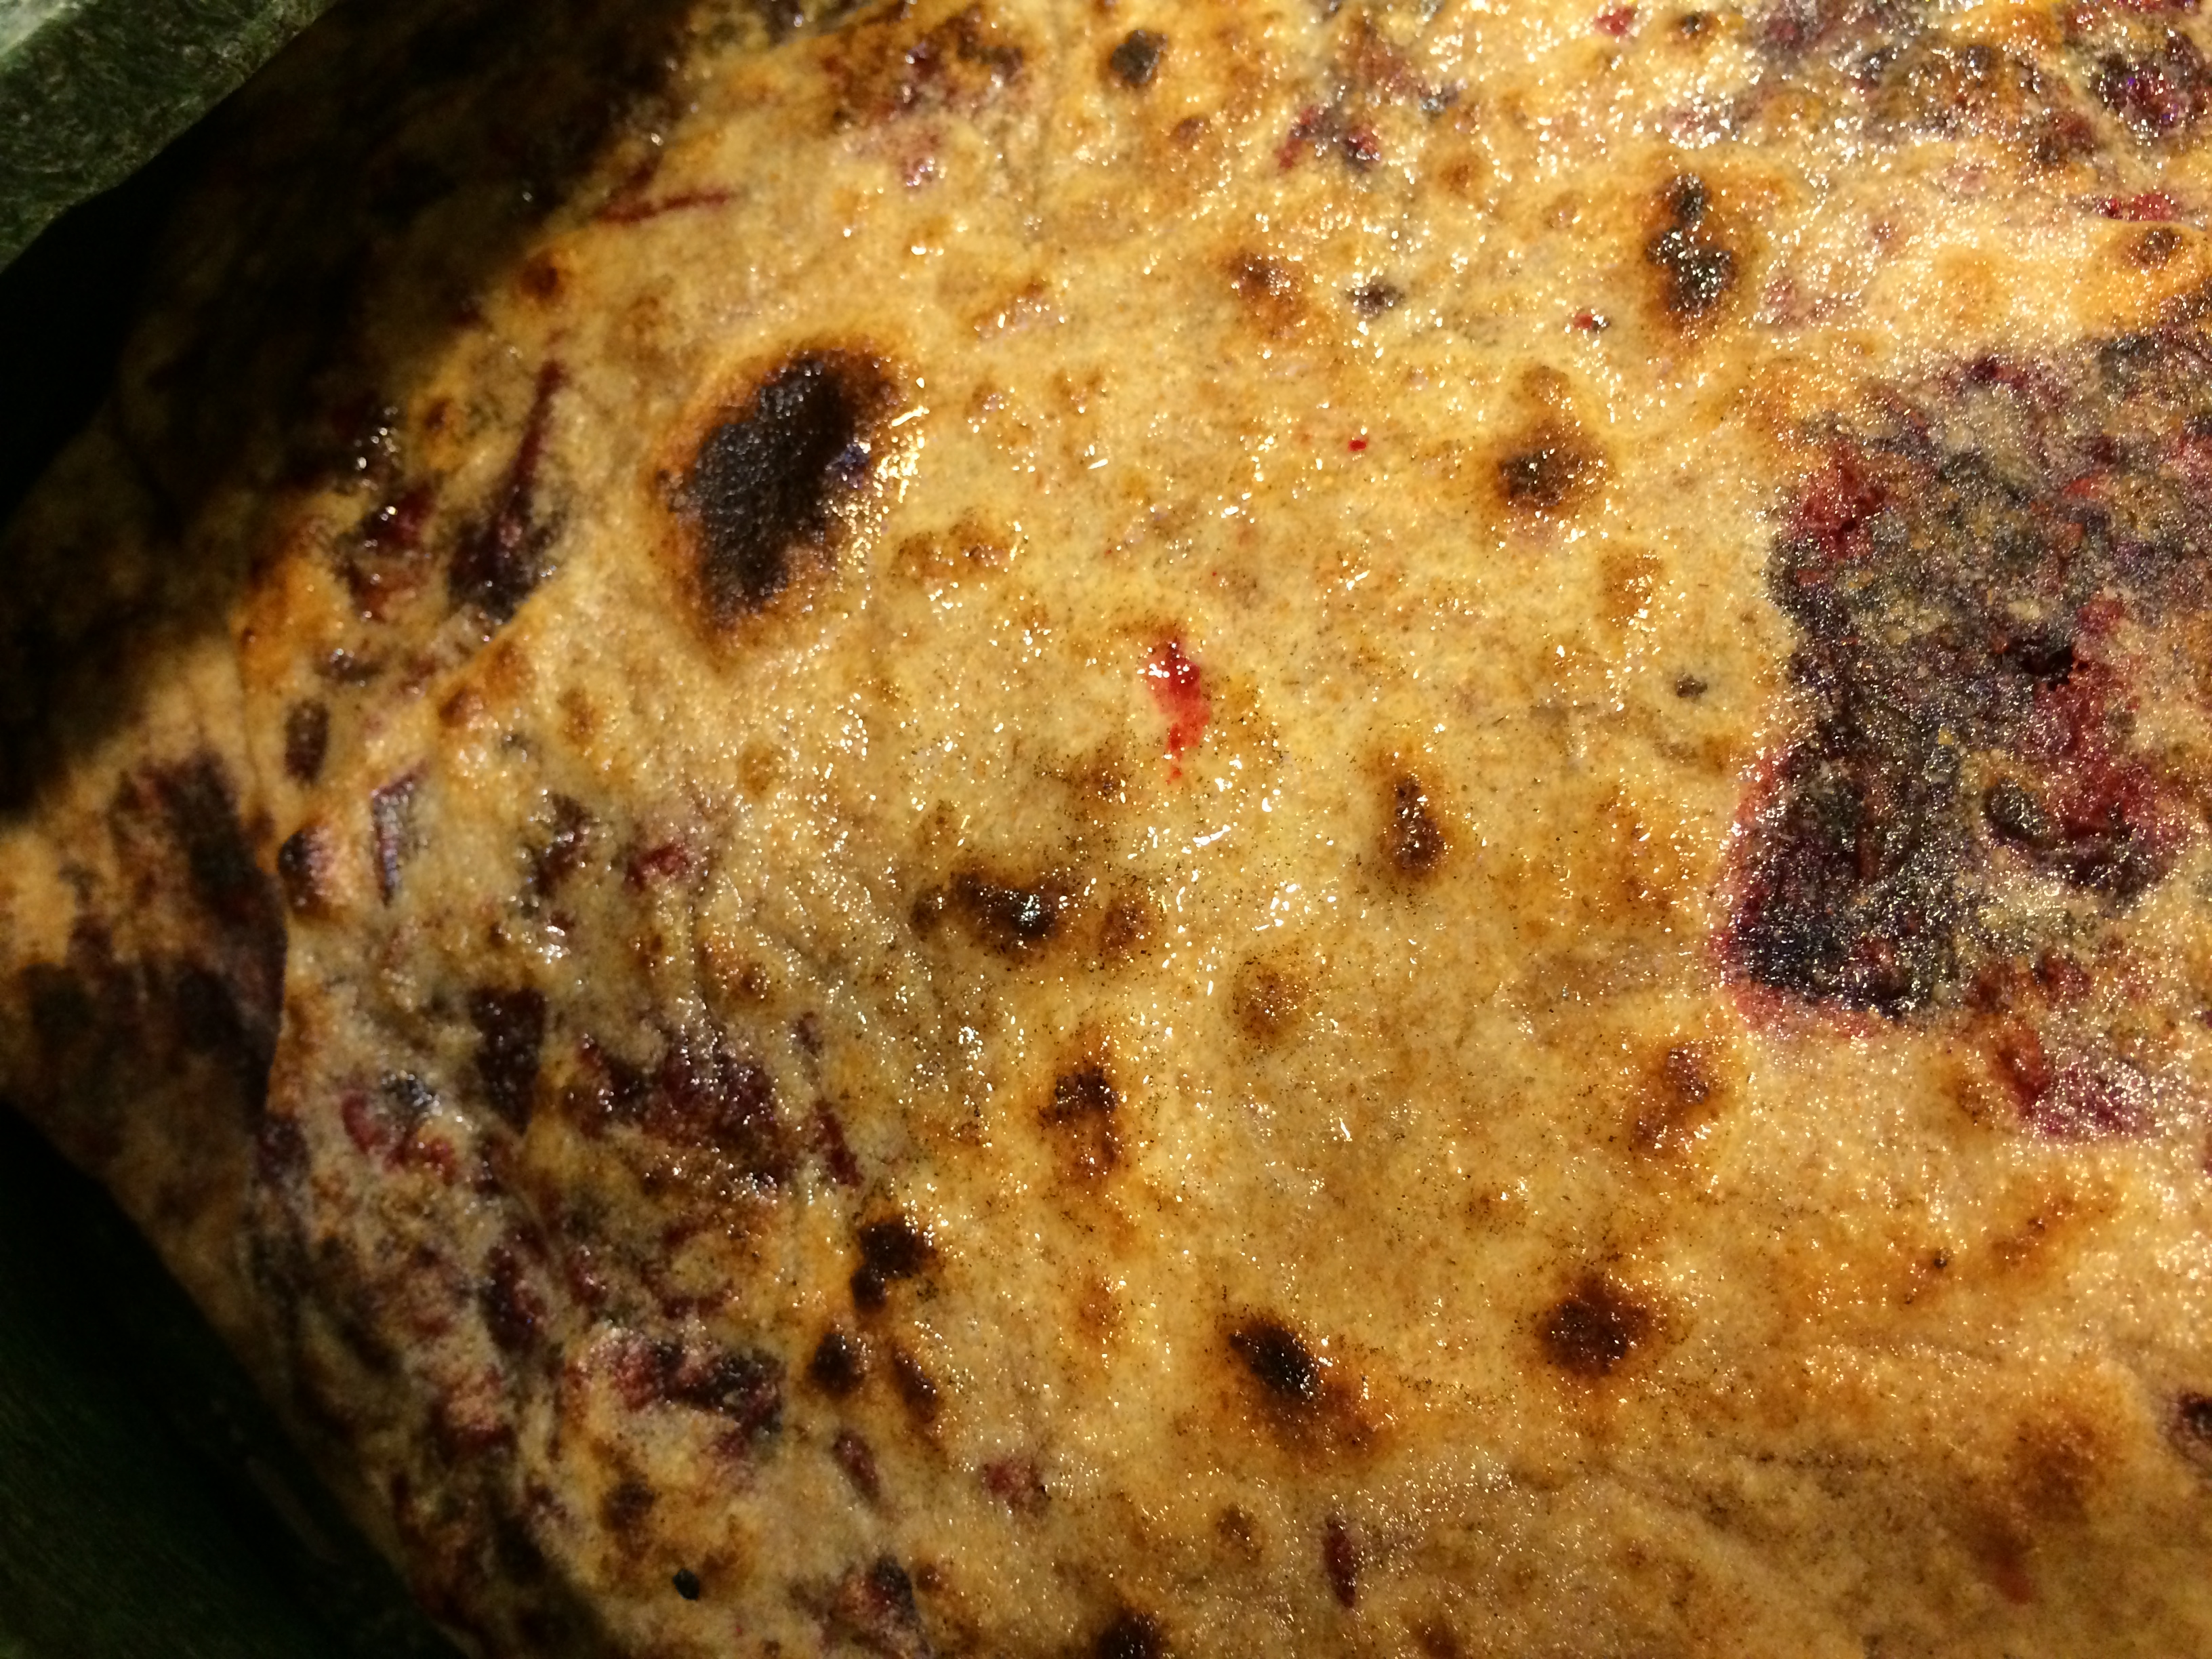
Pan-fry

Flipped

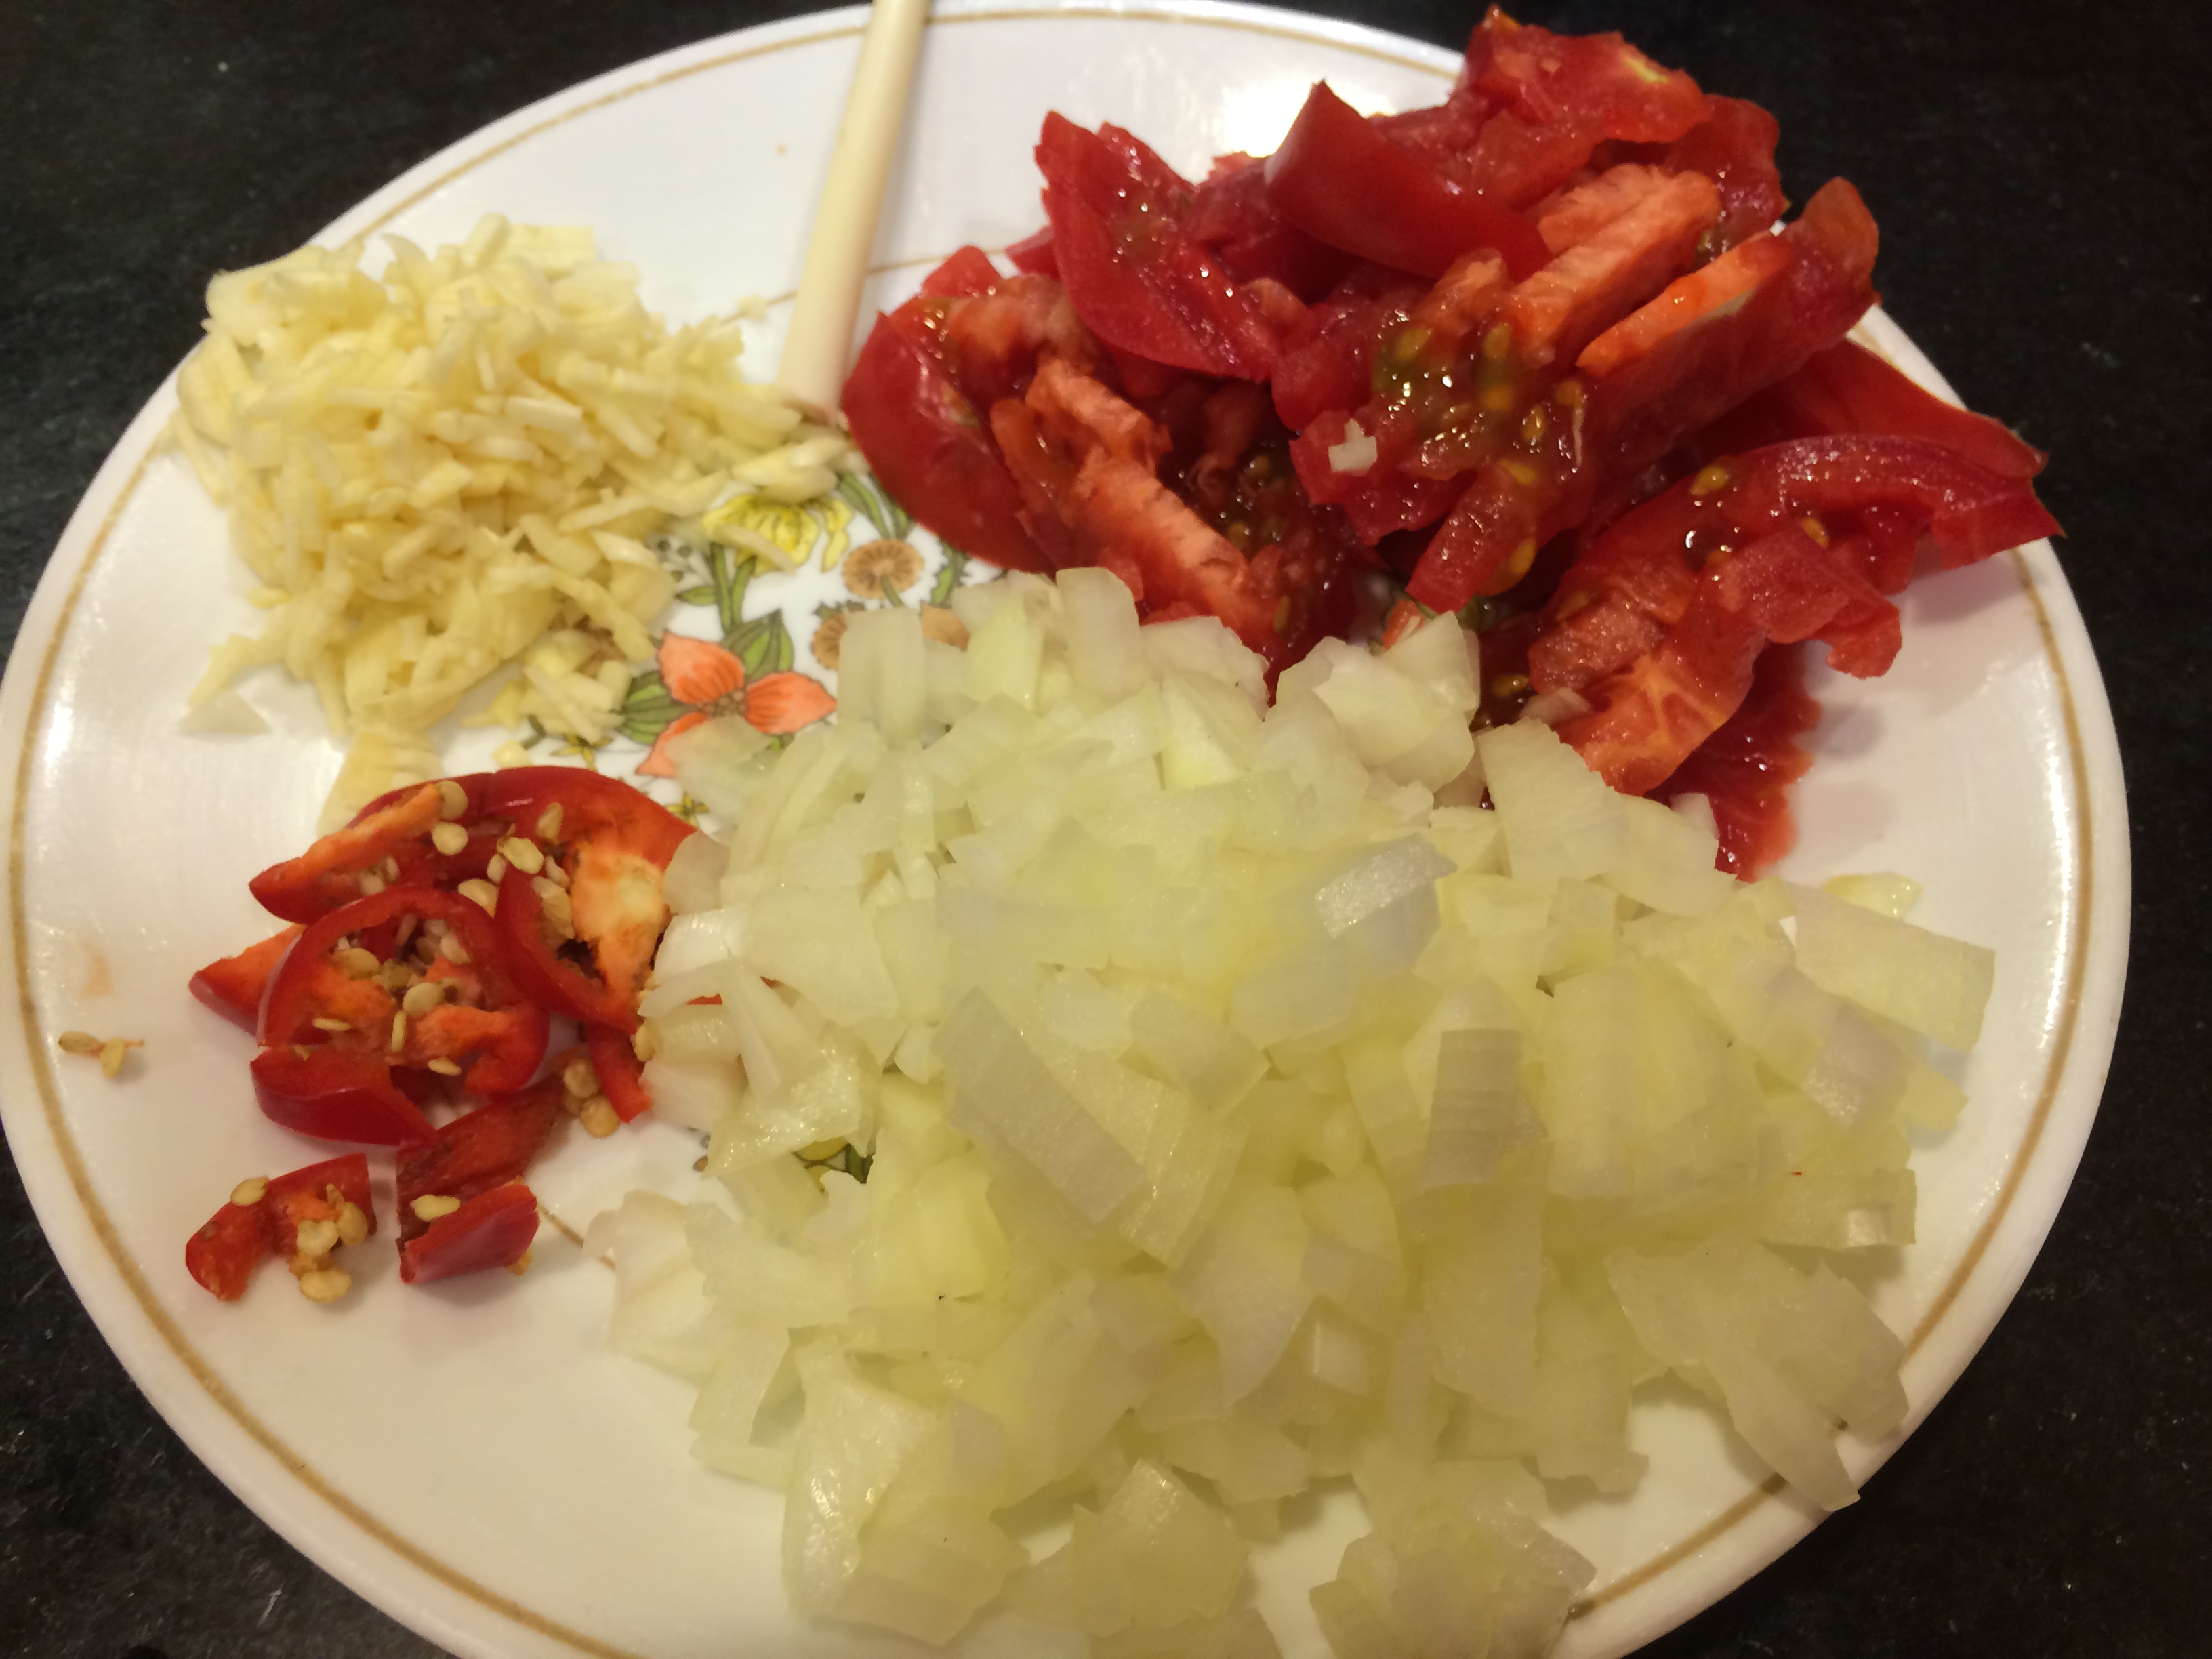
Flavor ingredients: yogurt, onions, garlic, ginger, chaat masala, red chili powder

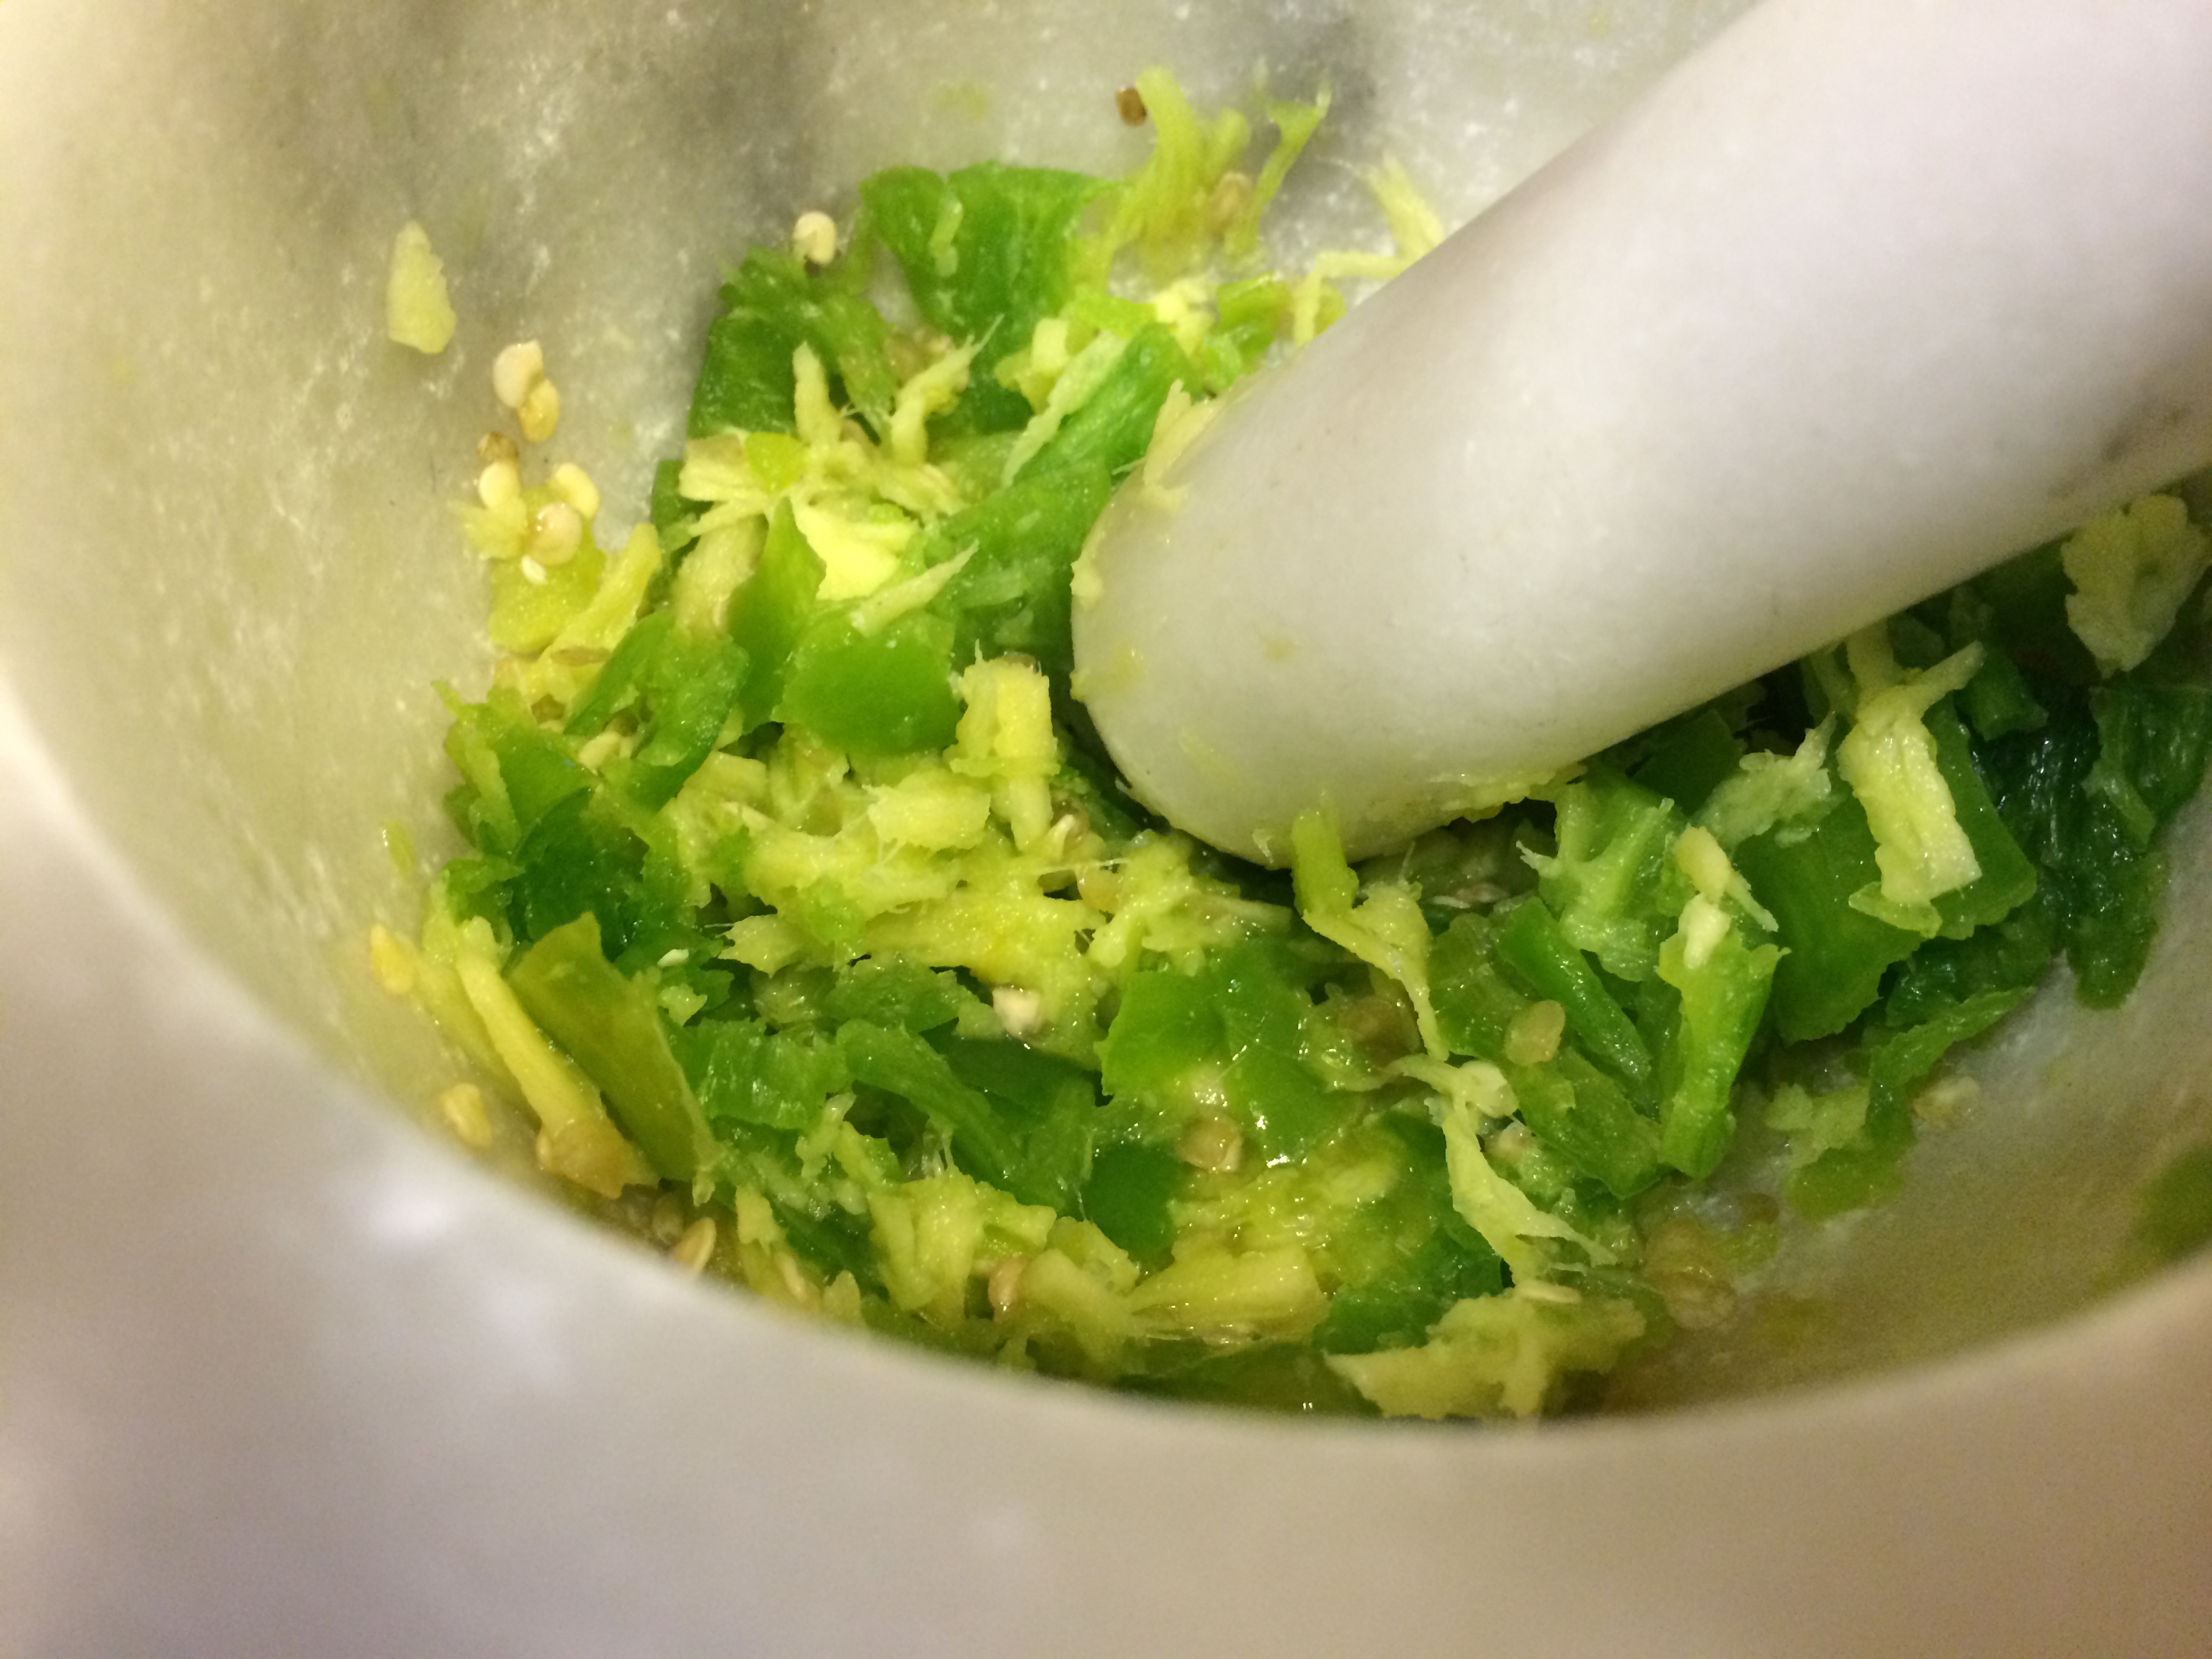
Salt and mash garlic
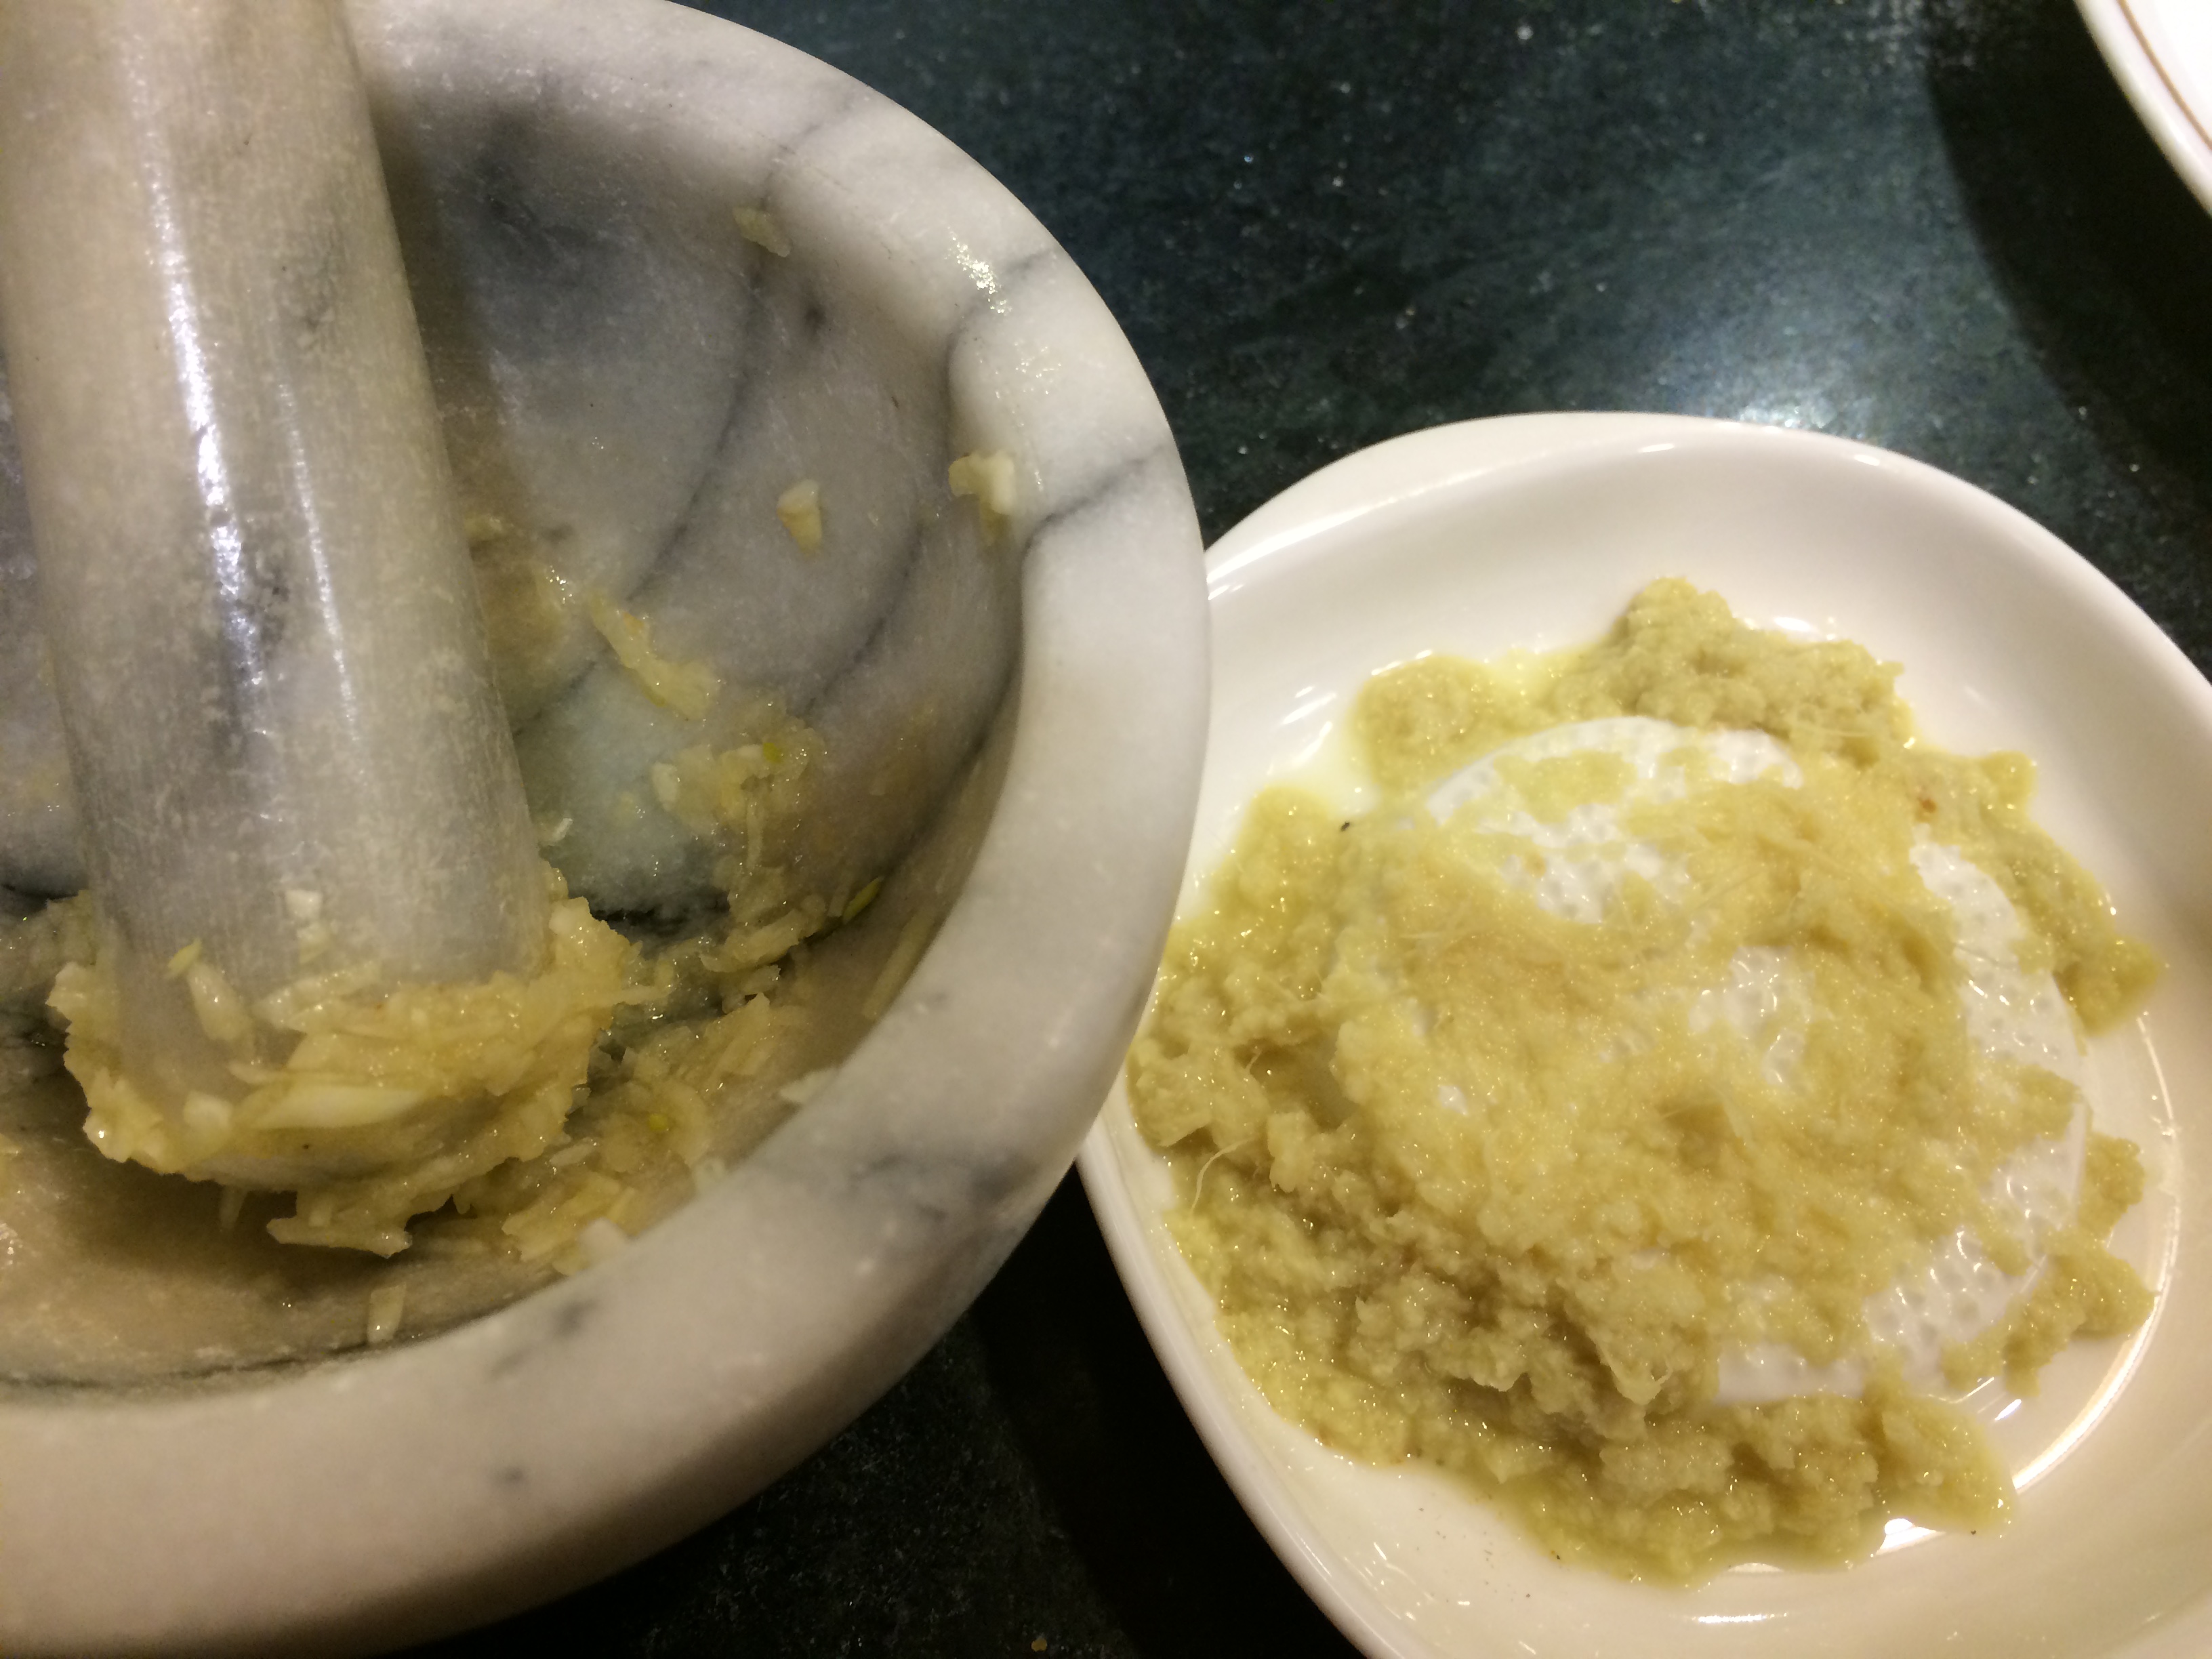
Mashed garlic, mashed ginger
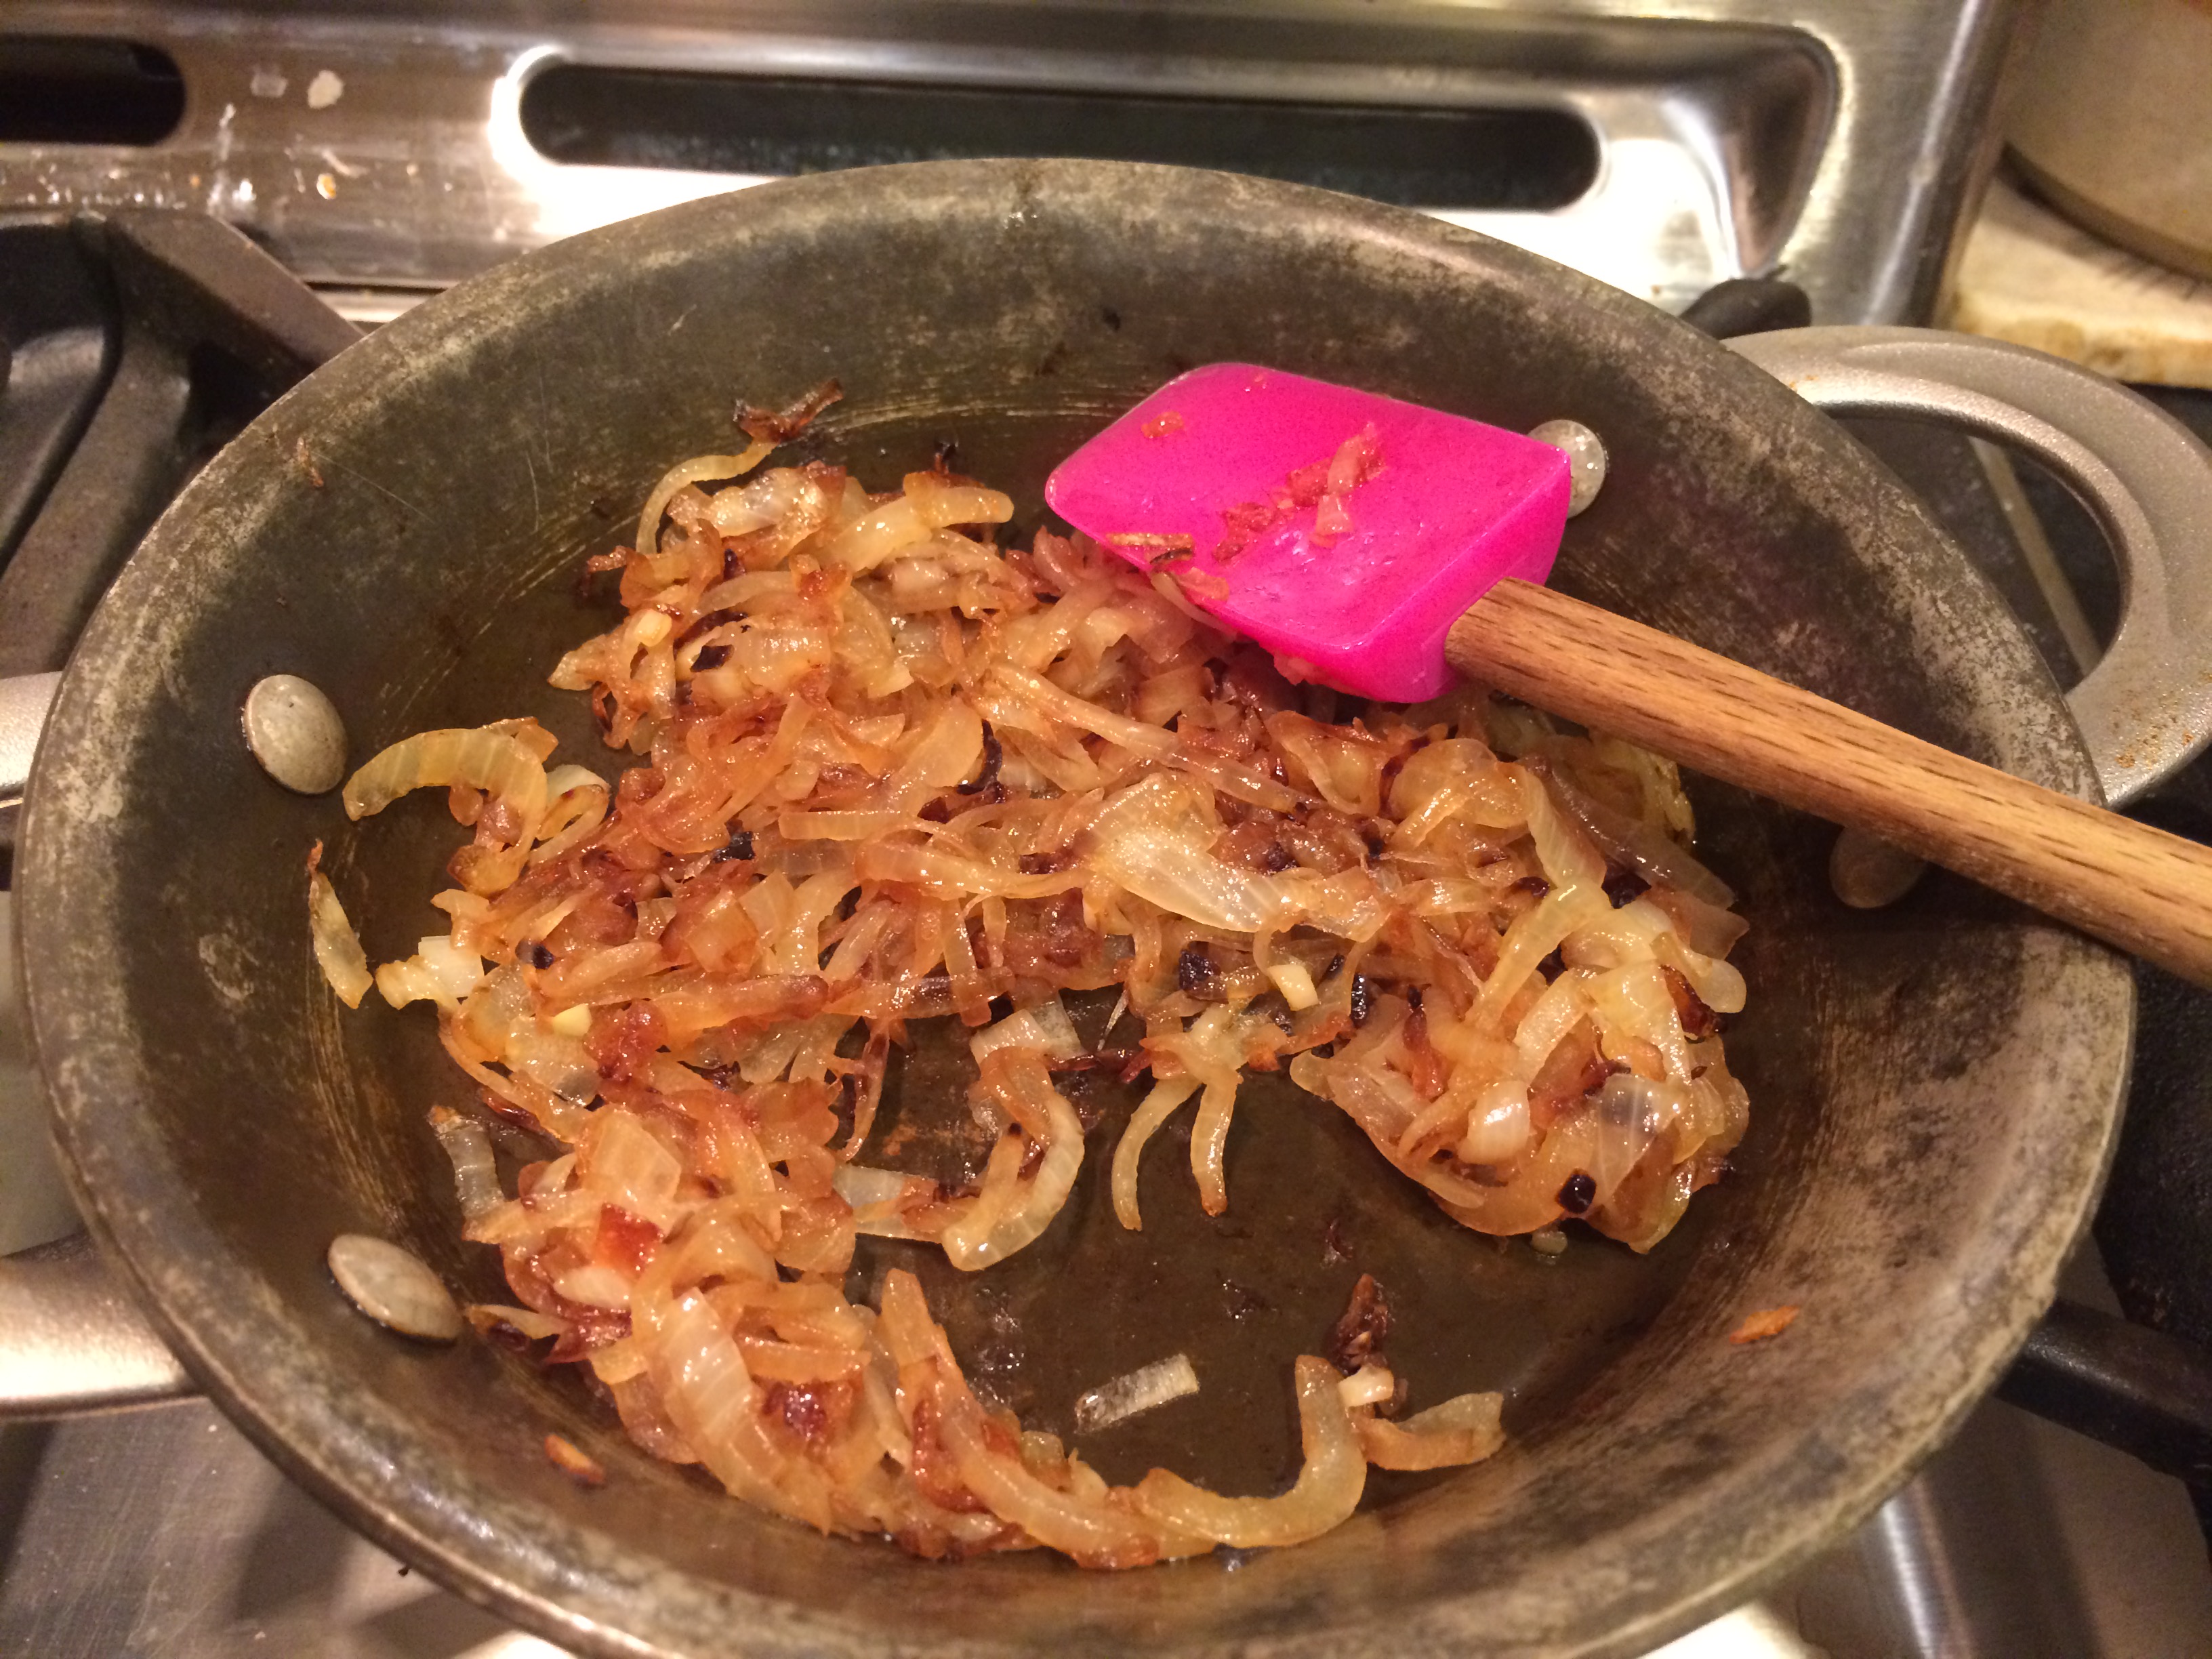
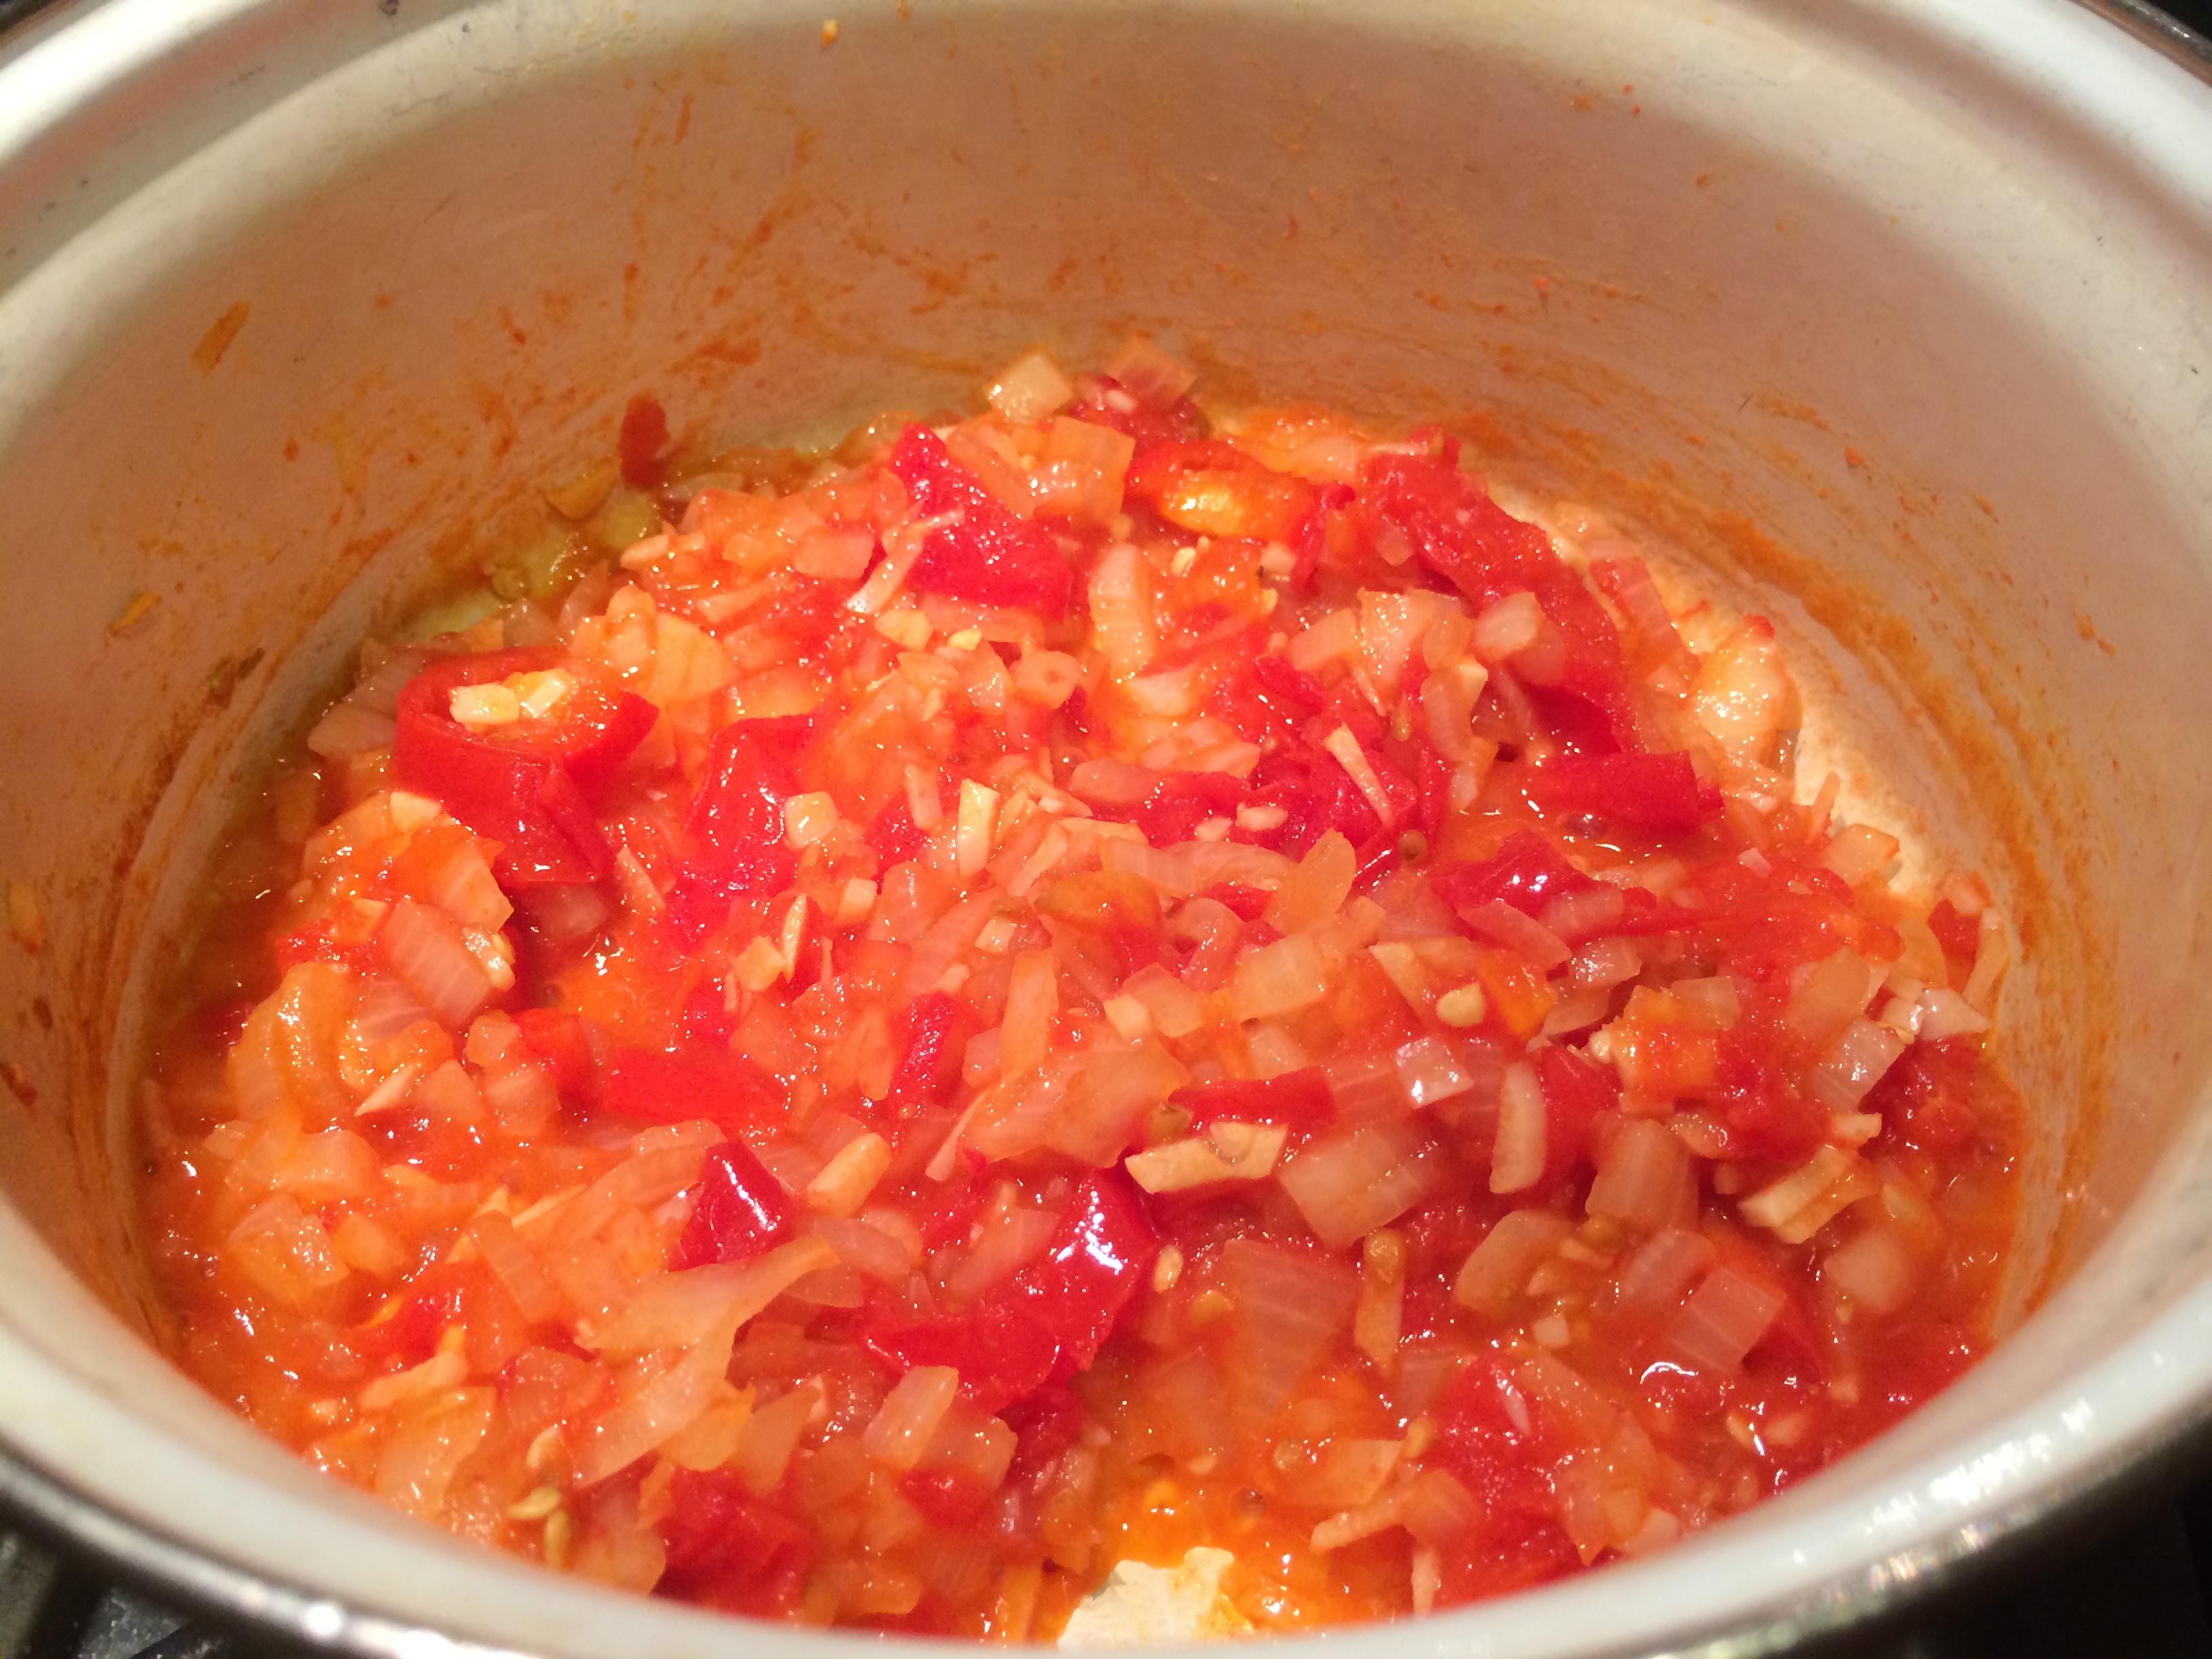
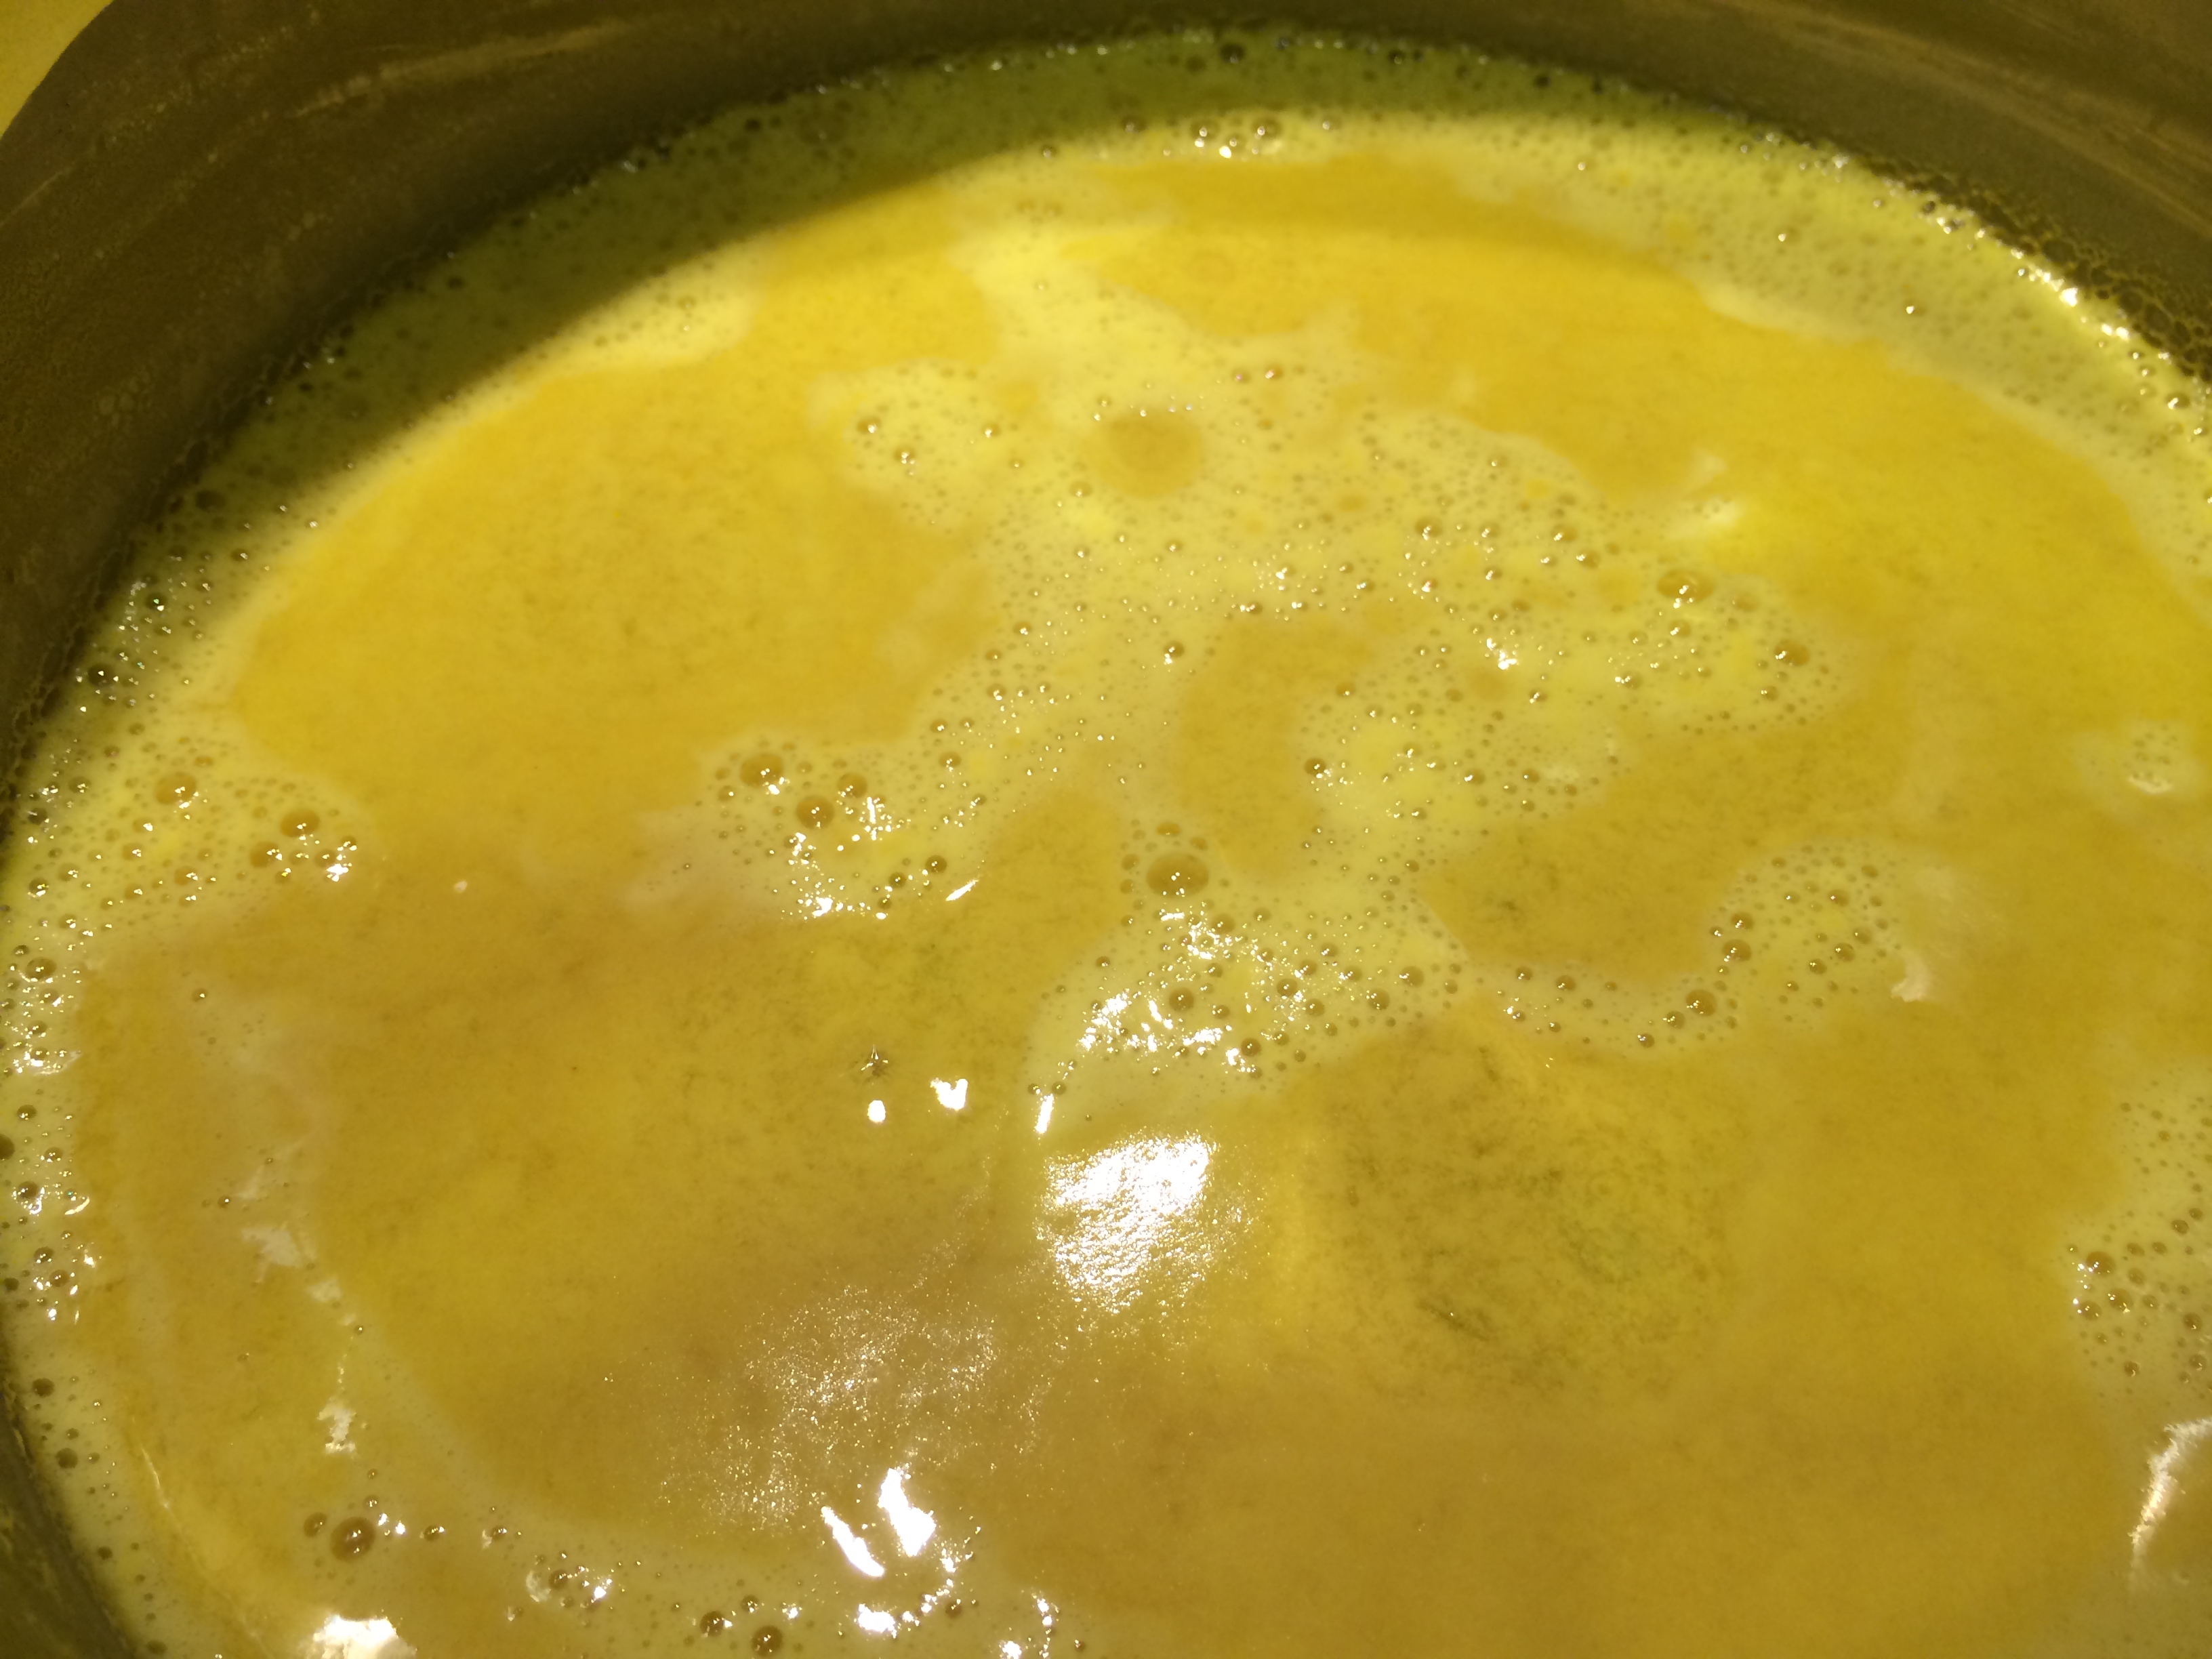
Fried onion
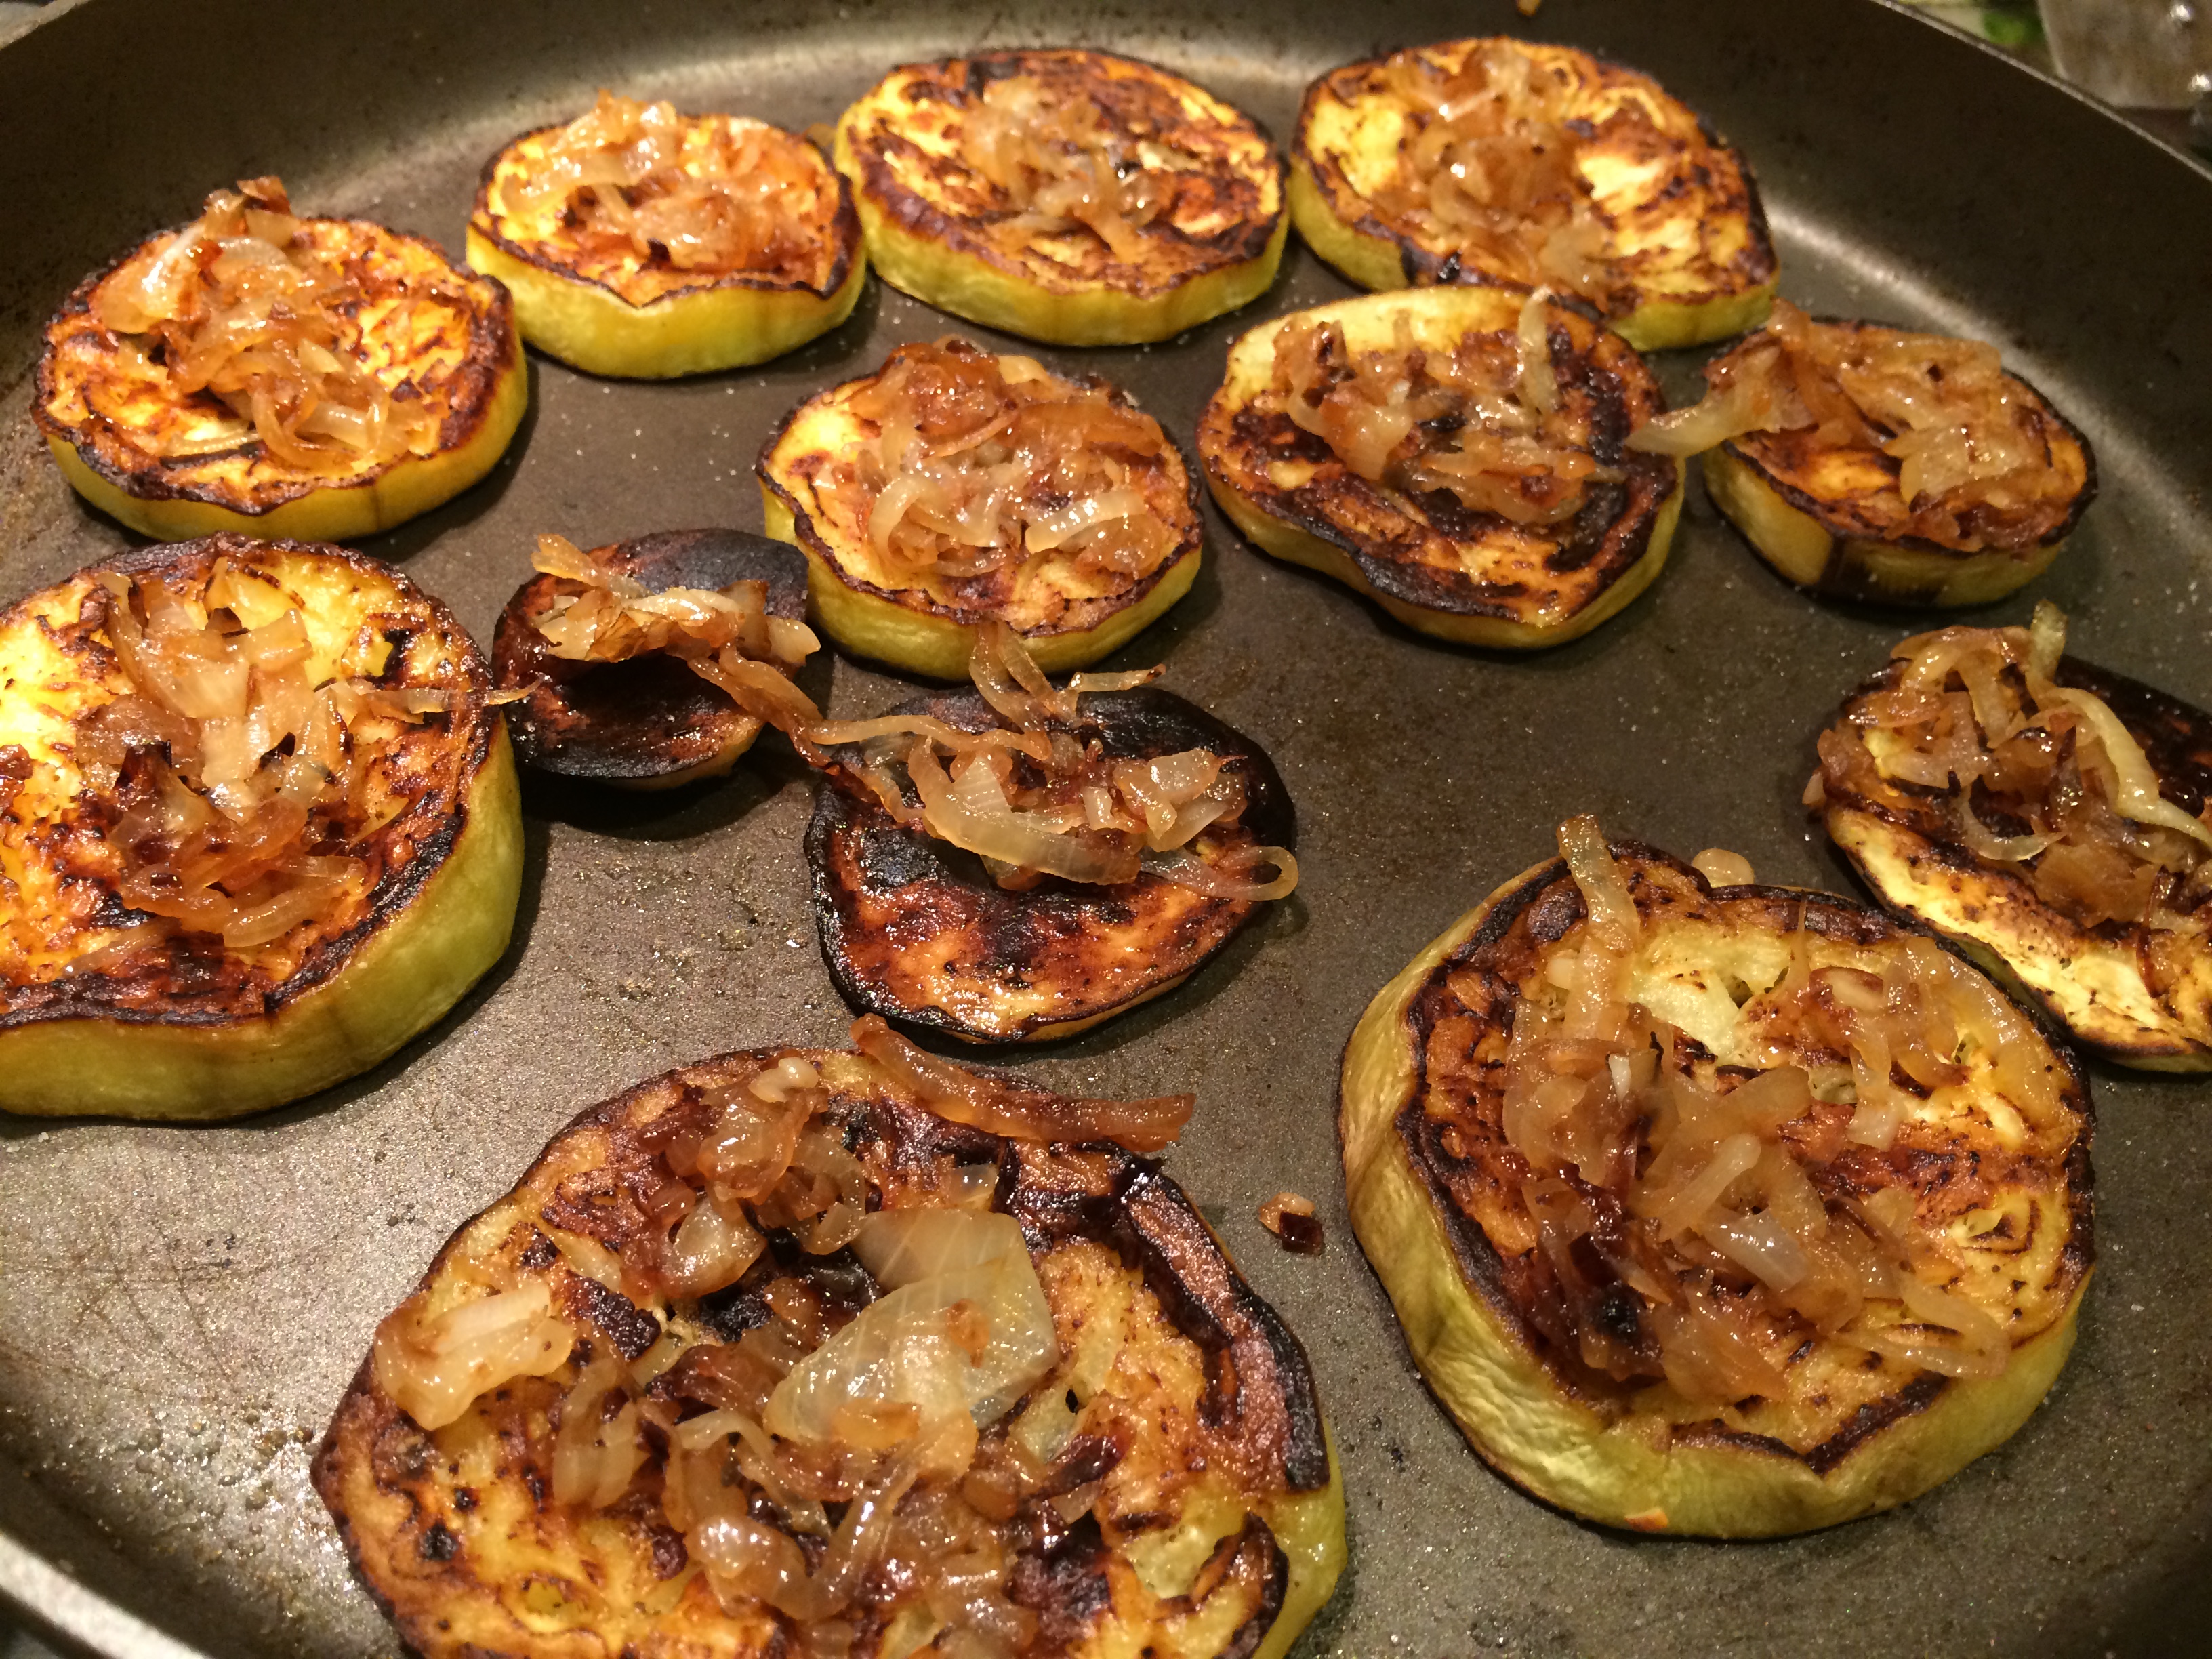
Topped with onion

Topped with yogurt and spices
baingan ki boorani
Ingredients:
- One large globe eggplant
- Up to a quarter cup of oil
- Half to one cup yogurt
- Half of a medium onion, thinly sliced
- 1 large clove garlic
- 1 inch piece of ginger, less if you prefer
- 1 teaspoon chaat masala, substitute with roasted and ground cumin
- 1/2 teaspoon red chili powder, substitute with paprika for no heat
- Salt to taste
Method:
Slice the eggplant into half inch wide rounds. Keep the peel on (see notes above). Make slashes across one surface of the slice, in a vaguely tic-tac-toe pattern. The slashes do not have to penetrate to the other side.
Heat a couple tablespoons of oil in a large non-stick pan and when shimmering, lay the eggplant slices out in a single layer, slashed side down. They will start to sizzle and slowly brown. It will take about five minutes. Salt the tops with a light hand. Flip each slice, adding more drops of oil if needed and if it looks too dry. Salt the other side too.
Meanwhile prepare the flavorings. Whisk about half to one cup of plain yogurt to make it smooth. Thinly slice the onion. Mince the garlic, and salt it for about five minutes, then mash with a fork or in a mortar and pestle. Also grate the ginger. For this, I prefer my Japanese ceramic ginger grater, that does the job beautifully. But another means of grating it would work as well.
The garlic and ginger, once mashed, simply get mixed into the yogurt. Fry the onion slices in another tablespoon of oil until browned. Take care to salt the onions lightly as they cook, and add a small pinch of salt to the yogurt as well.
At this point, all ingredients are individually salted and can simply be assembled. Before serving, place some slices of onion on each slice, then a dollop of yogurt. Lastly, sprinkle with some chaat masala and some red chili powder, for color and heat. Or if you prefer, and if your onions are crisply fried, place some on top of the yogurt as well.
Enjoy!