For the longest time, all those recipes that promised you could make bread without kneading seemed to me simultaneously a cop-out and an oxymoron—like nut milks with no dairy, or vegan hamburgers or, for that matter, working holidays.
Why leave out the most kinetic, fun part of the entire process, that allows you to playact blue-collar labor, work out your aggression, and show the gluten who’s boss, all at once?
But I realized recently that I had missed the point. I had missed the import of one word: autolysis.
Bread starts with gluten. Flour has the potential of turning some of its proteins into gluten, that stretchy, strandy thing that binds the air into webs as it rises. Gluten is the cause of the elasticity of dough and for the spongy, soft interior of bread. Gluten is the reason bread doesn’t turn into either a pancake or a brick.
Flour, while it is dry and powdery, contains the ingredients to make gluten, but no gluten itself. But as soon as flour particles come in contact with water, a couple things happen. One, in the presence of water, two of the flour’s proteins start to come together to form gluten. And two, some of the starches break down into sugar. If the flour-water mixture is ‘infected’ with yeast, the little yeasties can feed on the sugar and multiply. This process is known as ‘autolysis’.
Now most of the wise bread teachers, like Rose Levy Berenbaum and the bakers at King Arthur Flour, have always recommended a period of ‘walking away‘ once you have mixed water and flour before the kneading begins. This walking away, whether it is for ten minutes or an hour, gives the gluten formation a head start, and makes the subsequent kneading a much easier task.
Call it walking away or call it autolysis, it is the time for the flour to spontaneously do the gluten-formation that kneading is usually called upon to do. But what if you took this principle to its logical conclusion, and allowed the flour-water to do all the work? What if you never had to knead at all?
What you have then is no-knead bread. It takes longer than kneaded bread, because the folding and squeezing that the dough is subjected to while kneading speeds up the process. But as a home cook, I plead—no, I demand—that you develop patience. It will take you a day, or more. But you will be proud of your loaf.
Wetness
Now here’s another advantage that no-knead breads can give you that kneaded breads simply cannot. The dough can be very, very wet. So wet in fact that they are impossible to handle, because touching it with your whole hand as you would have to in order to knead would make a sticky mess. No-knead bread is never handled (with one exception, as I’ll go into next). So it can have a lot more water by proportion than regular breads; and a wetter dough makes for a softer, more risen, more holey crumb.
Now the dough is so wet that one even foregoes the usual ‘freeform’ baking of the crusty loafs, where they sit in the oven all by themselves. The dough is simply too wet! This is why the standard way to bake this kind of bread is in a covered dutch oven or a loaf pan. (I’ll show you both by-and-by). The added advantage of this method is that in the closed, wet, hot environment of a dutch oven, you essentially create a steam sauna for the bread, and get a simply remarkable final rise—while baking.
Folding
Now while kneading is not called for, here’s a step that can lengthen and stretch the gluten strands and thus improve the final crumb. This is a step that Rose Levy Berenbaum specifies in all her crusty loaves. It involves laying out the flaccid dough in a gently stretched rectangle, folding both sides in to overlap in the middle, turning 90° and repeating it. So,
Step One: Fold in the left third of the rectangle in order to cover the middle third, then fold in the right third of the rectangle in order to cover the previous flap.
Step Two: Rotate the dough 90° and repeat the two folds above.
Steps
Mixing flour, water, yeast, salt


Folding


Shaping for final rise


Misting and scoring


Baking


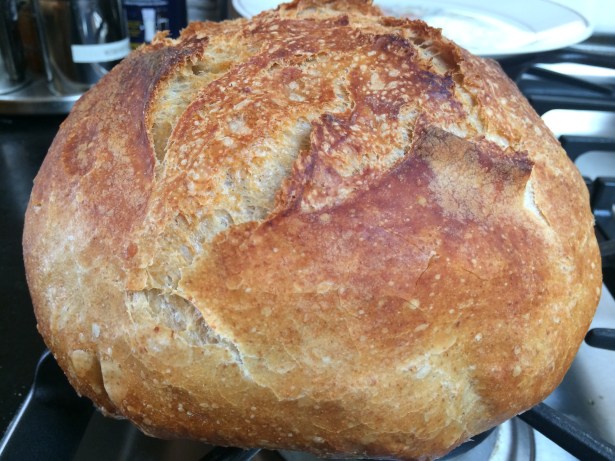
No-knead bread
A note on ingredients:
You have considerable flexibility regarding ingredients. Where the flour is concerned, you can go up to one third whole wheat. I’ve used high protein bread flour, but all-purpose will work too, though the result will not be as chewy, but rather, softer. A single teaspoon of salt will be just enough for the bread to taste ‘normal’ but you can go up to even two teaspoons for a saltier crumb. Using less yeast then a quarter teaspoon will make it rise slower, more will make it rise faster. Though I would not recommend more than a half teaspoon because remember, you want this process to be slow.
Ingredients:
- 3 cups flour (I used 2.5 cups King Arthur bread flour and 0.5 cups King Arthur whole wheat flour)
- 1-1.5 tsp salt
- 0.25 teaspoon instant yeast
- 1.5 cups + 2 tbsp water
- Dry flour for sprinkling
Time:
- 5 minutes to mix.
- 8-18 hours first rise.
- 10 minutes folding and shaping.
- 1 hour final rise.
- Bake at 450°F for 45 minutes
Method:
Combine the first three ingredients in a large bowl and combine thoroughly with a fork. Make a sort of well in the center and pour a cup and a half of water into it, reserving the two extra tablespoons to add if needed. Roughly combine using a chopstick till ALL the flour is moistened. Add in the extra water if needed to make sure there is no more dry powdery flour in the bowl. A wet, sticky mess is what one is aiming for.
The resulting mixture will be very, very rough and sticky. Scrape down the sides of the bowl with a spatula, wrap tightly with plastic wrap and leave aside.
In about an hour or two, you are ready to fold the dough as described above. Sprinkle the counter with plenty of flour and scrape the dough out of the bowl onto the counter. Sprinkle dry flour on the dough as well as on your fingers, as this will help you handle it without it sticking. Perform the two folds as described above. Now the dough will be a much smoother, tighter roll than the mass you started with. Place it back in the bowl, covered with wrap, to rise.
This rise can take anywhere from 8 to 18 hours. If it is rising too quickly and you are not ready to proceed with the next steps yet, put the bowl in the fridge to retard it. Take it out the next morning and let it come to room temperature, about an hour or two.
At the end of this period, the dough should have more than doubled, and the surface should show some large bubbles. If you tap the bowl, it will shiver like jelly.
Sprinkle the counter with more dry flour and place the dough on it and proceed to shape it into a round. This is done by pretending you are making a cloth bundle with the dough: so gather the edges into the middle, tighten, and do it some more. Not only is the dough turning into a tight ball, the outer skin is also getting stretched.
Place it seam side down on some floured parchment paper. Cover with plastic wrap once again and leave to rise. You can leave it to rise free form, but it is better to place it in a bowl or basket or, as I did, an empty tortilla container. This is so that the vertical sides of the container constrain the dough from spreading outwards, and it is pushed to rise upwards instead. The dough will take about an hour or hour and a half for this second rise.
About half hour before you are ready to bake, turn the oven up to 450°F and place the dutch oven, uncovered, and its lid, in the oven to get it hot.
At the end of the hour, remove the plastic wrap off the dough. Mist the top of the dough with a fine spray of water. Use a sharp serrated knife to score it: gently, with a slicing motion and barely any pressure at all, make a half inch cut in the top of the dough. A lip will open up, showing all the glorious webbing that has developed under the skin. Scoring in this way helps the crust, as it bakes, to open up along that line instead of haphazardly.
Lift up the dough ball, parchment and all, and place in the dutch oven and cover with the lid. Bake for 30 minutes covered and 15 minutes uncovered.
At the end of baking, the crust should be golden brown and the bread dramatically risen. When thumped on the bottom it will sound hollow. Let it cool for an hour before slicing.
(Find me on Twitter at @TheOddPantry)

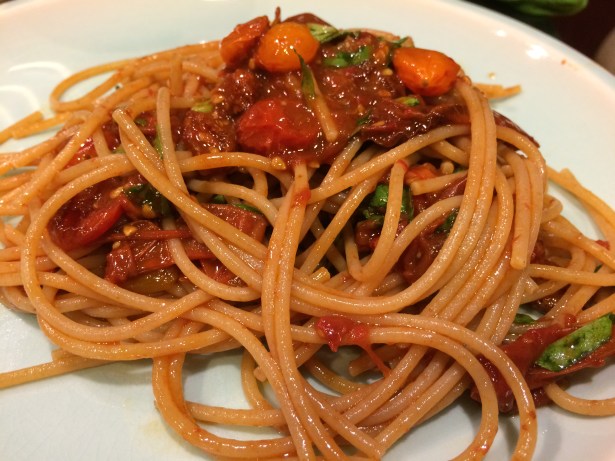 Nature made tomatoes delicious but She also drenched them in unappealing wateriness. All tomato sauces are based on rescuing the flavor out of the swamp. It is simply a matter of technique.


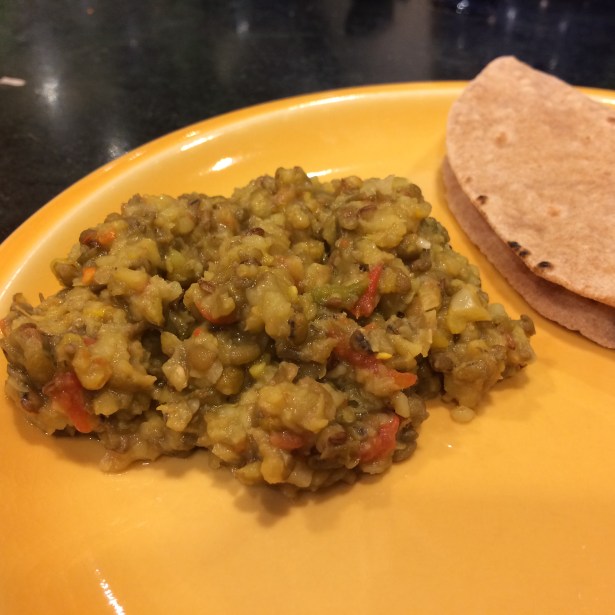 As I have said before, dals are such an integral part of food in India that each type may be used in four different ways: the whole bean, the split bean with the green peel left on, the split bean ‘cleaned’ of the green peel, and ground. And the amazing thing is, that at each of these stages, the cooked dal presents a different look, a different flavor, and a different meal entirely.


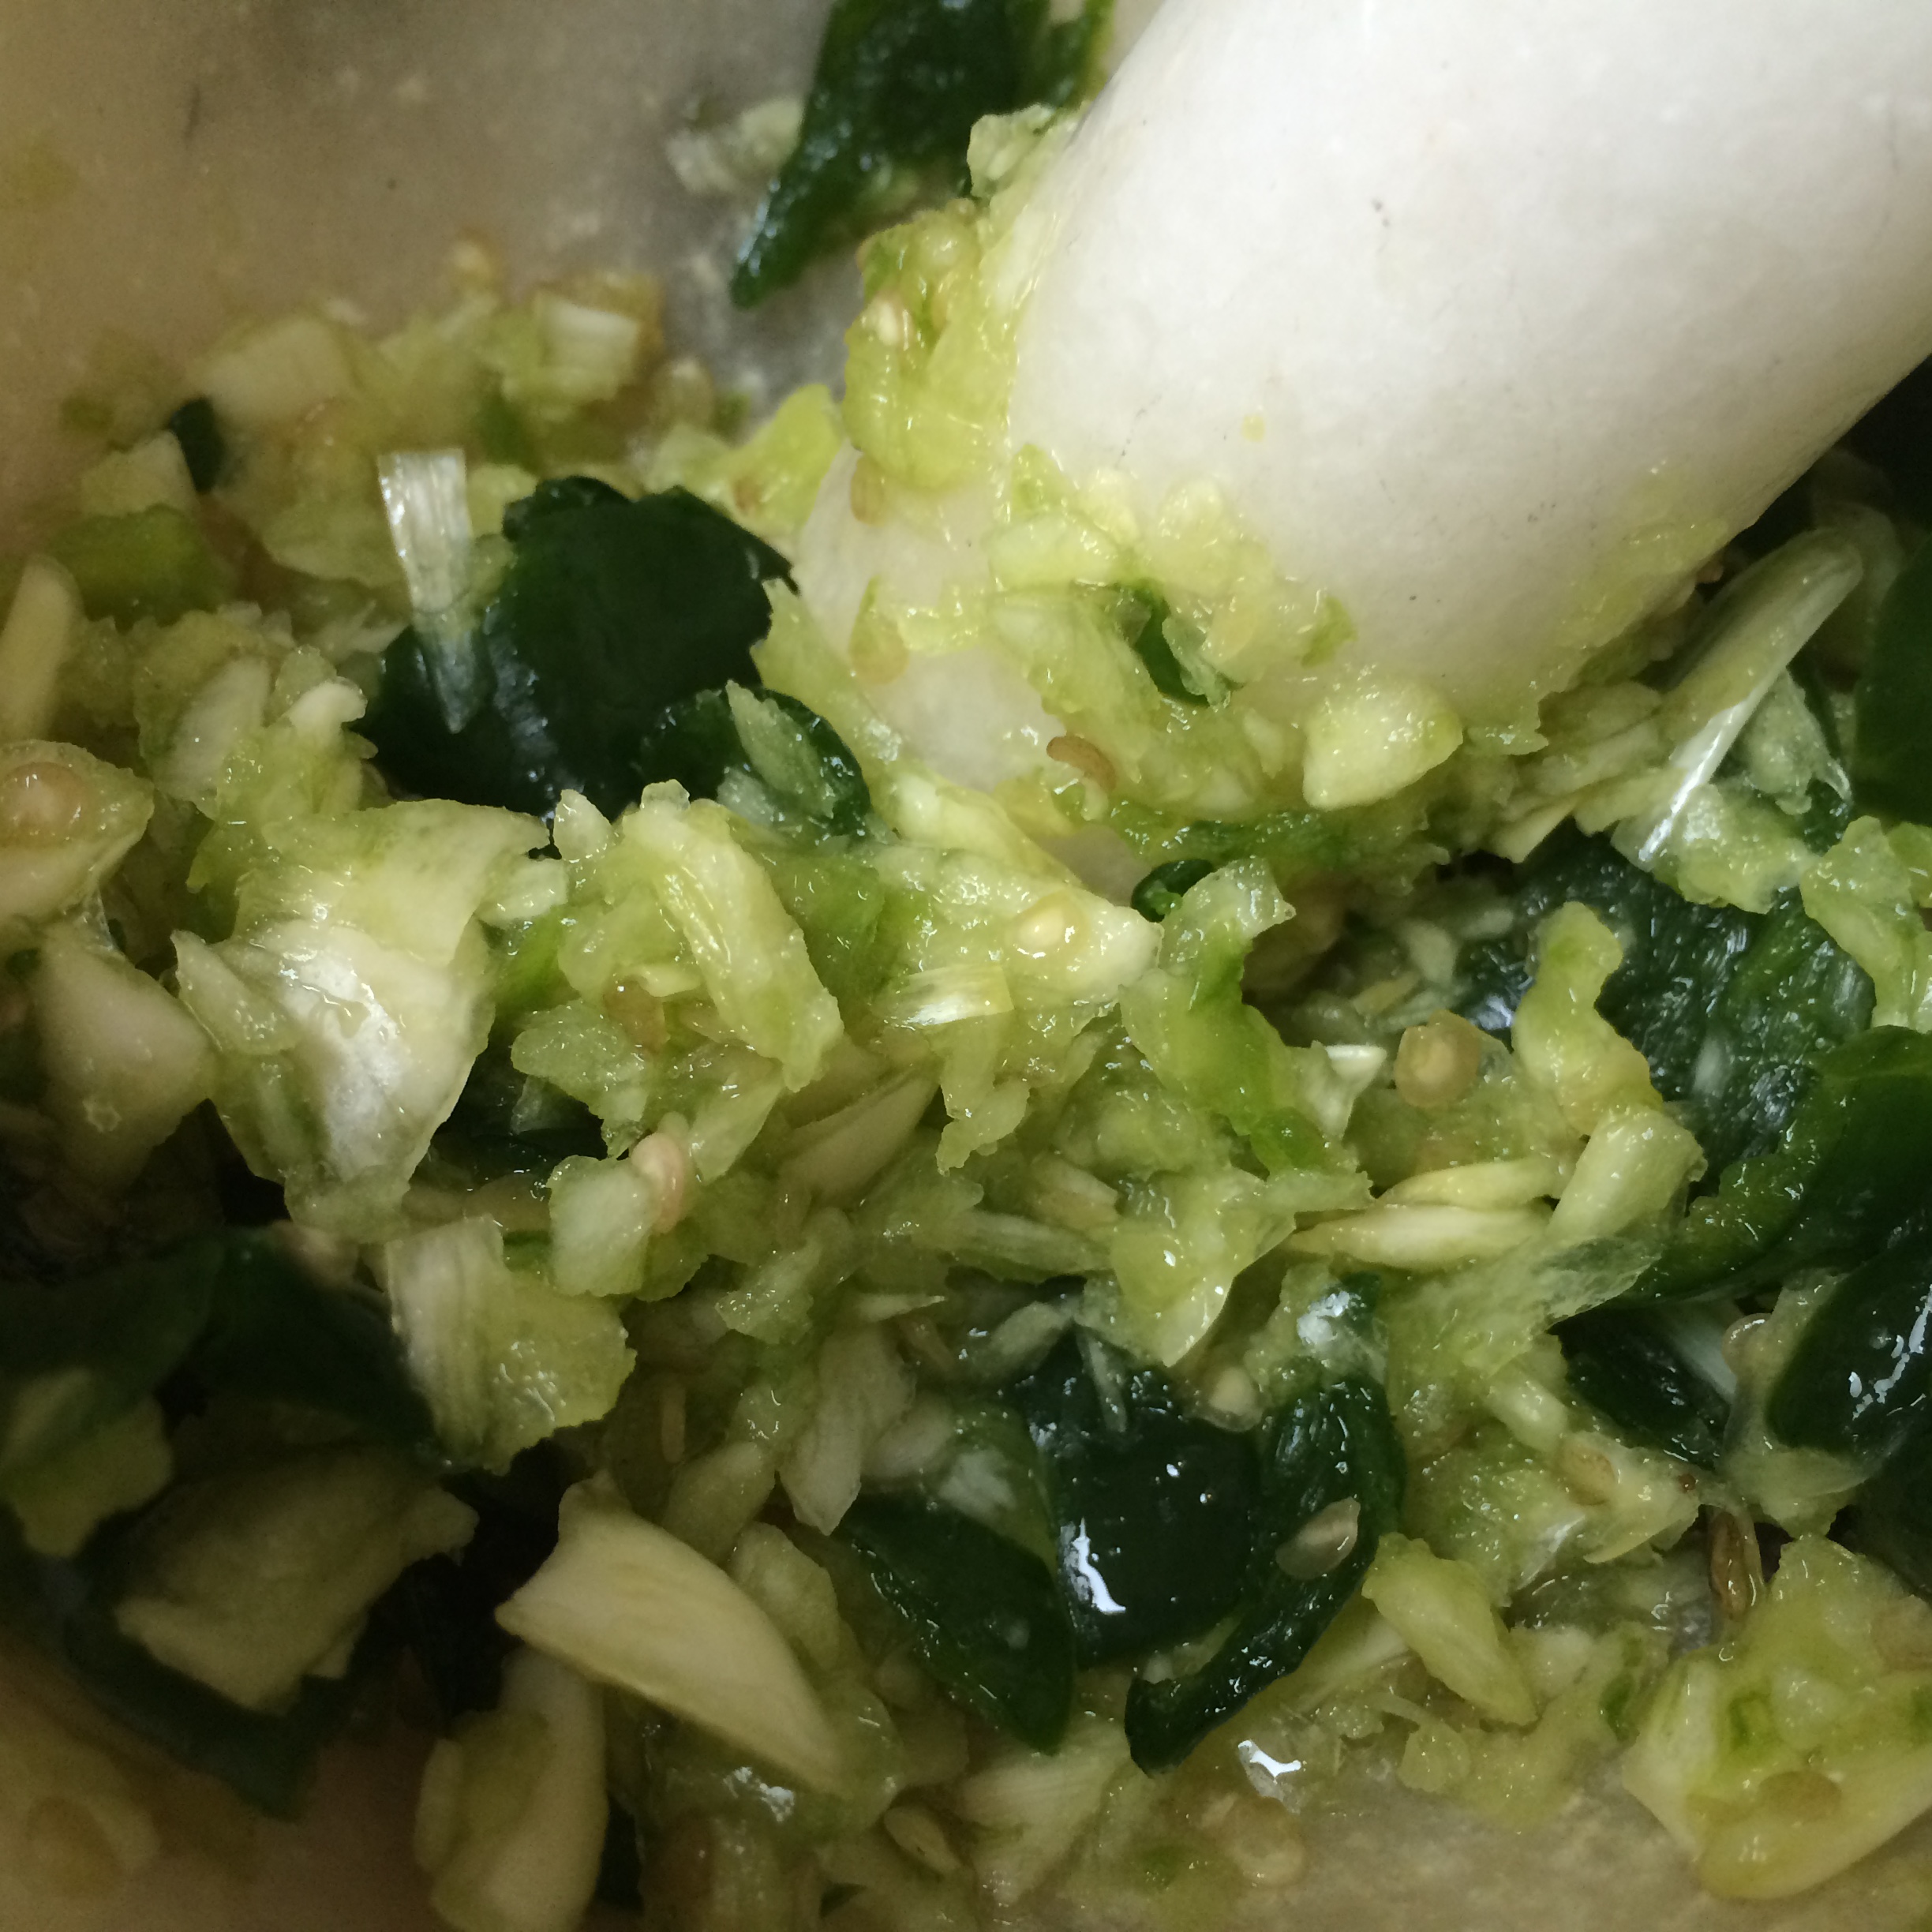
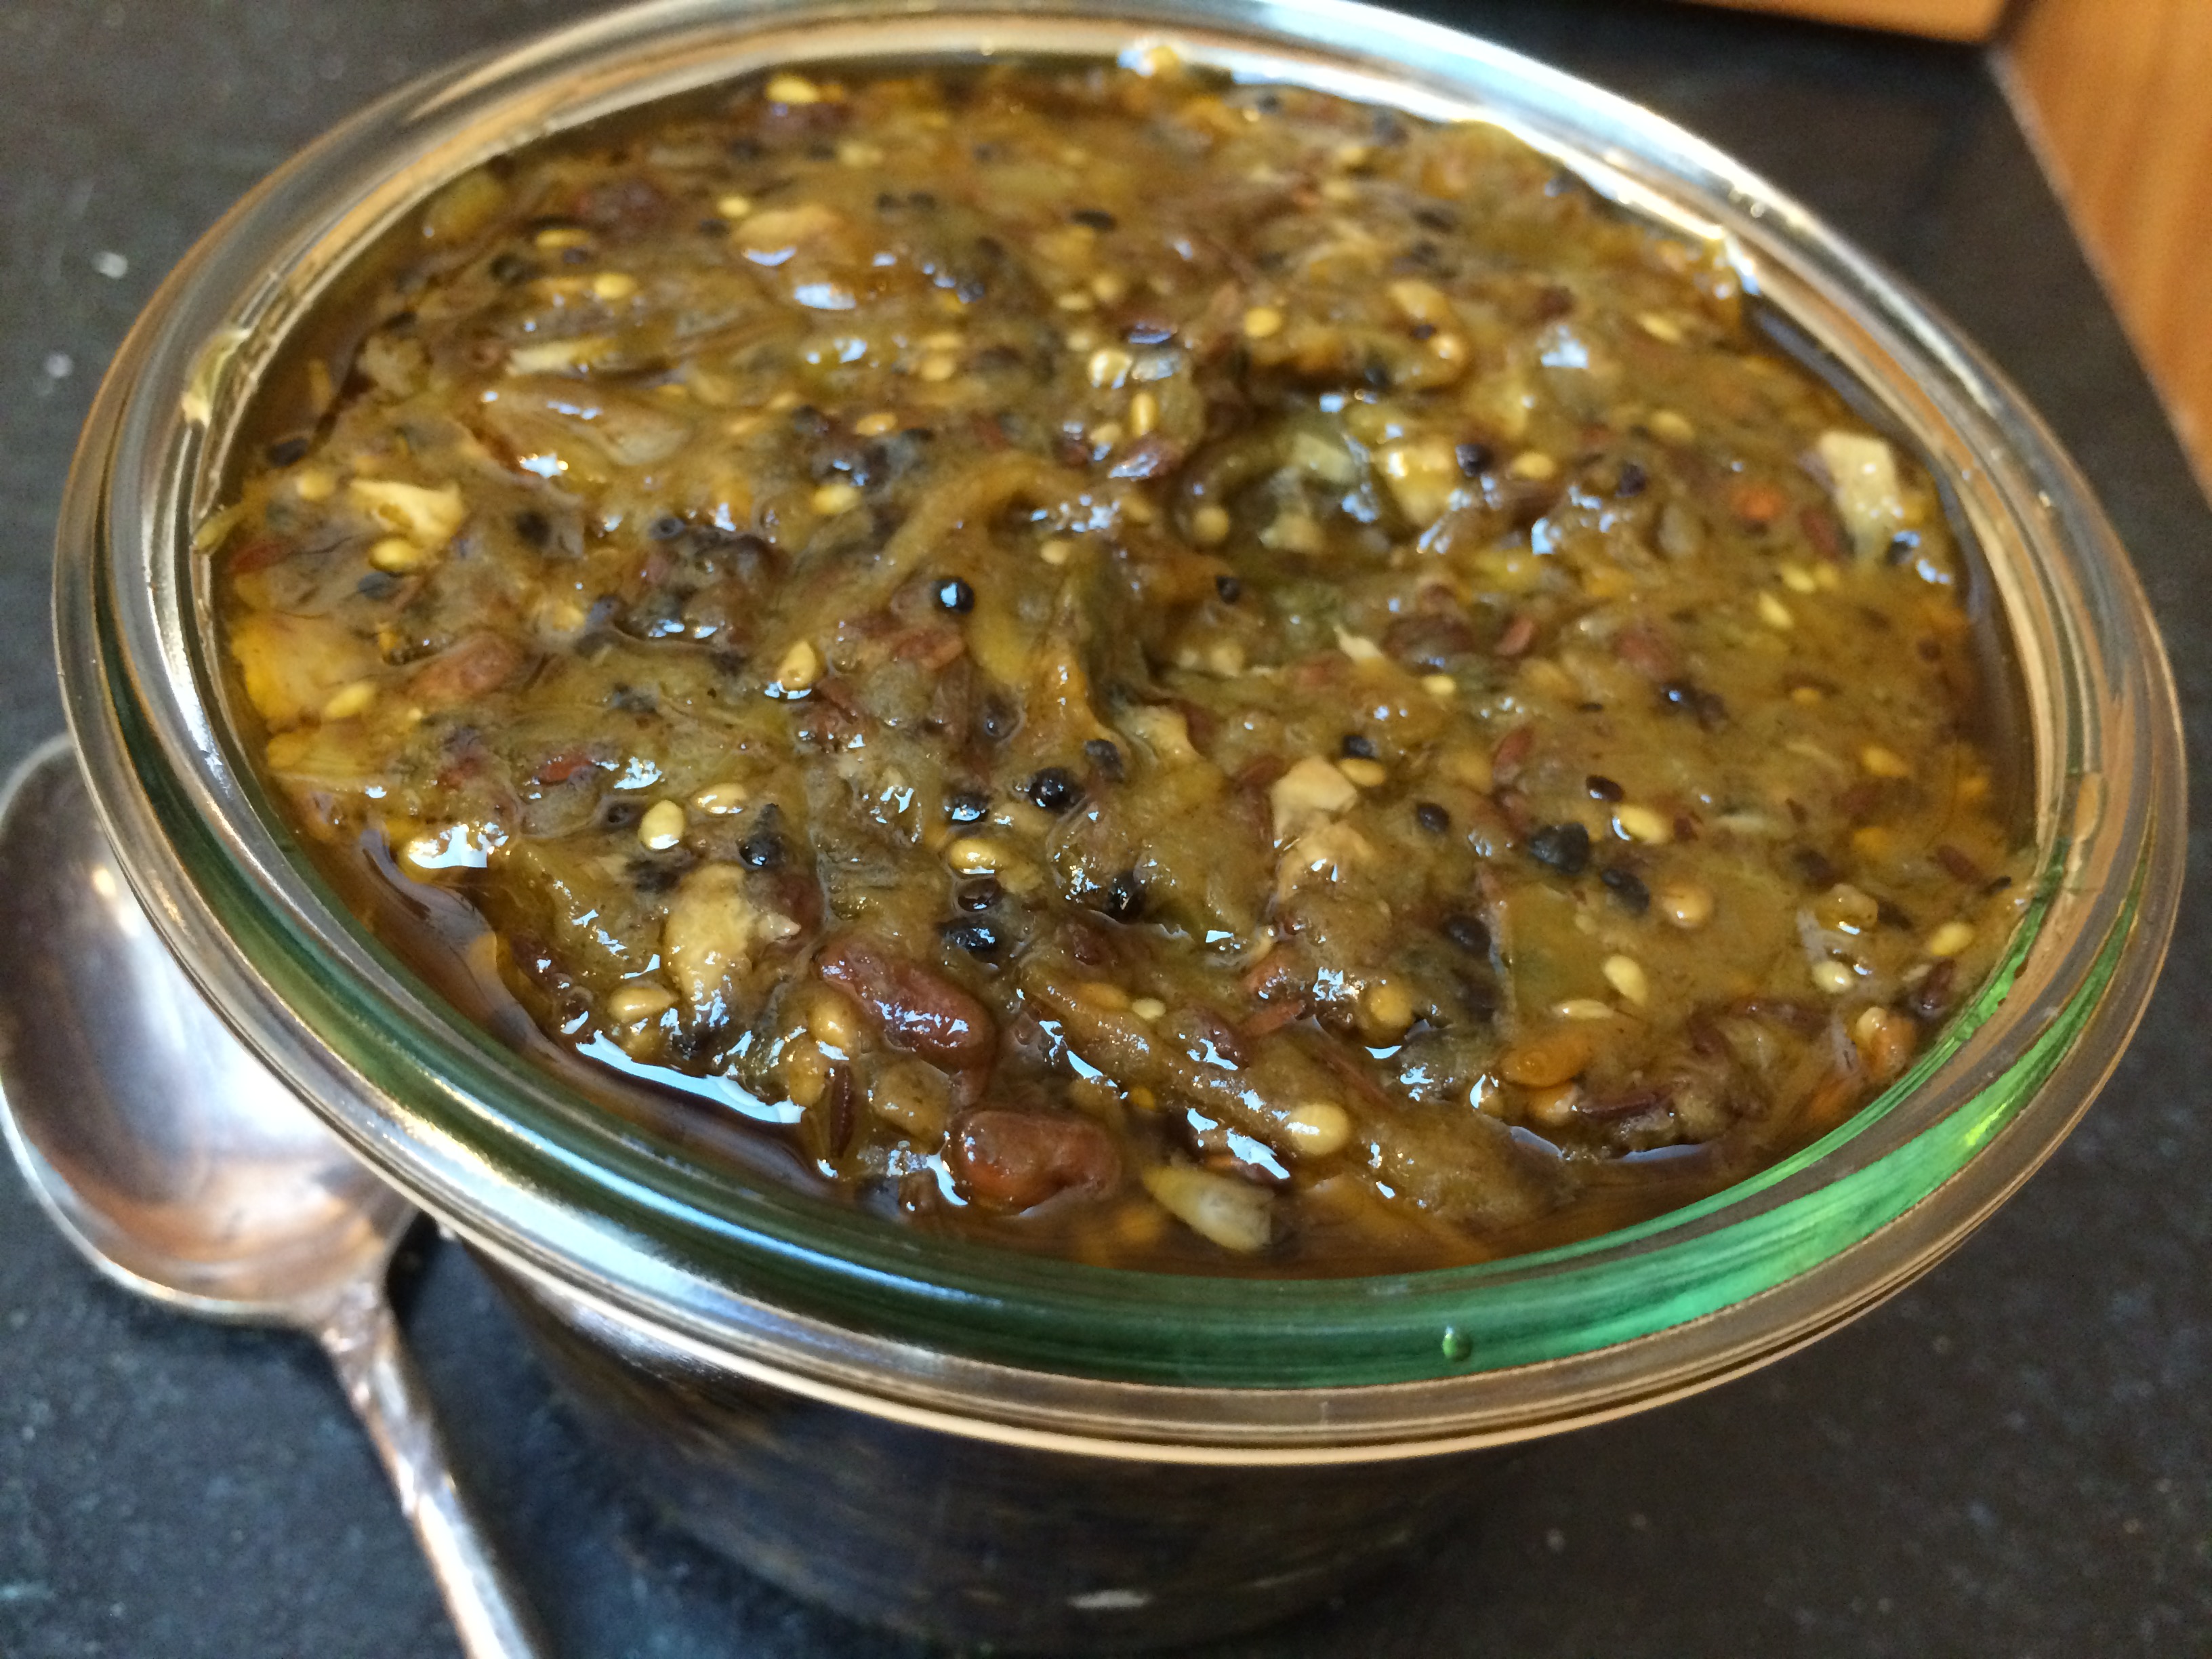
 There are people who like ginger, and there are those who don’t. Both are within the bounds of normalcy. But then there are people who like ginger beyond all reason and sense. My husband is one of them. He is not satisfied with a ginger-flavor suffusing the food; it must have that, and also ginger sticks in addition, so he can actually taste it.
 Both dressings use the same trio of scallions, chilies and ginger. The first dressing, which is simmered in soy, has these items minced fine (on the left). While the second dressing, which is fried in sesame oil, has the chilies whole and the ginger in long sticks (on the right).