We are now living through a pandemic. Going to the bakery involves masks, gloves, strict social distancing ballets, and disinfectant. It feels apocalyptic. Creating bagels at home requires being covered in flour, messiness, kneading, the smell of baking in the morning. It feels…homey.
How to decide?
Bagels are pretty unique in the bread family in two ways: one is their torus (donut) shape, with a hole in the middle. This shape gives the bagel as much surface area as possible for their size, so that the dense insides can cook all the way through. The other is the curious step of picking up the risen torus entire, tender and fluffy from the bubbles trapped inside, and slipping it into boiling water for a minute before baking.
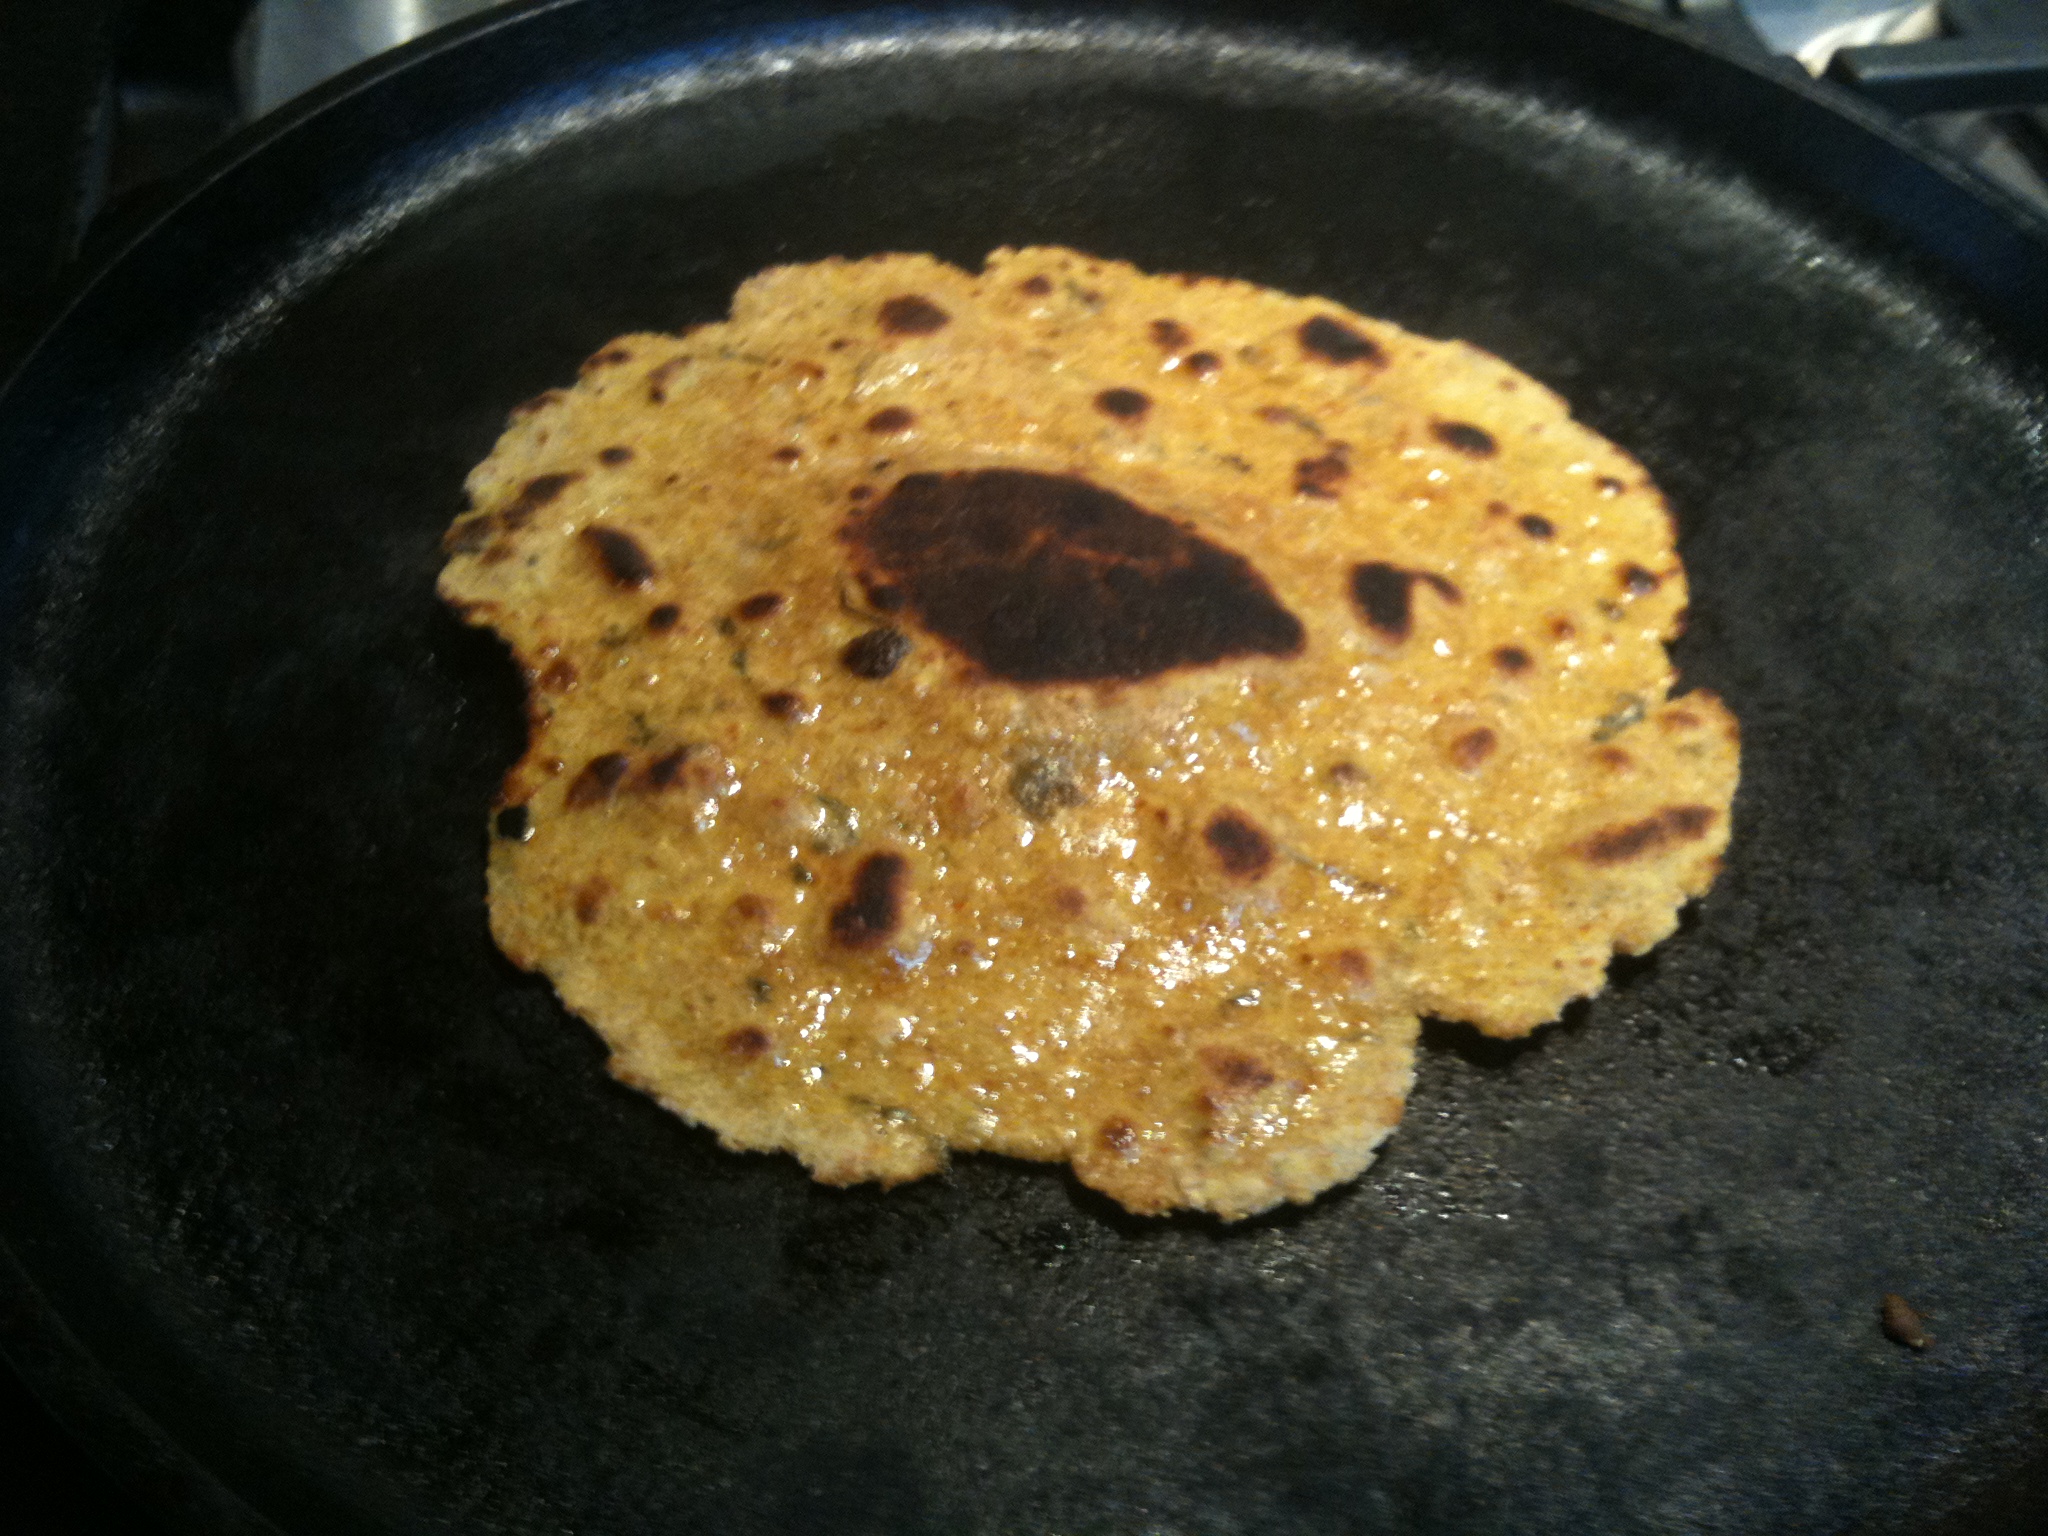
It’s odd, I tell you. I’ve made a wide variety of breads, from multigrain loafs baked in 9 by 4s to free-standing sourdough loafs to chapatis roasted on a griddle to pooris fried in oil. The step of boiling is completely unique. Generally, when you boil dough, you get dumplings, not bread.
And yet, here we are. Is a matter of fact, the boiling gives the bagel a sheen—and more importantly, a smooth soft shell, that preserves the shape and density during baking. That’s how you achieve the chewiness that for some reason is a match made in heaven (or “match made in leaven” perhaps) with cream cheese.
The method
Bagel dough is pretty standard, if perhaps drier and denser than a standard loaf bread destined to turn into slices and sandwiches. You have the option to add as much whole wheat flour as you like up to about 50%—I generally go with a third whole wheat, two-thirds not.
The list of toppings and flavorings that can be added, either to the dough, or on the surface of the boiled torus before baking, are endless: from cinnamon, to onions or garlic, to seeds like poppy, sesame, caraway. But I’m going to focus on the bagel recipe as a basic template, for you to experiment with on on your own dime.
Just like standard bread, there is a first rise. Depending on the amount of yeast added, and the temperature around your countertop, this can go from an hour to overnight in the fridge.
Just like standard bread, there is a shaping and a second rise. But rather than shape into a loaf, one breaks the bagel dough into pieces, rolls each piece into a snake about a foot long, and joins the snake head to mouth into a torus shape.
Then, of course, there is the boiling and the baking.
Sugar: this recipe is ideal for people who get tired of the amount of added sugar in commercially available food; it has no sugar at all. If you want to add some, you can add a teaspoon to a tablespoon or sugar or honey dissolved in the water.

Flour + water
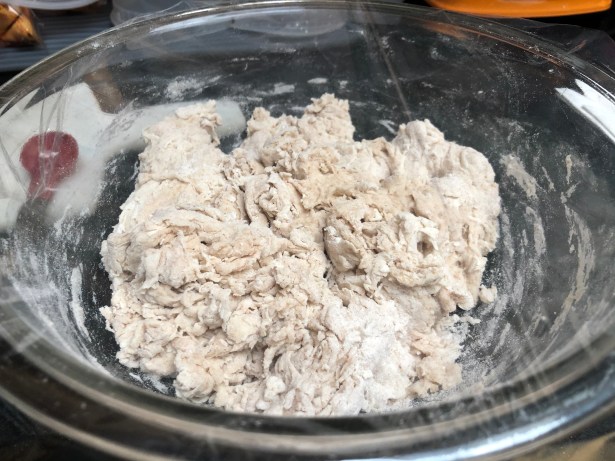
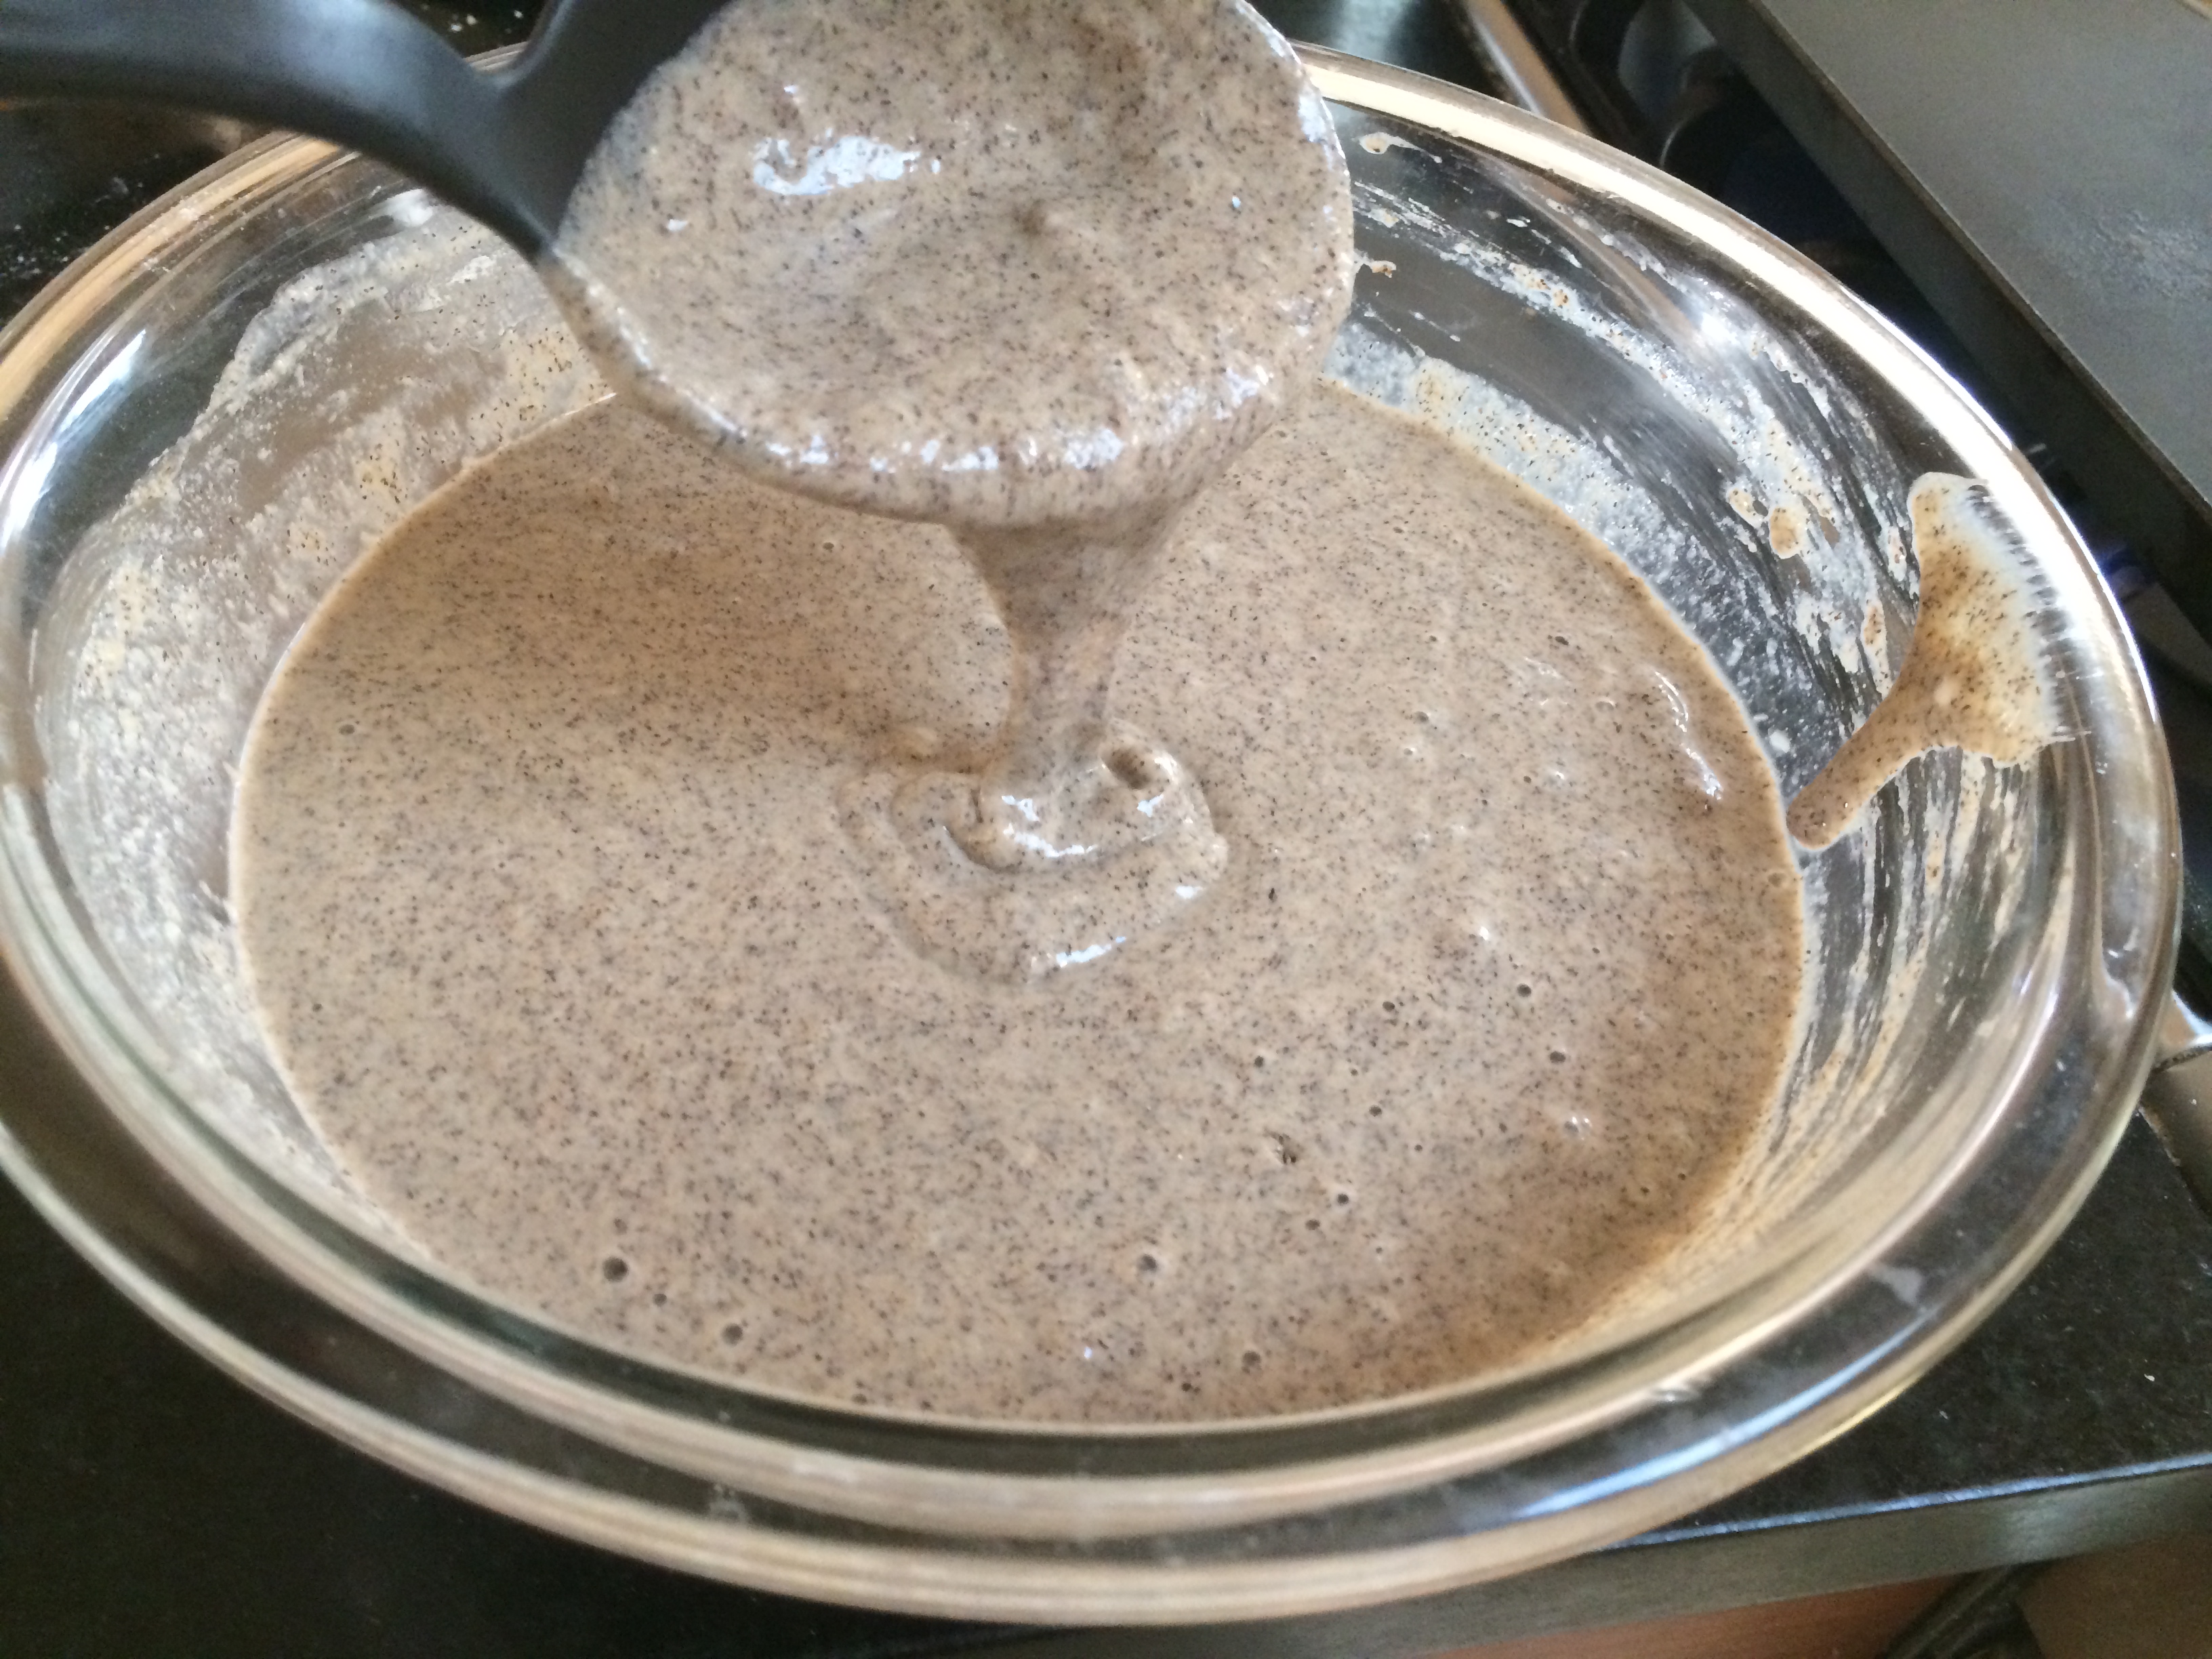
Mixing the dough
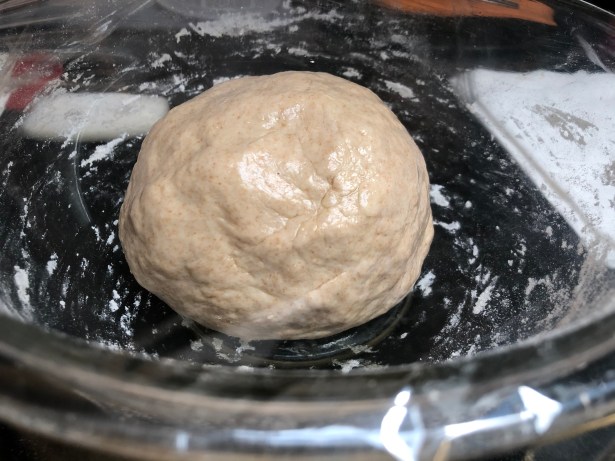
Dough
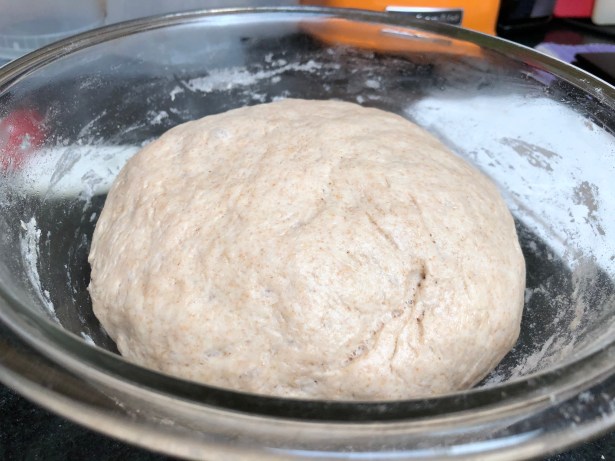
After first rise
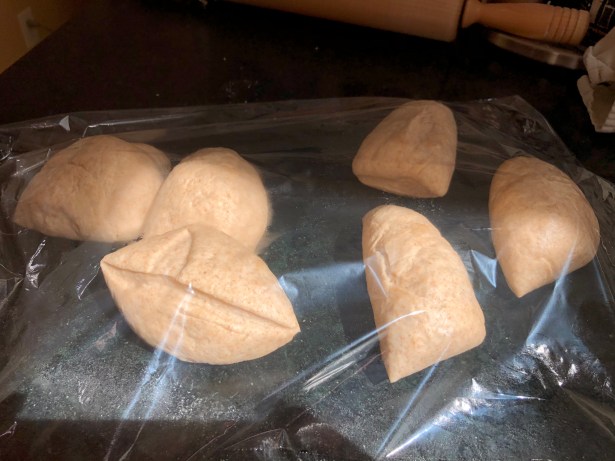
Break into six pieces

Start shaping each

Rolled out to snake shape
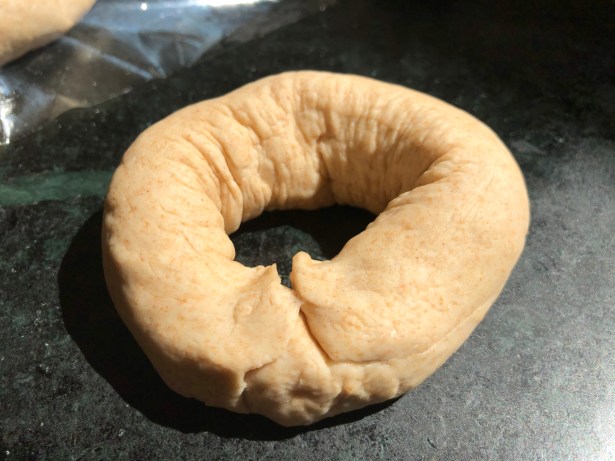
Join at ends

Start second rise

Risen
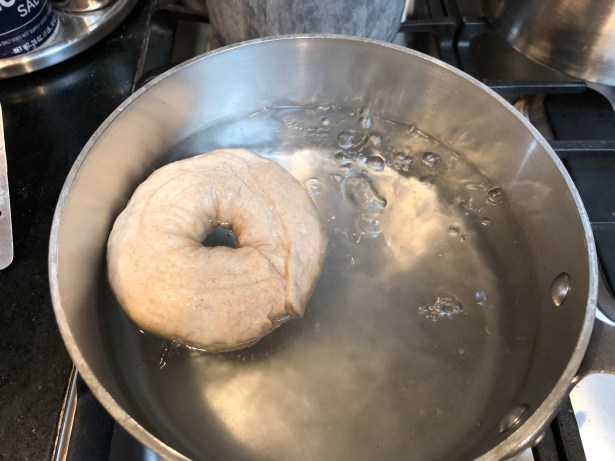
Boil
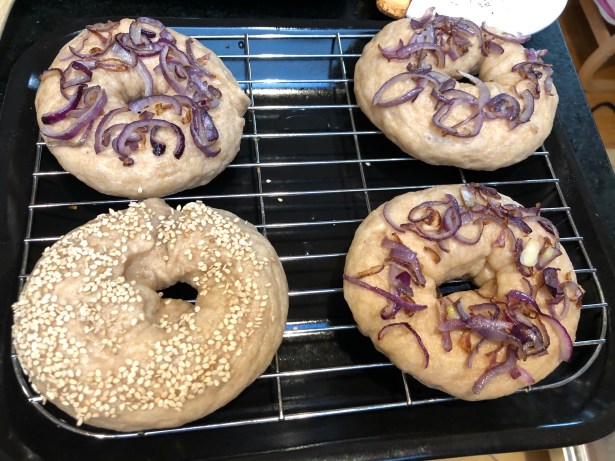
Toppings
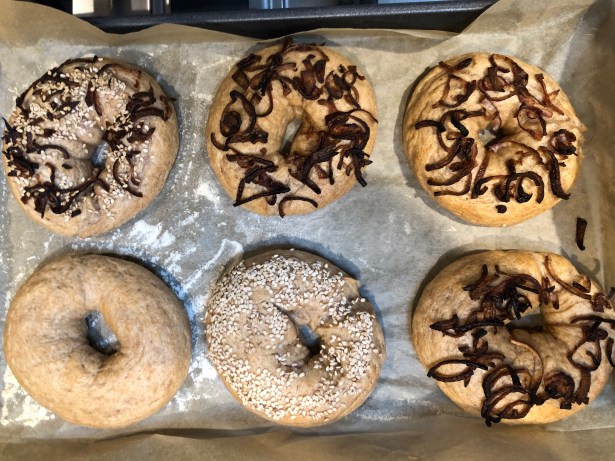
Done!
Bagels
Ingredients:
- 3 cups flour (up to a third whole wheat, the rest bread flour or all-purpose)
- 1 tsp instant yeast
- 2 tsp salt
- 1.25 cups water
- 0.5 onion, sliced, for onion bagels (optional)
- 2 tbsp mix of sesame and poppy seeds, for seeded bagel (optional)
- other topping ideas:
- garlic
- shredded cheese
- jalapenos
- caraway seeds
Method:
Collect your flours in a wide bowl. Sprinkle the instant yeast over and stir it into the flour with a fork. Then sprinkle the salt over and stir that in as well.
Make a well in the center of the flour with a chopstick. Pour the water in. Start mixing the flour into the water with your chopstick (a wooden one works best because it won’t stick to the mixture). Once most of it is mixed in, turn the dough onto a counter to knead.
Continue to knead for a few minutes, until you have a smooth ball of dough. Cover with oil and plastic wrap, and leave it to rise for about an hour or two, or until puffy and almost doubled.
Divide the dough into six approximately equal pieces, using a pastry scraper to make neat cuts, rather than pulling it apart. Cover all the pieces with a kitchen towel or plastic wrap while you work on shaping each piece.
To shape a piece into a torus shape: gently roll into a foot long shape with some stretching, some rolling, some flattening, resting it for minutes at a time. Moisten the two ends with some water and connect end-to-end in a bagel shape.
Place them side by side on a well-floured cookie sheet, with at least a couple inches between them. Cover with a kitchen towel or plastic wrap to avoid drying out. Leave to rise for another hour or two.
Pre-heat oven to 425° F.
Set a large pot of water to boil. When it comes to a rolling boil, lower the heat to just above a simmer. One by one, gently scoop up each bagel by teasing it onto a slotted spoon and lower into the boiling water. Boil each side for 30 seconds and leave to drain. This is the time to put toppings on, such as fried onions or sesame seeds.
Place the tray with the boiled bagels into the oven for 20-25 minutes. Wait at least half hour before slicing them.
They go very well with butter, or cream cheese, or my idiosyncratic favorite: cream cheese and jam.
I’d love to hear in comments or on Twitter/Facebook if this worked for you. I would love to see pictures of your bagels!
(Follow me on Twitter at @TheOddPantry and on Facebook at The Odd Pantry.)