Baba Ganoush
My love affair with eggplant continues. Any confirmed eggplant haters would be wise to click away now. This blog has become nothing but a vehicle for eggplant worship — maybe I should rename it ‘The Odd purple vegetable in your Pantry’.
In any case. The other love affair I have is with mashing things. Now the very word ‘mash’ arouses deeply unfashionable images in the foodie mind. Perhaps images of an eater who has lost their teeth or not yet grown any; or of overcooked and limp strands; or perhaps images of hospital trays with their scanty TV dinners.
But it is time for mashes, and their French cousins, the purées, to get some respect. There is no other method that combines flavors as well; and if some fat is added, as it is in this recipe, the mash gets a sheen and a nice mouth feel. If the ingredients that go into a mash marry well, there is no reason to scorn it. Plus, there is the thrill of pulverizing ingredients together — many adults have attested that their early love for cooking came from the thrill of mixing things up just to see what would happen.
Or, you can call it a ‘dip’ and feel fashionable again.
Pampered Father
Now for the pampered father, or, ‘Baba Ganoush‘ in Arabic. Apparently a sultan in some ancient royal harem in the middle east came up with this particular eggplant mash…or perhaps he just enjoyed it very much, the OED is not clear on this point. Somehow, this pampered, coy father achieved culinary fame that reached across the centuries and empires, all the way to food trucks in contemporary San Francisco.
What is this pampered father? Roasted, pureed eggplant, flavored with ground sesame seeds (tahini), olive oil, lemon, and other flavorings. It can be eaten as a snack with pita points, or as a dressing in a felafel sandwich.
There is a certain amount of freedom on what other flavorings to add; and here I have chosen a rather unusual addition — that of roasted red pepper. Not only does it add a subtle sweetness, but also little flecks of red. Plus — eggplant and pepper being nightshade cousins, it is a bit of a family reunion.

Roasting sesame seeds

Roasted sesame seeds
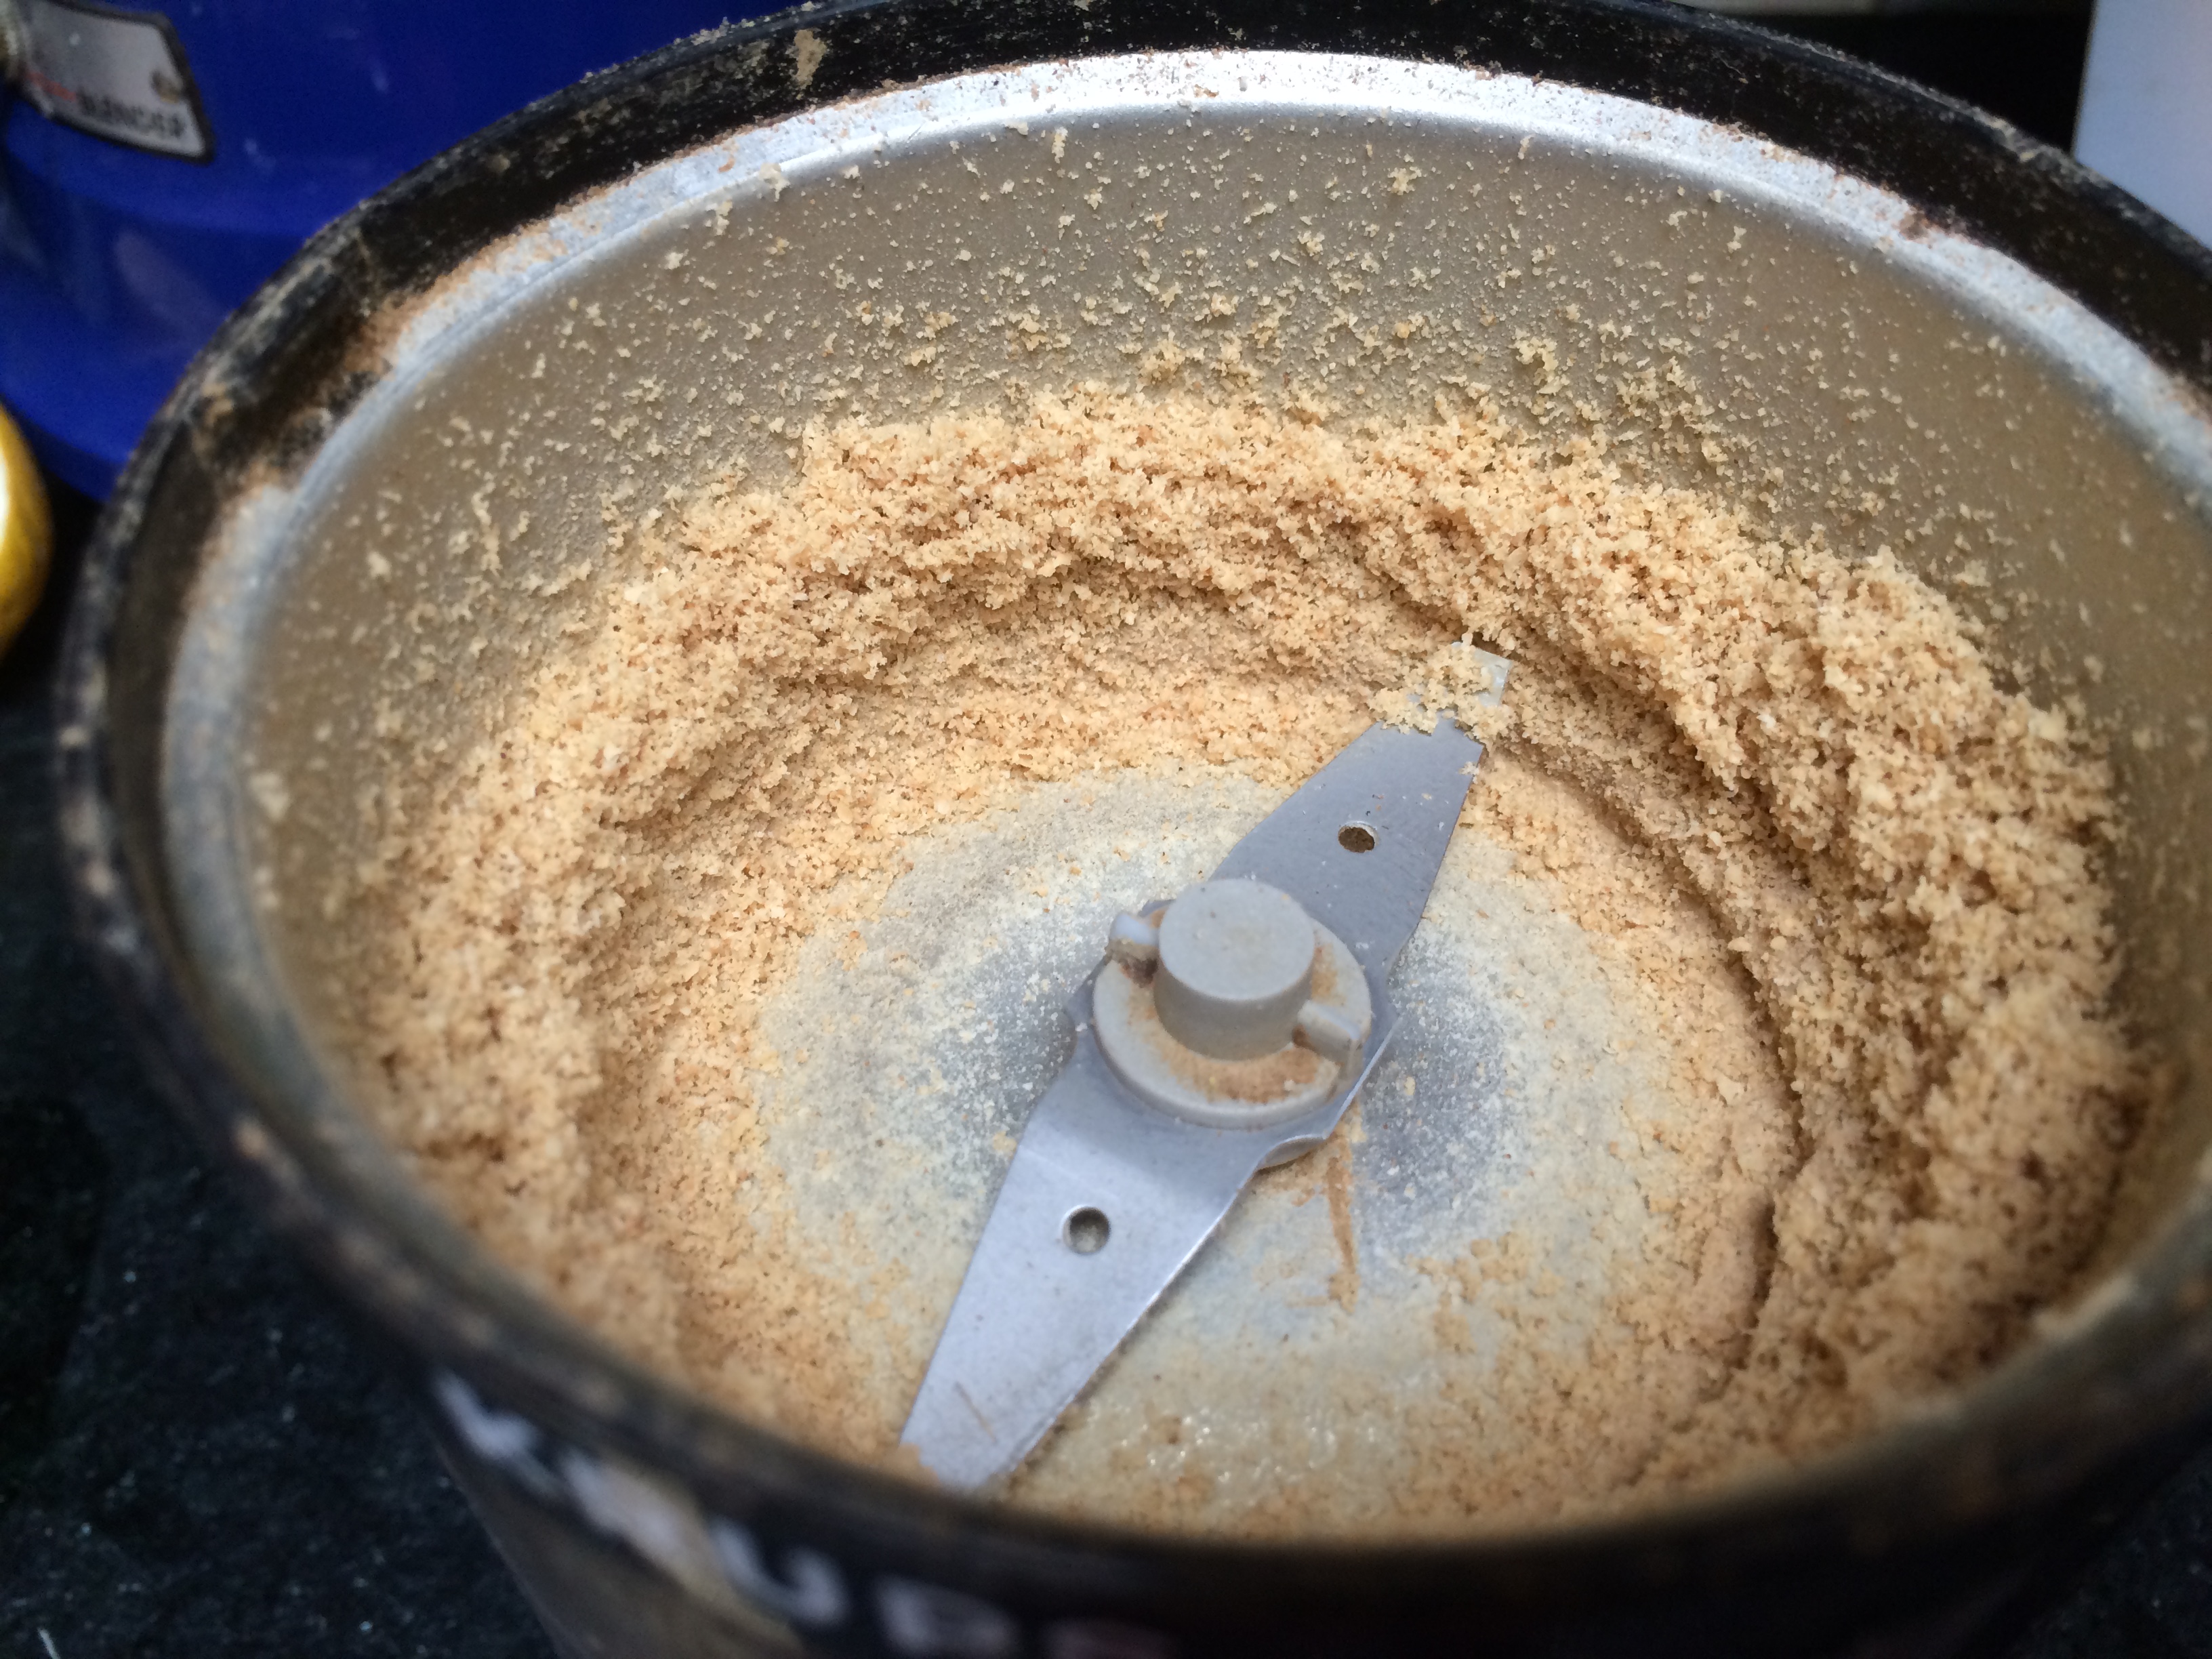
Ground sesame seeds

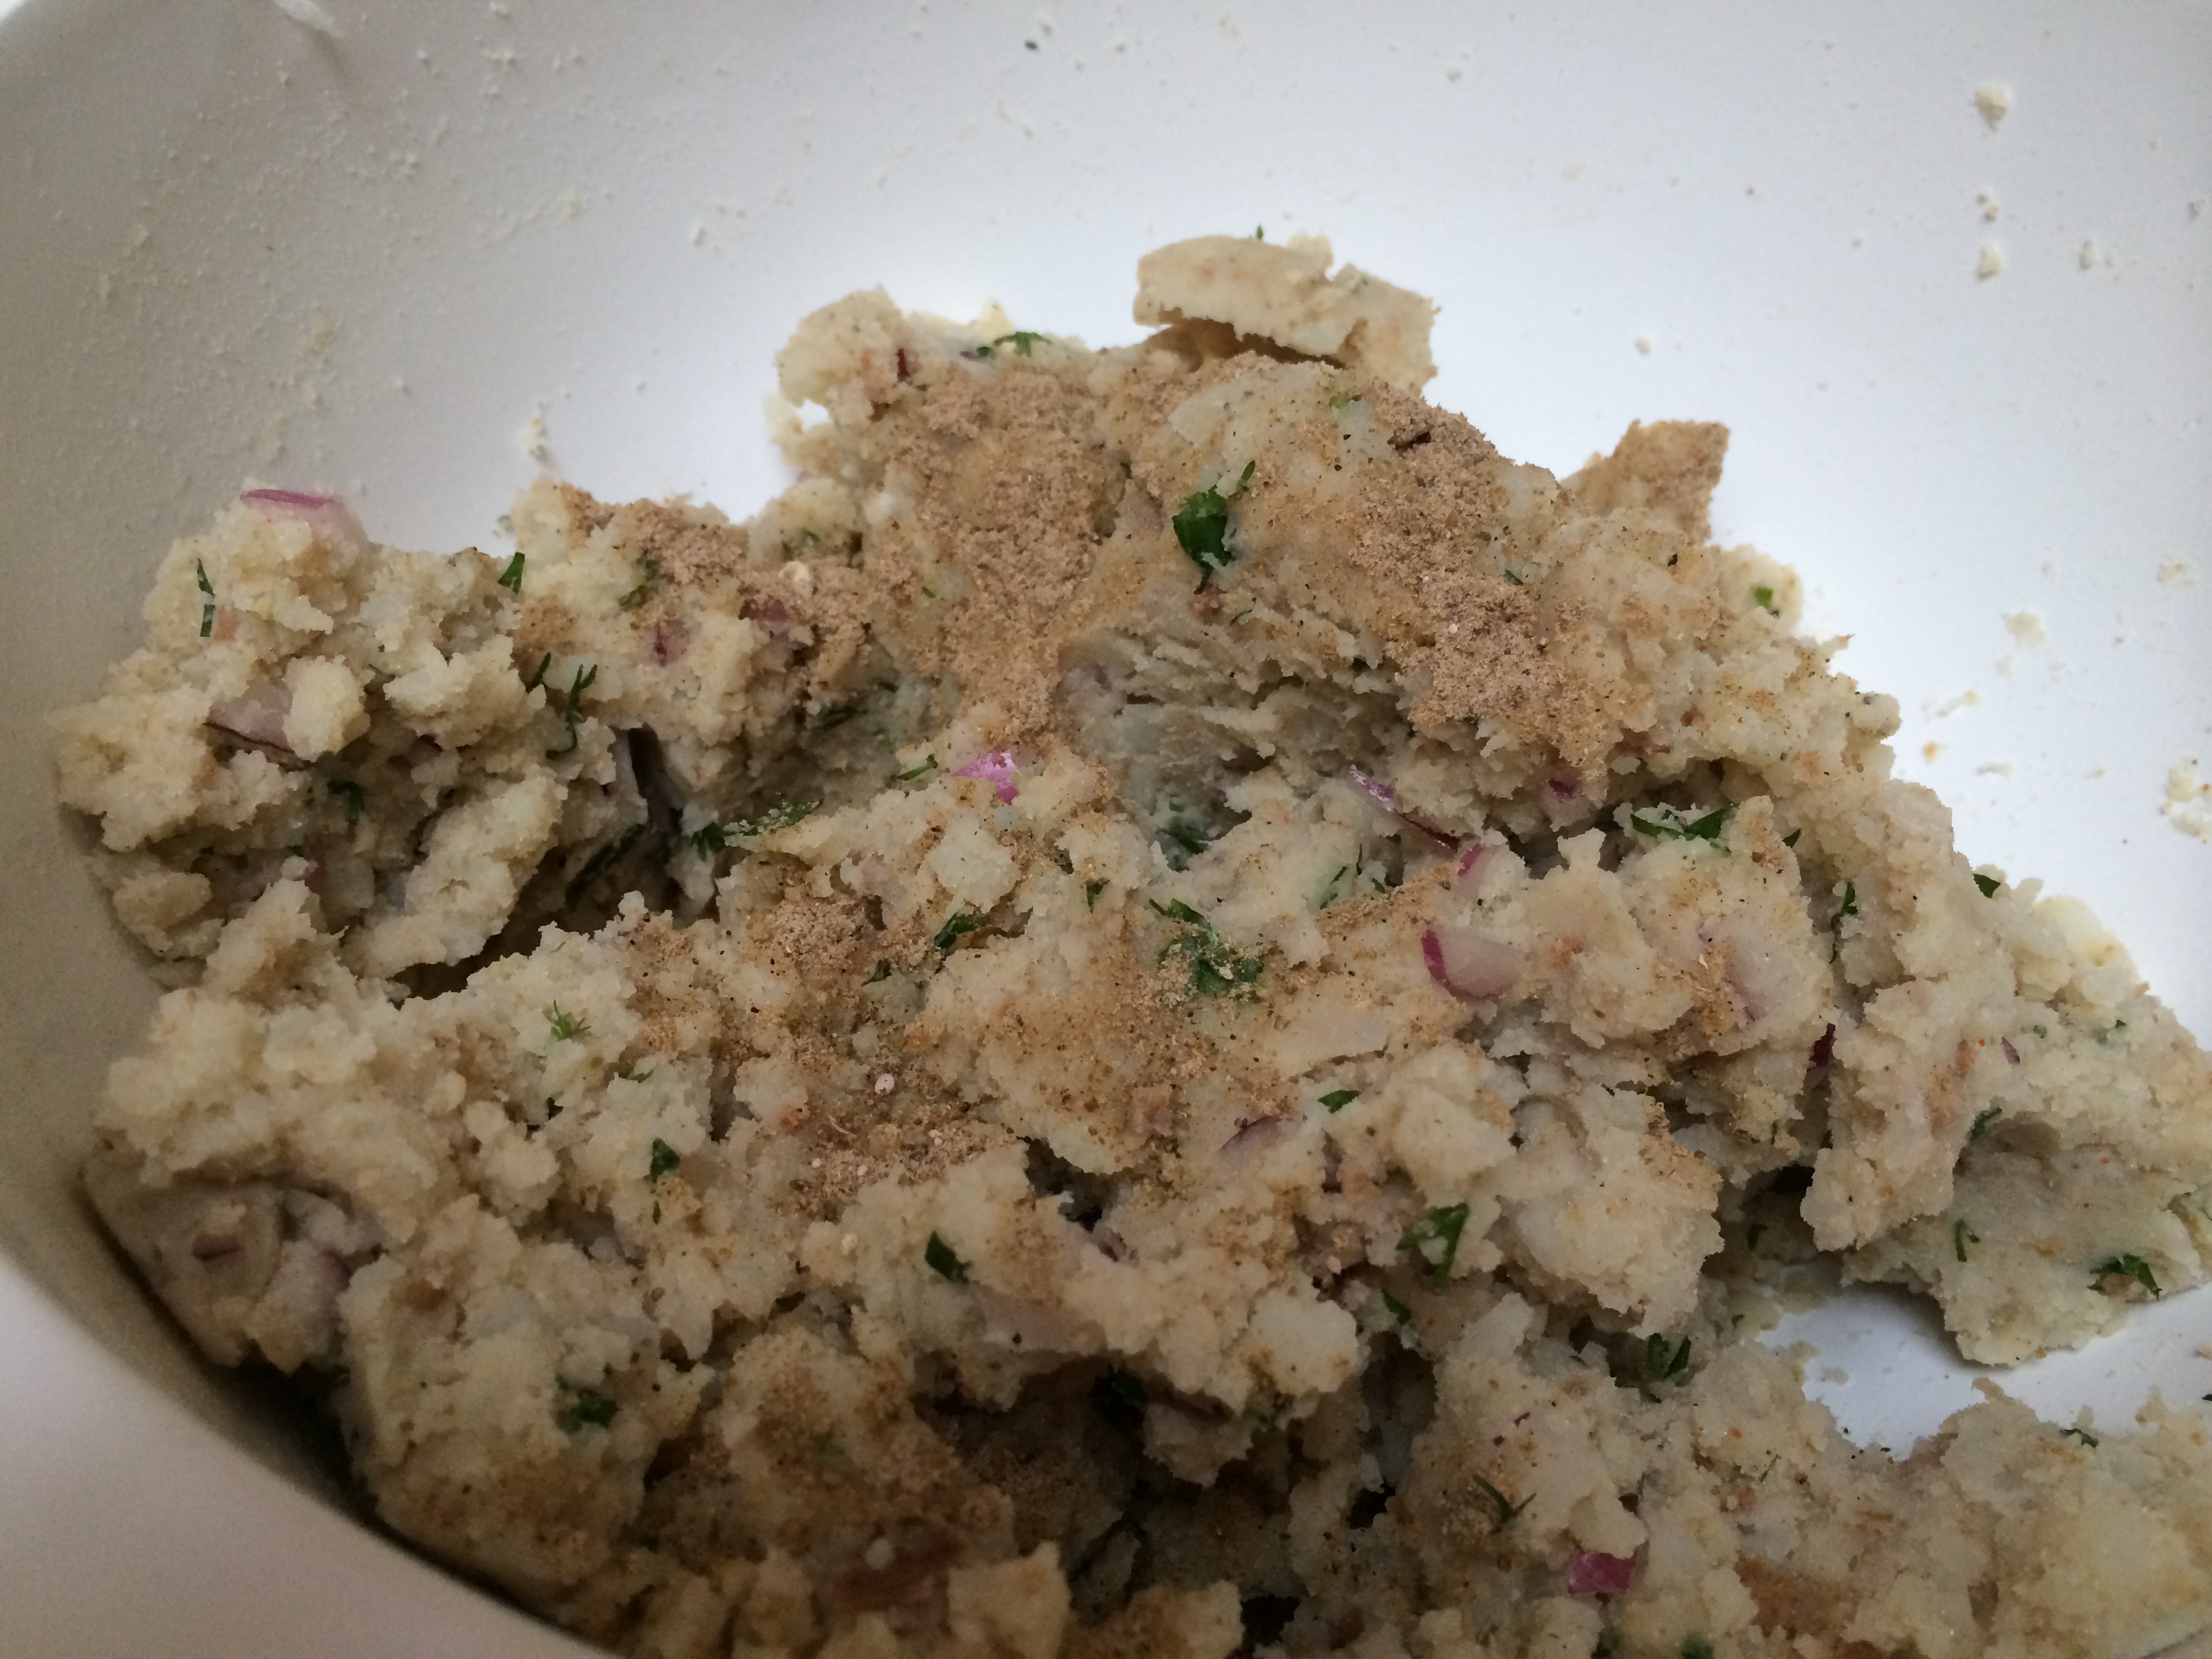
Roasted eggplant and bell pepper
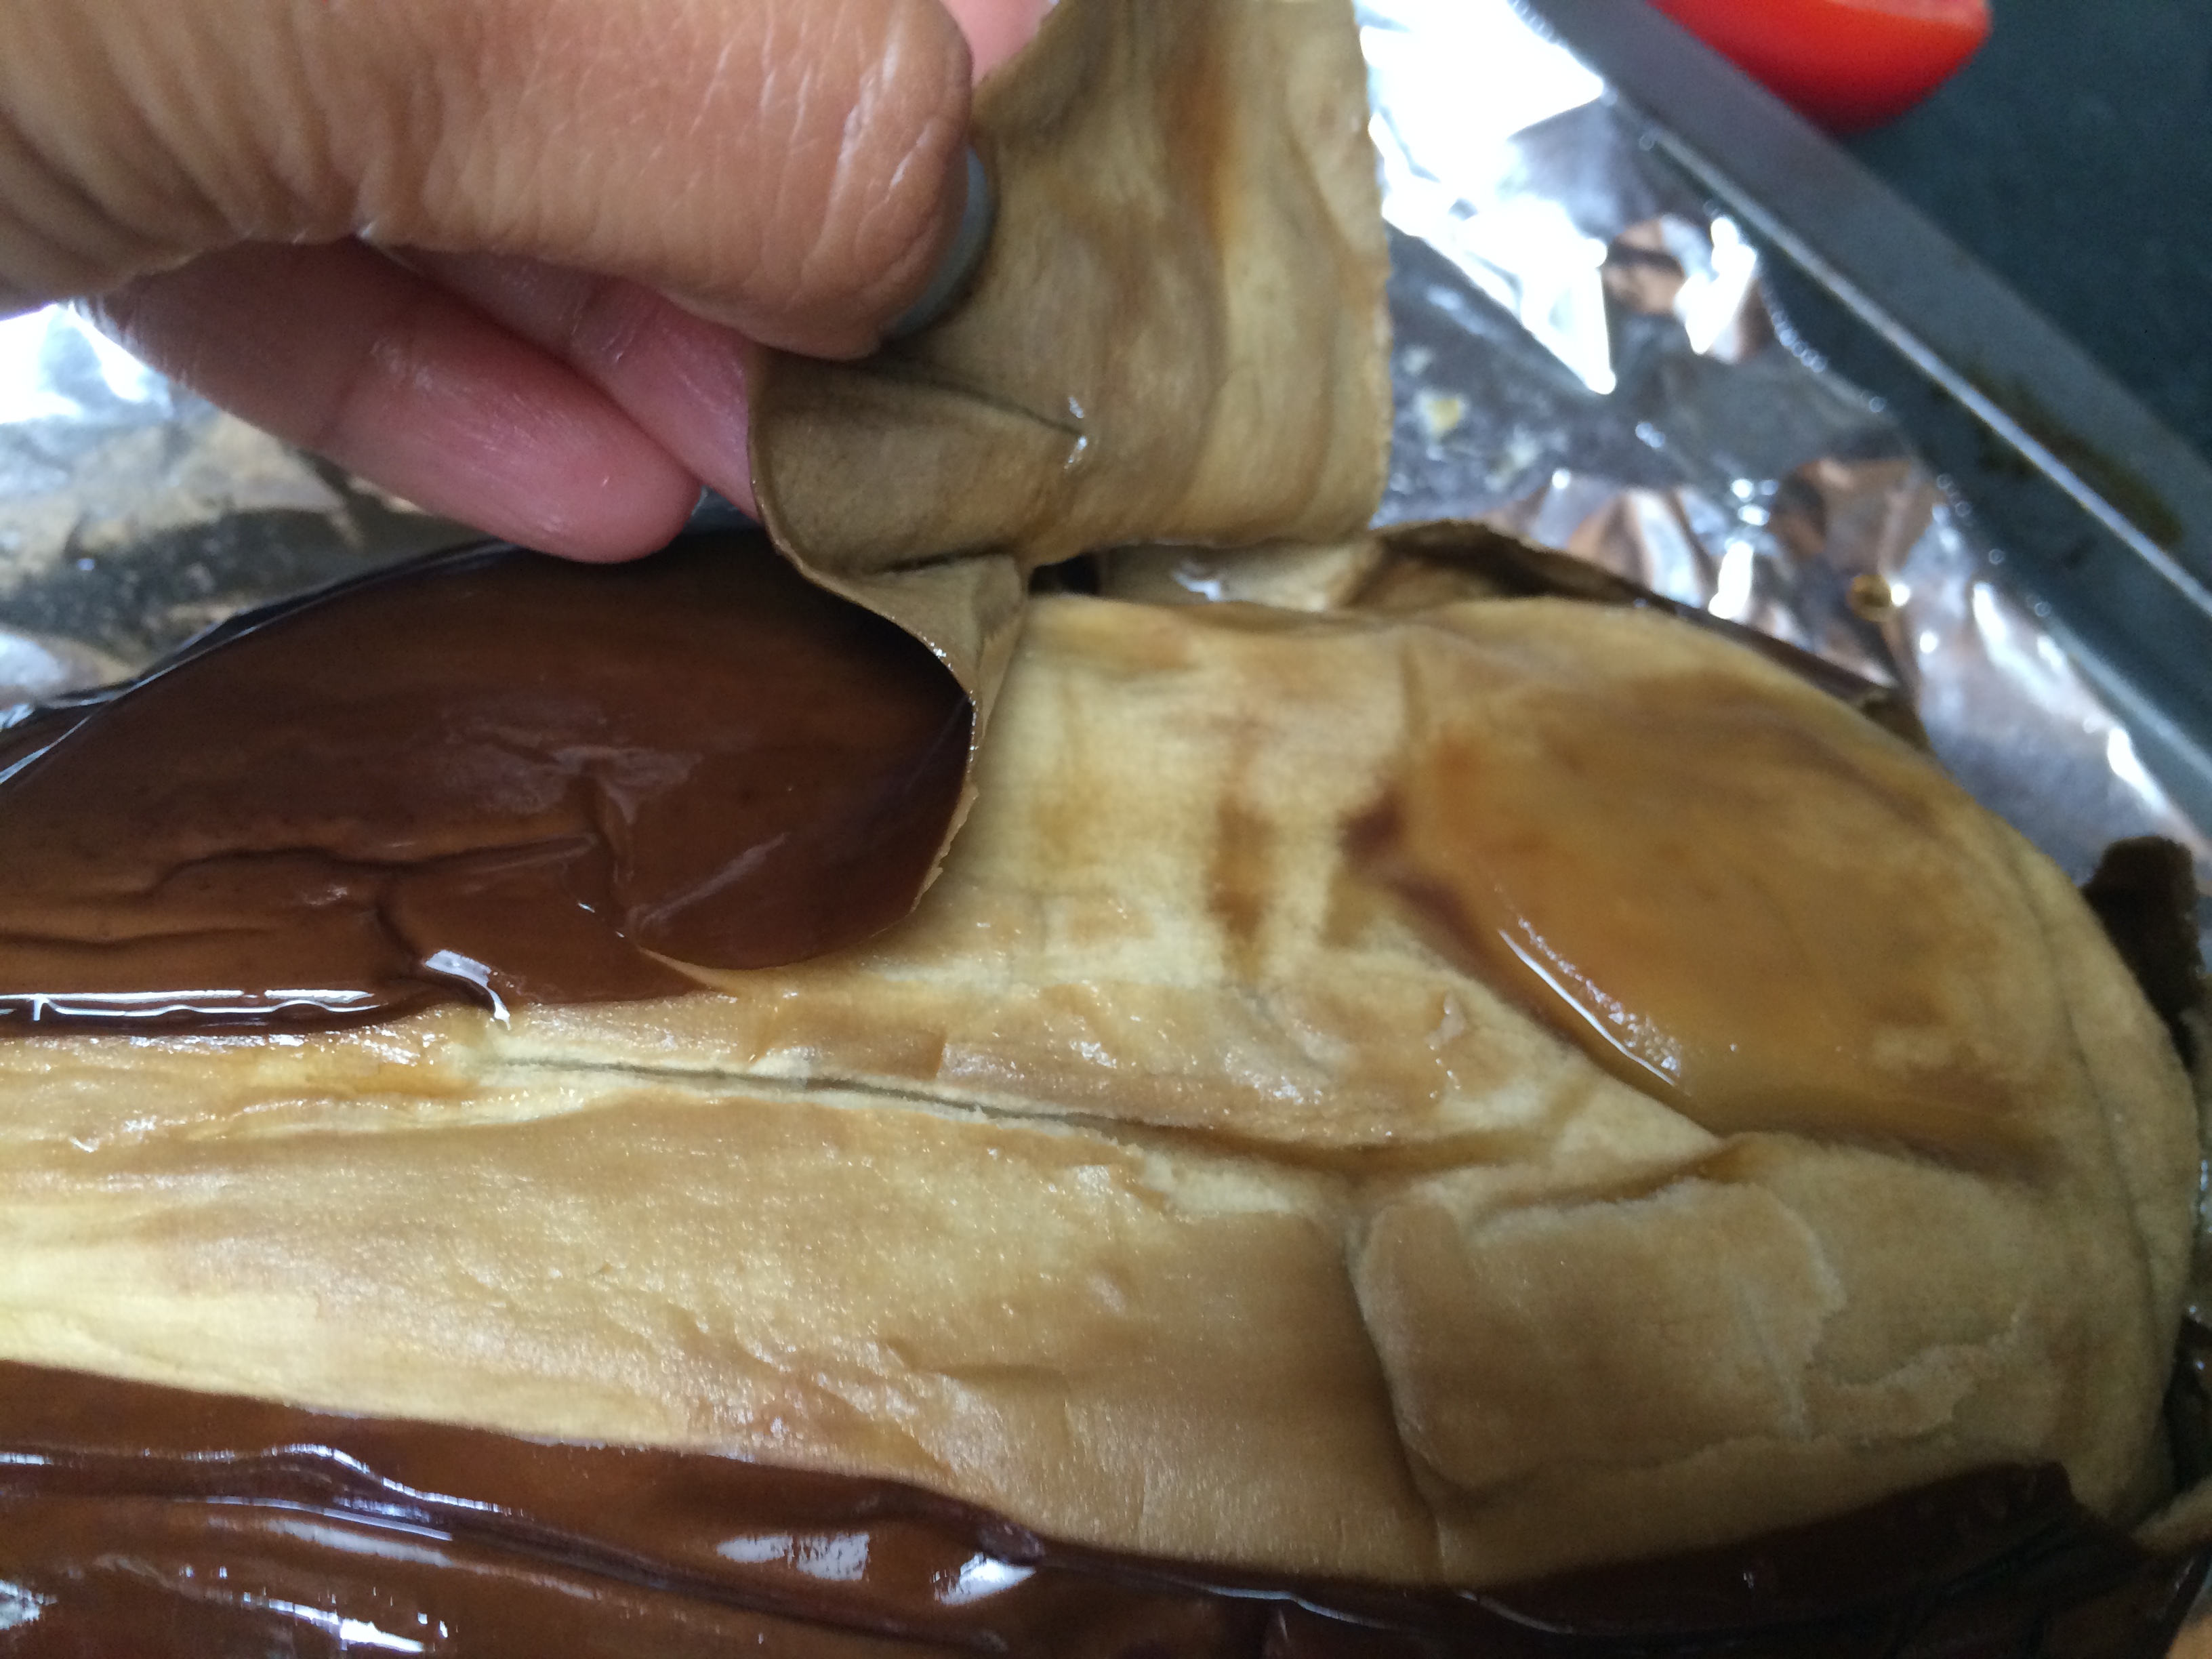
Peeling eggplant
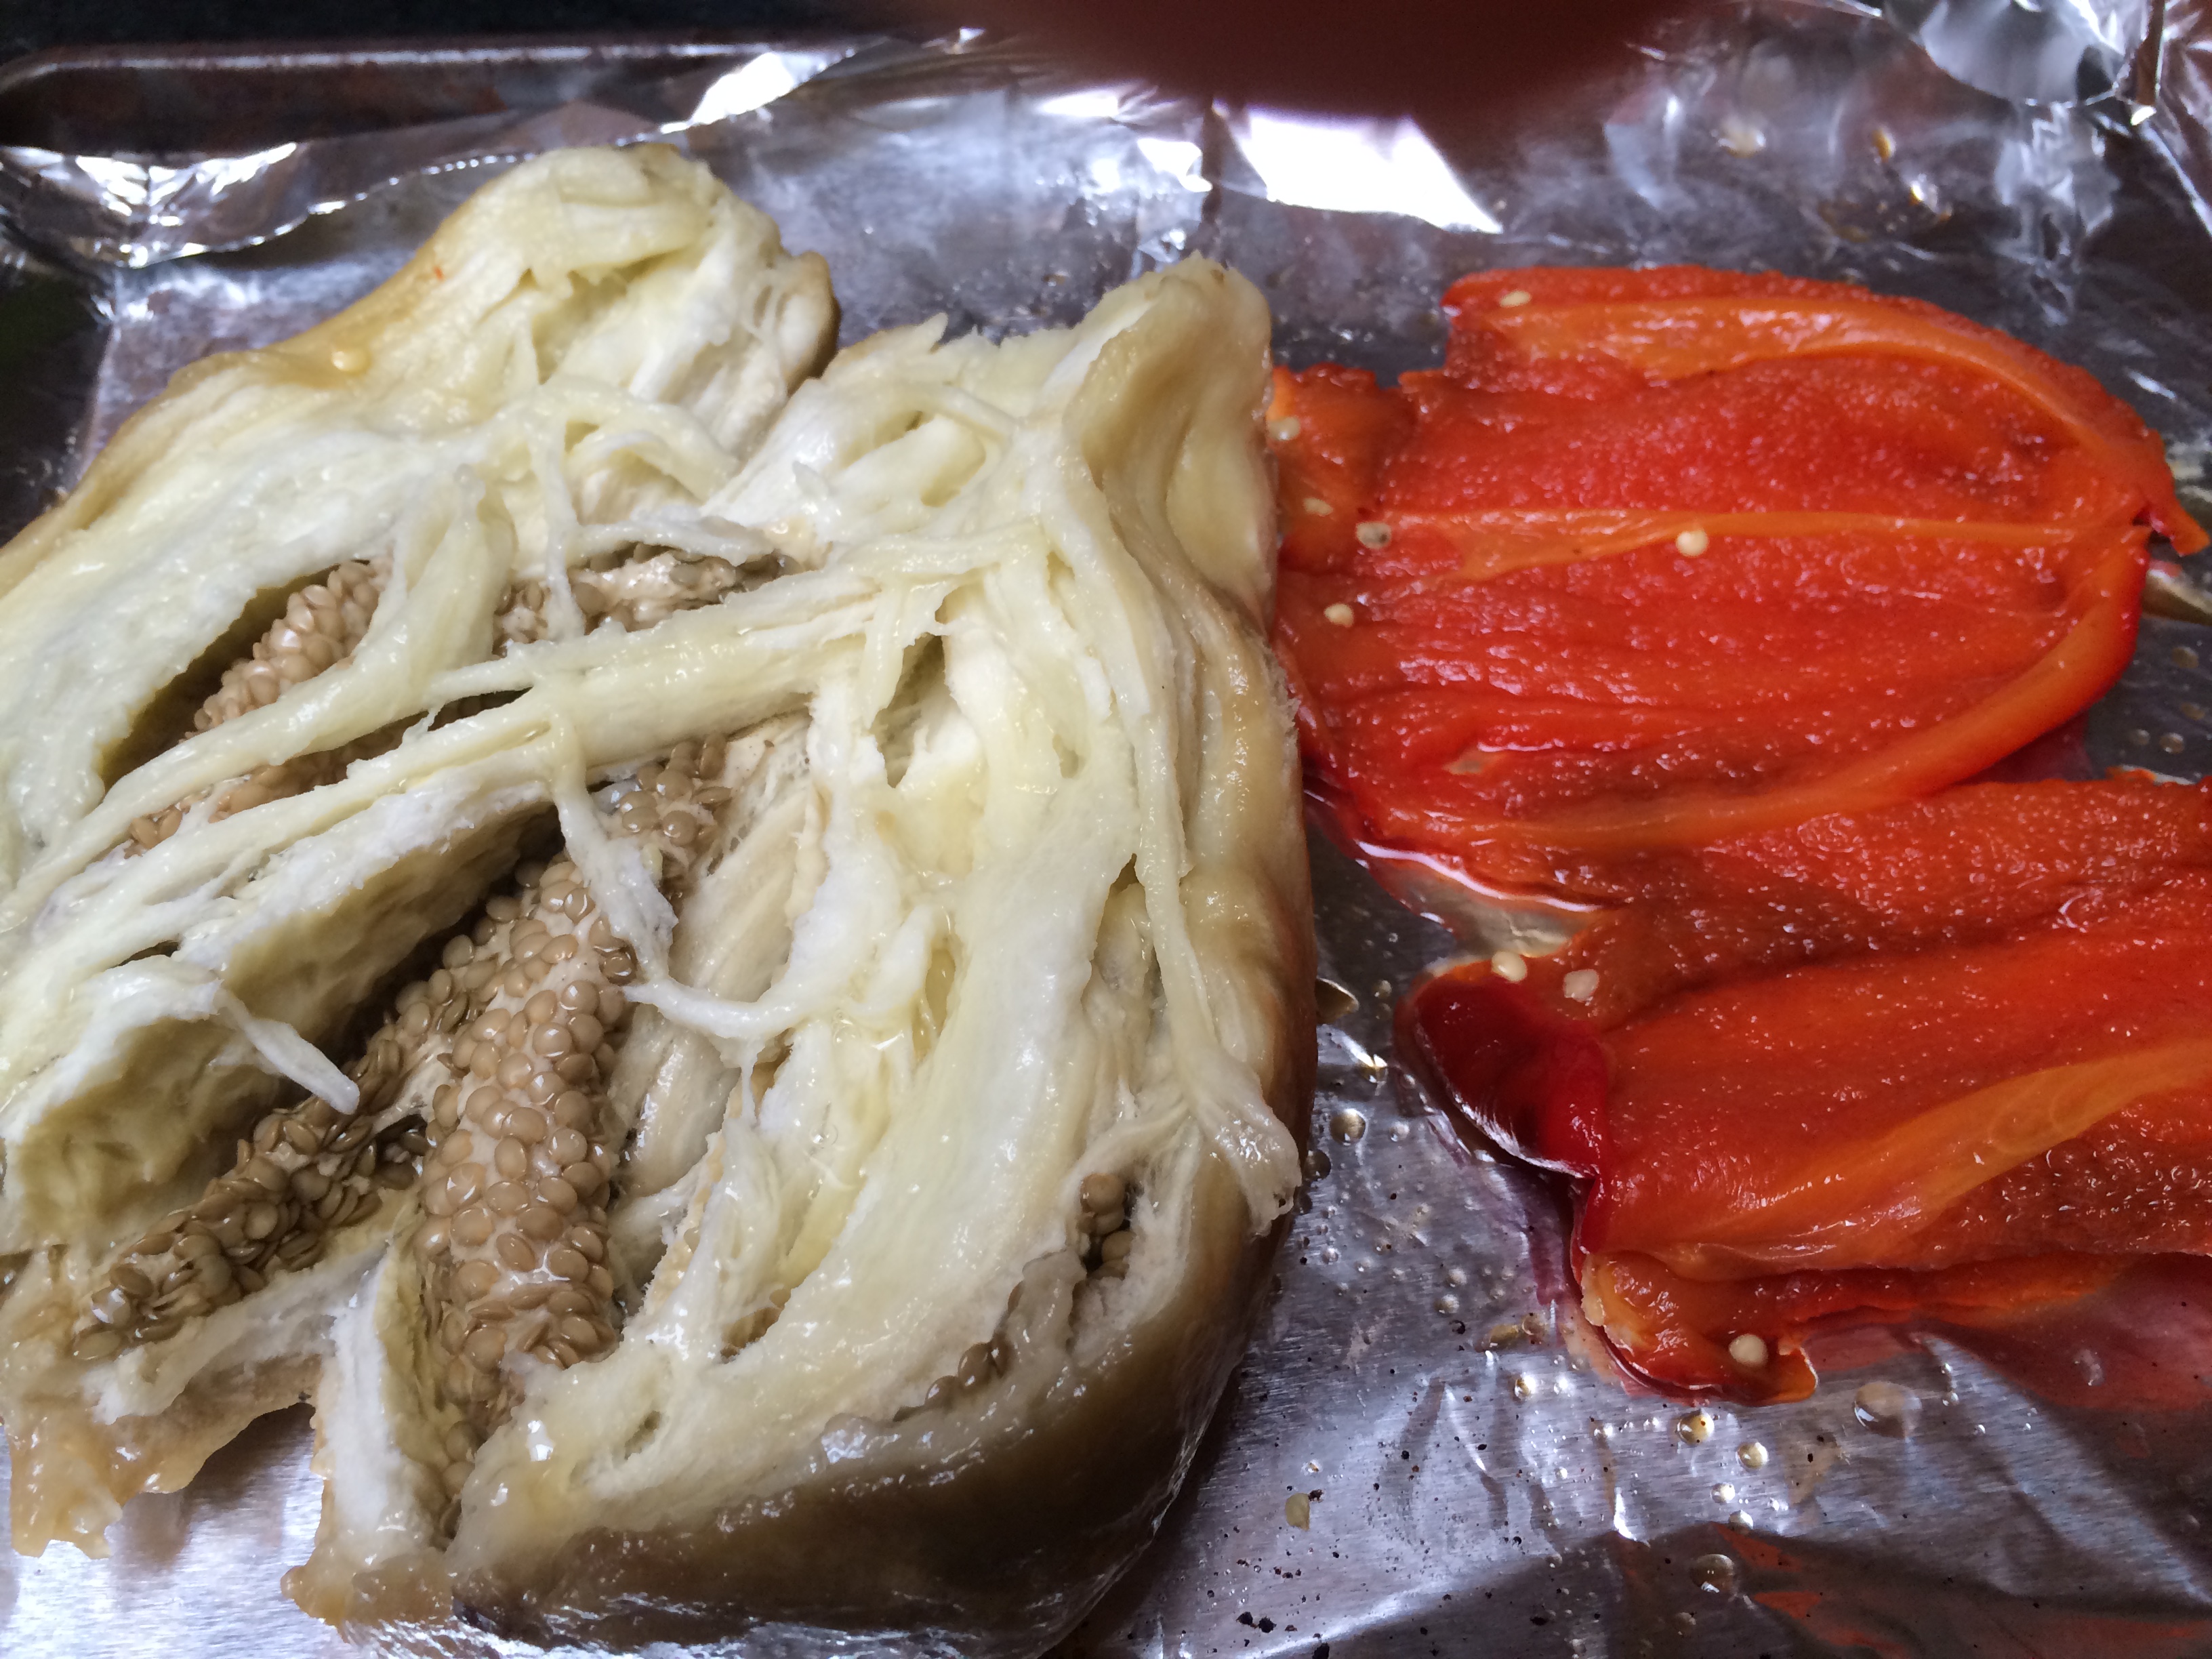
Peeled flesh

Pureeing

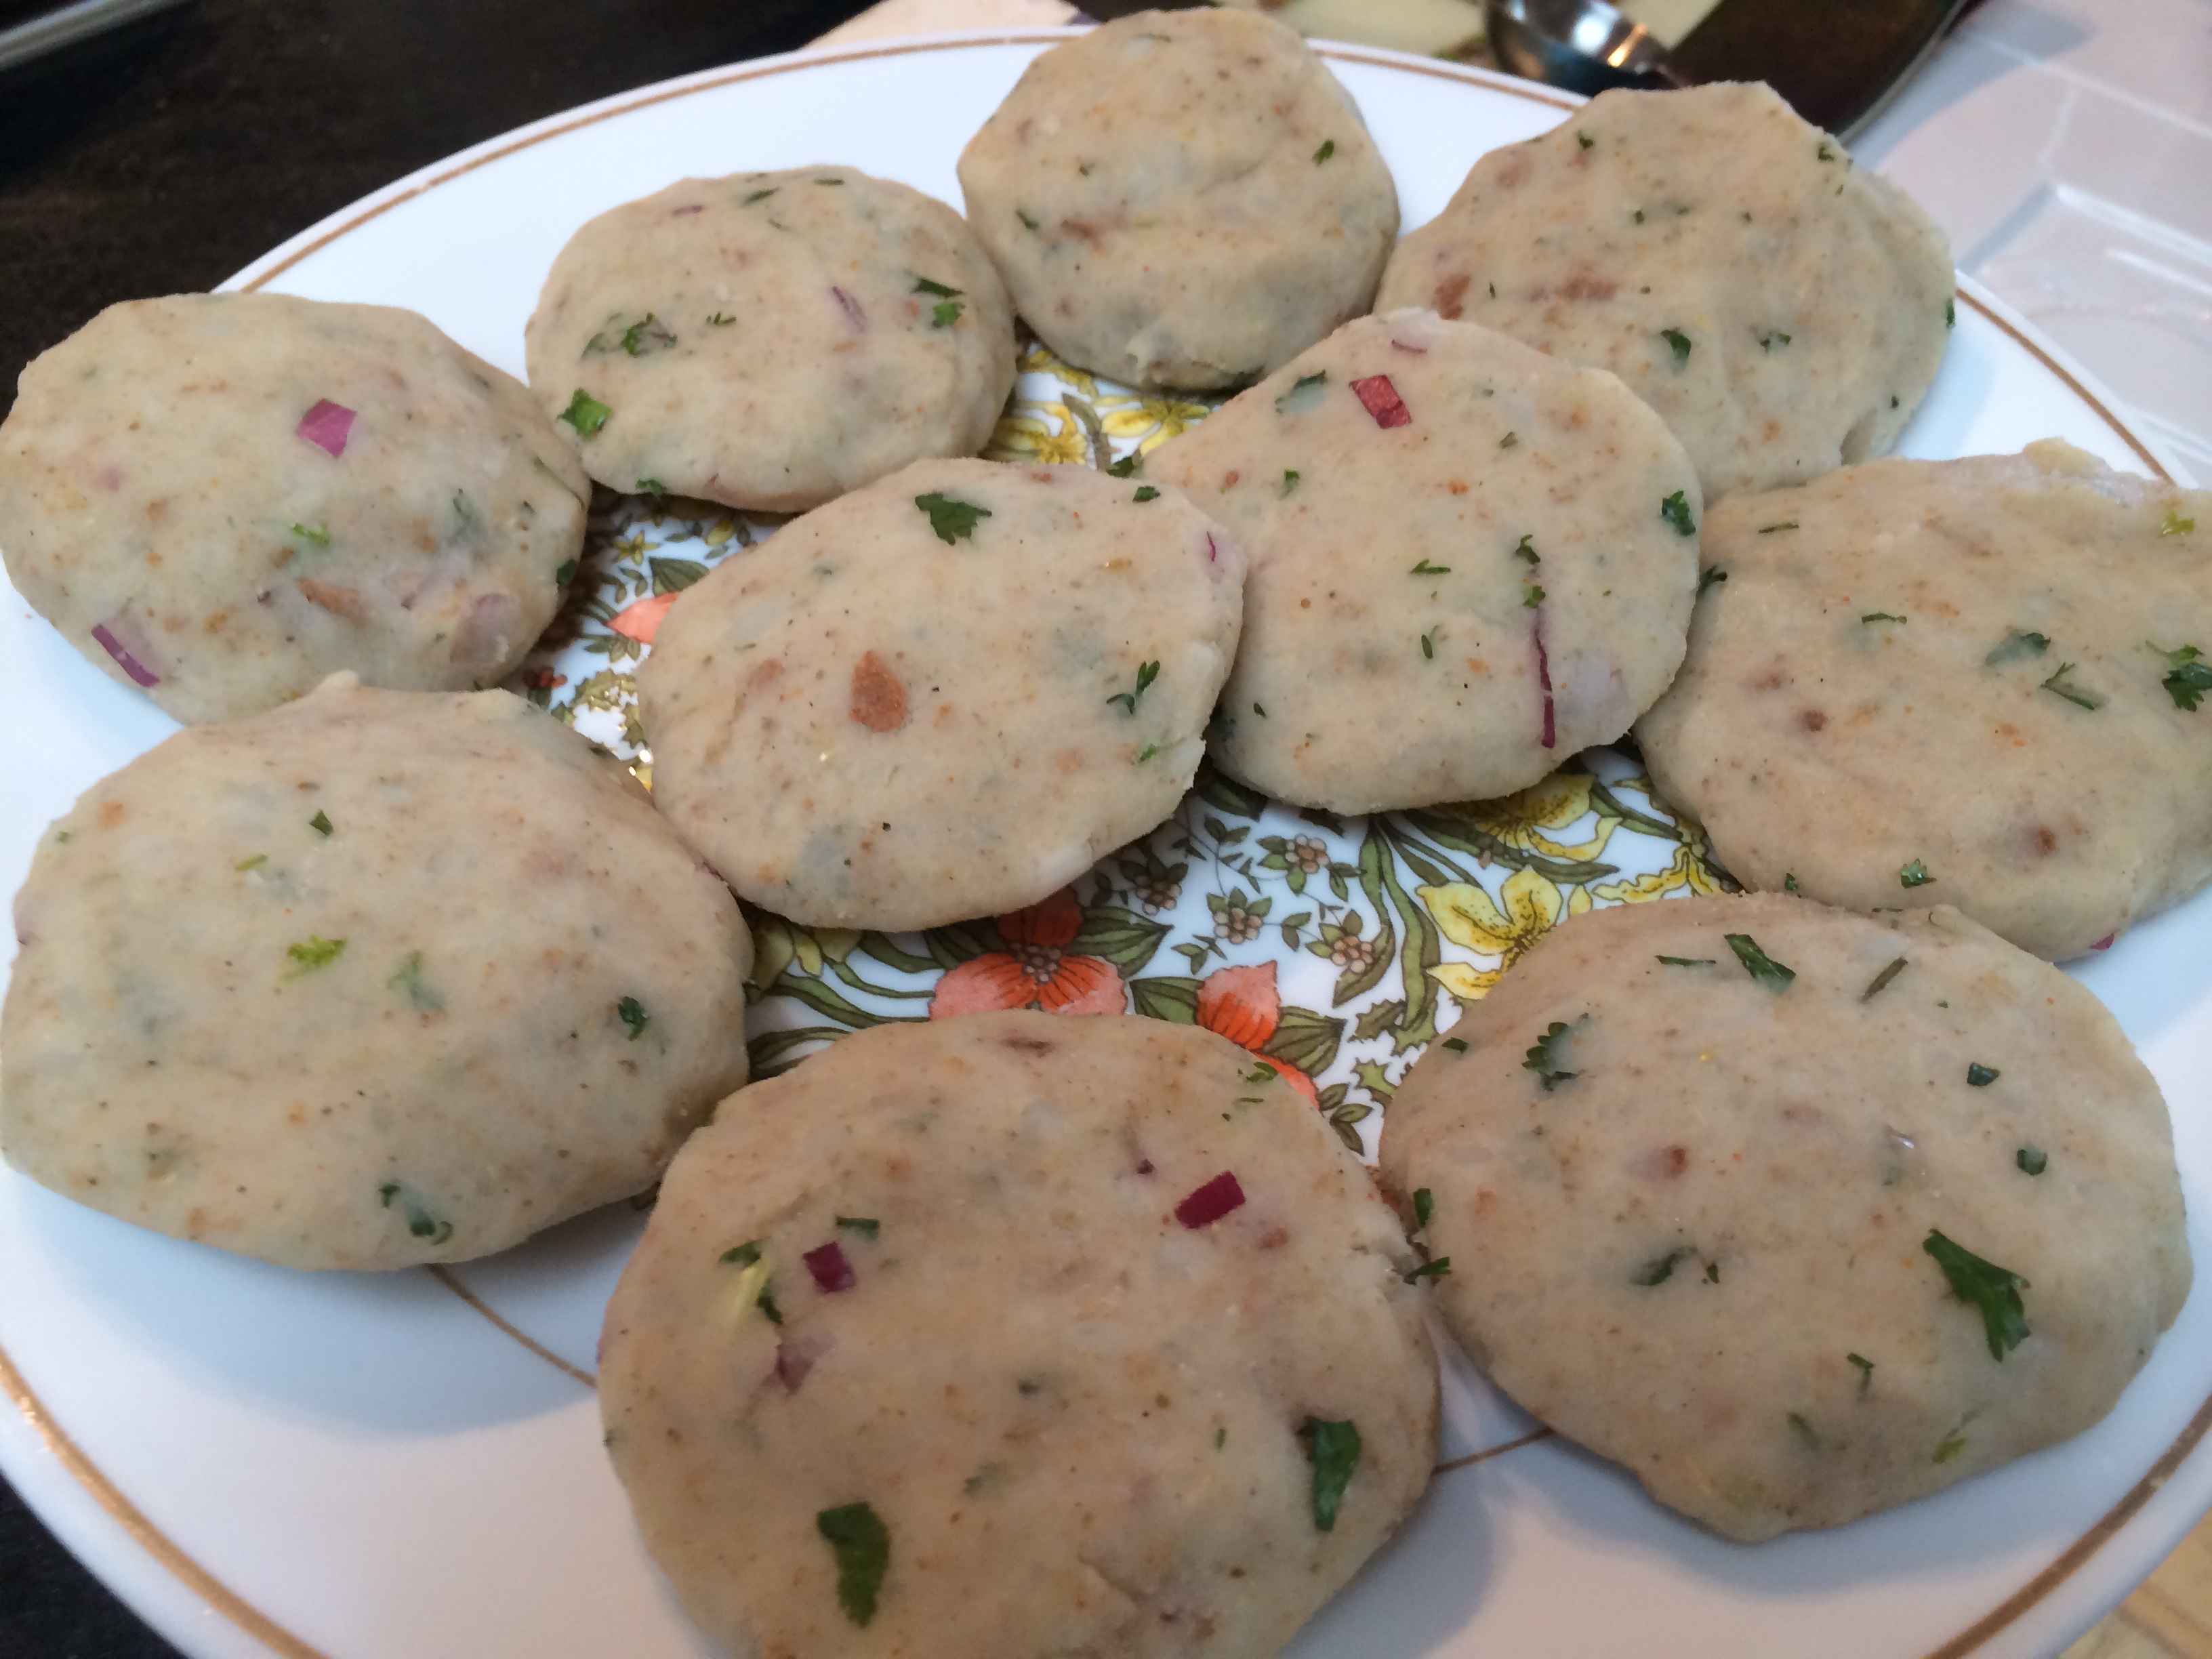
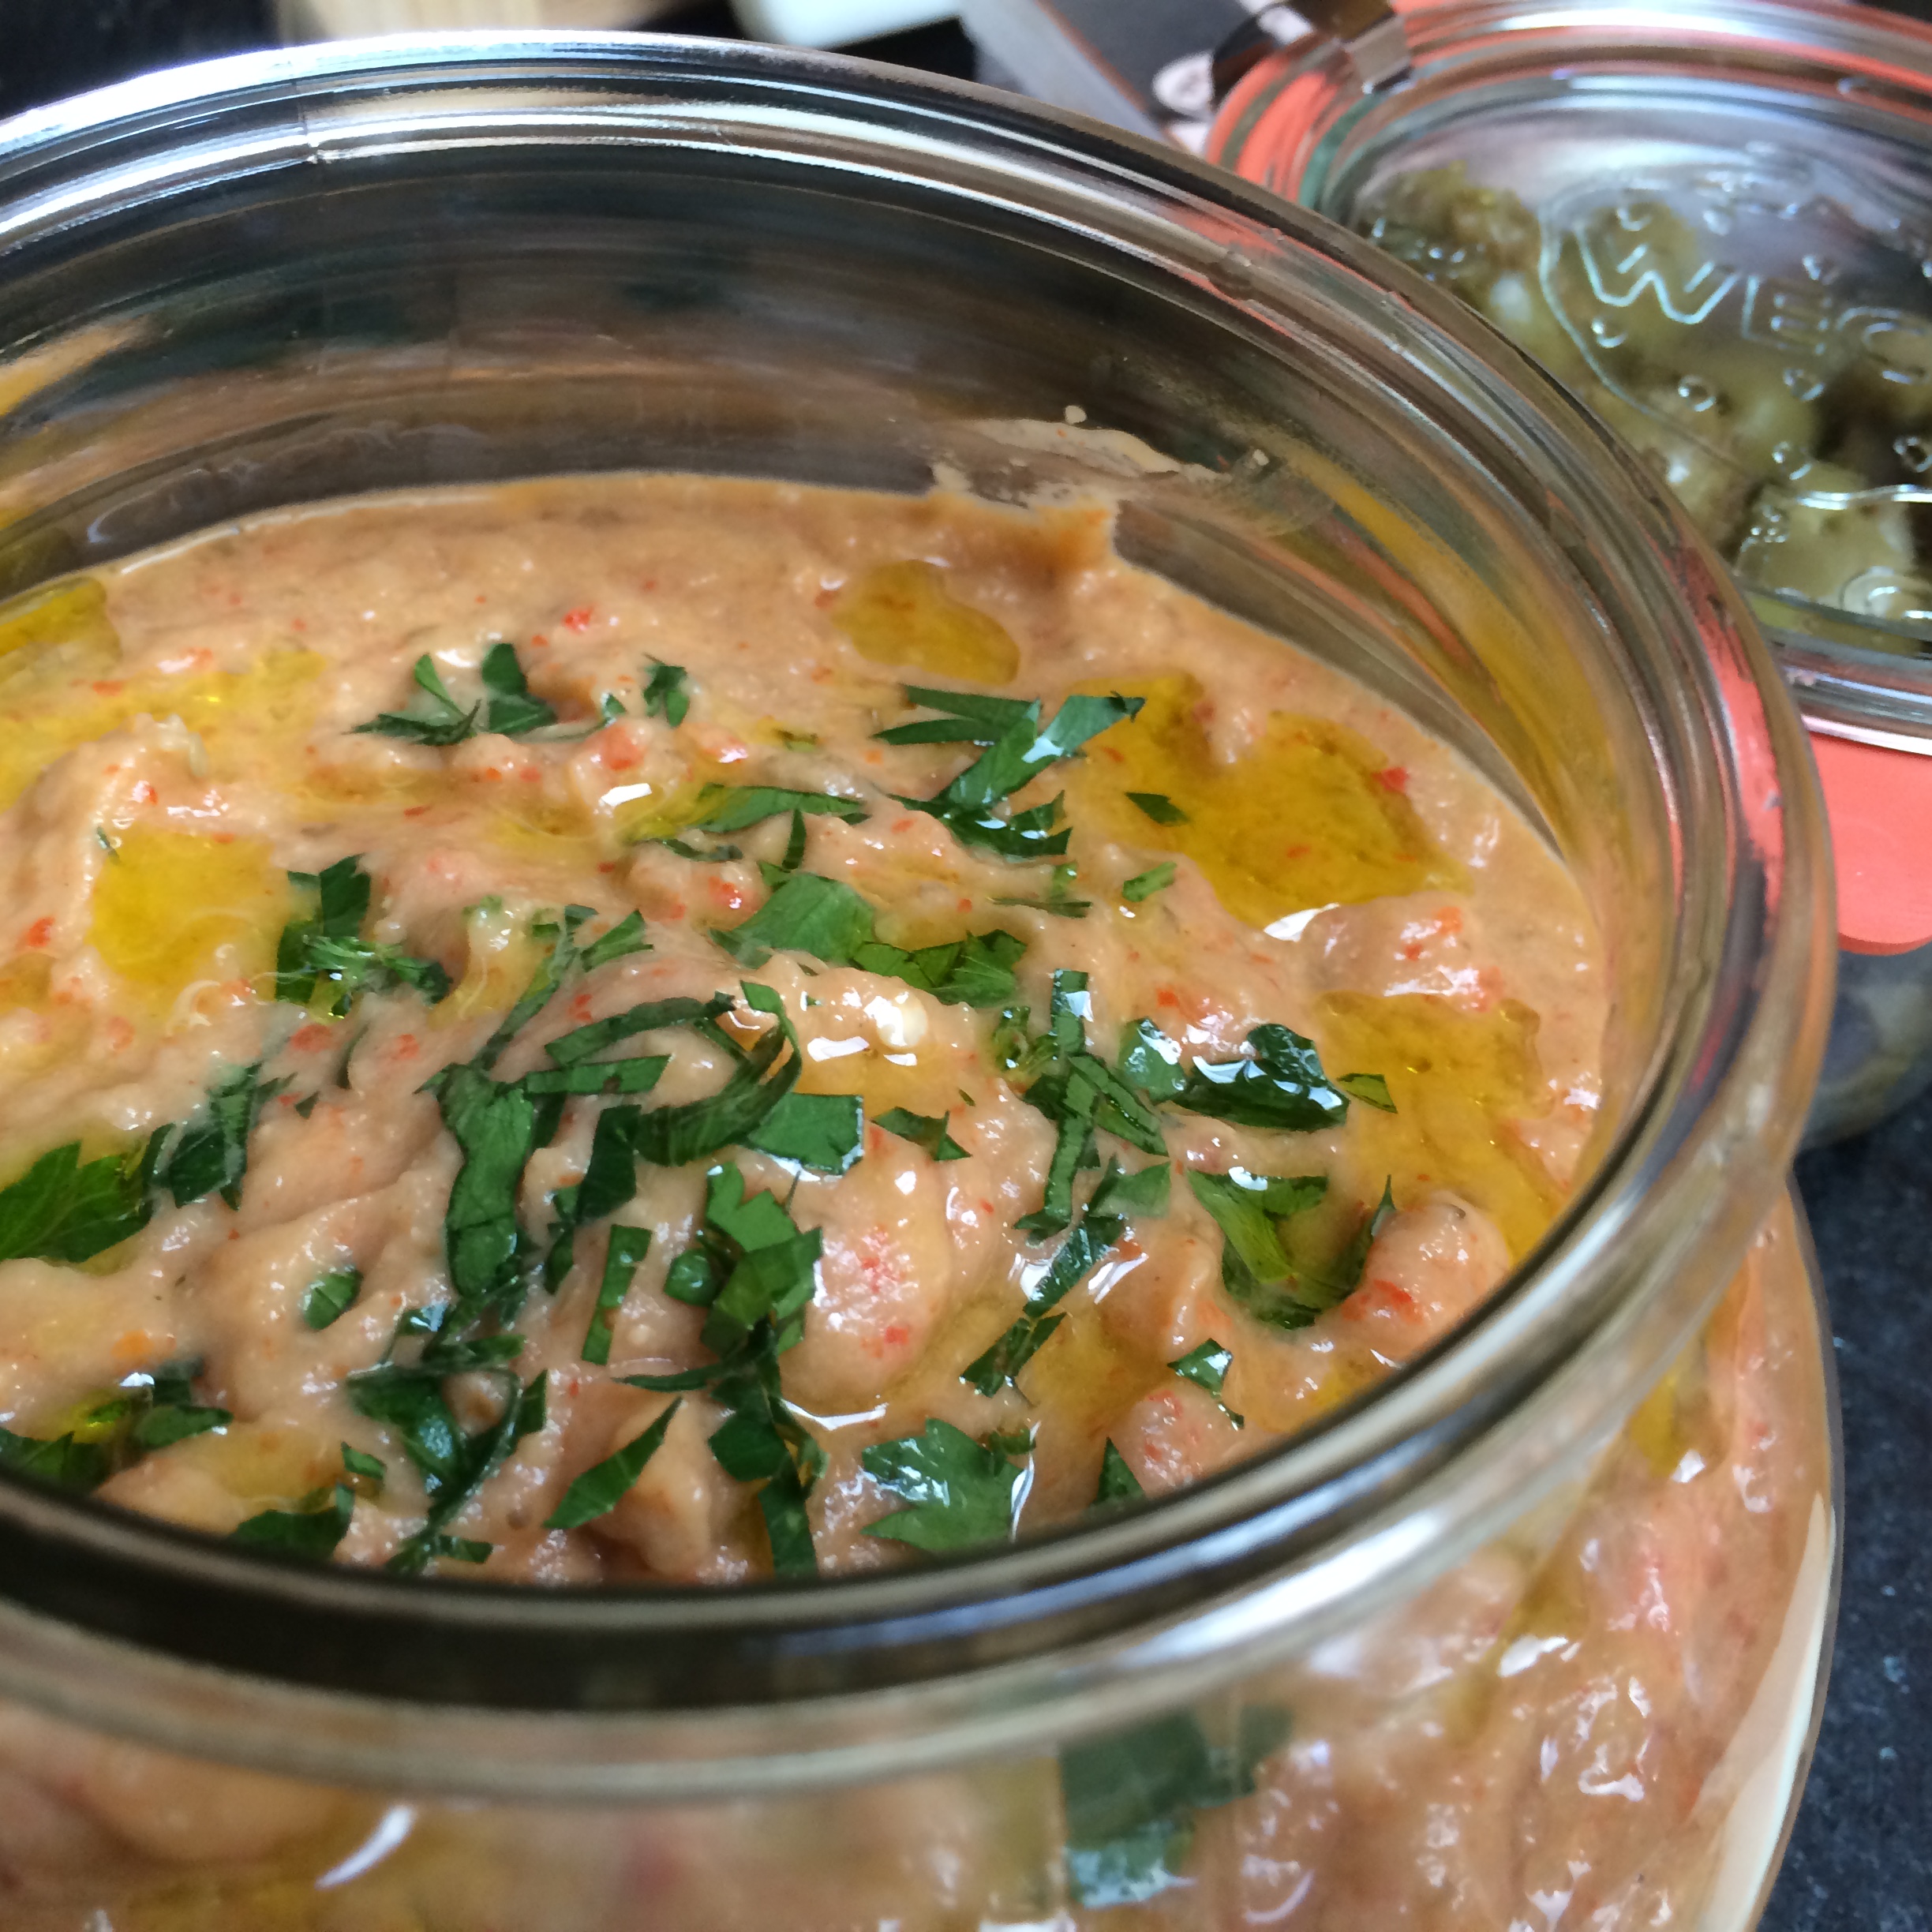
Done
Baba Ganoush with red bell pepper
Ingredients:
- 2 tablespoons white sesame seeds
- 1 large globe eggplant
- 1 red bell pepper (optional)
- Quarter cup extra virgin olive oil
- Juice of half to one lemon
- 1 teaspoon salt
- Parsley for garnish
Method:
Heat the oven to 450ºF. Rub a bit of oil all over the eggplant and bell pepper and place them on a tray and into the oven. Bake them for half hour to forty-five minutes, turning once or twice during that time. At this point, the vegetables will have completely collapsed and be soft inside.
Meanwhile, heat a small thick-bottomed pan on medium-high heat. Roast the sesame seeds on it, keeping them moving once in a while. Soon an aroma will arise and the color will darken one shade. Turn off the heat. After cooling them for a few minutes, grind them in a clean coffee grinder.
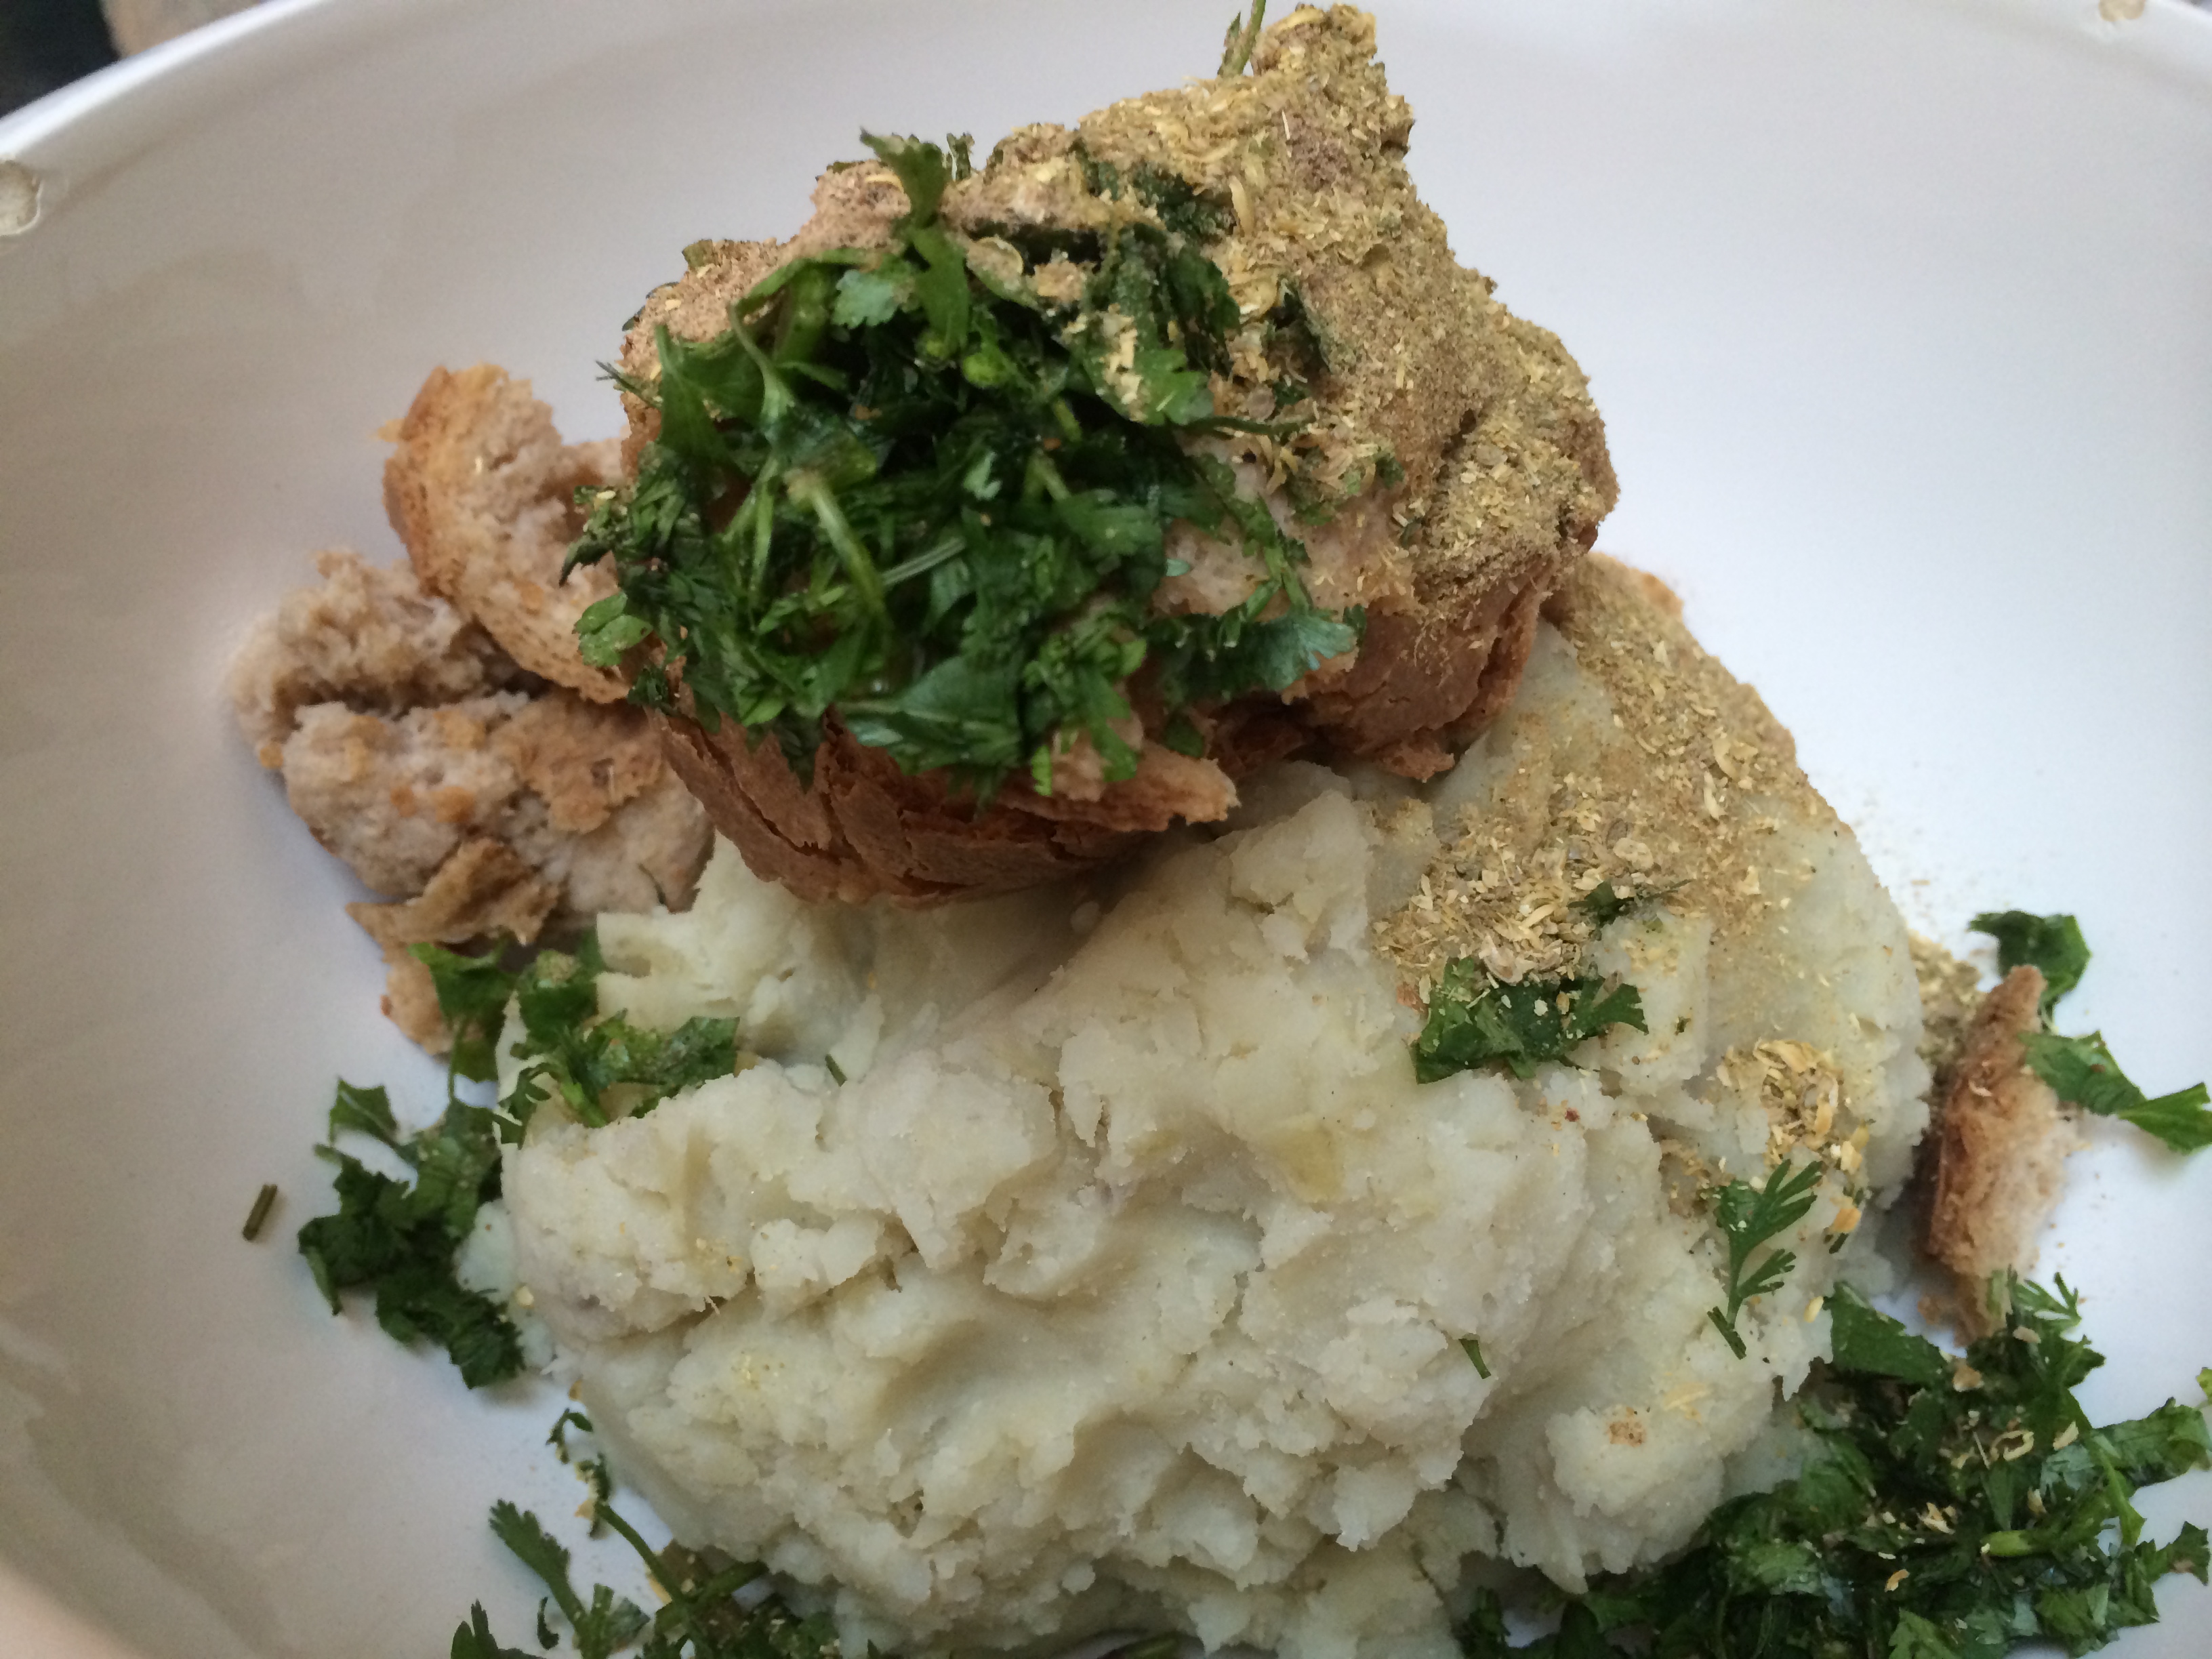
When the eggplant and bell pepper are cool enough to handle, peel them. The skin should come off quite easily due to the baking. Put the flesh, along with the sesame seed powder, salt, olive oil and lemon juice into a food processor and pulse till smooth.
Taste for salt and lemon juice, add parsley for garnish.
(Click here to find me on Facebook and here on Twitter.)