Slow-cooked red kidney beans (rajma)
If you walked down the street around where I grew up in Bombay, say, around noon, you would hear the sonorous pressure cooker whistle sounding out of multiple windows. It being lunchtime, every household had their lunchtime dal or beans going in the pressure cooker. Some might be cooking pigeon pea (tuar), some mung beans, or garbanzo beans (channa), or something else.
But the pressure cooker was a must. It is so much part of kitchen life in India that sometimes two or three layers of pots go in at the same time, so your potatoes or peanuts can be boiled at the same time that the cauliflower and peas dish cooks, both of which cook together with your lunchtime dal. Cooking time is measured in whistles – most dishes take two whistles. The tough ones go on for three.
In my new home though, here in America, I found that the pressure cooker is considered a strange and scary beast. It screams! It is under pressure, it looks like it wants to explode! Most can’t believe the speed with which it does its job, being used to ovens and their longer times. The small, family-sized pressure cooker which can hold two quarts is hardly found in shops, all you find is the industrial-sized seven-quart behemoth that politely raises a tiny yellow hand when ready instead of whistling.
Given the new interest in non-meat protein sources, many evince an interest in the hundreds – possibly thousands – of ways of cooking dal that one sees all over India. The use of the pressure cooker stops many, as well it might, since most people don’t own one. Cooking on the stovetop is possible, but takes so long, and requires so much management, that it isn’t often practical.
Well, there goes that excuse. You may not have the two hours to actively manage a stovetop dal, but surely you have seven hours to not manage dal cooking in the slow cooker? When I heard of this method from my friend Daljit, I had to try it. It dispenses with all the usual steps: you do not need to pre-soak the beans, nor do you need to temper it. Put it in, cover it, forget it. Come home in the evening to a wonderful aroma and dinner.
One note: slow-cookers are great to have, but the oven can do the job as well. The conversion I use is: six to seven hours in the oven in a sturdy, well-sealed pot (dutch oven) at 250ºF for a slow-cooker set to low, for the same amount of time.
Black gram, red kidney beans
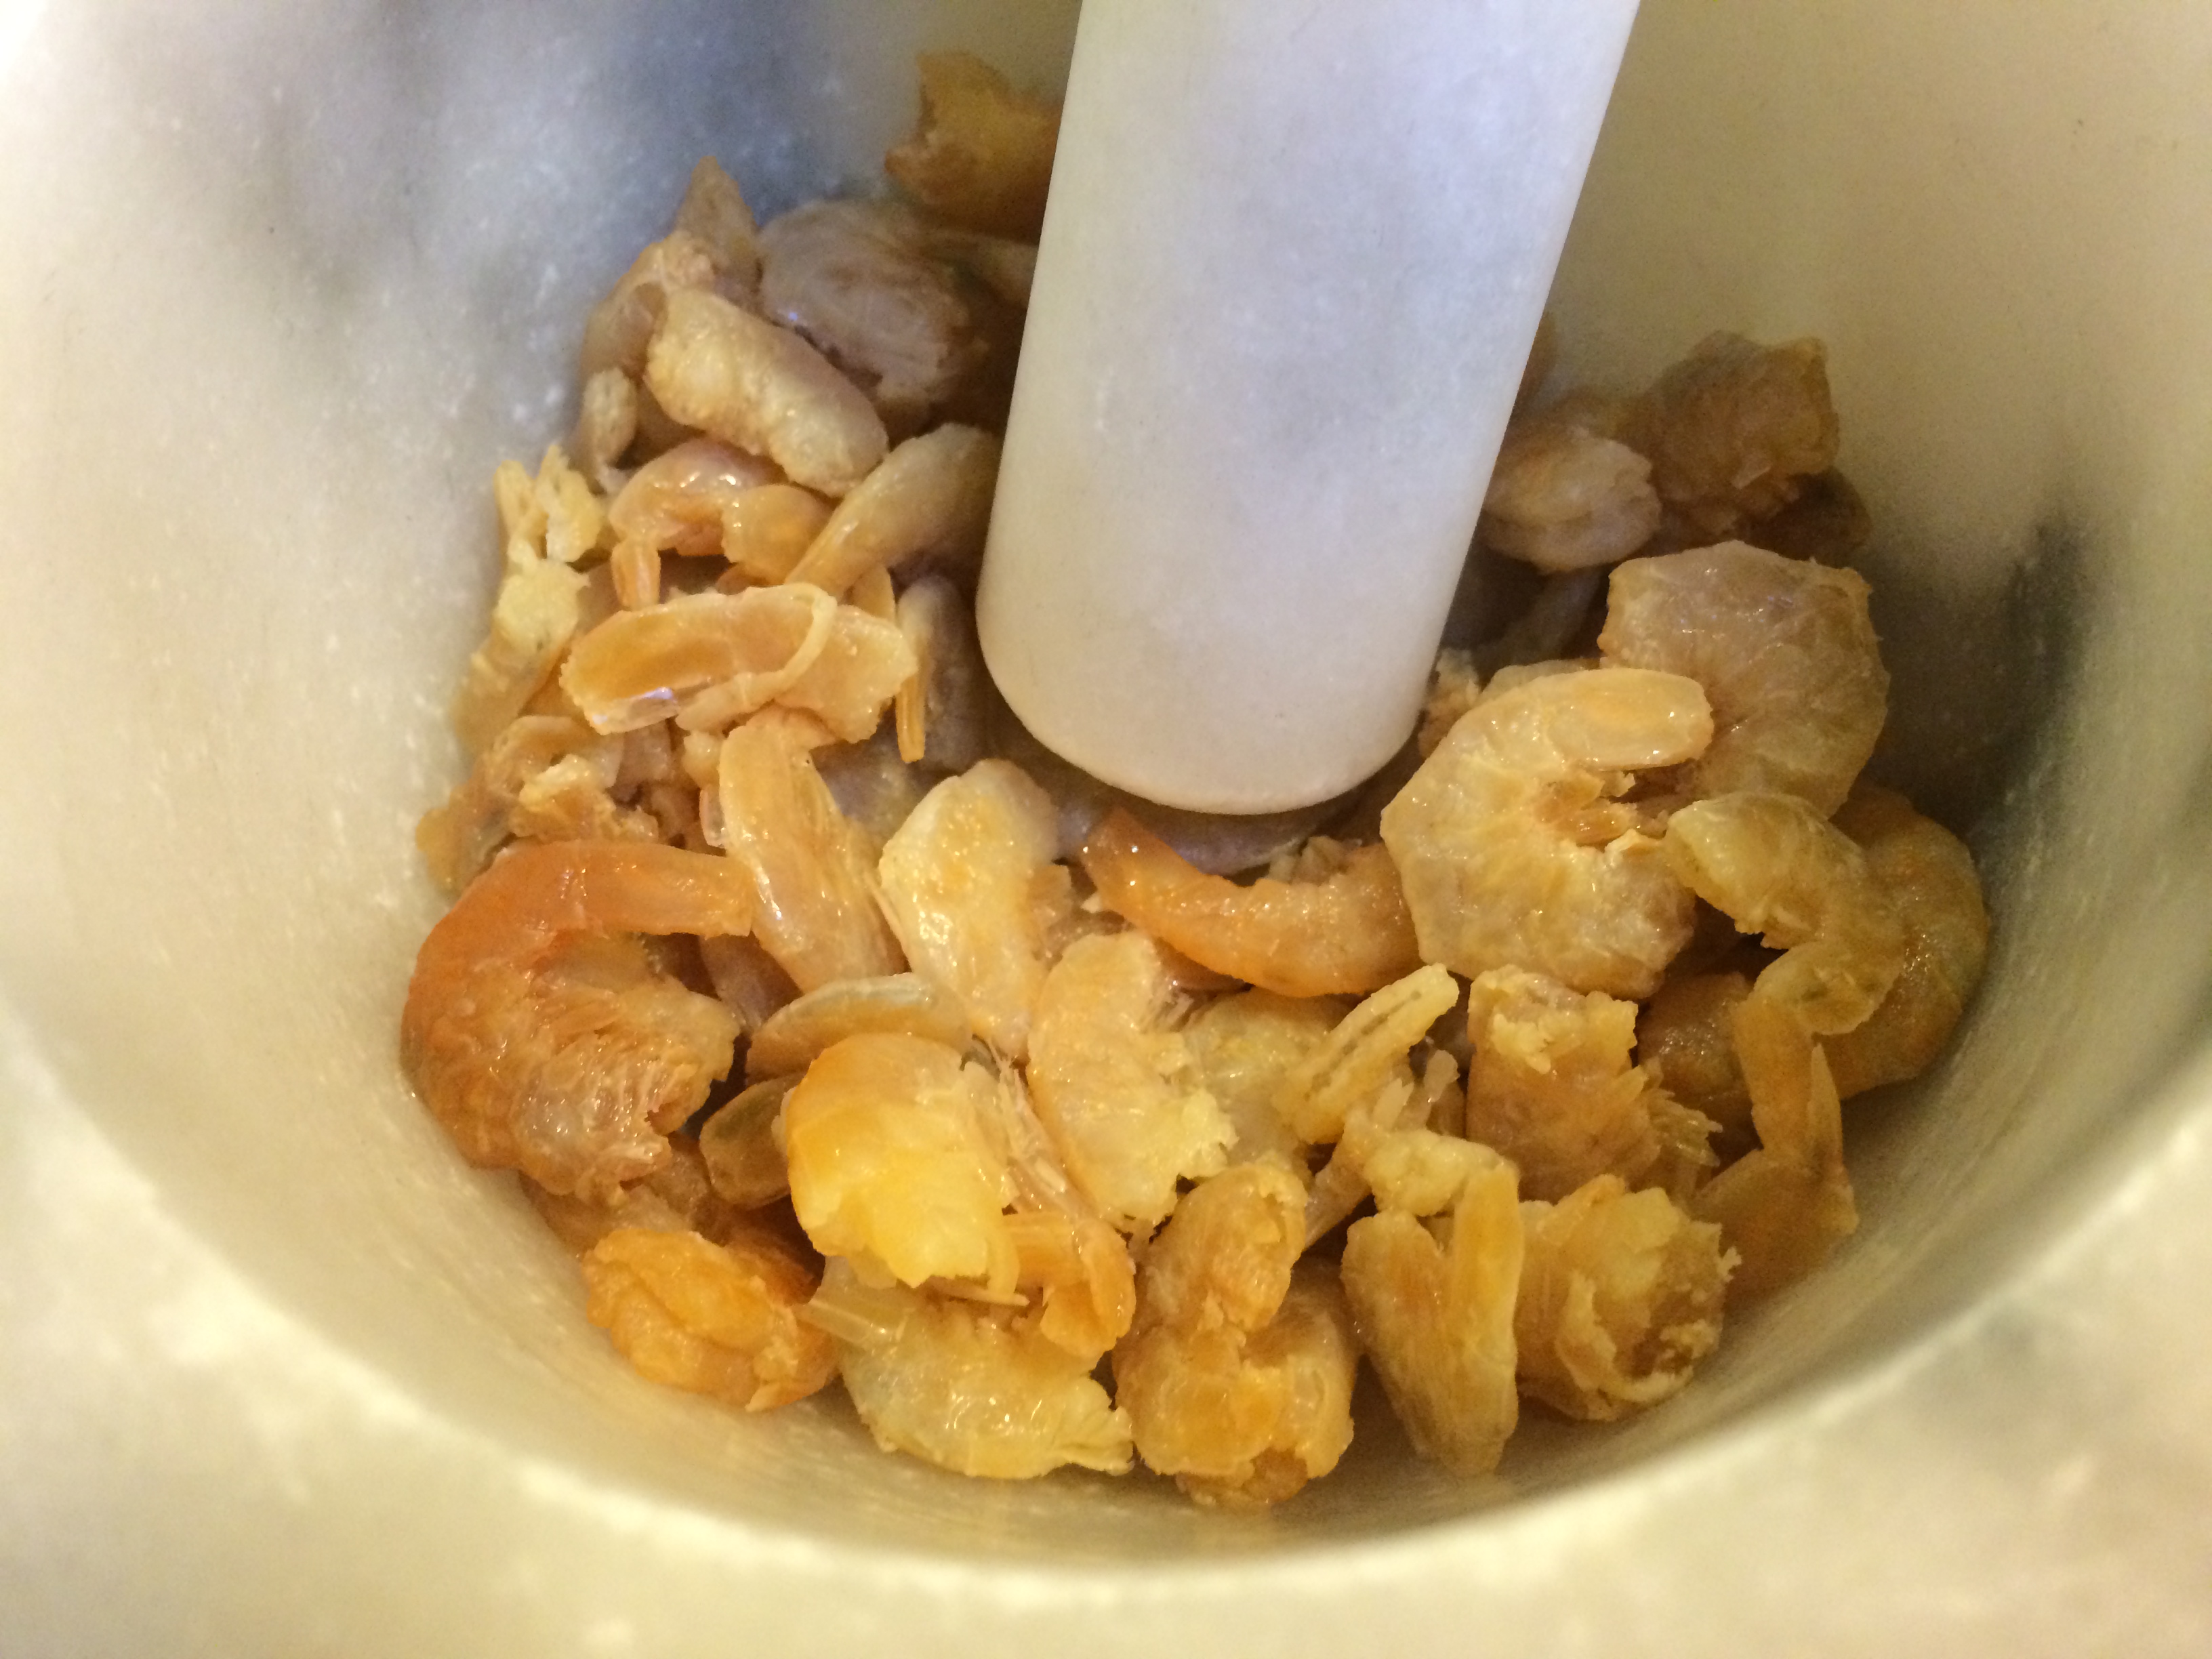
Two of the whole beans most often used by Punjabis are the whole black gram (otherwise known as maa ki dal or urad dal), and red kidney beans (rajma). The two are also often mixed, with three times as much black gram as the red beans. The recipe below can be used for either of these beans, or for that matter garbanzo beans as well; though those sometimes like to be more highly spiced.

Mix of black gram and red kidney beans
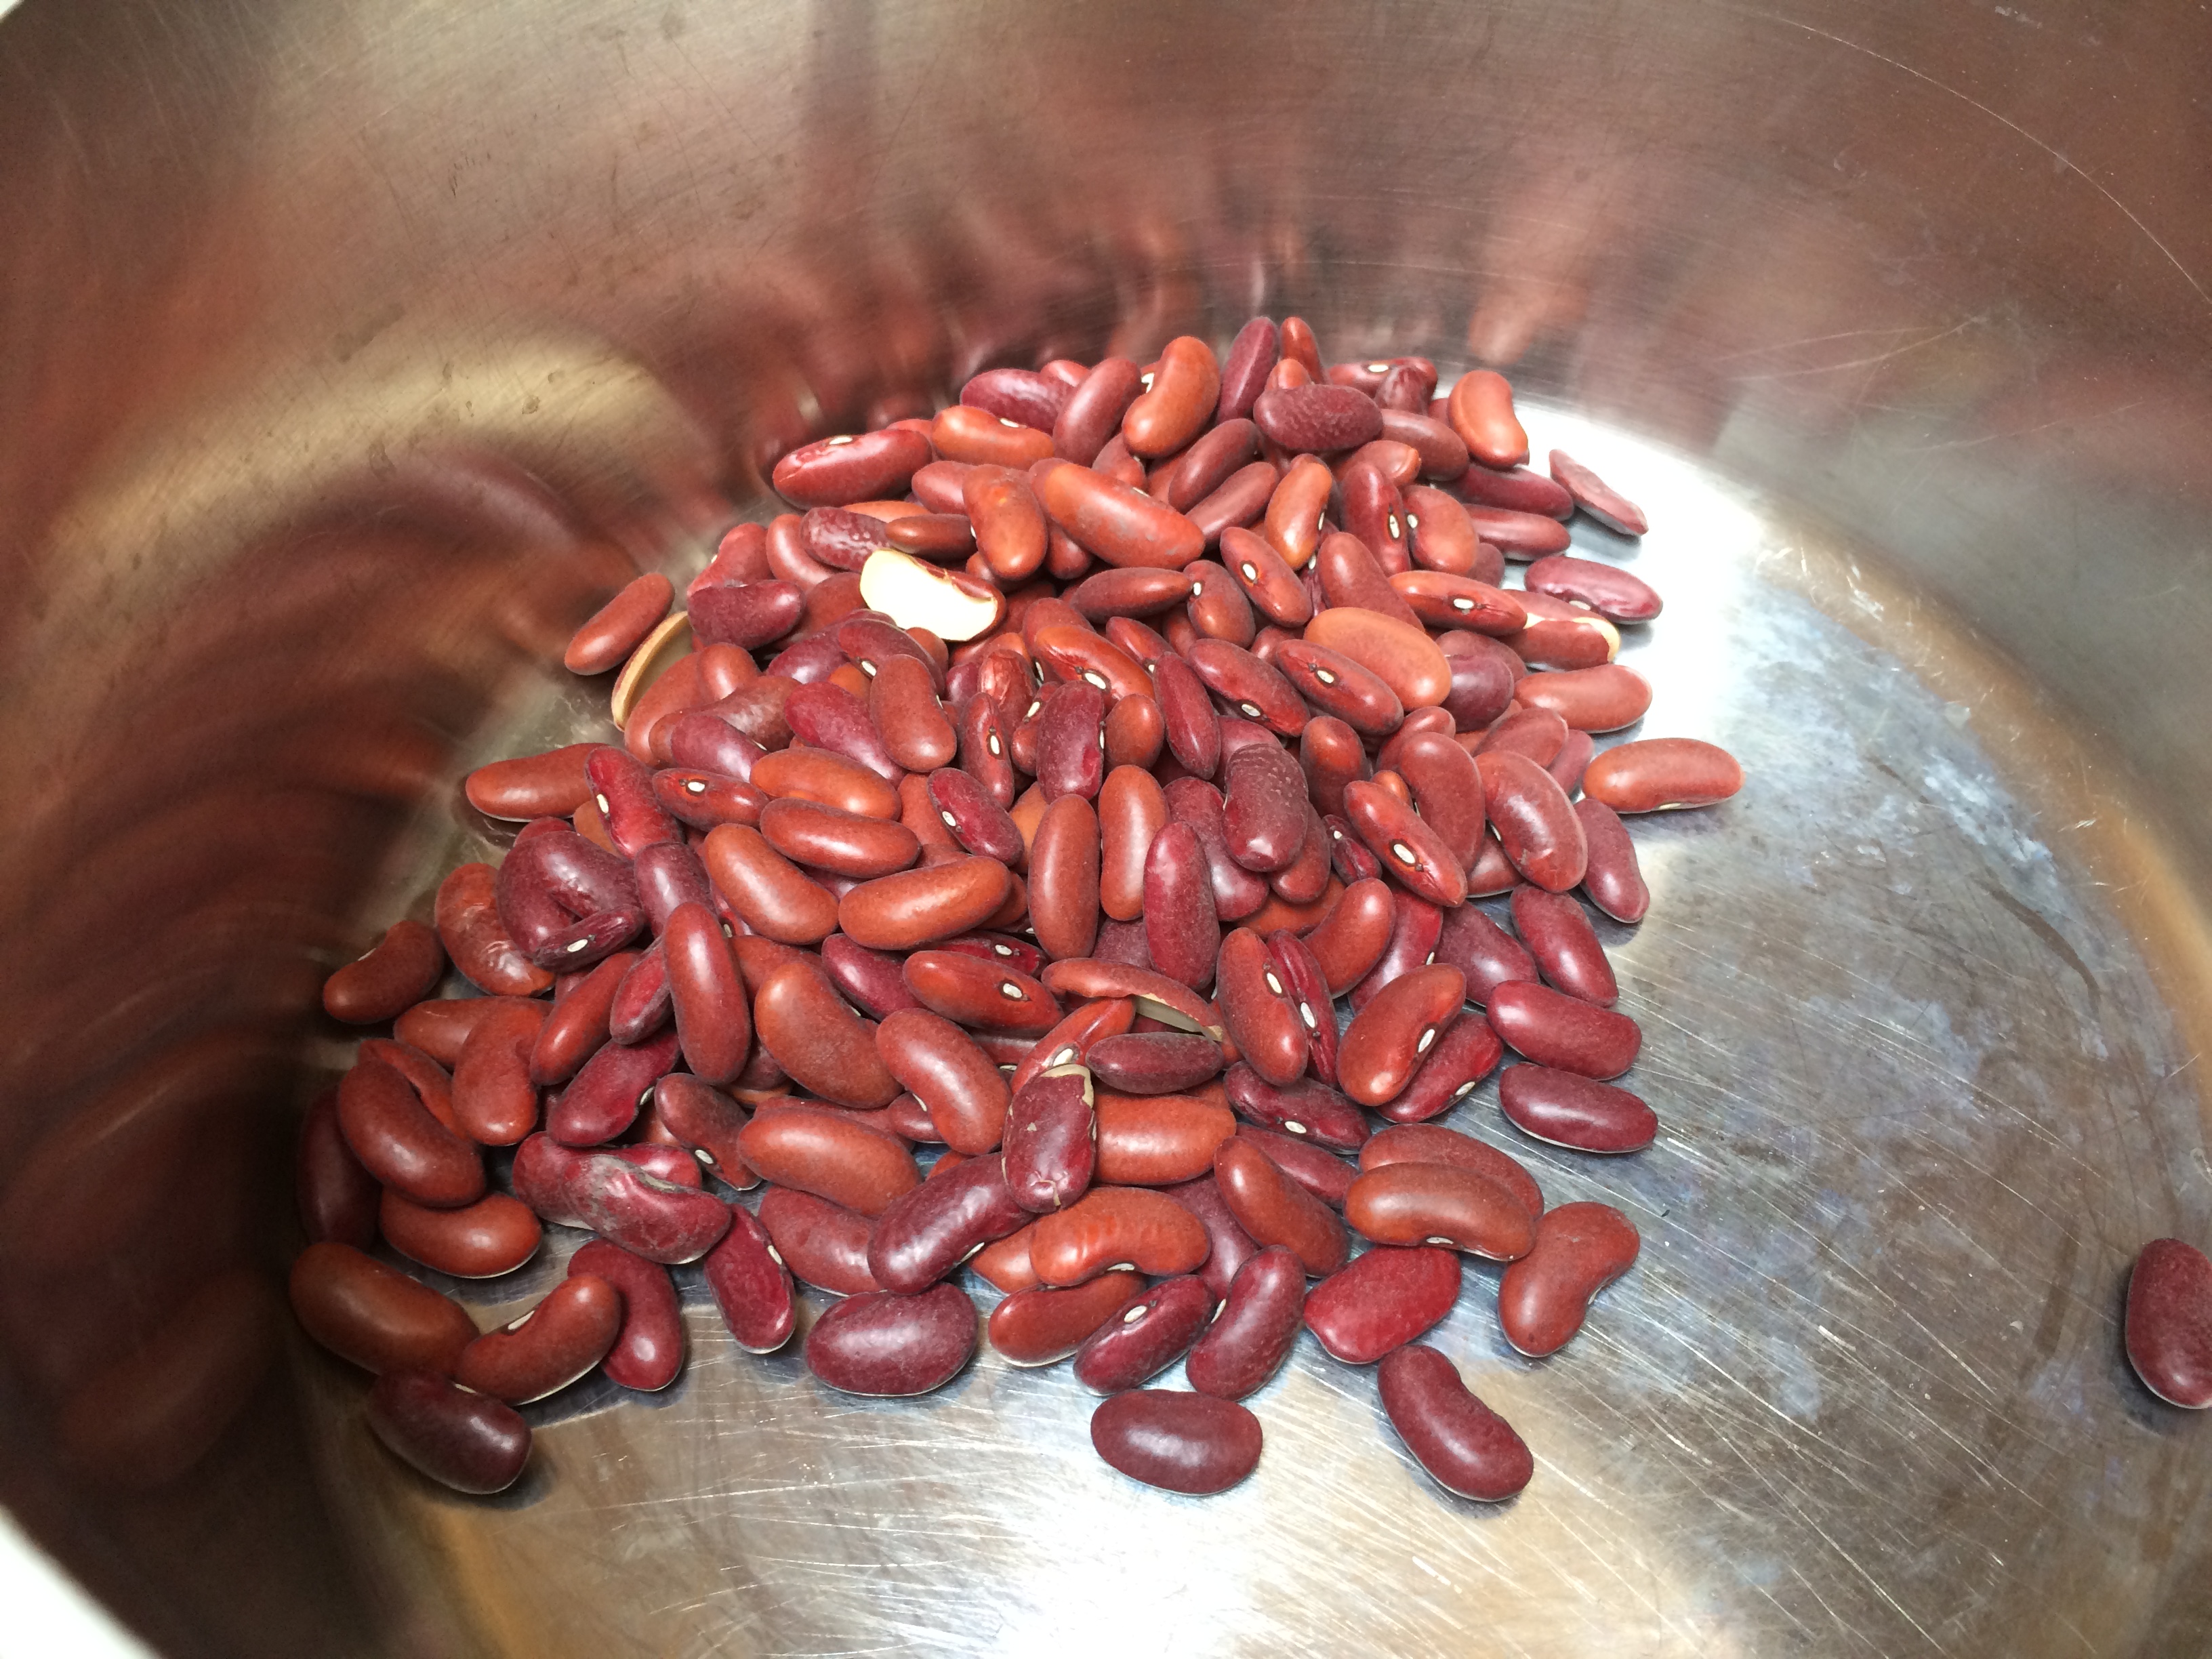
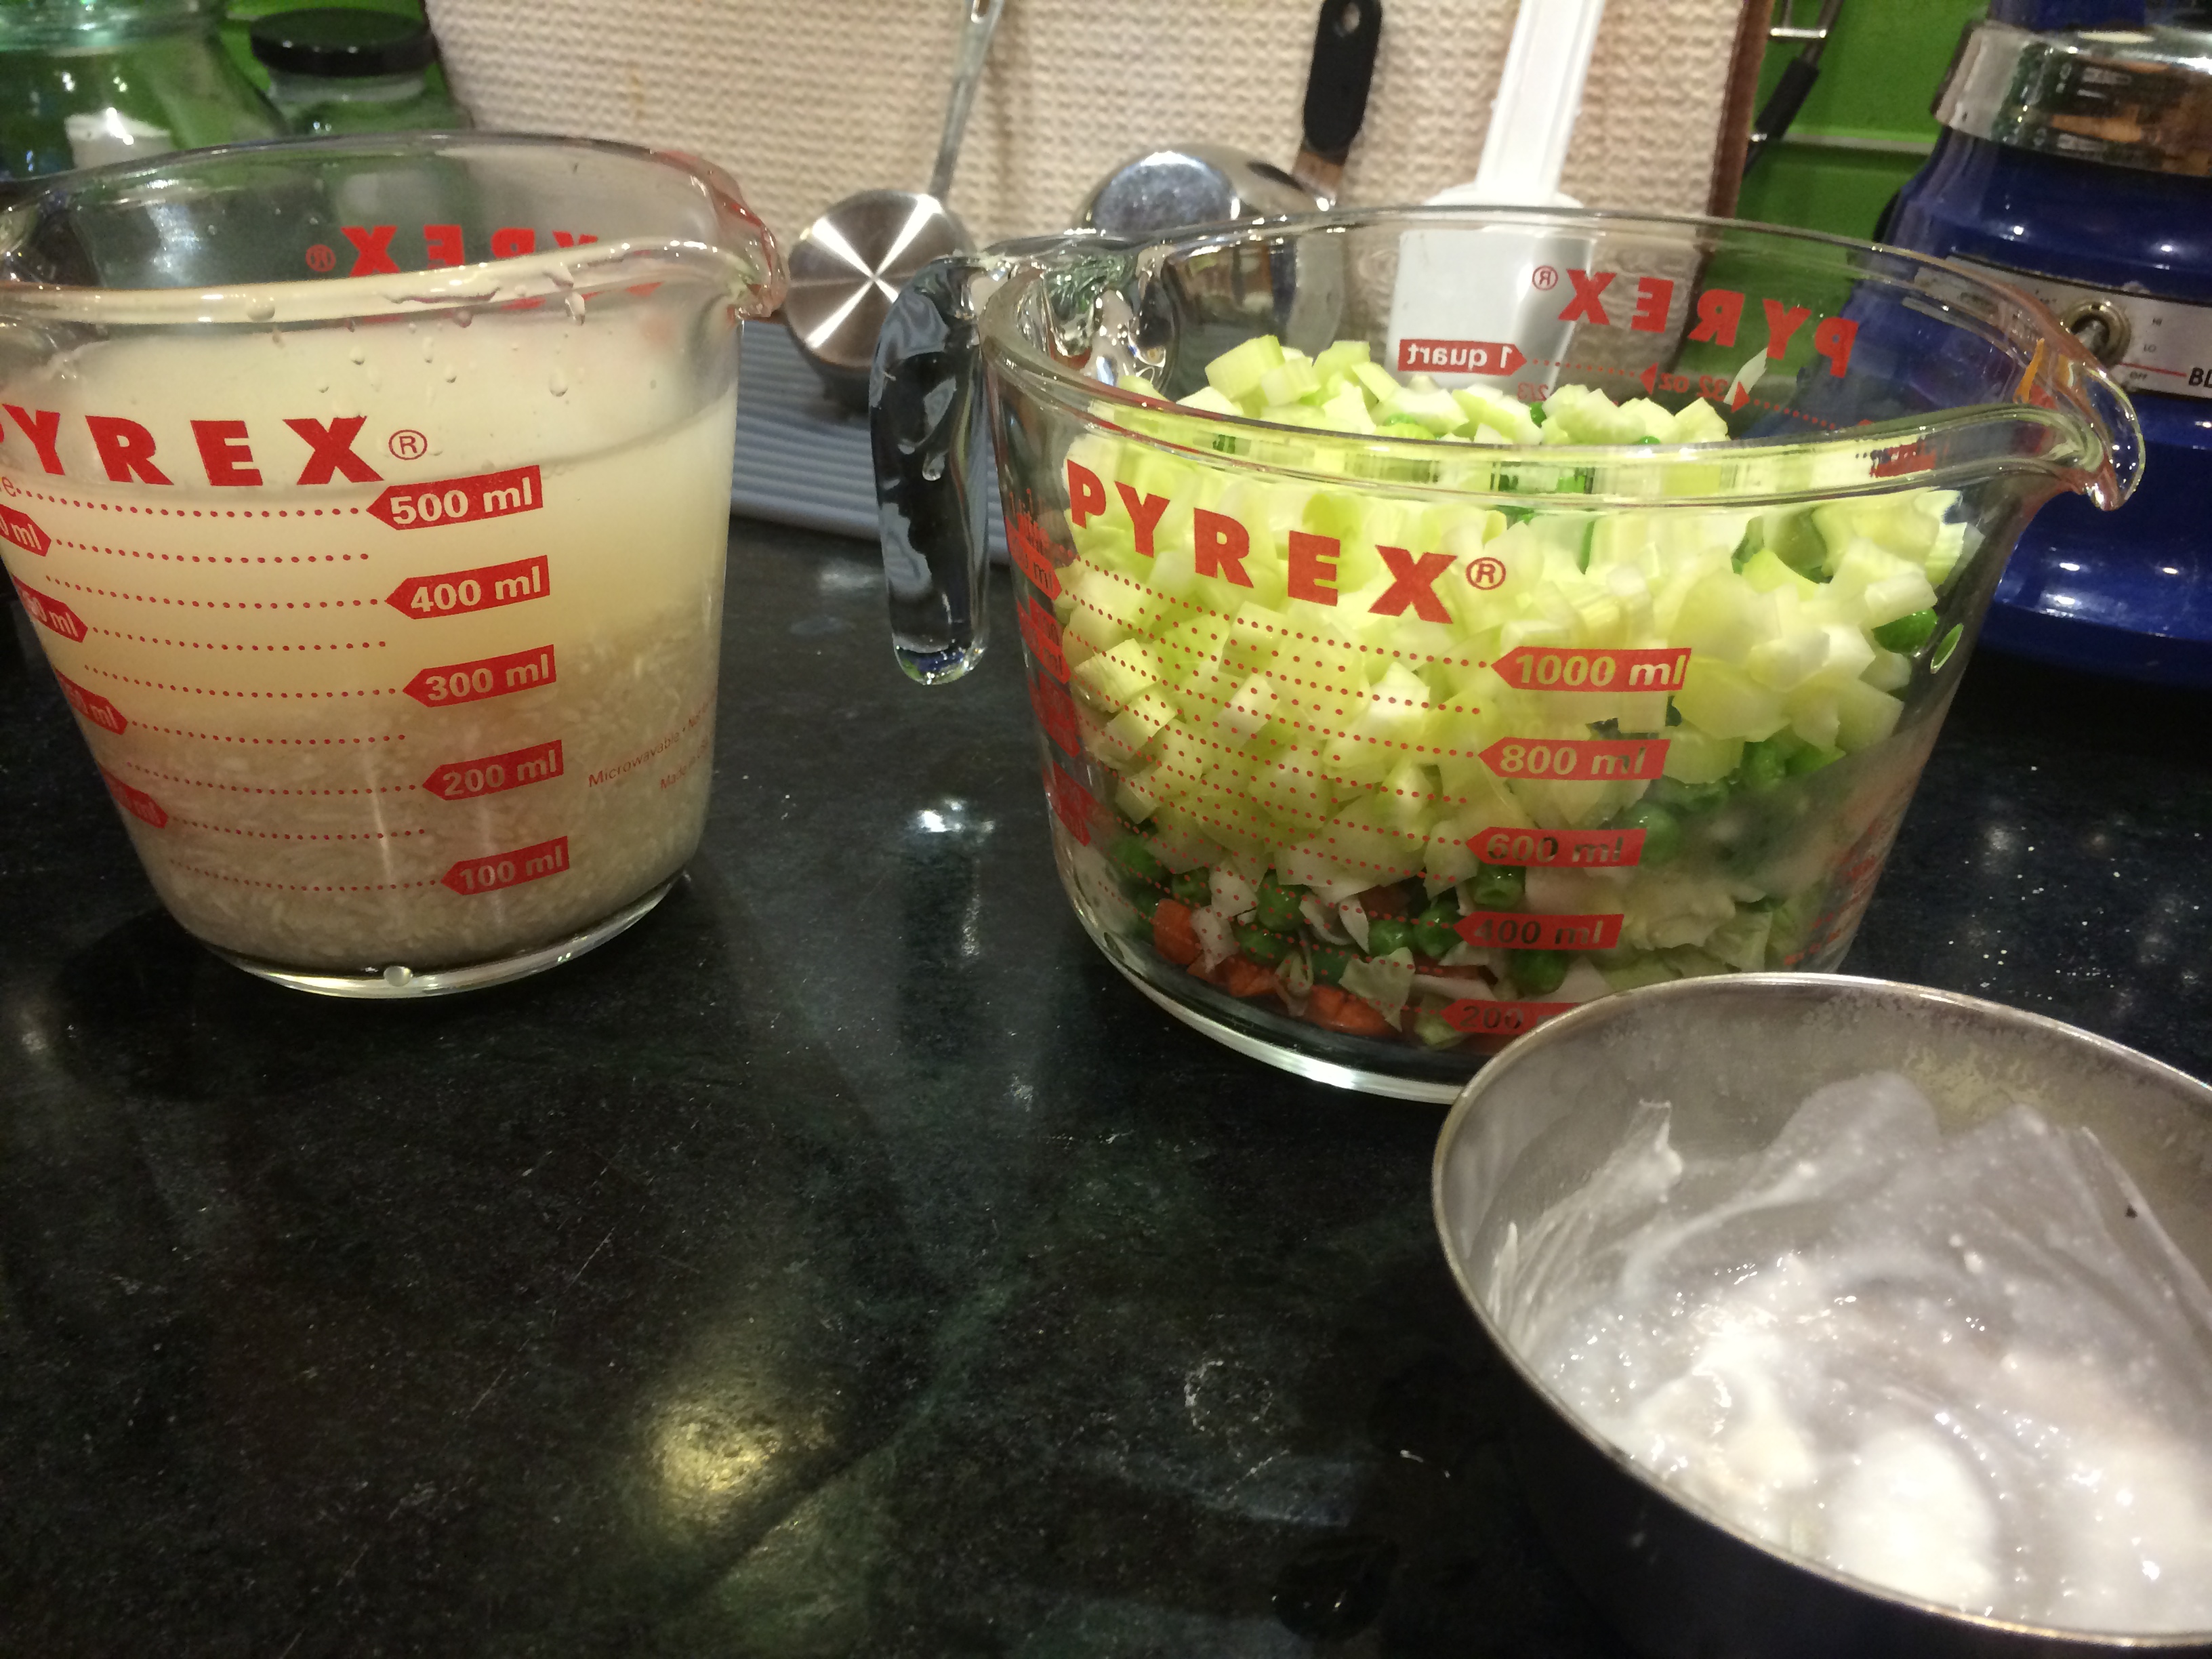
Red kidney beans

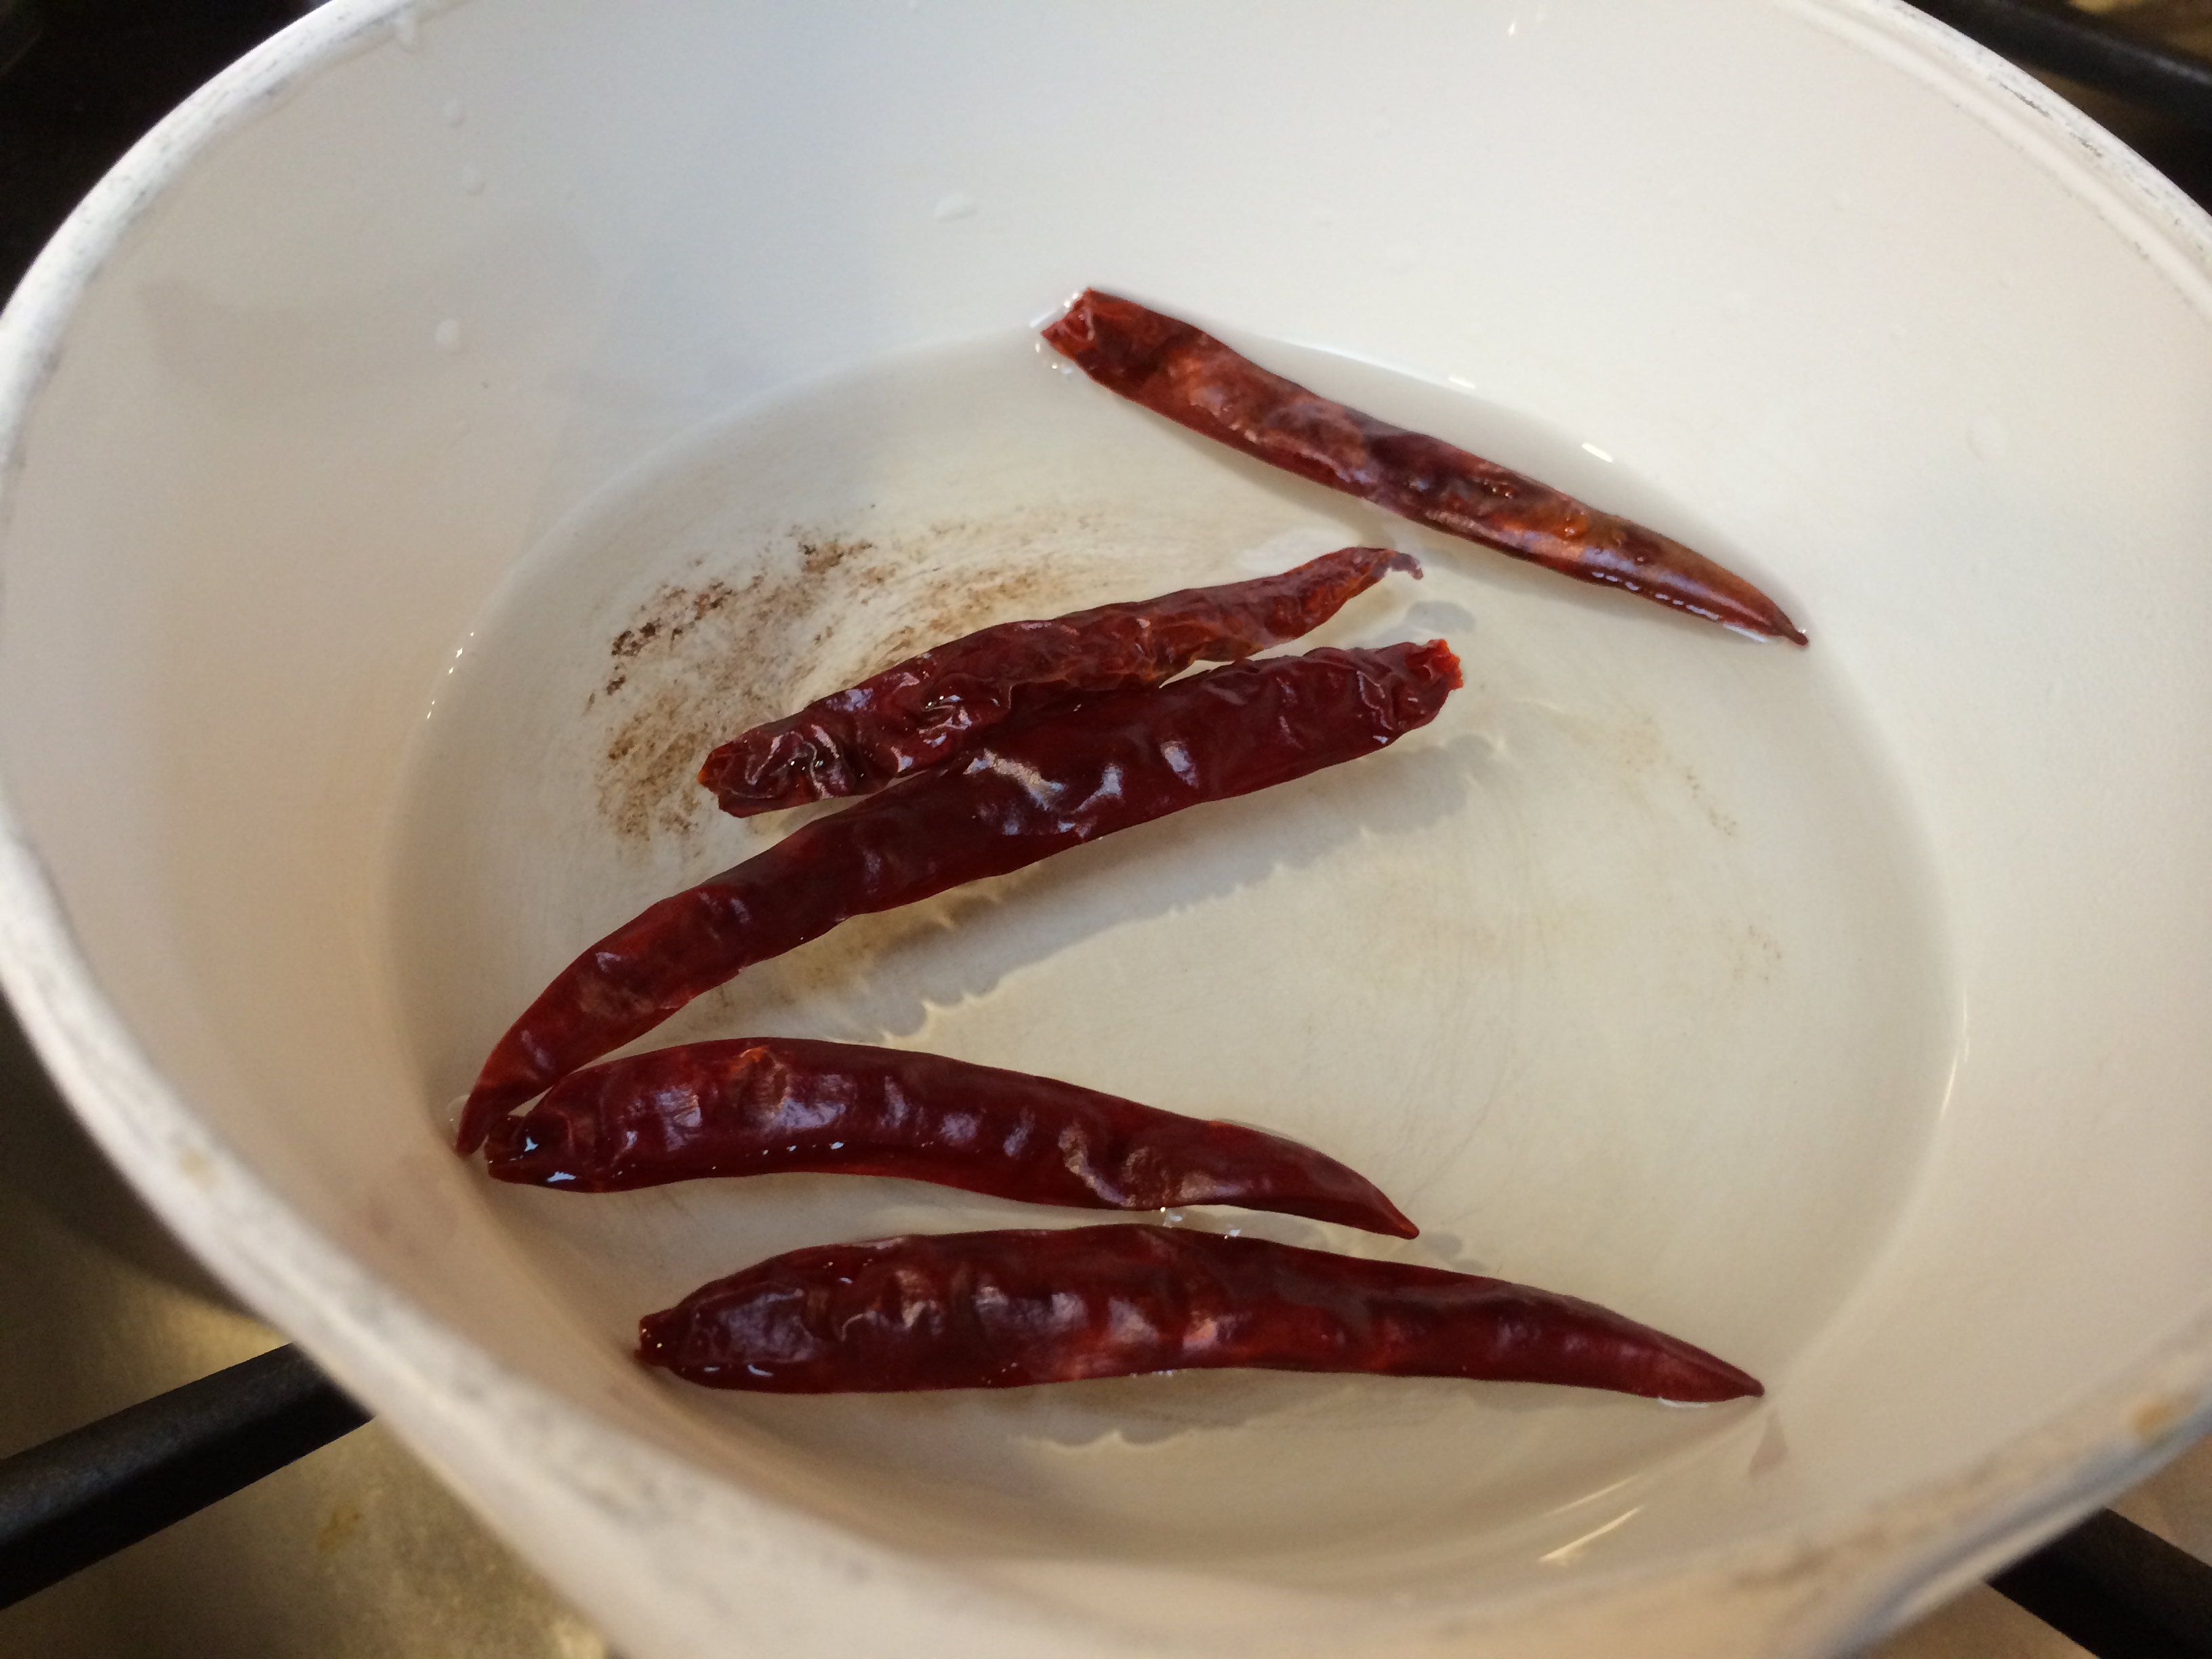
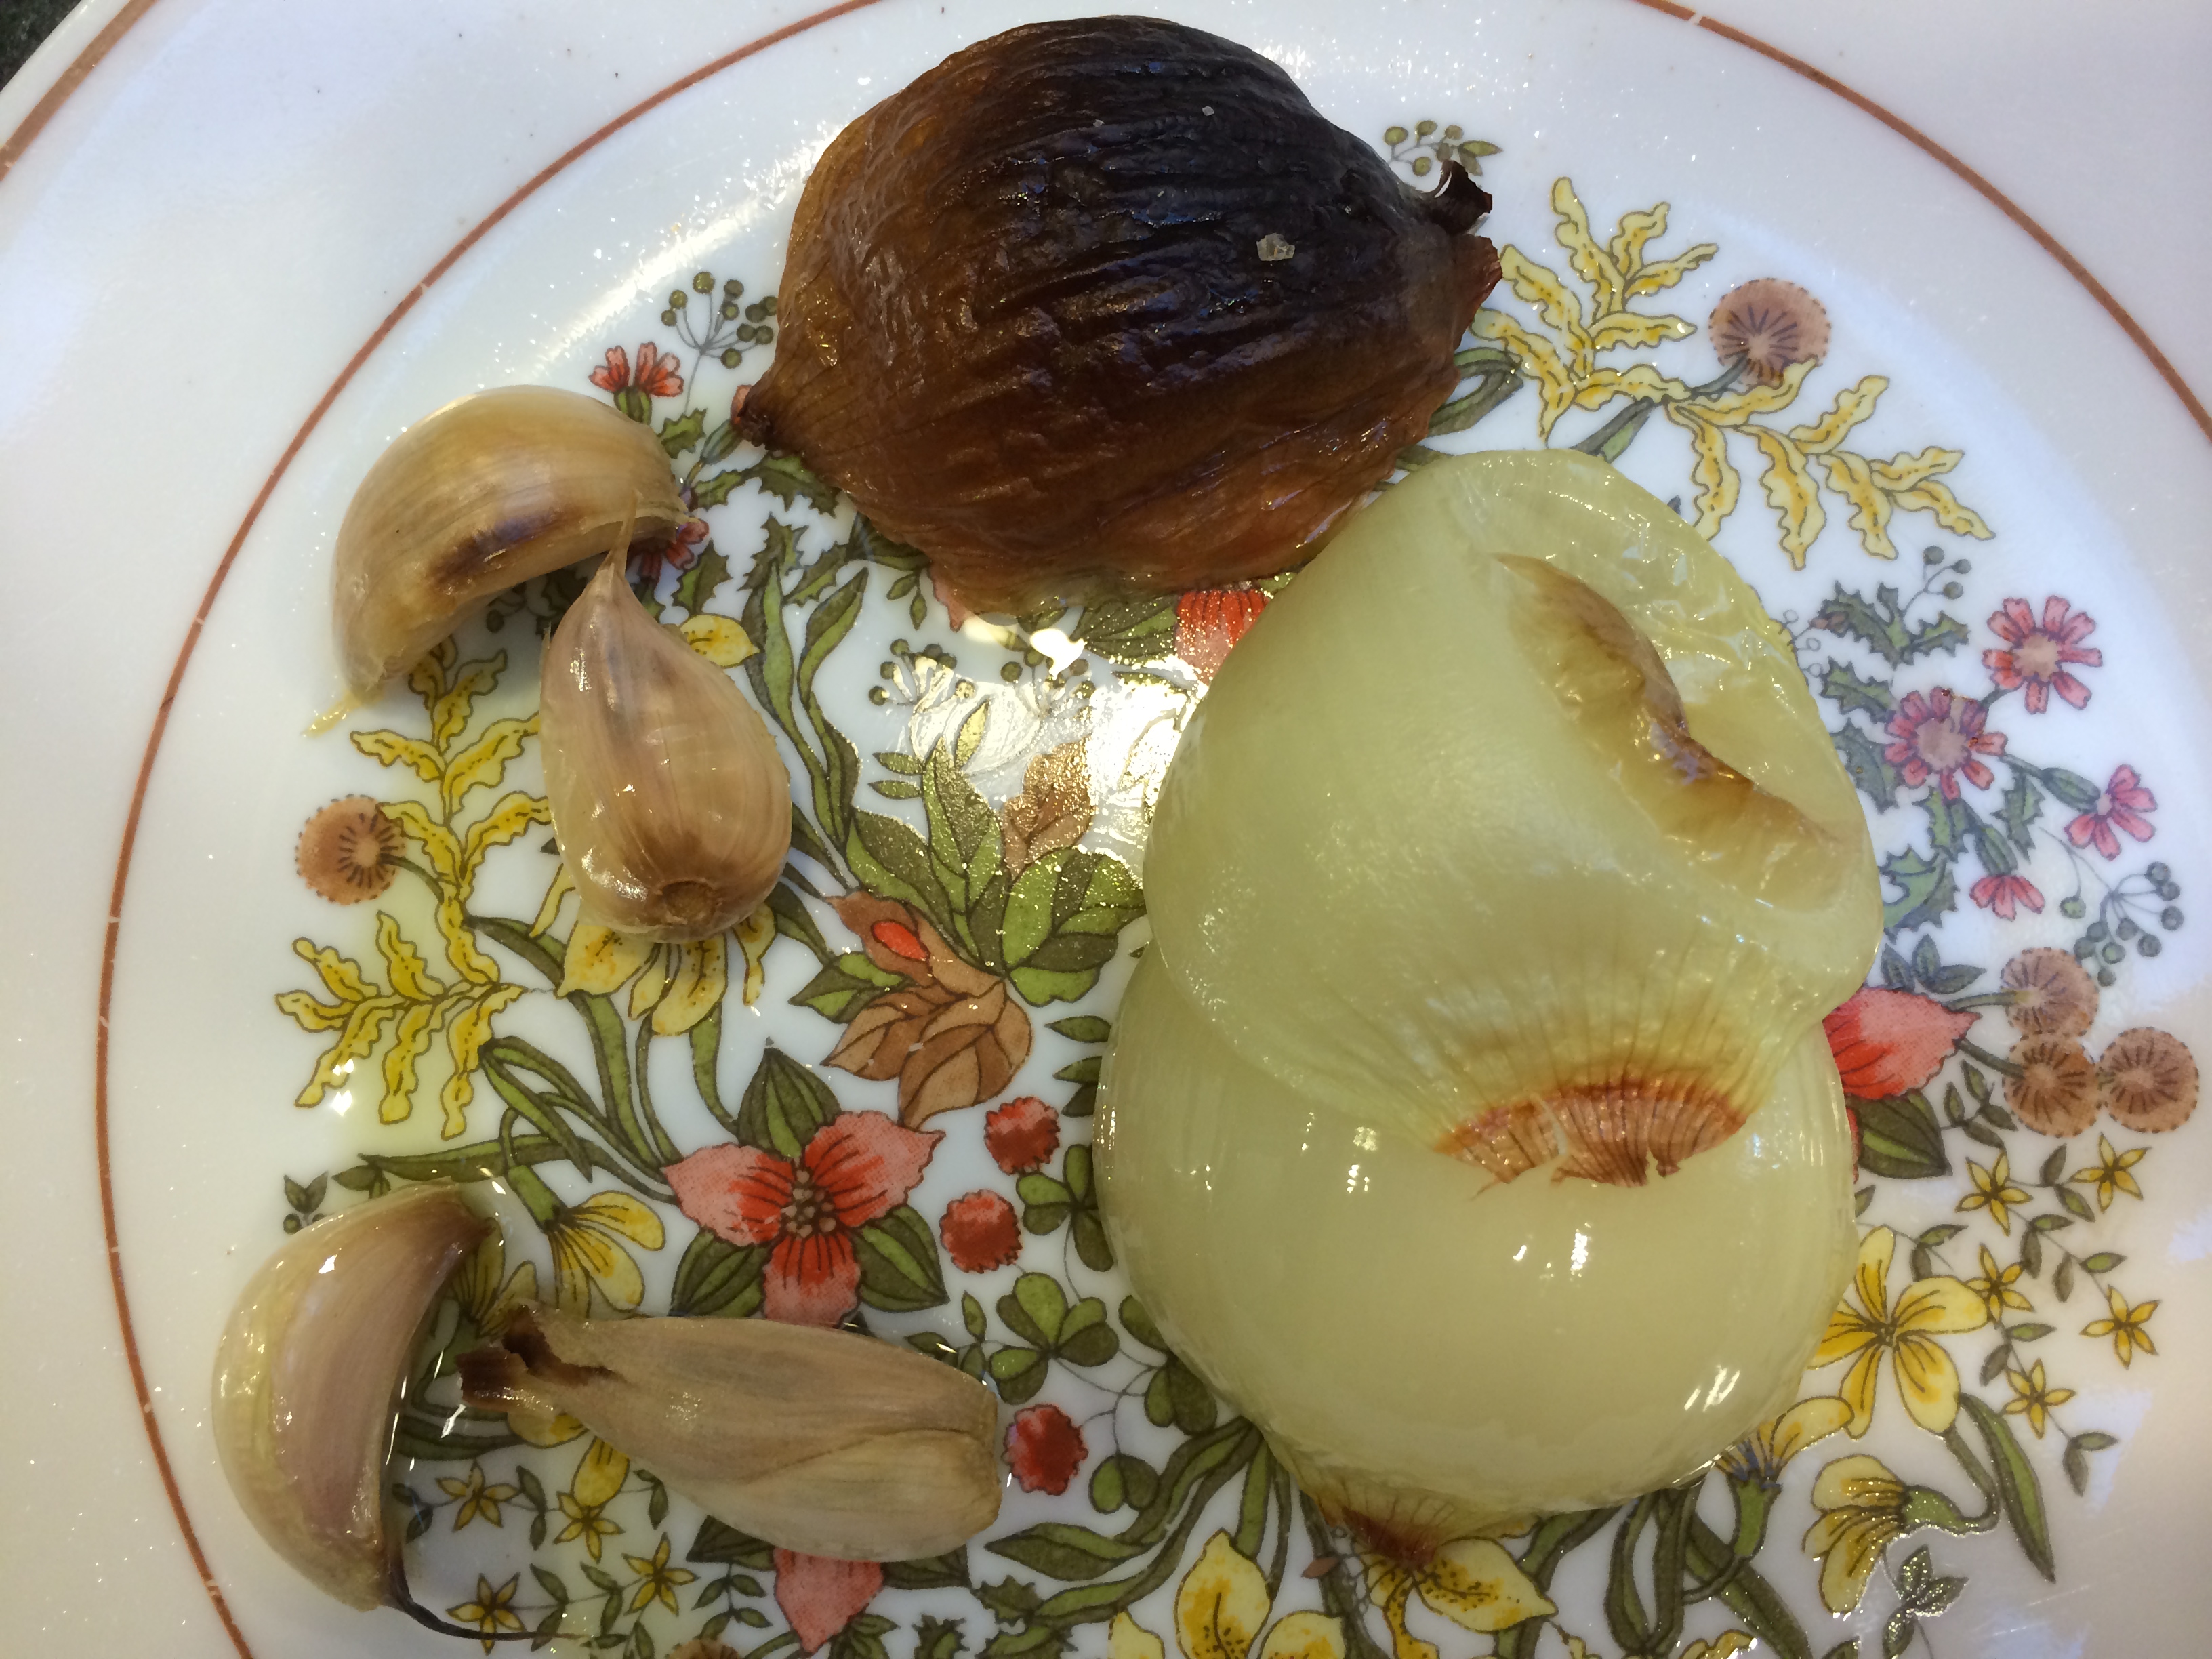
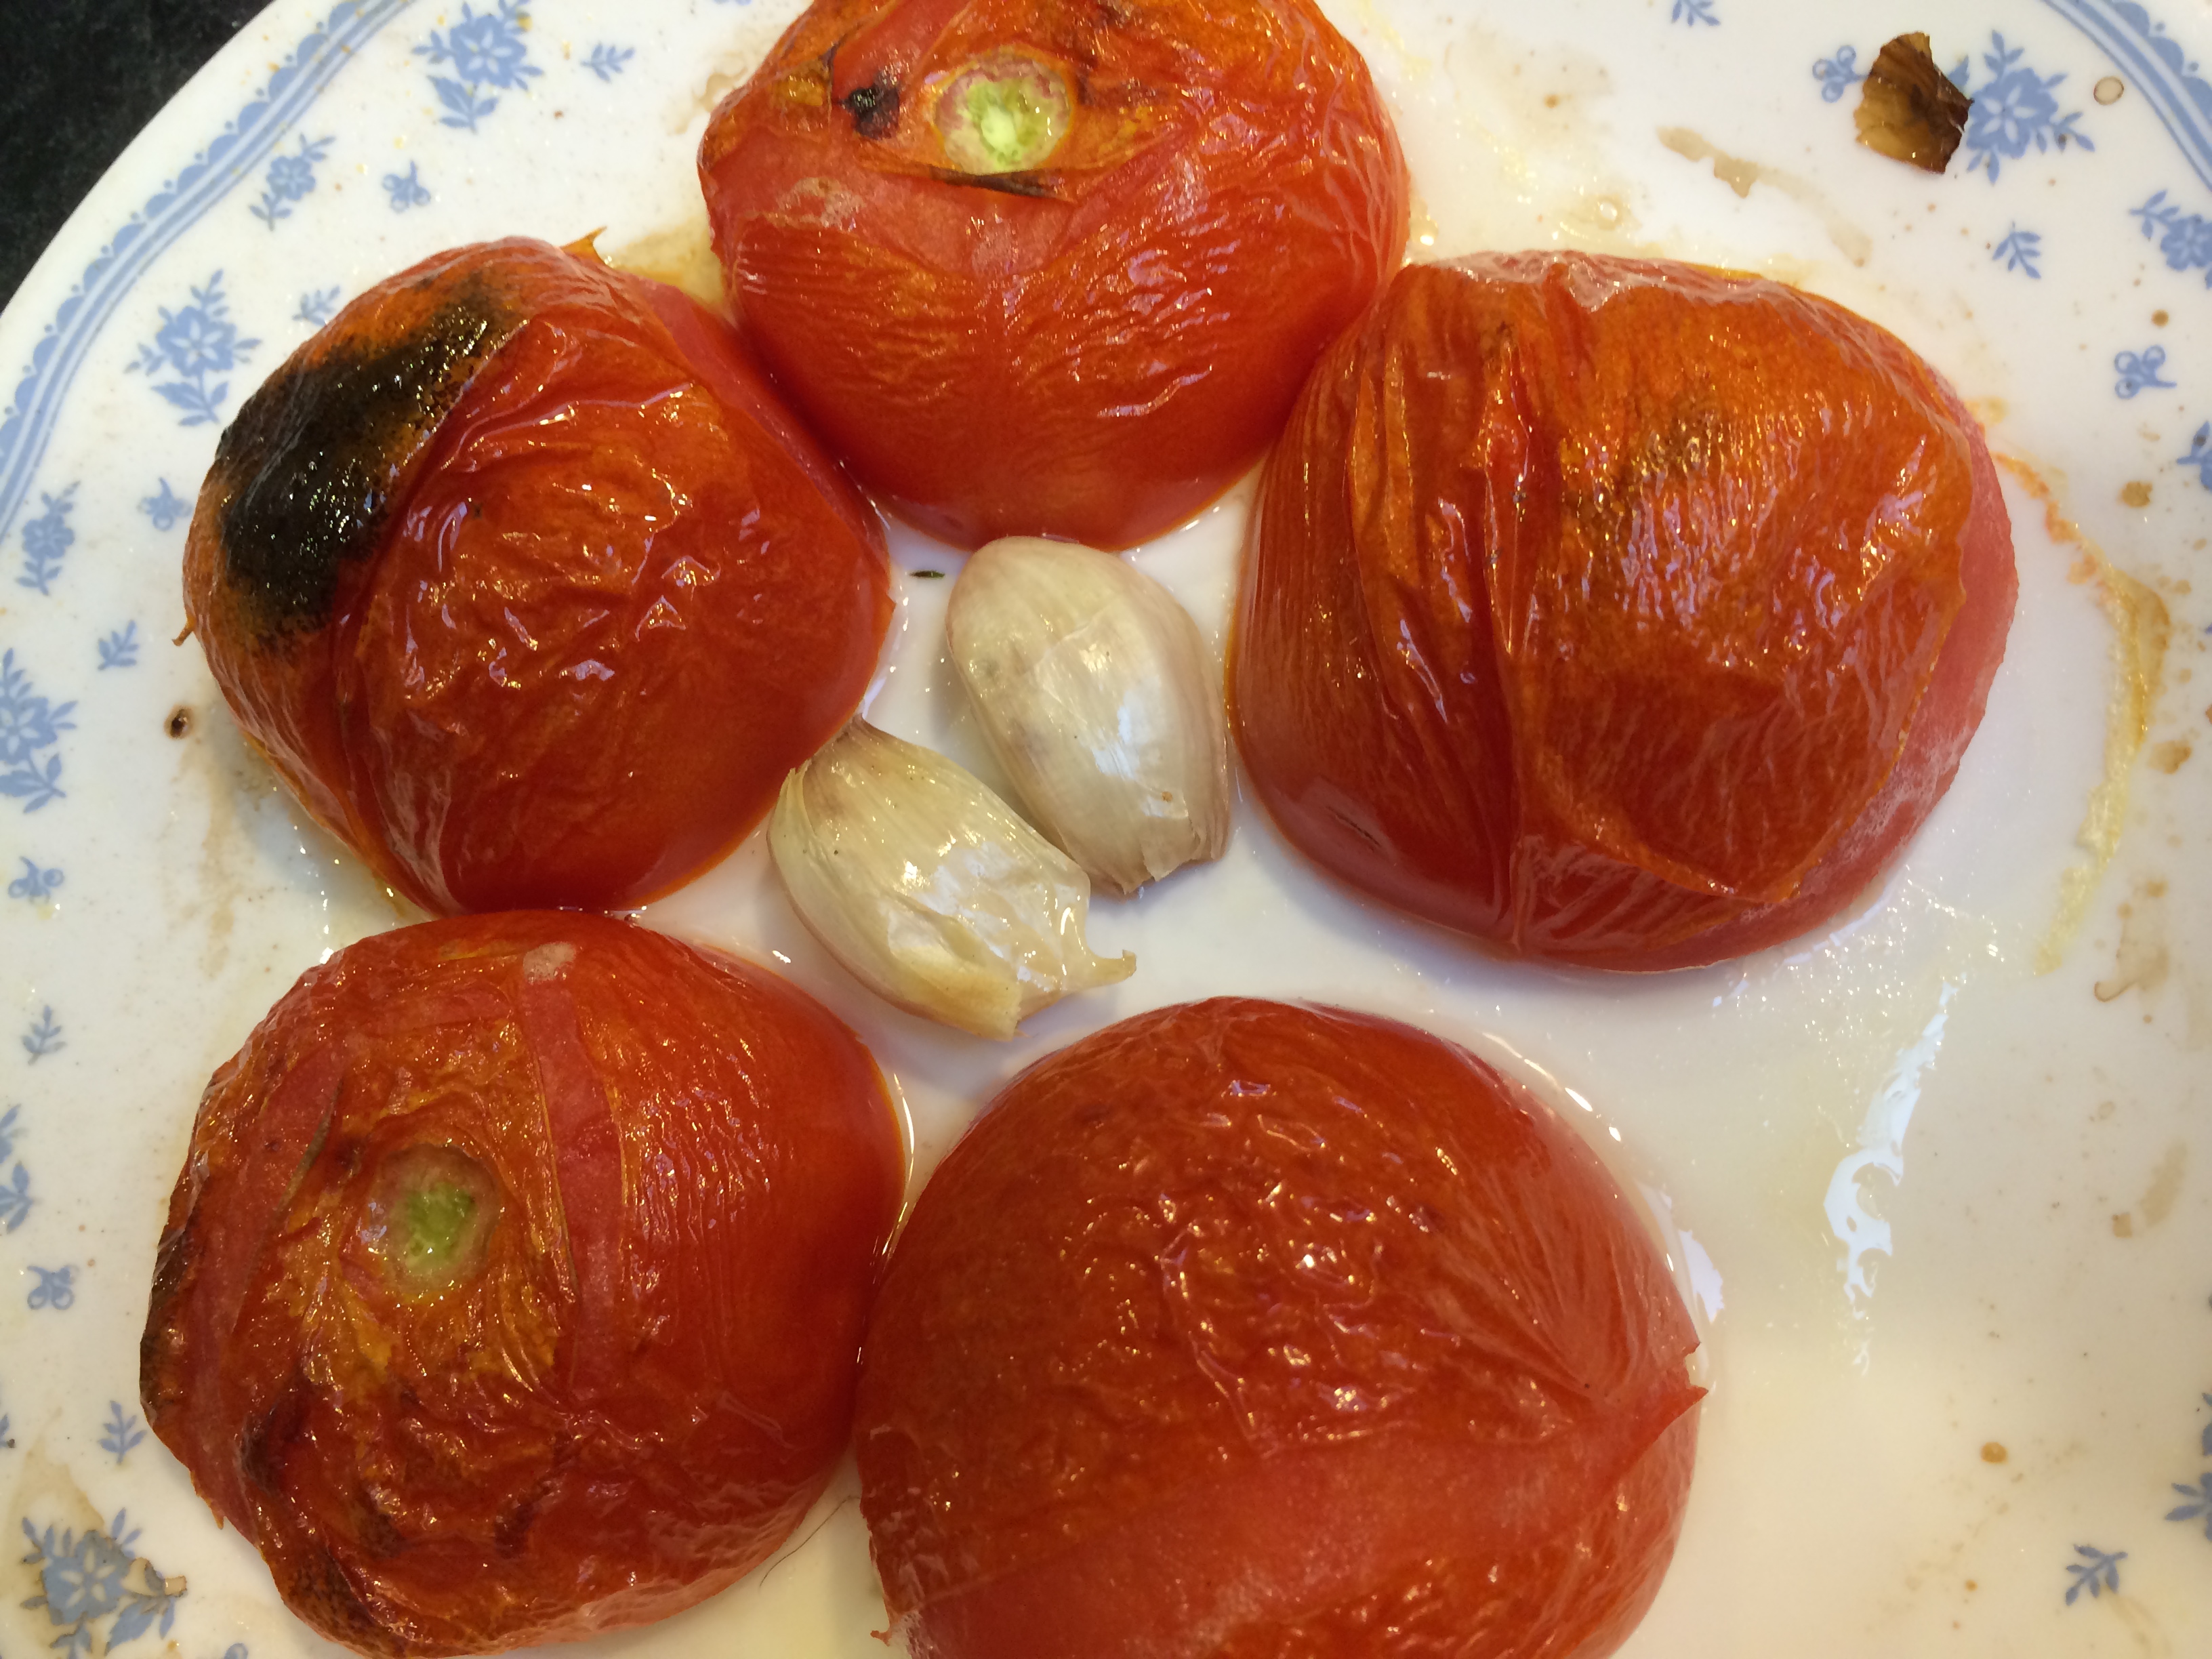
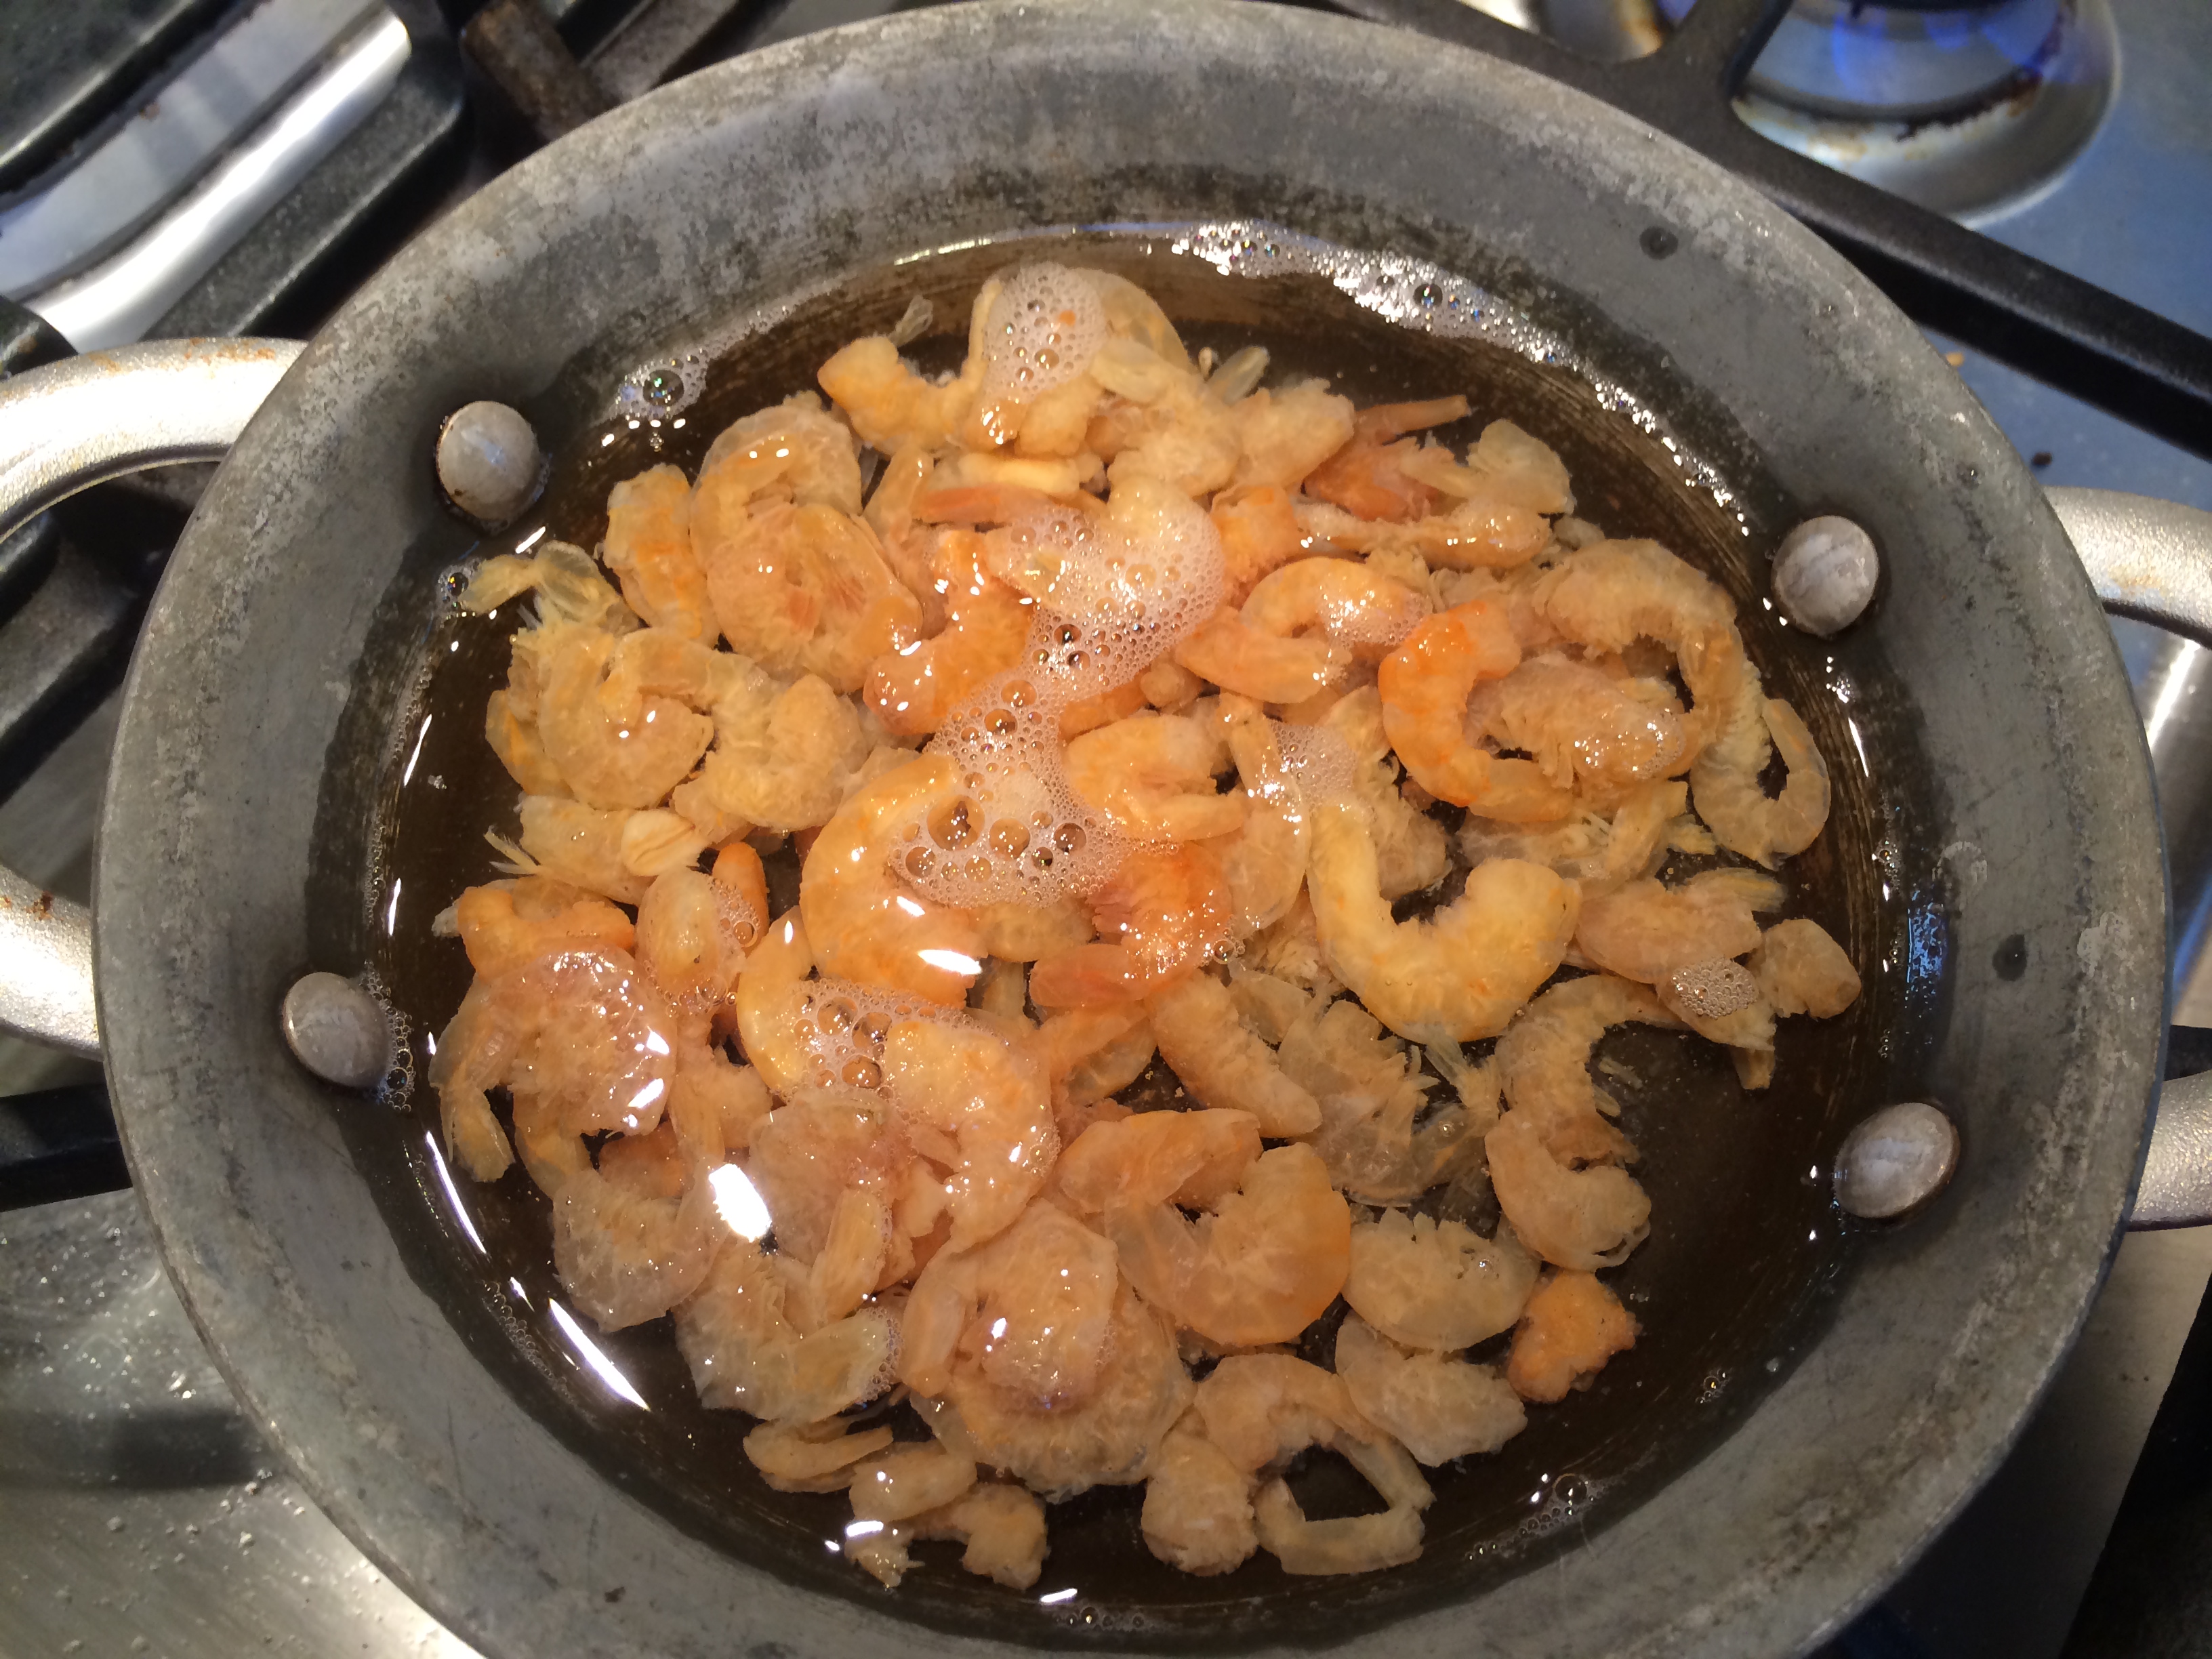
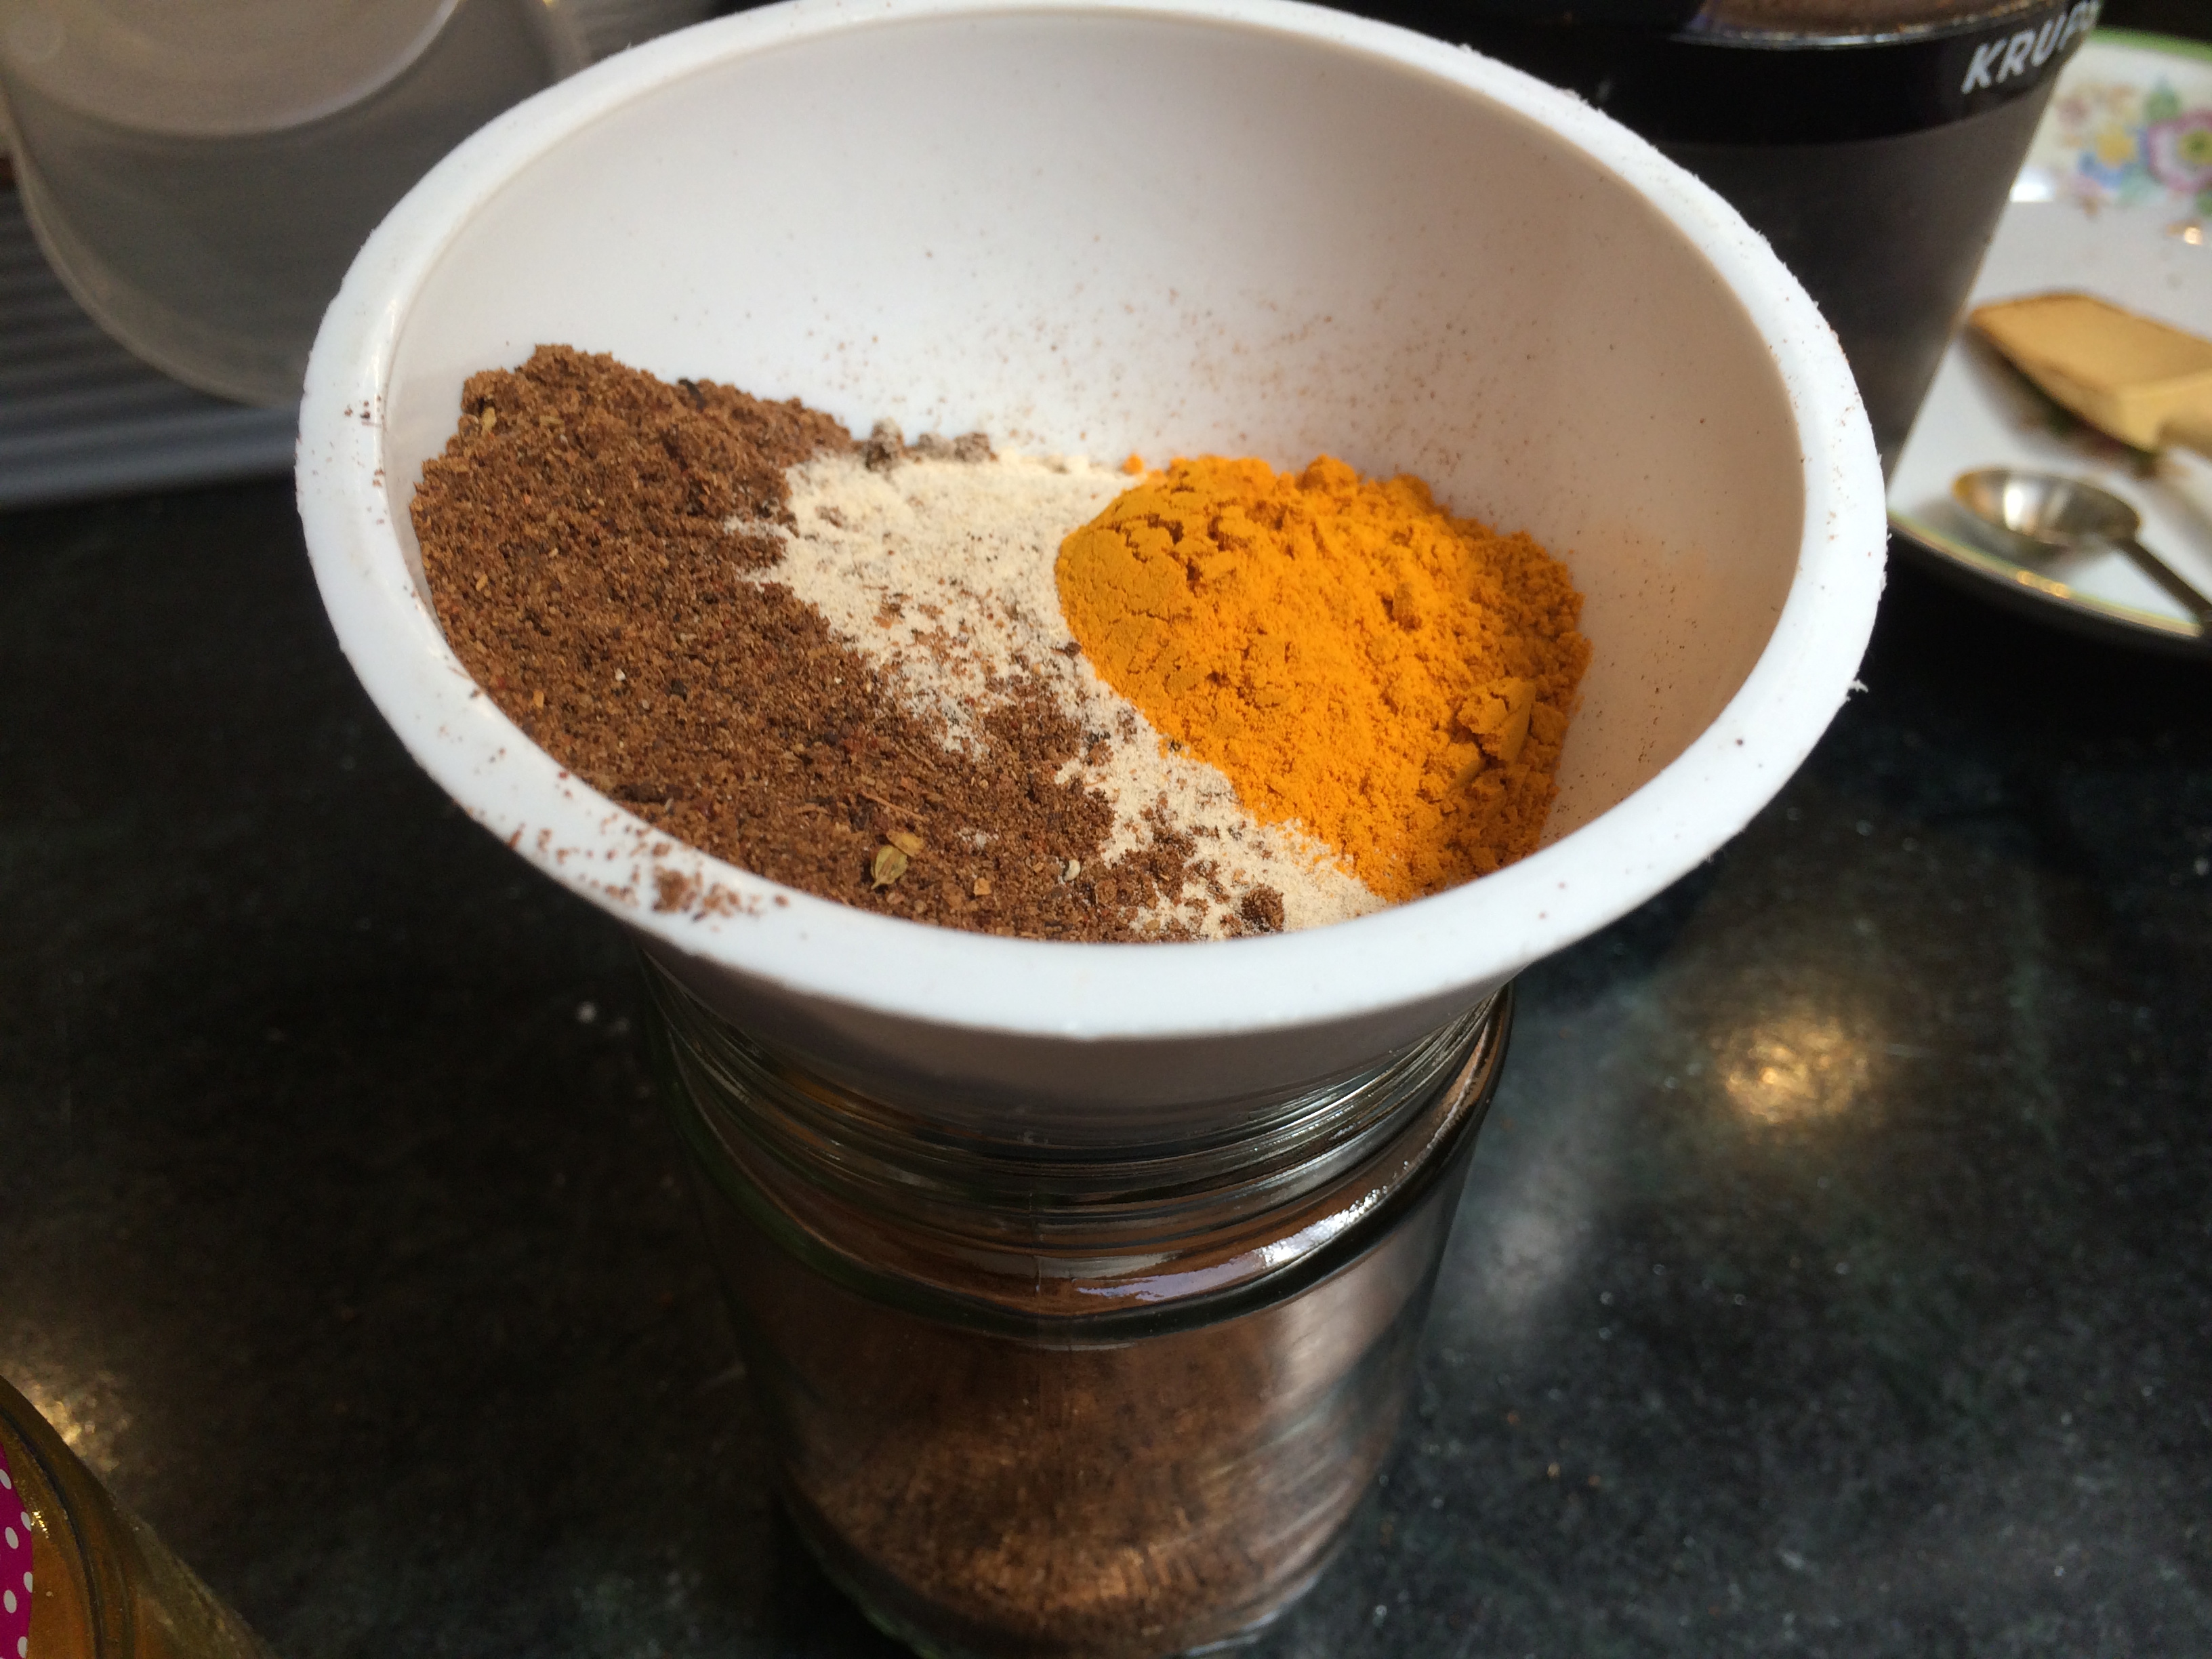
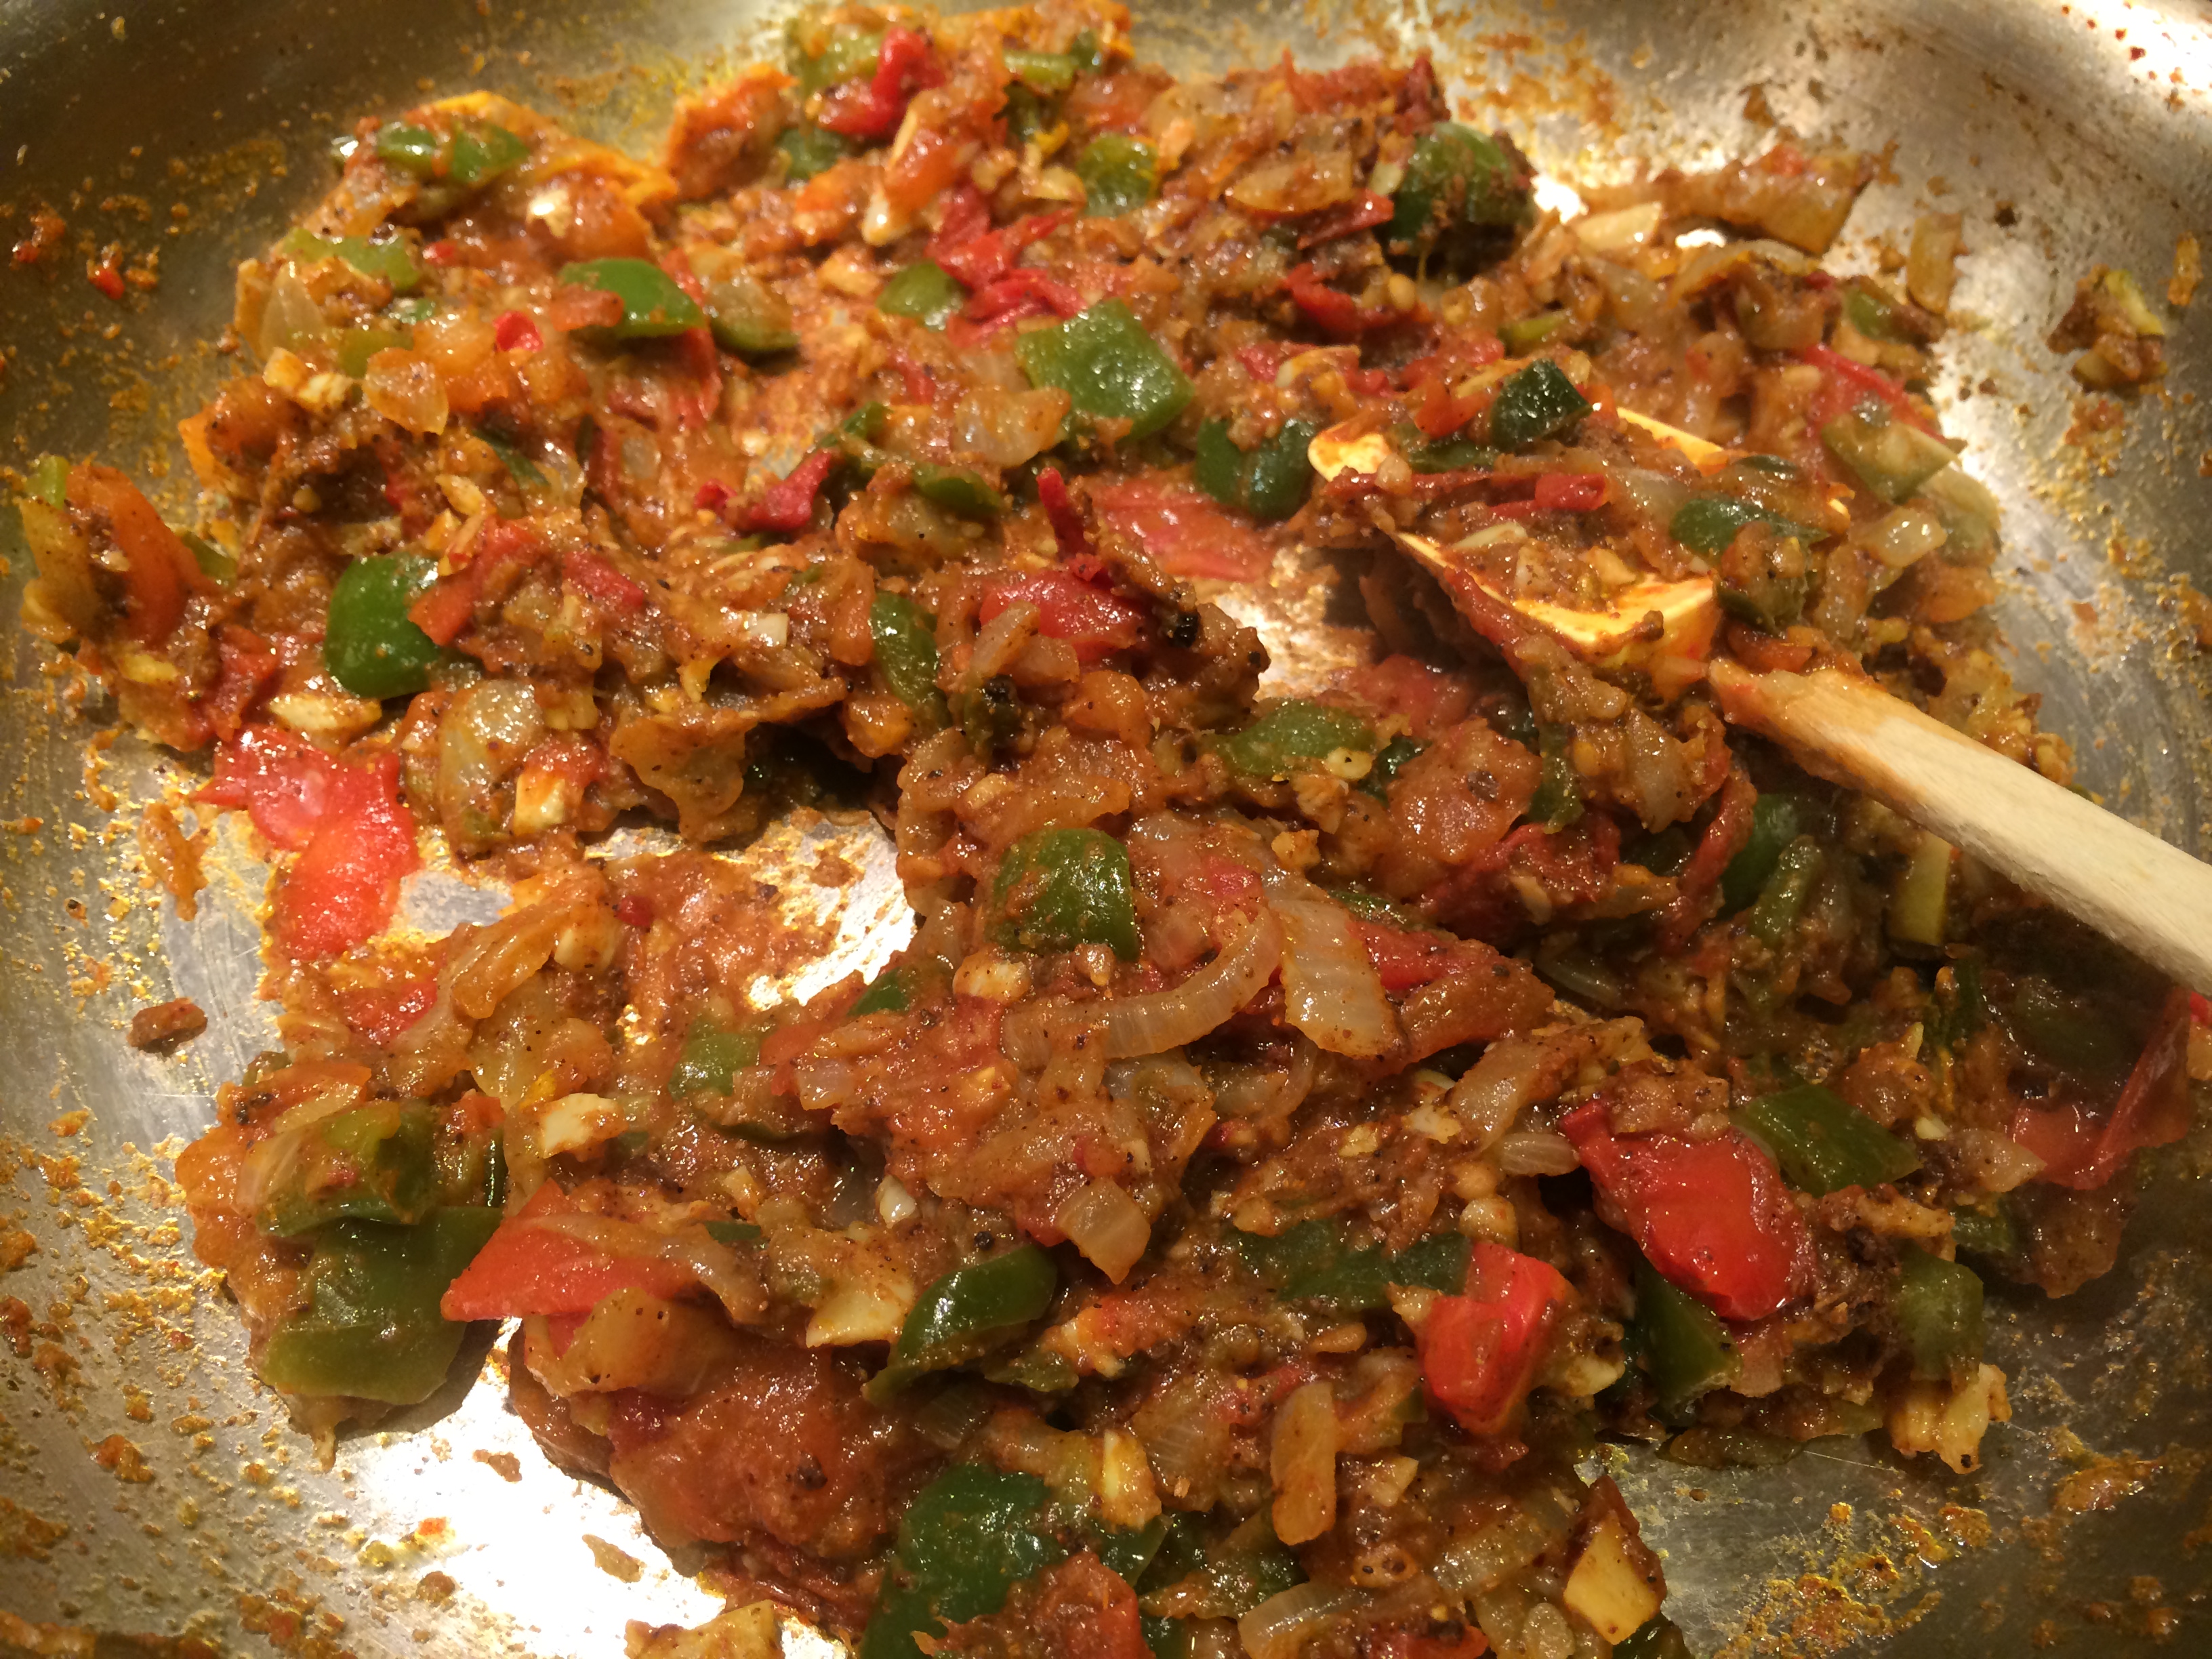
Added spices and aromatics

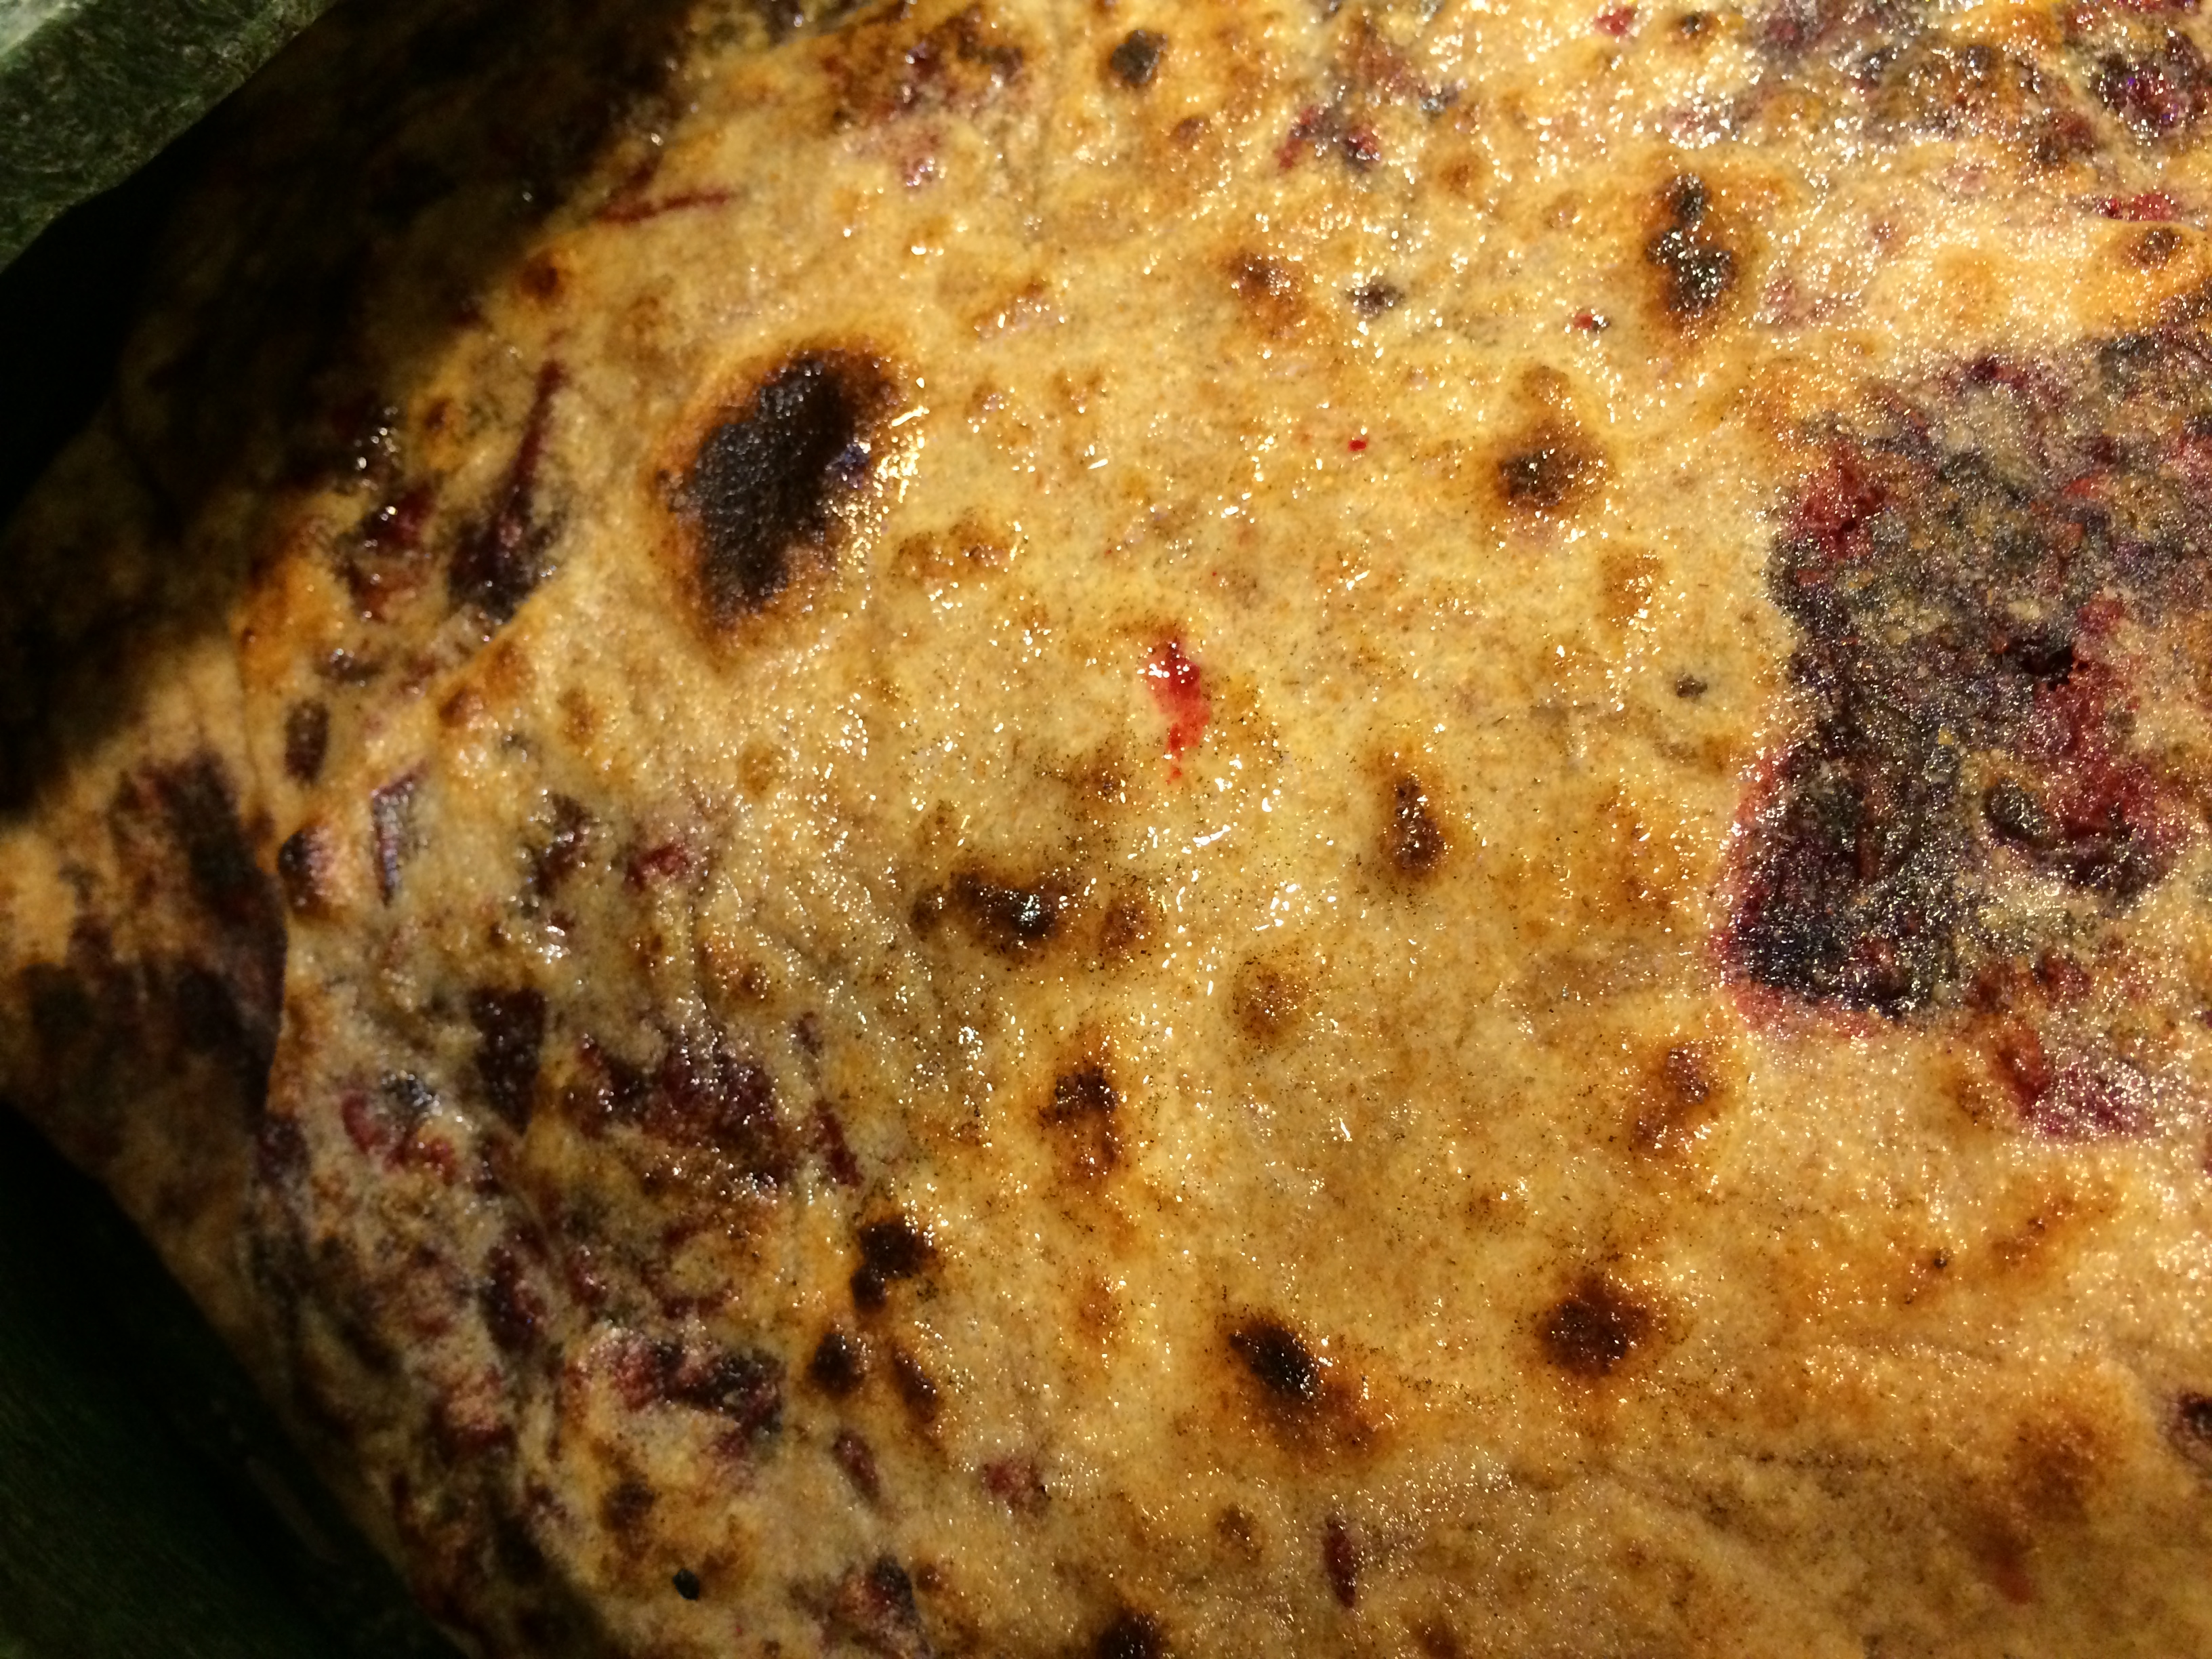
Sealed pot, substitute for dutch oven

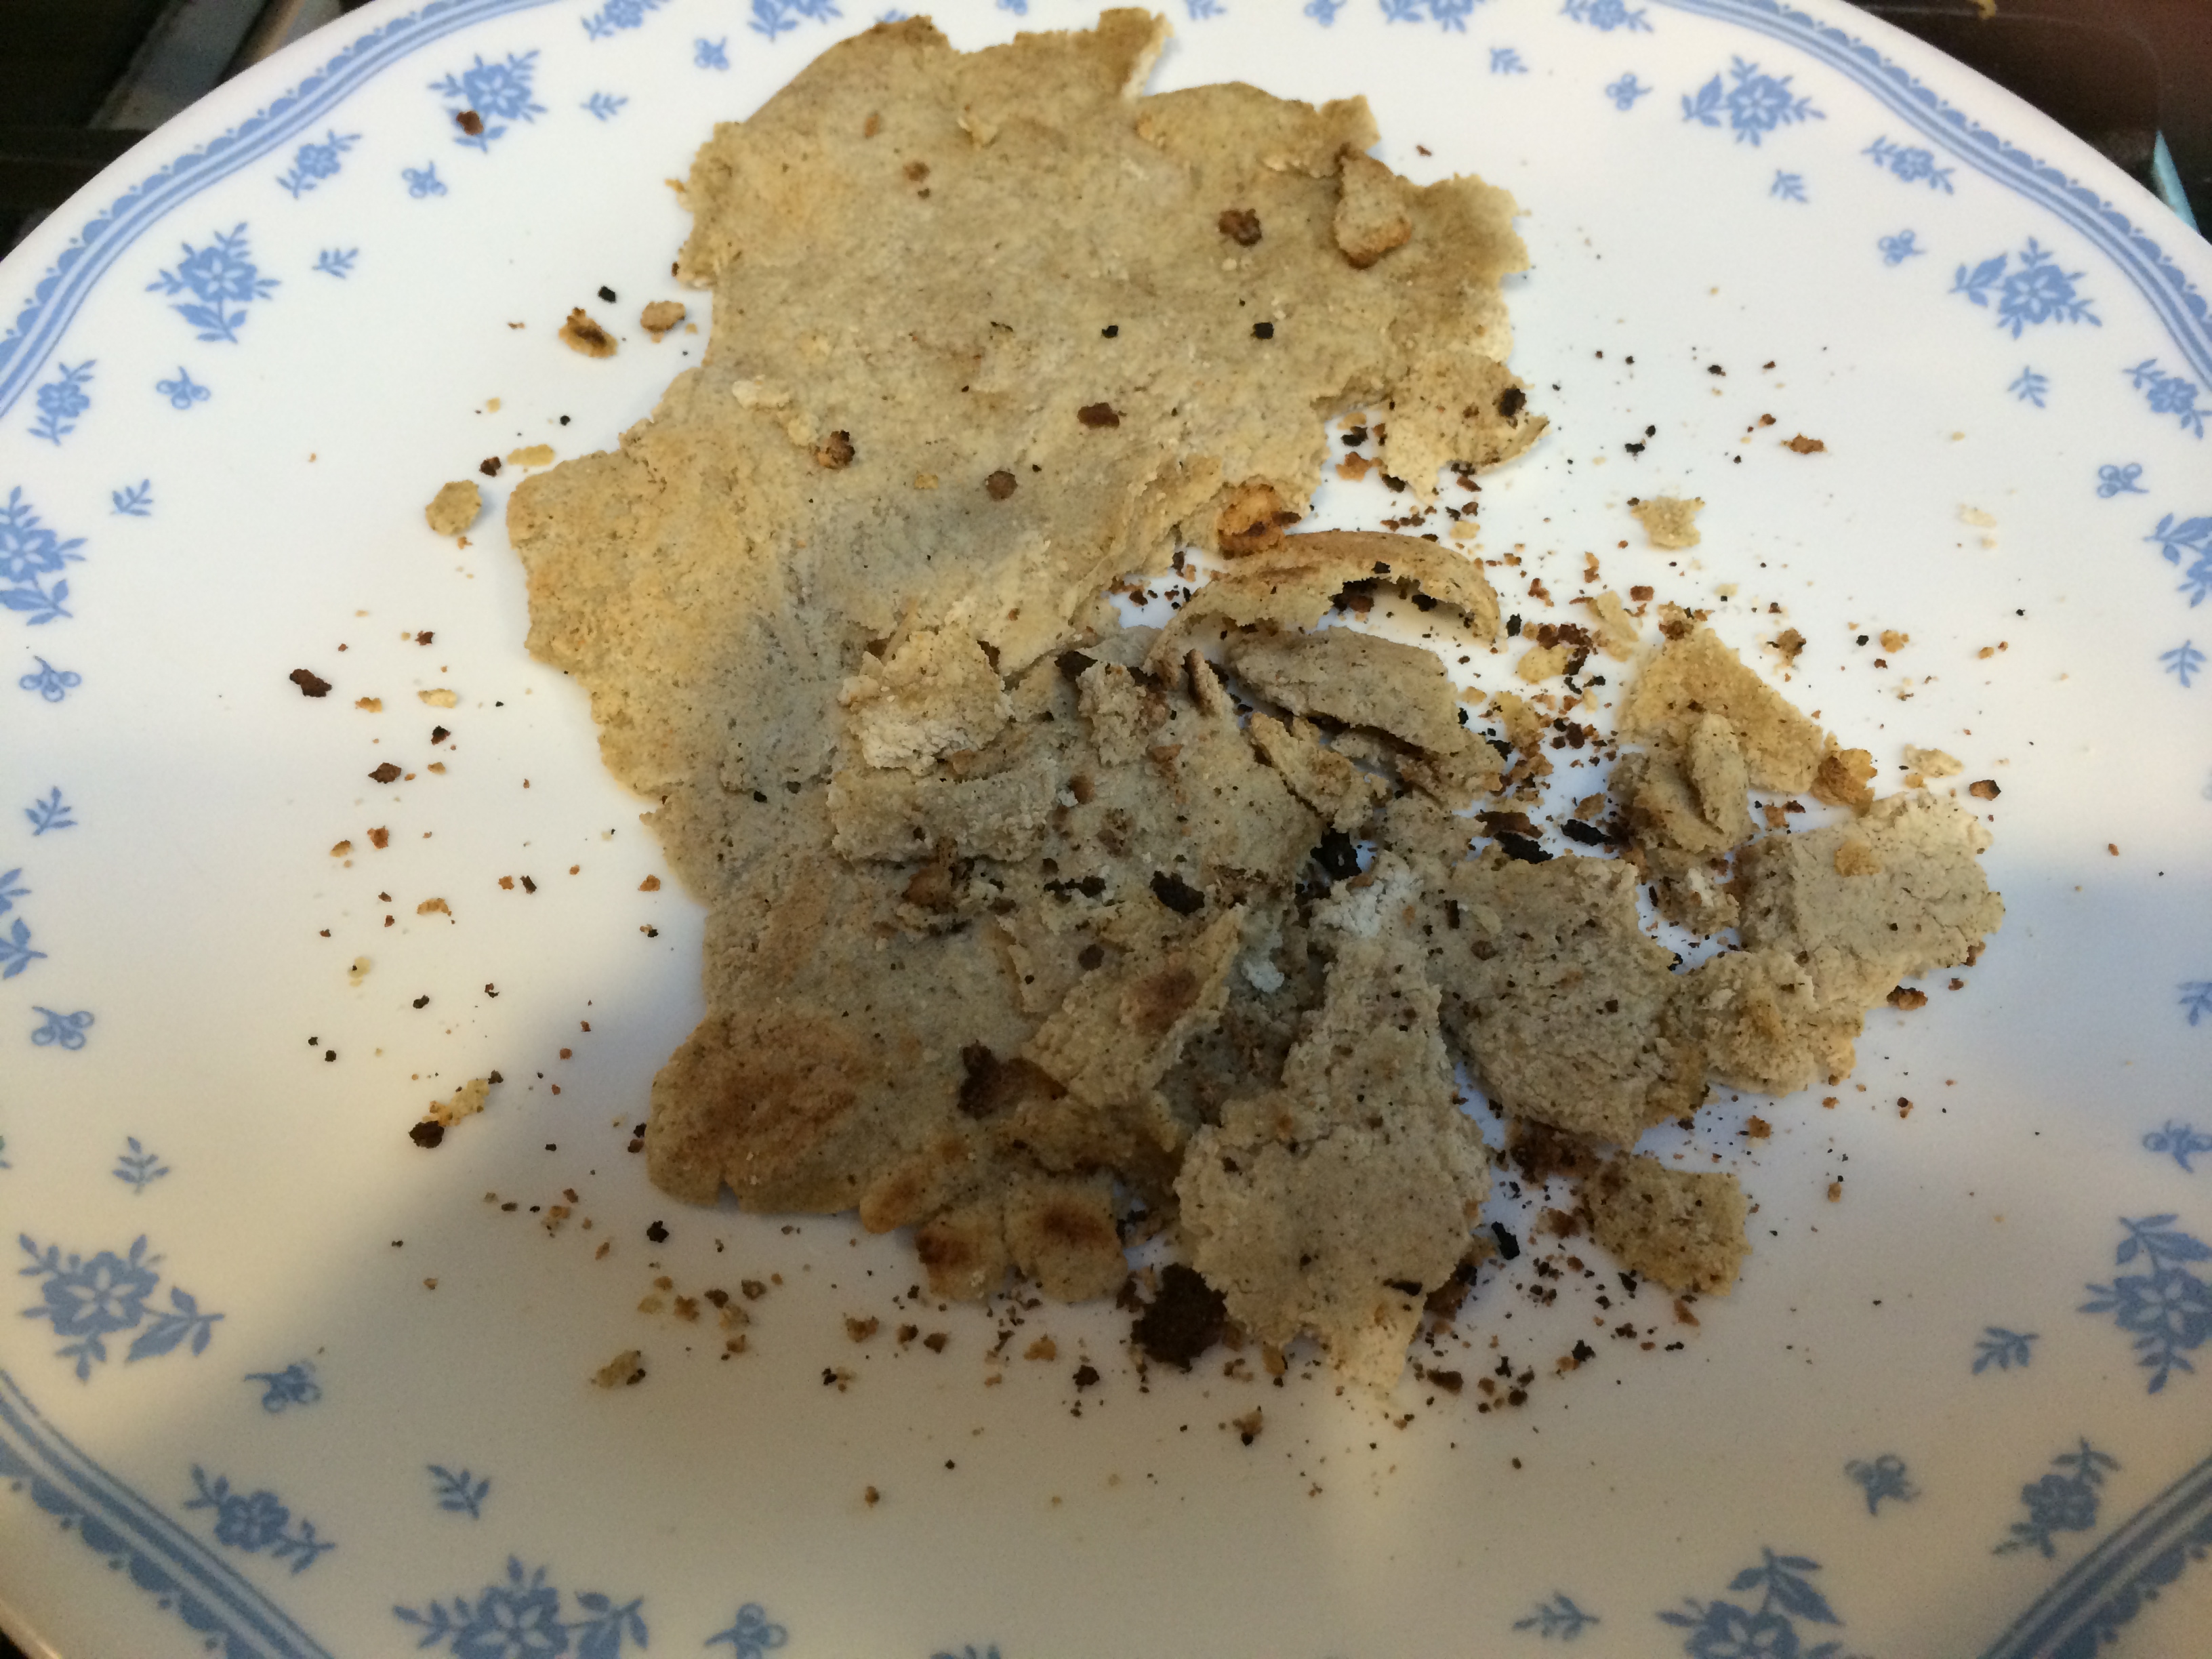
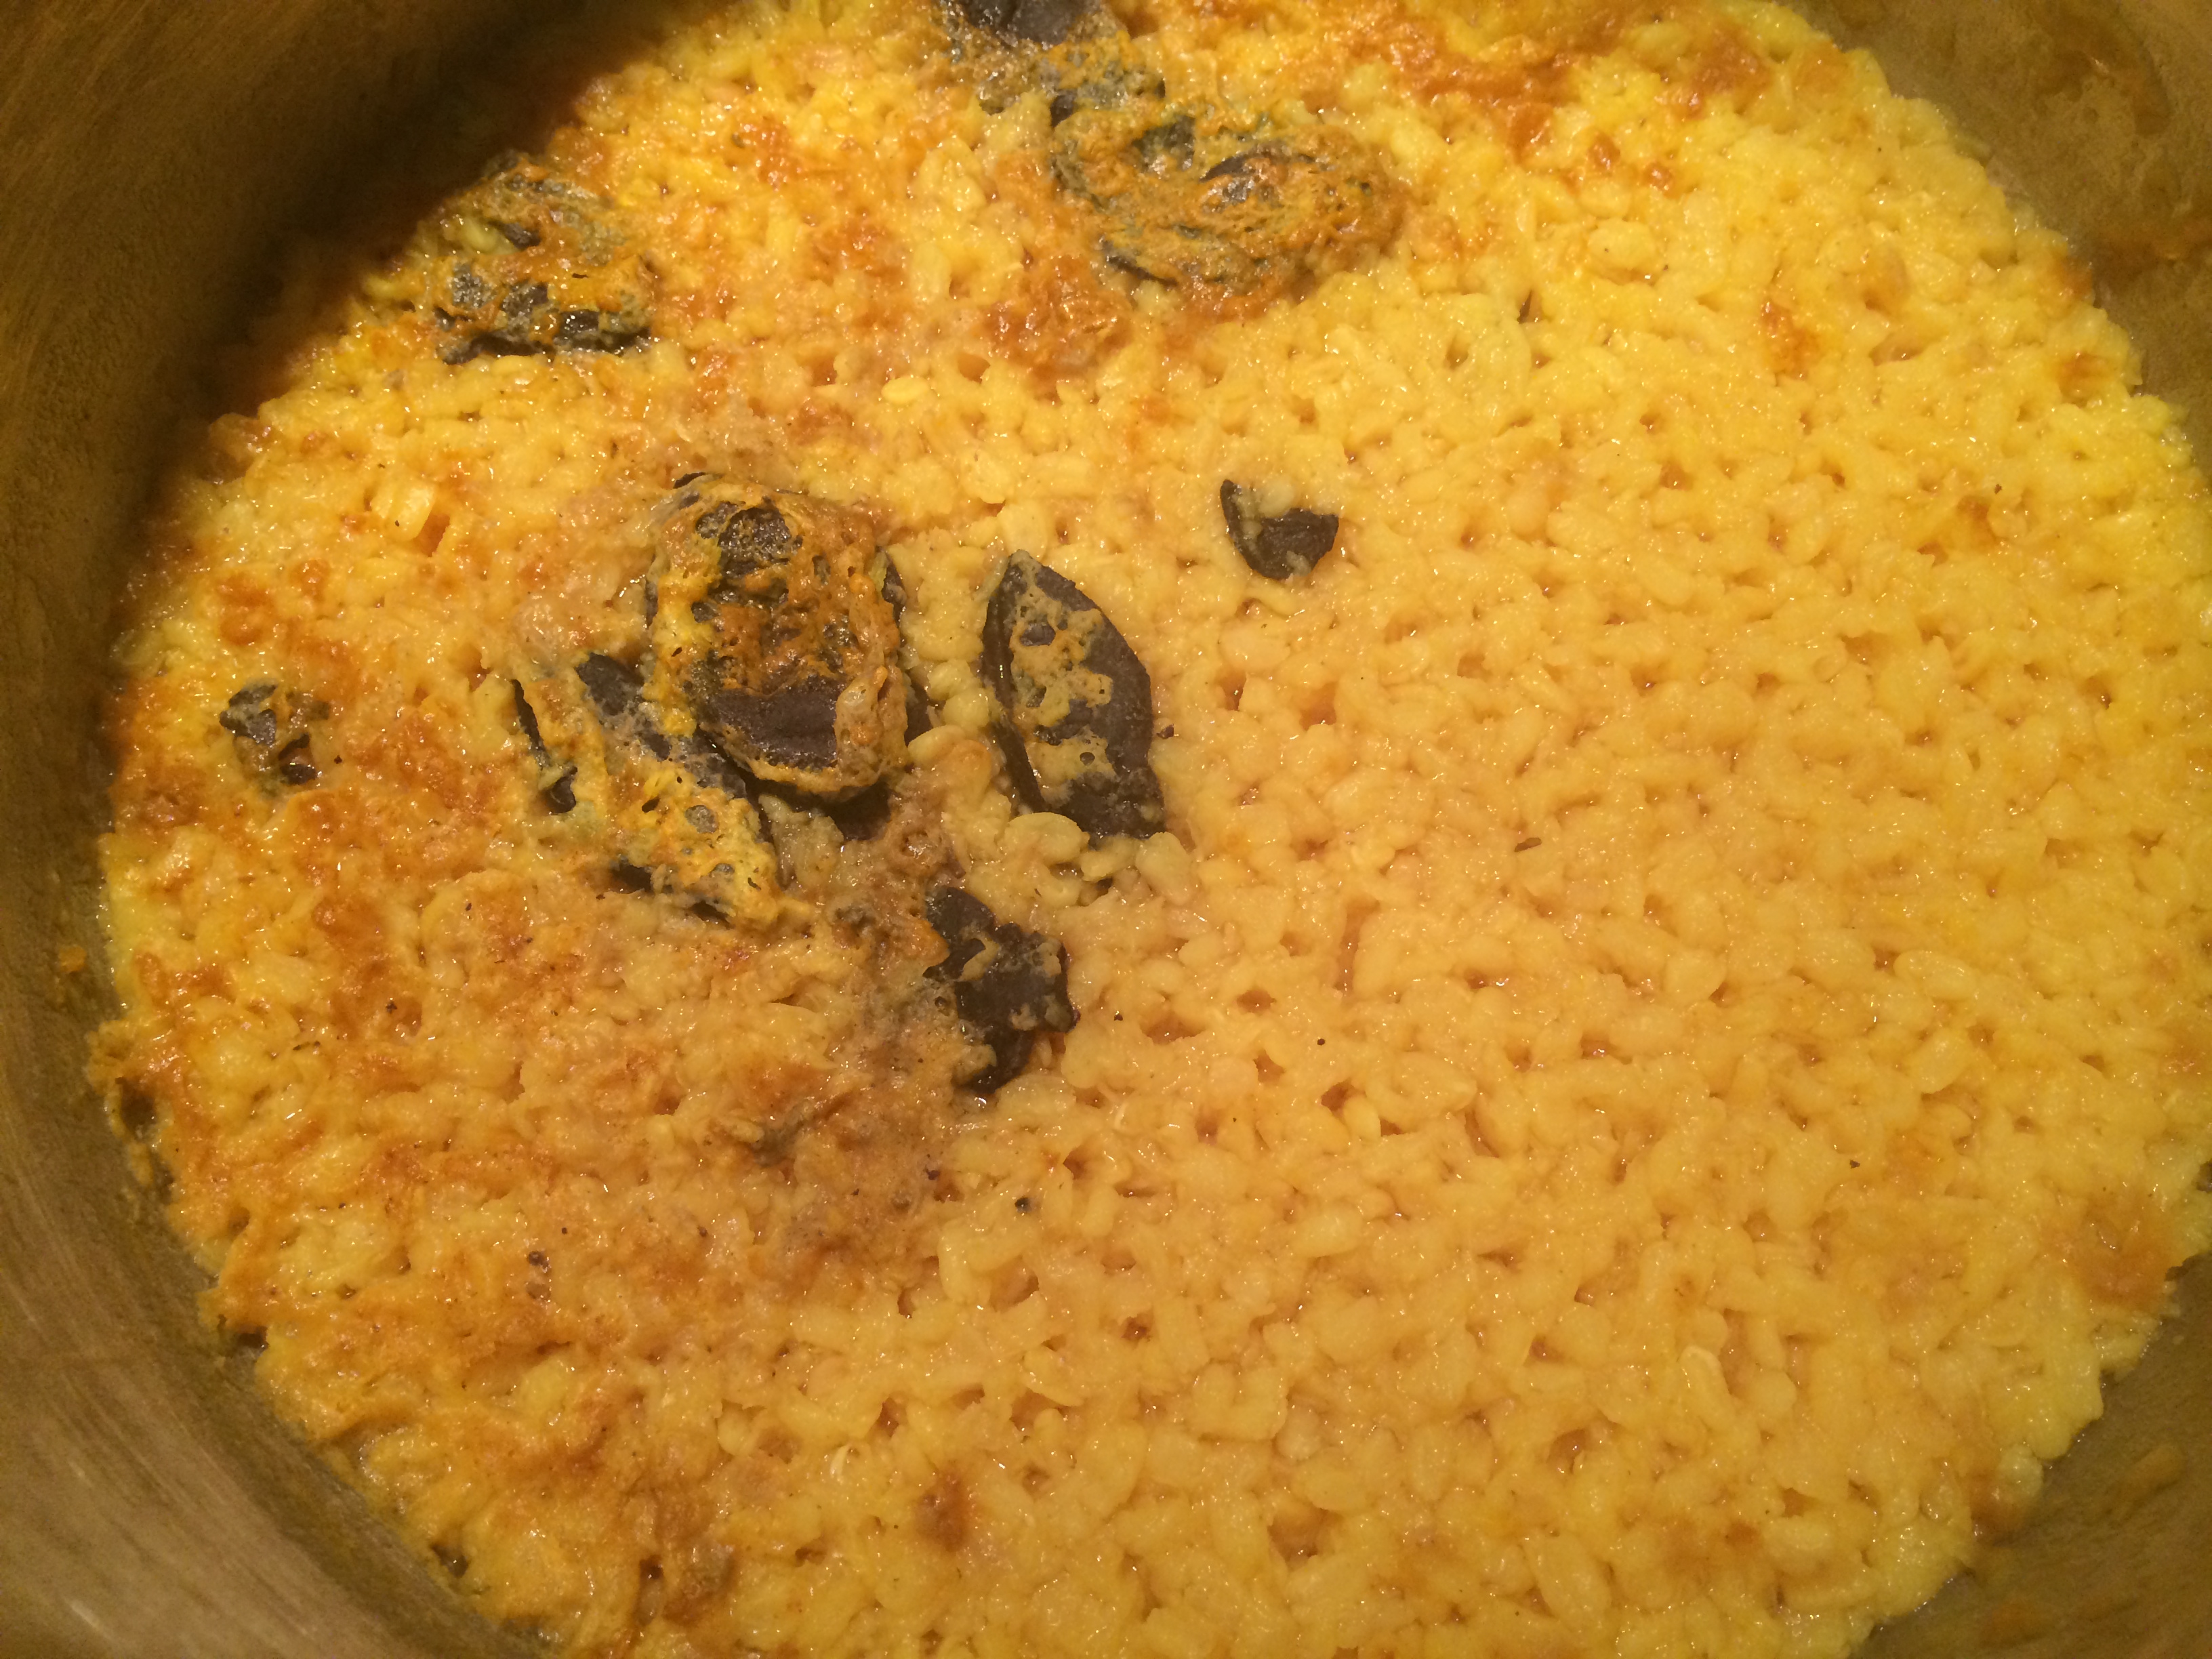
Out of the oven after six hours

Cilantro added
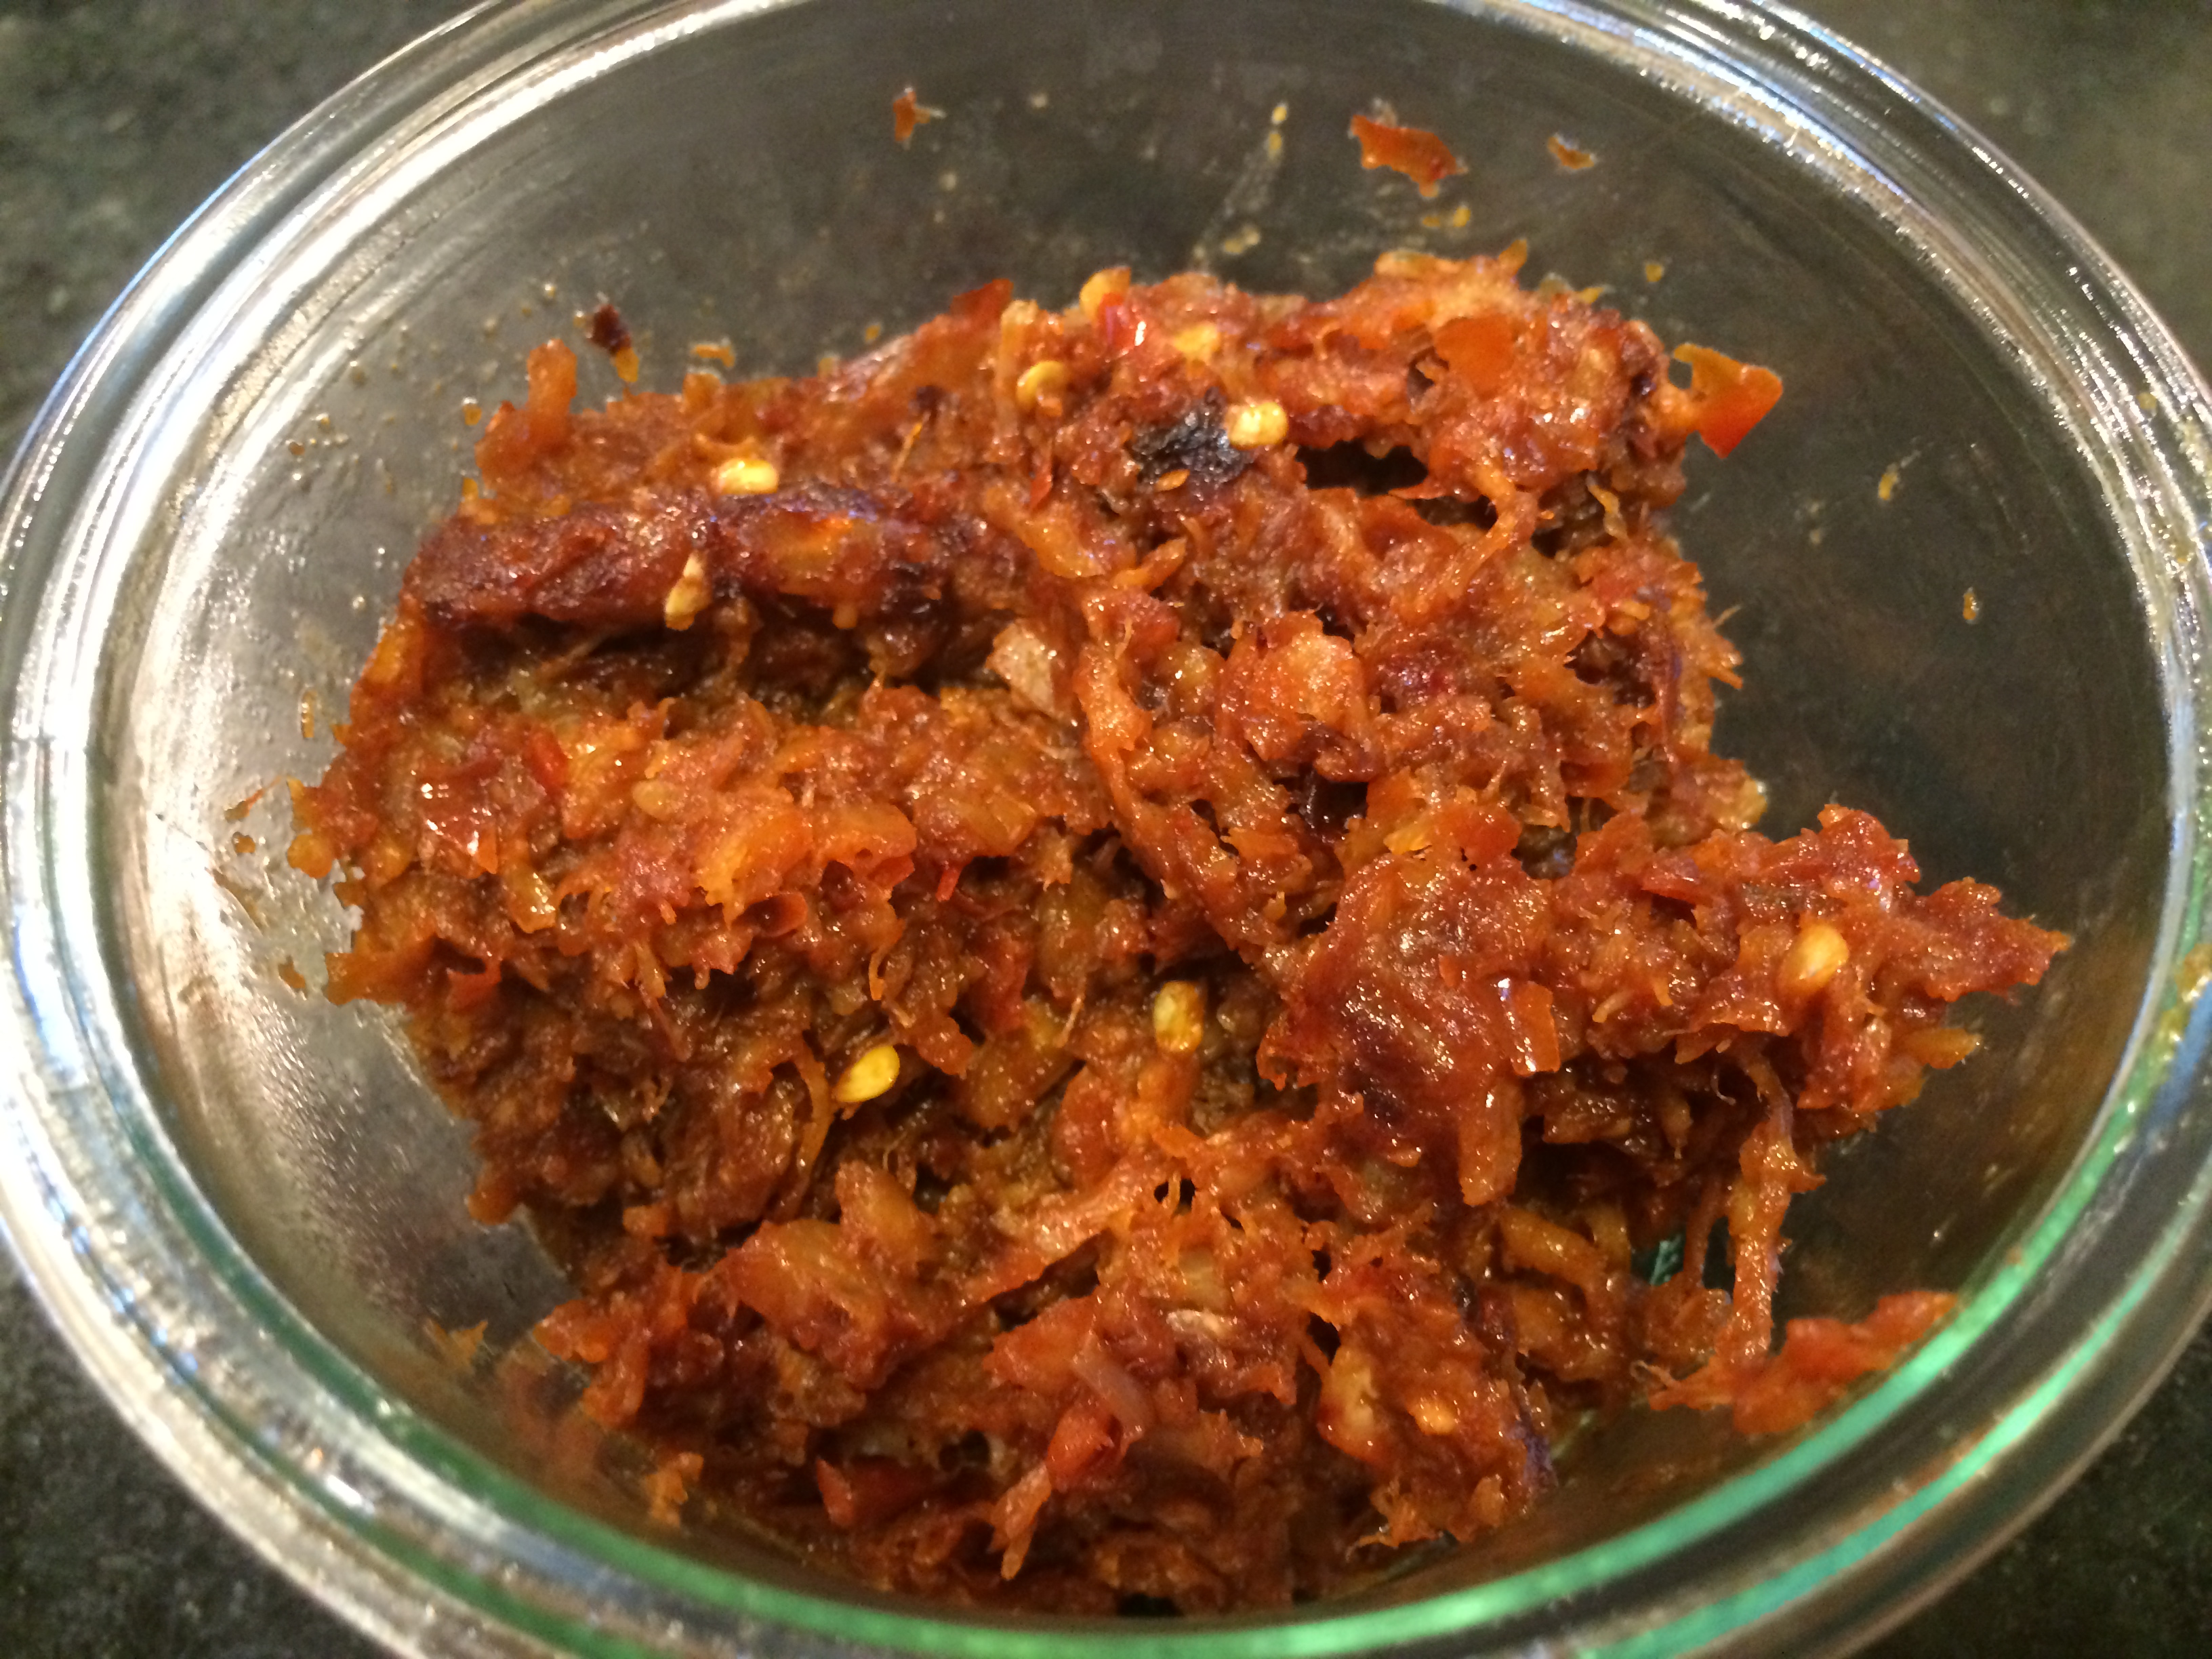
Slow-cooked red kidney beans (rajma) with spices
Ingredients:
- 1 cup whole red kidney beans (rajma), 1 cup whole urad beans (black gram), or a mix of both
- 1 tablespoon ghee or oil
- Half onion, diced small
- 3 – 4 cloves of garlic, smashed
- 1 fresh green chili
- 1 teaspoon coriander powder
- 1 teaspoon cumin powder
- quarter teaspoon red chili powder
- quarter teaspoon turmeric
- 3 cups water
- quarter cup tomato sauce, or 1 medium tomato, diced (optional)
- quarter bunch cilantro, minced (optional)
- 1 teaspoon salt
Method:
Preheat the oven to 250º F. Alternatively, get your slow cooker hooked up.
Put all ingredients except the salt and the cilantro into a pot or dutch oven with a tight-fitting lid. There is no need to presoak the beans. Cover the pot tightly — if the seal is not perfect, you can jury-rig a pretty good one by putting a sheet of aluminium foil between the lid and the pot, and then crunch up the foil edges to block the opening.
Soon a lovely aroma will spread in the kitchen. Leave it in the oven / slow cooker for 6 to 7 hours. At the end of it, take it out, add salt and cilantro and stir them in. Garnish with more cilantro if desired.
(Click here to find me on Facebook and here on Twitter.)