Prickly in pink

I have by now spent an enormous number of years on this planet, more than I care to admit, and about half of that time has been in the United States. But there are still occasional things that pop up to surprise me.

My pink mottled egg

My pink mottled egg

This time it was a pink egg. A giant, pink, mottled egg that sat all by its lonesome in a farmer’s stall in a market. Visions of pretty pink birdlings hatching out of it floating before me, I purchased it. Who could resist?

The man at the stall was nice enough to tell me that this was a cactus fruit. Now cactus plants are a bit of a strange beast for me, in the sense that I can’t easily place them in the plant family. Is that big fleshy thing supposed to be a leaf or a stem? Do they fruit? Why does the fruit appear stuck to the blade of what appears to be a leaf?¹

Clearly there are many, many gaps in my knowledge. But thanks to Mr. Farmers Market, I have filled one small gap.

Prickly pear cactus in Texas, courtesy of PDPhoto.org

Prickly pear cactus in Texas, courtesy of PDPhoto.org

Nopales or ‘prickly pear’ is a type of cactus that is native to Mexico. It has giant green oblong pads covered in spines. The pads are chopped up and eaten as a vegetable (very often by me, in my burrito). These pads produce pink egg-shaped fruit. This prickly pear fruit is what I saw that morning at the market.

The way one eats it is — first, before all else, remove the spines. Now this was already done for me at the market, and if you are lucky this is how you will find the fruit sold. Next, peel off the outer thick peel, which comes off quite easily with a paring knife.

IMG_0006 IMG_0008

Inside, you find flesh of a deep magenta, granular and with high water content. The texture resembles kiwi or watermelon. The flesh can be eaten raw. But it has small round seeds studded throughout the flesh. There is actually no way to avoid eating the seeds, which to me were a nice crunchy backdrop to the melony flesh. But I can see that it would bother the squeamish. The seeds do limit it use in things like fruit salads and pies.

How was it to taste? Very unobjectionable. It has a mild flavor and is not terribly sweet. Apparently it is a nutritional powerhouse with high amounts of vitamin C, magnesium and calcium. I do sense that there is some hype surrounding its magical restorative properties on the interwebs though.

Other than eating it as is, here are a couple things you can do with it.

Juice it in a blender, then strain out the seeds. I believe you will want to sweeten the juice and perhaps liven it up with some lime or lemon.

Another trick was suggested to me by Mr. Farmers Market: put some cubes in some clear filtered water; this will quickly take on the deep magenta of the fruit while the flavor is affected in a very mild way. A good way to make a base for fruit punch, or, perhaps drinkable ‘blood’ for Halloween.

My fake blood using prickly pear cubes

My fake blood using prickly pear cubes

¹I have since discovered that in a typical cactus, the leaves have been adapted into the spines, while the stems have adapted to form the green (photosynthetic) part — usually the succulent, squat structure that bears the spines. This is called the areoles. So in the nopales cactus, the vegetable part that one eats is the modified stem. Now it is no mystery that the egg-shaped fruit comes attached to what I believed to be the leaf blade: that is indeed, the stem, and the fruit grow from the stem in the usual way.

An excellent use for loofah in the kitchen

Loofahs are pretty useful little scratchy devices that one can use as scrubbies, usually in the bath on your pretty pink toesies. That’s great and all, but does my kitchen have any use of them? Yes.

Start with this:

Loofah

Loofah

And go back in time several months at which time it looked like this:

Ridged luffa squash

Ridged luffa squash

At this point, loofah can be used to make an excellent meal. When these gourds are harvested green, the flesh is soft and delicious with a hint of sweetness. Leave it on the vine, and the flesh becomes fibrous and scratchy.

When young, I always knew this vegetable as ‘toori’. Its true name is luffa, which is where the more fancy appellation ‘loofah’ comes from. Now I love toori so much that if I was the farmer in whose job it was to grow a crop for loofahs, not many would make it that far.

Ridged luffa squash with garlic and tomatoes

Ingredients:

  • 3 largish ridged luffa squash or equivalent amount
  • 3-4 large cloves of garlic
  • 1 large or 2 small tomatoes
  • 3 fresh green chilies or to heat tolerance
  • 6 or so curry leaves
  • Half a teaspoon mustard seeds
  • half a teaspoon turmeric
  • 1 teaspoon coriander powder
  • salt to taste
  • 2 tablespoons oil

Method:

Peel the squash with a vegetable peeler; for the first pass, center the peeler on the ridges; once the ridges are removed, the second pass will remove the rest of the peel.

IMG_0764 IMG_0765 IMG_0763 IMG_0767

The flesh inside is soft and pale. The seeds, at this stage, are not developed into being hard and can be eaten. Chop up the flesh into cubes. Mince garlic and the chilies. Chop up the tomato.

Heat oil in a thick-bottomed pan on medium-high heat. When it shimmers, put in the mustard seeds and wait till they start popping. Then put in the minced garlic and chilies, and the curry leaves (I didn’t have these so I left them out). When these start to shrivel, you can put in the chopped tomato.

toori and spoonrest 001

Now the standard with this type of dish is to let the tomato liquid boil off. This intensifies the flavor of the tomato. So keep the heat on medium-high, and stir the tomatoes once in a while, helping it along by crushing it with the back of your spoon.

Once the tomatoes seem pretty dry, put in the turmeric and coriander powder. Stir. Now put in the squash cubes and give them a stir to coat with the spices. Add the salt, use your judgment about the amount. Cover with a lid, bring to a boil (no added liquid is necessary, the salt will draw out the high water content of the squash flesh itself). When it comes to a boil, leave it with the lid on at a simmer.

toori and spoonrest 003 IMG_0768

In another 15-20 minutes, the squash will be much reduced, and done. If you want, garnish with minced cilantro.

IMG_0771

This goes very well with roti/chapati, or as a side with rice and dal.

Clay pot potatoes from Nepal

Dum Aloo Nepali

Dum Aloo Nepali

For all intents and purposes, Nepal is very much Indian. To keep things even-handed, I am also going to insist that India is very much Nepali. Other than the fact that Nepal had a king until very recently, while us Indians dispensed with our gaggle 60 years ago, our cultures are very close, we share a majority religion, and most of our food heritage.

Speaking of which, I recently discovered from this book — 660 Curries by Raghavan Iyer — that Nepal has its own version of a Dum Aloo. How enticing!

‘Dum’ is a method of cooking that the Mughal emperors brought to India. It involves cooking in a deep pot of unglazed clay (called a handi), which is sealed with a flour paste; the food is cooked slowly over coals. The seal is only broken at the moment of serving; at which point the collected aroma is meant to make the guests keel over in delight.

‘Aloo’ of course means potato. This dish traditionally uses whole baby potatoes that have been first fried. The Kashmiri version of this dish is best known, but today we alter it slightly by going a little to the east, and a tiny bit south. To Nepal.

Dum Aloo Nepali

Ingredients:

  • About 15-20 tiny new red potatoes; each potato should form one or two bites. I couldn’t find any small enough, so I used 6 larger red potatoes, which I then quartered.
  • 3-4 large cloves of garlic
  • fresh chilies according to heat tolerence, I used 3 cayenne
  • one bay leaf
  • half a teaspoon cumin seeds
  • half a teaspoon fennel seeds
  • half a teaspoon ajwain seeds
  • half a teaspoon turmeric
  • 1.5 teaspoons salt total
  • 2 tablespoons mustard oil; if you don’t have this, use any oil.
  • some lime juice sprinkles if you like
  • minced cilantro for garnish

Method:

Of course I am not going to use a clay pot nor seal it with flour; nor do coals make an appearance. We are going to ‘dum’ the 21st century way, in an oven.

First, wash and boil the potatoes in about a cup and a half of water, lightly salted (put potatoes into cold water, bring to a boil, simmer for 10 minutes). The potatoes should be more or less cooked, which you can test by piercing with a knife.

IMG_0017 IMG_0020 IMG_0022

Take the potatoes out and quarter while leaving the peel on. Also, do save the water, we will use it later.

Chop the chili and garlic and make a paste as I explain in ‘Rustic ginger-garlic paste with the optional chili‘. Of course leave the ginger out in this case.

IMG_0018 IMG_0021

Heat oil in a thick bottomed pan on medium-high heat. When it shimmers add the seeds and the bay leaf. When they sizzle add the garlic-chili paste. Let it cook for a minute, then add the turmeric and quartered potatoes. Saute them gently to cover with the spice paste; add salt. Remember that you have added some salt in the boiling water already and some presumably in the garlic-chili paste; so adjust the total amount or go by taste. After a couple minutes of this, put in the water saved from boiling the potatoes. Stir gently and bring to a boil.

IMG_0023 IMG_0024 IMG_0025 IMG_0026

At this point I do a dum facsimile. Transfer the potatoes into a deep pot with a tight lid. Cover with the lid, but you might also want to seal it with a layer of foil in between the pot and the lid. Put it into a 300 F oven for 20 minutes.

Open the lid just before serving; add some lime juice and some cilantro, stir gently and watch your guests keel over.

660 Curries by Raghavan Iyer is an excellent book by the way, and has many unusual recipes. It is a keeper despite my allergy to the word ‘curry’. On which more later.

A Sindhi breakfast Julia Child might approve of

IMG_0786

If I name the following ingredients: flour, potatoes, salt and pepper, dairy — a very commonplace list, in the Western part of the world — what doesn’t come to mind is a morning in a Sindhi town 60 years ago. And yet, so it is. My grandmother made these very rustic kachoris for my mother’s breakfast decades ago, and it is such a simple idea, but so complex and satisfying, that I still crave it and make it in my 21st century Californian kitchen, and yes, have it for breakfast.

This amount makes enough for a simple breakfast for one.

Potato Kachoris

Ingredients:

  • 1 medium red potato
  • 1 cup whole wheat flour, I use King Arthur Premium
  • 1.5 tablespoon plain yogurt
  • 3/4 teaspoon salt
  • 1.25 teaspoon freshly ground black pepper
  • Oil for frying

Method:

The traditional recipe asks you to boil the potato in lightly salted water until done. I have replaced that step with microwaving in nearly all such recipes that need a tuber to be cooked through before using. Not only is it quicker, but I feel like it avoids some of the nutrients leaching out into the water that one has to then throw away.

So go ahead, nuke the chap. Five minutes should put paid on a medium potato.

IMG_0774 IMG_0777 IMG_0778 IMG_0779

When it is no longer shooting steam lava at you when you touch it, cut it into cubes and roughly mash it, peel and all. It can be lumpy, I personally don’t mind that.

Add the flour, salt, and pepper.

Now. You may be alarmed at the amount of pepper I am having you put in. Don’t be! Remember, pepper drove world-traffic all the way to the South Indian coast for centuries. Pepper is the Helen of Troy of spices. You want to feel it.

Mix and squeeze the flour in with the potato mixture with your fingers, till it is a rough, shaggy mass. Now put in the plain yogurt and knead briefly to make it a rough dough.

IMG_0780 IMG_0781

This amount of dough will roll out to about 4 small circles of 5 – 6 inches each. So break golf-ball sized pieces, and roll each out. Now if you are used to rolling rotis you will find that these don’t roll out as smoothly or as thin. This, naturally, is because of the influx of the natural lumpiness of the potato (which I insisted a few lines ago that you don’t quell completely). That’s fine! It all adds to the rustic charm. The only thing you have to be aware of is, you may have to fry them a tad longer than normal, because they are thicker.

OK. So circles rolled out, heat about an inch of oil in a thick bottomed fry-pan. When the oil shimmers (but before it smokes! That is when the oil starts to break down and do Bad Things to us) put in a rolled out circle. Let it cook on one side for about half a minute, bobbing it up and down with your slotted spoon or tongs. Then flip it, and cook it for another half a minute. Take it out and drain it on paper towels.

IMG_0782 IMG_0784

Have it with some more plain yogurt on the side. Surprisingly heavenly. Julia Child, eat your heart out.

Jay, the Earl of the Bombay Sandwich

Sada Bombay Sandwich

Sada Bombay Sandwich

The ancestor of Bombay sandwich is the dainty cucumber sandwich that the British have served with their afternoon tea since the Victorian days. It even makes an appearance in Oscar Wilde’s The Importance of being Earnest. It has no protein and not much nutrition. But a cucumber sandwich is cooling, and so is tea! Which is why, I can only imagine, the British colonialists brought this tradition over to my hot, hot country India, where they spent about two hundred years, overstaying their welcome by about…I don’t know, a hundred and fifty years or so?

Bombay Gymkhana, that dates from colonial times

Bombay Gymkhana, that dates from colonial times

The cucumber sandwich thrived in cricket clubs, gymkhanas and tea houses where Indian servers would thinly slice bread and cucumbers, lop the crust off the slices, and serve these elegant little squares to their British bosses. Then those bosses were gone. They left behind a bunch of expert cucumber slicers, who I guess decided to use their skill in a very Indian — and really, a very Bombay way — hawk this sandwich from the roadside and add some chutney.

Ah. That is what makes it. Two hundred years and the British didn’t learn to add chutney to the cucumber sandwich. They left it pallid. Tasty, but pallid. And rather limp. But here, add mint chutney, beef it up with some potato, throw some sev on top, panini press it, put samosa filling it it; my god, the streetside stalls in Bombay have come up with a hundred variations.

But today we focus on the sada (plain) Bombay vegetable sandwich.

Sandwichwallah

Sandwichwallah

Sandwich stalls are found all over the sidewalks of Bombay. All of them can produce a killer sada sandwich. All one needs really is a stand about two feet square. There was a sandwichwallah on my street growing up — G Road. Around seven in the evening there would be a flock around him. His hands would be moving rapidly. There are very few choices for the customers to make — more chutney or less, and that’s about it. Everyone went away happy with six neat squares on a sheet of newspaper.

This is a far cry from the way I imagine cucumber sandwiches were served during the British days, on gold-inlaid bone china. But they do say newspaper makes street food taste better. I can vouch for that. Buzzing flies help too.

Jay Sandwich Menu

Jay Sandwich Menu

In college, by great good luck, I ended up in a streetside sandwichwallah’s personal empire. Yes, technically, the college is an official building, and Jay sandwichwallah just occupies the sidewalk outside it; but sometimes it felt like Jay Sandwich Stall is the main feature, and they built the college around him.

His two-feet square stall has expanded to occupy the entire sidewalk. It has a shade and a counter for customers. It even has a marquee. He has an extensive menu, all based on the original sada sandwich. He has a staff. The stall has killer aphorisms posted all over it, like ‘Please Use Dustbin’ and ‘Sandwich in One Hand Money in the Other’.

JaySandwichMarquee

But it has no seating. You are not permitted to order from your car either. You stand in front, order, wait, take the sandwich and go.

He even has a fan club on Facebook. That is how you know he has arrived. And do you know how your humble blog, The Odd Pantry, has arrived? I have a field reporter! My intrepid reporter in the field, Lata Wadhwani, got the following recipe for me from the Man Himself.

Sada Vegetable Sandwich from Jay Sandwich Stall

Ingredients:

  • 2 slices white bread, store bought or use this recipe for my very own Wondrous Bread
  • 2 pats of butter, one for each slice
  • 1 – 2 tablespoons green mint chutney (modify my soap chutney this way to make Jay’s green chutney: 1/2 cup fresh mint, 1/2 cup green chilies, 1 cup cilantro, salt to taste).
  • 1 tablespoon tomato ketchup
  • About 10 slices thinly sliced cucumber
  • About 6 slices thinly sliced tomato
  • About 6 slices thinly sliced boiled potato
  • About 6 slices boiled and sliced beetroot (optional, I skipped this)
  • About 6 slices thinly sliced red onion (optional, I skipped this)
  • Salt
  • Pepper

Method:

In the grand tradition of cucumber sandwiches, lop off the crusts of the bread. I didn’t, but I tend to be iconoclastic.

Apply butter on one side of each slice. Apply green chutney on one slice and ketchup on the other; if you want it spicier, skip the ketchup and use green chutney on both slices. This is what I did.

IMG_0679 IMG_0681

I must mention — work rapidly with big, flat sharp knives to get into the spirit of it.

Lay the slices down. First layer the cucumber on, somewhat overlapping. Then salt that layer. Then lay down the tomato slices somewhat overlapping, and salt that layer as well. Then comes the potato. This time you should add salt and pepper as well, just because potatoes love pepper so much.

IMG_0683 IMG_0682 IMG_0684

If you like, add layers of onion and beetroot.

Now cover with the other slice. Press down firmly to get the sandwich to meld into one. Give it one cut vertically with a super sharp knife, and two cuts horizontally to make 6 little squares. Slide the squares onto a sheet of newsprint (or what the heck, use foil) and serve.

IMG_0685

Hand the customer the sandwich with one hand and take the money with the other.

A version of this recipe has earlier appeared in this book: The Lazy Gourmet, Magnificent Meals Made Easy, as ‘Bombay Sandwich’.

Solid citizen channa dal

IMG_0772

Channa dal is the dehusked, split version of the black chickpea or kala channa. Most people know chickpeas or garbanzo beans in their lighter, bigger form (and often from a can); this lighter chickpea (known as kabuli channa) is native to the middle east, and eaten all over India too.

The black chickpea on the other hand, looks like this:

Black chickpea

Black chickpea

It is known as kala channa, and is a smaller, darker chickpea that is native to India (strongly resisting the urge to make a racial joke here). Kala channa is eaten whole often and someday The Odd Pantry will delve into that. But get its wrinkled brown husk off, and split it into its two cotyledons, and you have yellow channa dal.

Channa dal

Channa dal

Among the dals, it is a mighty stubborn one and resists softening. It takes the longest soaking, and the longest cooking. Still, once you get there, the results are hard to beat.

I believe each dish must showcase the main ingredient’s essence; and since channa dal likes to keep its integrity, we will help it. What I mean by that is that we don’t cook it down to mush (as is the case with most split dals) but allow the channa dal to keep its shape. An initial saute step helps seal in the grain’s shape, so let’s get to it.

Solid citizen channa dal

Ingredients:

  • 3/4 cup channa dal, soaked for one to two hours
  • Half inch piece of ginger, minced
  • 1 – 4 serrano or bird’s eye or jalapeno chilies
  • Half a teaspoon turmeric powder
  • One teaspoon cumin seeds
  • Half a teaspoon of asafetida
  • Half a teaspoon of red chili powder
  • Dry mango powder (aamchur)
  • 2 tablespoons finely chopped cilantro
  • 2 tablespoons oil
  • 1 teaspoon salt or to taste

Method:

Once you have soaked the dal, its volume will have doubled. Drain it of the soaking water.

IMG_0756 IMG_0757

Heat half the oil in a thick-bottomed pot and when it shimmers, lightly saute the green chilies and ginger. Now put in the drained dal, and saute the grains on medium heat until the soaking water dries away; continue sauteing dal for another couple minutes or so. Now put in the turmeric and 2 cups water.

Bring to a boil with the lid off; once the water comes to a rolling boil and the foam subsides, lower the heat to a simmer, cover with a lid but leave a crack open for more foam to escape. The dal will take an hour and a half to soften.

Now add the salt and stir.

IMG_0769

Heat the remaining oil in a small thick-bottomed pan. When it shimmers, add the asafetida and red chili powder. When they foam, add the cumin seeds. They will sizzle in a minute or two. Turn off the heat, add the oil and spices to the dal and stir once more. Also stir in the dry mango powder and the cilantro, leaving some for garnish.

Before serving, garnish with the dry mango powder and the cilantro to smarten it up.  I like this dal with roti/chapati or pooris, with perhaps a dash of lime juice if you like.

Knock-your-socks-off Northern style coconut chutney

Coconuts

Coconuts

Coconut is a southern Indian ingredient, but adding some of it to this northern Indian style chutney is a fantastic idea.

It is a simple recipe that you can make by patching together a couple other recipes.

Break a coconut and collect about a sixth of the coconut’s white flesh. Chop it finely or grate it. This website has some really good tips for breaking coconuts and this website talks about how to pry out the flesh.

Make this cilantro chutney, using the following ingredients: cilantro, chilies, onion. Collect all those ingredients in a blender. To this, add 2 tablespoons of this tamarind chutney. To that, add the coconut. To that, add about a half teaspoon salt. Blend, blend, blend, push down with spatula, repeat until you have a chutney.

Coconut chutney northern style

Coconut chutney northern style

I tried a spoon of this to taste; and I had to hold on to the counter it was so good.

It would make a great accompaniment to dosas/idlis, spread on bread, with samosas; or a myriad other ways.

King Julienne

King Julien

King Julien

King Julien is a strange character in the Madagascar series of movies. The talented Sacha Baron Cohen does his voice, and gives him an Indian accent, even though he is a native of the Madagascar island. He is a fun-loving narcissist, a ring-tailed lemur who counts bush babies among his subjects.

Odd? Yes, he is very funny, and very odd, which makes him a good mascot for the odd pantry.

This recipe, which basically consists of a number of julienned vegetables (particularly cabbage) is in honor of King Julien. I guess since it features cabbage you could call it a coleslaw which derives from Dutch koolsla and basically means cabbage salad. The dressing here is not mayonnaise-based, which gives it a lot more sharpness than the usual coleslaw.

Oddly sharp coleslaw

Ingredients

  • A scant 4 cups of shredded purple cabbage
  • A scant 4 cups of shredded arugula, loosely packed
  • Half a cup of green beans, microwaved or blanched, and julliened
  • Half a cup of firm apple, julliened
  • 1 tablespoon pinenuts
  • 1 tablespoon julliened ginger (Optional. This makes it really sharp, and if you are into that, you will love it)
  • Salt to taste
  • Half a teaspoon crumbled oregano
  • 3 – 4 tablespoon extra virgin olive oil
  • 1 tablespoon red wine vinegar or balsamic vinegar

Method:

IMG_0692 IMG_0695 IMG_0700 IMG_0698 IMG_0697 IMG_0693

Collect all the vegetable ingredients, nicely julliened. Toss them around in a large salad bowl. Add pinenuts, salt and oregano and toss some more. Now add olive oil and the vinegar and toss yet again.

You can eat it right away but the flavor does develop a little more if you wait fifteen minutes or so.

And you know here is a new idea…try eating it with chopsticks. Failing that, use your fingers.

Oddly sharp coleslaw

Oddly sharp coleslaw

Taro the terrible escapes again

Taro chaat

Taro chaat

…with some excellent results. I have before made note of taro root‘s scruffy appearance and its delectable nature. In this appetizer from my Sindhi childhood, taro shines with a few well-chosen accompaniments. This dish can go as a side with any Indian meal, or have it in the evening during a chaat and tea session.

Taro chaat

Ingredients:

  • 2 or so medium-sized taro tubers
  • 4 tablespoons tamarind chutney
  • 1 tablespoon finely chopped onion
  • 1 tablespoon minced cilantro leaves
  • Quarter teaspoon salt
  • Quarter teaspoon red chili powder
  • Half a teaspoon cumin seeds

Method

Rinse the taro and microwave it for about 5 minutes. Now it will be softened inside. When it cools, peel it to reveal the creamy white flesh. Cube it into quarter-inch wide cubes and save in a bowl.

Put in the cilantro and onion. And one is supposed to ‘layer the salt’ so go ahead, add enough salt for this amount of ingredients and stir. This will be about a quarter of a teaspoon but use your judgment.

IMG_0805

Now put in the prepared tamarind chutney. Now. A slight digression about tamarind chutney is forthcoming.

You can make tamarind chutney the easy or hard way. The hard way uses the dried pods of tamarind, either peeled and made into a block, or the pods themselves. Either way this method requires a lot of soaking and squeezing with your fingers to get the pulp out. So I tend to use a shortcut method — tamarind paste is the one thing I do buy prepared from the store. I use tamarind paste, and this is a good recipe for tamarind chutney using the paste. If you want, you can add a couple dried dates, chopped fine.

Roast the cumin seeds in a hot, dry pan for a minute or two, till they turn a shade darker, and grind to a rough powder in a clean coffee grinder or a mortar and pestle.

Top the tamarind with the red chili powder, and the cumin powder, stir well, and you are done.

This makes enough for one person as a largish side, but is easily multiplied. Oh — and if you don’t possess tamarind or have a special hatred for it, you could substitute with a similar amount of lime juice.

10 kitchen products you do not need

I have had occasion before to comment on the American marketing prowess. I stand in awe of it. I believe that they could sell arugula to a wolf or a pashmina shawl to a sheep. And if the sale seemed iffy at all, they would wrap the product in sepia-toned crepe with a ribbon made of straw, slap an organic label on, and watch the customers fall over themselves trying to get at it.

Some American marketing geniuses

American marketing geniuses

But sometimes, my friends, they go too far. Just a tad too far. A lemon zester? A bagel slicer? Wait — a bagel slicer that isn’t just a good solid serrated-edge knife?

Here are some kitchen products that you Do Not Need. You should run out and not buy these right away. I am doing this as a public service, even though, you realize, my future advertising cash-flow is taking a big hit with this post.

Apple corer/peeler

AppleCorere Applepeeler

Here are some facts that ought to raise doubts in the minds of the apple-corer constituency:

  1. Not all apples are the same size; ergo, not all apple cores are the same size.
  2. Apple cores do not take up the exact middle cylinder of the apple, no matter what size they are, in fact the core is in a rough sphere in the center of the apple. Which means that the corer is either wasting a lot of apple or not getting all the core.
  3. Apples will often have some brown spots, which means you will be reaching for the dreaded paring knife anyway.
  4. The corer cuts through the plastic skin in a perpendicular direction, which dulls the blade. If you use a paring knife, you will notice that you use the point to first pierce the skin, which is way better.
  5. They already make peelers that work for apples, cucumbers, potatoes, what-have-you, and will also shave off parmesan flakes. Meanwhile apple-peelers will only peel apples. Unless you are a maggot you do not eat that many apples. Plus, you should be eating the peel anyway.

Corn cob holder

CornCobHolders

I don’t actually deny that everyone should own a good pair of corn cob holders; otherwise, how would you hold corn-on-the-cob? It’s just that I own a good pair already, and so do most of you.

Corn cob holders

My corn cob holders

Bread machine

BreadMaker

The greatest trick the Devil ever pulled was to make Americans believe that bread-making needs a specialized appliance (other than an oven). Here’s what you basically do. Mix flour, water and yeast. Work off your aggression on the mixture by punching it into a dough. Wait. Roll into loaf shape. Wait. Bake. Basically, that is it. The only machine in this scenario is the Machine that is making you buy this stuff.

The other secret about bread is — it is very forgiving. You may be a complete novice and make seventeen basic mistakes, but you will get good serviceable bread.

Bisquick

Bisquick

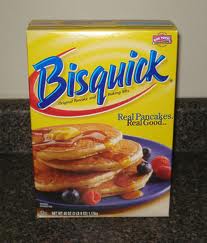
Look, if there was a powder that you mix with water and cook, presto, pancakes, I would get it. I still would not purchase it, but I would understand it. But that is not what Bisquick is. You still need to add eggs, milk or buttermilk. You still need to mix a batter and remove most lumps. So why are you using Bisquick? Why aren’t you using flour? This is a mystery.

Self-rising flour

SelfRising

It’s not that self-rising flour will not rise. All it is is flour with baking powder and salt added to it. But therein lies the problem. How do you know how much baking powder? How much salt? What if the recipe suggests a different amount of baking powder? Or if it wants baking soda instead? Or if it wants no salt, or more salt? You are out-of-luck. You would have to have a set of chosen recipes that you make with self-rising flour and stick with only those. Possibly each bag of self-rising flour comes with a booklet of recipes you can make with it. Why would you cede so much control to your bag of flour? What are you really saving — moving your arm to the pantry and back to the mixing bowl twice?

Lemon zester

LemonZester

I love lemon zest. Theoretically anything that claims to zest lemons should have my full endorsement. Here is why it doesn’t. The standard ‘lemon zester’ tool requires you to apply pressure to a lemon at a very awkward angle. Your thumb is stretched out. You are pressing down with the rest of your hand guiding it around the curve of the lemon. This is not ergonomic.

Then you find that the zest it is able to collect is a mere pittance and it is mostly crushed.

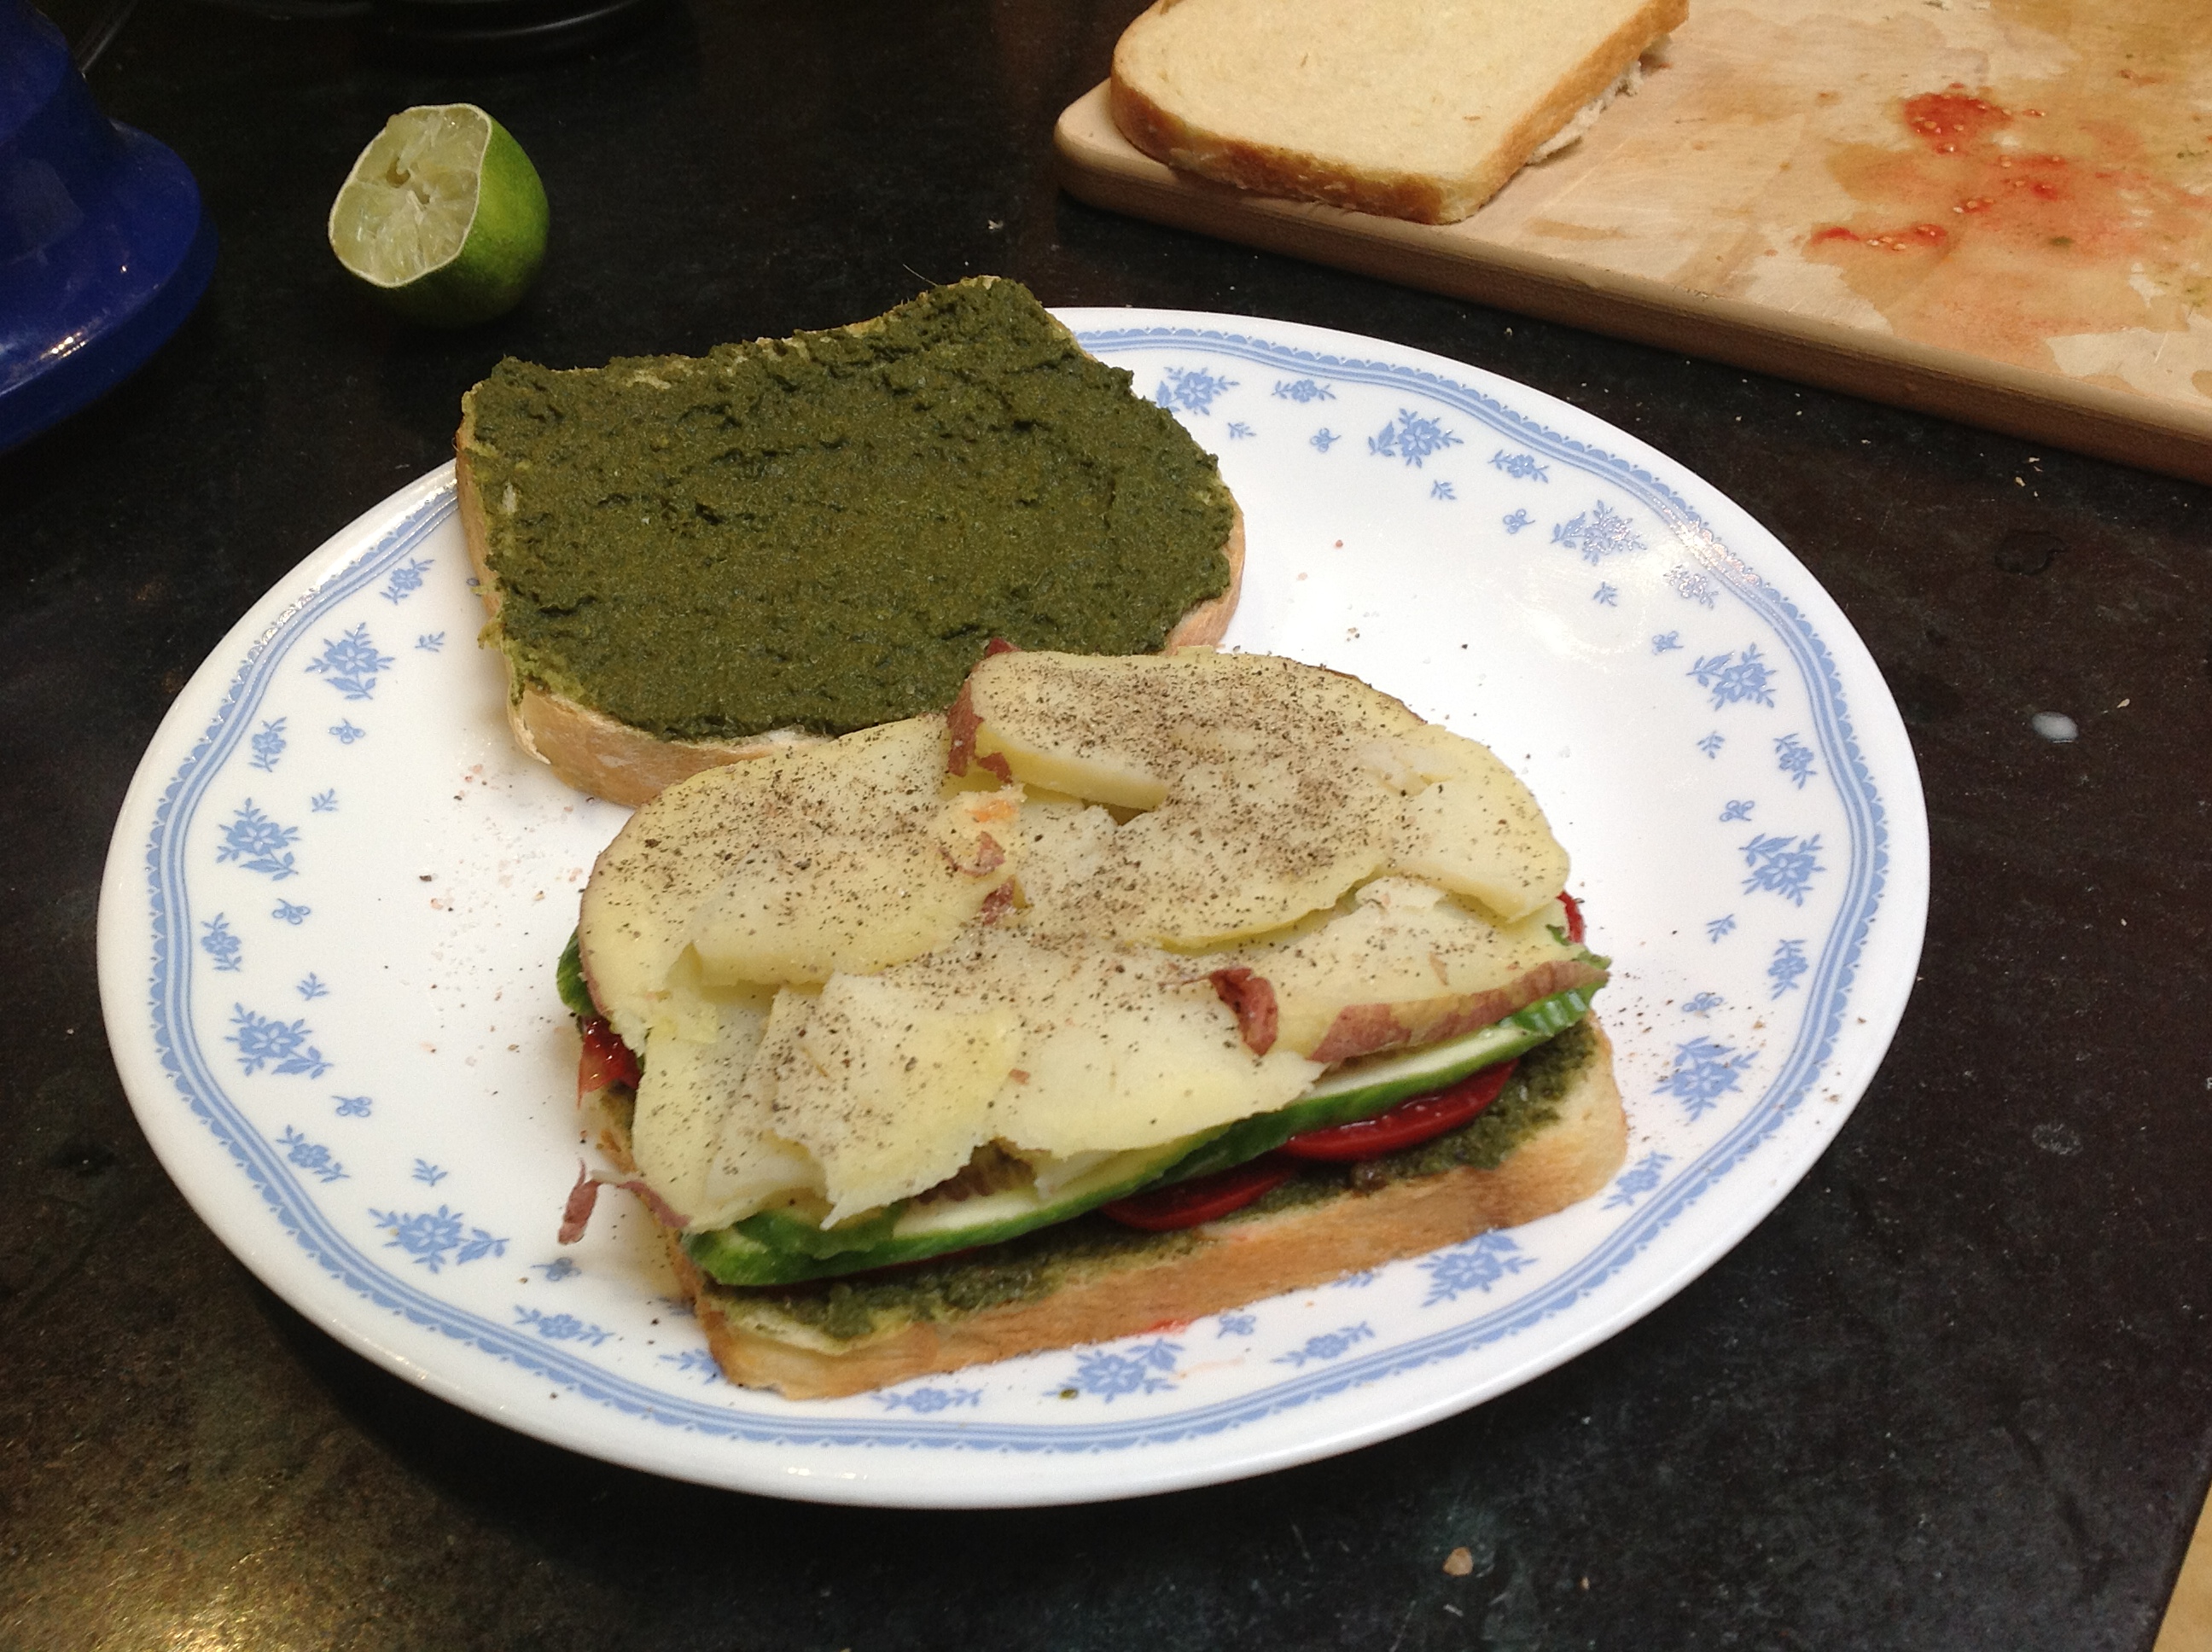
Here is a better way to do it. If you want nice long yellow sheets of zest, you use your trusty vegetable peeler. If on the other hand you want thin shavings, you use a microplane rasp grater. Both of these are true workhorses in the kitchen and I heartily endorse them.

Yogurt Maker

Yogurt maker

You need 4 things to make yogurt: milk; a spoonful of old yogurt; room temperature; time. The last two are free, the third-to-last is almost free. You only need to pay for milk. Hence: yogurt maker.

Bagel Slicer

BagelSlicer

Close your eyes and imagine yourself slicing bread. What do you see? There’s you standing at the kitchen counter. There’s your loaf of bread. A knife in your hand. Yes. The knife is moving. Yes, yes! The knife is slicing the bread. Yes indeed, yes…now. Which way is the knife moving? If you said back-and-forth, you are right. If you said straight down, you are wrong.

This is the thing. Push cuts and straight edge knives do not work well with bread. Slicing cuts (back-and-forth) with serrated edge knives do. The reason for this is two-fold. One, the crust of the bread is often hard, or, in case of the bagel, it might be glazed. You need the slicing action of the serrated edge knife to break through the crust. Two, the interior of the bread is usually soft. Push cuts tend to make the soft thing squish down instead of cut through.

Now the whole idea of the bagel slicer is centered around doing one big push cut through the middle of the bagel. You are not so much slicing the bagel as beating it into submission. What did the bagel ever do to you?

Jar Opener

JarOpener

Next time you get some produce wrapped in thick rubber band, save it on a door knob. Then when you have a recalcitrant lid on a jar, wrap it around the lid and tug — it will open.

Spoon rests that look like big spoons

SpoonRest

I’m not just being dyspeptic here, people. I get that spoon rests that look like spoons are cute. But a thing has to be good at what it is supposed to do, first, then take on any attempts at being cute while doing it. You wouldn’t think much of a coat-hanger that looked very cutely like a coat itself, while only managing to hang on to a single sleeve of the coat.

So what is my problem with spoon rests? They can just handle one spoon at a time! I usually have two pots going, possibly rice and maybe another main dish — so that is two big stirring spoons. Plus you might have a couple teaspoons you use for tasting, or a tablespoon you use to put soy sauce in, and might want to reuse. Plus you might want a waste area to perhaps pick out a bone from a fish, or whole cloves from the dish before serving. All that the ‘cute’ spoon rest gives you is room for ONE super special spoon.

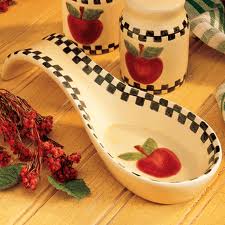
What you really need is a spoon rest for an array of spoons. Absent any attempt by the kitchen industry to think through this problem at all, I’ve had to improvise. I personally use sushi serving platters laid horizontally to bear my array of spoons. These are decorative and you can have fun selecting them too.

Why horizontal? Because if you think about it, it is only the bowl part of the spoon that is covered in food an needs to be kept off the counter, the handle is perfectly clean and can be laid on the counter itself. One sushi serving platter can hold at least four messy spoons laid side-by-side. Problem solved.

Sushi serving platter as spoon rest

Sushi serving platter as spoon rest