Sambal Hebi
The other day I was doing my favorite thing — making a hot sauce, in preparation for doing my other favorite thing — eating a meal with a hot sauce. And I started to think upon the unity of all humanity. While I have been known to have the occasional Deep Thought, I usually need some prodding to produce one. The prodding that produced this particular Deep Thought was the following.
Over the course of the past couple months I had occasion to make a few hot sauces. These were from different cuisines: we made burritos at home, so I made a Mexican hot sauce once; another time, for dosas, I made a tomato chutney; and then the other day, experimenting with Malaysian food, I tried making a chili paste called Sambal Hebi. I seem to be doing the same thing over and over, I thought. With just a couple twists each time to add some local flavor.

Tomato chutney
Well, given that they all use dried red chilies for heat, and perhaps some garlic or onions as aromatics, there certainly is commonality. Humans from these three rather disparate regions of the world really do seem to think alike — perhaps we are all the same under the skin?
So here is my global hot sauce template; if you are able to adapt this method to yet another hot sauce from another cuisine I’d love to hear about it.
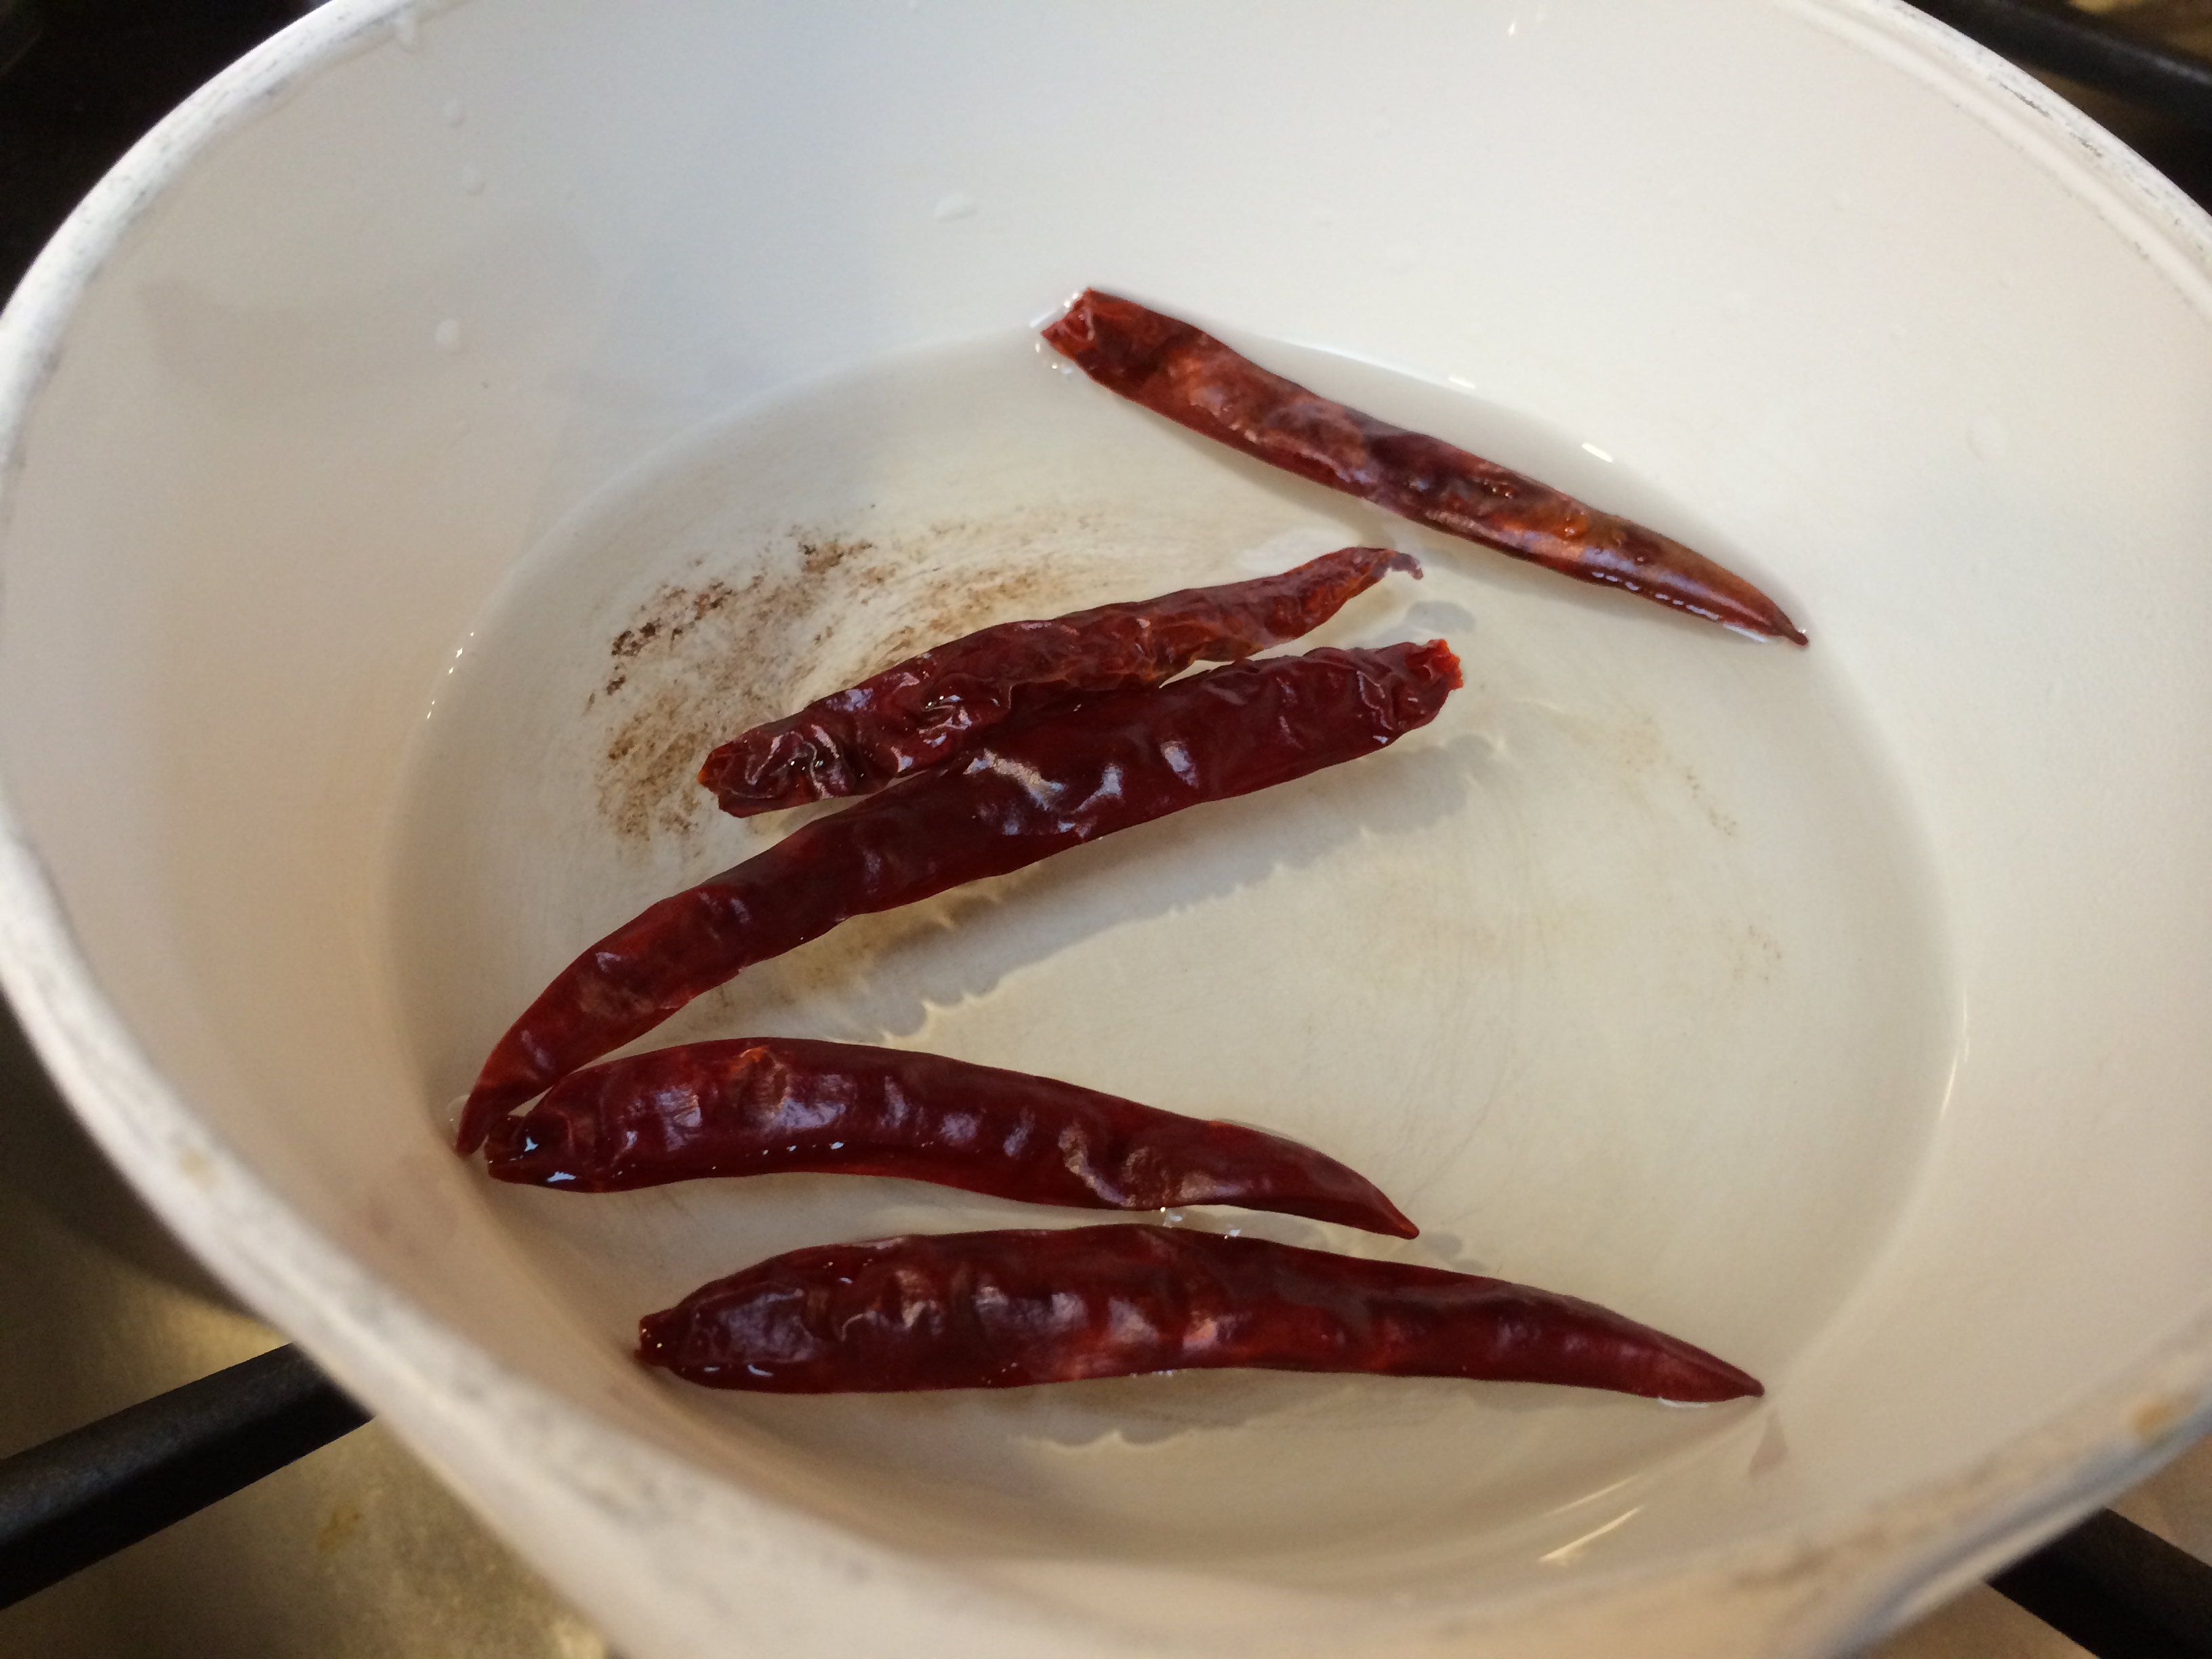
Step 1: Soak the dried chilies in hot water.
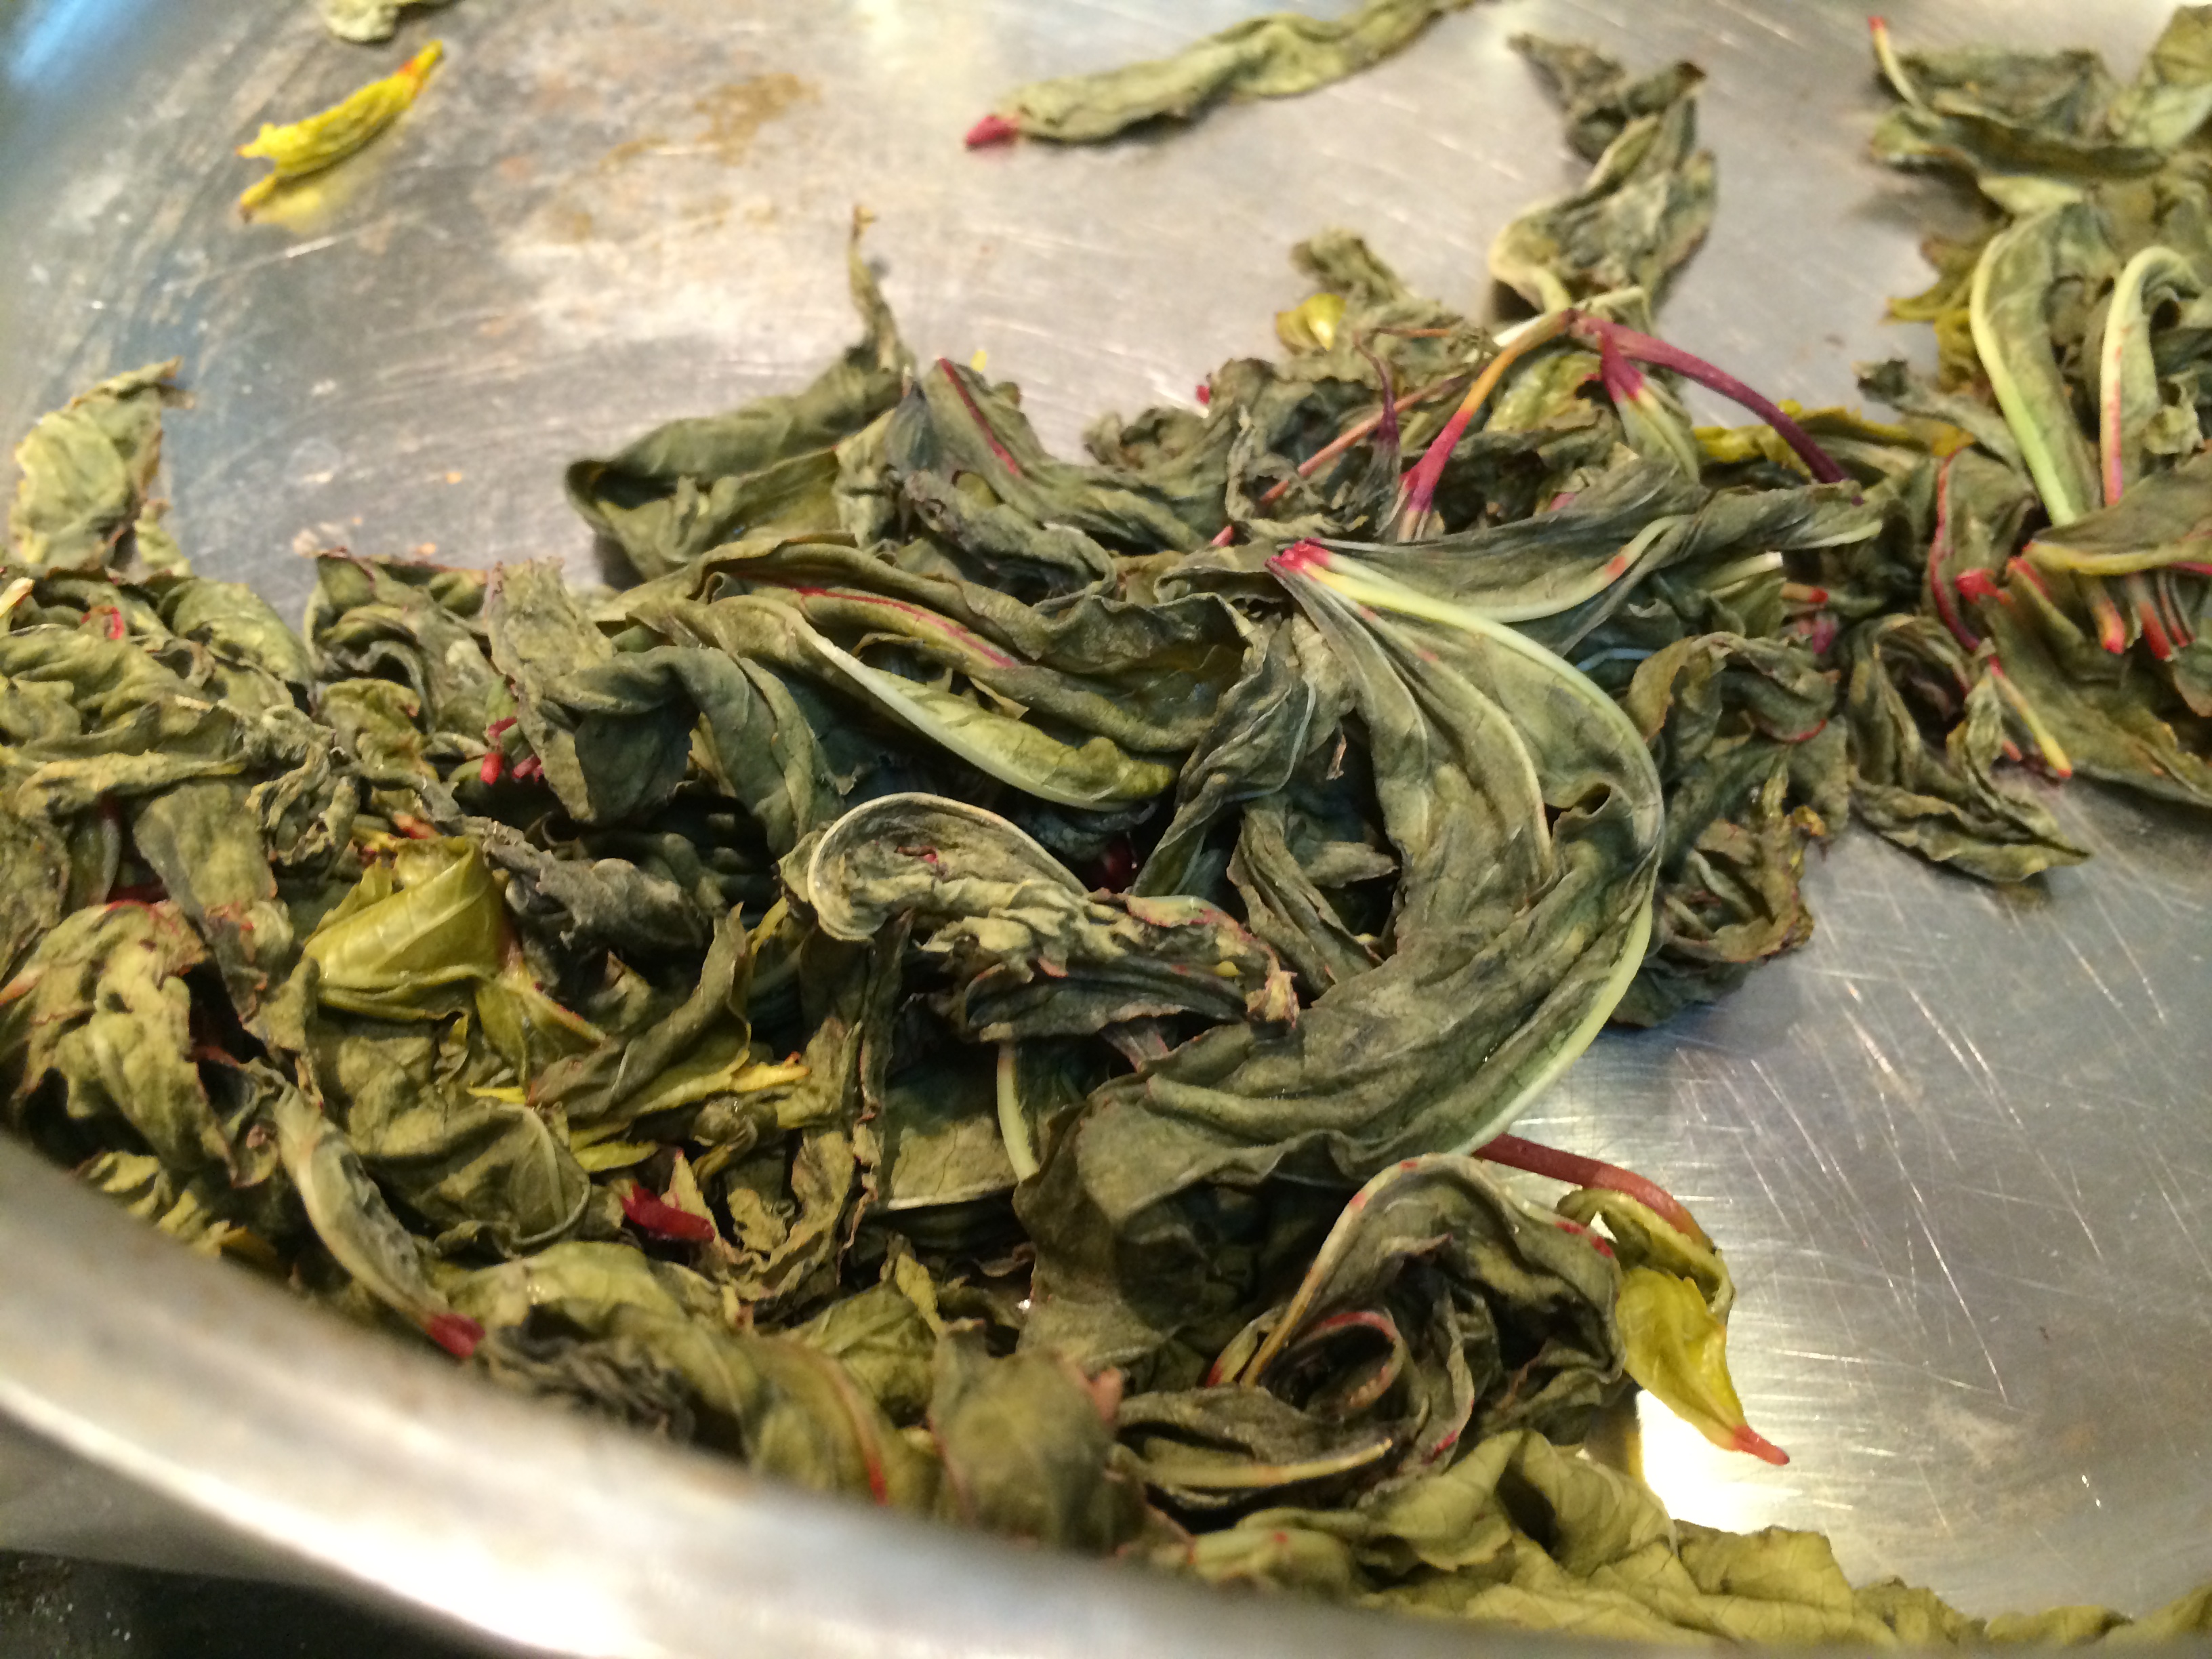
Same for all the hot sauces. Choose a mix of large, not-so-hot dried red chilies, and small, hot dried red chilies, according to your heat tolerance. Bring a cup of water to a boil and soak chilies in it until softened, about 15 minutes. Pull off the stem and remove seeds and ribs if you like. They are ready for the sauce.

Soaking dried red chilies
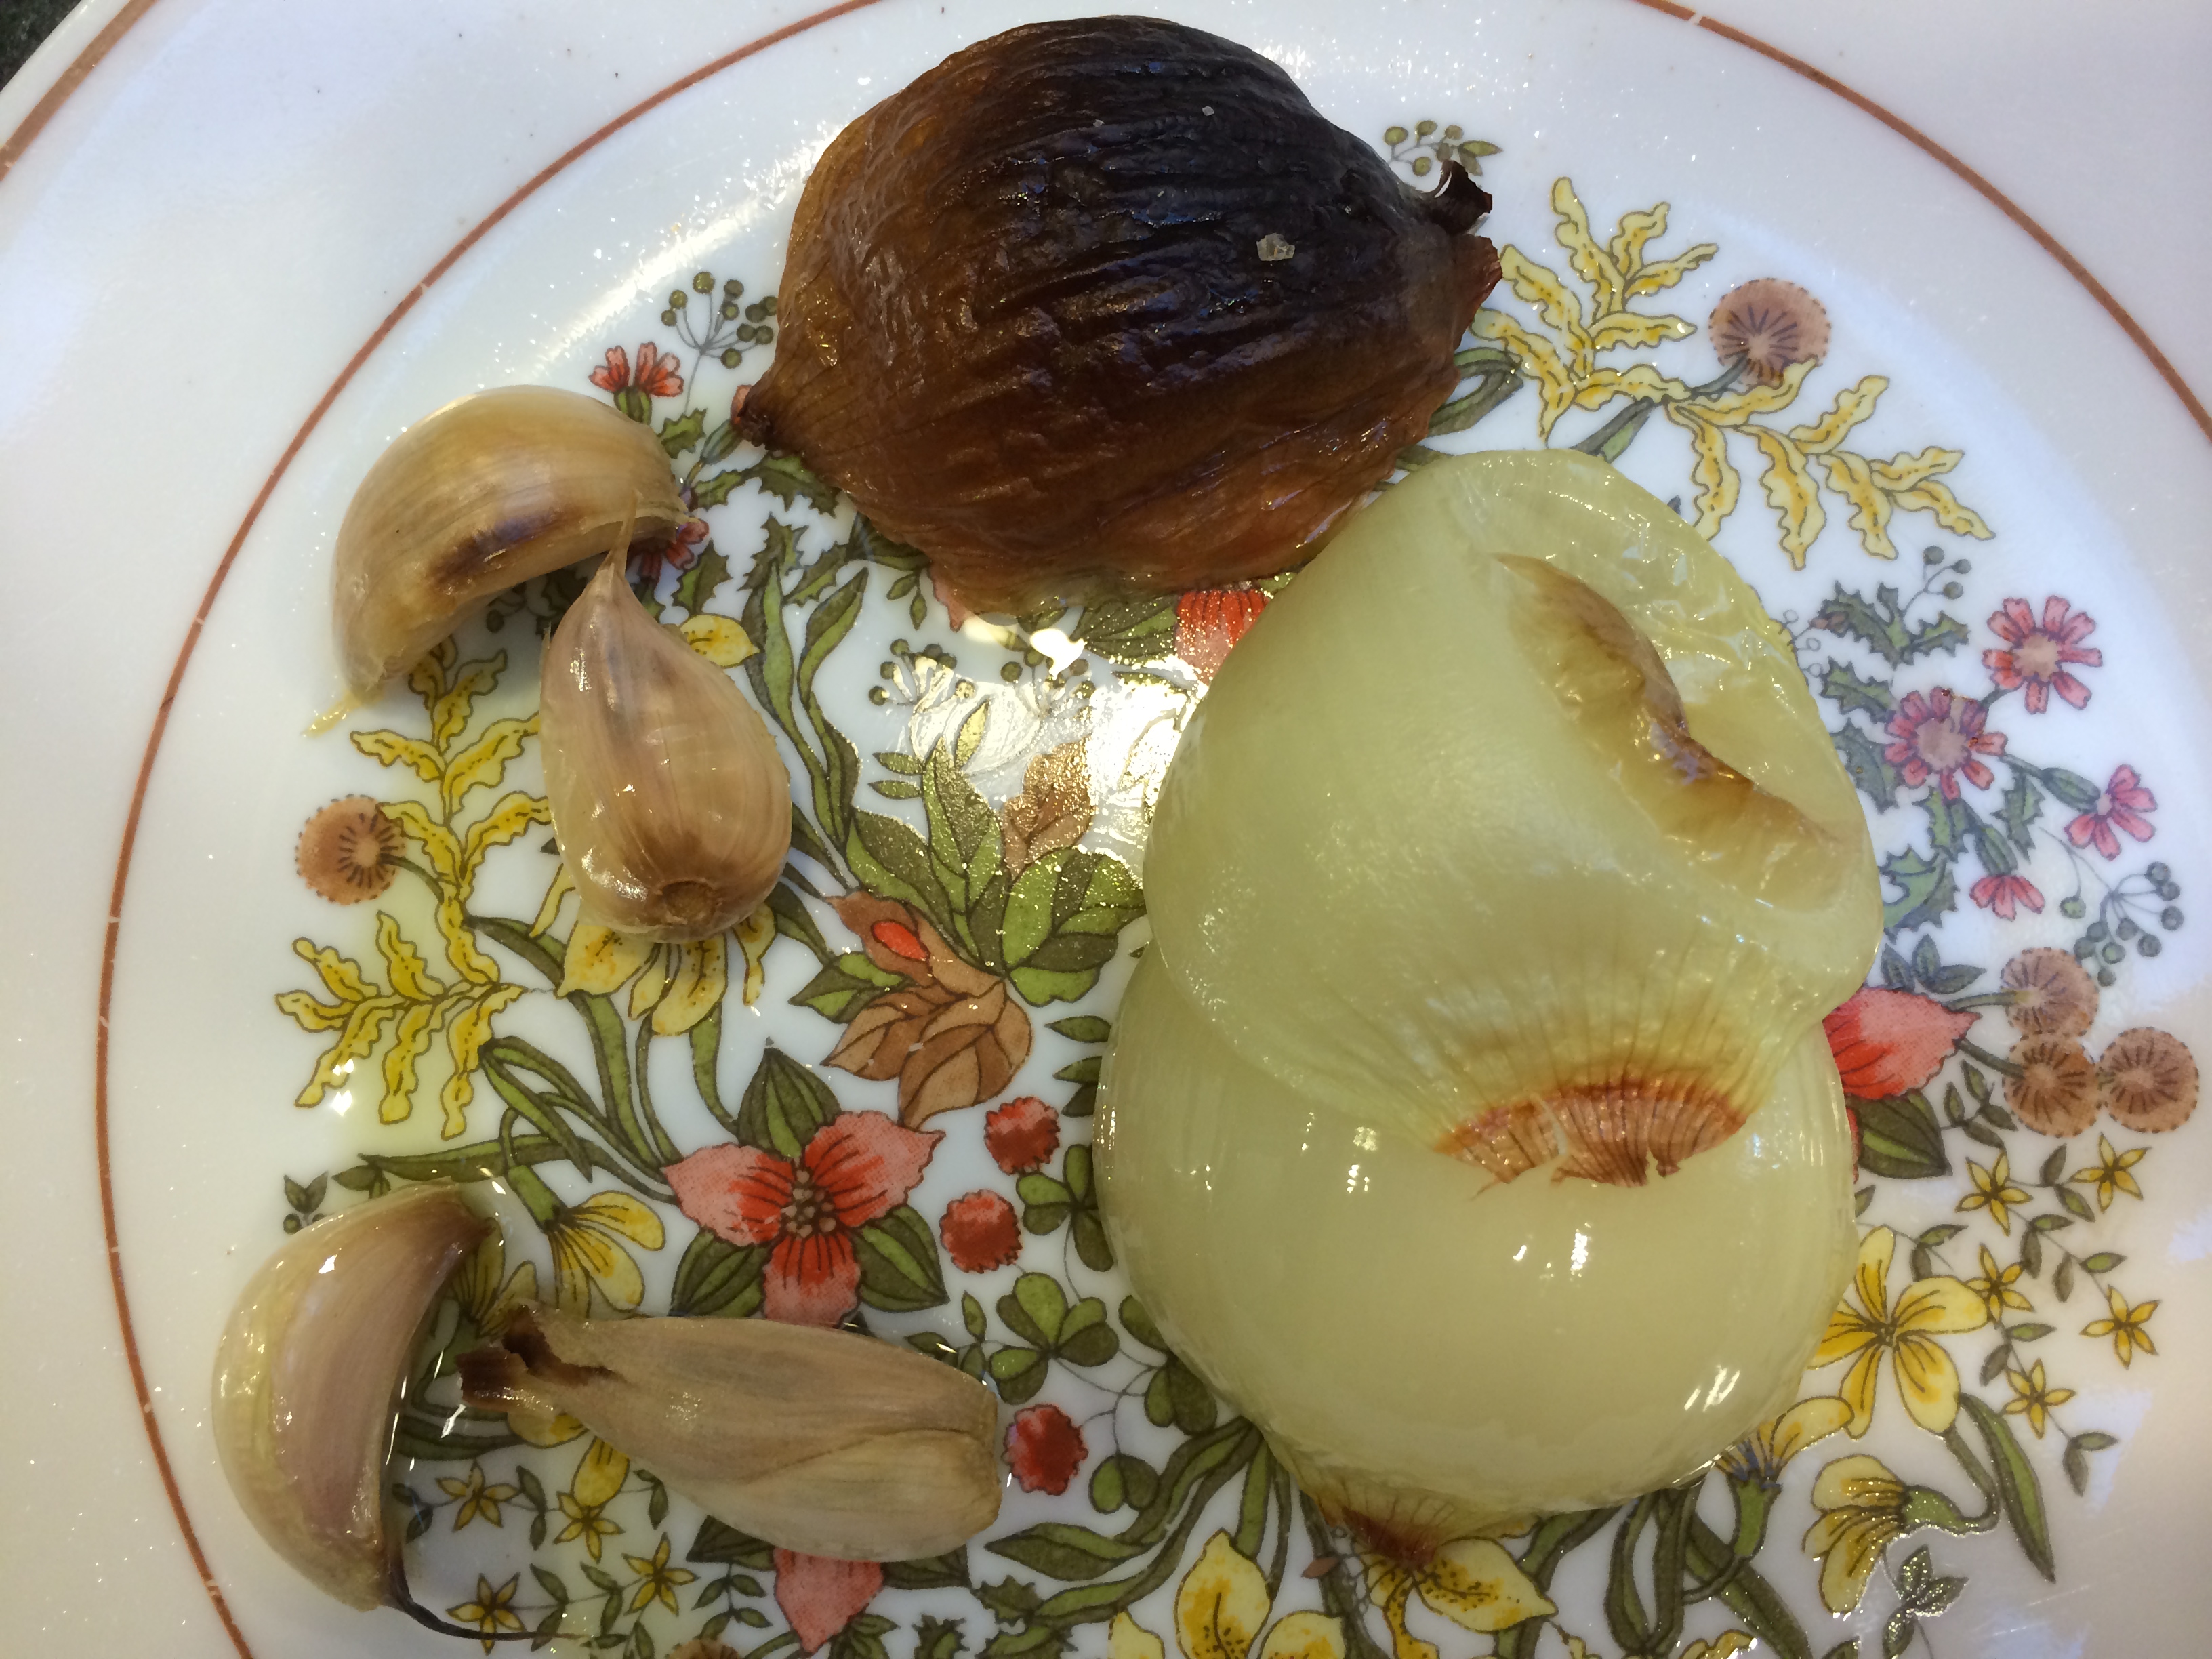
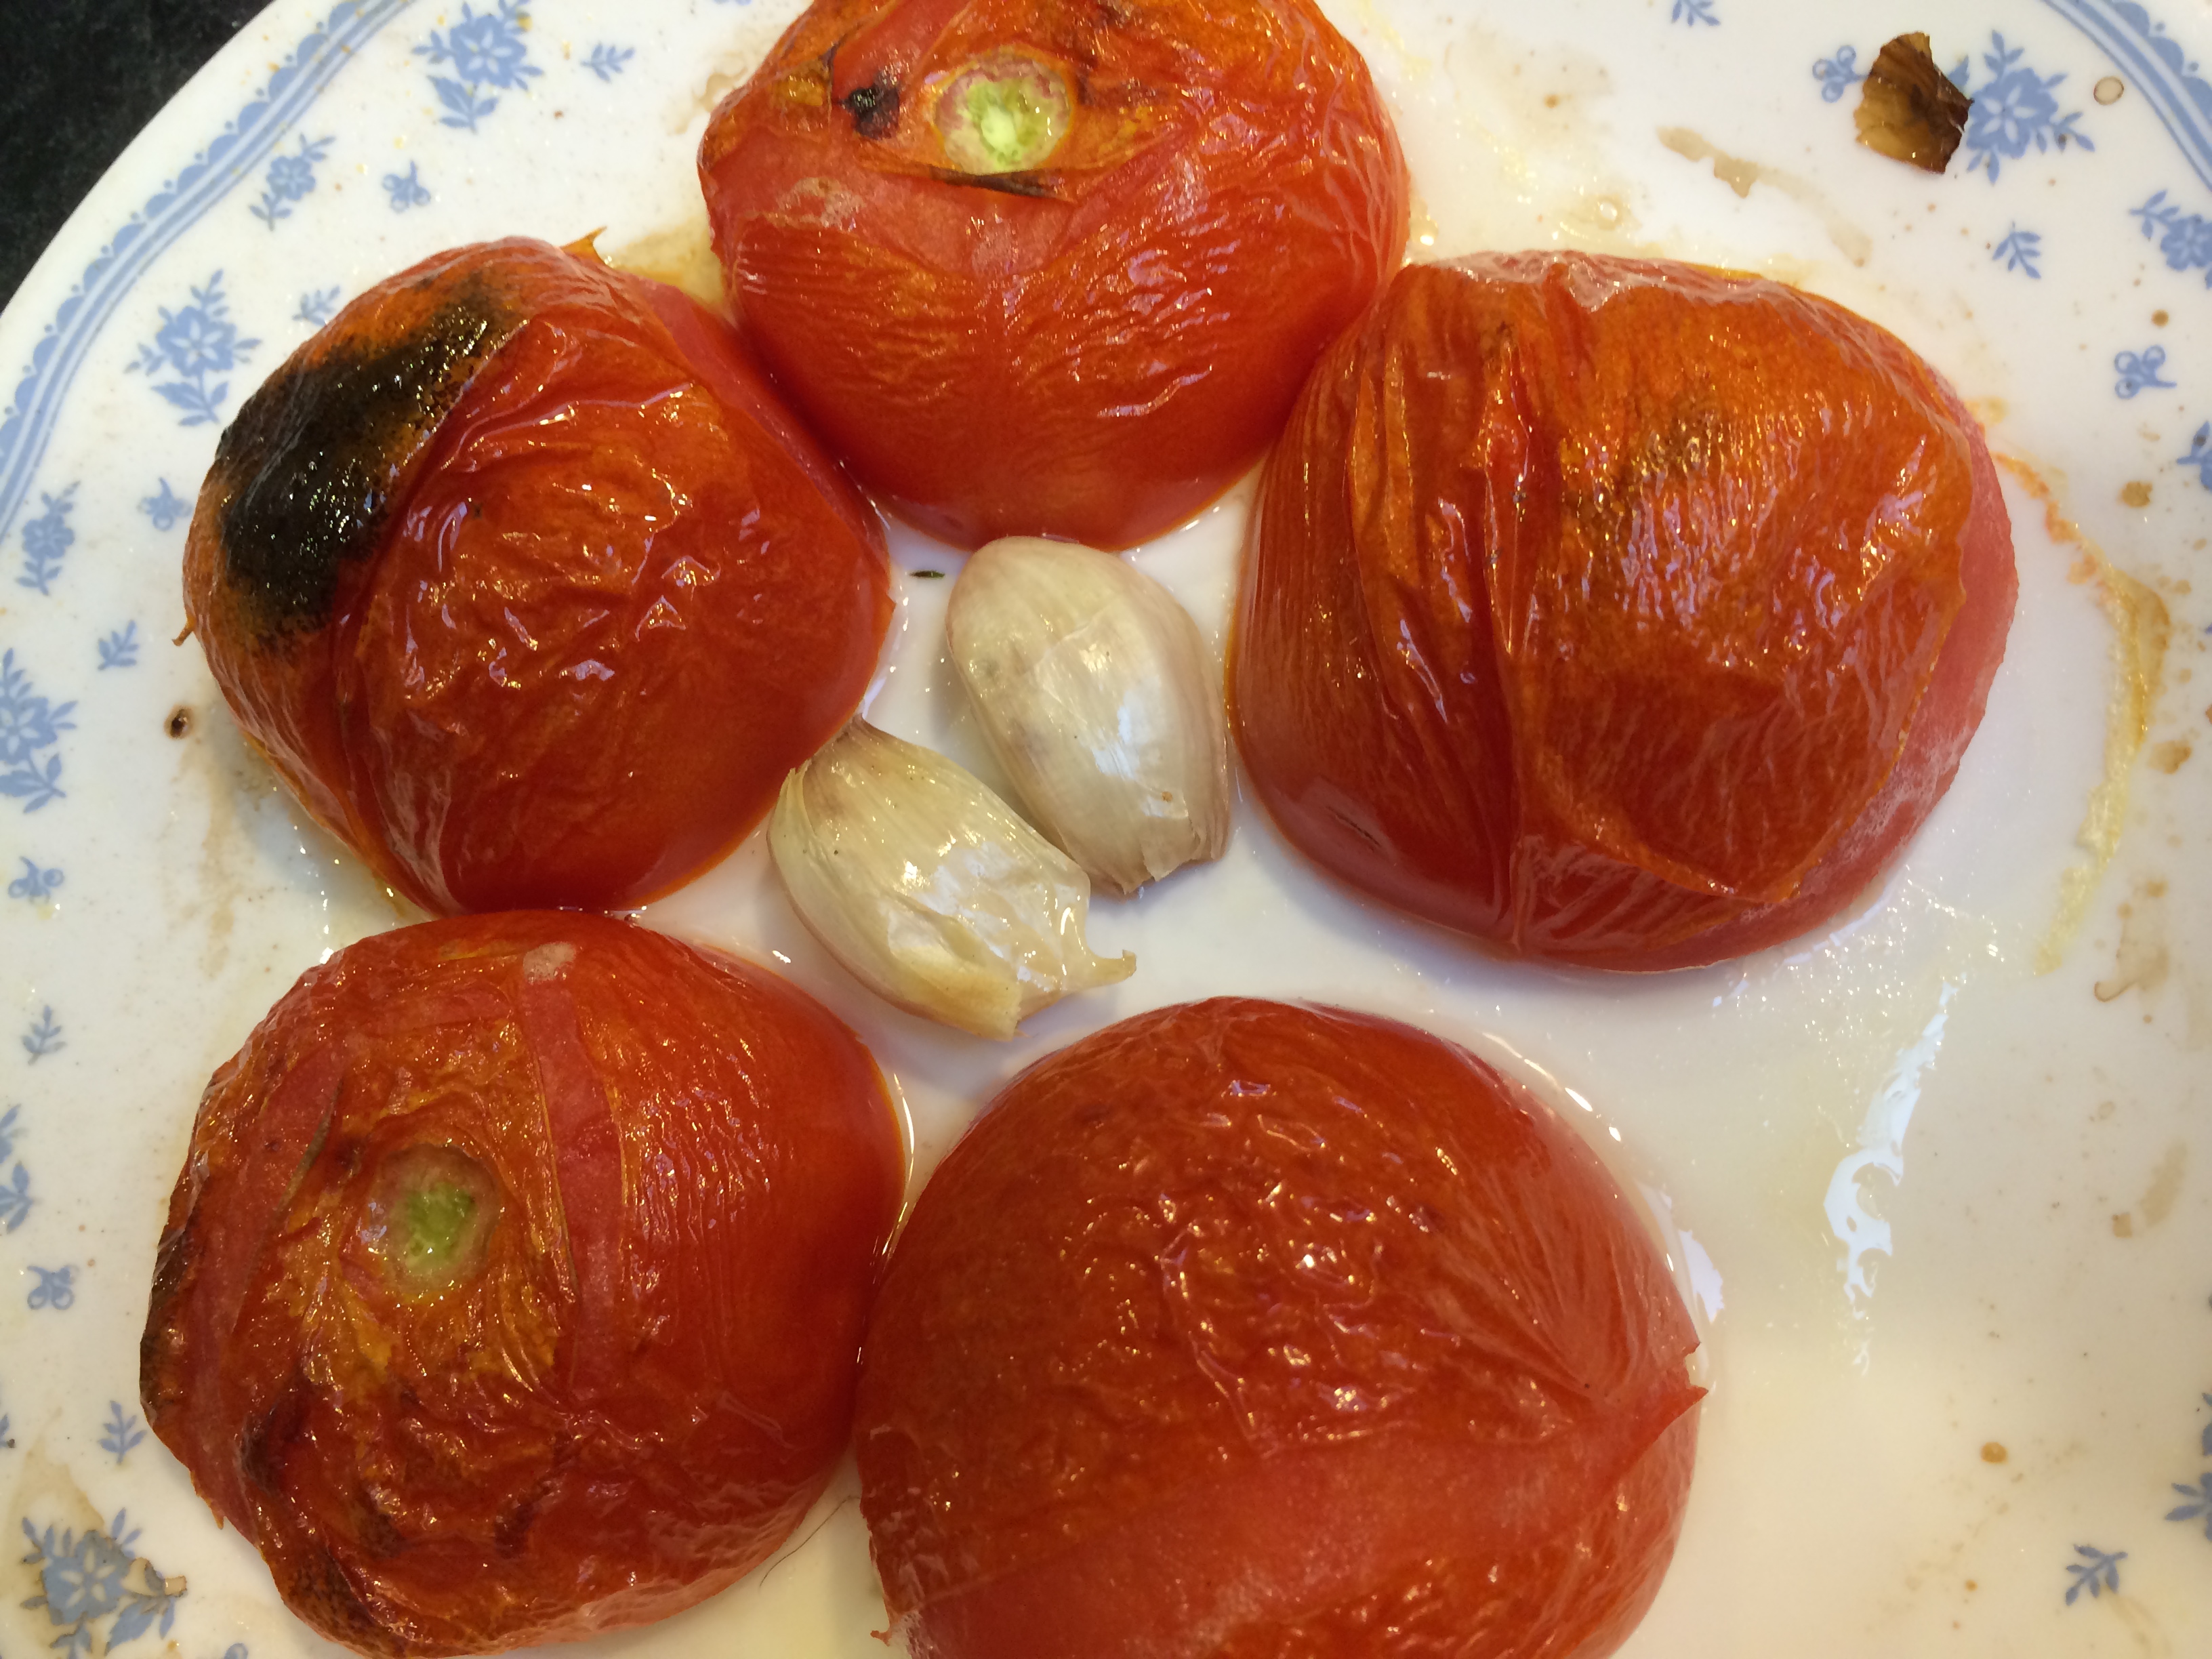
Step 2: Broil the vegetables.
Mexican hot sauce: I used half an onion, 3-4 cloves garlic, 3 tomatoes, halved. South Indian tomato chutney: I used 2 cloves garlic, 3 tomatoes, halved. Malaysian sambal: I used half an onion, 3-4 cloves garlic.
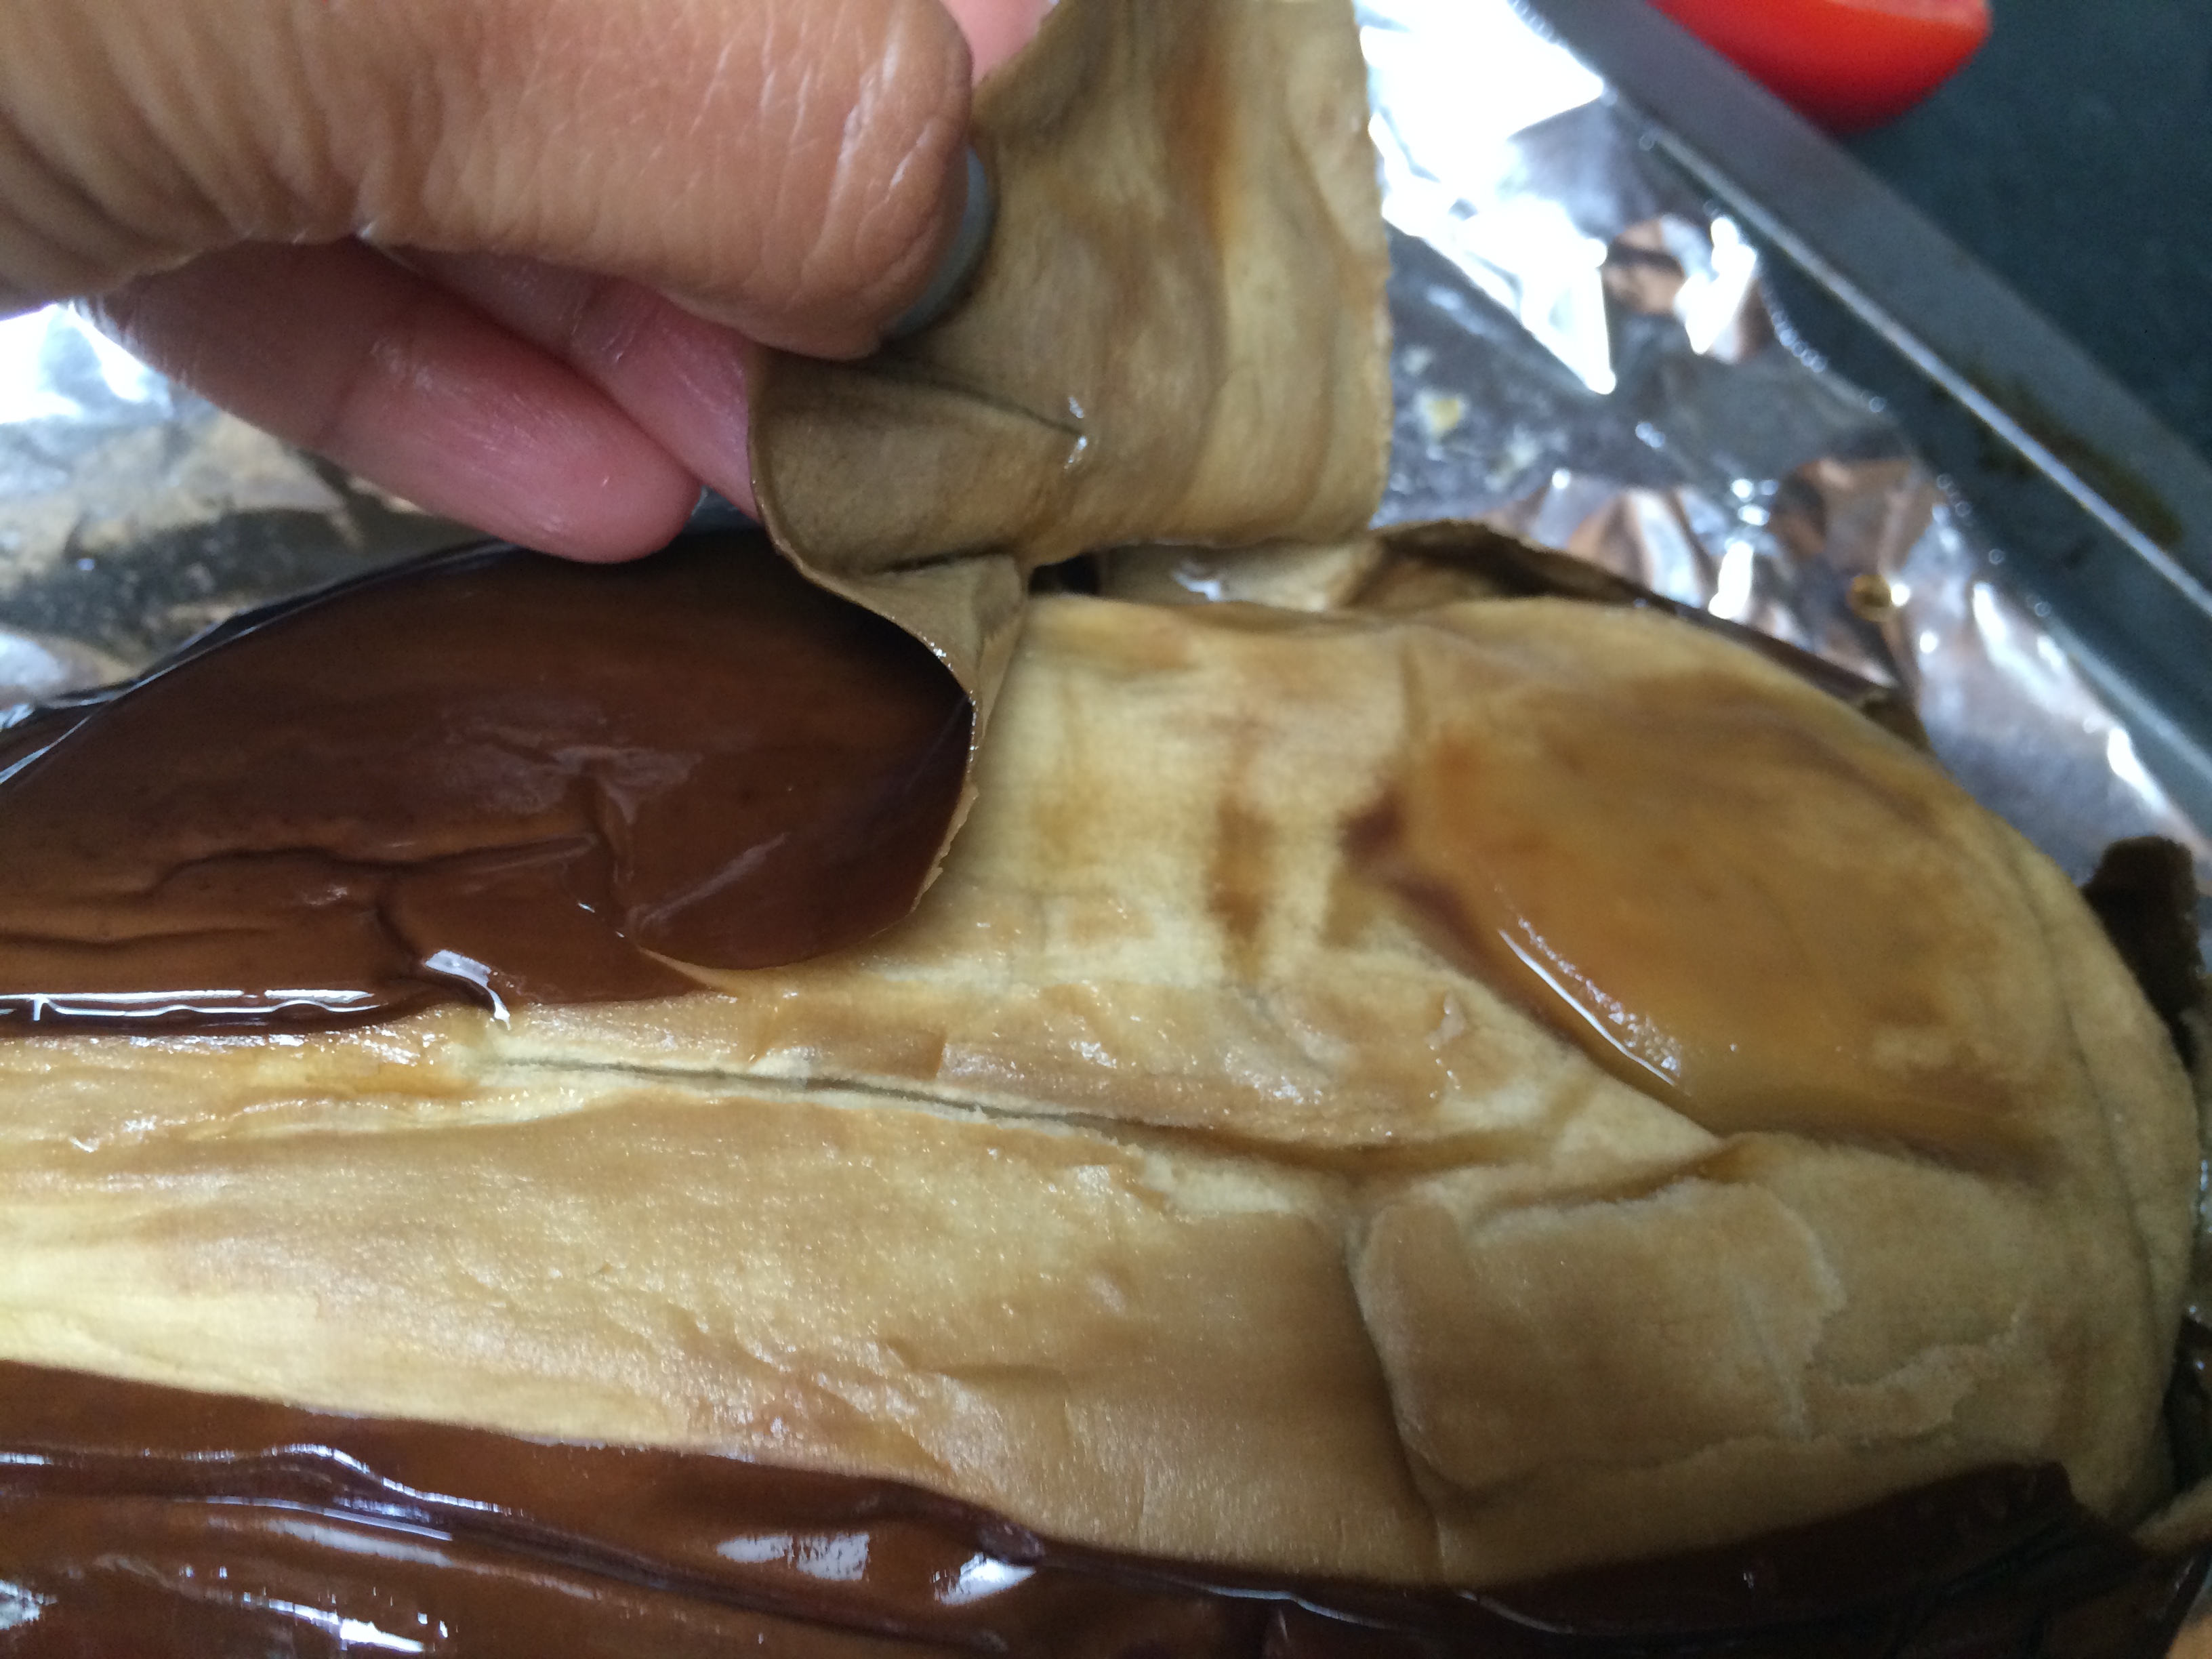
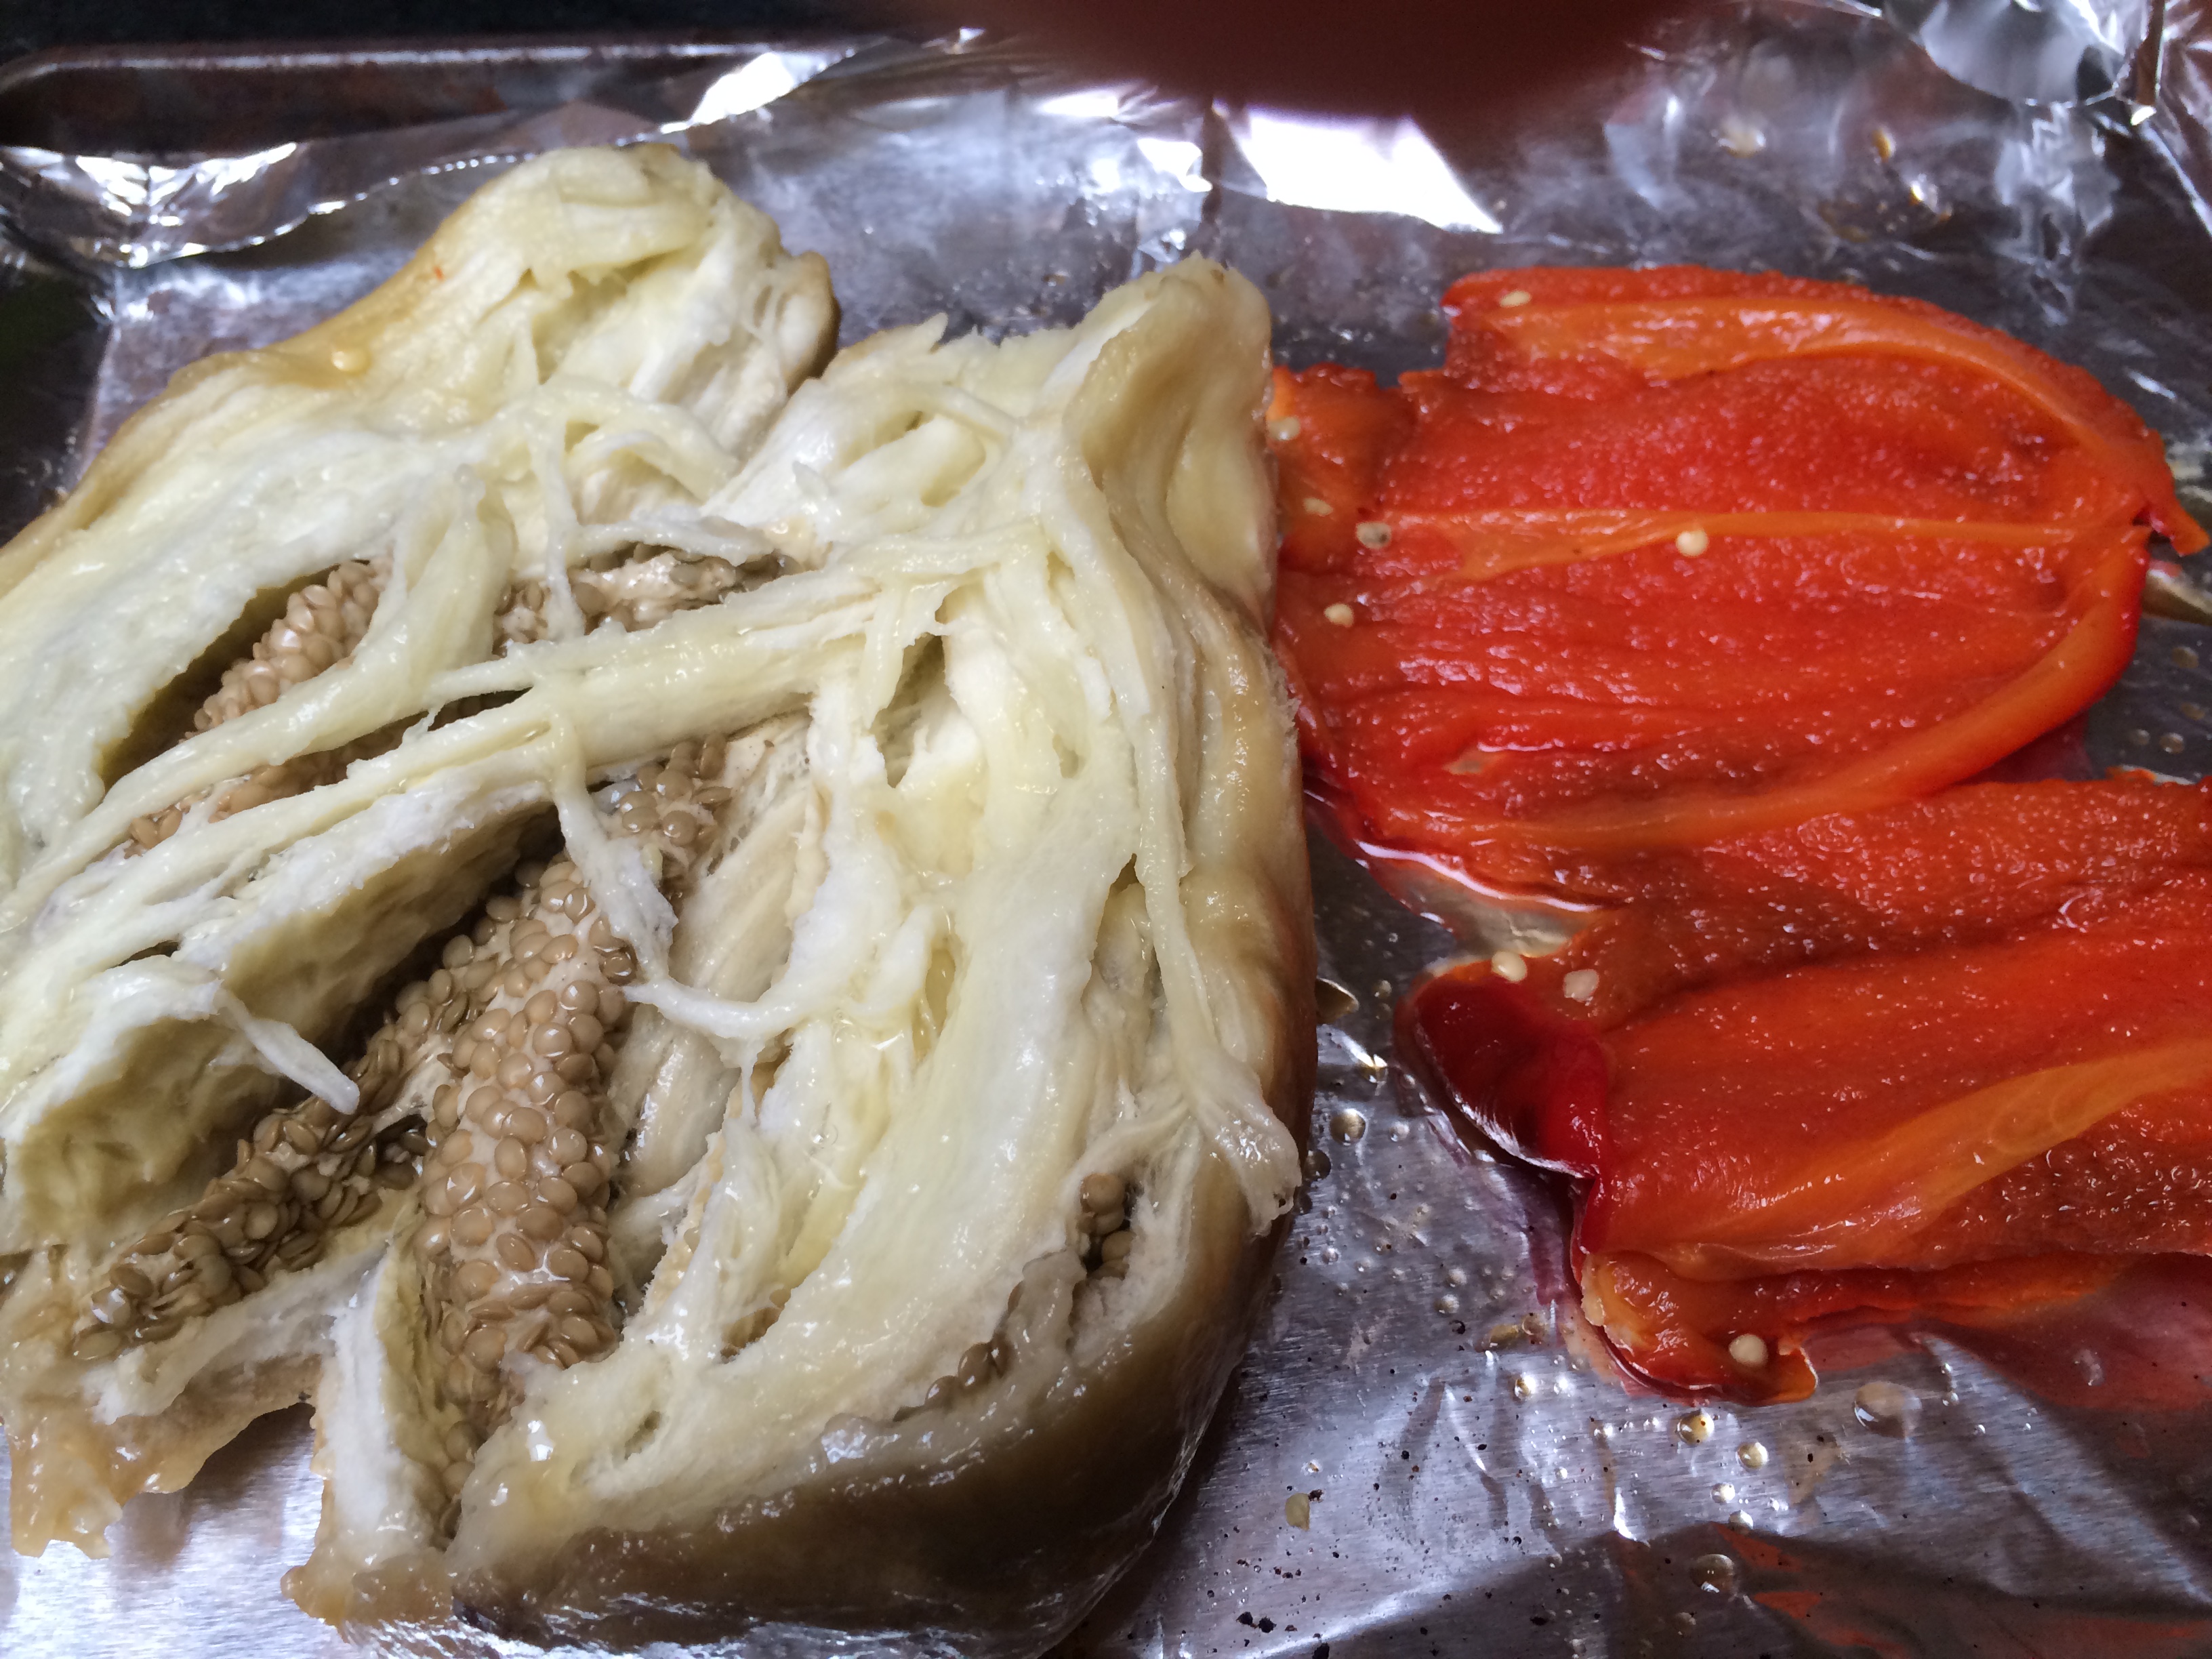
Leave the garlic, onion, tomato unpeeled. Rub some oil over and broil for about 6 minutes. At this point, the papery skin of garlic/onion will have darkened, and the tomato skin can simply be peeled off.

Broiling onion and garlic for Sambal

Broiling tomato and garlic for tomato chutney
Step 3: Blender
Vegetables and softened chilies go into the blender together. Along with salt to taste. If you need liquid to make the blender happy, pour in some of the oil and collected juices from broiling the vegetables; if you need more, add some of the chili soaking liquid.
Step 4: Cook
Empty out the blended hot sauce into a pot and bring to a boil. Then simmer. It only needs to cook for a few minutes. The color will change. Give it a preliminary taste to make sure the salt is right.

Tomato chutney on stovetop
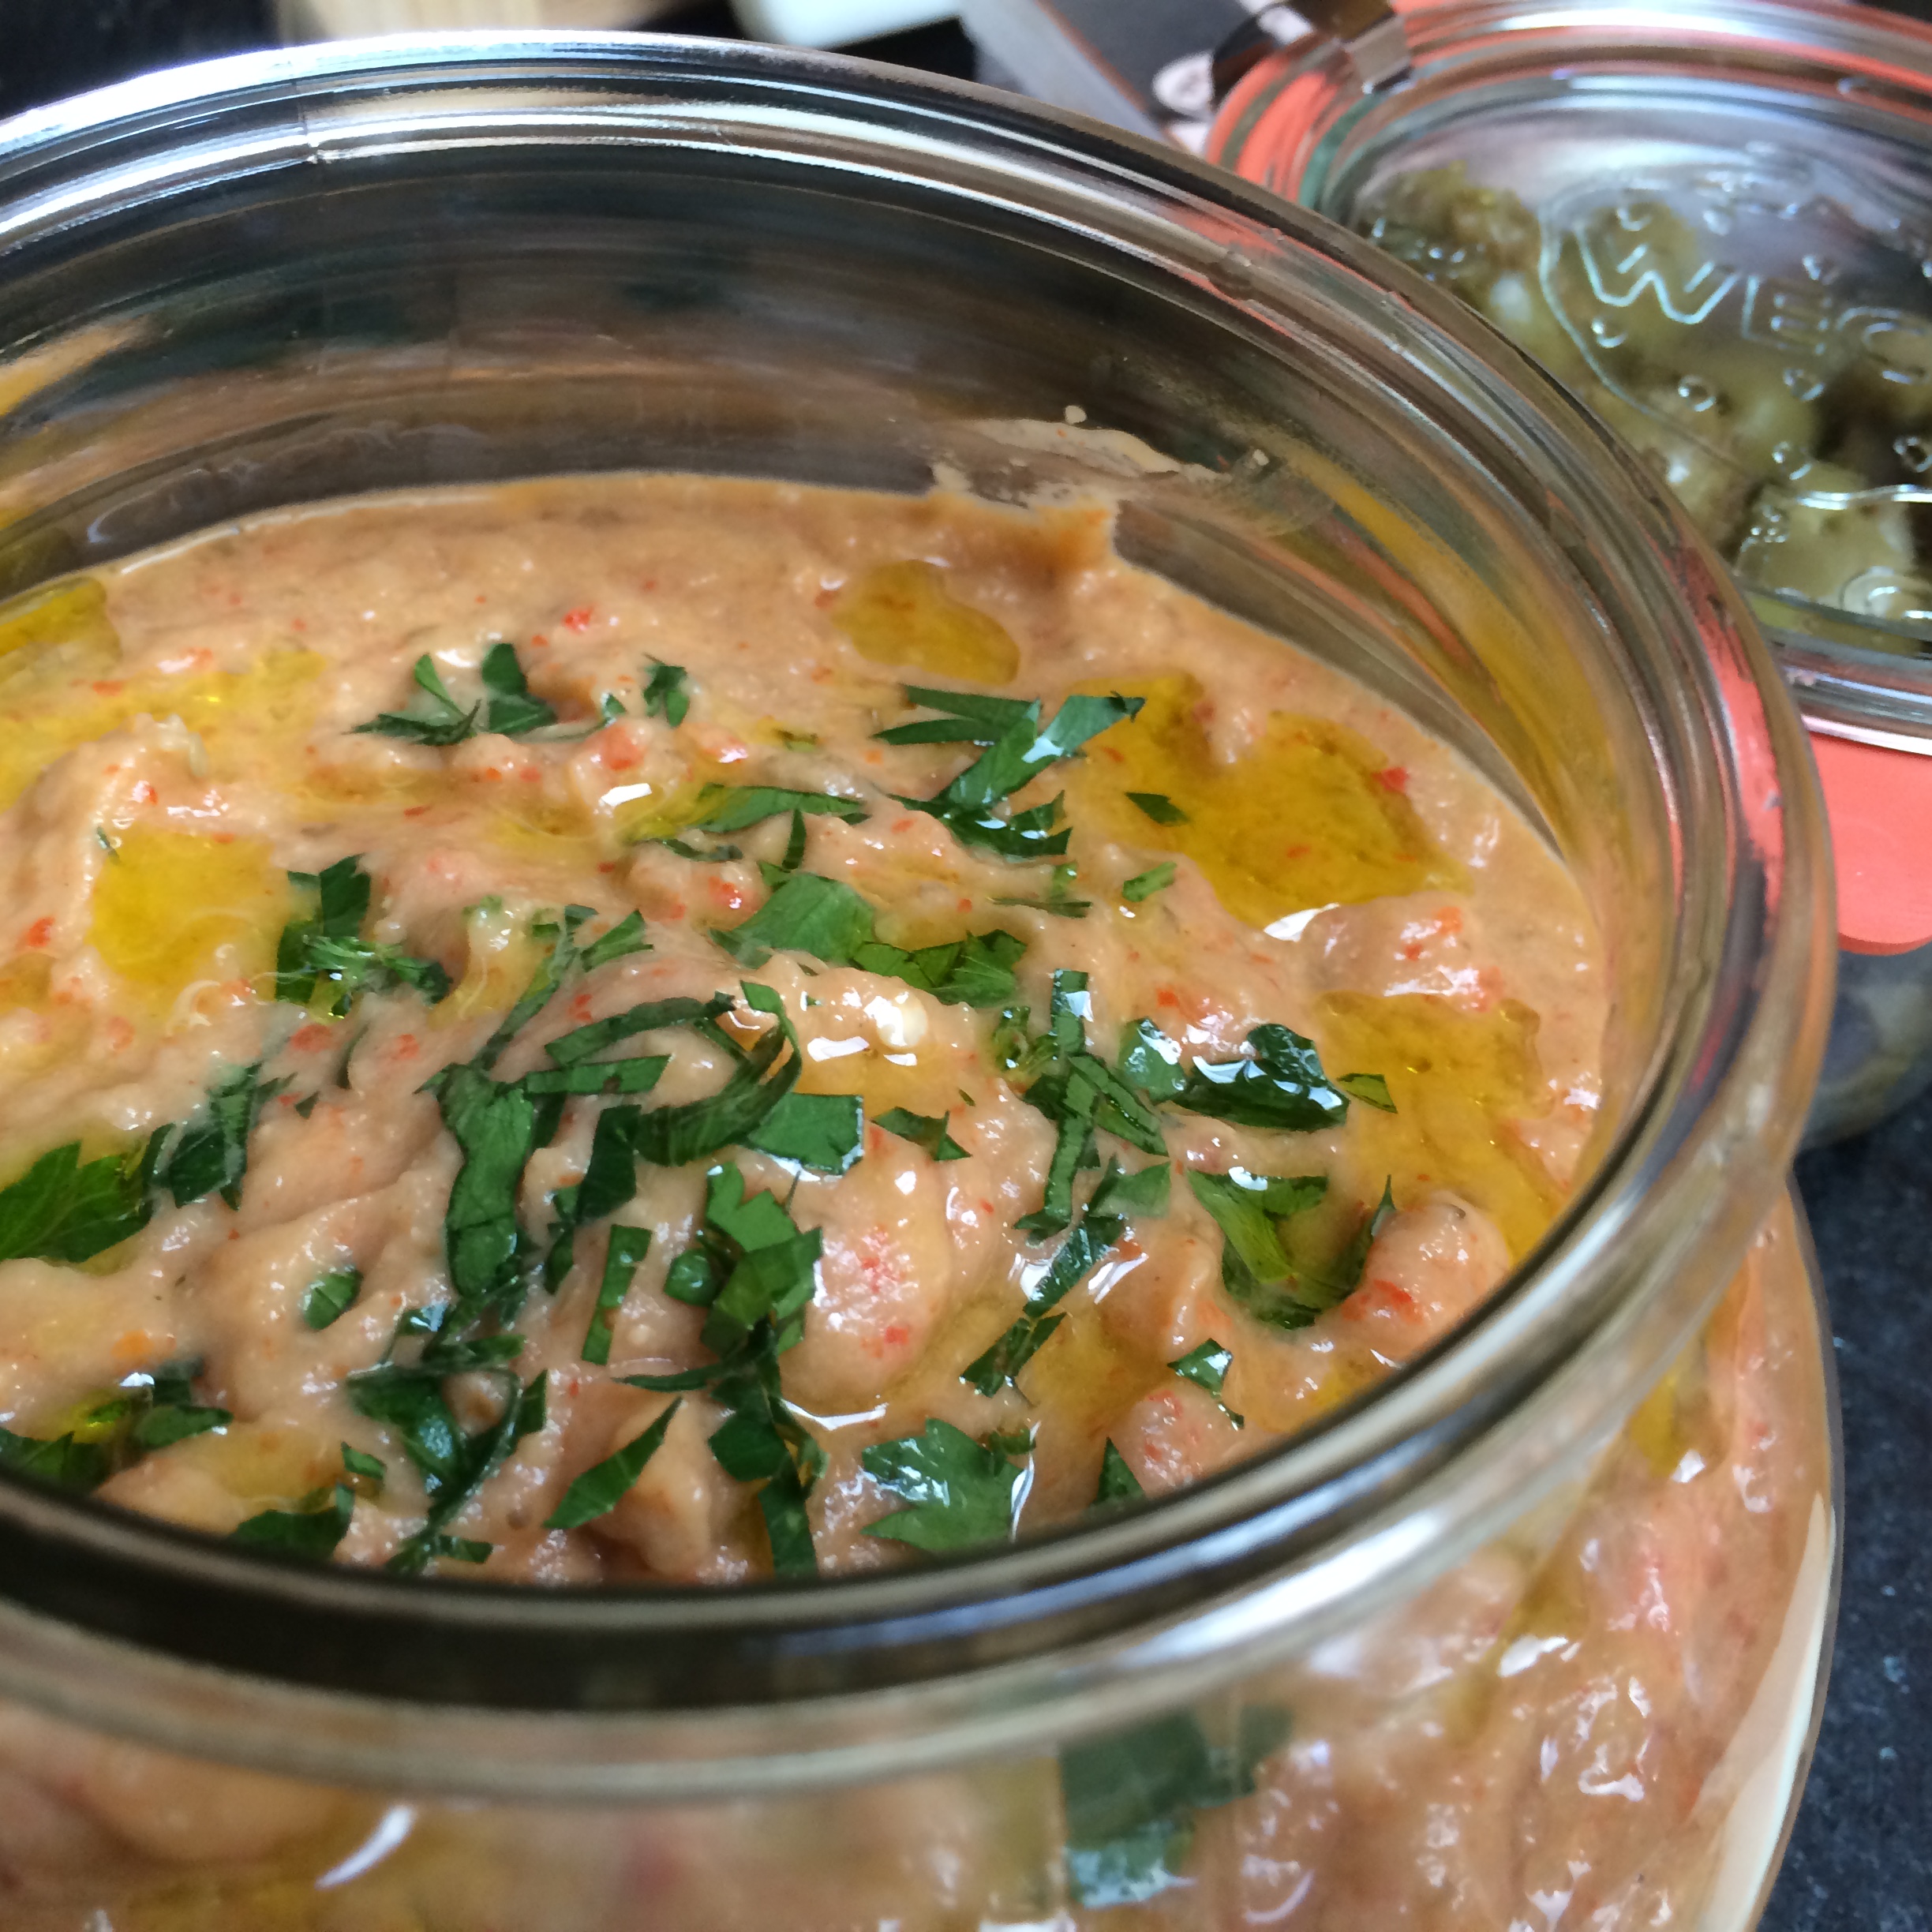
Step 5: Finishing for the Mexican hot sauce:
If you are doing a Mexican hot sauce, add a teeny bit of vinegar or lime; that’s it, you are done. Slather it over some refried beans.
Step 5: Finishing for the South Indian tomato chutney:
You can let this chutney cook longer to dry it somewhat more than the Mexican hot sauce, as it doesn’t have to be of a pouring consistency.
Heat a tablespoon of coconut oil in a pan. When hot, put in a half teaspoon of split and dehusked urad dal (Vigna Mungo), when that reddens, half a teaspoon of black mustard seeds, when they pop a few curry leaves. When they shrivel turn off the flame and pour the coconut oil into the tomato chutney. Stir to combine.
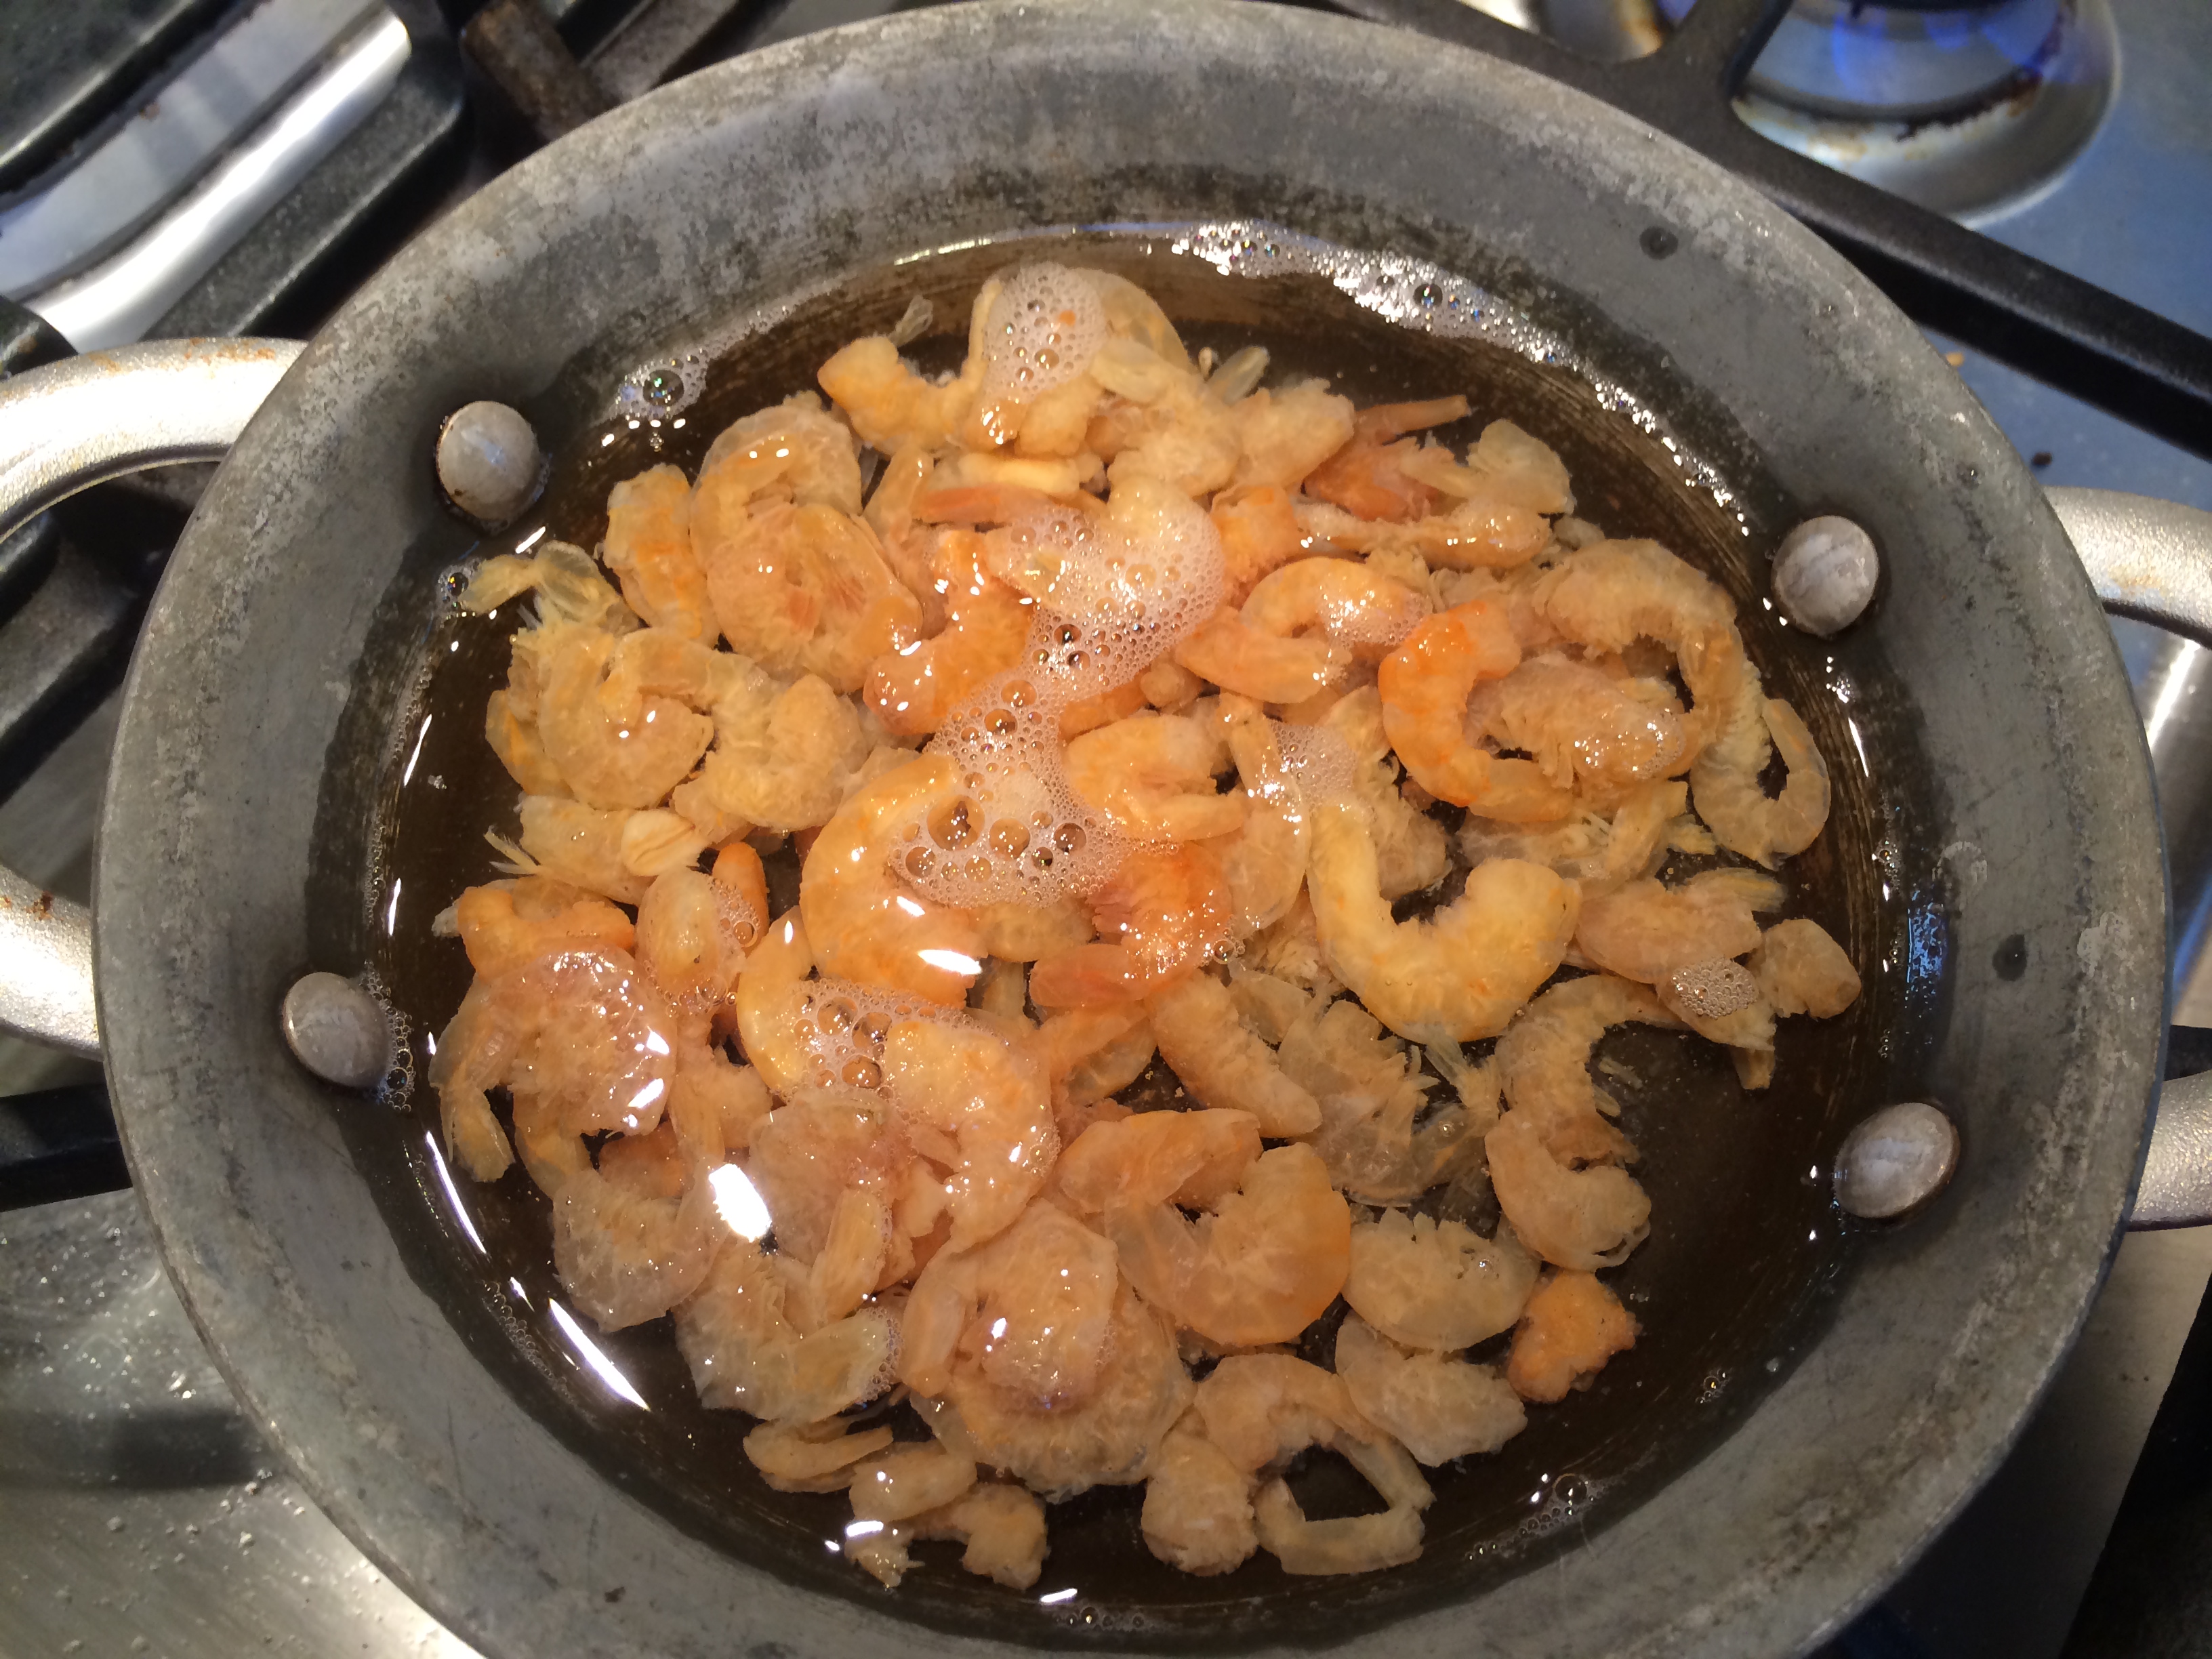
Step 5: Finishing for the dried shrimp sambal (Sambal Hebi):
First, a bit about this chili paste, because it was new to me. ‘Sambal oelek’ is a simple chili paste used all over Singapore/Malaysia as a base for many of their dishes; while ‘Sambal Hebi’ has added dried shrimp, garlic and shallots. With the excellent umami additions, this paste can be had as a simple and delicious accompaniment for rice (that’s not how I used it, but the story of what I did with it will have to wait).
Bags of dried shrimp should be available at an Asian grocery store. Here is an online source of it: The Asian Cook Shop. While you are preparing the rest of the sauce, soak about half a cup of dried shrimp in hot simmering water to soften. In 15 minutes, that should be done; take the shrimp out and smash them in a mortar and pestle if you have patience, if not, whirl them in a blender.

Dried shrimp for sambal

Dried shrimp softening in hot water
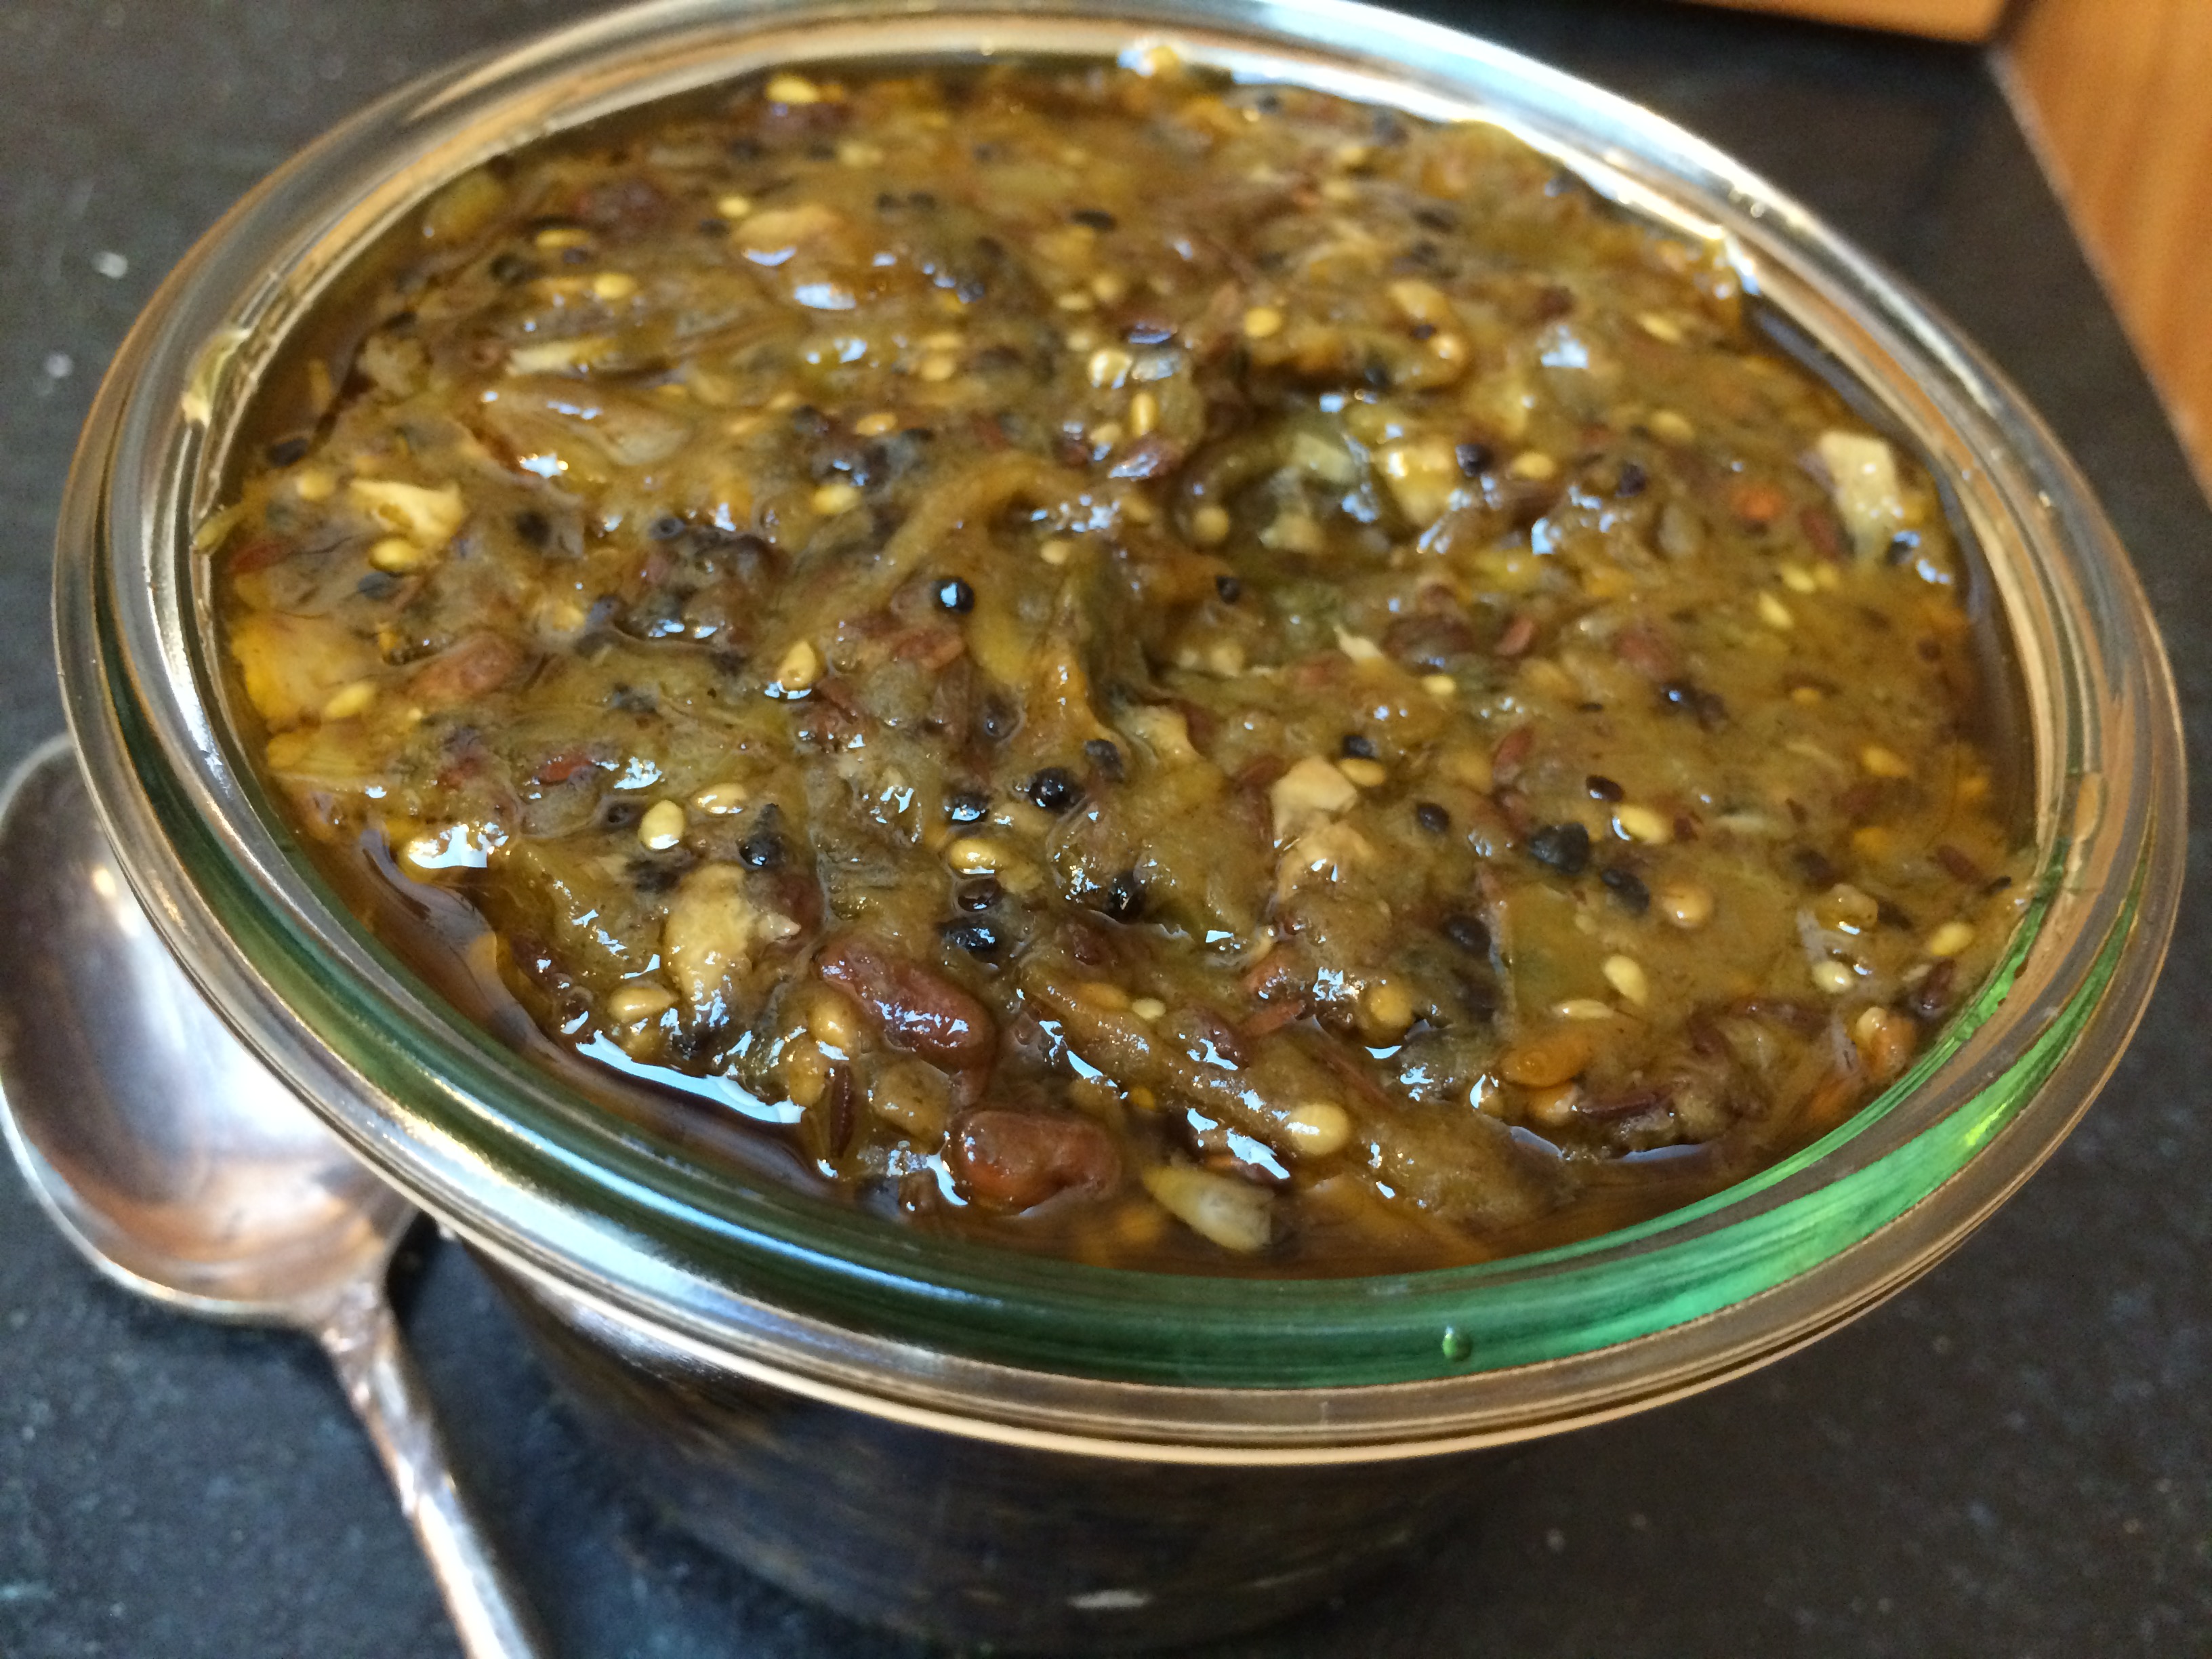
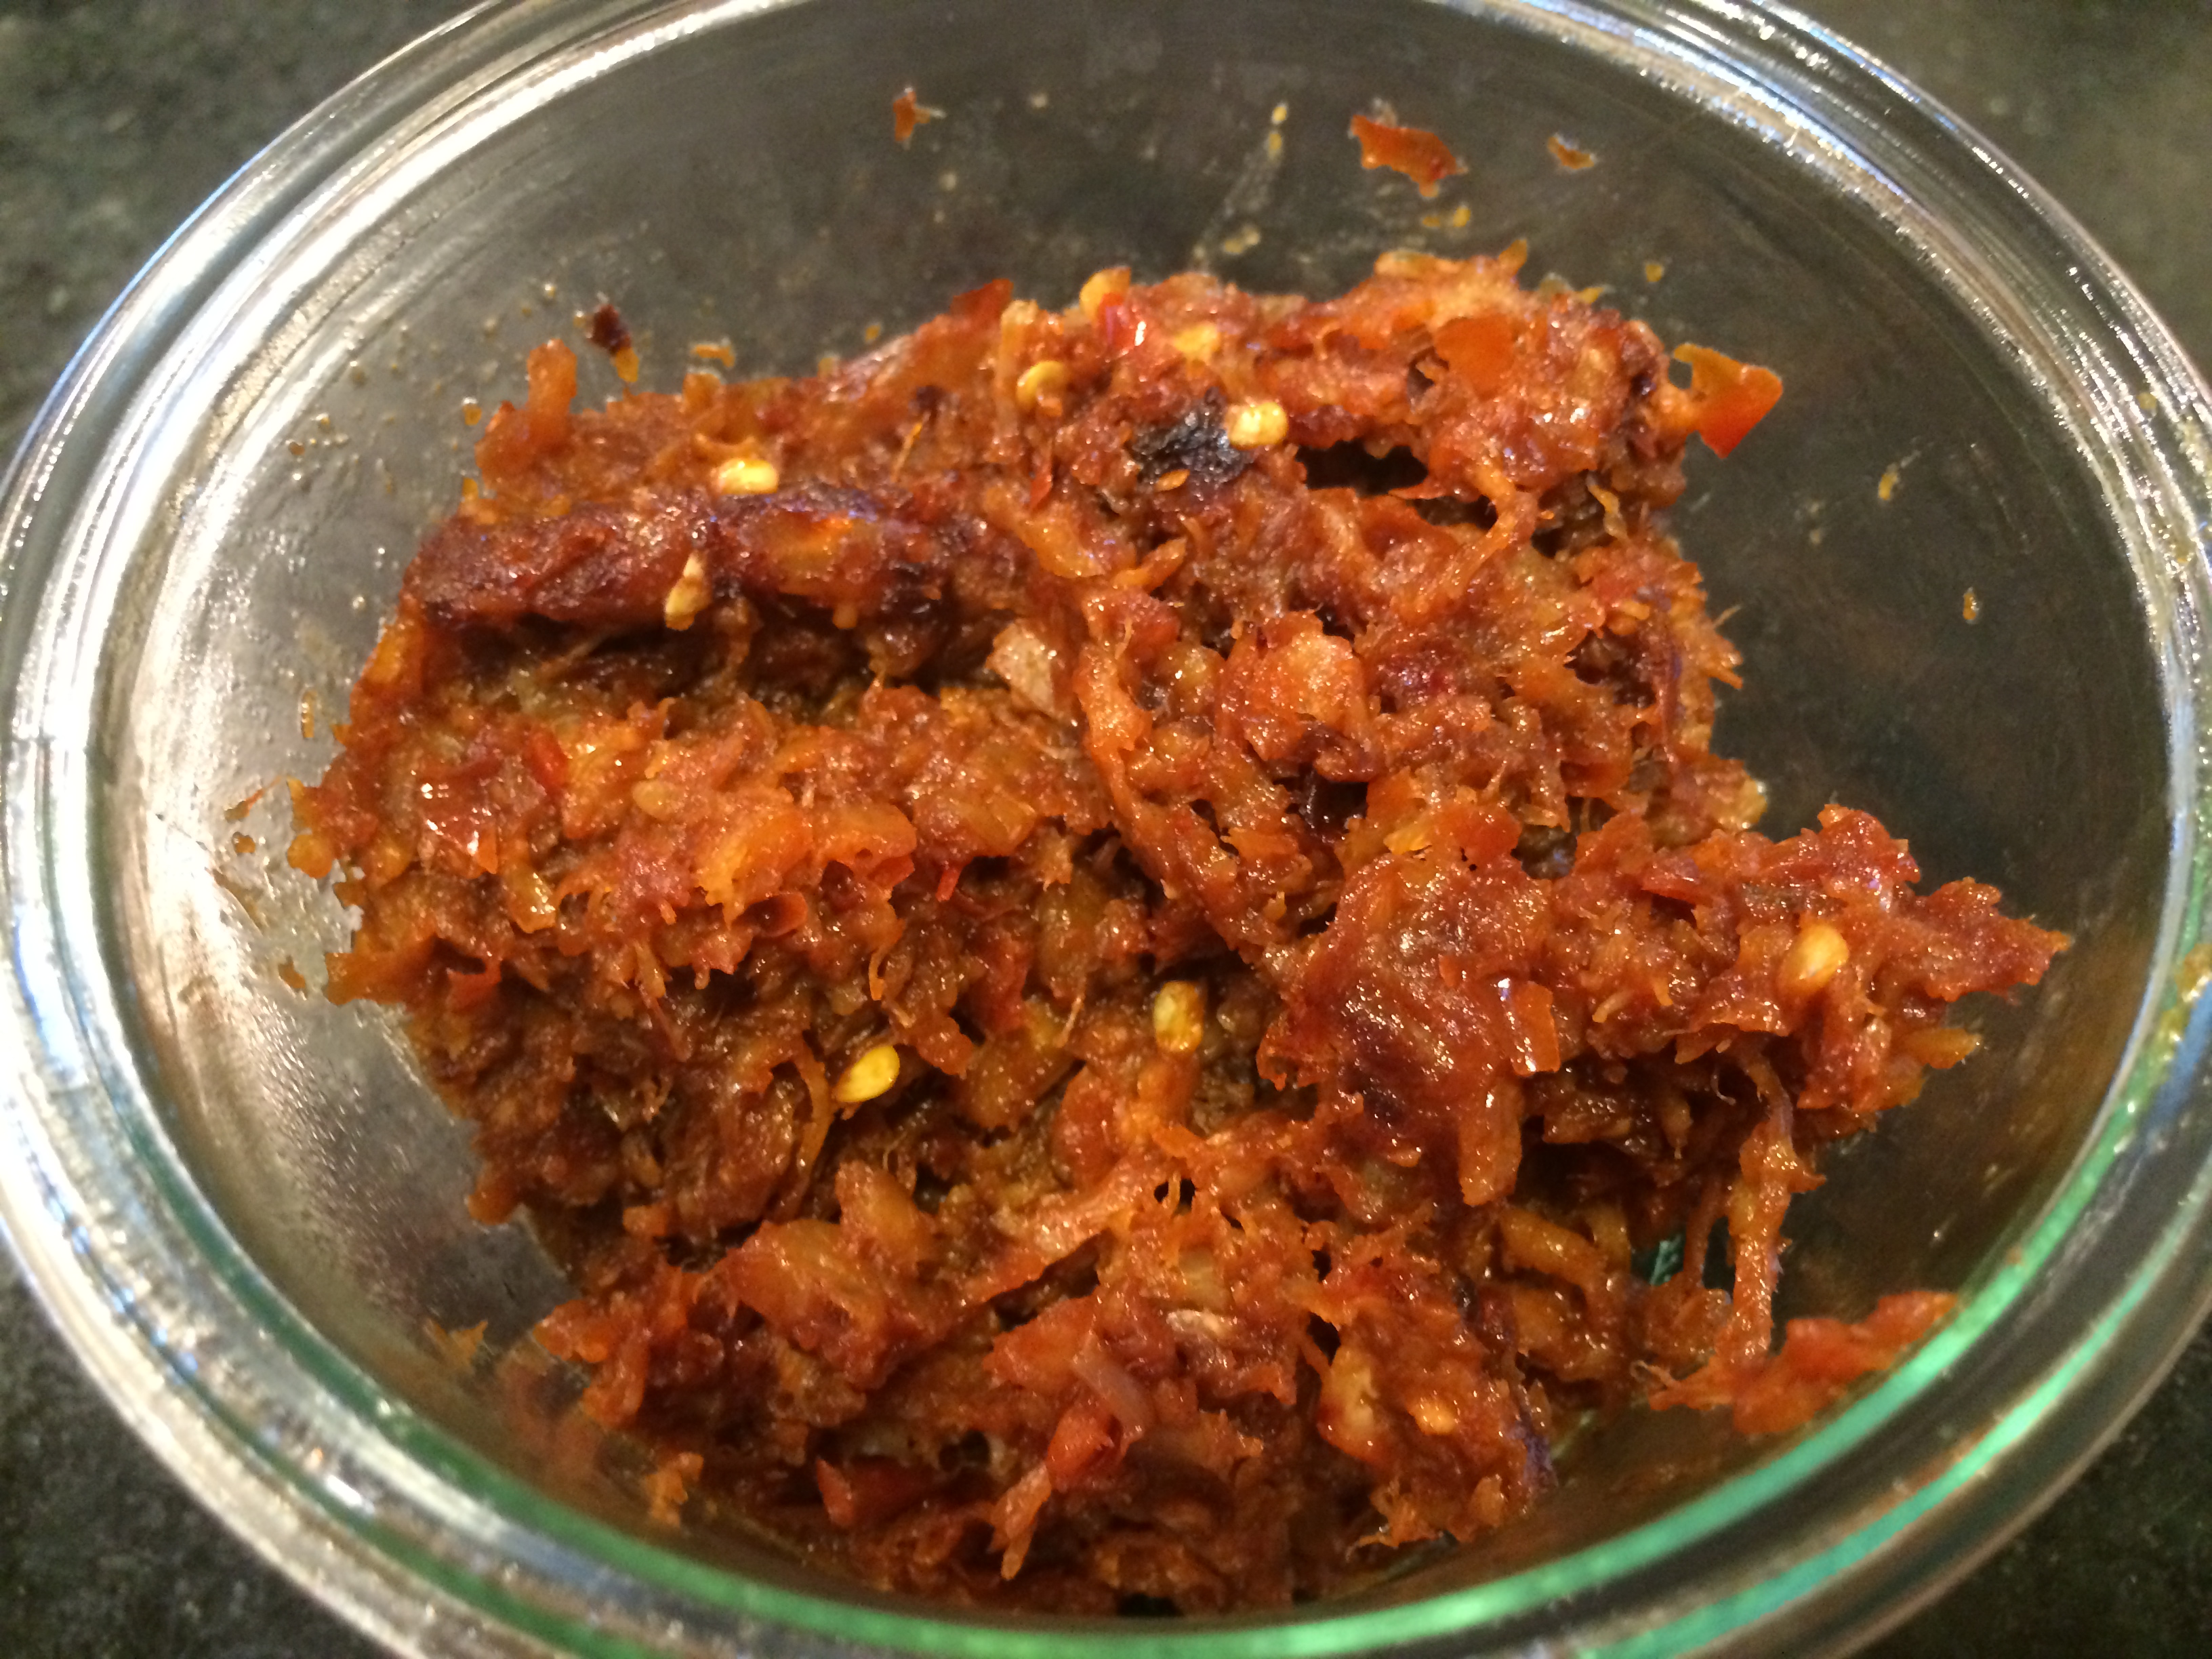
Now remember for the sambal we did not use any tomato, just the garlic, onion and chilies. So the paste will be drier to start with. When you cook the paste, use a bit of oil, and cook it longer than the above two until the oil separates. Also, I did not use any salt at all, preferring to add enough soy sauce to cover the needed saltiness.
Next put the dried shrimp into the pot: stir to have them cook and the entire paste dry up — about 10 minutes. Add a tablespoon of soy sauce, stir to combine, and you are done.

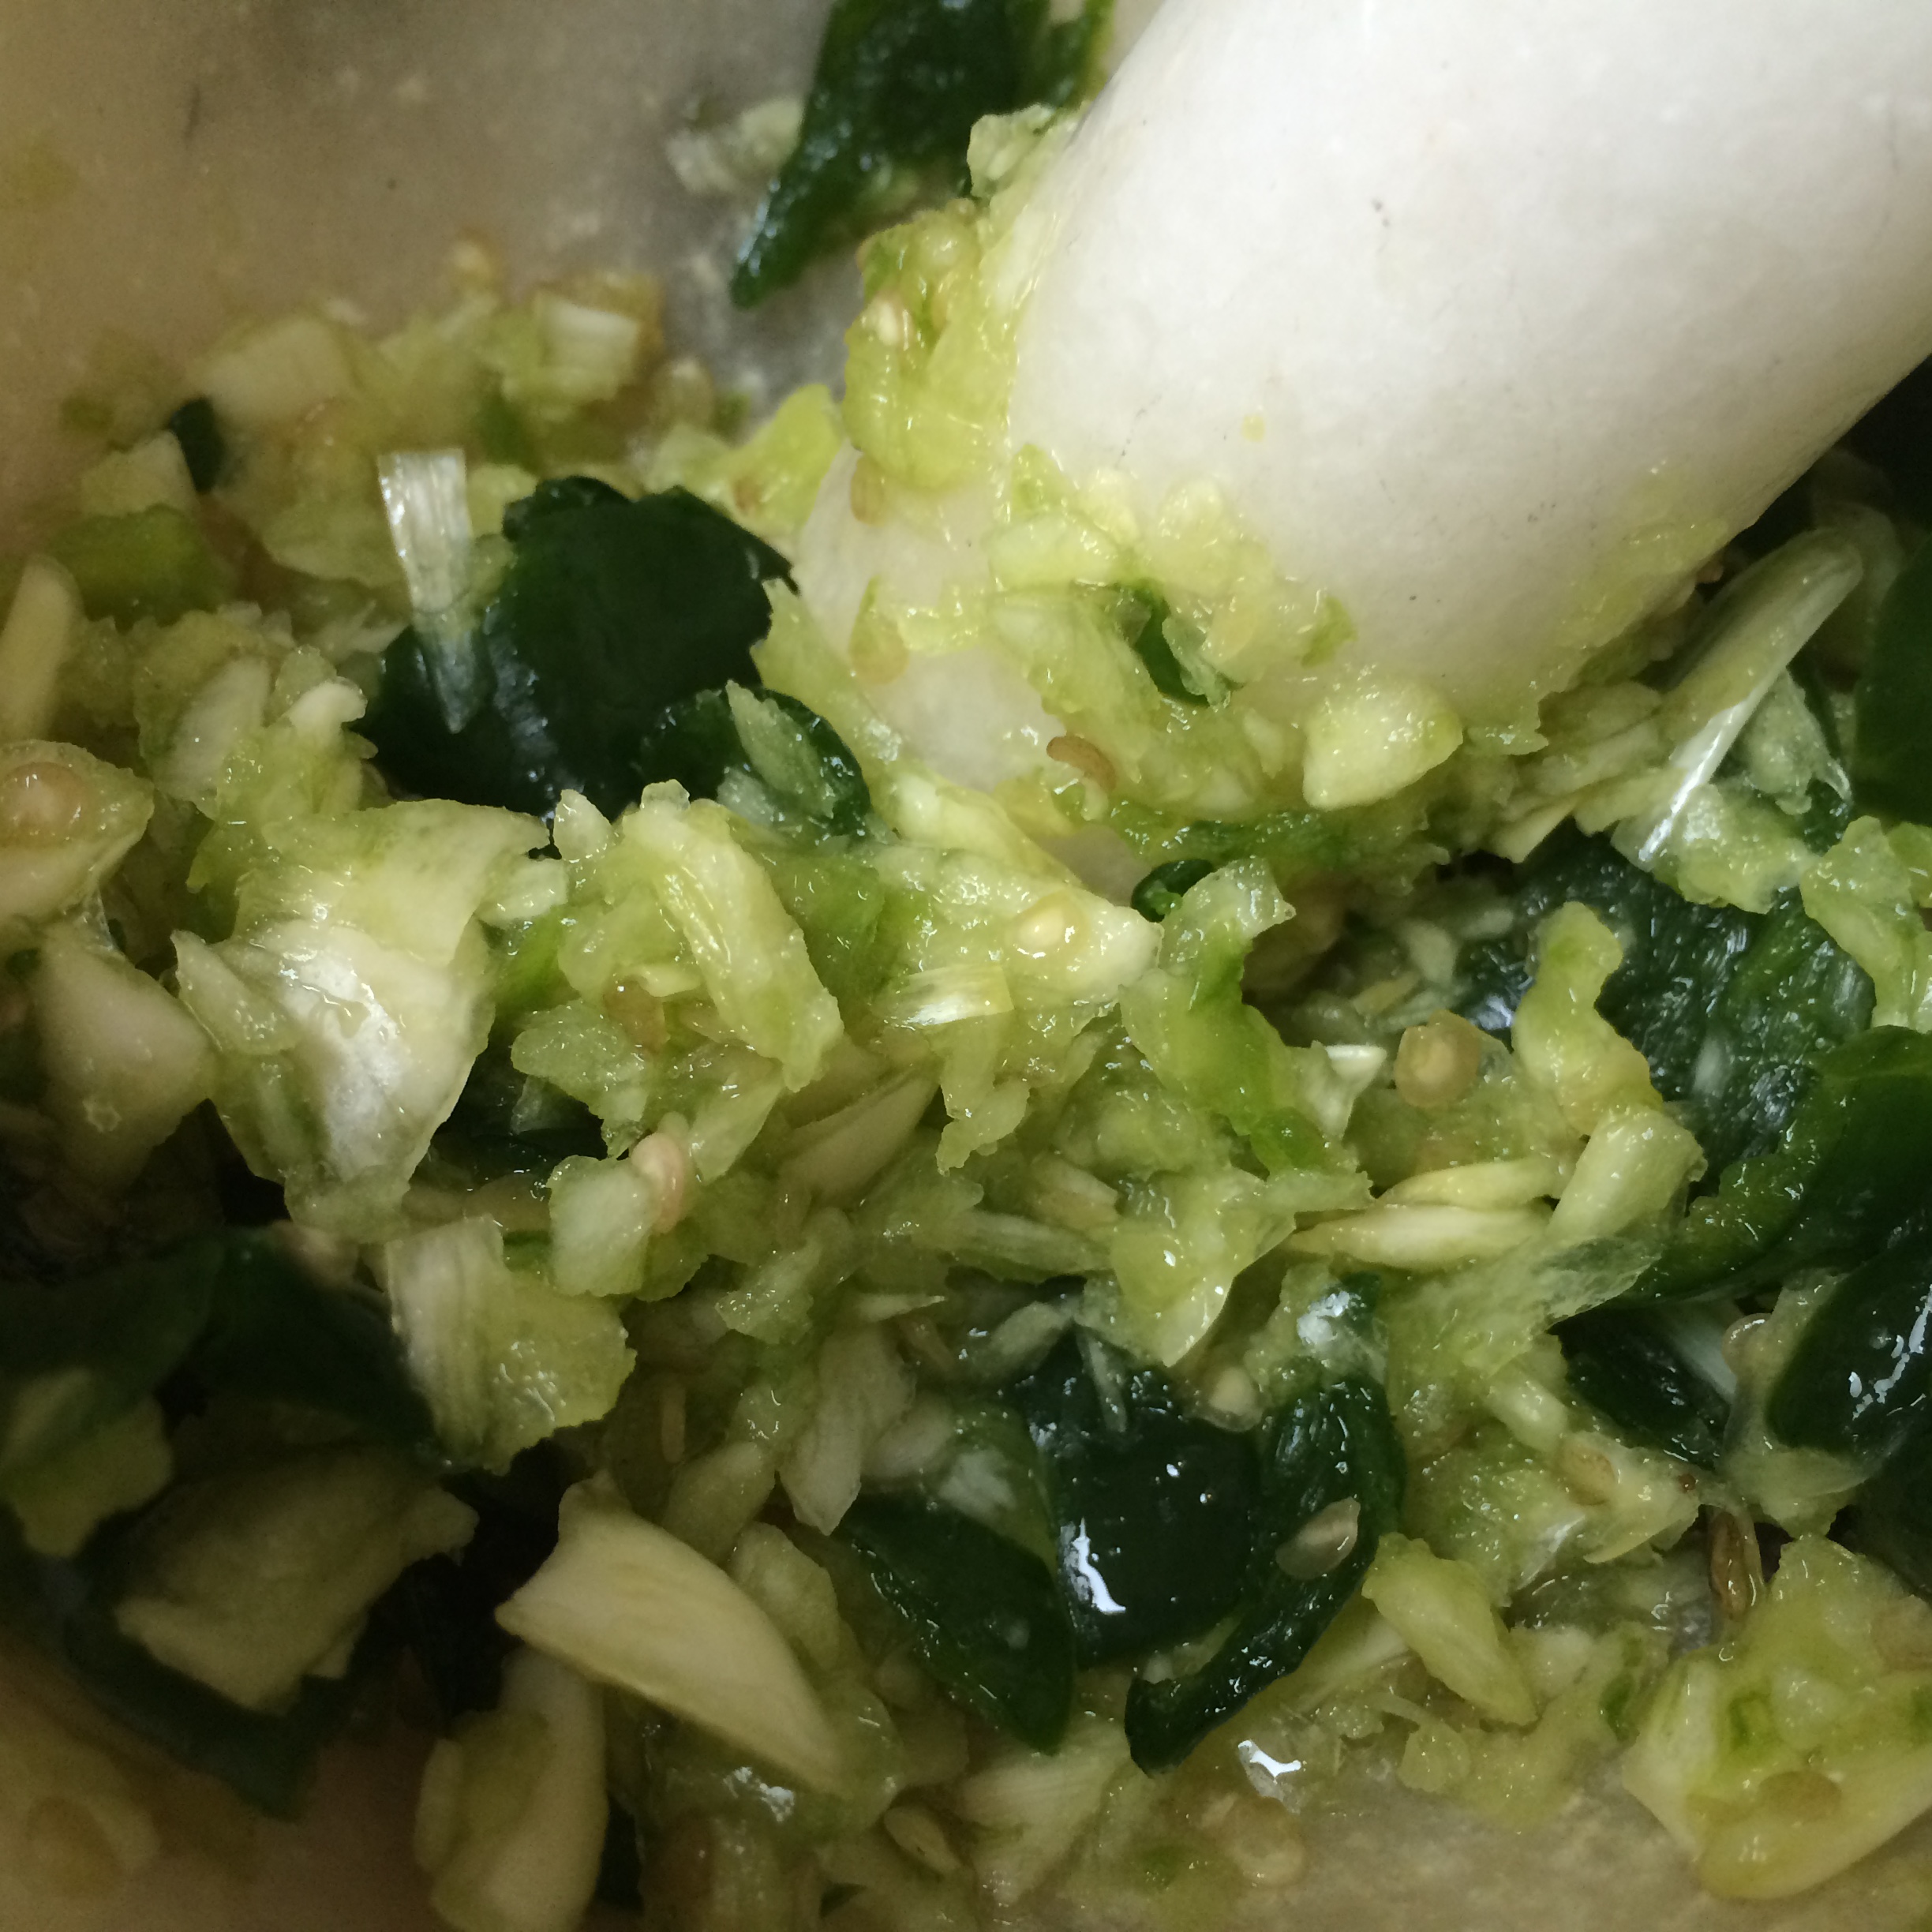
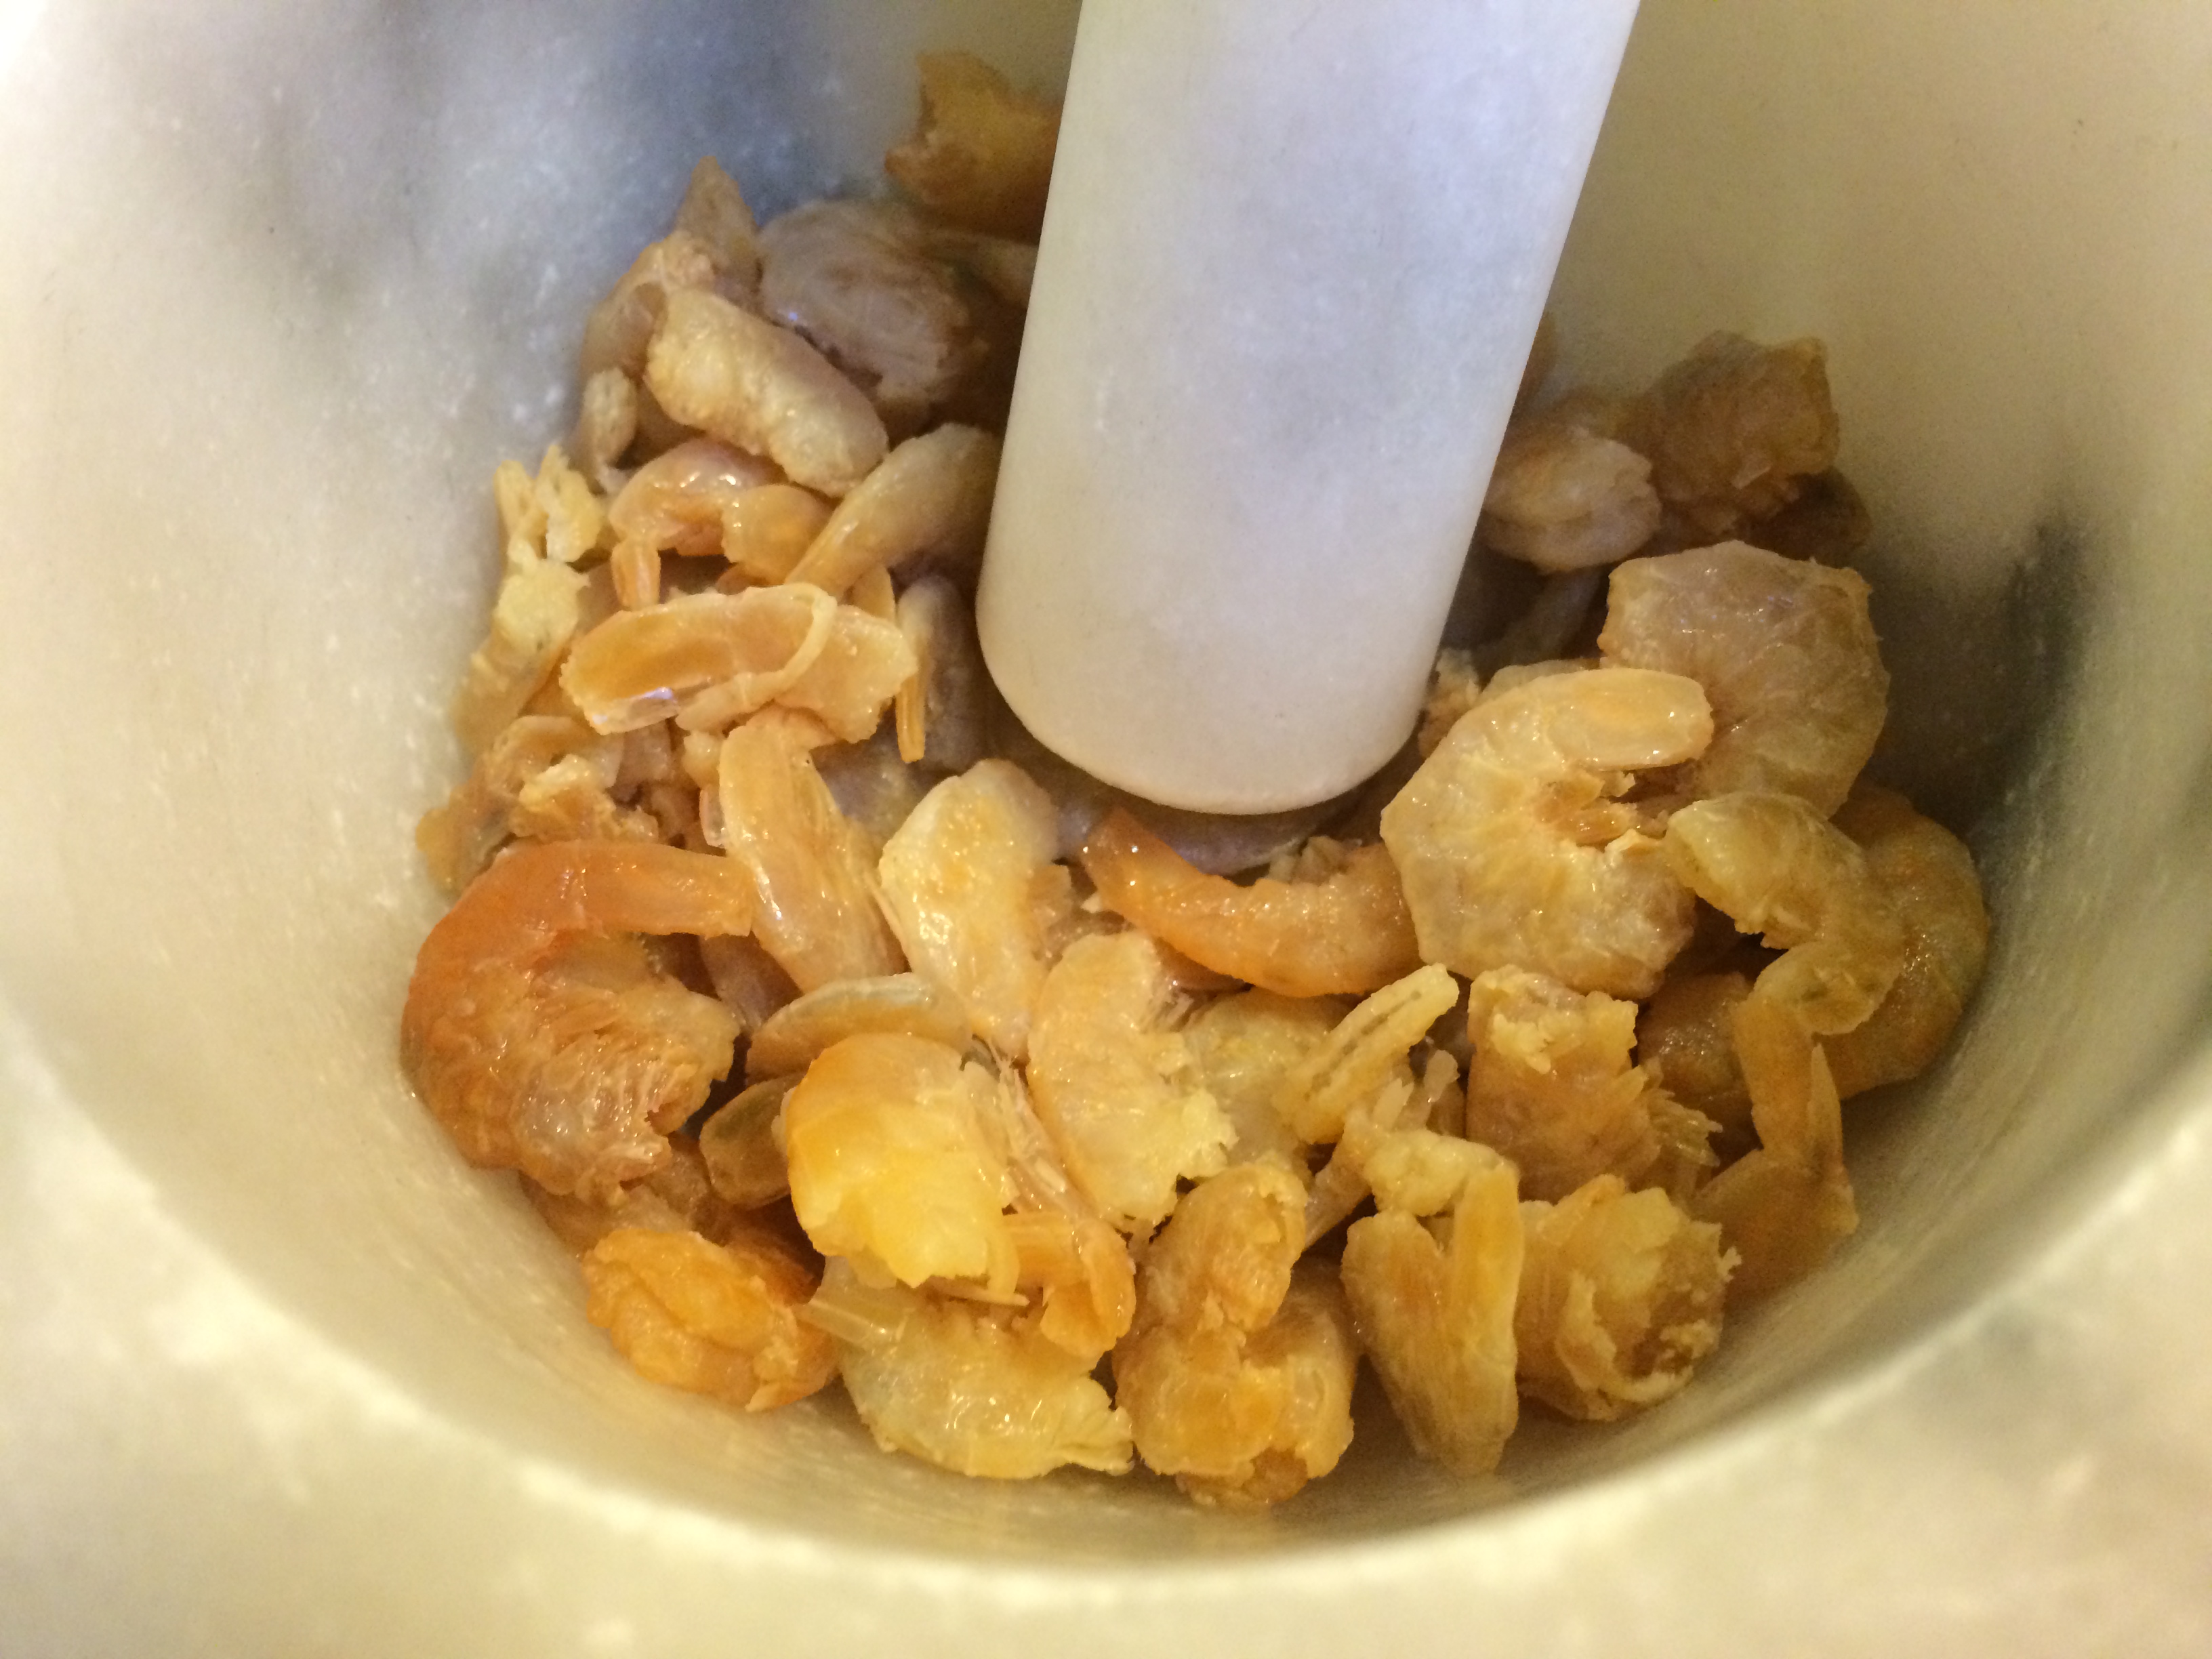
Pounding dried shrimp

Pounded dried shrimp
Sambal Hebi is done, ready for use as a base for noodles, as a sauce for vegetables, or simply with rice. Recipe source: Indochine Kitchen.

Pounded shrimp added

Soy sauce added
Mexican hot sauce
Ingredients:
- 3 large tomatoes
- Half a medium onion
- 3-4 cloves garlic
- Mix of hot and mild dried red chilies according to taste
- Salt to taste
- 1 tablespoon lime juice or 1 teaspoon vinegar
Method:
Described in detail above but in brief: soak the dried red chilies in hot water for 15 minutes. Cover with oil and broil the vegetables (unpeeled) for 6 minutes. Blend along with salt. Cook on stovetop for a few minutes. Add lime juice/vinegar.
South Indian tomato chutney
Ingredients:
- 3 large tomatoes
- 3-4 cloves garlic
- Mix of hot and mild dried red chilies according to taste
- Salt to taste
- 1 tablespoon coconut oil
- 1/2 teaspoon urad dal (split and dehusked black gram)
- 1/2 teaspoon black mustard seeds
- Few curry leaves
Method:
Described in detail above but in brief: soak the dried red chilies in hot water for 15 minutes. Cover with oil and broil the vegetables (unpeeled) for 6 minutes. Blend along with salt. Cook on stovetop until reduced a bit. Heat coconut oil until shimmering. Add, in this order, the urad dal, when they redden the mustard seeds, when they pop the curry leaves. Turn off and empty the coconut oil into the chutney and stir well.
Malaysian sambal hebi
Ingredients:
- Half a medium onion or couple shallots
- 3-4 cloves garlic
- 1 tablespoon oil
- Mix of hot and mild dried red chilies according to taste
- 1/3 to 1/2 cup dried shrimp
- 1 tablespoon soy sauce
Method:
Described in detail above but in brief: soak the dried red chilies in hot water for 15 minutes. Cover with oil and broil the vegetables (unpeeled) for 6 minutes. Blend to a paste.
Meanwhile prepare the shrimp: soak in hot water for 15 minutes until softened. Pound with a mortar and pestle.
Heat oil in a small pot. Empty the chili paste from the blender into it and cook until the oil separates. Add the shrimp to the pot, stir well to combine, and cook for 10 minutes until dry. Now add the soy sauce and stir nicely.