
Beet paratha
Some years ago I found a book in a used bookstore that really spoke to me in the depths of my soul. It electrified me from the title alone, even before I cracked open the pages.
Now a few books have been known to be enormously influential in people’s lives. For some it may be ‘Thus Spake Zarathustra’ by Nietzche, or ‘Atlas Shrugged’ by Ayn Rand. For others it might be ‘War and Peace’ by Tolstoy. For me, it was this:

tasty dishes from waste items by Aroona Reejsinghani
For the 1970’s in India, in the midst of famine, this book was quite apropos. I remember talk of the high prices of vegetables at every social gathering. Meat for many was simply out of the question. This book begins with an acknowledgement of the scarcity that every housewife has to deal with. It goes on to celebrate the leaves, stems, peels, leftovers that most of us throw away. The author painstakingly lists the vitamin content of each of these leaves and rinds, including the mysterious Vitamin P (?)
Not only is it completely impressive that she was able to do this research in the days before Google, it is astounding how many recipes she was able to come up with.
In here one finds 5 recipes that make use of banana peels (throw away the outer green part, she advises), 9 recipes that use turnip leaves, 2 that want you to fry up potato skins. Curdled milk, of course, is an industry, and the author dwells on that for a bit. Stale bread gets its own section with 36 recipes. Leftover fish, meat, chicken each get their own sections as well.
Now we no longer live in a world of food scarcity but quite the opposite. Most developed countries don’t spend over 10% of their income on food, in the US, where I live, it is around 7%. But the message of this book is more relevant than ever. The cost of food production remains very high, it just doesn’t come out of our paychecks, but instead we pay for it with depleted soils and poorer biodiversity.
I have to admit I don’t go scavenging around the thrown away peels for my next meal, but instead compost everything. Given my chunky waistline, I figure it is even better to feed the worms than me.
Beetroot

Beetroot from foodreference.com
Now, about beets. Here is basically the entire beet plant from roots up to the leaves. Stare at the leaves for a bit. You all know that the greens are nothing but chard, right? Beetroot and chard are not even different species but simply different breeds. Just like a Dalmatians may be bred for running and bloodhounds for tracking a scent, but both remain dogs, chard is bred for fancy leaves and beetroots for fancy roots, but both remain Beta vulgaris. The roots of the first and the leaves of the second can be eaten. This website has more on this: Is chard root edible.
If you have no use for the greens, you could discard them I guess, but for goodness sake don’t throw them away and then go buy chard at the market!
Out of the bunch pictured, here are the parts I ended up throwing away for this recipe, the rest was all eaten. I threw away the long tails of the roots. I threw away the part where the roots turn into stems — that tends to be tough. I peeled the roots thinly with a vegetable peeler. Last, some stems have thick fibers that simply zipper all the way off; if I caught hold of some of those, I threw them away, otherwise I chopped them up along with the stems and leaves.
Parathas with beet root and greens filling
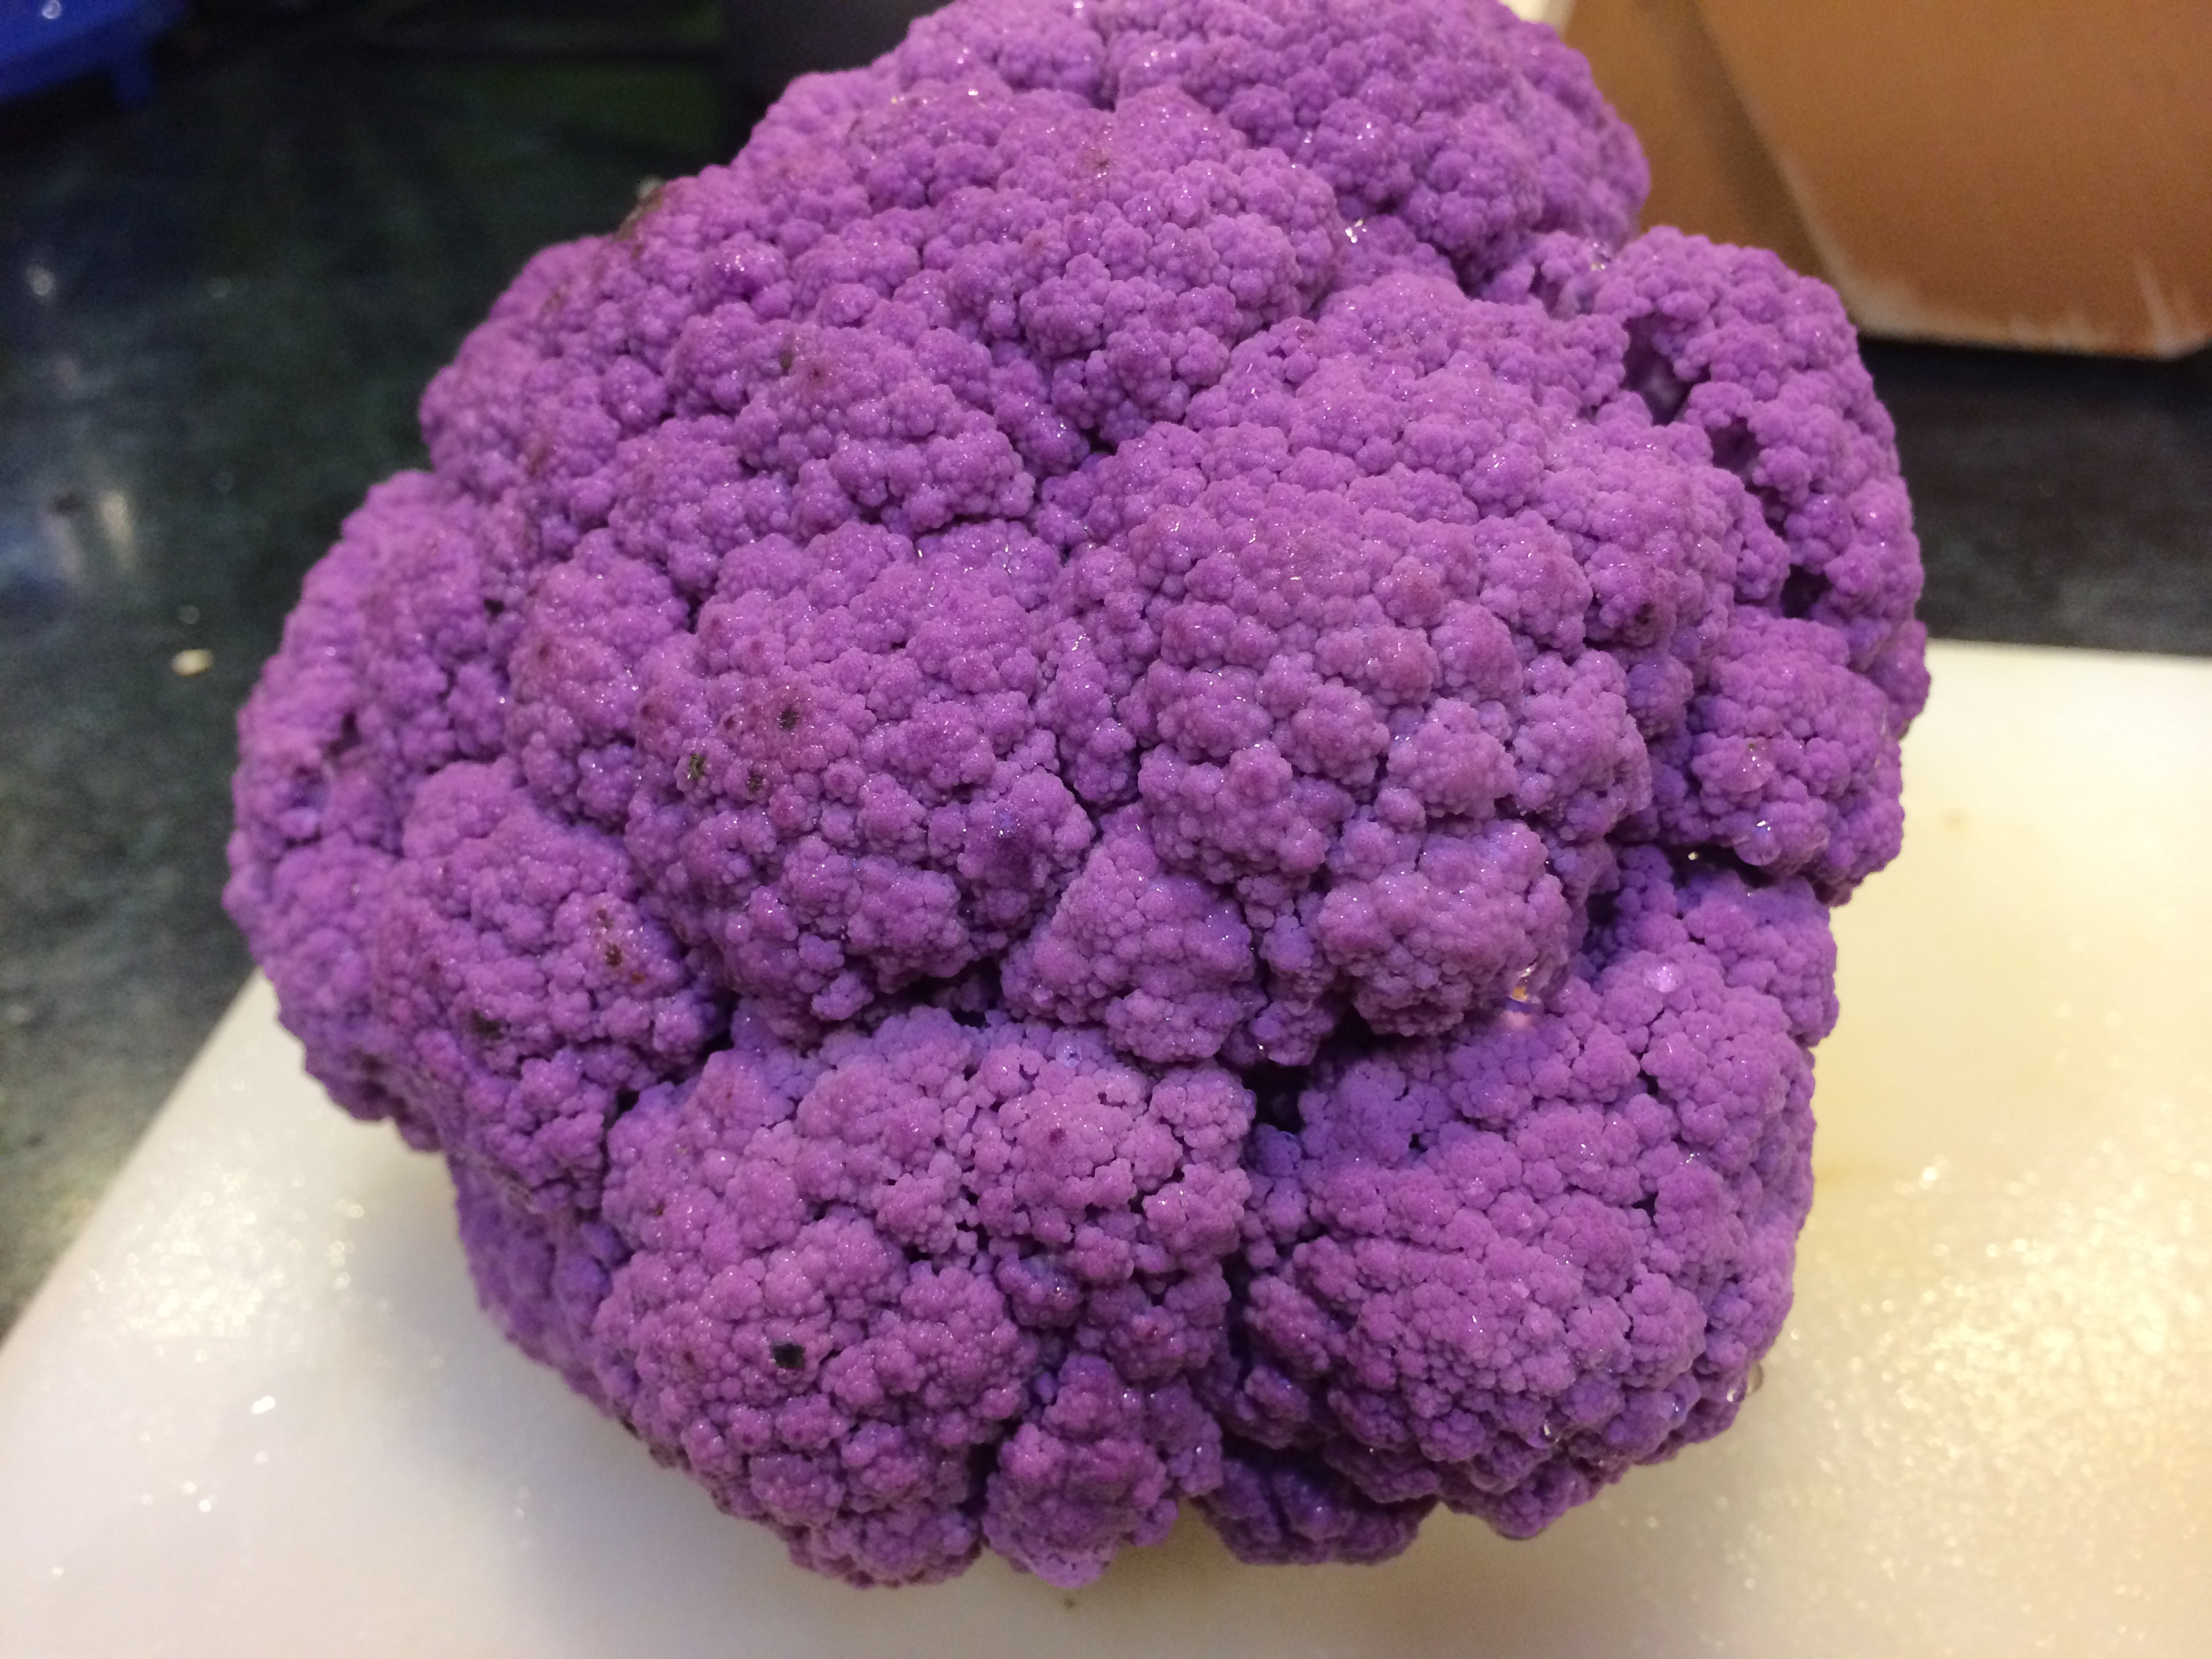
A reader might be forgiven for wondering if I’m going through the little-girl spectrum for my parathas; some time ago I did a recipe for purple parathas, this time they are pink.
Anyway, the idea of the stuffed paratha is simple — it is a whole wheat flatbread stuffed with filling inside. The filling for these consists of the grated root and the finely chopped leaves and stems, cooked together with seasonings. Parathas are great with some plain yogurt on the side.

Heads and tails trimmed

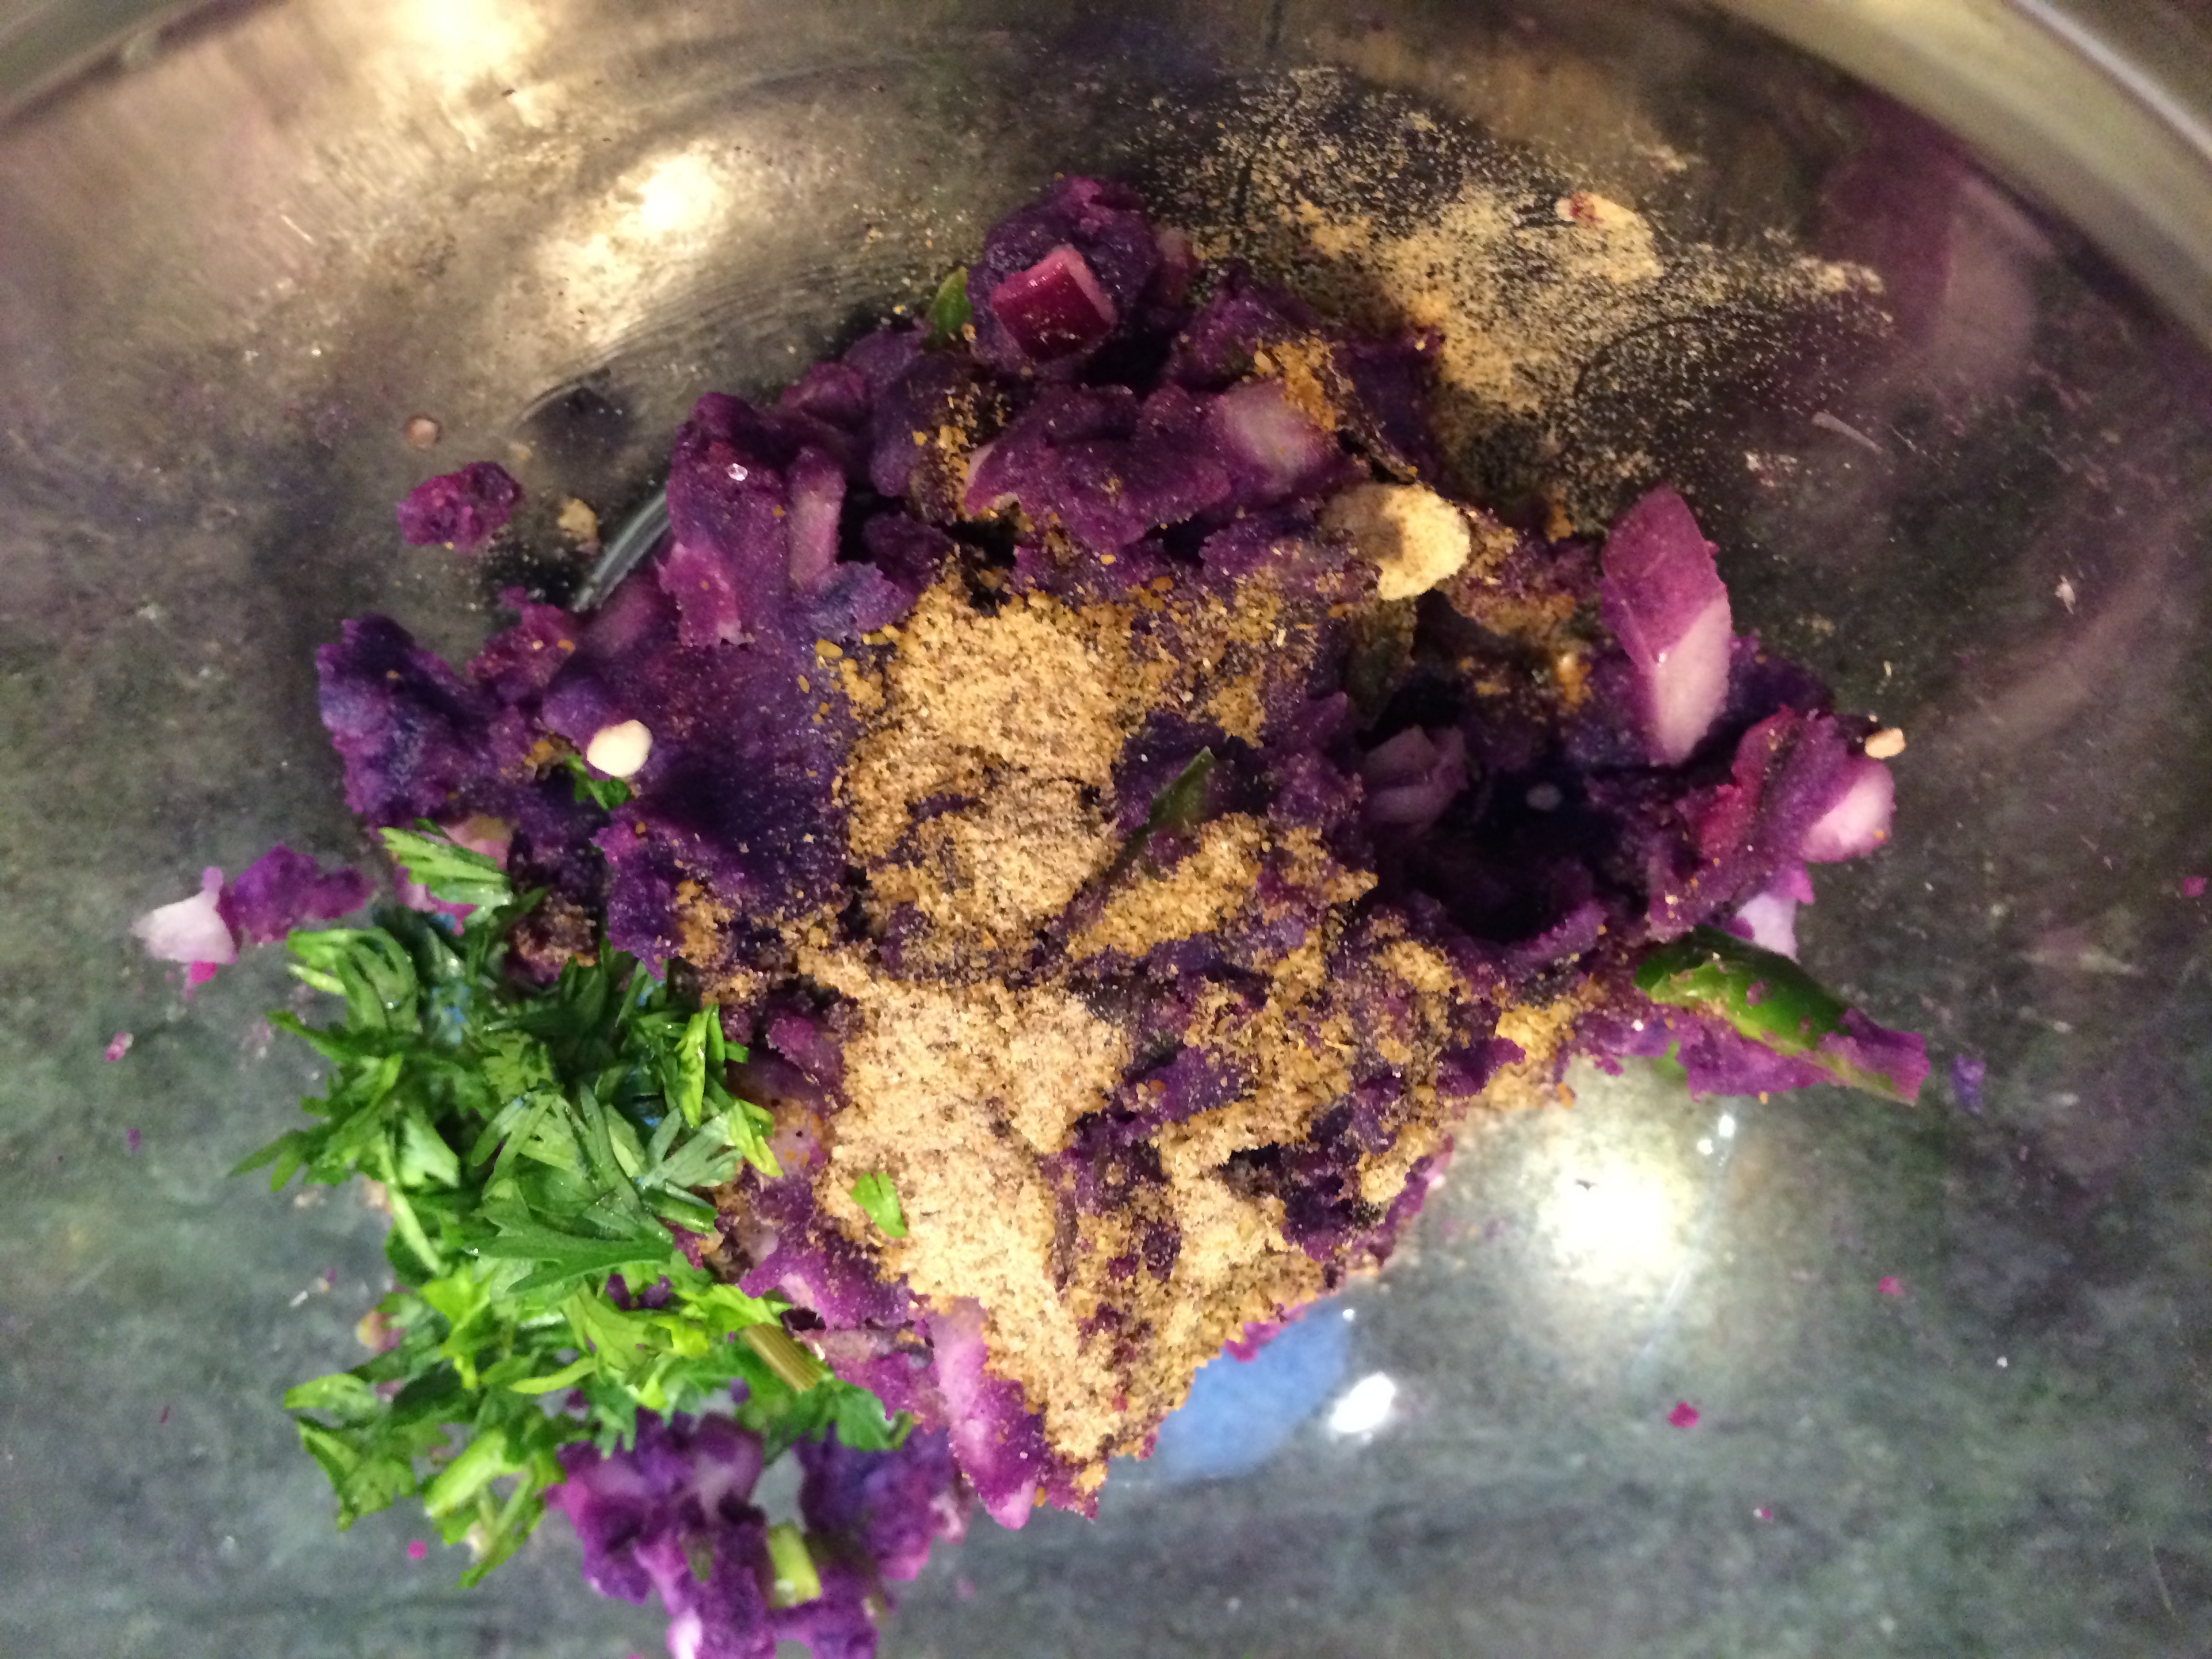
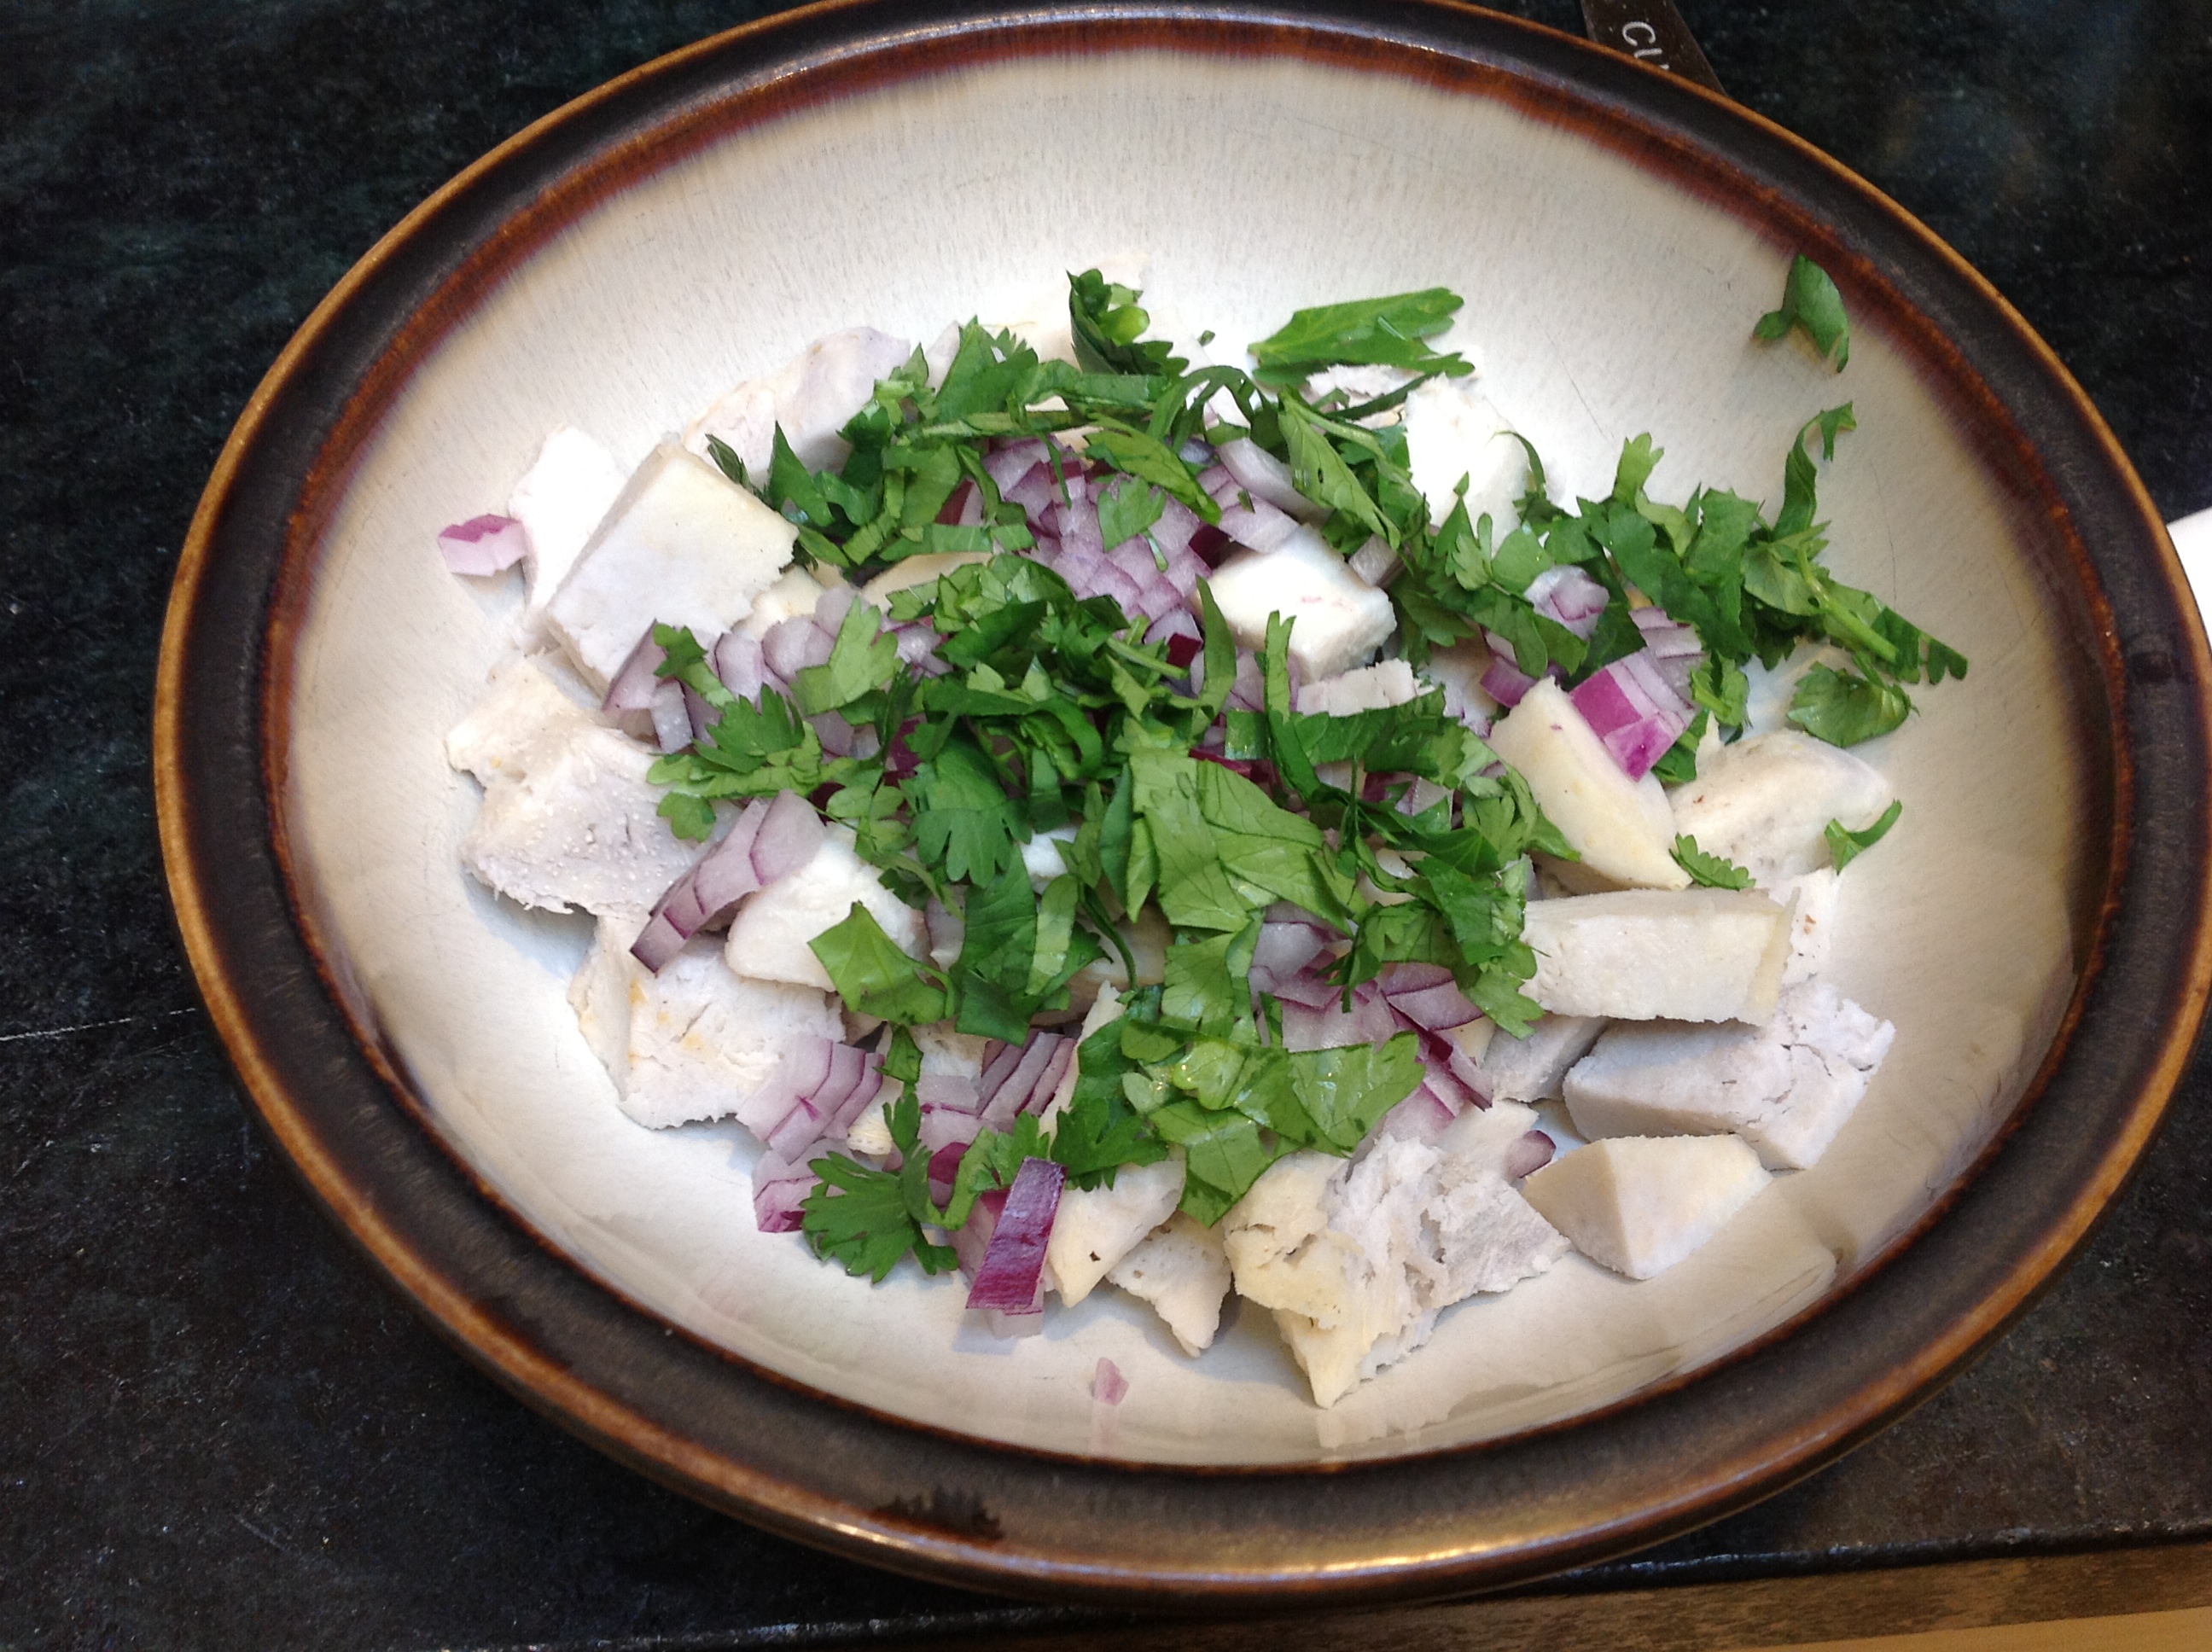
Greens finely chopped

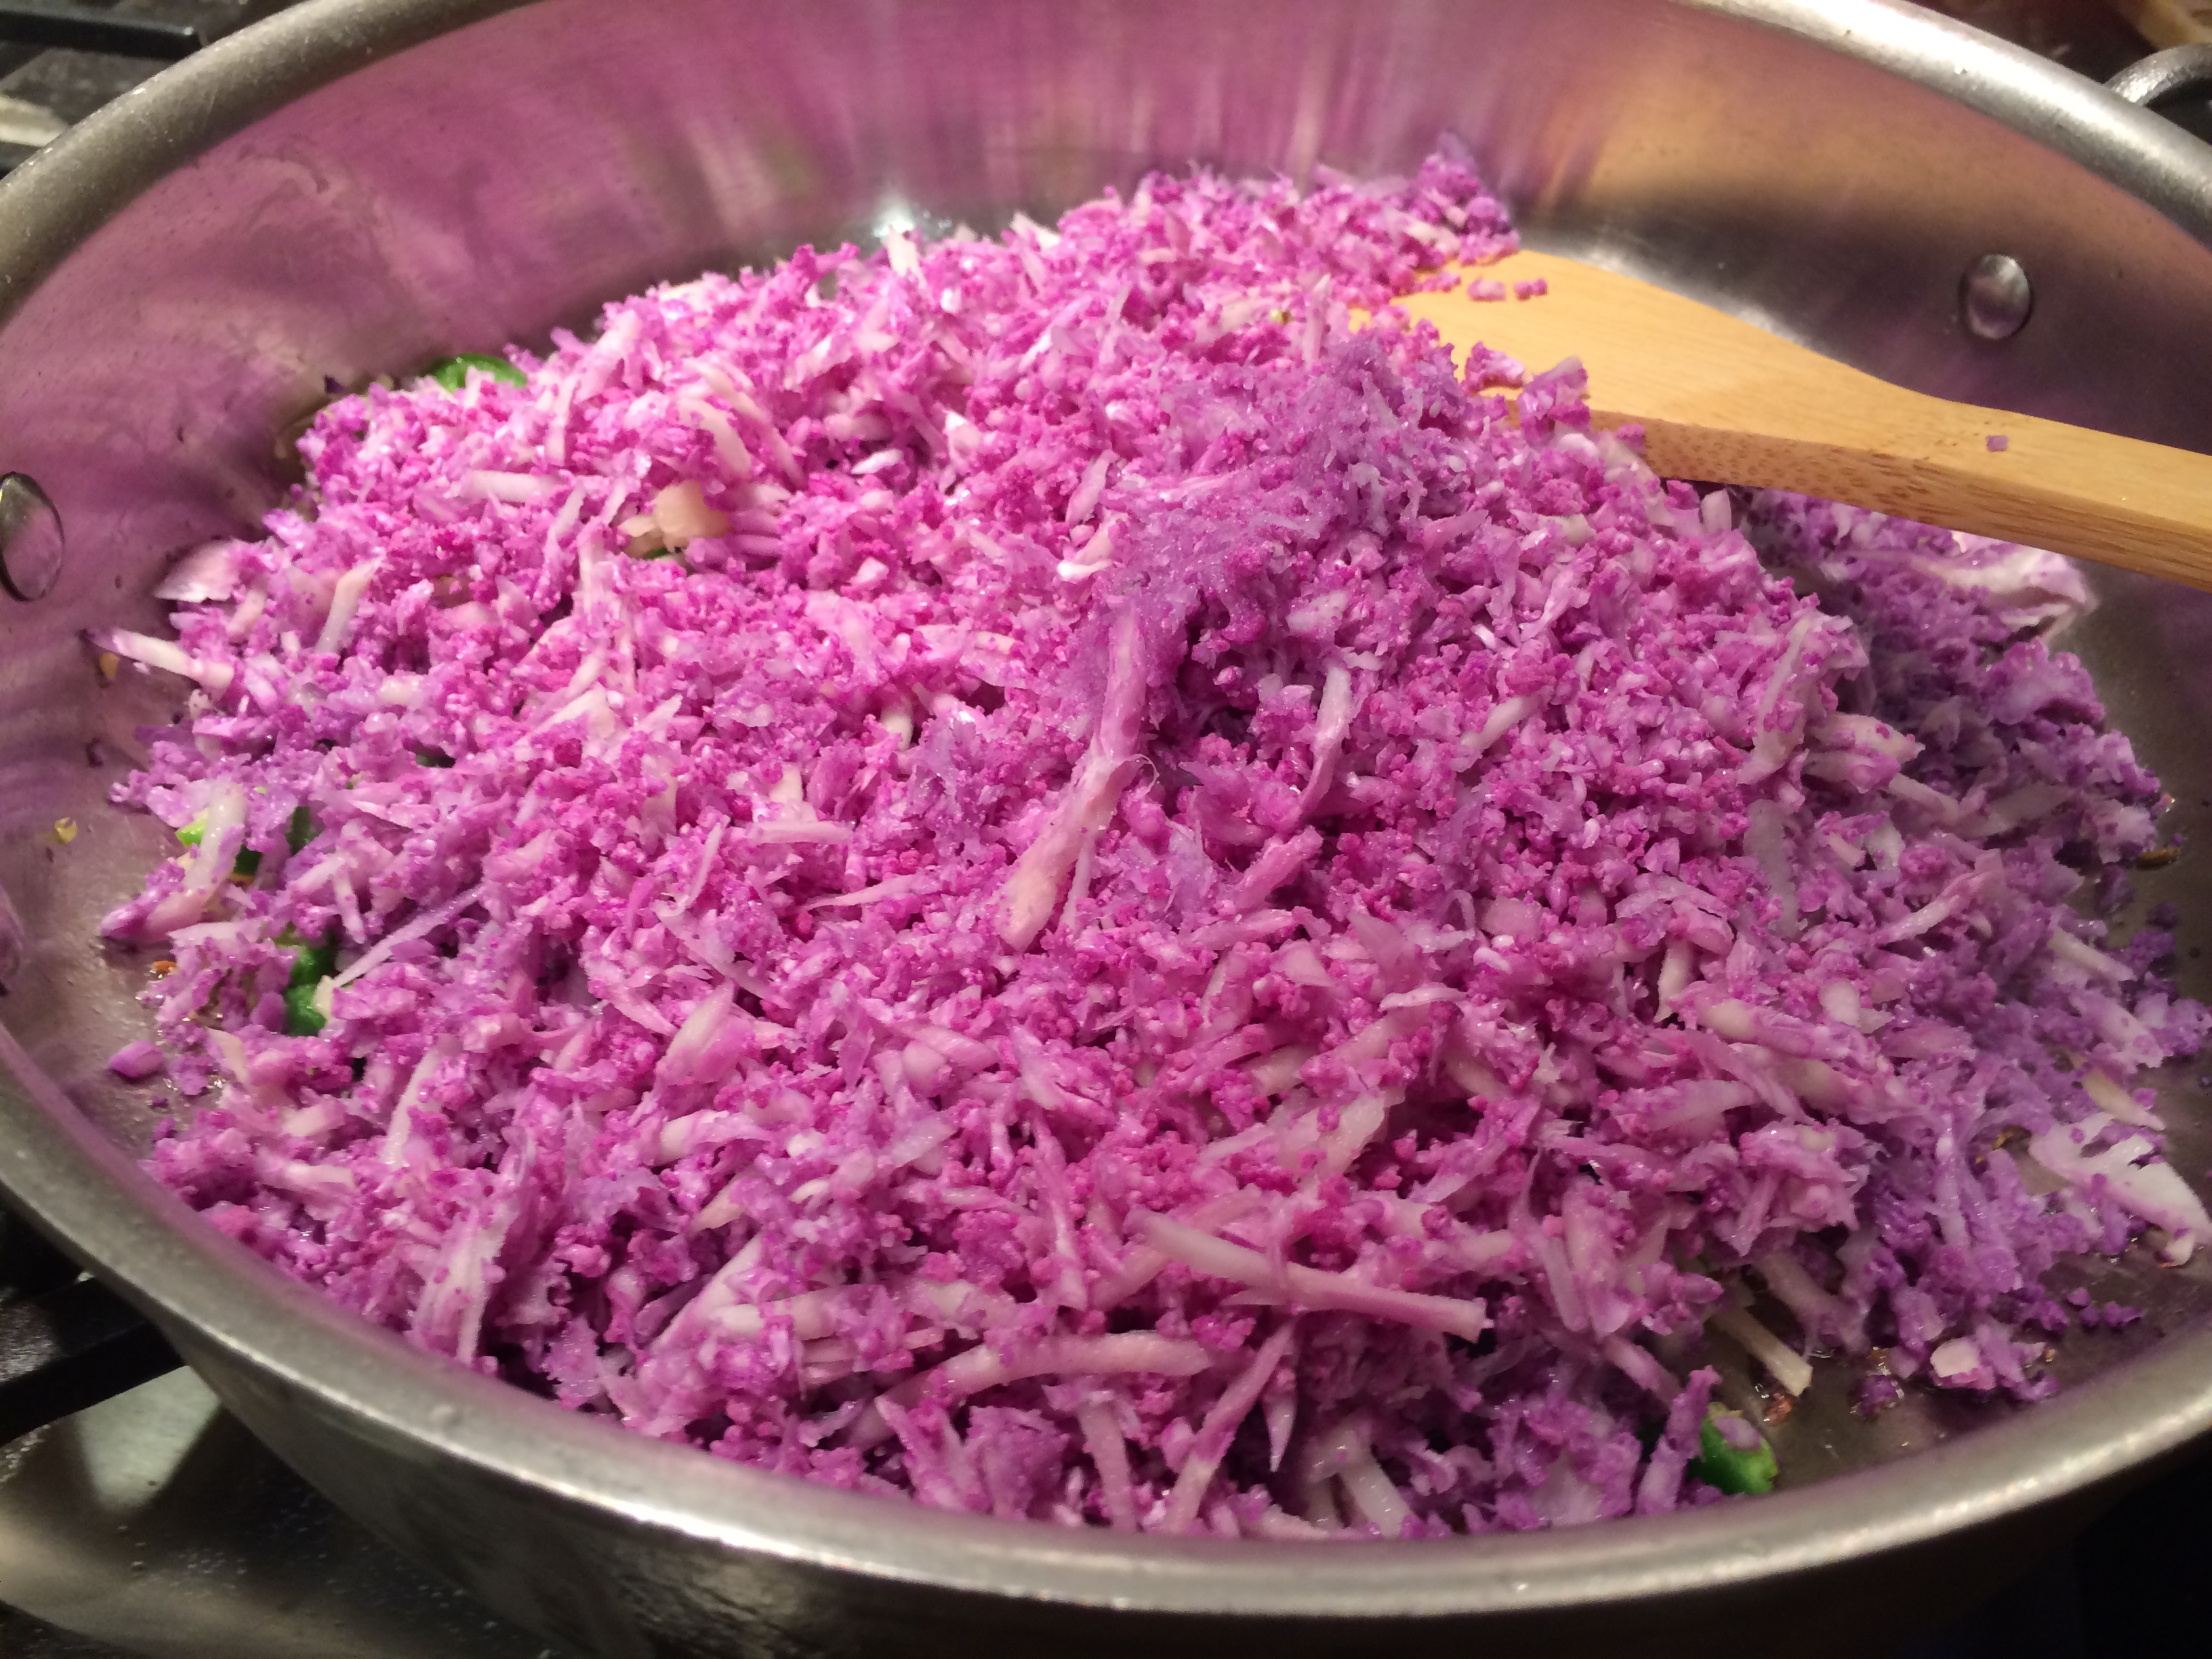
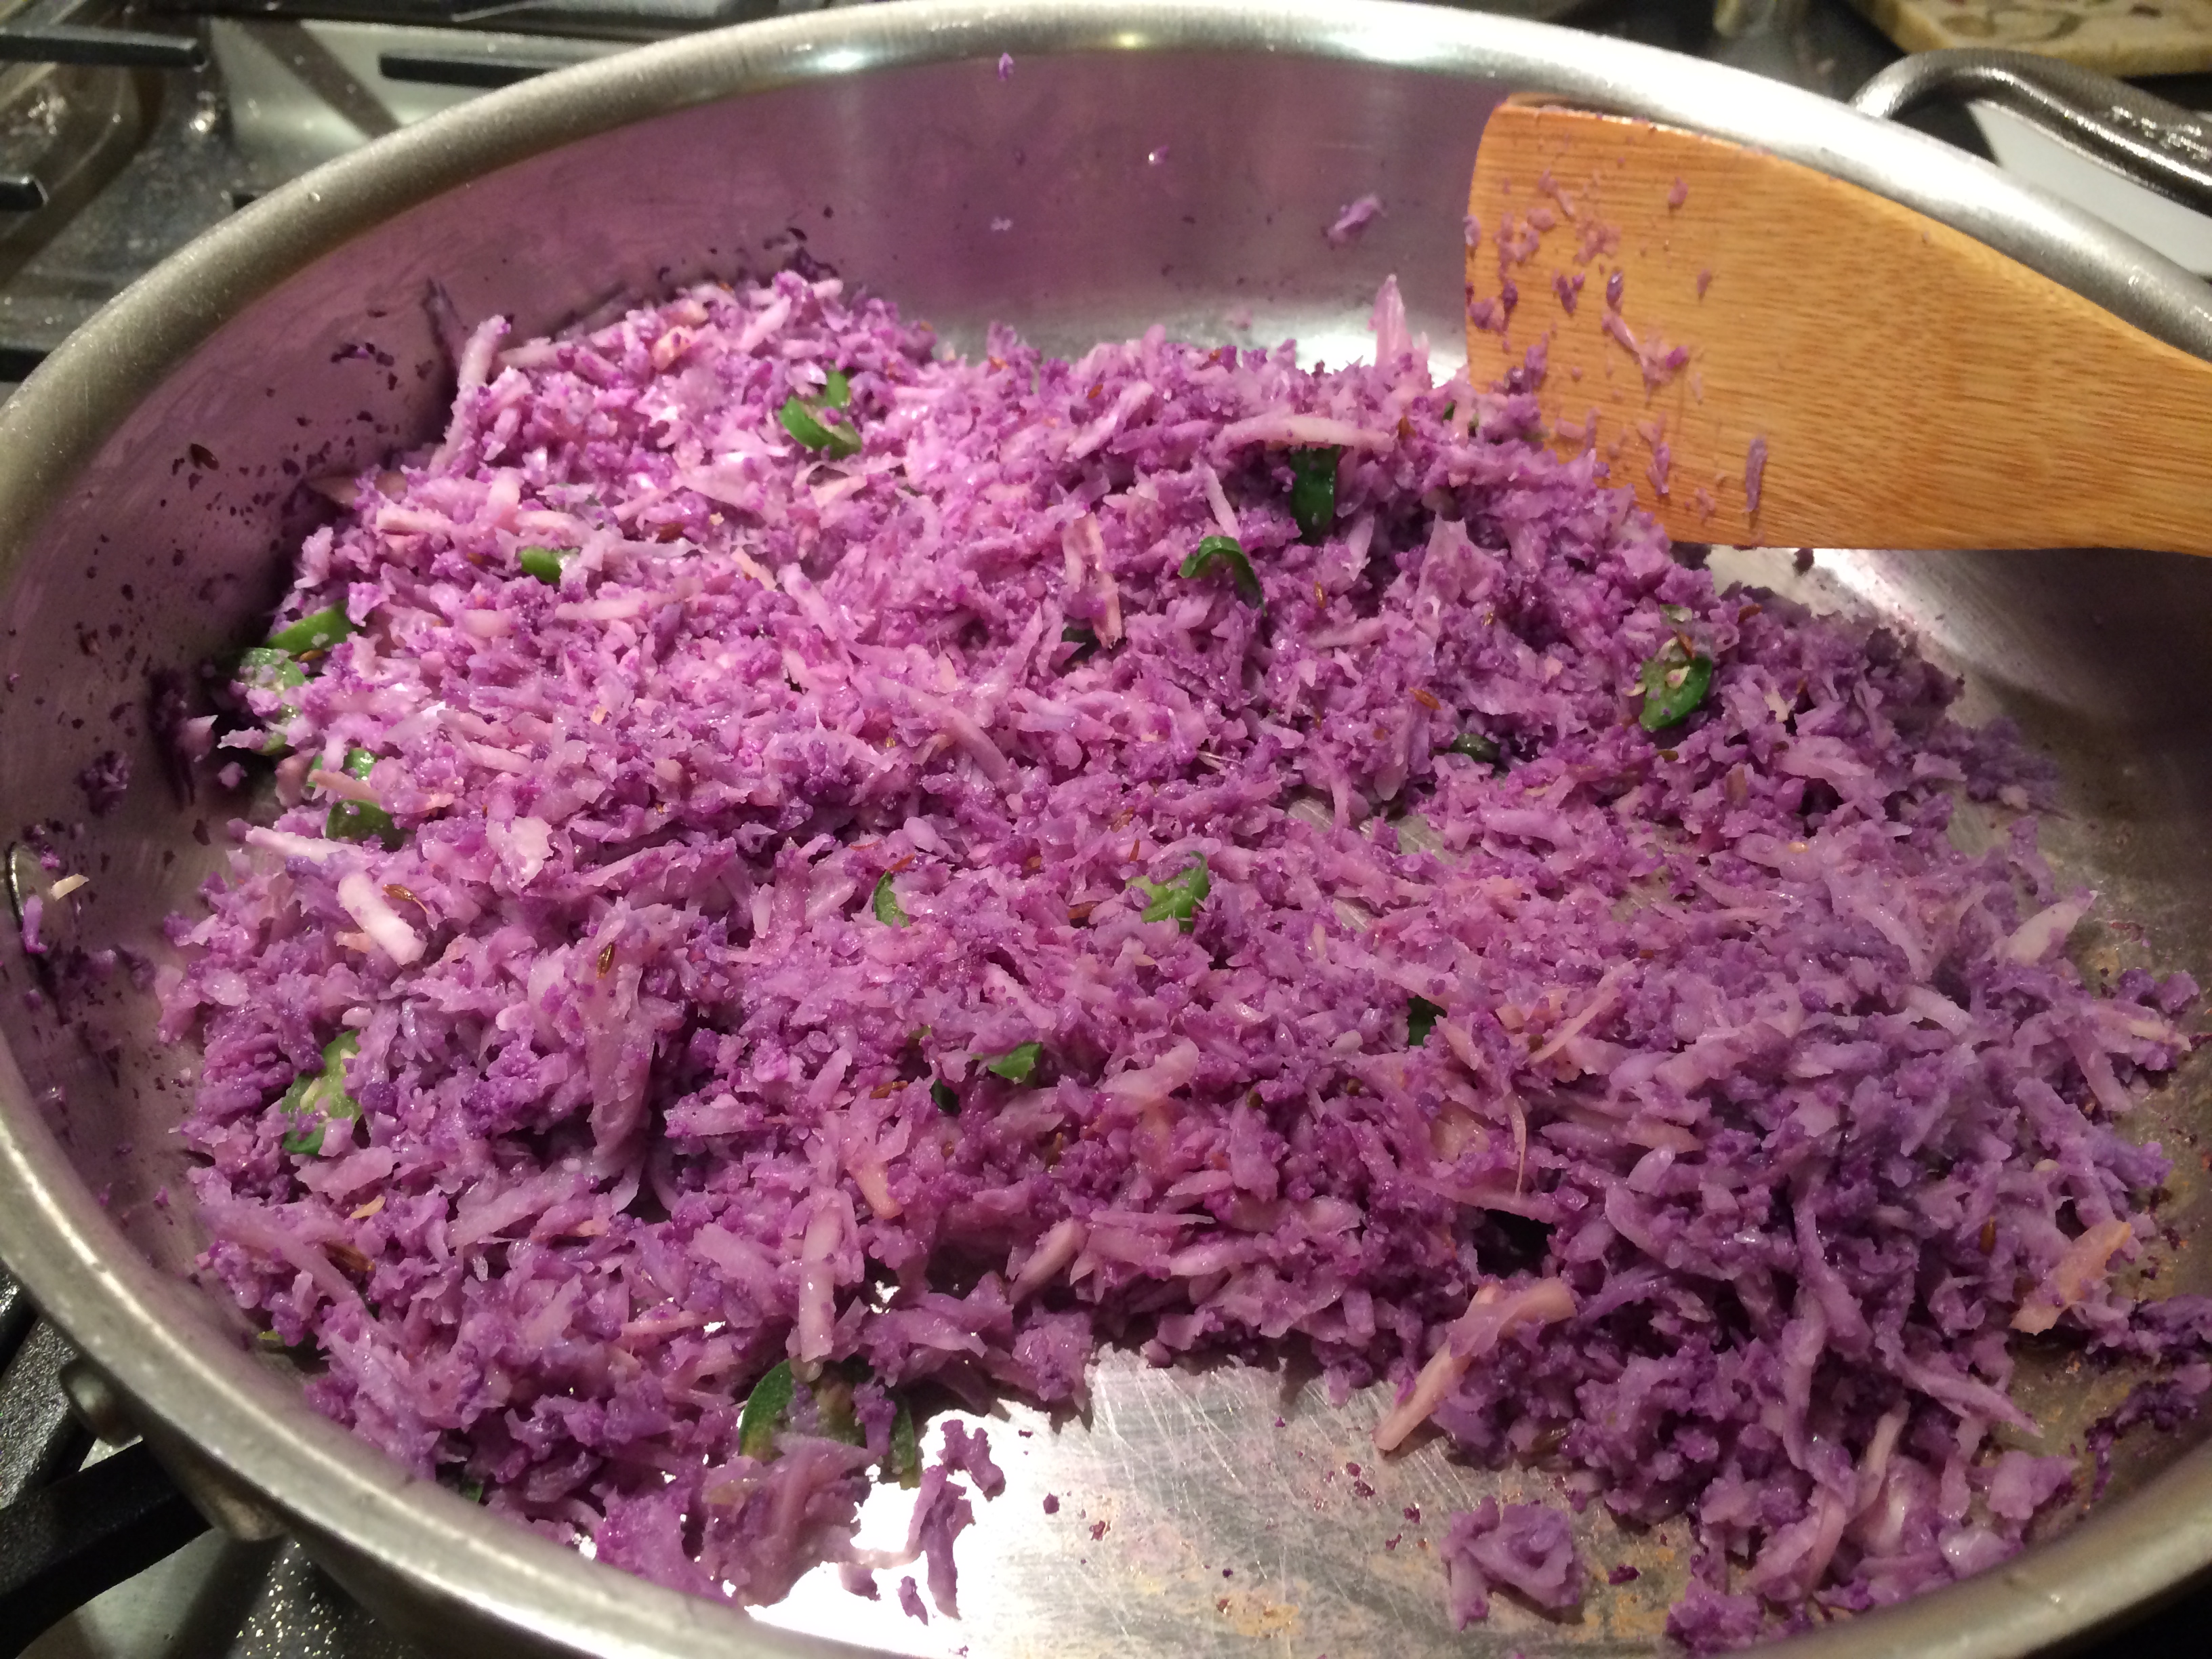
Grated, cooking with oil

Cooked down and dry

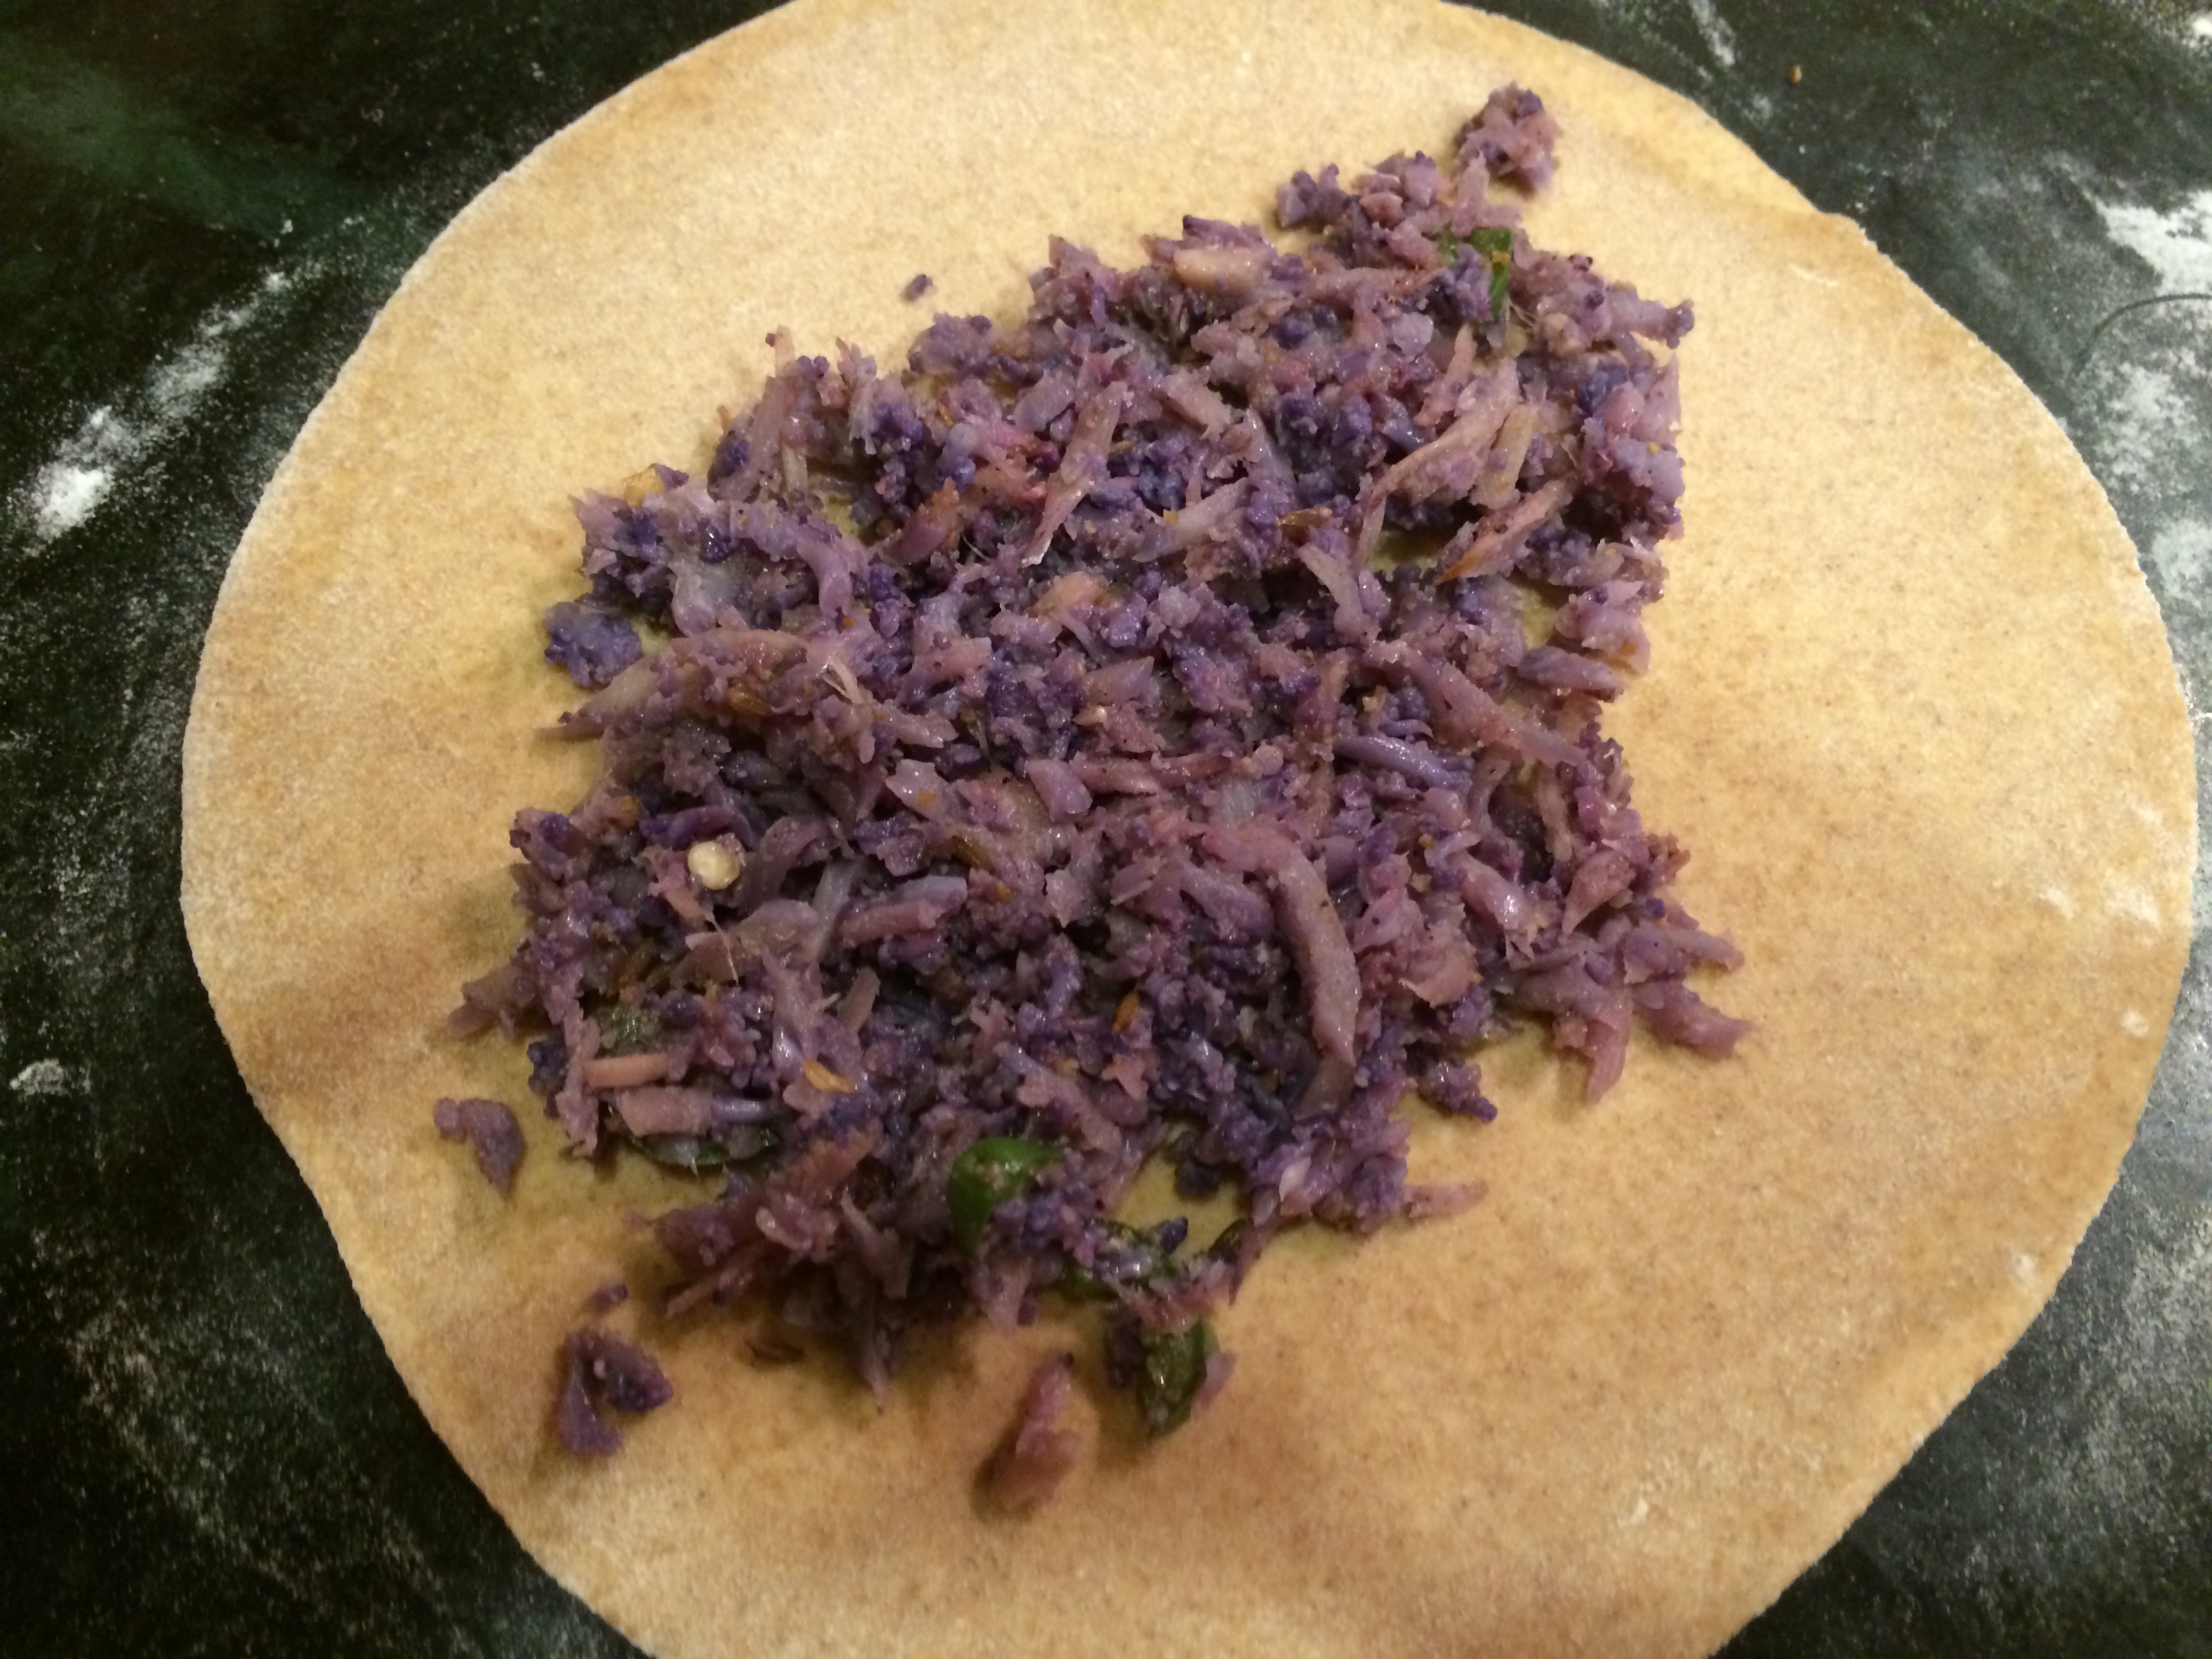
Uncooked paratha, pink showing

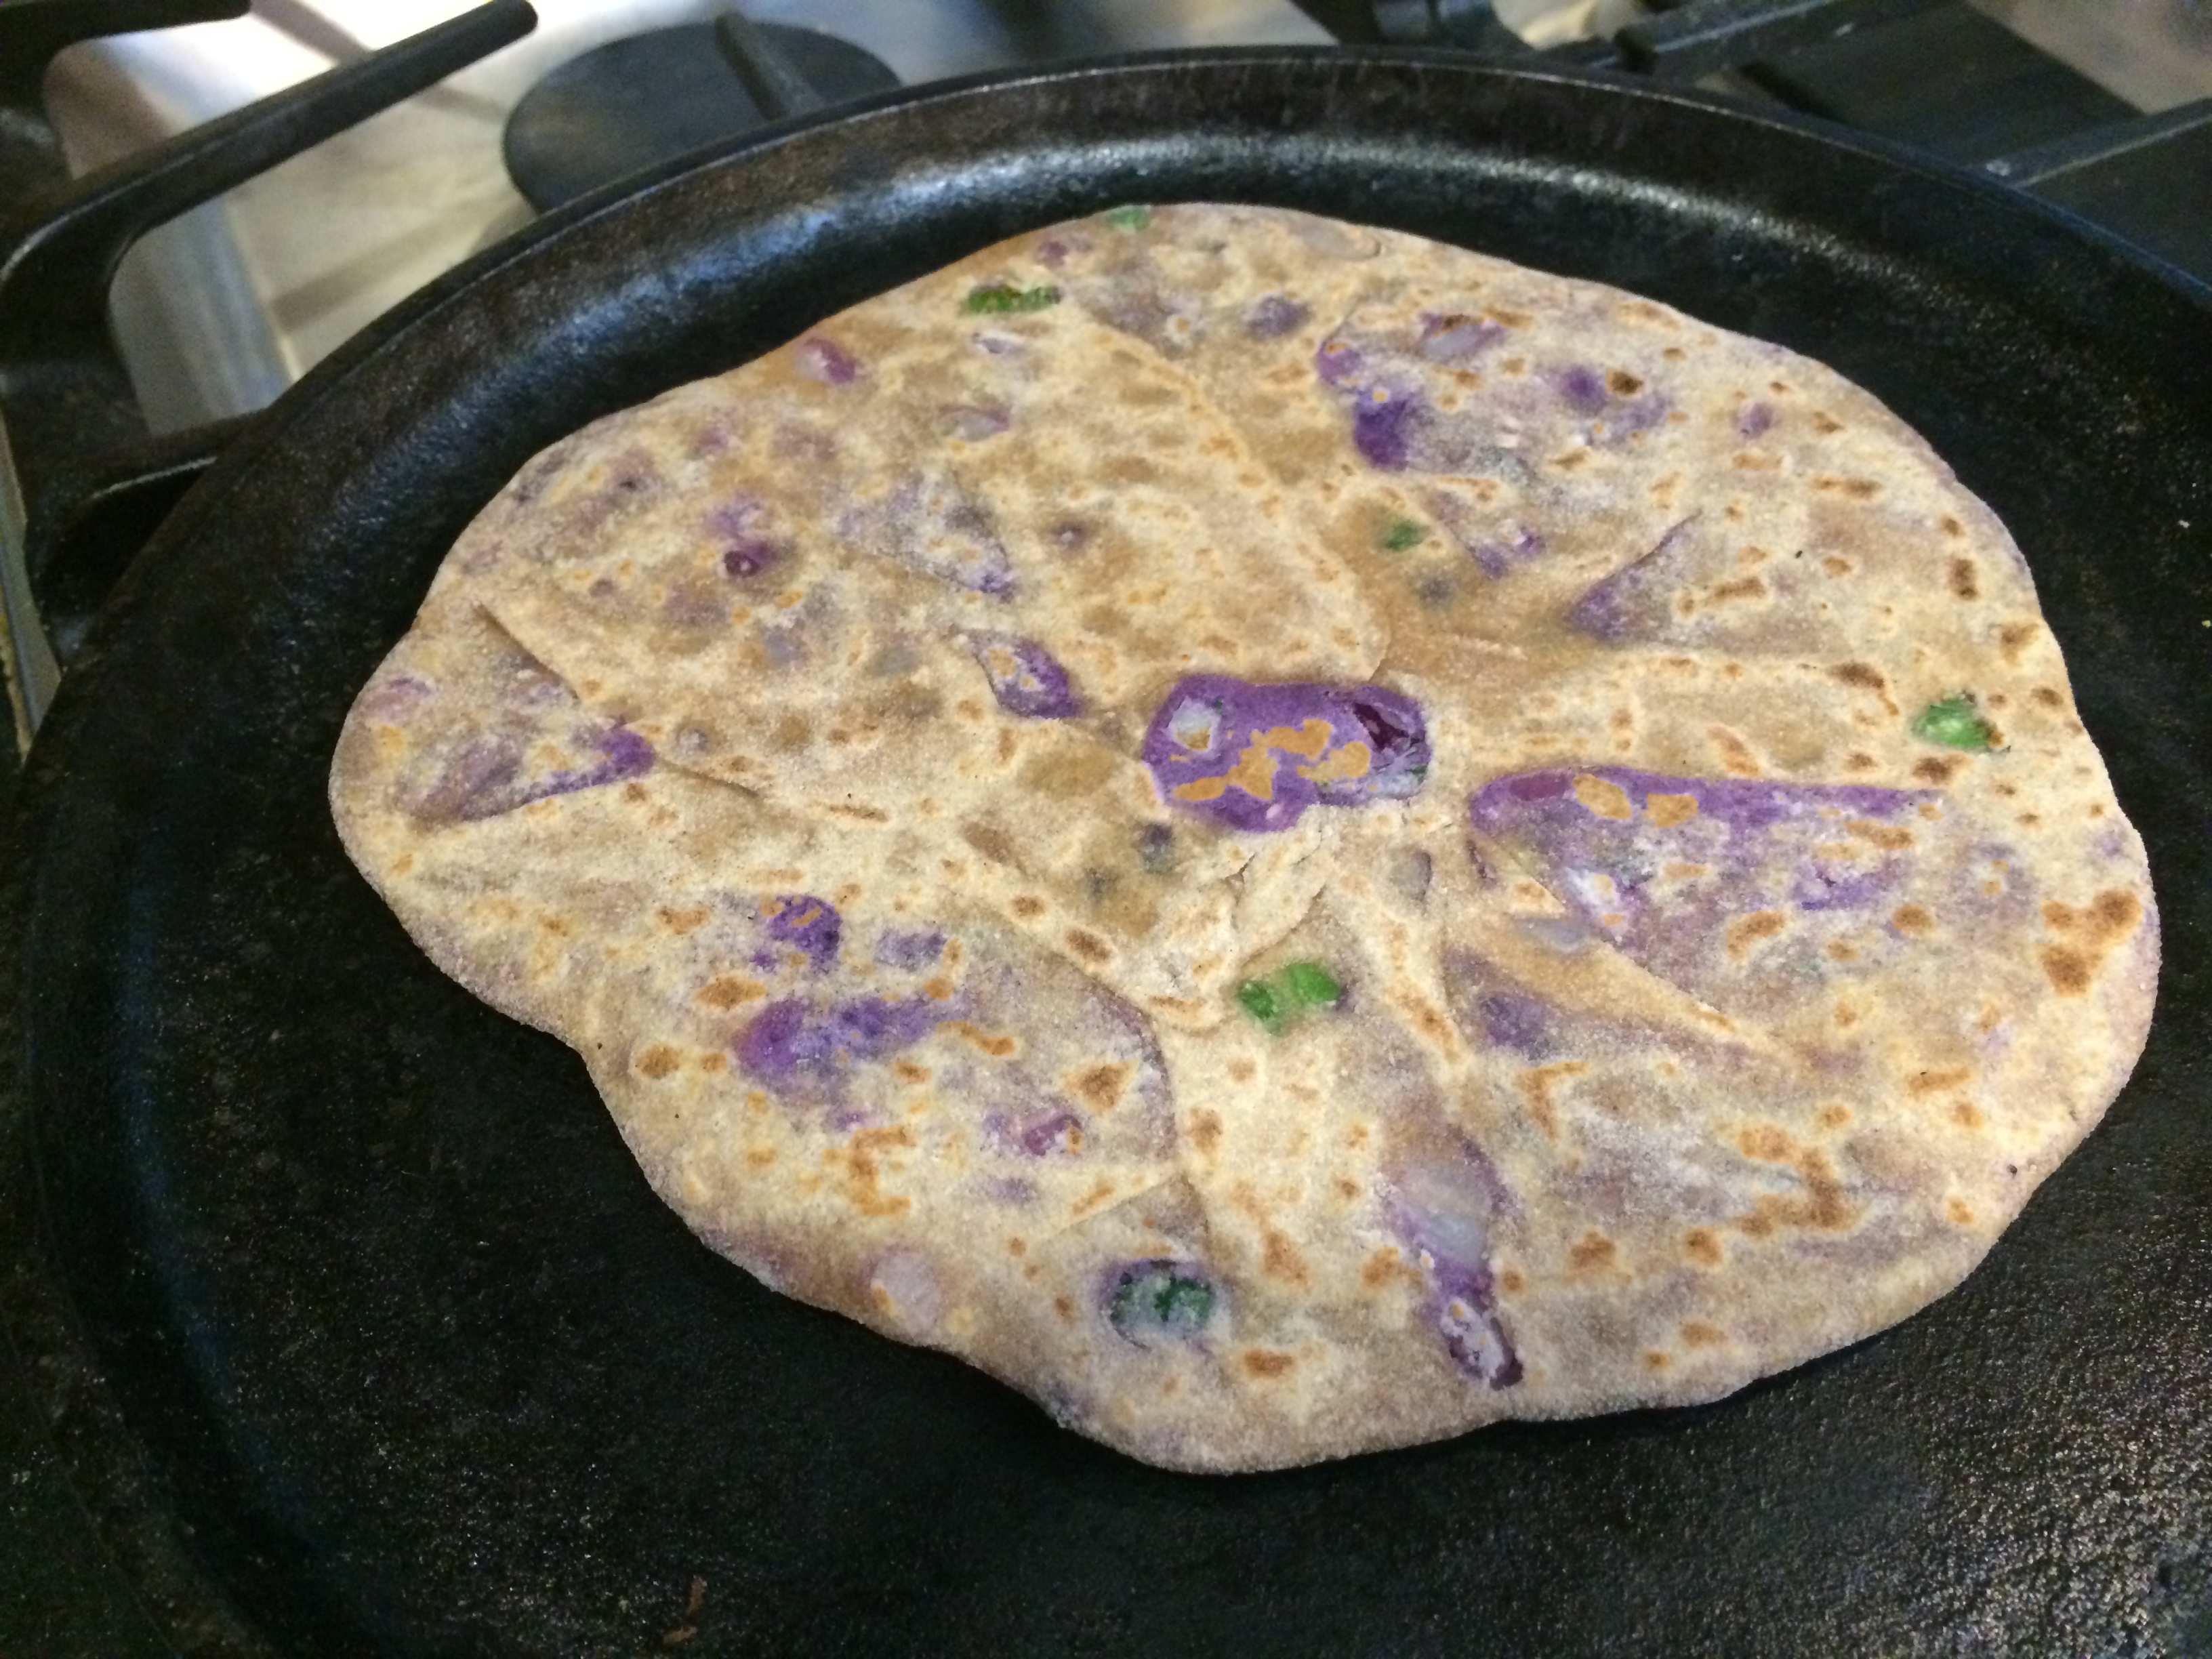
Cooked paratha, stacking up
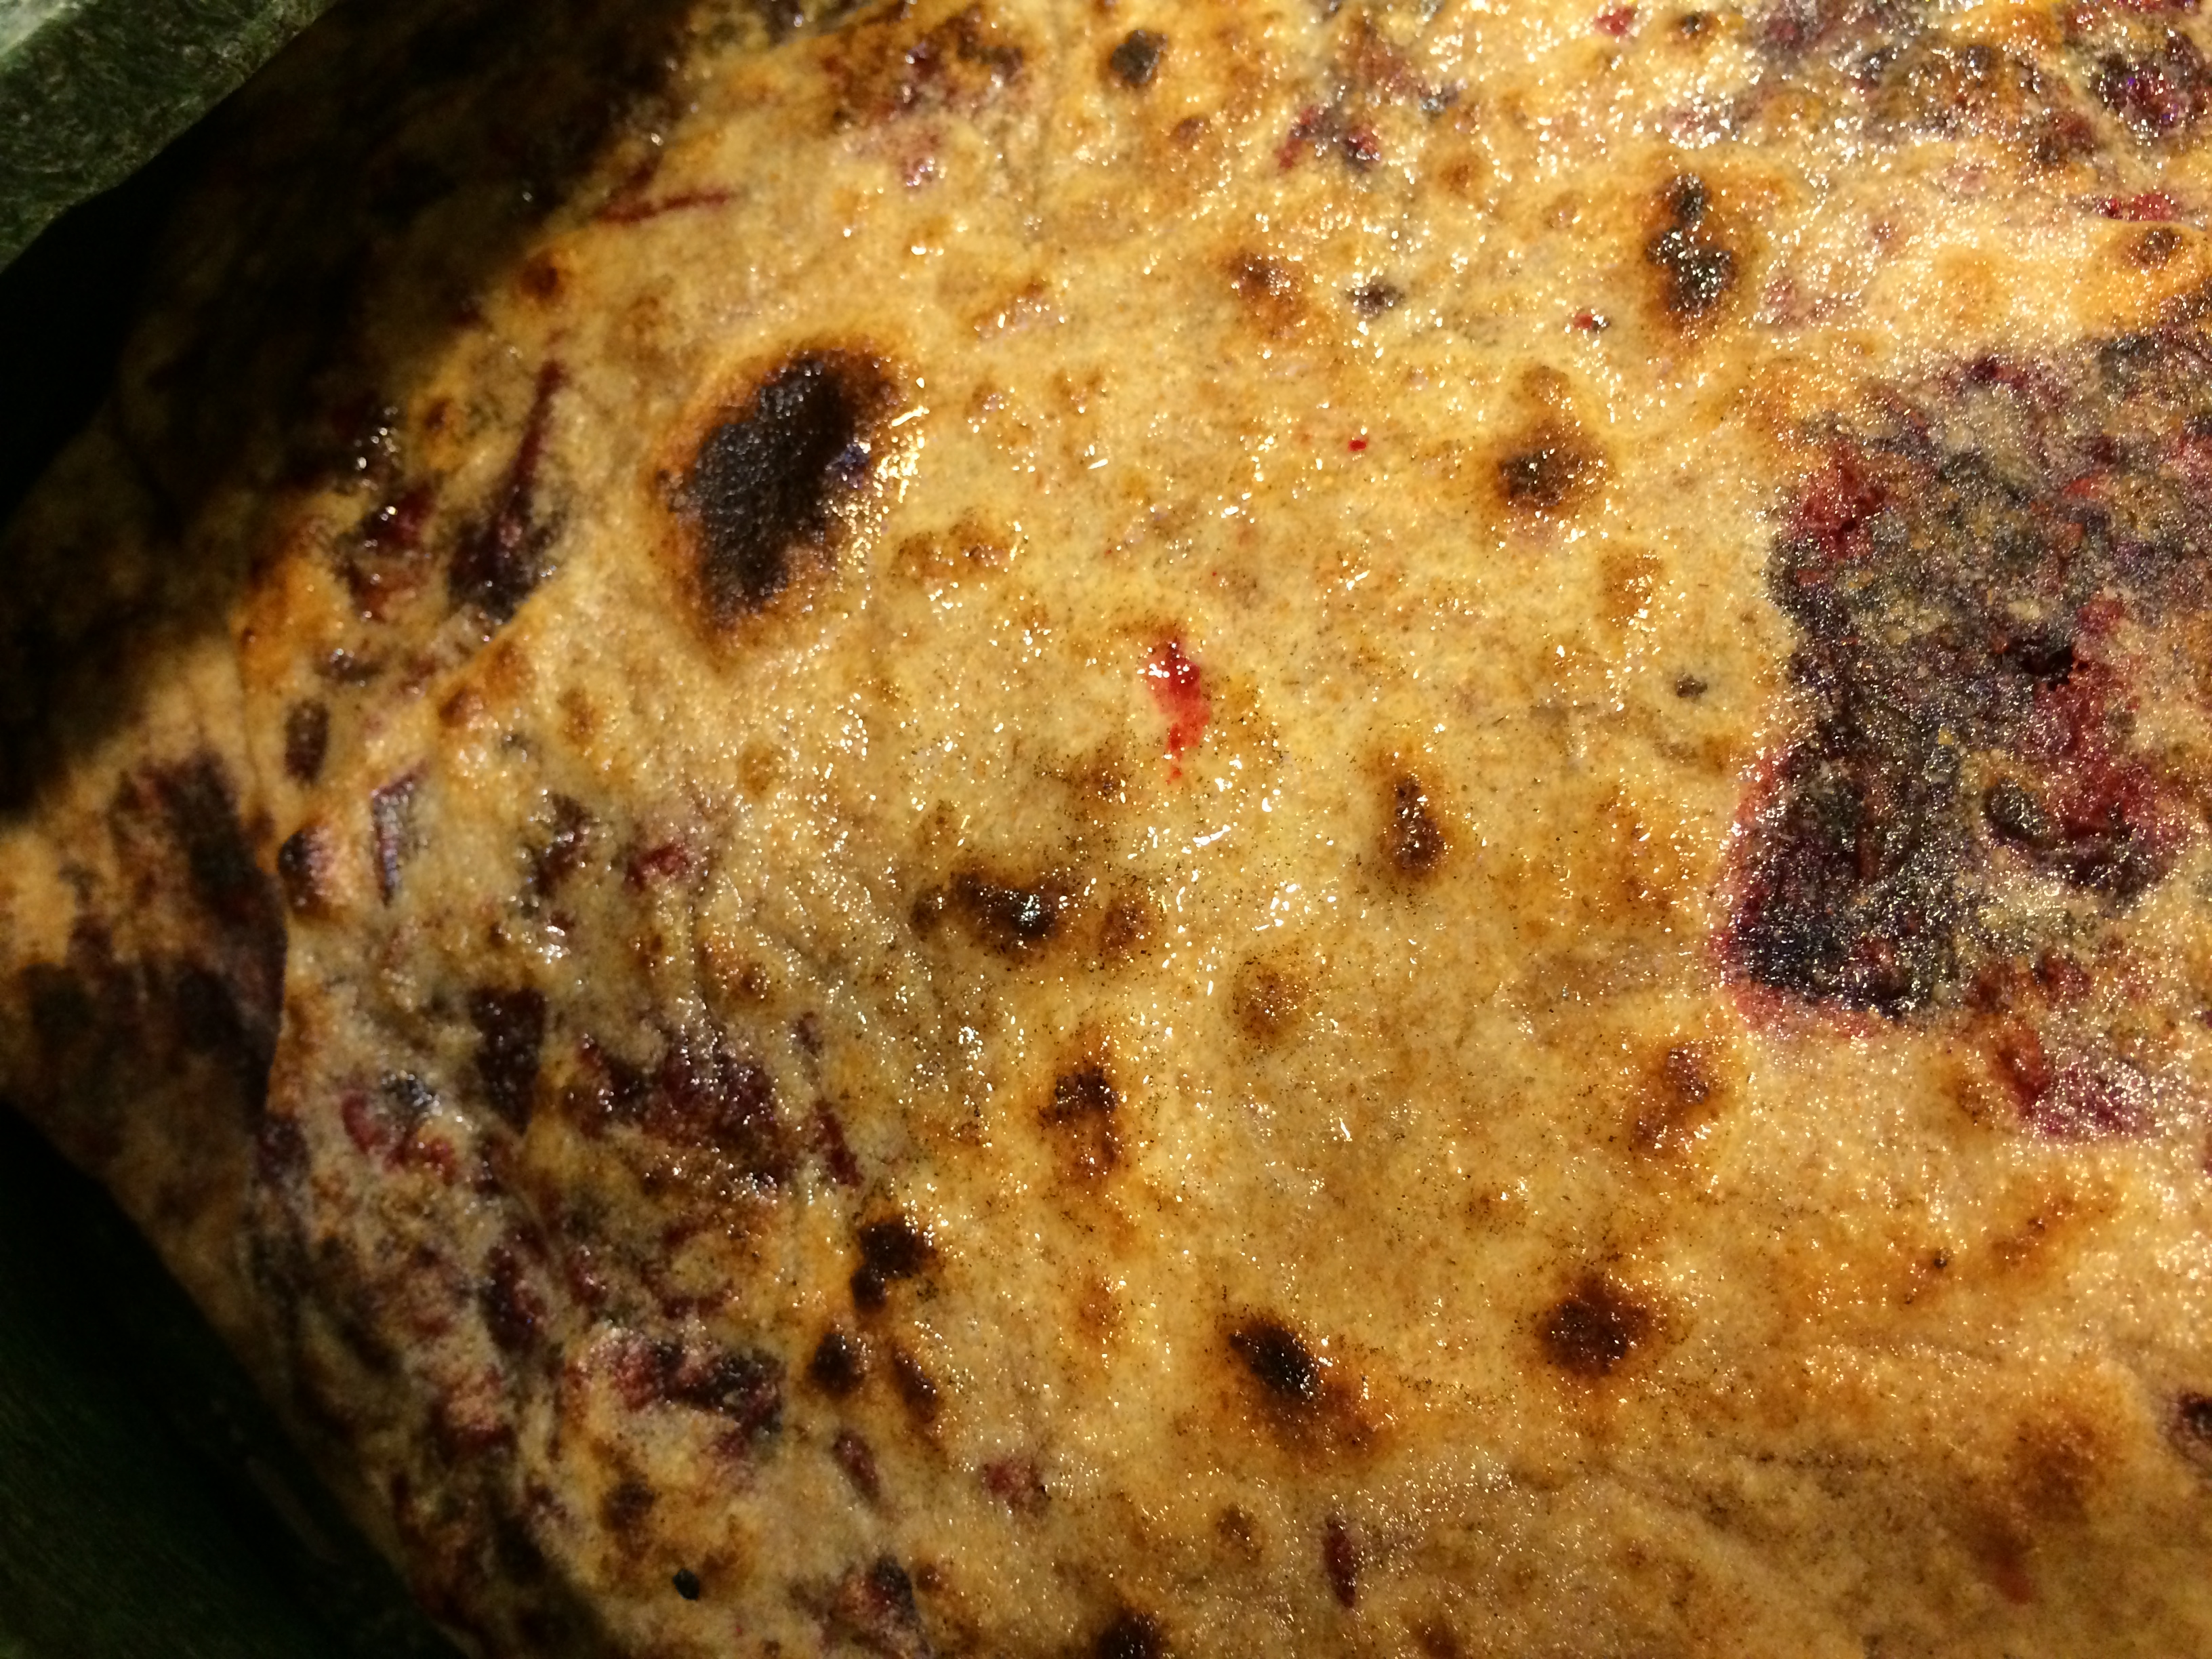
See the pink?
Parathas with beet root and greens filling
Ingredients for filling:
- 3 medium beetroots with greens and stems
- 1 teaspoon salt
- 1 teaspoon red chili powder (or to taste)
- 1 teaspoon chaat masala, substitute with dry mango powder, substitute that with lime/lemon juice
- 1 tablespoon oil
Ingredients for parathas:
- Roti dough made out of about 1 cup whole-wheat flour as in this recipe
- Oil or ghee or butter for shallow frying on griddle.
Method:
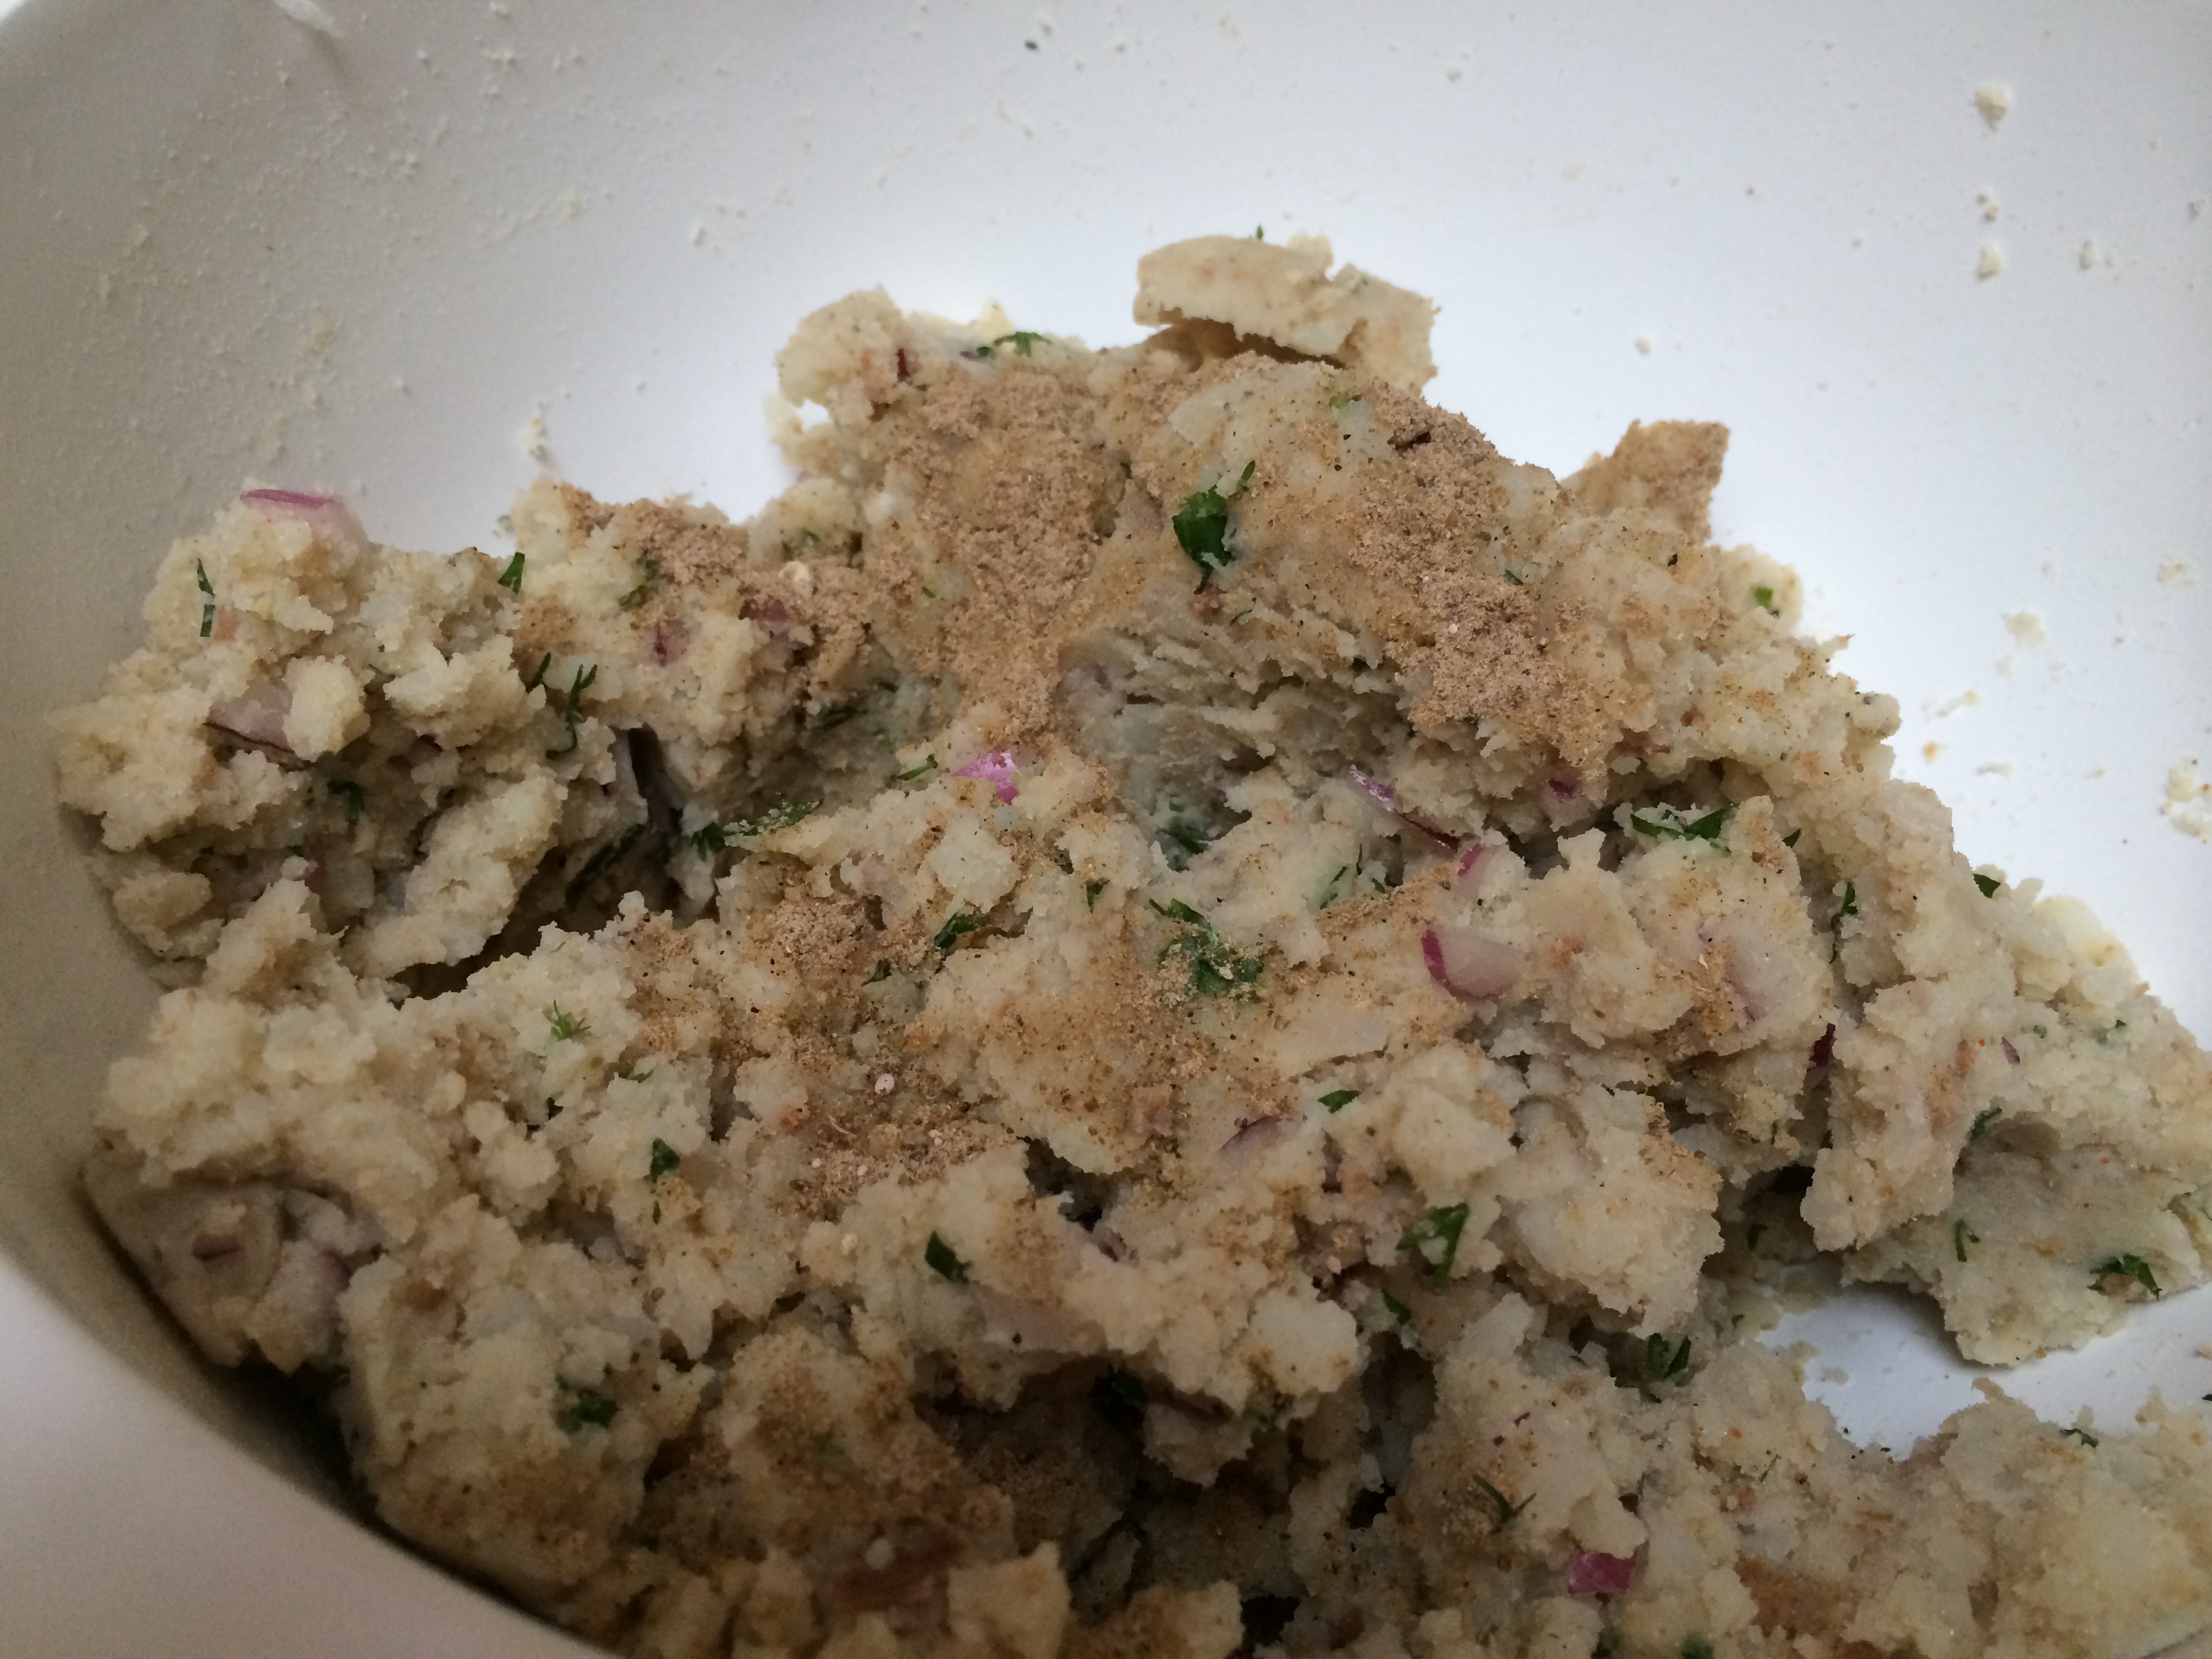
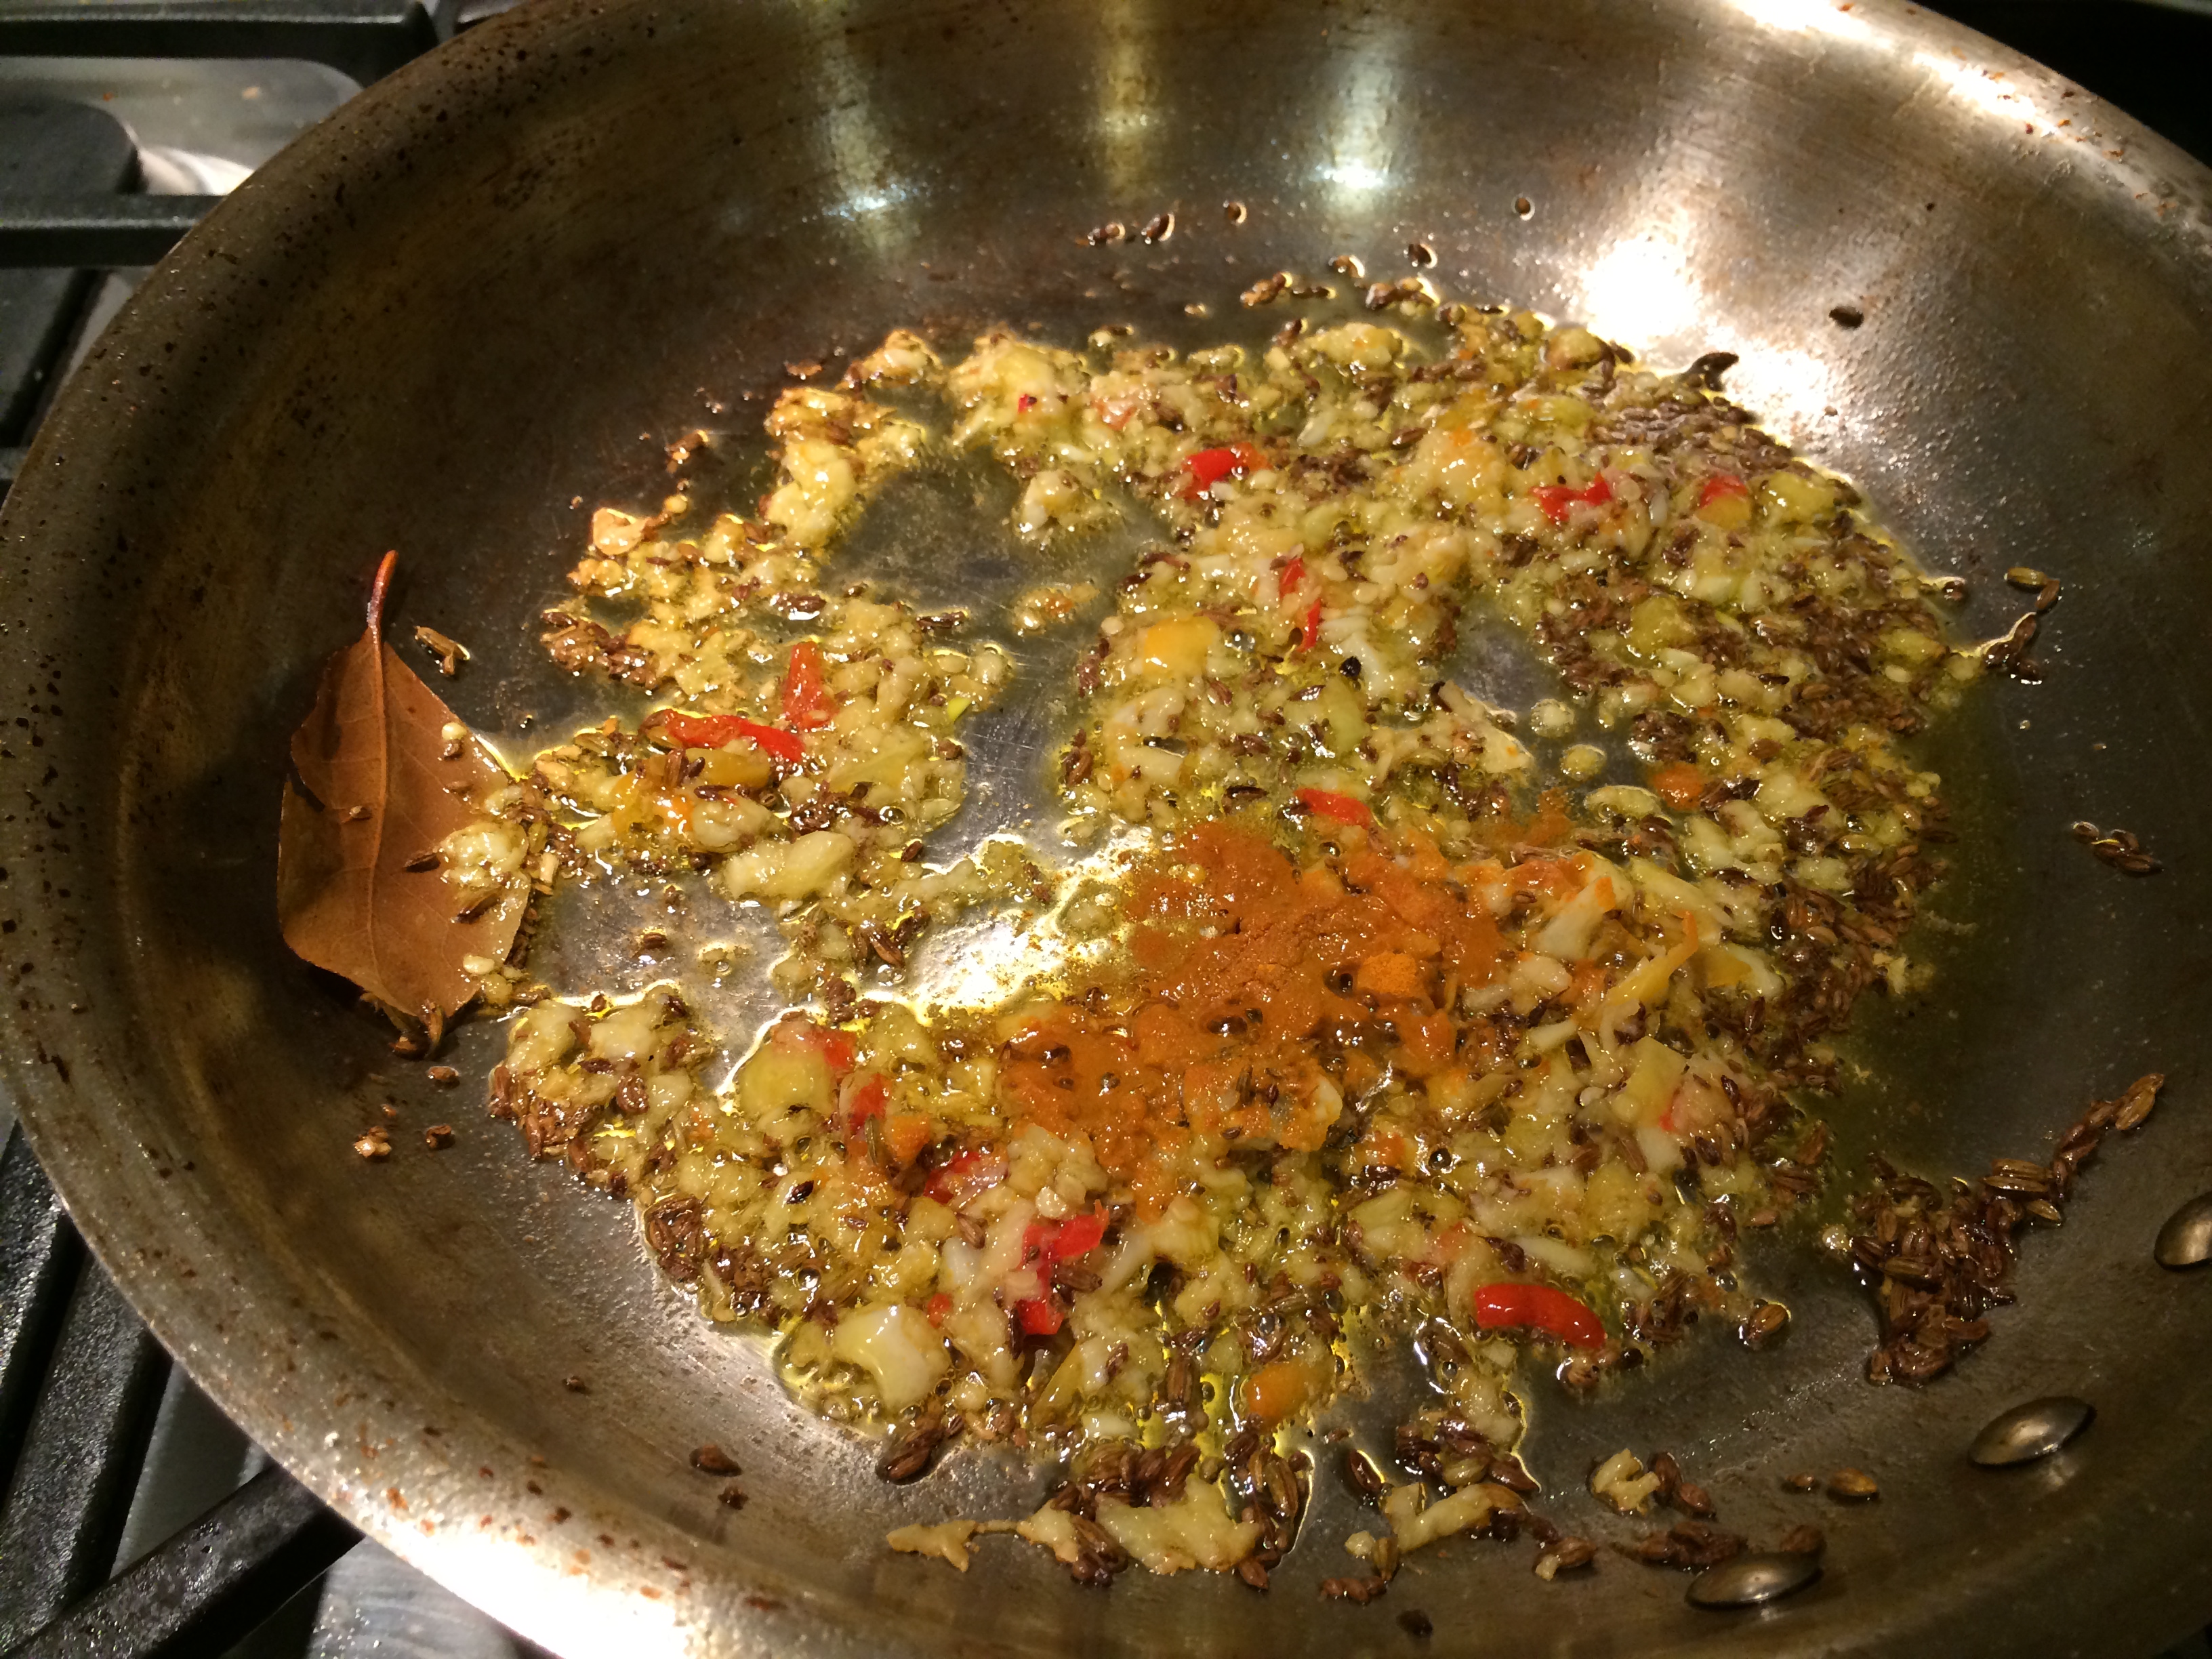
Make the dough and set aside for half hour to rest. Make the filling: peel, trim and grate the roots. Rinse and finely chop the greens and stems. Heat the 1 tablespoon oil in a wide pan. When it shimmers, put in the beets, greens and all. Stir to coat with oil. They will very quickly start to cook down. Add the salt, the red chili, and the chaat masala and stir. The point is to dry out the filling. Once it looks pretty dry, turn off the flame and wait for it to cool. Taste for seasoning and adjust. I generally prefer the filling to be highly seasoned because the dough does not have any seasoning at all.
To make the parathas you can refer to this recipe, but I’m including most of the steps anyway. The dough is the same as used for rotis/chapatis. Roll out a thin circle about 5-6 inches wide. Place a couple tablespoons of the filling in the middle. Gather up the edges of the disk into a pouch. Flatten the pouch with your fingers, then roll it out again carefully so as to prevent the filling from escaping. Once it is a flat disk once again, about an eighth of an inch thick, it is time to shallow-fry on the griddle.
Heat the griddle on medium-high. When some drops of water thrown on it sizzle, it is time to put the rolled out paratha on. Wait for 30 seconds while the underside cooks; then flip it. Wait for another 30 seconds while the second side cooks. Now spread a few drops of oil or ghee on the top surface and flip it, to have the bottom shallow-fry in oil. A minute of this, now spread a few drops of oil on this surface and flip it again, letting it cook another 30 seconds. This way, each surface has been cooked twice, first roasted dry, then with oil, on the griddle.
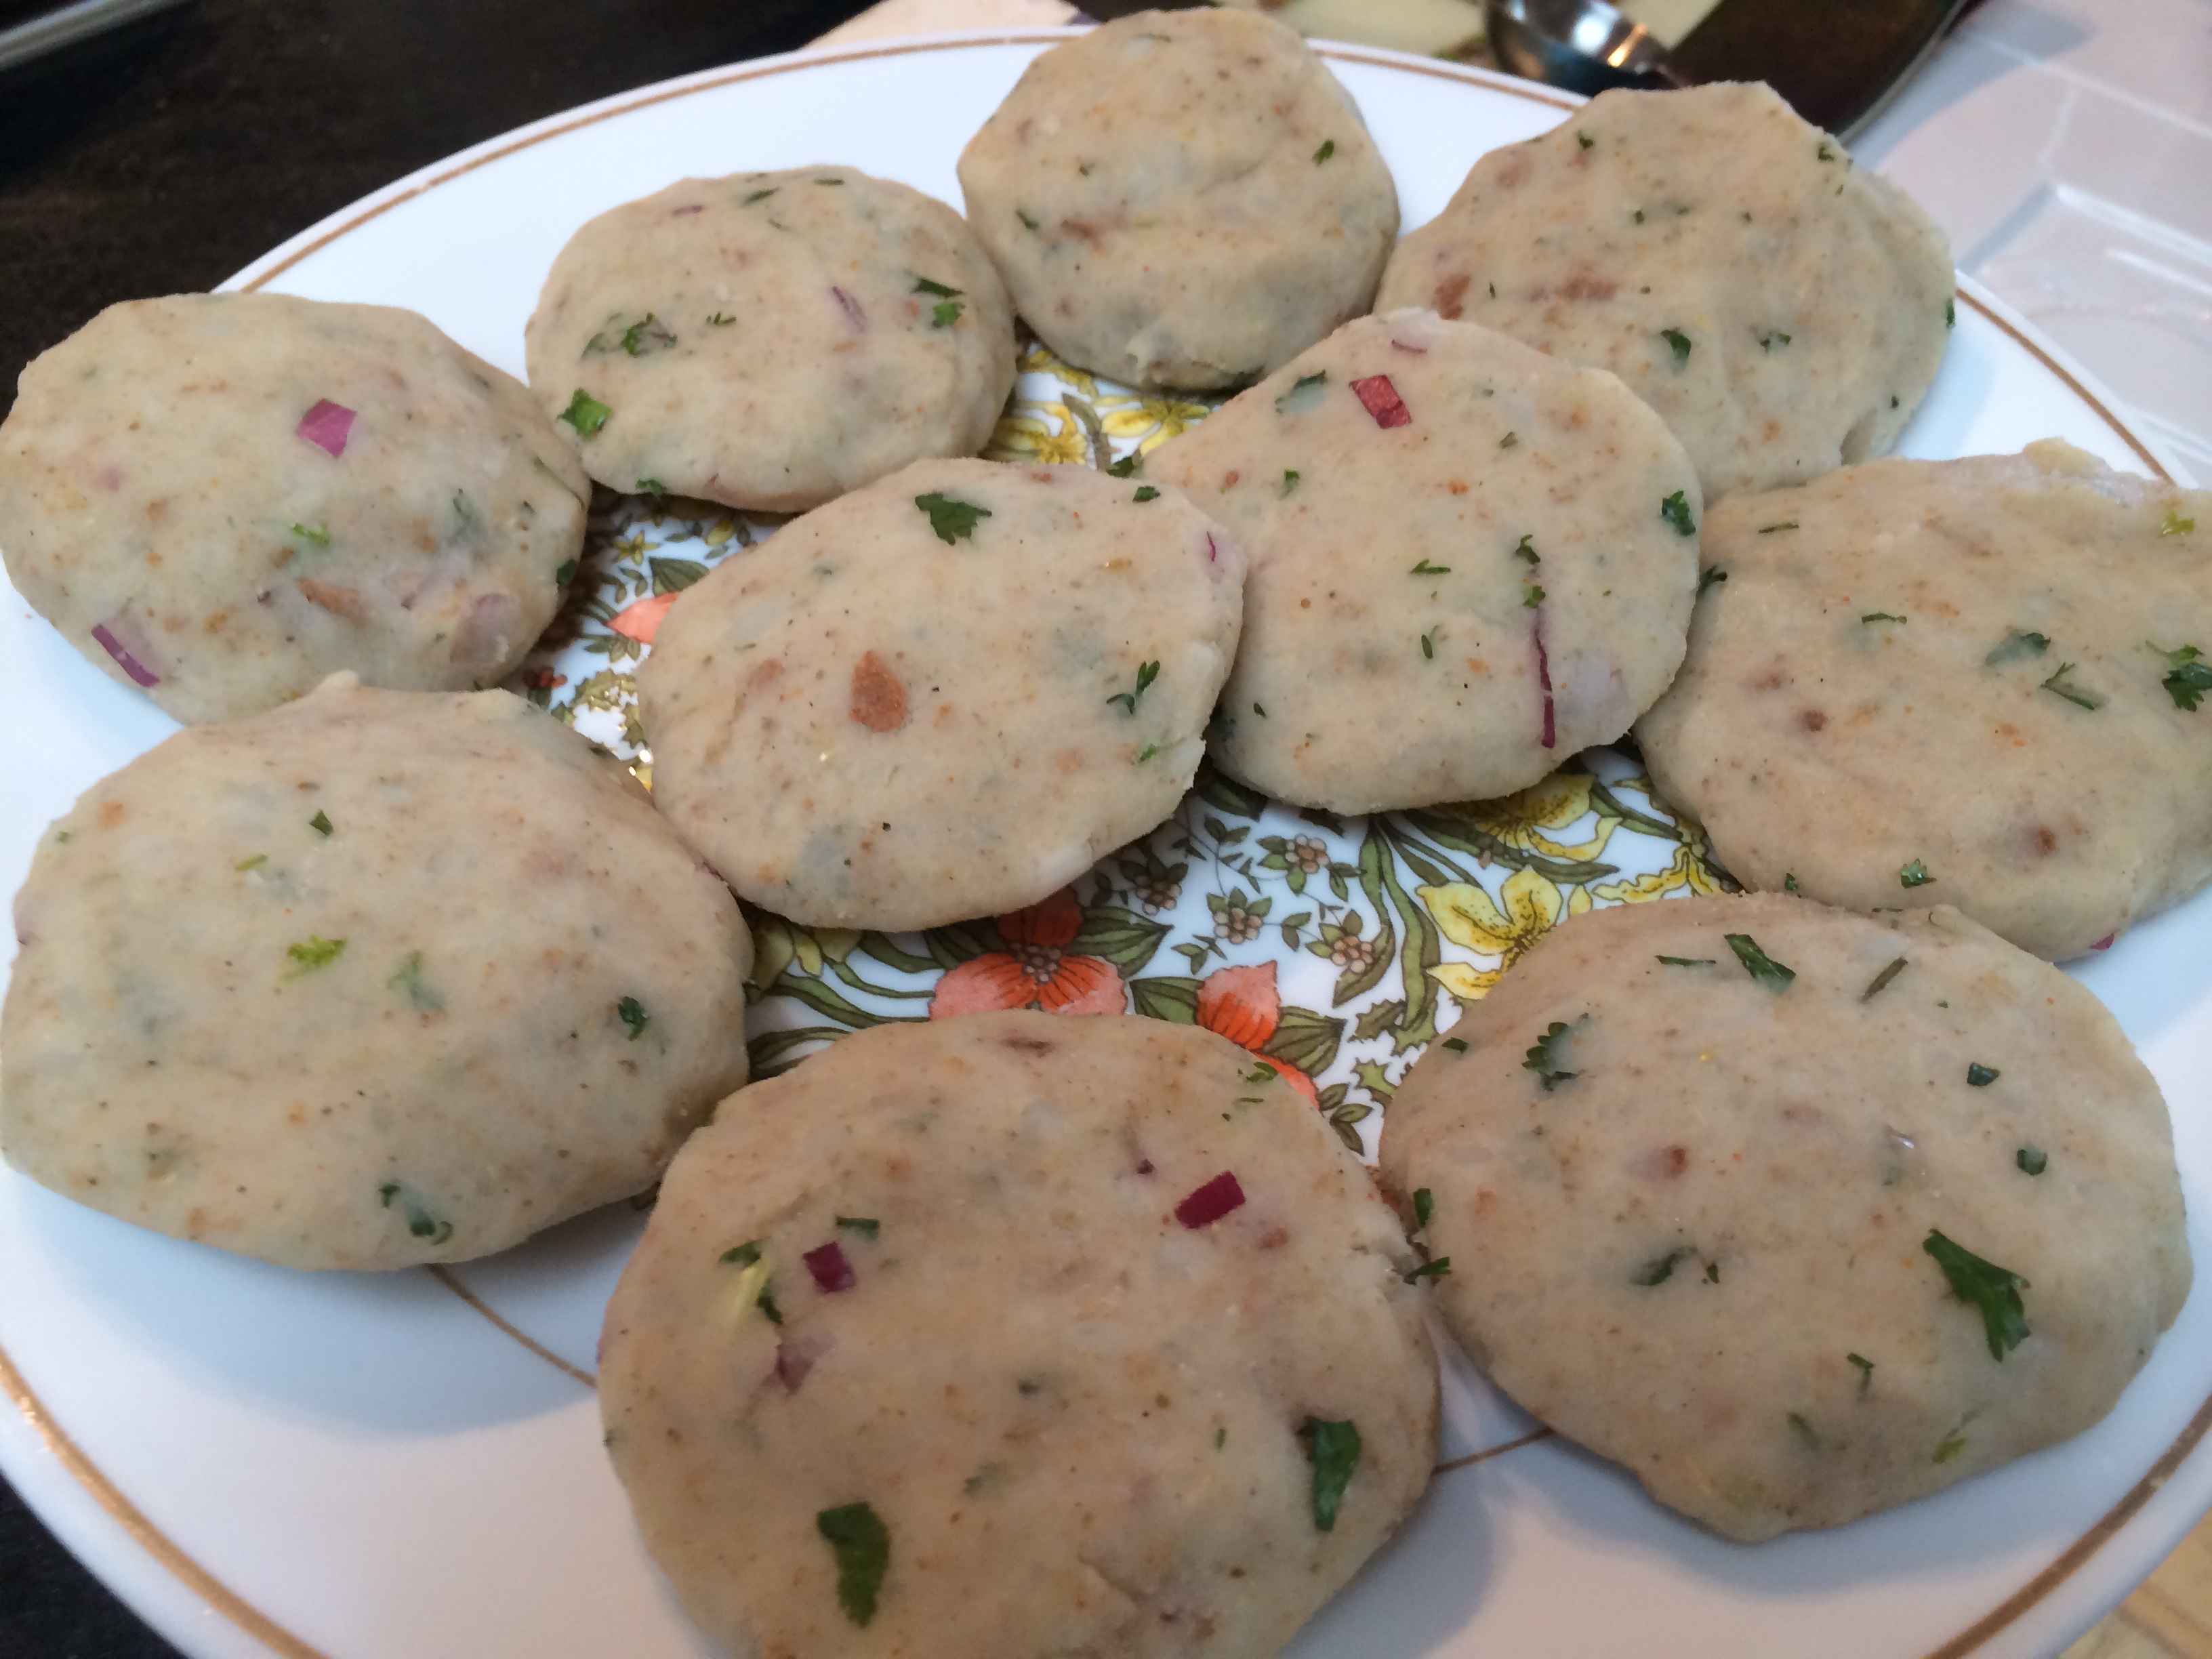
Stack up the prepared parathas; enjoy them with some plain yogurt on the side. Greek yogurt is very popular nowadays, it would make a great dip for these.
I’m entering this in the Family Foodies challenge for May, which is to do with frugal eating. Perfect! Minds knitted together across the interwebs…that’s what blogging is all about.
This is hosted over at Bangers and Mash and Eat Your Veg…this is a link to the May challenge. May the cheapest skinflint win!


![IMG_0498[1]](https://theoddpantry.com/wp-content/uploads/2013/08/img_04981.jpg)
![IMG_0499[1]](https://theoddpantry.com/wp-content/uploads/2013/08/img_04991.jpg)
![IMG_0500[1]](https://theoddpantry.com/wp-content/uploads/2013/08/img_05001.jpg)
![IMG_0501[1]](https://theoddpantry.com/wp-content/uploads/2013/08/img_05011.jpg)

