Easy-peasy split green mung dal

IMG_6395As I have said before, dals are such an integral part of food in India that each type may be used in four different ways: the whole bean, the split bean with the green peel left on, the split bean ‘cleaned’ of the green peel, and ground. And the amazing thing is, that at each of these stages, the cooked dal presents a different look, a different flavor, and a different meal entirely.

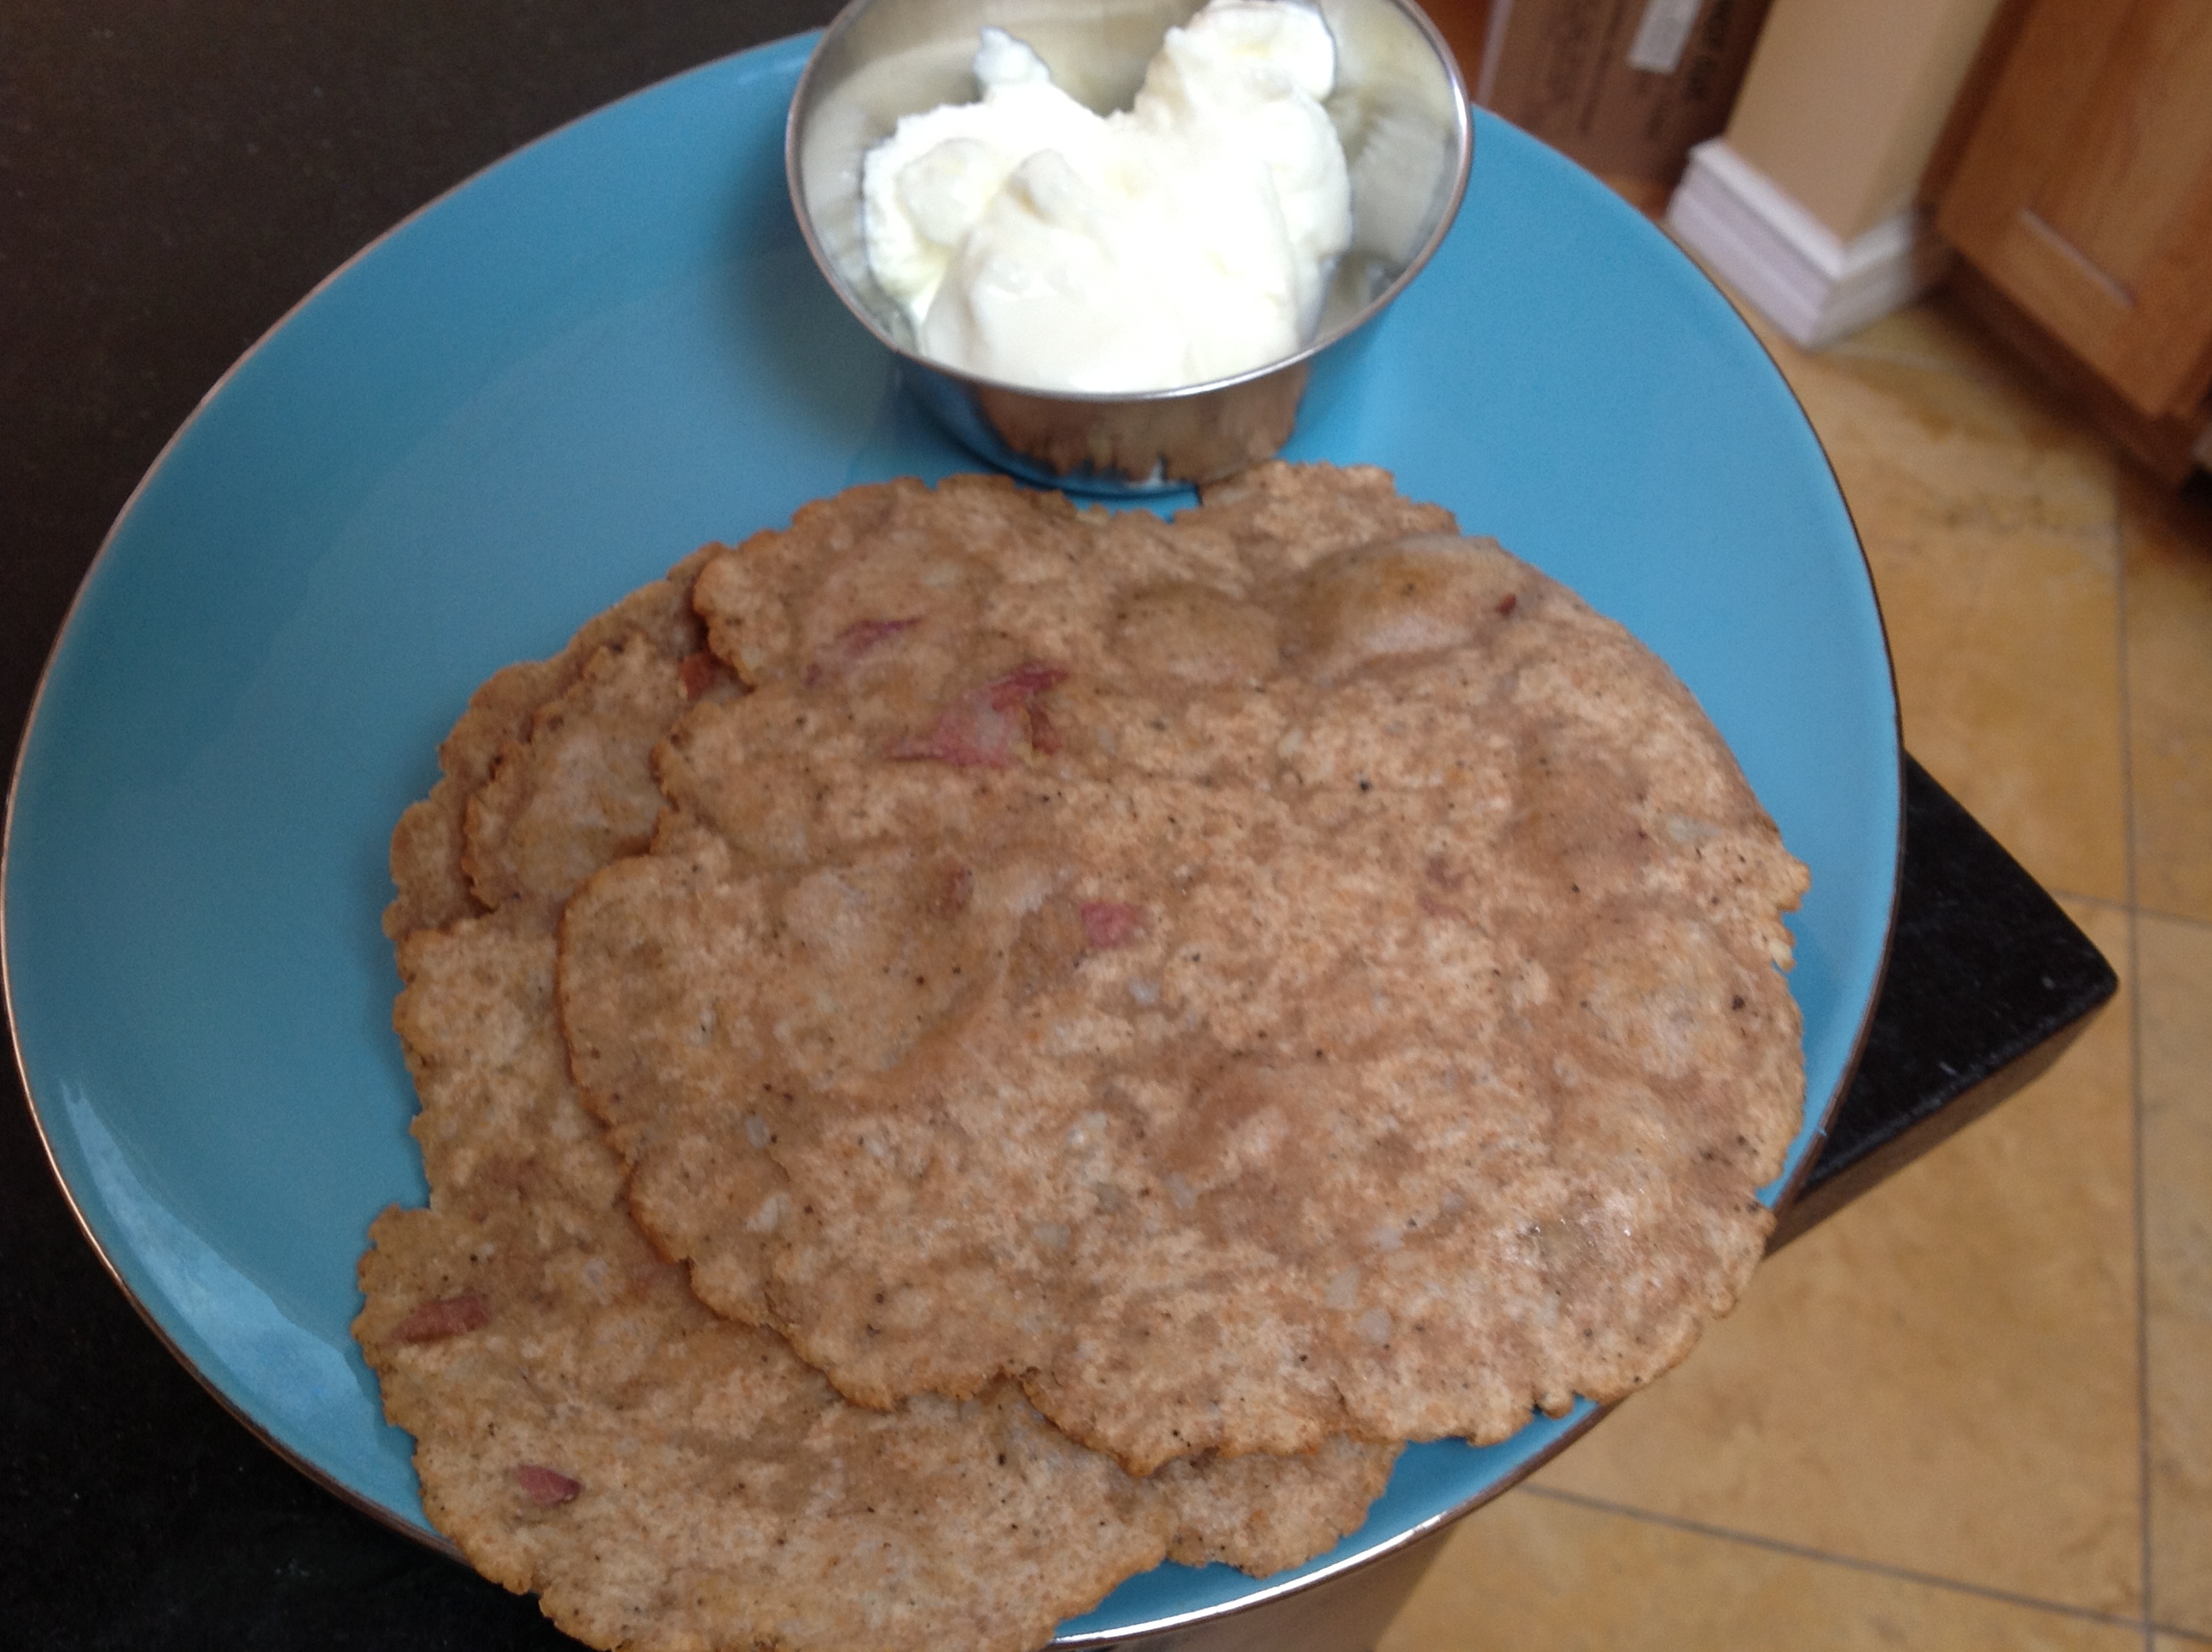
Let’s take mung dal. Now this is the most basic of the dals, the cheapest, and the earliest introduced in childhood. One dal, so many meals! The whole bean can be sprouted or boiled without sprouting; either way, it stays whole, earthy and chewy. The split-and-cleaned dal is yellowish and makes a creamy end-product when cooked. Ground, of course, it can be used to make crepes and pancakes, known as adai in the South.

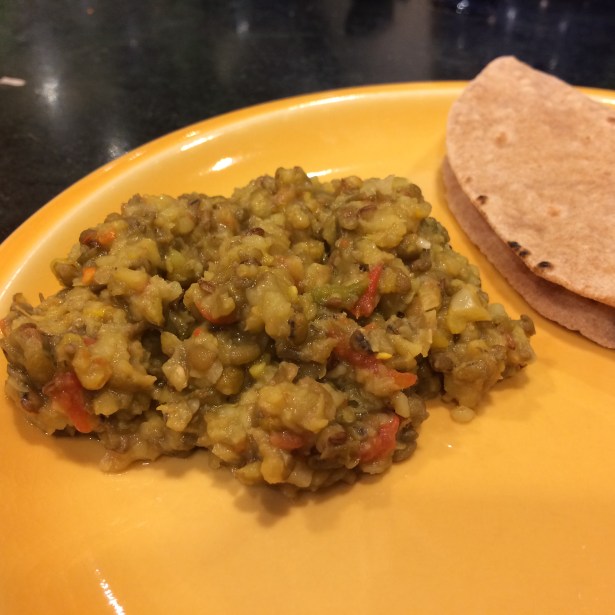
The split-dal-with-green-peel occupies a place somewhere in between all of these methods. Creamy, though not completely mush; earthy but not entirely; a nice meal with roti for cold nights.

Sai dal

My family comes from Sindh which is now lost to Pakistan. If one were to ask me what sets Sindhi food apart from the rest of Indian food, I would say, that it is our extremely vague way of naming dishes. For instance, a gentle stew of split-green-mung dal with some garlic is known, simply, as ‘sai’ (green) dal. Everyone knows what you mean. What’s the point of being more specific?

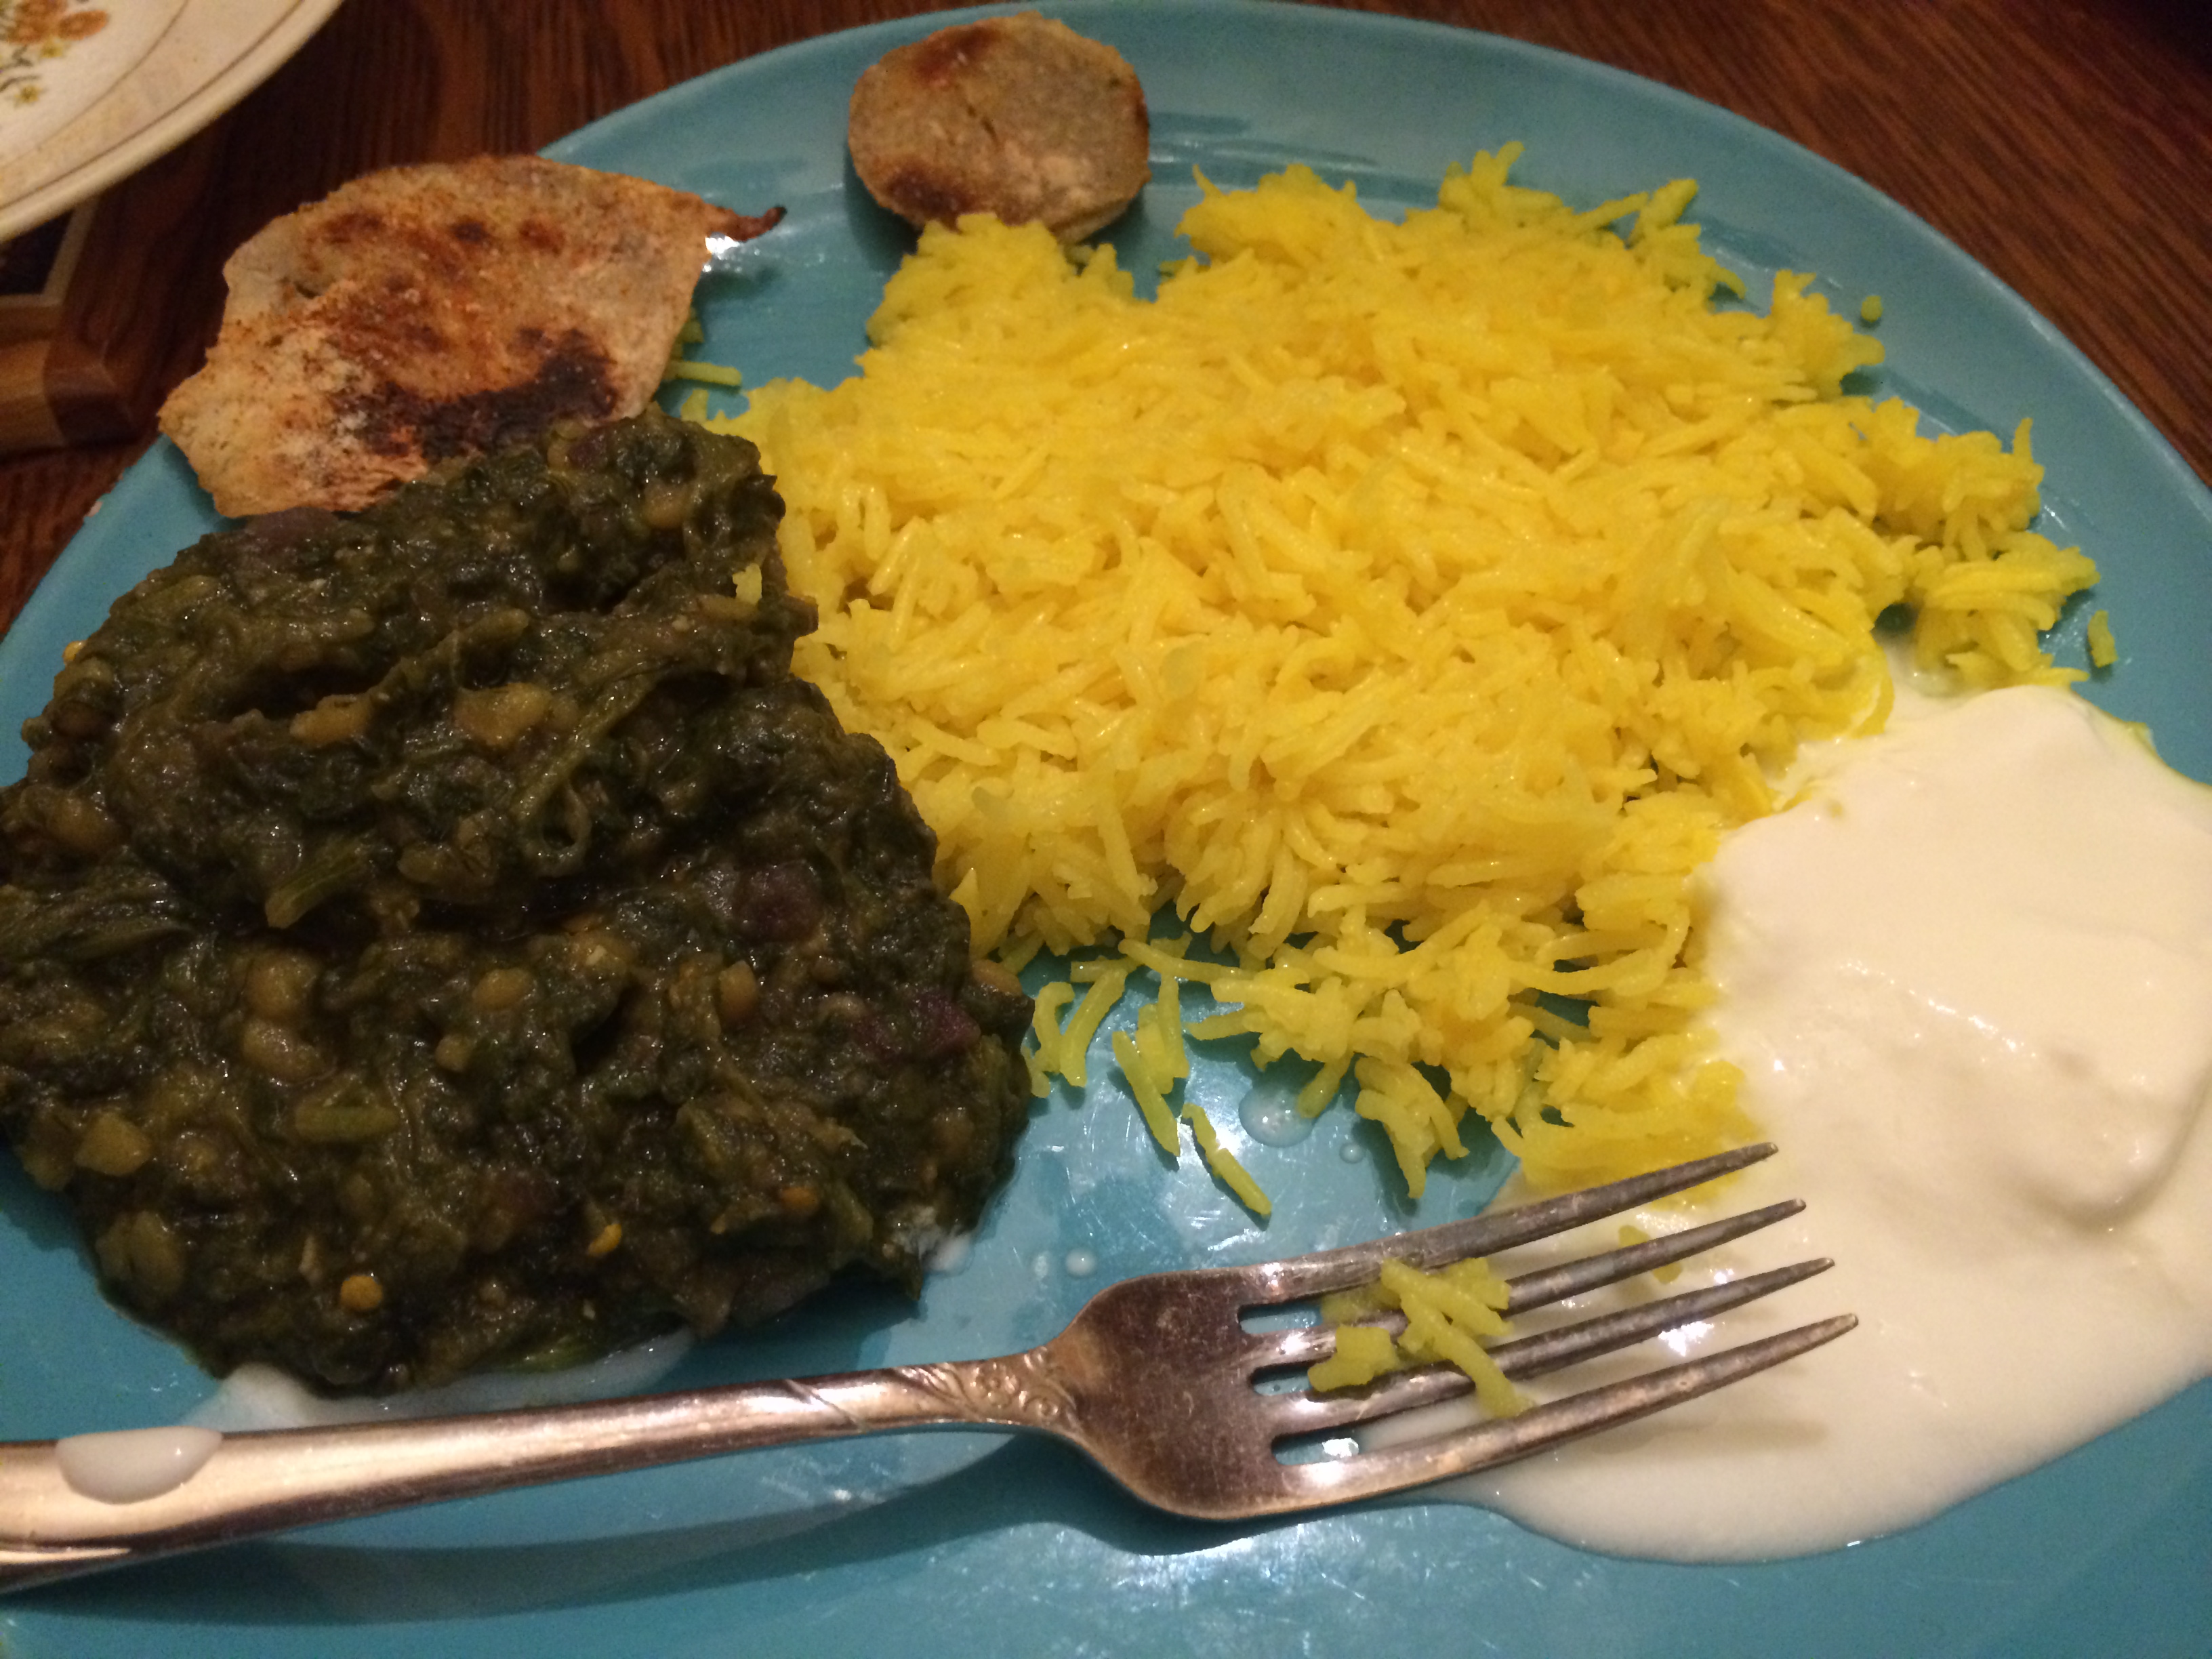
In our family this was a very frequent lunch or dinner side, that went with chapati (roti) and a vegetable. If you want to add a pickle to the meal, I won’t complain.

The flavor is the very essence of savoriness, with a slightly ‘rough’ mouth feel due to the peel still being left on the mung bean. Plus, you get the fiber which is no small thing, especially in such a delicious way.

Split green mung dal (sai dal)

Ingredients:
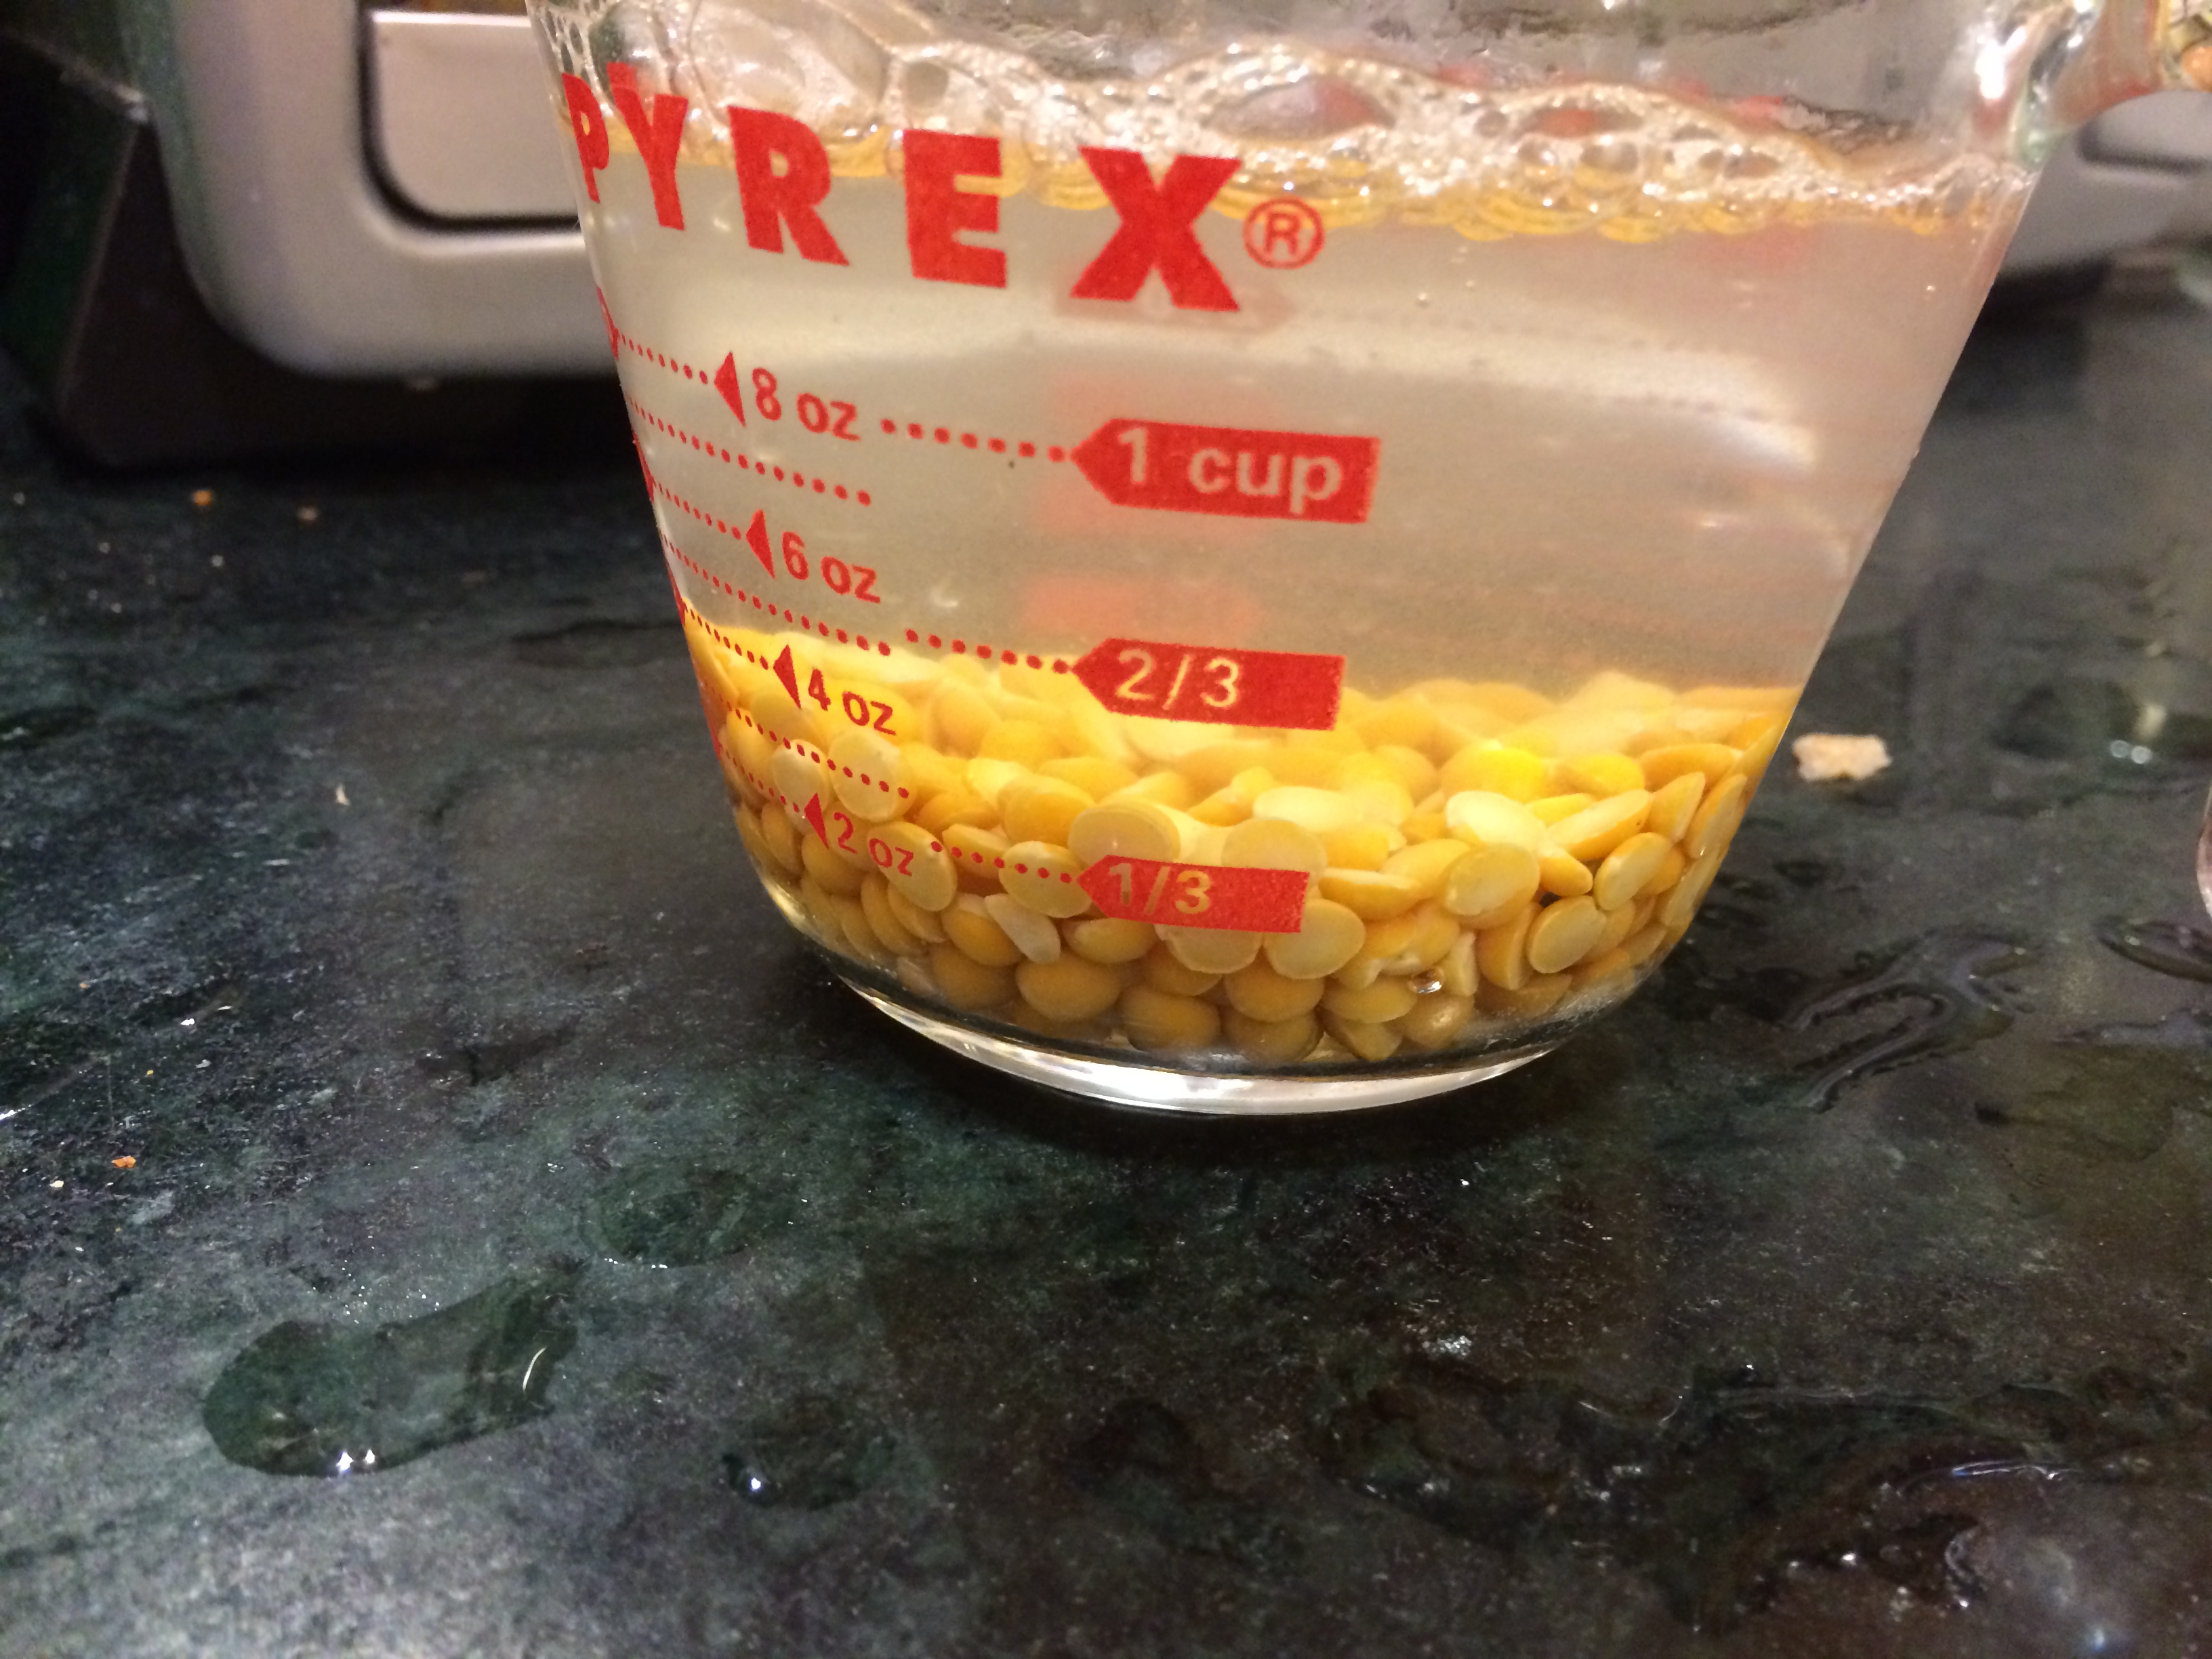
  • 3/4 cups split green mung dal
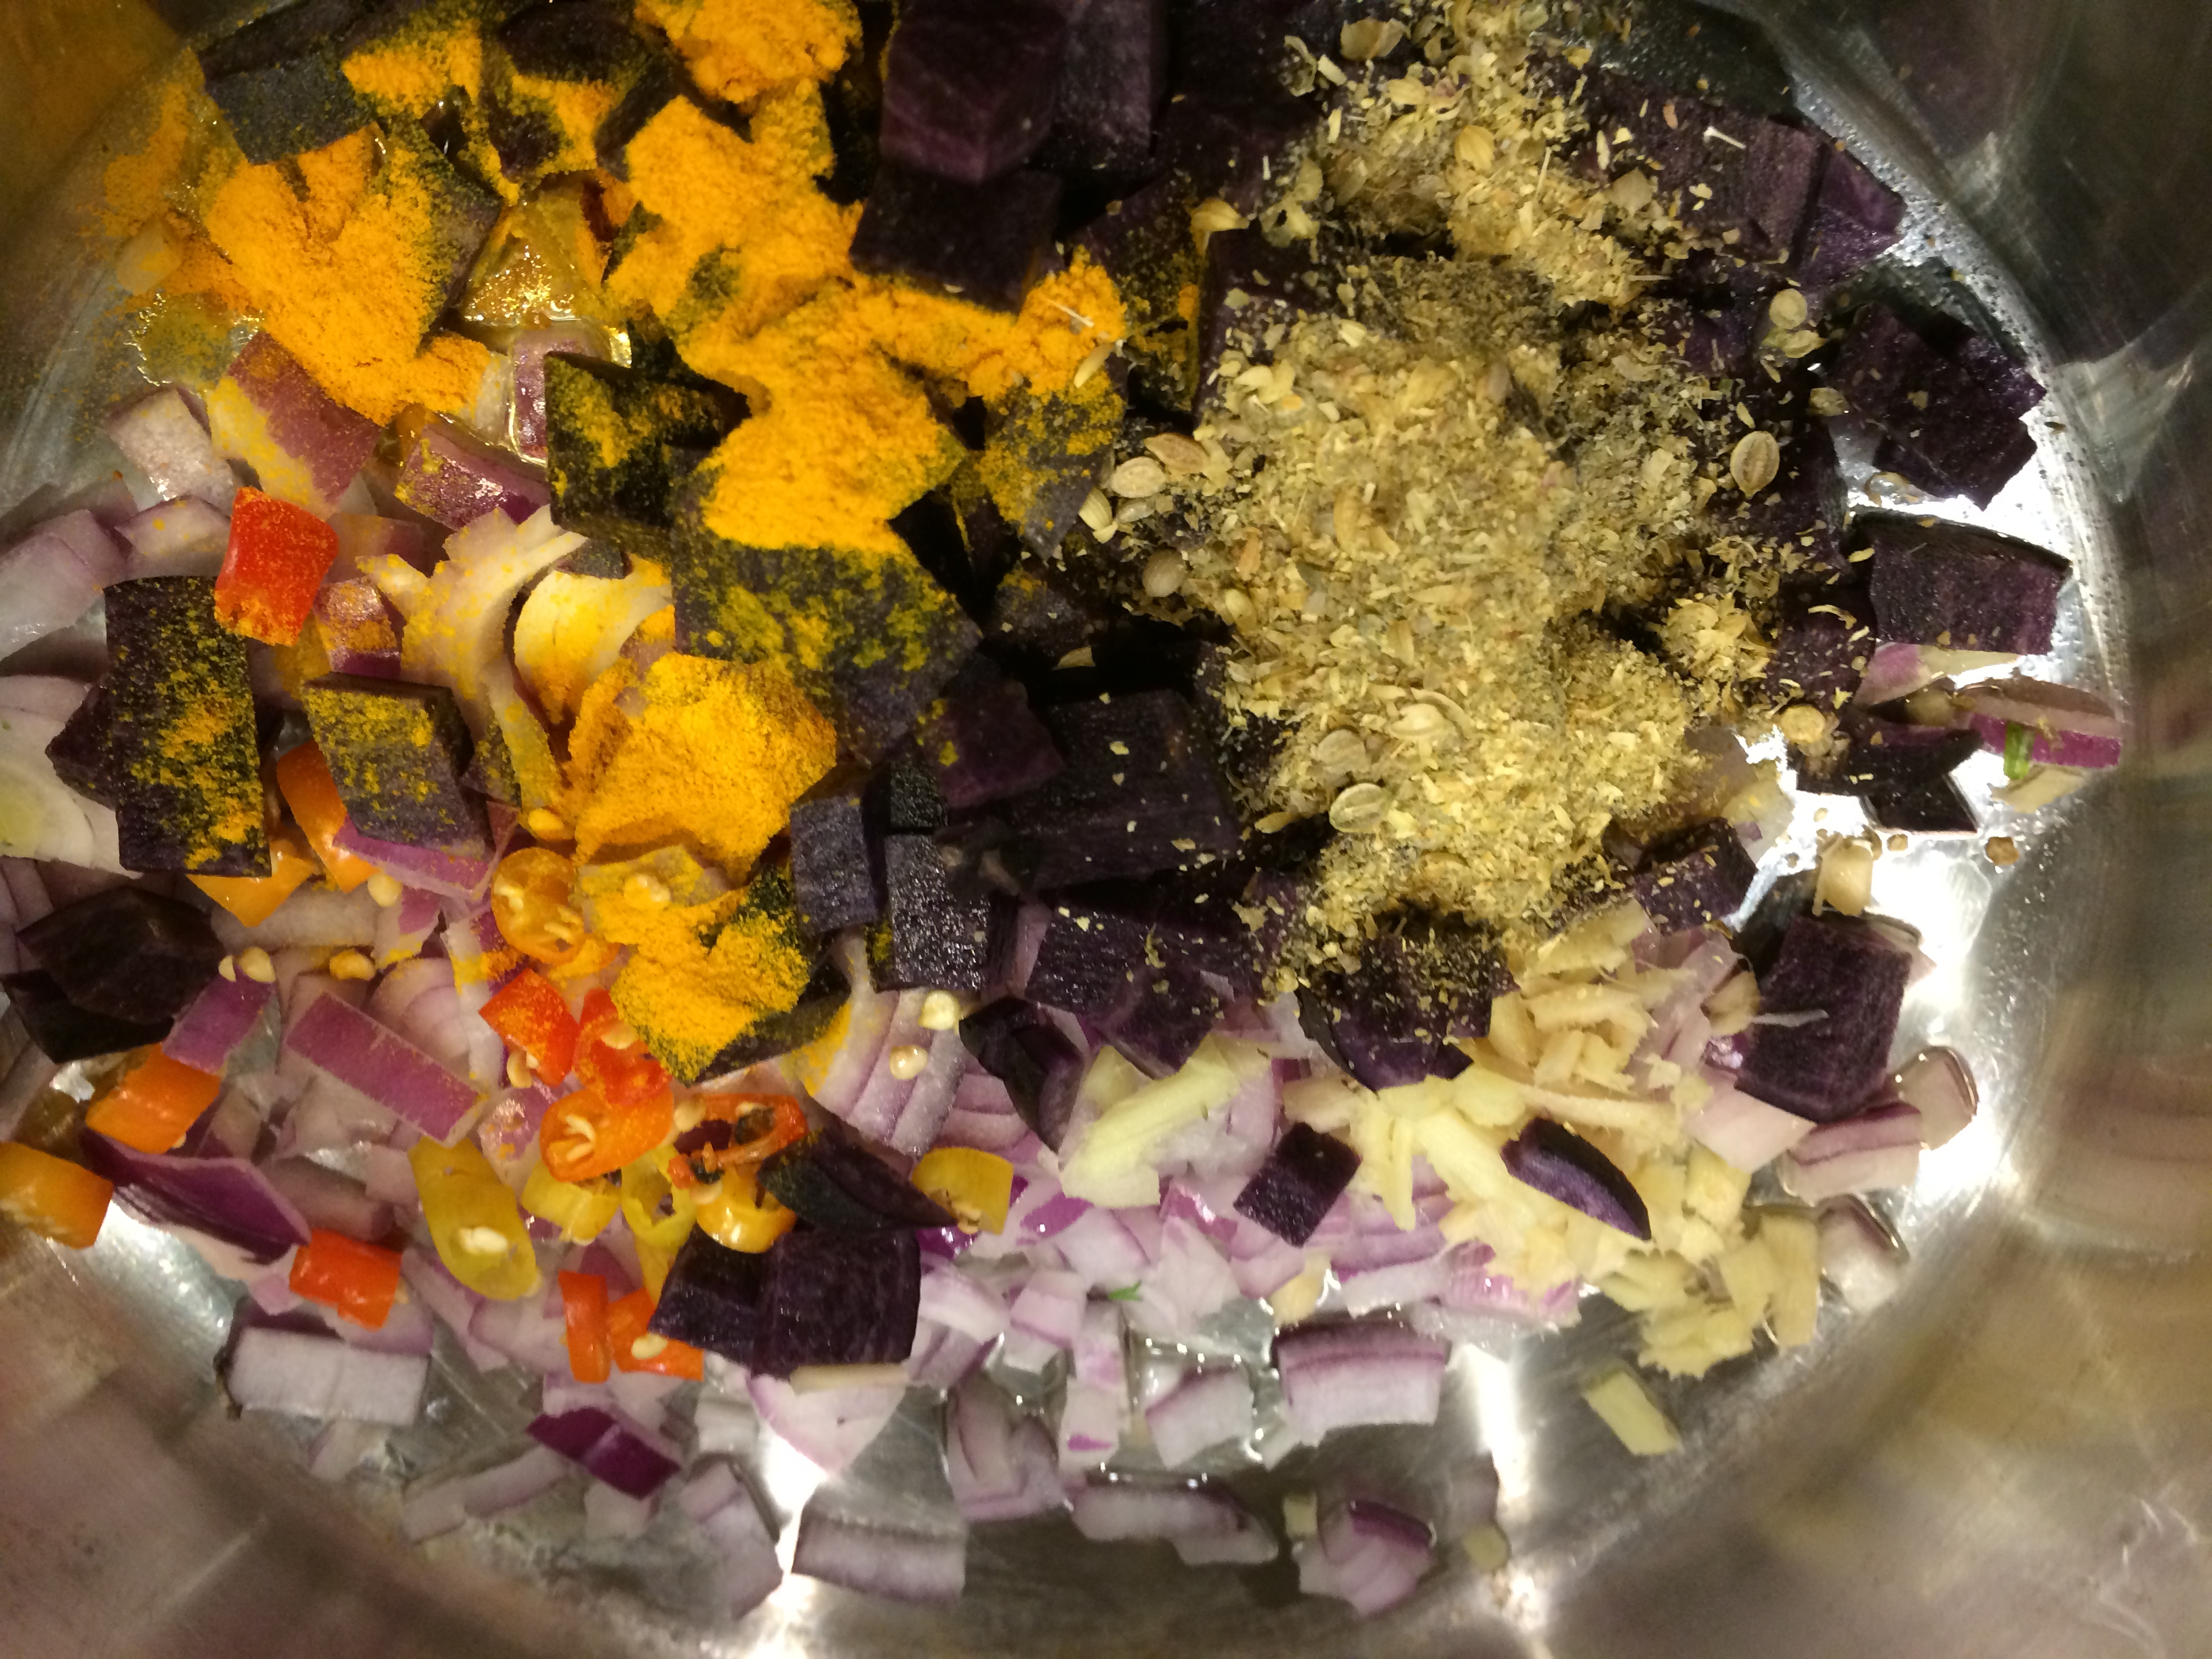
  • 1/4 teaspoon turmeric
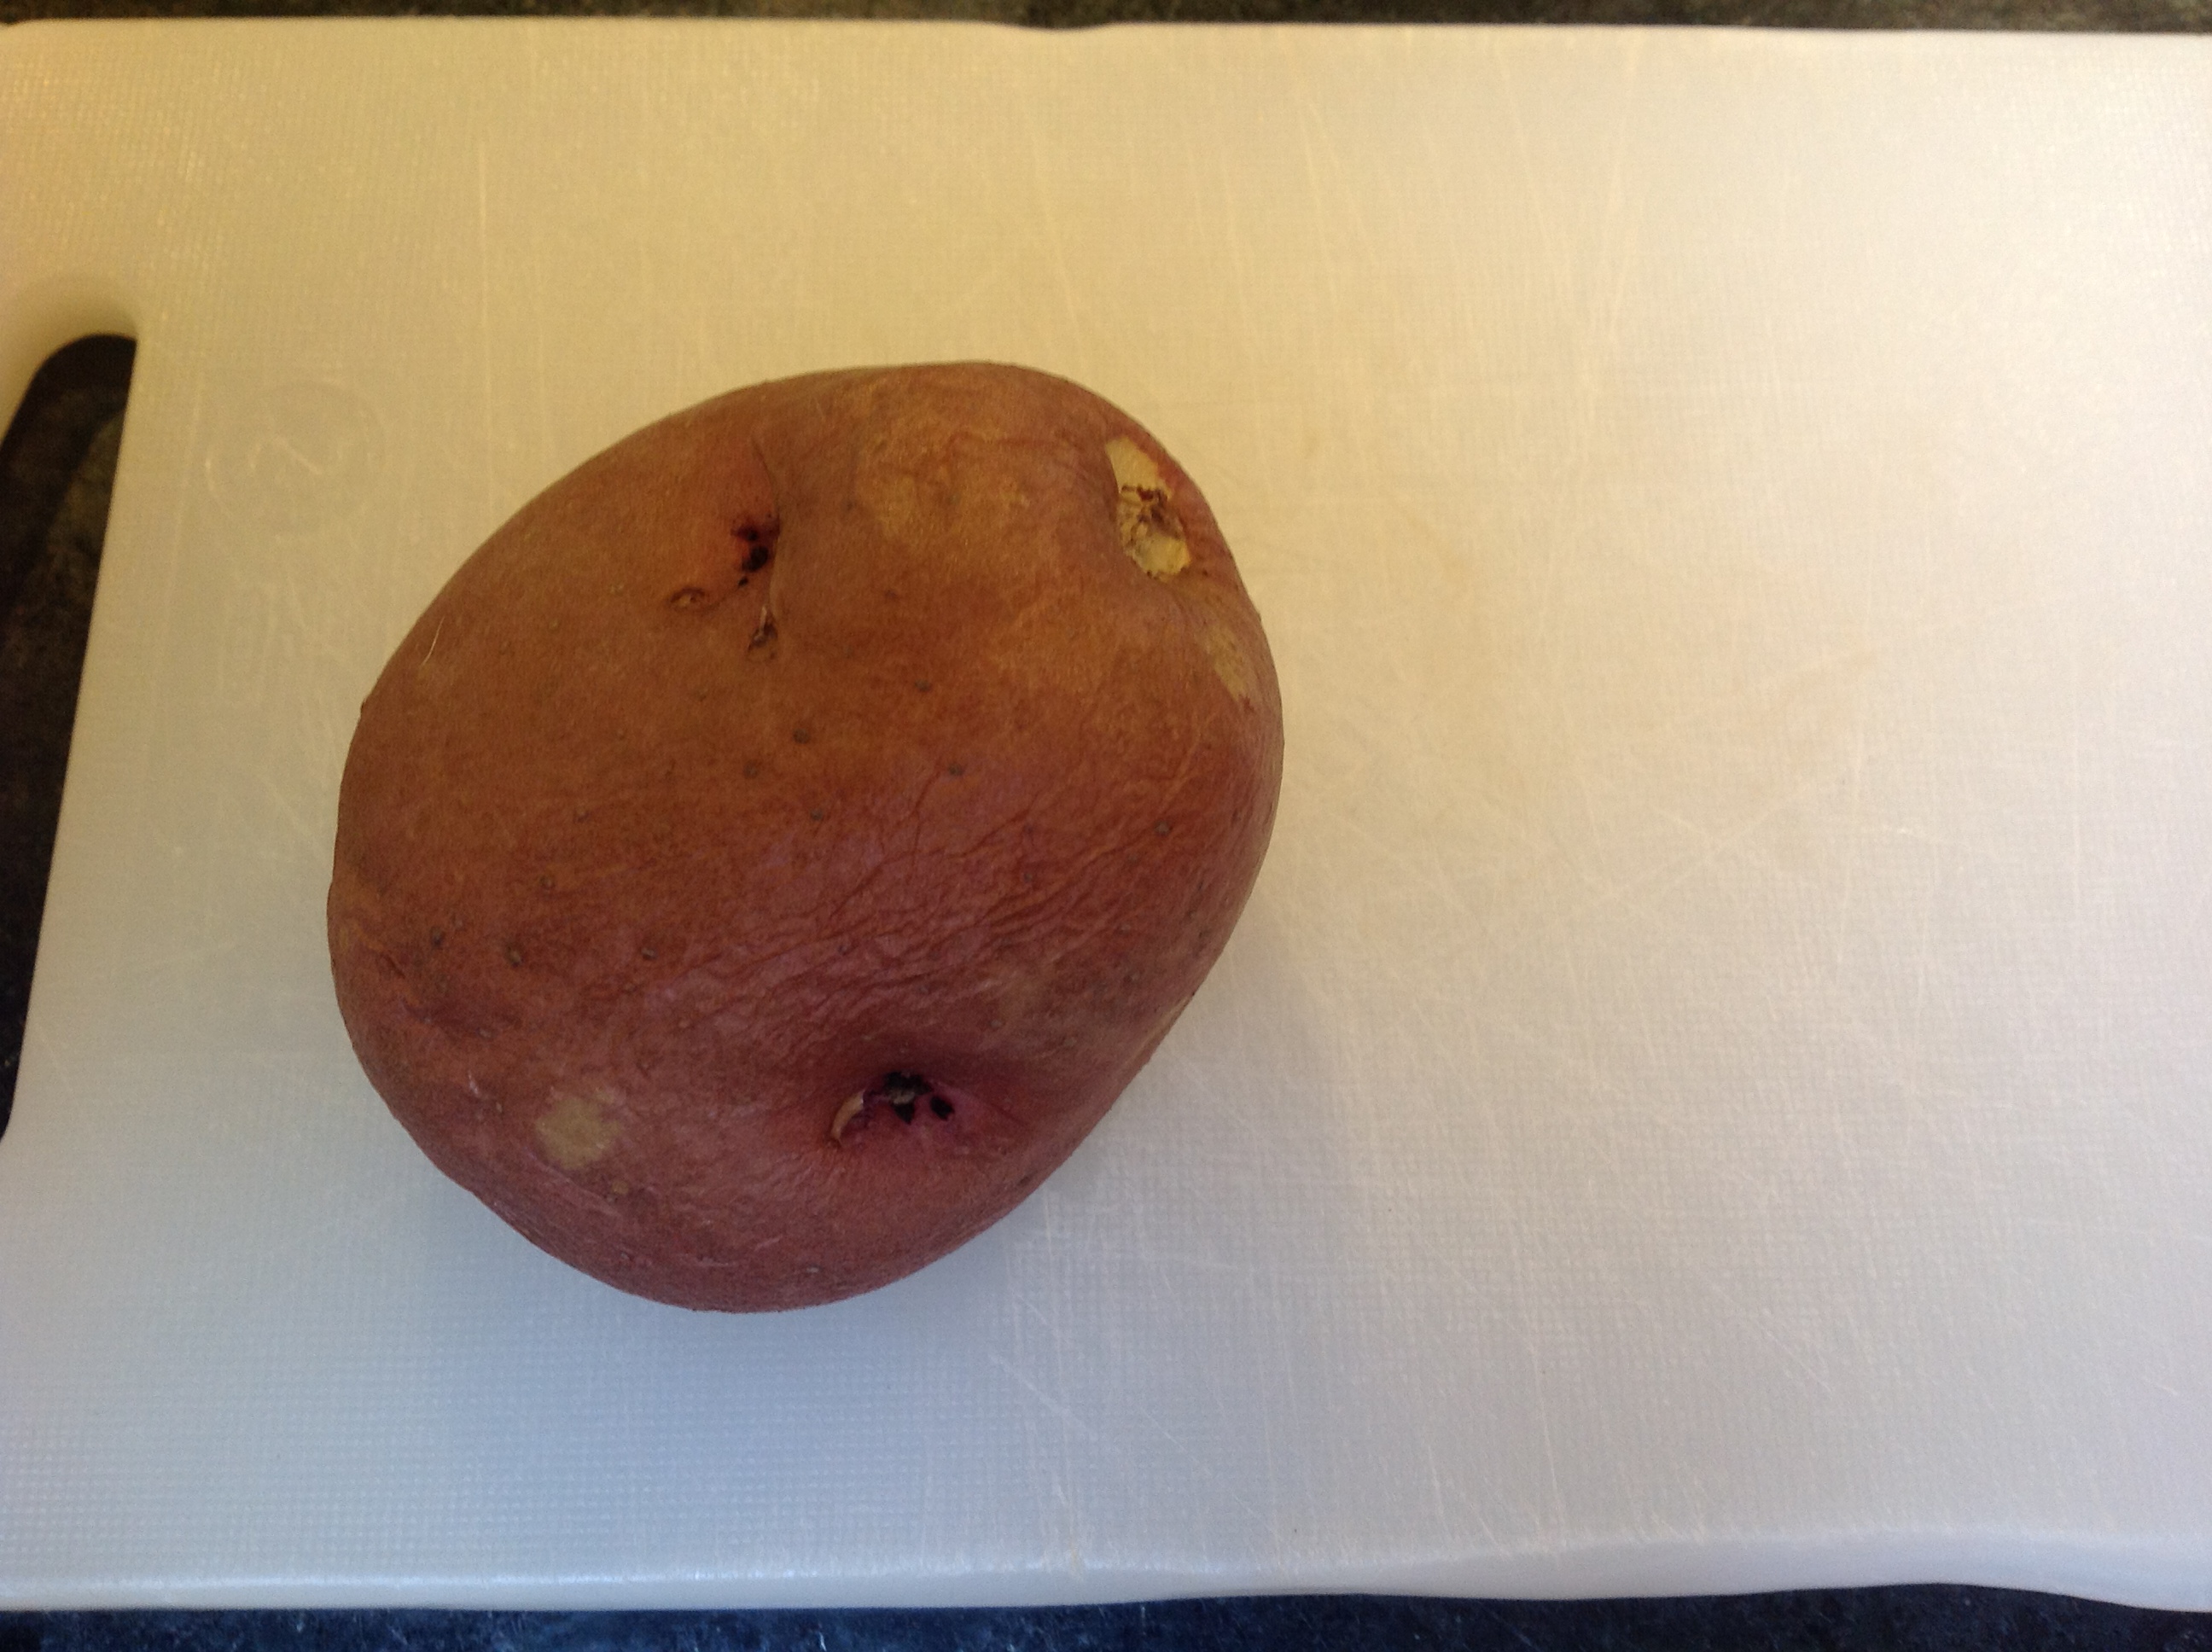
  • 1 medium tomato
  • 1 fresh green chili minced
  • 2-2.5 cups water
  • 1 teaspoon salt
  • 2 tablespoons oil
  • 1 teaspoon cumin seeds
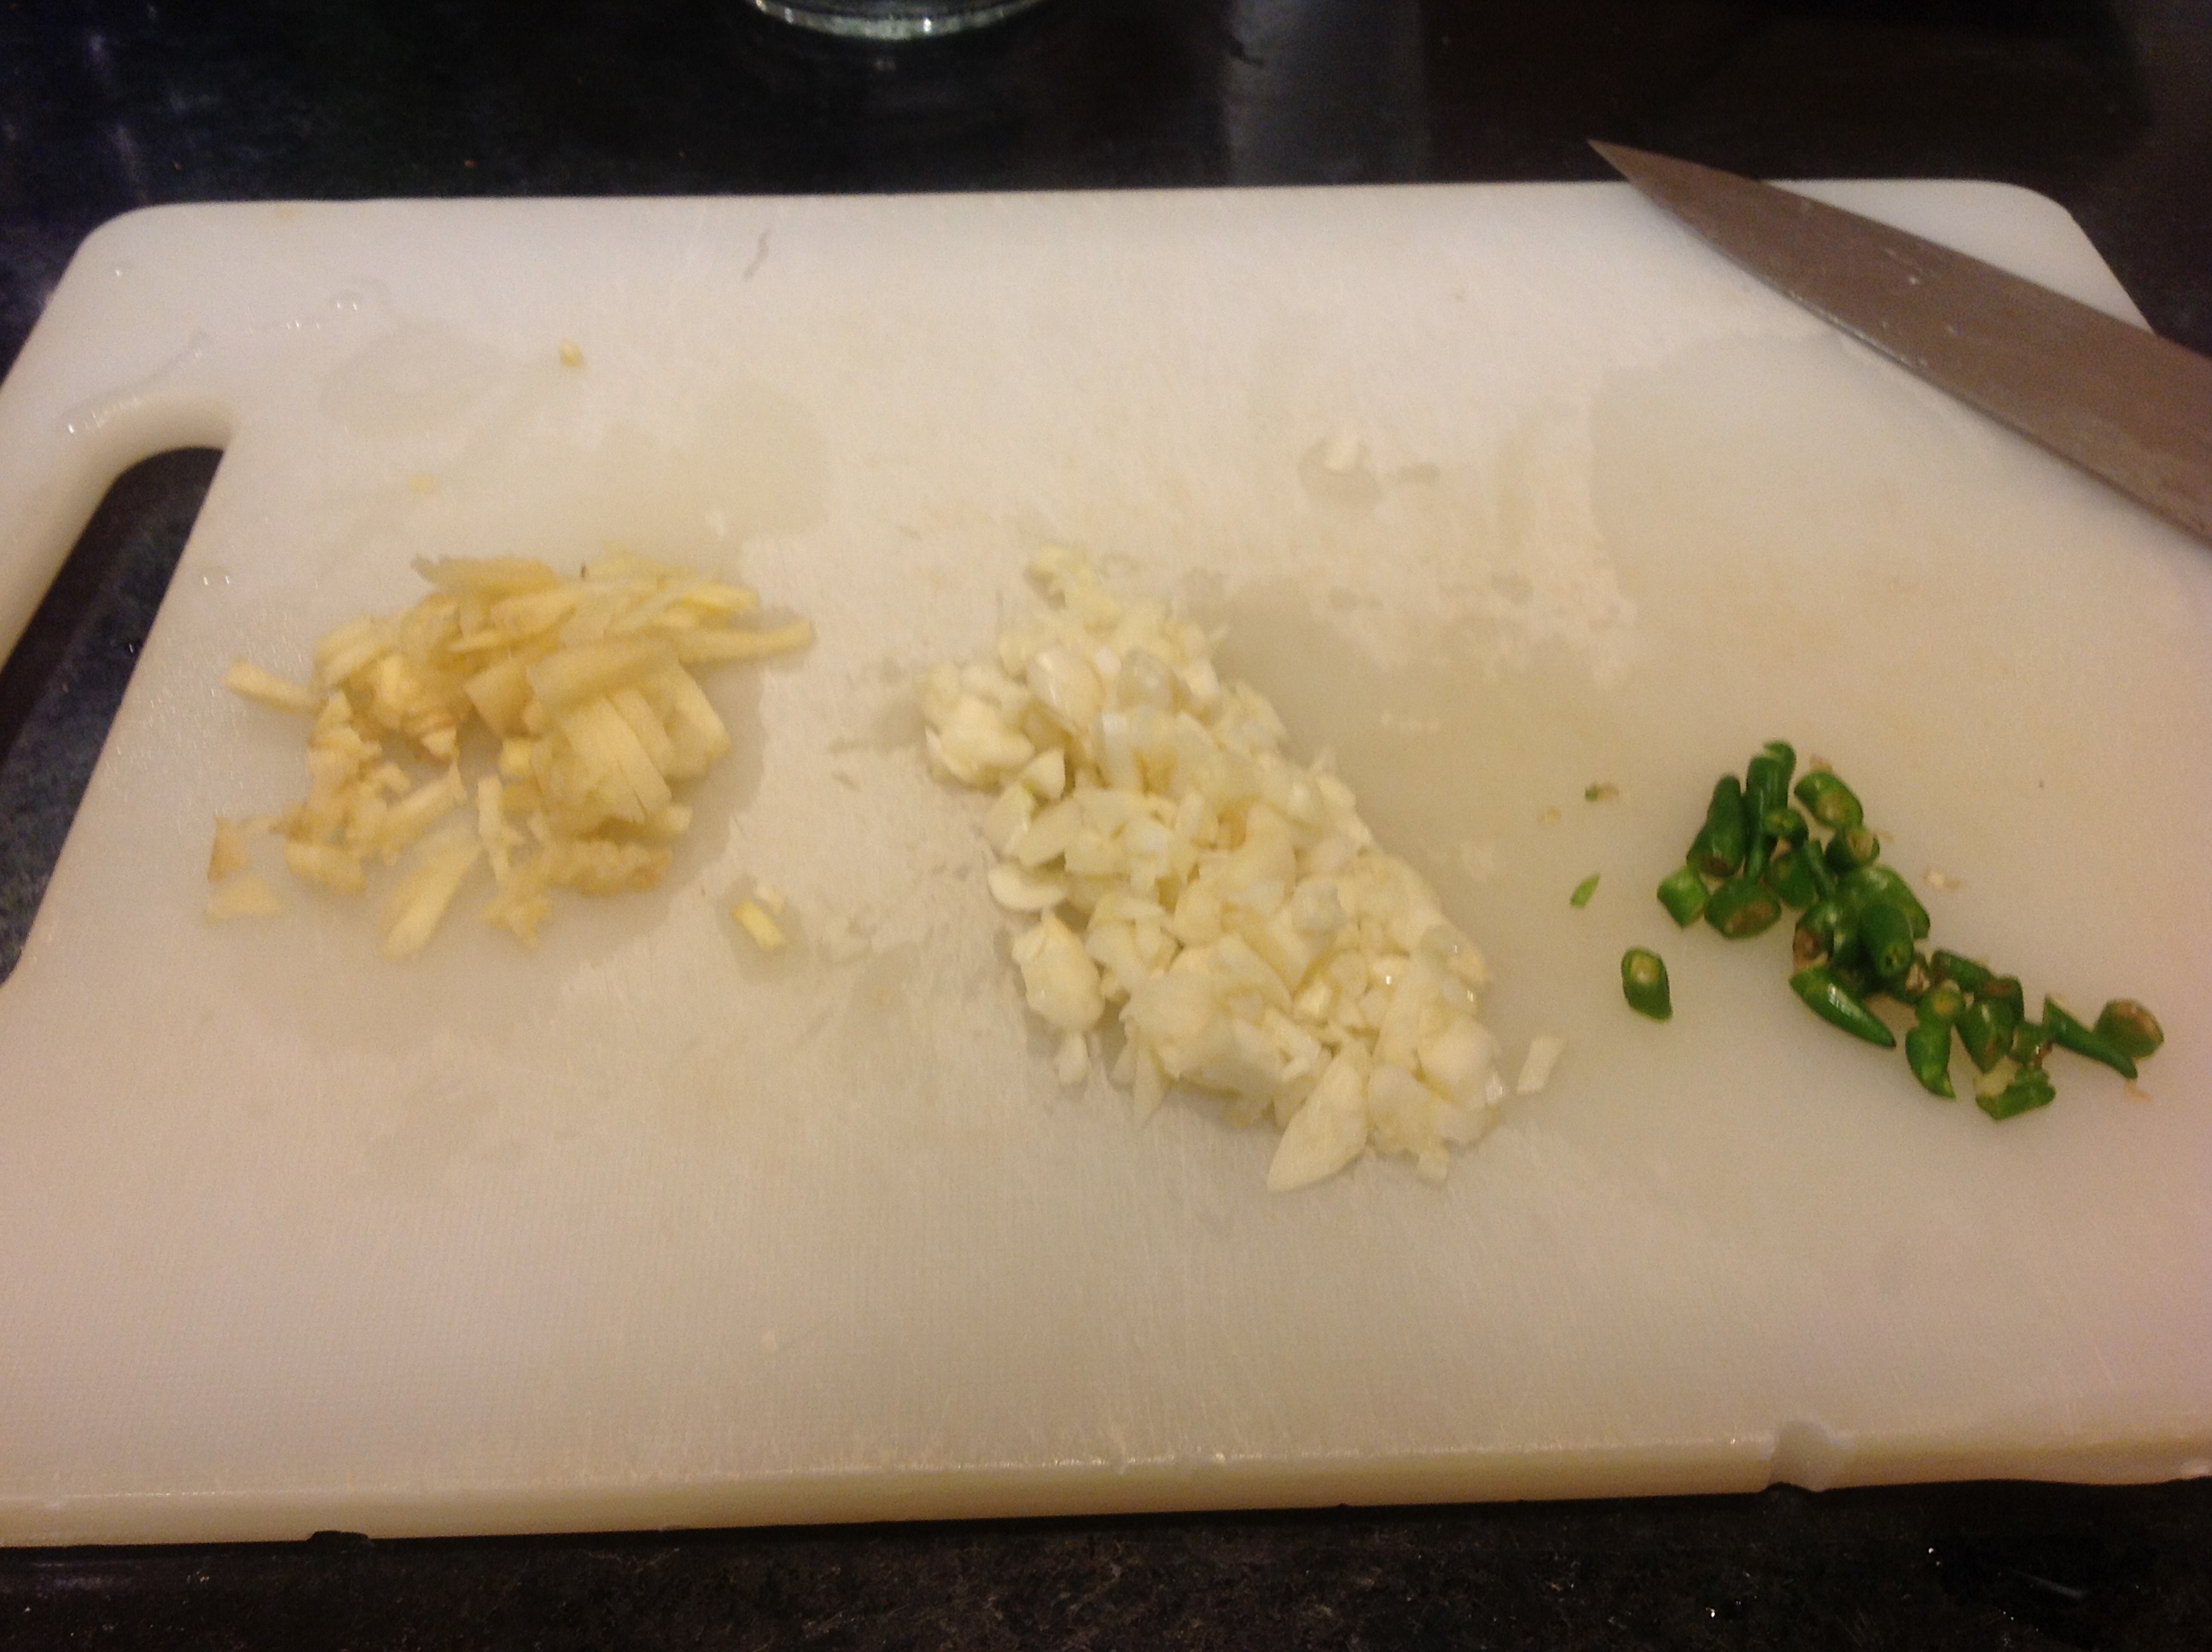
  • 1 heaped tablespoon minced garlic
  • A few curry leaves (optional)
  • 1/4 teaspoon red chili powder (optional)
Method:

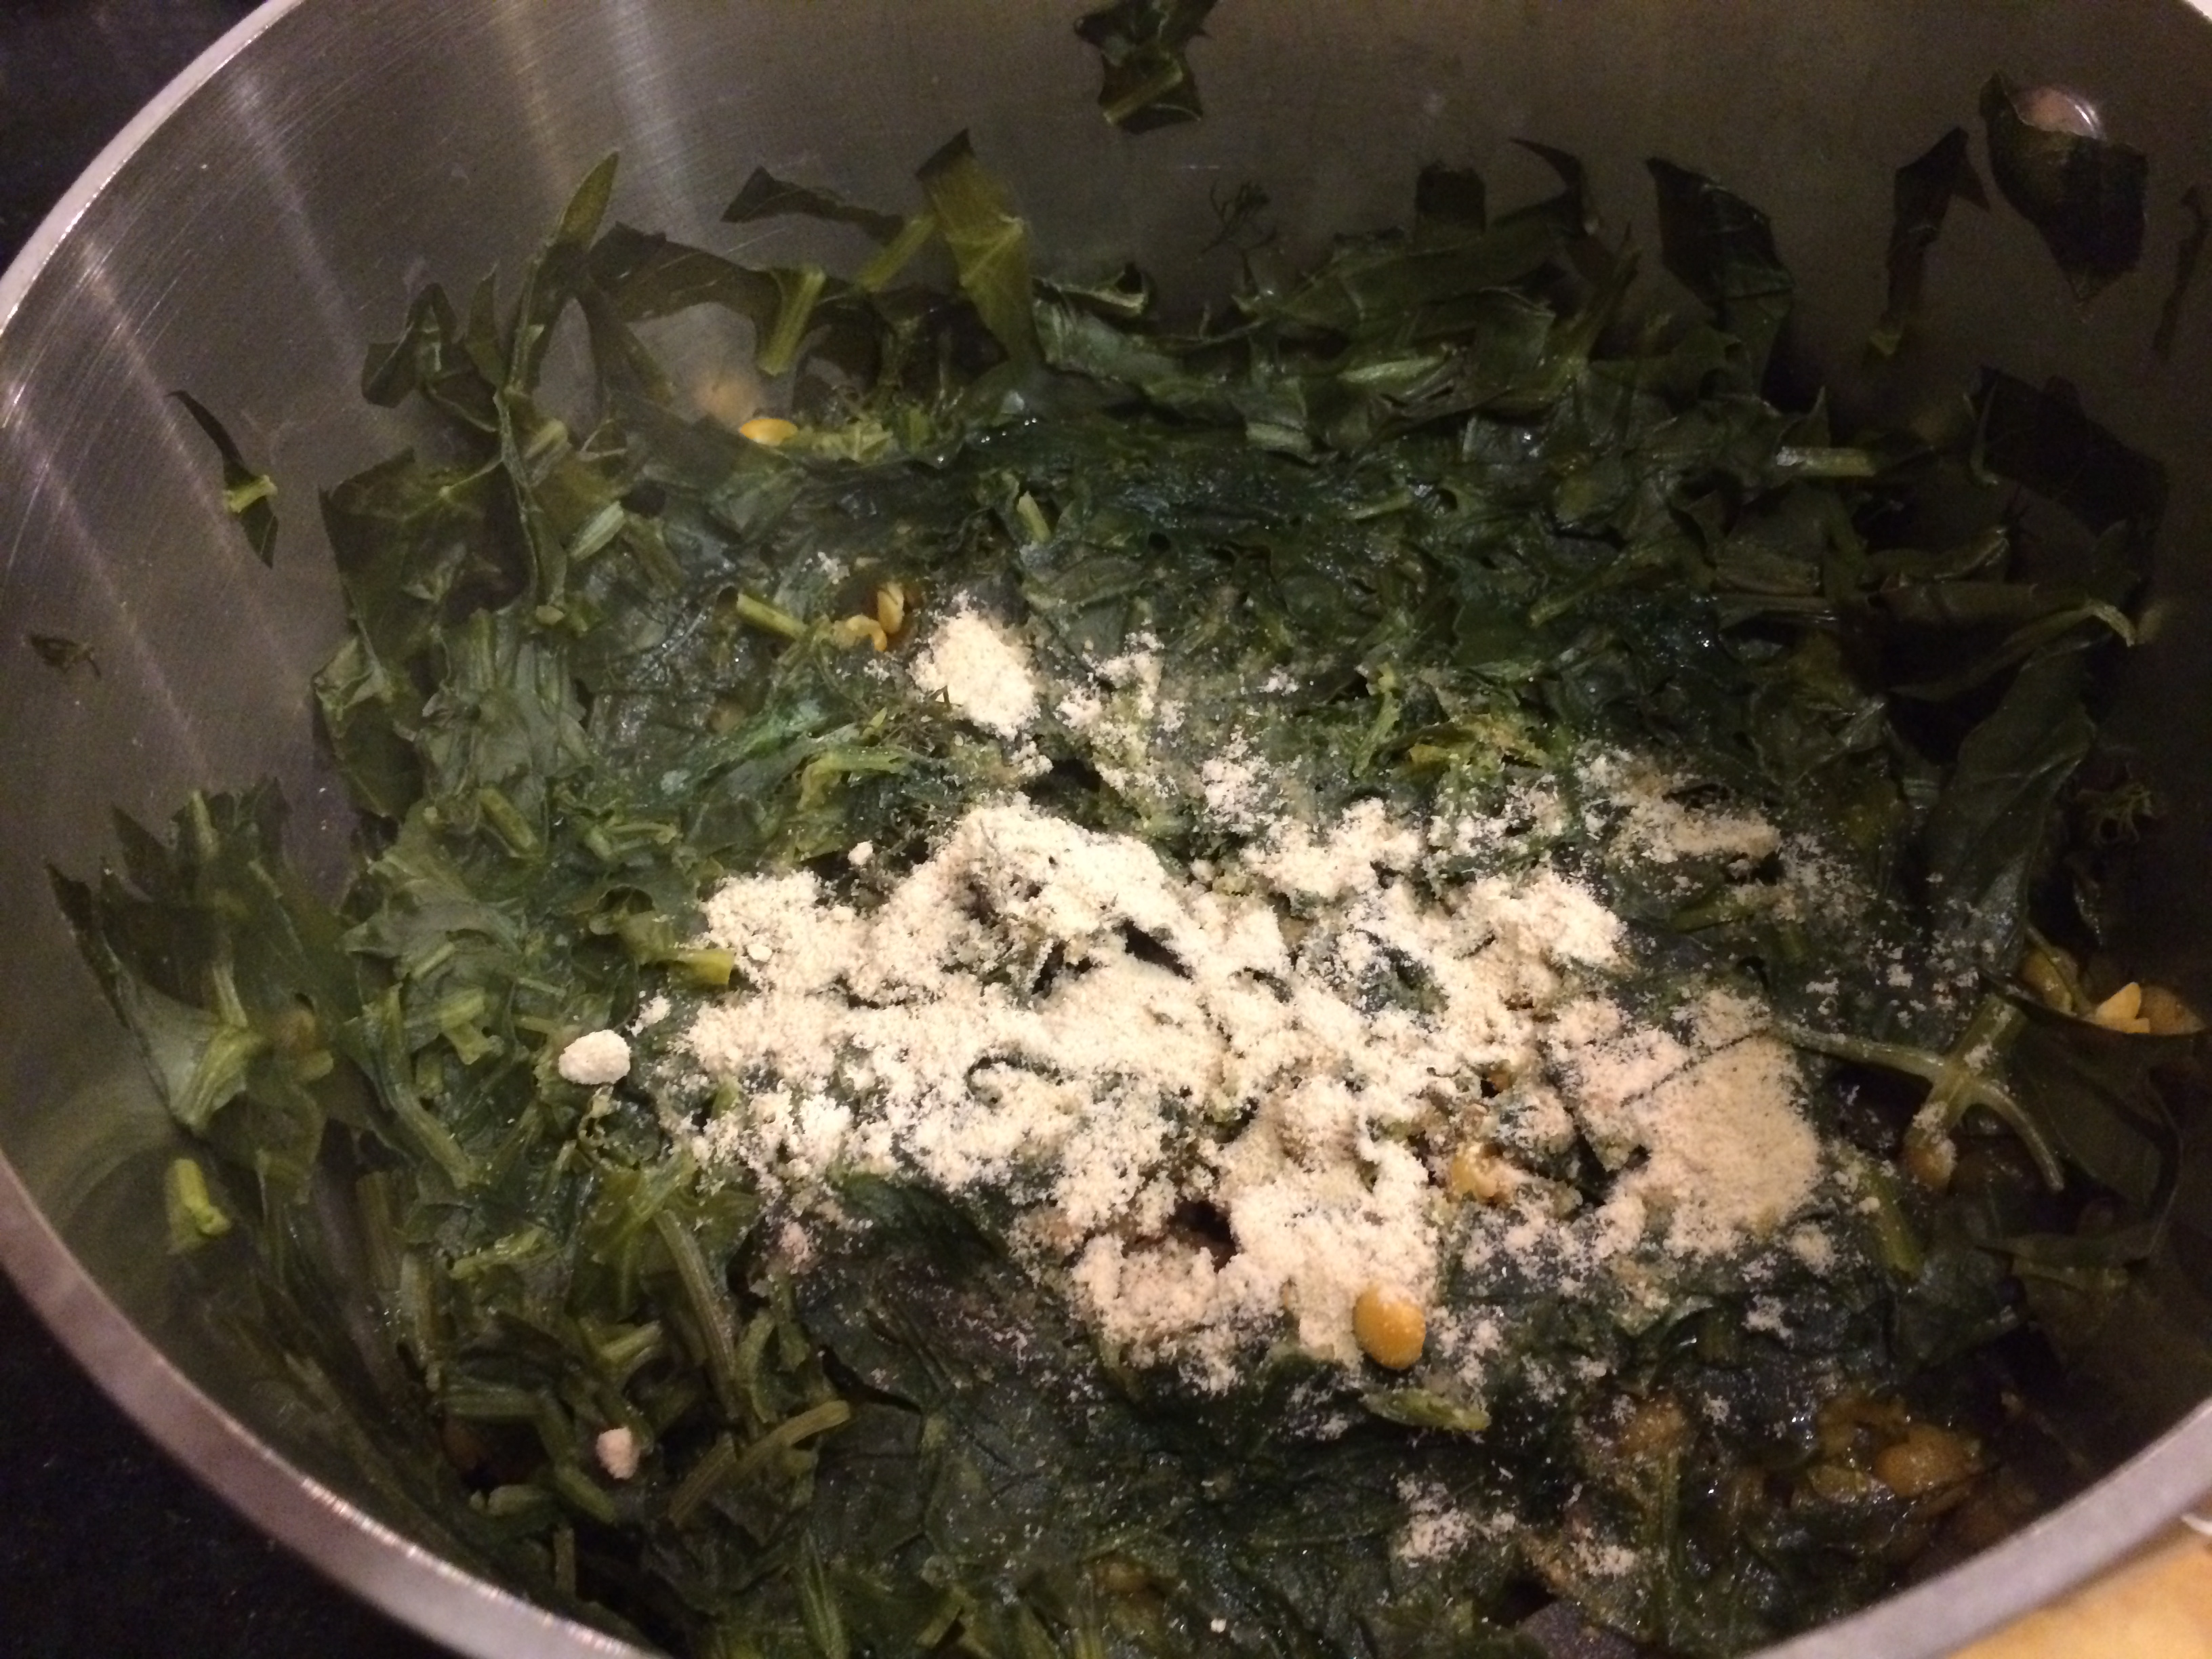
Wash and drain the dal. Empty it into a pot that is big enough to allow for expansion of the dal’s volume as it cooks. Add two cups of water along with the turmeric, the tomato, roughly chopped, and the minced green chili.

Bring to a boil with the lid mostly off to allow for surging of steam that usually happens when dals cook. After it comes to a boil and the surge is done (around ten minutes), cover and turn the flame down to a simmer.

In around 40 minutes the dal will be softened. Add the salt and turn off the flame, leaving the dal covered.

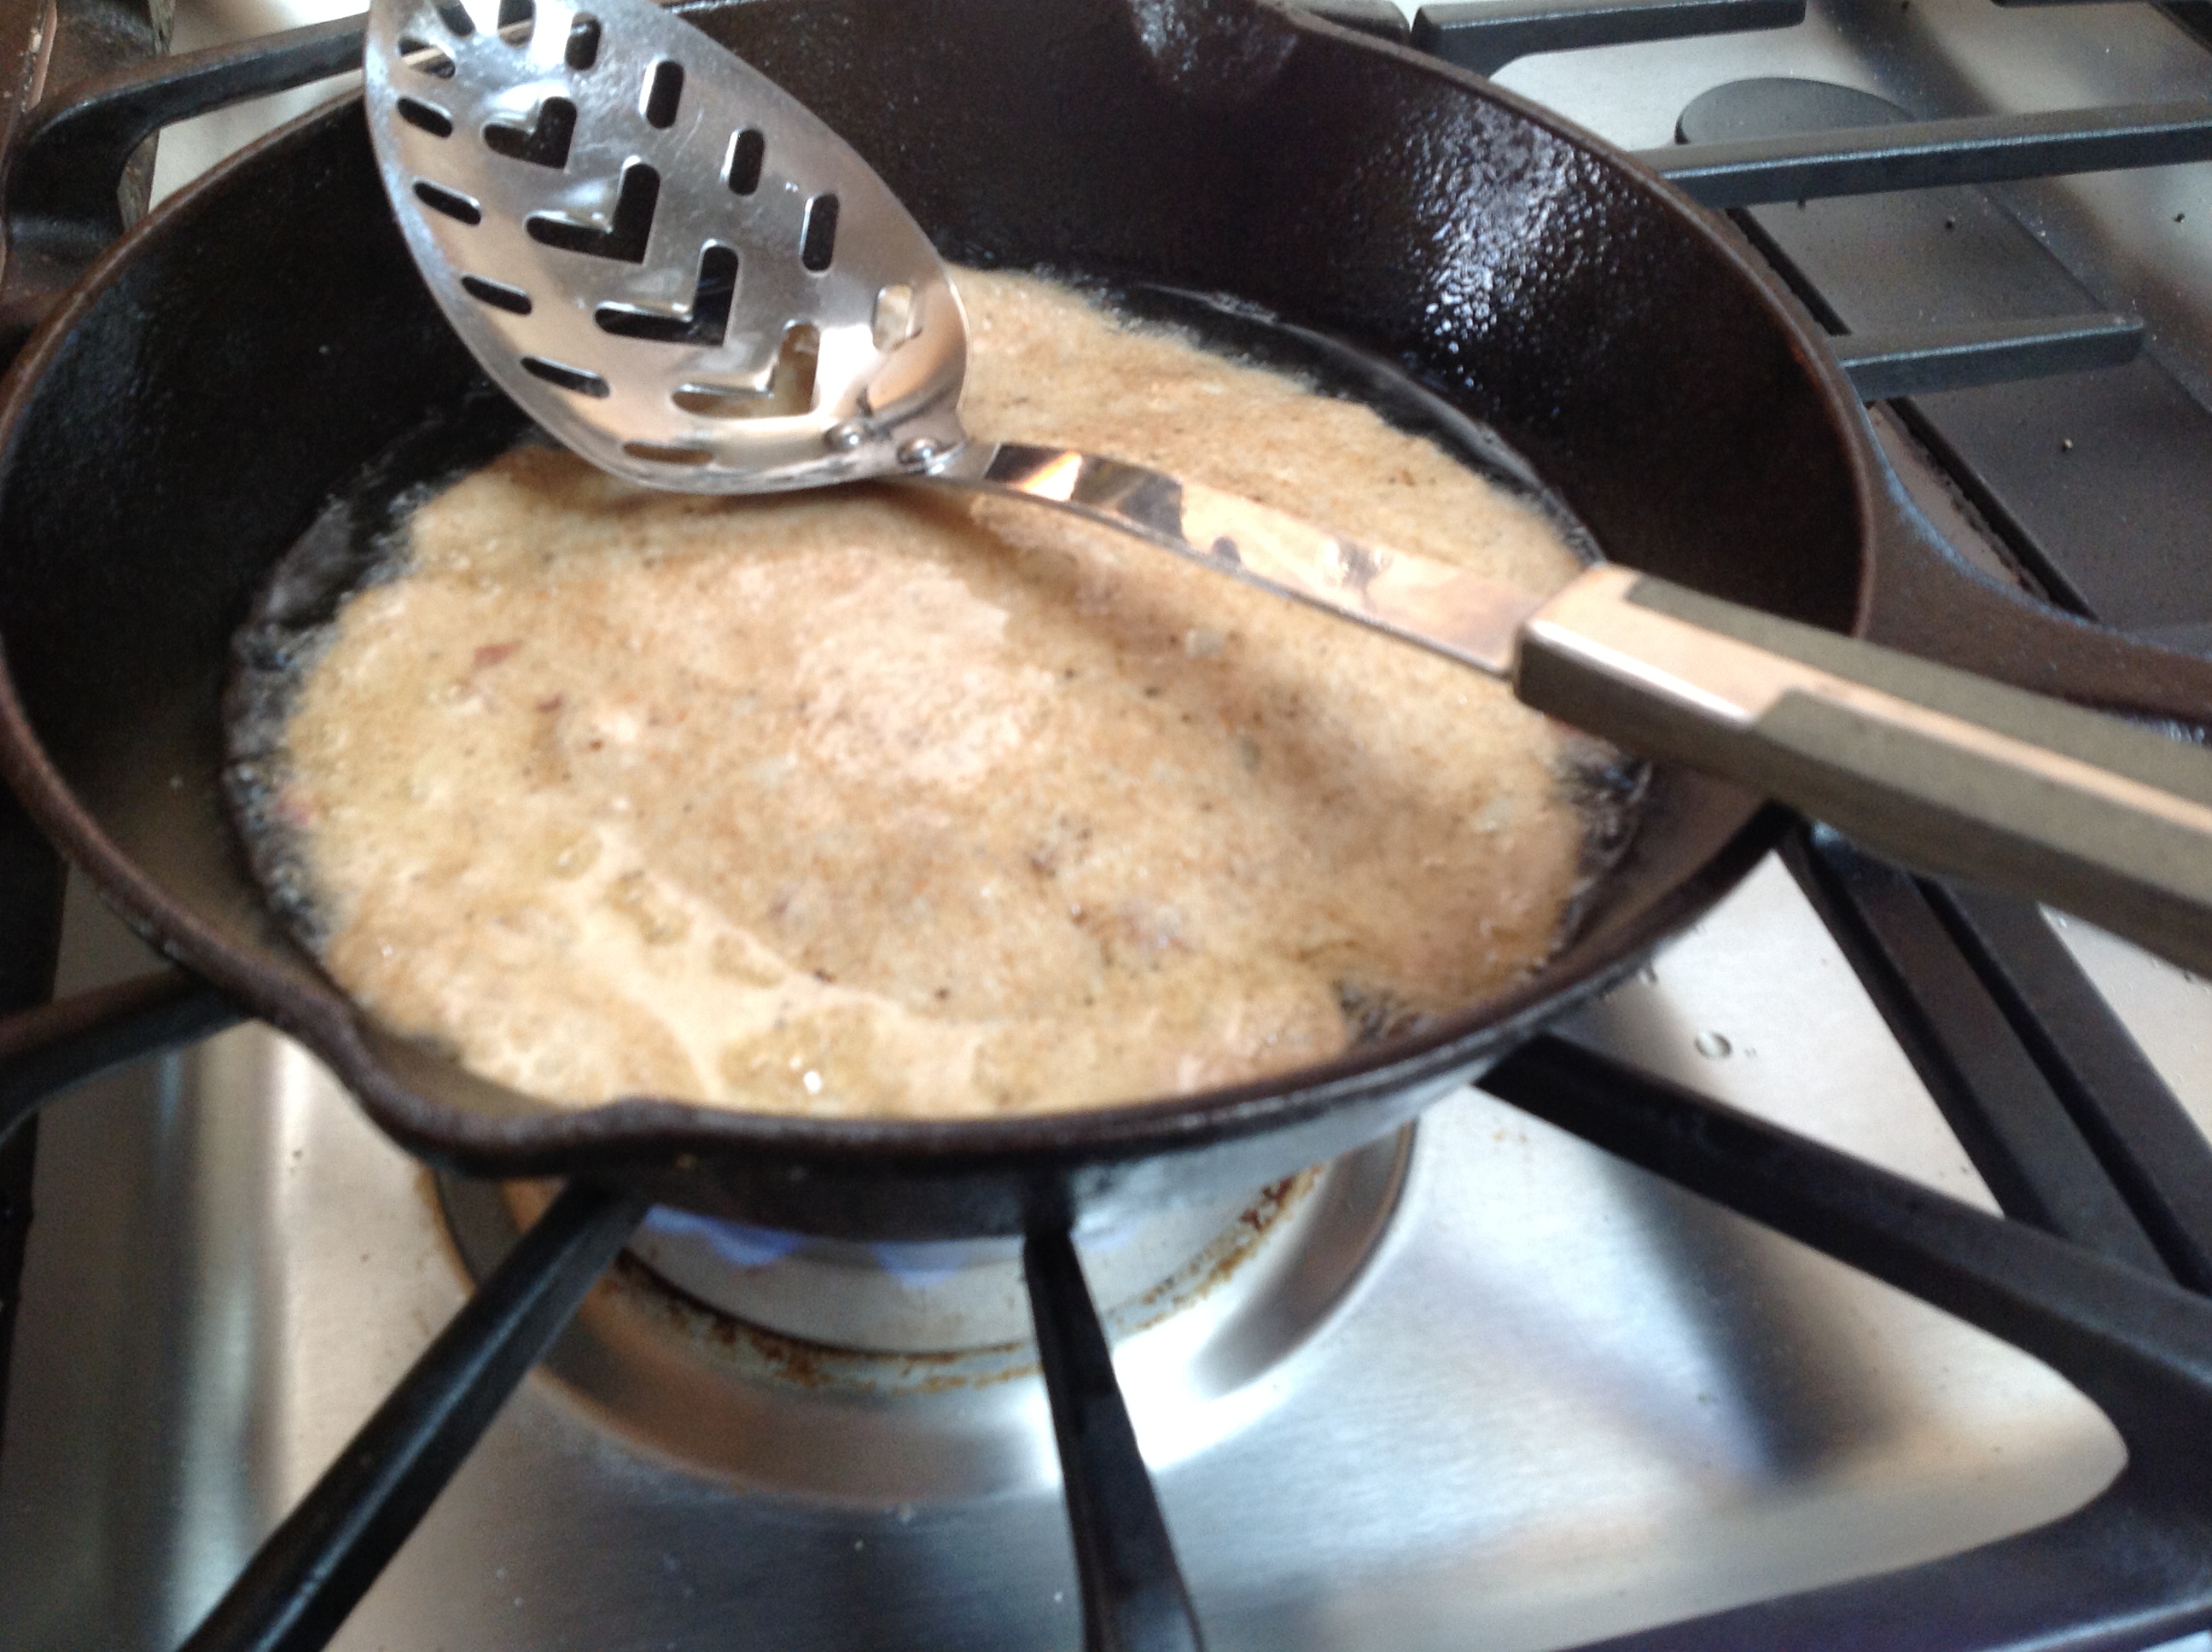
Meanwhile start the tempering process. Heat oil in a small thick-bottomed pan on medium-high heat. When it shimmers, add the cumin seeds. They should sizzle right away. Add the garlic, and wait until it shrivels. Add the curry leaves, if using. Add the red chili powder; this only needs to cook for a few seconds. Turn off the heat and pour the seasoned oil over the dal, and stir in to meld the flavors.

(Click here to find me on Facebook and here on Twitter.)

Advertisement

The bane of every Sindhi child

IMG_0176

This is a meal that every Sindhi child has made faces over at the dinner table while dawdling over their food. But by the time that Sindhi child has grown up into a Sindhi adult, they begin to crave it with an intensity that is only matched by their craving for home.

When I was the Sindhi child making faces at Sai Bhaji — which translates simply to ‘greens’ — no amount of talking up by my mother about how this meal is a nutritional powerhouse mattered to me at all. Now as an adult (and a mother myself) I’m thinking — a delicious, simple-to-make, nutritional-powerhouse meal-in-a-pot! What’s not to like?

Sai Bhaji is a stewed concoction of spinach and other greens, some lentils, with other veggies thrown in. It is eaten with rice and plain yogurt and possibly something fried on the side.

One of the selling points of this dish is that you can throw in basically any vegetable you have lying around in portions that are too small to make a meal themselves. The taste of spinach and dill is strong enough that all these mini-portions will be swallowed, subsumed, absorbed and spat out as part of the Sai Bhaji empire. Thus adding even more nutrition.

Sai Bhaji (spinach-lentils stew)

Ingredients:

  • One bunch spinach
  • Half a bunch fresh dill
  • Two tablespoons channa dal, soaked for half an hour at least. This post talks more about channa dal.
  • 1 – 2 tablespoons oil
  • One small potato chopped
  • Half an onion, chopped
  • 1 – 4 fresh chilies, jalapeno/serrano/bird’s eye/cayenne
  • Half inch slice of ginger root, minced
  • One teaspoon coriander powder
  • Half a teaspoon turmeric powder
  • One teaspoon dry mango powder (aamchur) or substitute with lime/lemon
  • One teaspoon salt
  • Optional: 1 cup of other chopped vegetables, such as eggplant, zucchini, tomato, carrots, bell peppers, etc.

Method:

Have the channa dal soaking in plenty of water for about half an hour. Wash the green thoroughly in a sink full of water a few times. Chop them up roughly including the stems that are not too woody.

IMG_0163 IMG_0162

Now start layering the dish in a thick-bottomed pot with a well-fitting lid. First, the oil. Then, the onions, chili and ginger. Then, the potatoes, and the coriander and turmeric powders. Then about half the greens. Sandwiched between this and the other half of the greens throw in the drained channa dal. After the last of the greens, sprinkle the salt over, cover, and bring to a boil. The water from rinsing the greens should be enough to cook, or add about a quarter cup if it seems dry.

IMG_0164 IMG_0165 IMG_0166

Once it comes to a boil lower to a simmer and let it be, covered, simmering for about 45 to 50 minutes.

When you open the lid, the lentils should be softened and the greens cooked down a lot. Add the dry mango powder or lime/lemon juice, and mash it with a potato masher or the handy-dandy mandheera.

IMG_0172

mandheera

mandheera

IMG_0175

Warm it through before serving. This is generally eaten mixed with rice and plain yogurt. Three types of rice dishes work well: rice browned with onions, khichdi rice, or yellow garlic rice (recipe forthcoming).

On my plate, I served sai bhaji, rice and yogurt in three neat sides, with some fried taro on the side. My husband however likes it all piled up, like this:

IMG_0176 IMG_0178

Far be it from me to dictate which way you choose to eat it, but you won’t be sorry you did.

A Sindhi breakfast Julia Child might approve of

IMG_0786

If I name the following ingredients: flour, potatoes, salt and pepper, dairy — a very commonplace list, in the Western part of the world — what doesn’t come to mind is a morning in a Sindhi town 60 years ago. And yet, so it is. My grandmother made these very rustic kachoris for my mother’s breakfast decades ago, and it is such a simple idea, but so complex and satisfying, that I still crave it and make it in my 21st century Californian kitchen, and yes, have it for breakfast.

This amount makes enough for a simple breakfast for one.

Potato Kachoris

Ingredients:

  • 1 medium red potato
  • 1 cup whole wheat flour, I use King Arthur Premium
  • 1.5 tablespoon plain yogurt
  • 3/4 teaspoon salt
  • 1.25 teaspoon freshly ground black pepper
  • Oil for frying

Method:

The traditional recipe asks you to boil the potato in lightly salted water until done. I have replaced that step with microwaving in nearly all such recipes that need a tuber to be cooked through before using. Not only is it quicker, but I feel like it avoids some of the nutrients leaching out into the water that one has to then throw away.

So go ahead, nuke the chap. Five minutes should put paid on a medium potato.

IMG_0774 IMG_0777 IMG_0778 IMG_0779

When it is no longer shooting steam lava at you when you touch it, cut it into cubes and roughly mash it, peel and all. It can be lumpy, I personally don’t mind that.

Add the flour, salt, and pepper.

Now. You may be alarmed at the amount of pepper I am having you put in. Don’t be! Remember, pepper drove world-traffic all the way to the South Indian coast for centuries. Pepper is the Helen of Troy of spices. You want to feel it.

Mix and squeeze the flour in with the potato mixture with your fingers, till it is a rough, shaggy mass. Now put in the plain yogurt and knead briefly to make it a rough dough.

IMG_0780 IMG_0781

This amount of dough will roll out to about 4 small circles of 5 – 6 inches each. So break golf-ball sized pieces, and roll each out. Now if you are used to rolling rotis you will find that these don’t roll out as smoothly or as thin. This, naturally, is because of the influx of the natural lumpiness of the potato (which I insisted a few lines ago that you don’t quell completely). That’s fine! It all adds to the rustic charm. The only thing you have to be aware of is, you may have to fry them a tad longer than normal, because they are thicker.

OK. So circles rolled out, heat about an inch of oil in a thick bottomed fry-pan. When the oil shimmers (but before it smokes! That is when the oil starts to break down and do Bad Things to us) put in a rolled out circle. Let it cook on one side for about half a minute, bobbing it up and down with your slotted spoon or tongs. Then flip it, and cook it for another half a minute. Take it out and drain it on paper towels.

IMG_0782 IMG_0784

Have it with some more plain yogurt on the side. Surprisingly heavenly. Julia Child, eat your heart out.

Taro the terrible escapes again

Taro chaat

Taro chaat

…with some excellent results. I have before made note of taro root‘s scruffy appearance and its delectable nature. In this appetizer from my Sindhi childhood, taro shines with a few well-chosen accompaniments. This dish can go as a side with any Indian meal, or have it in the evening during a chaat and tea session.

Taro chaat

Ingredients:

  • 2 or so medium-sized taro tubers
  • 4 tablespoons tamarind chutney
  • 1 tablespoon finely chopped onion
  • 1 tablespoon minced cilantro leaves
  • Quarter teaspoon salt
  • Quarter teaspoon red chili powder
  • Half a teaspoon cumin seeds

Method

Rinse the taro and microwave it for about 5 minutes. Now it will be softened inside. When it cools, peel it to reveal the creamy white flesh. Cube it into quarter-inch wide cubes and save in a bowl.

Put in the cilantro and onion. And one is supposed to ‘layer the salt’ so go ahead, add enough salt for this amount of ingredients and stir. This will be about a quarter of a teaspoon but use your judgment.

IMG_0805

Now put in the prepared tamarind chutney. Now. A slight digression about tamarind chutney is forthcoming.

You can make tamarind chutney the easy or hard way. The hard way uses the dried pods of tamarind, either peeled and made into a block, or the pods themselves. Either way this method requires a lot of soaking and squeezing with your fingers to get the pulp out. So I tend to use a shortcut method — tamarind paste is the one thing I do buy prepared from the store. I use tamarind paste, and this is a good recipe for tamarind chutney using the paste. If you want, you can add a couple dried dates, chopped fine.

Roast the cumin seeds in a hot, dry pan for a minute or two, till they turn a shade darker, and grind to a rough powder in a clean coffee grinder or a mortar and pestle.

Top the tamarind with the red chili powder, and the cumin powder, stir well, and you are done.

This makes enough for one person as a largish side, but is easily multiplied. Oh — and if you don’t possess tamarind or have a special hatred for it, you could substitute with a similar amount of lime juice.

The doofus

Somebody stop me I feel a thesis coming on. It is about this vegetable:

Kaddoo

Kaddoo

This is not the kind of vegetable that one expects paens to be written about. It is found anywhere that vegetables are sold in India; and being India, that could be a basket at a railway platform or a sheet laid out on the sidewalk:

vegetable market

vegetable market selling kaddoo and other things

A vendor sorts vegetables next to a railway track as a train passes by, in Dhaka on September 10, 2012. (Andrew Biraj/Reuters)

A vendor sorts vegetables next to a railway track as a train passes by, in Dhaka on September 10, 2012. (Andrew Biraj/Reuters)

Sidewalk vegetable seller from suvisworld.wordpress.com/

Sidewalk vegetable seller from suvisworld.wordpress.com

It is known to me and other Sindhis as ‘kaddoo’. It is so devoid of glamour that if you call someone a ‘kaddoo’ you may as well call them a doofus. But don’t underestimate it, because the kaddoo has mystique. For one thing, it is one of the oldest cultivated plants in the world. Humans have been eating it for ten thousand years. Recently some stands of wild kaddoo were discovered in Zimbabwe, which is probably where it originated. News of the cultivated kaddoo seems to have spread like wildfire, from Africa to Asia to the Americas; the kaddoo discovered America before Columbus.

Check out its pretty flower:

Kaddoo flower

Kaddoo flower

Like other plants from the Cucurbitacae family (squashes, melons and gourds), it is a vine and climbs by means of tendrils. Kaddoo flesh is pale, watery and very mild. Some would say boring. It cooks down to become squishy and somewhat gelatinous. The skin is thin and pale green, but one does have to peel it before cooking. The seeds of the young fruit are quite edible.

Calabash

Calabash

So where is the mystique? I knew that kaddoo is also known as lauki, bottle gourd, opo or dhoodhi, but I didn’t know that it also goes by the romantic name of Calabash. In India we mostly eat this as a young vegetable, when its peel and seeds are rather soft. But apparently when it ages, the peel hardens, the flesh dries up, leaving a sort of bottle behind; In this form, it is called a calabash. It has been used by old cultures as a vessel, or even as a musical instrument. Apparently the fact that the size of these gourds roughly matches the size of the human head gives it its resonant qualities.

Sitar parts

Sitar parts

SitarKaddoo

Musical instruments, hmm…what kind? Some tribal folksy thing no doubt, that street performers play and bystanders throw change at? Sure…but also, think Ravi Shankar and the sitar. The calabash is used for the shell of the deeply buzzy and resonant sitar…the main resonating chamber of which is called…wait for it…the kaddoo.

QED.

Kaddoo koftas in gravy.

kaddoo koftas

kaddoo koftas

Ingredients:

  • One large kaddoo, peeled, quartered and seeded
  • Quarter cup besan
  • Half a teaspoon coriander powder
  • Some sprinkles red chili powder
  • One teaspoon aamchur
  • Salt to taste
  • 4 – 5 tablespoons oil
  • One recipe of browned onion tomato gravy

Method

Grate the kaddoo quarters. Salt it with about a teaspoon of salt and mix it with your fingers. Leave the grated kaddoo aside for about half an hour; during this time the salt will draw out most of the moisture.

IMG_0618 IMG_0619

Now you can do the rather tedious task of squeezing out the water from fistfuls of kaddoo my means of your hands. Save the water, it has some kaddoo-ness and we will use it later.
IMG_0629 IMG_0630

Meanwhile start off the process of making the browned onion tomato gravy. When it calls for water (at the end) use the kaddoo water, would you please? Lets not waste it.

The volume of the grated kaddoo will have much reduced, and it will be dry. Put in the besan and the dry spices. You do not need more salt. Mix it with your oiled fingers; it should now be amenable to form patties. Form about 6 patties and leave them side by side on a plate.

IMG_0633 IMG_0635

Panfrying them is next. Heat a non-stick pan with oil about an eighth of an inch deep. When nice and hot, put in the patties with liberal gaps around, and sort of flatten them. Let them cook for 5 – 7 minutes or until they brown at the bottom; flip them, some more oil perhaps, and cook for another 5 minutes.

The patties are ready, all that is needed is to slip them into a nicely simmering pot of the browned onion gravy.

IMG_0636 IMG_0637

And you are done. This dish goes very well with rotis/chapatis.

Introducing the Eggnach

Eggnach with roti

Eggnach with roti

My People — the Sindhis — have made a lot of contributions to world culture, but I must say this ranks as an important one. Sindhis discovered that spinach and eggplant, when cooked together, meld well, marry well, and make a tasty nutritious brew.

Not only is this technique explored in the very famous Sai Bhaji, but in this rather less well-known dish as well. It goes well with rotis, but would go on the side of rice very well too, if you have some plain yogurt on the side. A very nice accompaniment would be yellow rice — cooked with some garlic, salt and turmeric powder (recipe forthcoming).

I found this recipe in this book and as usual made some modifications.

The Eggnach — eggplant and spinach dish

Ingredients:

  • 1 bunch spinach
  • 1 regular-sized eggplant
  • 1 medium tomato or 2 small ones
  • 4-5 cloves garlic
  • half and inch piece ginger
  • 2 serrano chilies or several smaller birds-eye chilies
  • half a teaspoon coriander powder
  • half a teaspoon cumin seeds
  • half a teaspoon red chili powder
  • salt to taste
  • 2 tablespoons oil
  • 1 tablespoon ghee (optional)

Method:

Rinse and chop the vegetables.

IMG_0547 IMG_0548 IMG_0549 IMG_0550


Chop the garlic, ginger and chili. Give them a pounding in a mortar and pestle after sprinkling a bit of salt on it to add a bit of roughage and to draw out moisture.

IMG_0546 IMG_0551

A note about salt: it draws out moisture! This is an incredibly useful fact that helps out in various ways. In this case, I pound it with a bit of salt, so that the paste self-makes itself, without adding even a splash of water.

Salt also pre-cooks food as it draws out the moisture, at least that is how I think of it. If you mince garlic, and salt it, in 10 minutes you will see that it has turned mushy and wet, and by the way, the taste of the garlic will not be as aggressive as when it is raw.

So anyway, getting back to our job. Pound those guys to get them to paste up. You don’t need to go the extra mile, just a simple smashing will do.

Heat oil in a thick-bottomed pot. When it shimmers, throw in the cumin, red chili powder and coriander powder. Now enters the garlic/ginger/chili paste. Let it sizzle. Now in tumble all the vegetables, chopped. Salt them, stir them around, cover, and cook for 15-20 minutes on medium first, then, when it comes to a boil, on medium-low.

IMG_0553 IMG_0554 IMG_0555 IMG_0557

Everything you have in there is quite mashable by this point. So attack it with a potato masher or simply the back of your spoon.

IMG_0560

Eggnach mashed

If you like, top it with a teaspoon of ghee, and possibly a sprinkle of lemon juice, and you are done.


Taro the terrible

Kachaalu took

Kachaalu took

Today more Sindhi food — a snack, this time, called kachaalu took.

Here is taro. It is a root or tuber, grown underground in the tropics all over the world. Also known as arbi, colocasia, kachaalu, dasheen.

Taro root

Taro root

This is one scruffy guy, as you can see. You are more likely to find it in a vegetable police lineup than in the vegetable swimsuit catalog. But I’m always happy to find it on my plate.

If you read the Wikipedia article I linked to, you might notice one thing — the countries where taro is eaten are all third world countries. This is telling. I don’t know what it is telling me, but perhaps that taro is not glamorous?

In reality this is a pretty healthy vegetable. Its leaves are large and heart-shaped, and can be eaten simply as greens or rolled around a filling. The tuber can be fried, boiled, mashed, sauted, roasted, baked, sauced, or microwaved (as we will see below) in endless variations. But whether you eat the leaves or the tuber, it must be cooked before eating, because it is somewhat toxic when raw.

The recipe below is eaten as snack either with dinner or before. Traditionally this recipe uses the double-fry method, but to make it somewhat healthier, I use the microwave and get quite comparable results. I also shallow, not deep, fry.

Kachaalu took

Ingredients:

  • A few tubers of taro
  • some salt
  • some oil
  • red chili powder
  • dry mango powder, substitute with lime/lemon juice

Method:

Rinse the tubers to get the lose dirt and hair off. Set them in a plate and microwave for about 5-6 minutes or until softened. Wait for them to cool until you can handle them, then pull the peel off. Now slice the tubers into quarter inch thick slices.

IMG_0498[1] IMG_0499[1]

Heat the oil in a non-stick pan. When it shimmers it is time to lay the slices down. Sprinkle with salt as they are cooking. Also press down on each slice with a spatula to a) get it to be in full contact with the hot oil, and b) flatten out a bit to be in even more contact.

IMG_0500[1] IMG_0501[1]

Pretty soon a delicious aroma of browning will arise, most reminiscent of bacon cooking. When you detect browning on the underside (this will take about 3 minutes on high-ish heat) flip each slice over

Sprinkle this side with salt as well. Flatten each slice with a spatula once again. In three more minutes, they will be browned on both sides.

Remove the slices to a plate and sprinkle with red chili powder and dry mango powder (aamchur). The latter adds a very necessary tang to the dish, so if you don’t have it, use lemon or lime juice instead.

I challenge any greasy-spoon diner to compete with this in sheer sinfulness!

Kachaalu took

Kachaalu took