A Sindhi breakfast Julia Child might approve of

IMG_0786

If I name the following ingredients: flour, potatoes, salt and pepper, dairy — a very commonplace list, in the Western part of the world — what doesn’t come to mind is a morning in a Sindhi town 60 years ago. And yet, so it is. My grandmother made these very rustic kachoris for my mother’s breakfast decades ago, and it is such a simple idea, but so complex and satisfying, that I still crave it and make it in my 21st century Californian kitchen, and yes, have it for breakfast.

This amount makes enough for a simple breakfast for one.

Potato Kachoris

Ingredients:

  • 1 medium red potato
  • 1 cup whole wheat flour, I use King Arthur Premium
  • 1.5 tablespoon plain yogurt
  • 3/4 teaspoon salt
  • 1.25 teaspoon freshly ground black pepper
  • Oil for frying

Method:

The traditional recipe asks you to boil the potato in lightly salted water until done. I have replaced that step with microwaving in nearly all such recipes that need a tuber to be cooked through before using. Not only is it quicker, but I feel like it avoids some of the nutrients leaching out into the water that one has to then throw away.

So go ahead, nuke the chap. Five minutes should put paid on a medium potato.

IMG_0774 IMG_0777 IMG_0778 IMG_0779

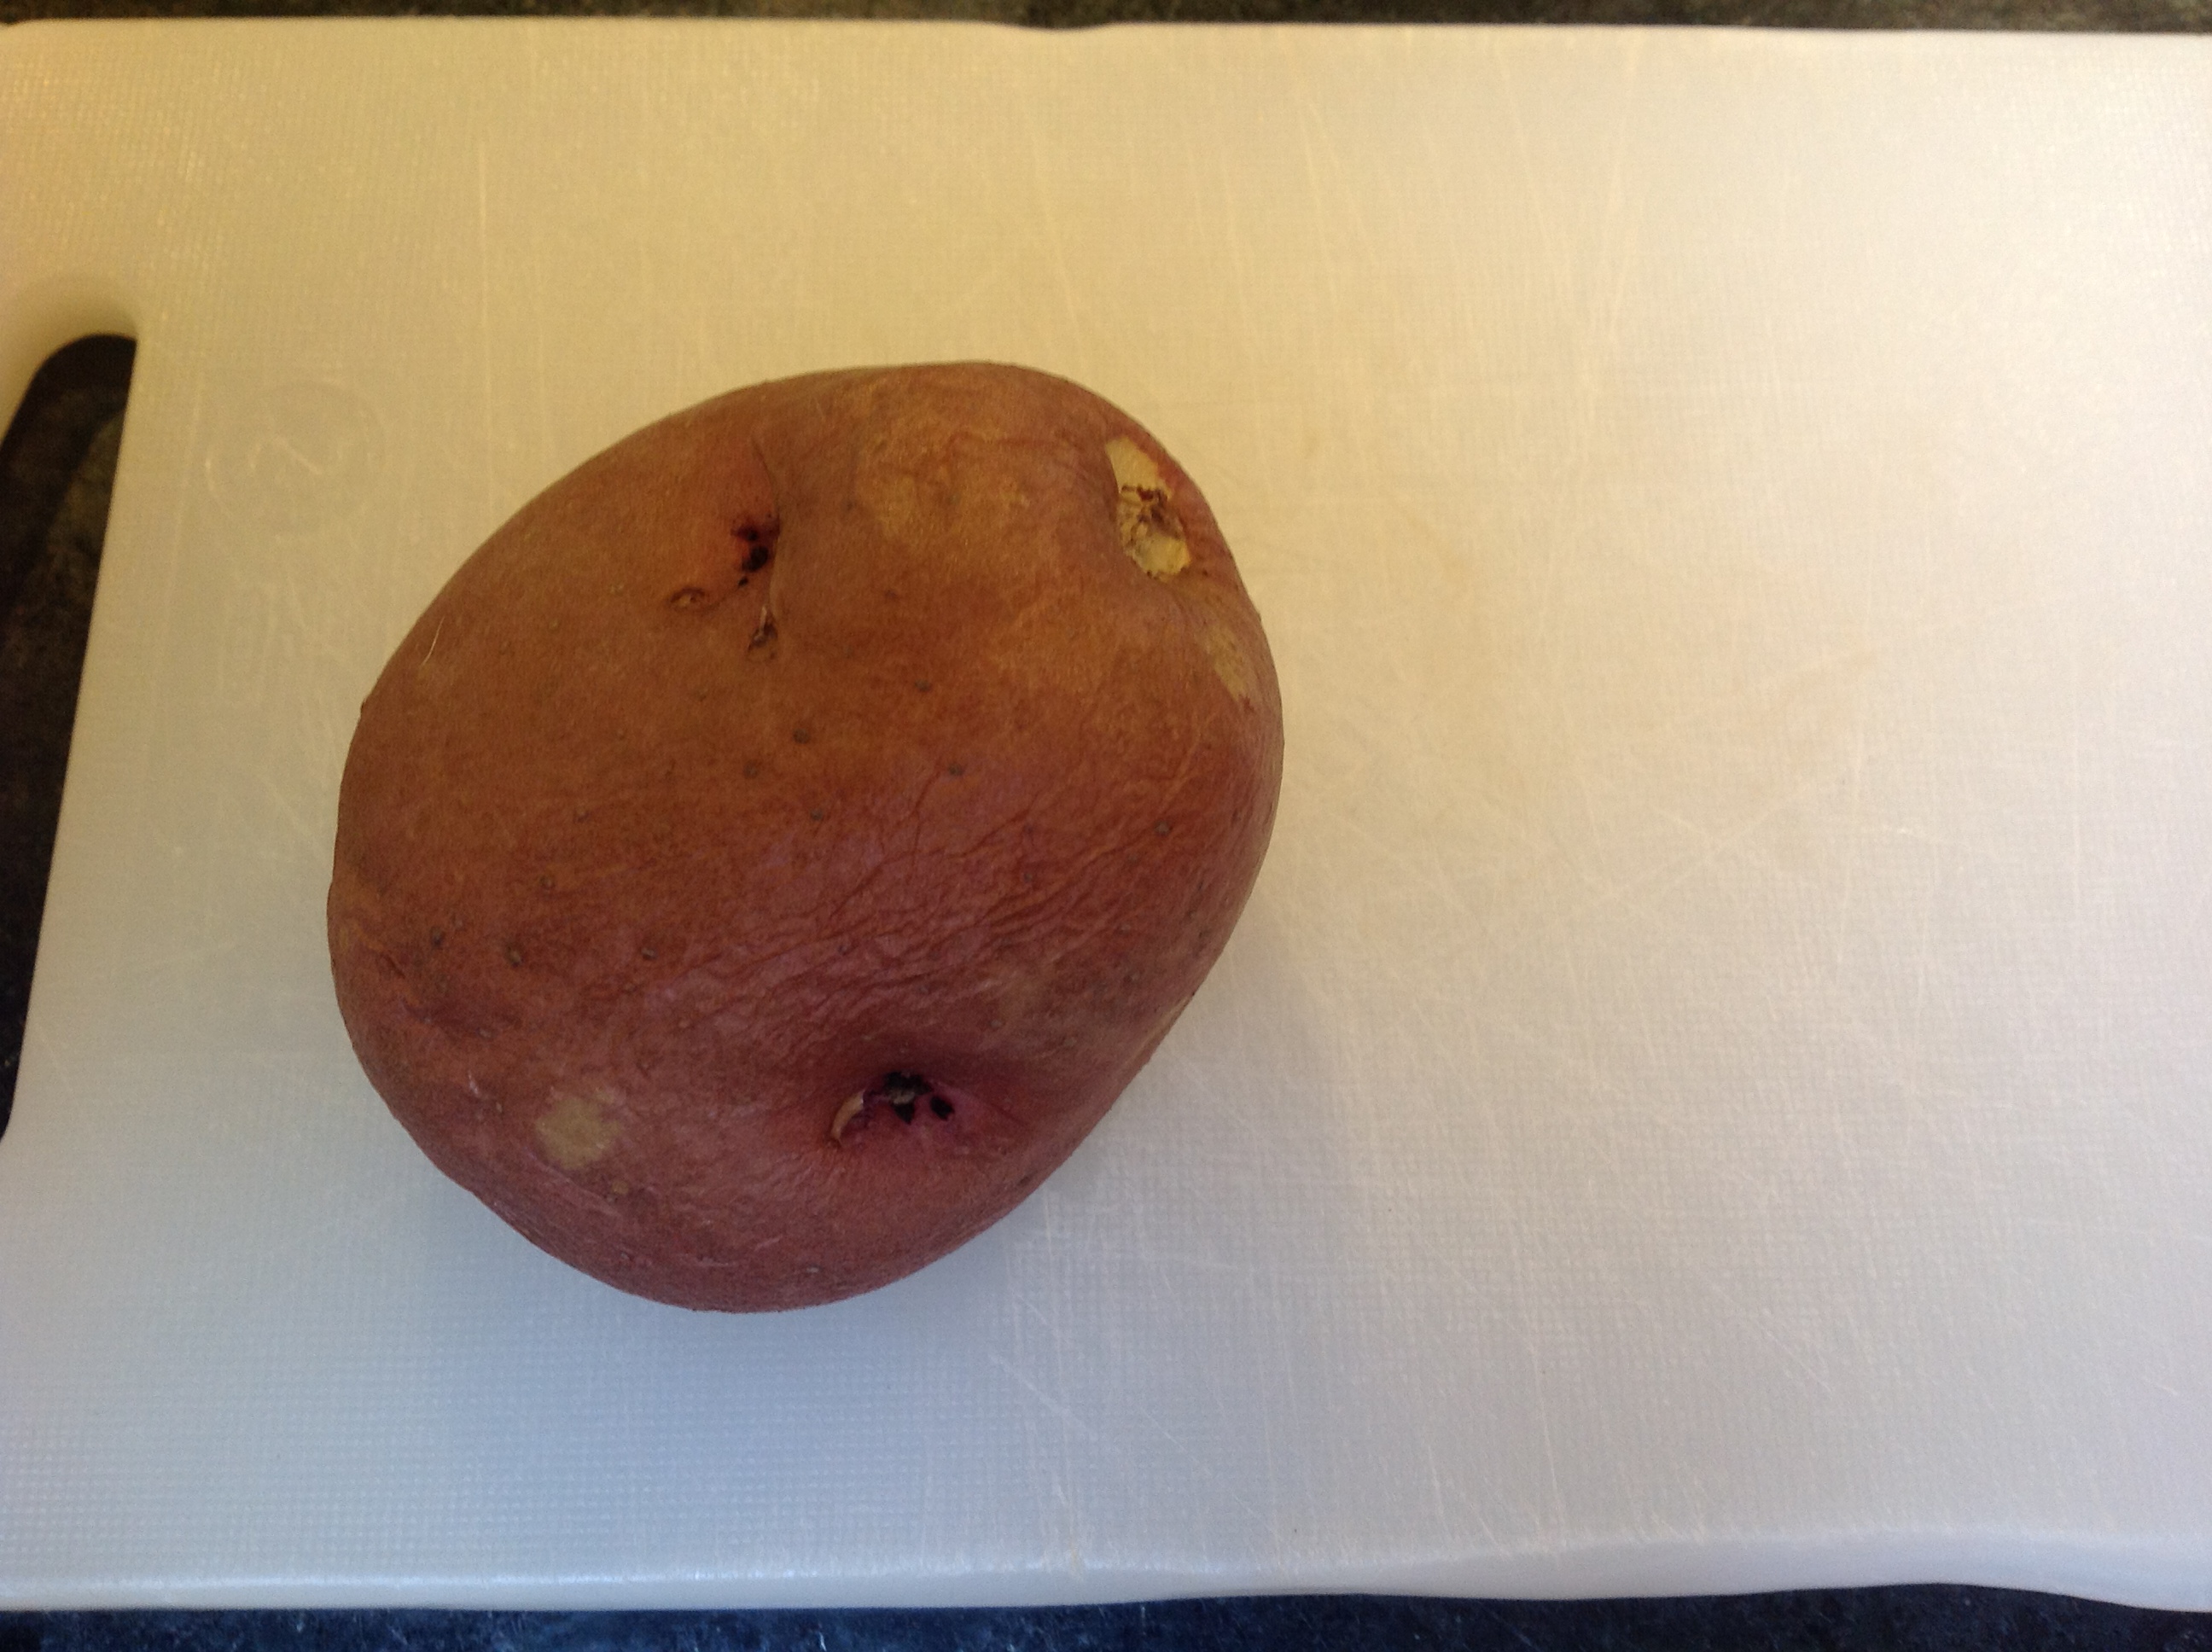
When it is no longer shooting steam lava at you when you touch it, cut it into cubes and roughly mash it, peel and all. It can be lumpy, I personally don’t mind that.

Add the flour, salt, and pepper.

Now. You may be alarmed at the amount of pepper I am having you put in. Don’t be! Remember, pepper drove world-traffic all the way to the South Indian coast for centuries. Pepper is the Helen of Troy of spices. You want to feel it.

Mix and squeeze the flour in with the potato mixture with your fingers, till it is a rough, shaggy mass. Now put in the plain yogurt and knead briefly to make it a rough dough.

IMG_0780 IMG_0781

This amount of dough will roll out to about 4 small circles of 5 – 6 inches each. So break golf-ball sized pieces, and roll each out. Now if you are used to rolling rotis you will find that these don’t roll out as smoothly or as thin. This, naturally, is because of the influx of the natural lumpiness of the potato (which I insisted a few lines ago that you don’t quell completely). That’s fine! It all adds to the rustic charm. The only thing you have to be aware of is, you may have to fry them a tad longer than normal, because they are thicker.

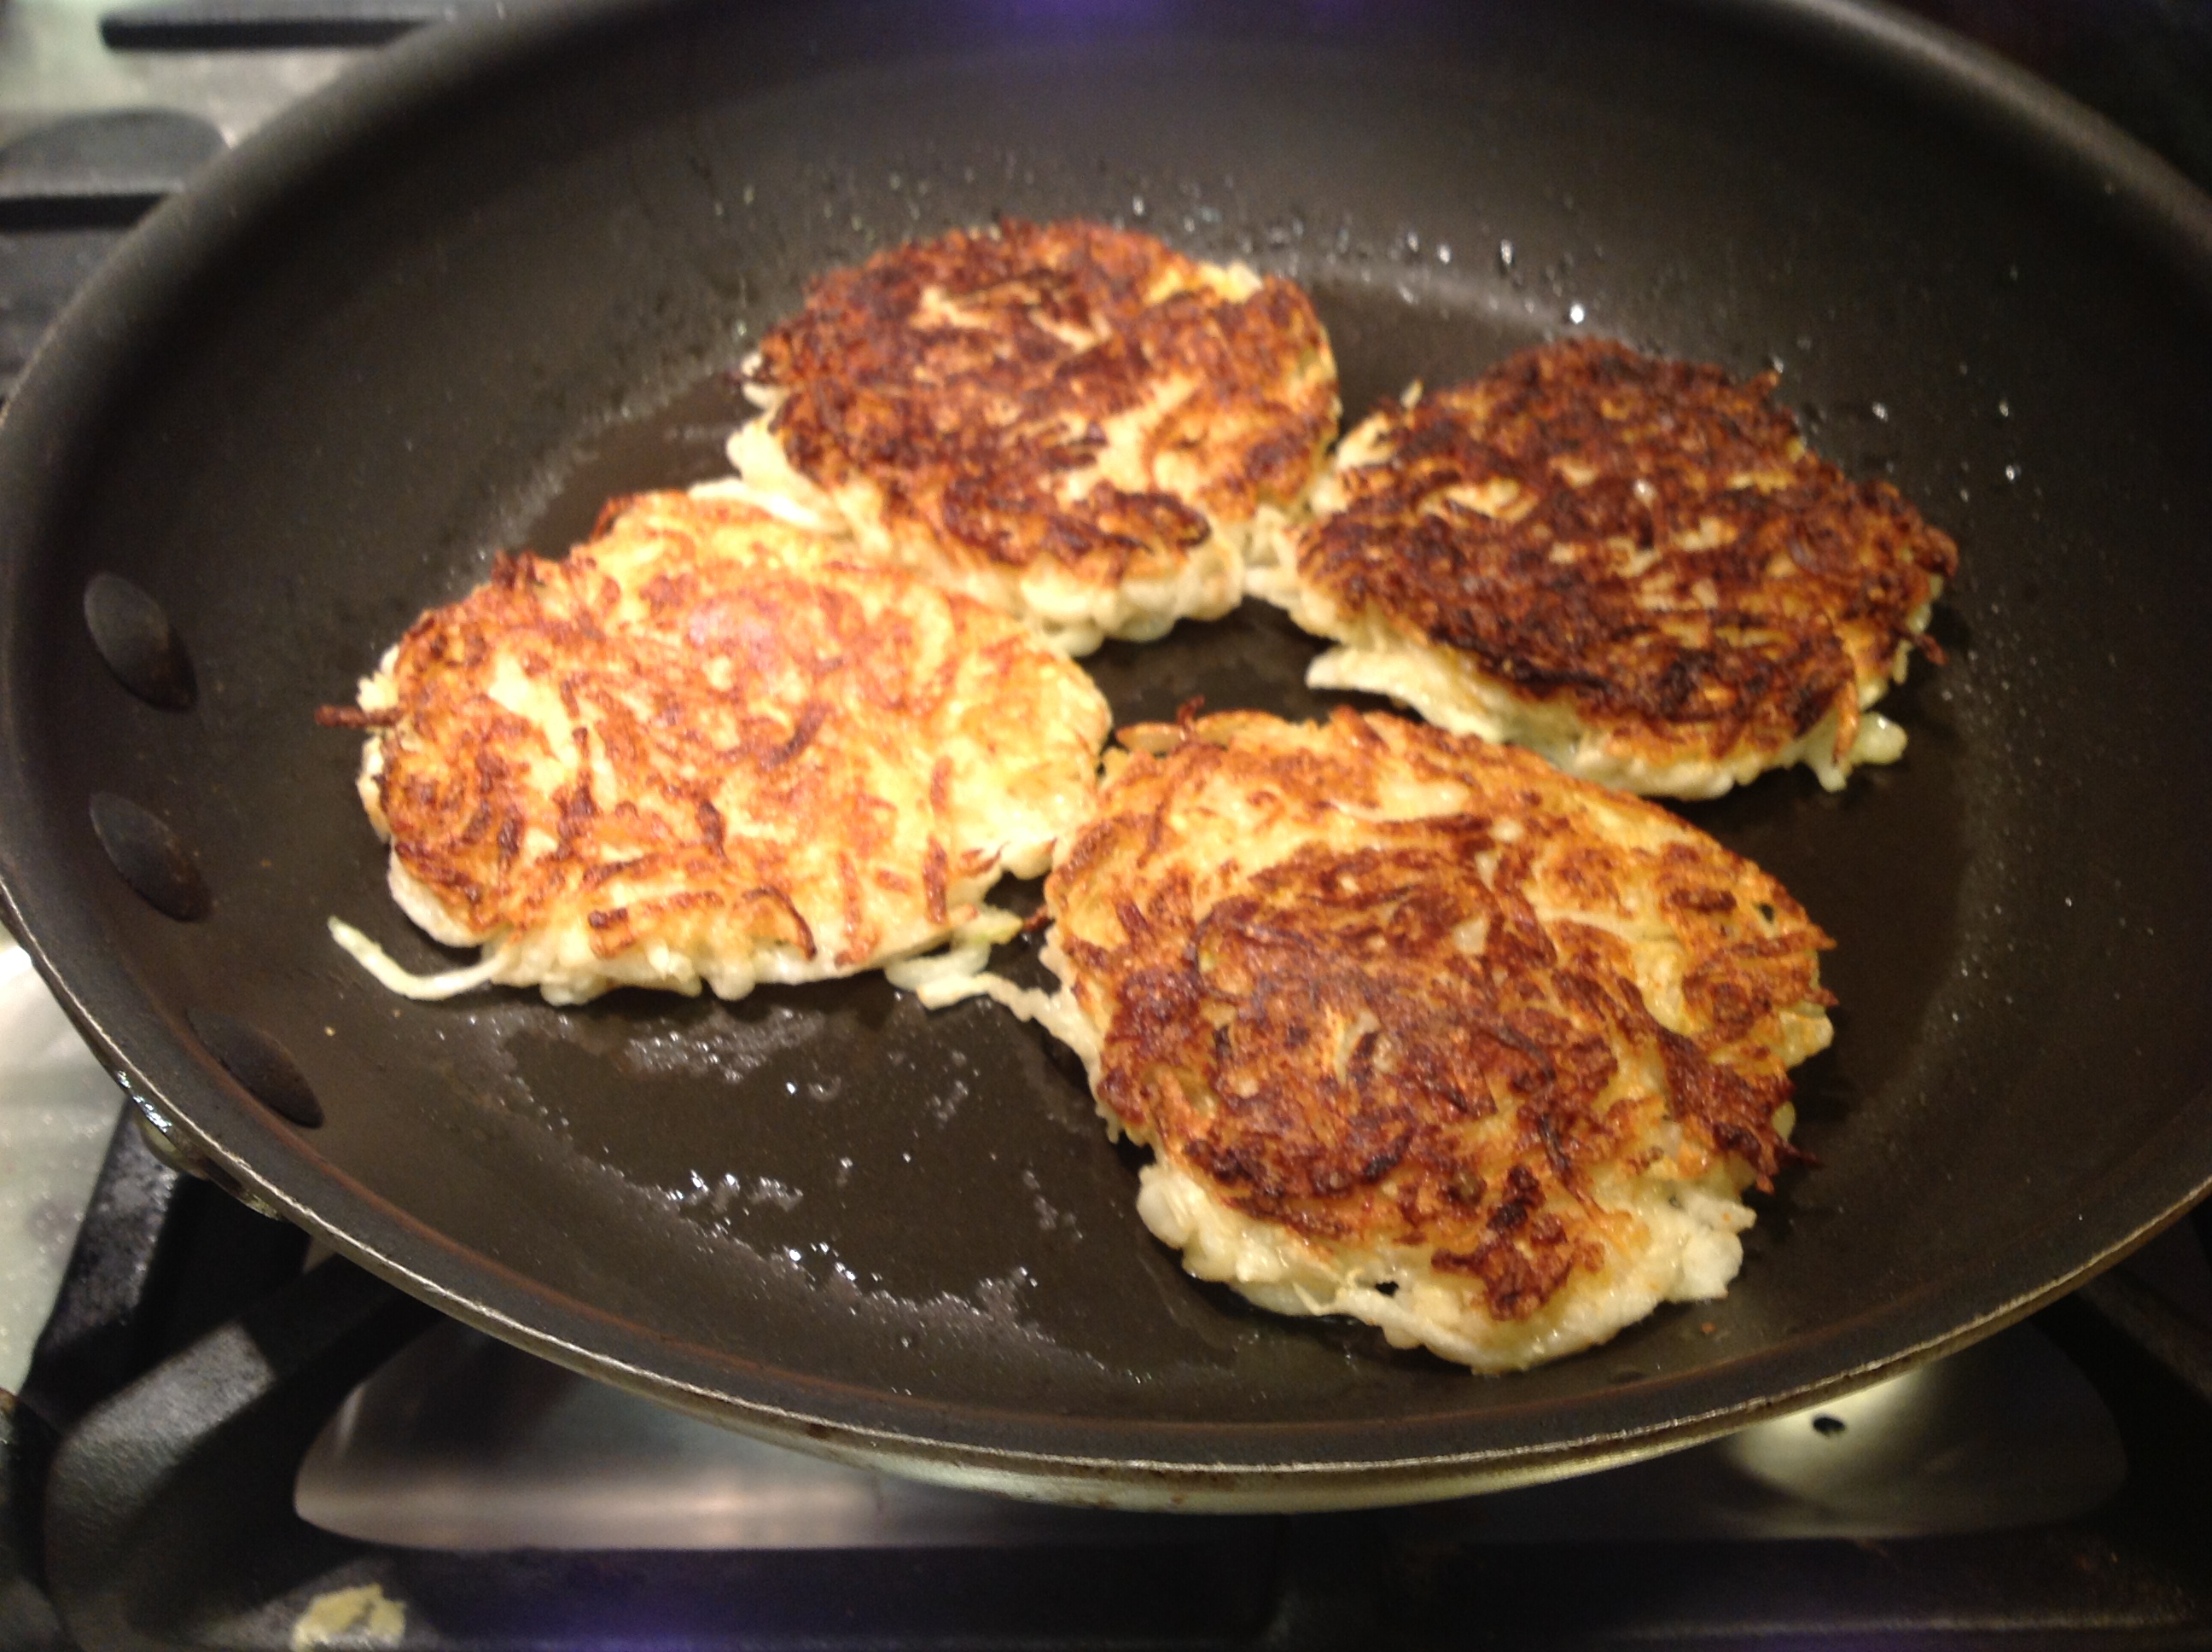
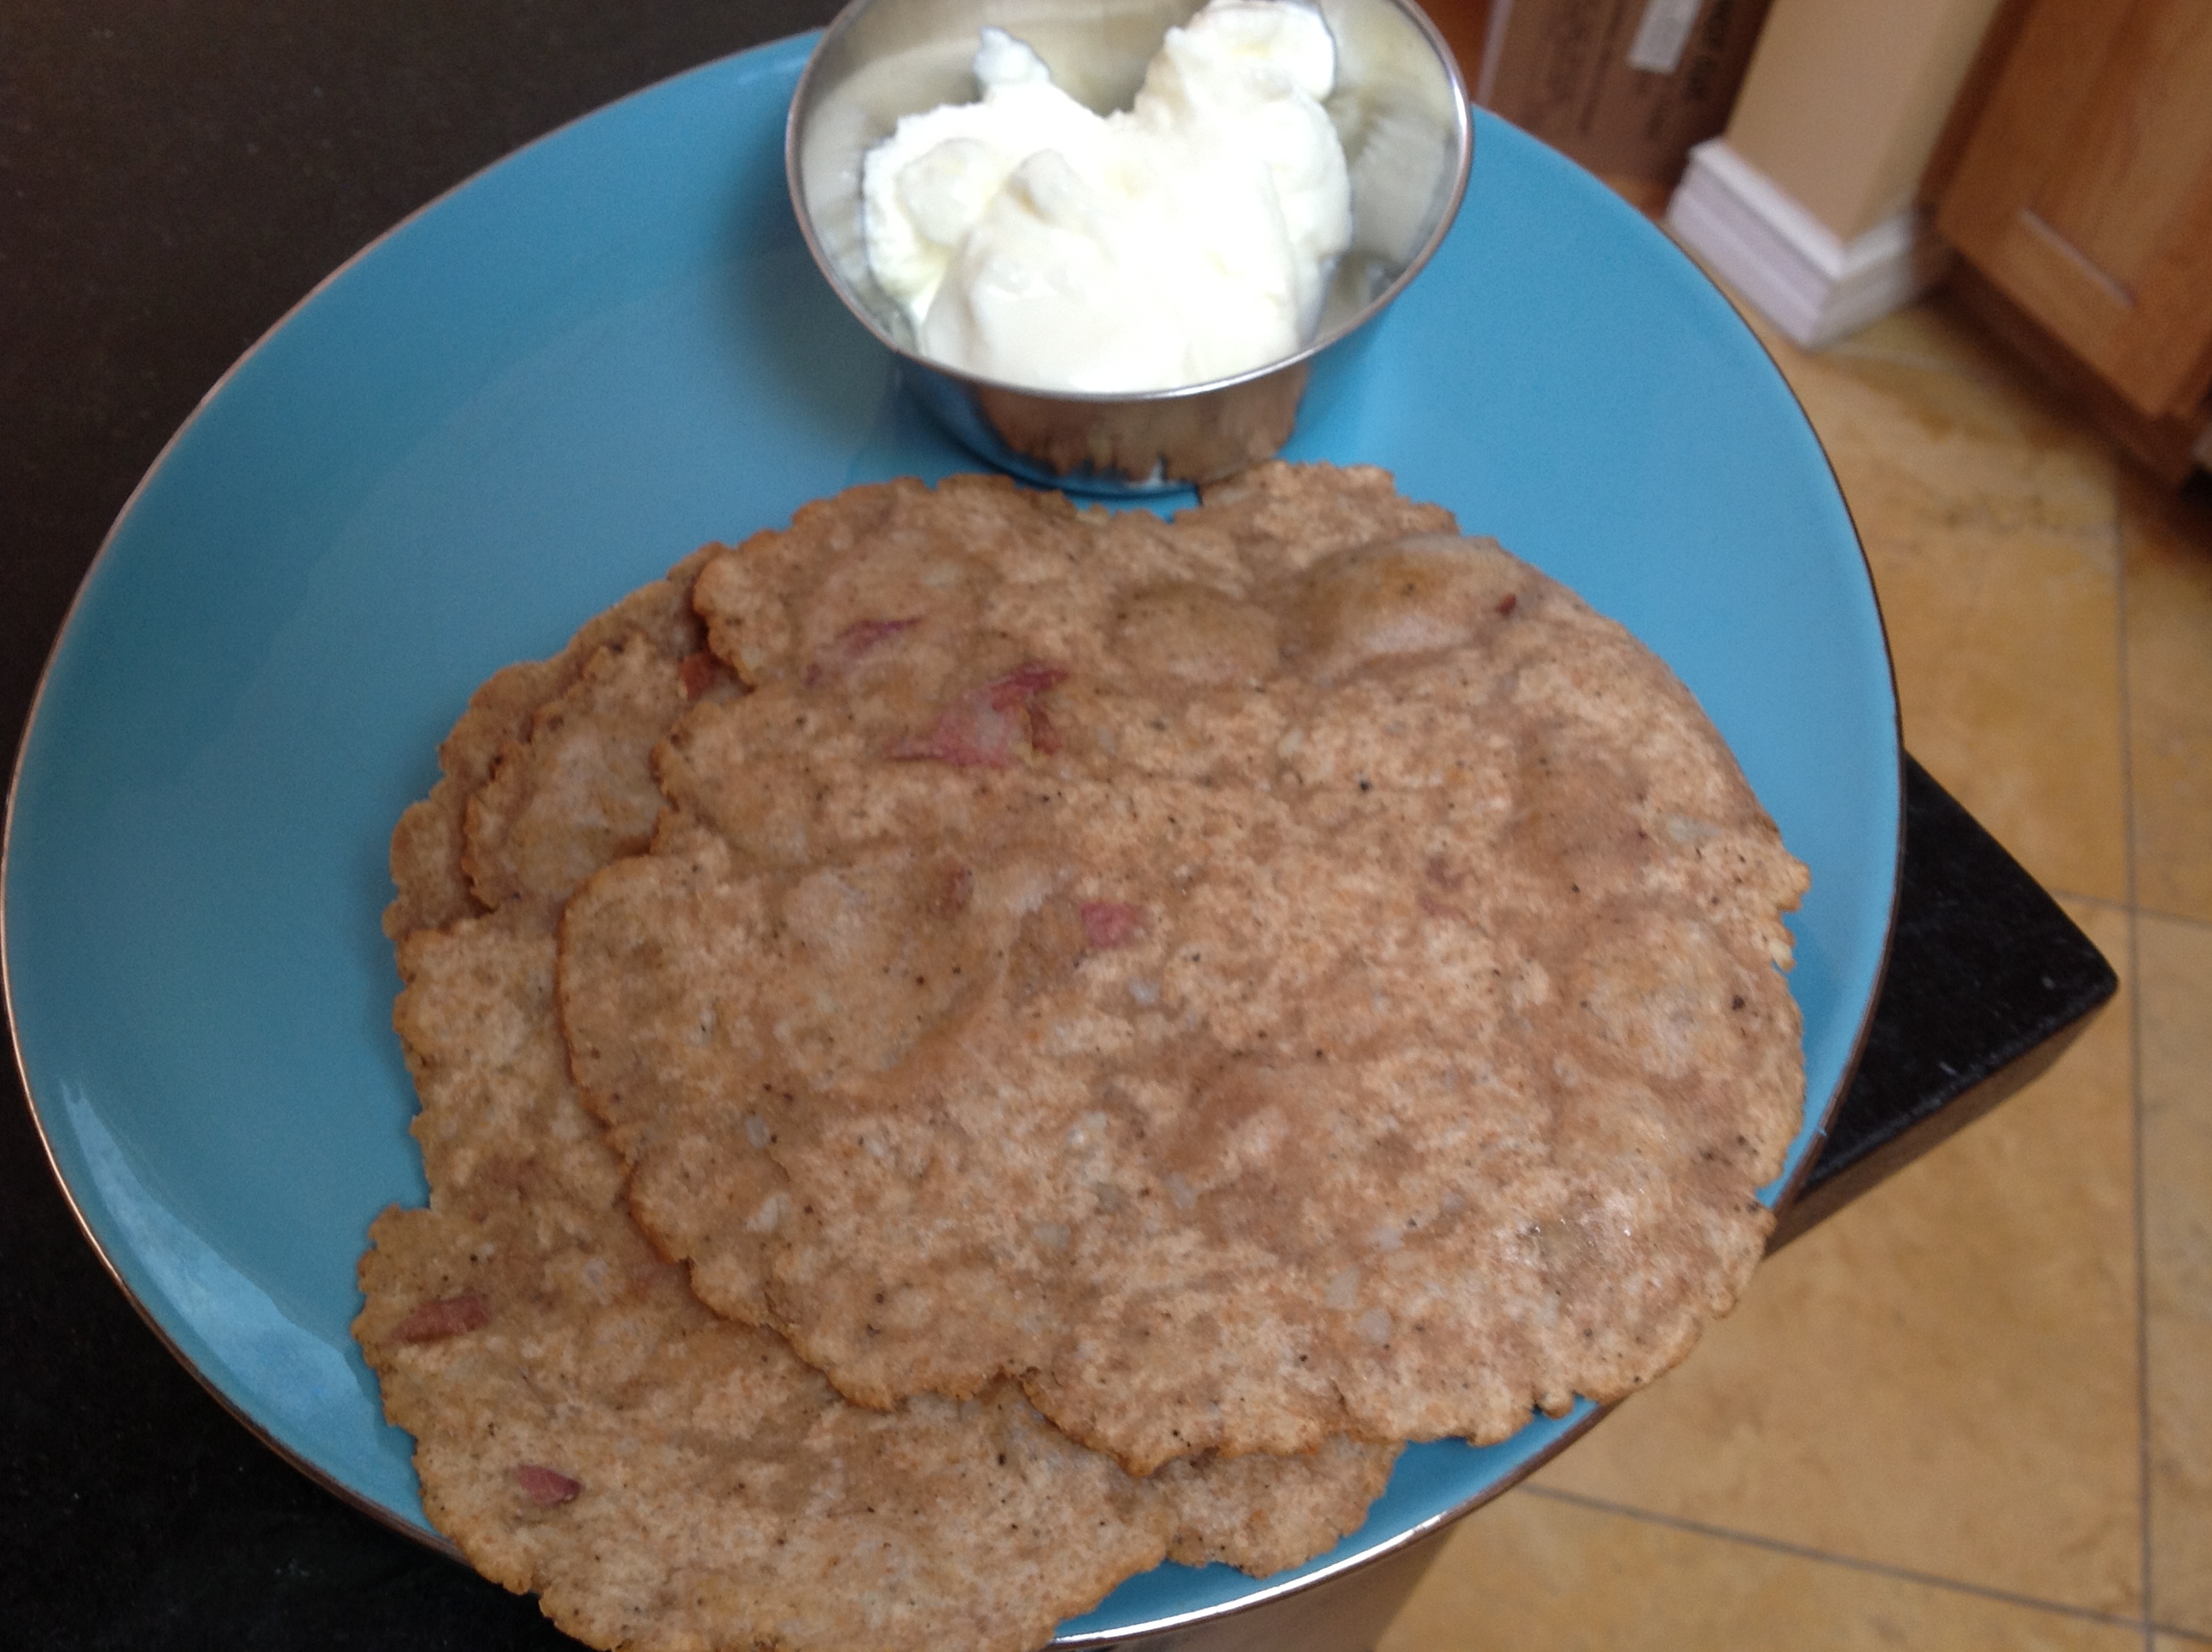
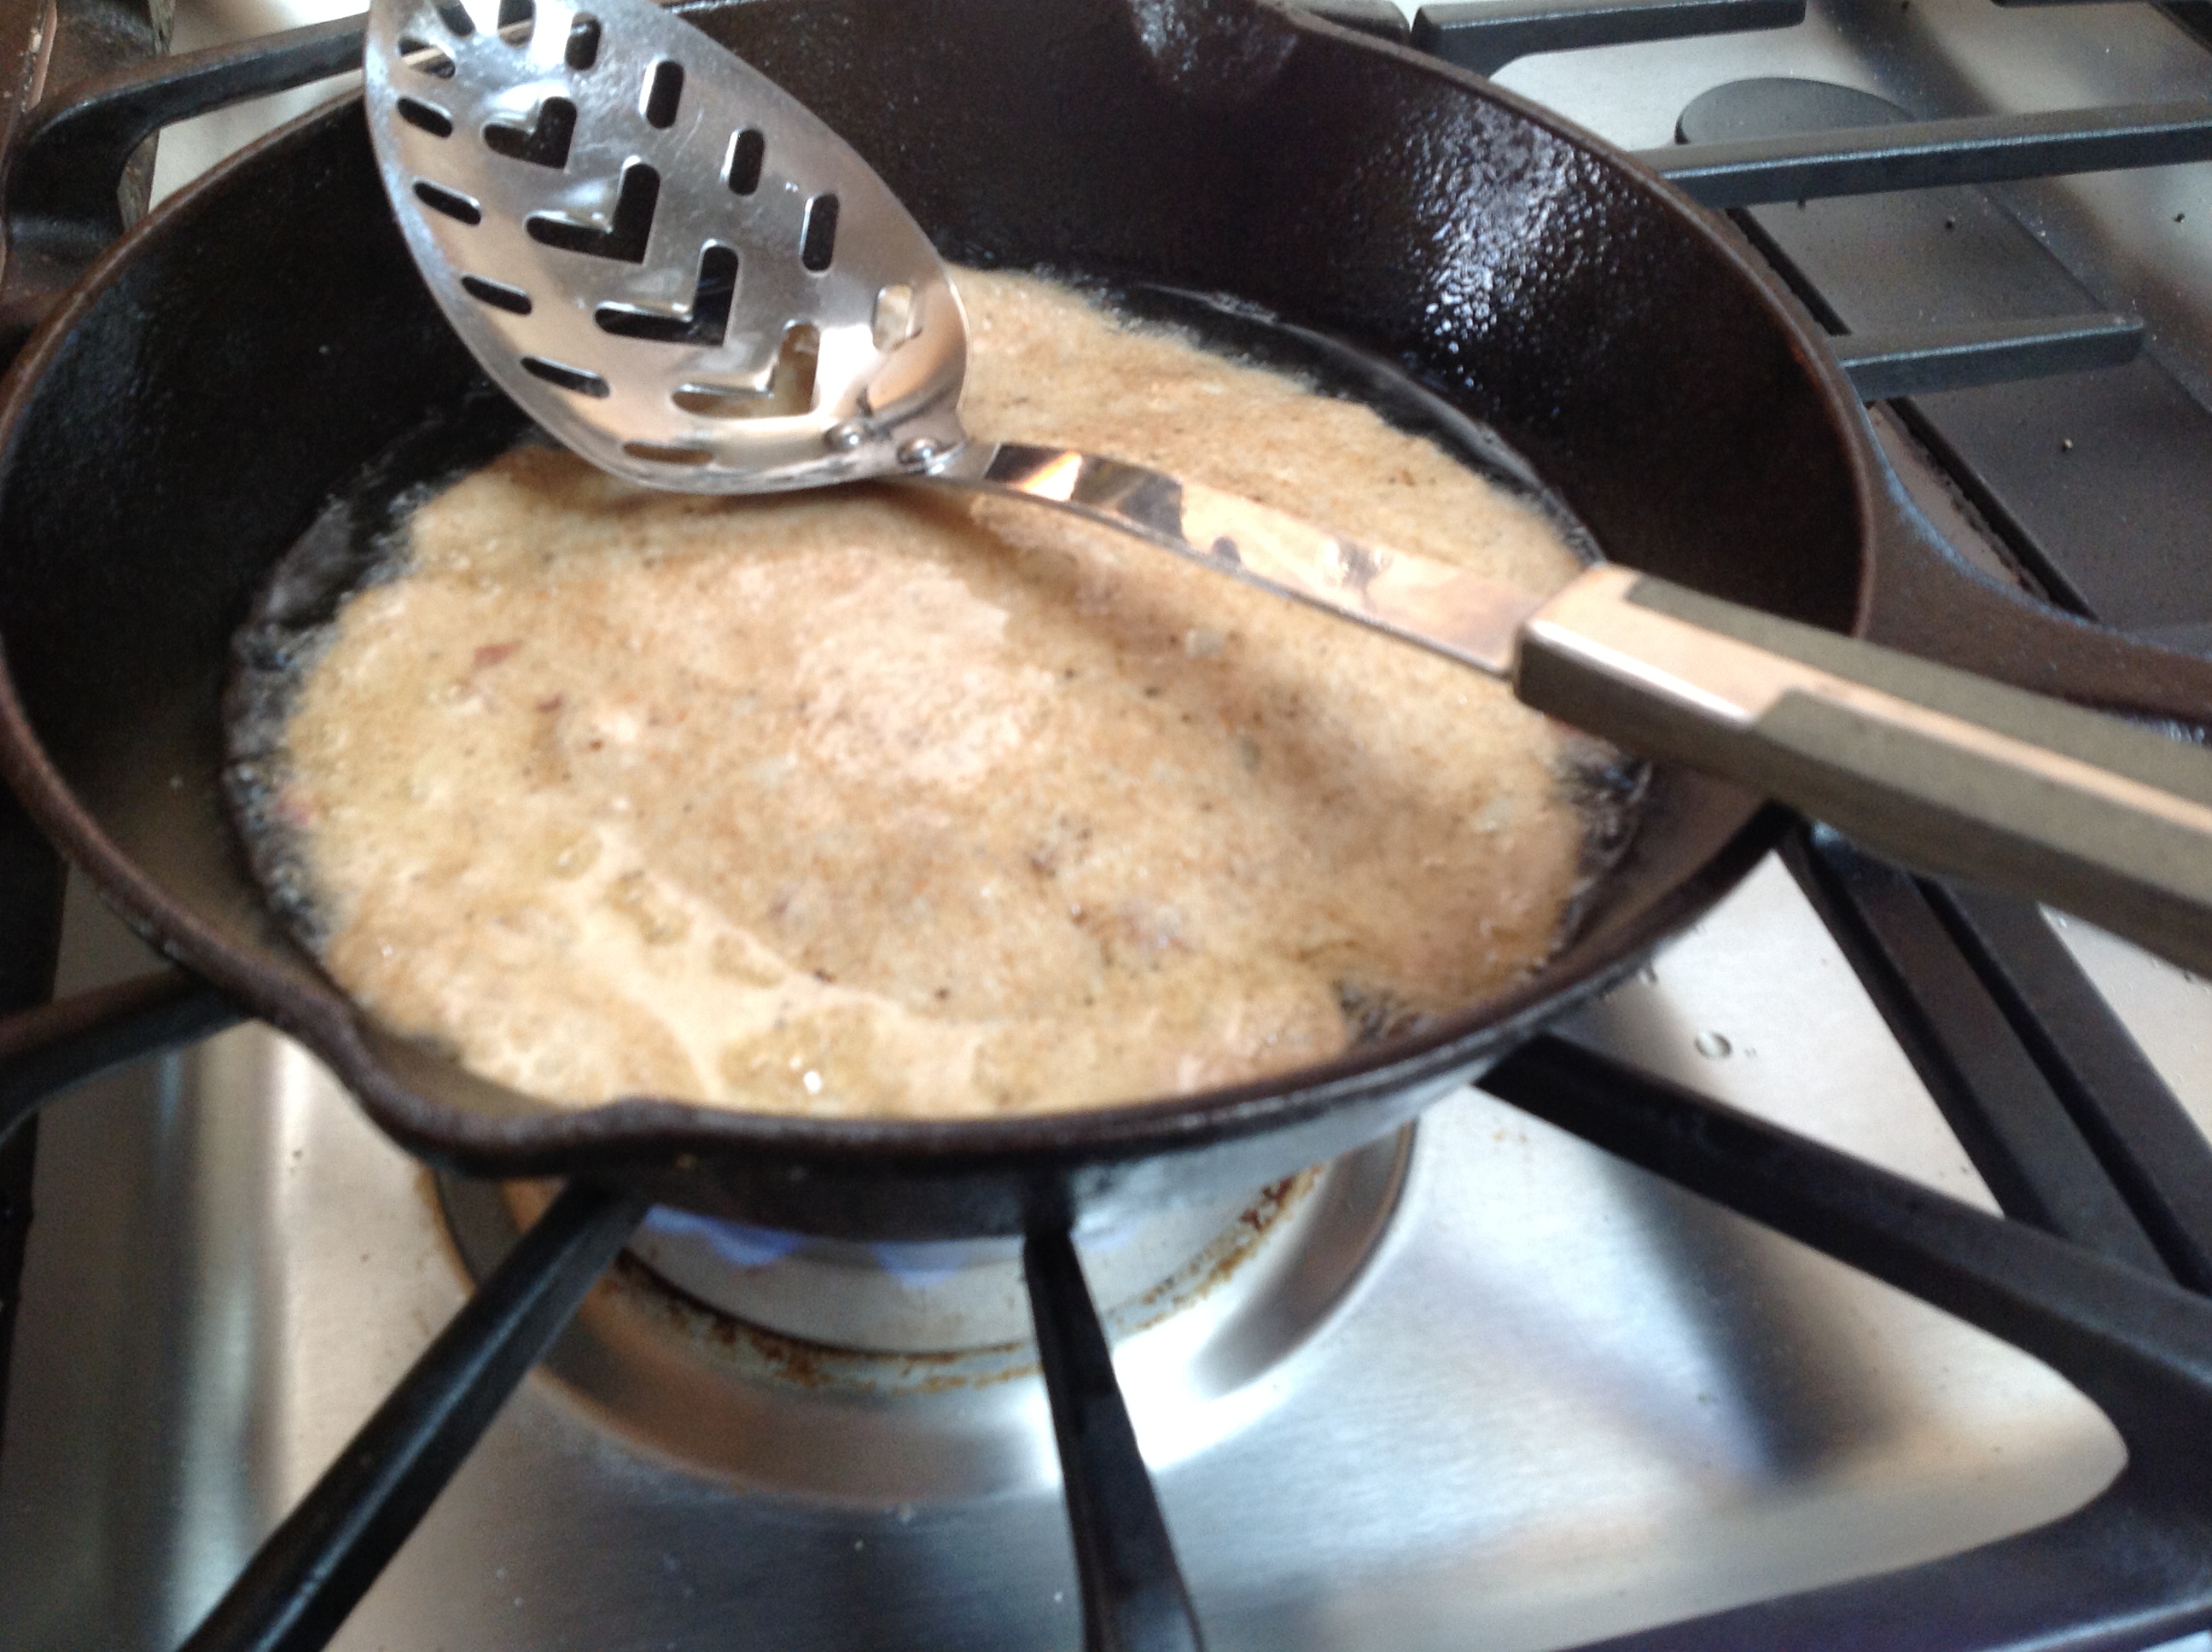
OK. So circles rolled out, heat about an inch of oil in a thick bottomed fry-pan. When the oil shimmers (but before it smokes! That is when the oil starts to break down and do Bad Things to us) put in a rolled out circle. Let it cook on one side for about half a minute, bobbing it up and down with your slotted spoon or tongs. Then flip it, and cook it for another half a minute. Take it out and drain it on paper towels.

IMG_0782 IMG_0784

Have it with some more plain yogurt on the side. Surprisingly heavenly. Julia Child, eat your heart out.

Jay, the Earl of the Bombay Sandwich

Sada Bombay Sandwich

Sada Bombay Sandwich

The ancestor of Bombay sandwich is the dainty cucumber sandwich that the British have served with their afternoon tea since the Victorian days. It even makes an appearance in Oscar Wilde’s The Importance of being Earnest. It has no protein and not much nutrition. But a cucumber sandwich is cooling, and so is tea! Which is why, I can only imagine, the British colonialists brought this tradition over to my hot, hot country India, where they spent about two hundred years, overstaying their welcome by about…I don’t know, a hundred and fifty years or so?

Bombay Gymkhana, that dates from colonial times

Bombay Gymkhana, that dates from colonial times

The cucumber sandwich thrived in cricket clubs, gymkhanas and tea houses where Indian servers would thinly slice bread and cucumbers, lop the crust off the slices, and serve these elegant little squares to their British bosses. Then those bosses were gone. They left behind a bunch of expert cucumber slicers, who I guess decided to use their skill in a very Indian — and really, a very Bombay way — hawk this sandwich from the roadside and add some chutney.

Ah. That is what makes it. Two hundred years and the British didn’t learn to add chutney to the cucumber sandwich. They left it pallid. Tasty, but pallid. And rather limp. But here, add mint chutney, beef it up with some potato, throw some sev on top, panini press it, put samosa filling it it; my god, the streetside stalls in Bombay have come up with a hundred variations.

But today we focus on the sada (plain) Bombay vegetable sandwich.

Sandwichwallah

Sandwichwallah

Sandwich stalls are found all over the sidewalks of Bombay. All of them can produce a killer sada sandwich. All one needs really is a stand about two feet square. There was a sandwichwallah on my street growing up — G Road. Around seven in the evening there would be a flock around him. His hands would be moving rapidly. There are very few choices for the customers to make — more chutney or less, and that’s about it. Everyone went away happy with six neat squares on a sheet of newspaper.

This is a far cry from the way I imagine cucumber sandwiches were served during the British days, on gold-inlaid bone china. But they do say newspaper makes street food taste better. I can vouch for that. Buzzing flies help too.

Jay Sandwich Menu

Jay Sandwich Menu

In college, by great good luck, I ended up in a streetside sandwichwallah’s personal empire. Yes, technically, the college is an official building, and Jay sandwichwallah just occupies the sidewalk outside it; but sometimes it felt like Jay Sandwich Stall is the main feature, and they built the college around him.

His two-feet square stall has expanded to occupy the entire sidewalk. It has a shade and a counter for customers. It even has a marquee. He has an extensive menu, all based on the original sada sandwich. He has a staff. The stall has killer aphorisms posted all over it, like ‘Please Use Dustbin’ and ‘Sandwich in One Hand Money in the Other’.

JaySandwichMarquee

But it has no seating. You are not permitted to order from your car either. You stand in front, order, wait, take the sandwich and go.

He even has a fan club on Facebook. That is how you know he has arrived. And do you know how your humble blog, The Odd Pantry, has arrived? I have a field reporter! My intrepid reporter in the field, Lata Wadhwani, got the following recipe for me from the Man Himself.

Sada Vegetable Sandwich from Jay Sandwich Stall

Ingredients:

  • 2 slices white bread, store bought or use this recipe for my very own Wondrous Bread
  • 2 pats of butter, one for each slice
  • 1 – 2 tablespoons green mint chutney (modify my soap chutney this way to make Jay’s green chutney: 1/2 cup fresh mint, 1/2 cup green chilies, 1 cup cilantro, salt to taste).
  • 1 tablespoon tomato ketchup
  • About 10 slices thinly sliced cucumber
  • About 6 slices thinly sliced tomato
  • About 6 slices thinly sliced boiled potato
  • About 6 slices boiled and sliced beetroot (optional, I skipped this)
  • About 6 slices thinly sliced red onion (optional, I skipped this)
  • Salt
  • Pepper

Method:

In the grand tradition of cucumber sandwiches, lop off the crusts of the bread. I didn’t, but I tend to be iconoclastic.

Apply butter on one side of each slice. Apply green chutney on one slice and ketchup on the other; if you want it spicier, skip the ketchup and use green chutney on both slices. This is what I did.

IMG_0679 IMG_0681

I must mention — work rapidly with big, flat sharp knives to get into the spirit of it.

Lay the slices down. First layer the cucumber on, somewhat overlapping. Then salt that layer. Then lay down the tomato slices somewhat overlapping, and salt that layer as well. Then comes the potato. This time you should add salt and pepper as well, just because potatoes love pepper so much.

IMG_0683 IMG_0682 IMG_0684

If you like, add layers of onion and beetroot.

Now cover with the other slice. Press down firmly to get the sandwich to meld into one. Give it one cut vertically with a super sharp knife, and two cuts horizontally to make 6 little squares. Slide the squares onto a sheet of newsprint (or what the heck, use foil) and serve.

IMG_0685

Hand the customer the sandwich with one hand and take the money with the other.

A version of this recipe has earlier appeared in this book: The Lazy Gourmet, Magnificent Meals Made Easy, as ‘Bombay Sandwich’.

Solid citizen channa dal

IMG_0772

Channa dal is the dehusked, split version of the black chickpea or kala channa. Most people know chickpeas or garbanzo beans in their lighter, bigger form (and often from a can); this lighter chickpea (known as kabuli channa) is native to the middle east, and eaten all over India too.

The black chickpea on the other hand, looks like this:

Black chickpea

Black chickpea

It is known as kala channa, and is a smaller, darker chickpea that is native to India (strongly resisting the urge to make a racial joke here). Kala channa is eaten whole often and someday The Odd Pantry will delve into that. But get its wrinkled brown husk off, and split it into its two cotyledons, and you have yellow channa dal.

Channa dal

Channa dal

Among the dals, it is a mighty stubborn one and resists softening. It takes the longest soaking, and the longest cooking. Still, once you get there, the results are hard to beat.

I believe each dish must showcase the main ingredient’s essence; and since channa dal likes to keep its integrity, we will help it. What I mean by that is that we don’t cook it down to mush (as is the case with most split dals) but allow the channa dal to keep its shape. An initial saute step helps seal in the grain’s shape, so let’s get to it.

Solid citizen channa dal

Ingredients:

  • 3/4 cup channa dal, soaked for one to two hours
  • Half inch piece of ginger, minced
  • 1 – 4 serrano or bird’s eye or jalapeno chilies
  • Half a teaspoon turmeric powder
  • One teaspoon cumin seeds
  • Half a teaspoon of asafetida
  • Half a teaspoon of red chili powder
  • Dry mango powder (aamchur)
  • 2 tablespoons finely chopped cilantro
  • 2 tablespoons oil
  • 1 teaspoon salt or to taste

Method:

Once you have soaked the dal, its volume will have doubled. Drain it of the soaking water.

IMG_0756 IMG_0757

Heat half the oil in a thick-bottomed pot and when it shimmers, lightly saute the green chilies and ginger. Now put in the drained dal, and saute the grains on medium heat until the soaking water dries away; continue sauteing dal for another couple minutes or so. Now put in the turmeric and 2 cups water.

Bring to a boil with the lid off; once the water comes to a rolling boil and the foam subsides, lower the heat to a simmer, cover with a lid but leave a crack open for more foam to escape. The dal will take an hour and a half to soften.

Now add the salt and stir.

IMG_0769

Heat the remaining oil in a small thick-bottomed pan. When it shimmers, add the asafetida and red chili powder. When they foam, add the cumin seeds. They will sizzle in a minute or two. Turn off the heat, add the oil and spices to the dal and stir once more. Also stir in the dry mango powder and the cilantro, leaving some for garnish.

Before serving, garnish with the dry mango powder and the cilantro to smarten it up.  I like this dal with roti/chapati or pooris, with perhaps a dash of lime juice if you like.

Knock-your-socks-off Northern style coconut chutney

Coconuts

Coconuts

Coconut is a southern Indian ingredient, but adding some of it to this northern Indian style chutney is a fantastic idea.

It is a simple recipe that you can make by patching together a couple other recipes.

Break a coconut and collect about a sixth of the coconut’s white flesh. Chop it finely or grate it. This website has some really good tips for breaking coconuts and this website talks about how to pry out the flesh.

Make this cilantro chutney, using the following ingredients: cilantro, chilies, onion. Collect all those ingredients in a blender. To this, add 2 tablespoons of this tamarind chutney. To that, add the coconut. To that, add about a half teaspoon salt. Blend, blend, blend, push down with spatula, repeat until you have a chutney.

Coconut chutney northern style

Coconut chutney northern style

I tried a spoon of this to taste; and I had to hold on to the counter it was so good.

It would make a great accompaniment to dosas/idlis, spread on bread, with samosas; or a myriad other ways.

Taro the terrible escapes again

Taro chaat

Taro chaat

…with some excellent results. I have before made note of taro root‘s scruffy appearance and its delectable nature. In this appetizer from my Sindhi childhood, taro shines with a few well-chosen accompaniments. This dish can go as a side with any Indian meal, or have it in the evening during a chaat and tea session.

Taro chaat

Ingredients:

  • 2 or so medium-sized taro tubers
  • 4 tablespoons tamarind chutney
  • 1 tablespoon finely chopped onion
  • 1 tablespoon minced cilantro leaves
  • Quarter teaspoon salt
  • Quarter teaspoon red chili powder
  • Half a teaspoon cumin seeds

Method

Rinse the taro and microwave it for about 5 minutes. Now it will be softened inside. When it cools, peel it to reveal the creamy white flesh. Cube it into quarter-inch wide cubes and save in a bowl.

Put in the cilantro and onion. And one is supposed to ‘layer the salt’ so go ahead, add enough salt for this amount of ingredients and stir. This will be about a quarter of a teaspoon but use your judgment.

IMG_0805

Now put in the prepared tamarind chutney. Now. A slight digression about tamarind chutney is forthcoming.

You can make tamarind chutney the easy or hard way. The hard way uses the dried pods of tamarind, either peeled and made into a block, or the pods themselves. Either way this method requires a lot of soaking and squeezing with your fingers to get the pulp out. So I tend to use a shortcut method — tamarind paste is the one thing I do buy prepared from the store. I use tamarind paste, and this is a good recipe for tamarind chutney using the paste. If you want, you can add a couple dried dates, chopped fine.

Roast the cumin seeds in a hot, dry pan for a minute or two, till they turn a shade darker, and grind to a rough powder in a clean coffee grinder or a mortar and pestle.

Top the tamarind with the red chili powder, and the cumin powder, stir well, and you are done.

This makes enough for one person as a largish side, but is easily multiplied. Oh — and if you don’t possess tamarind or have a special hatred for it, you could substitute with a similar amount of lime juice.

The doofus

Somebody stop me I feel a thesis coming on. It is about this vegetable:

Kaddoo

Kaddoo

This is not the kind of vegetable that one expects paens to be written about. It is found anywhere that vegetables are sold in India; and being India, that could be a basket at a railway platform or a sheet laid out on the sidewalk:

vegetable market

vegetable market selling kaddoo and other things

A vendor sorts vegetables next to a railway track as a train passes by, in Dhaka on September 10, 2012. (Andrew Biraj/Reuters)

A vendor sorts vegetables next to a railway track as a train passes by, in Dhaka on September 10, 2012. (Andrew Biraj/Reuters)

Sidewalk vegetable seller from suvisworld.wordpress.com/

Sidewalk vegetable seller from suvisworld.wordpress.com

It is known to me and other Sindhis as ‘kaddoo’. It is so devoid of glamour that if you call someone a ‘kaddoo’ you may as well call them a doofus. But don’t underestimate it, because the kaddoo has mystique. For one thing, it is one of the oldest cultivated plants in the world. Humans have been eating it for ten thousand years. Recently some stands of wild kaddoo were discovered in Zimbabwe, which is probably where it originated. News of the cultivated kaddoo seems to have spread like wildfire, from Africa to Asia to the Americas; the kaddoo discovered America before Columbus.

Check out its pretty flower:

Kaddoo flower

Kaddoo flower

Like other plants from the Cucurbitacae family (squashes, melons and gourds), it is a vine and climbs by means of tendrils. Kaddoo flesh is pale, watery and very mild. Some would say boring. It cooks down to become squishy and somewhat gelatinous. The skin is thin and pale green, but one does have to peel it before cooking. The seeds of the young fruit are quite edible.

Calabash

Calabash

So where is the mystique? I knew that kaddoo is also known as lauki, bottle gourd, opo or dhoodhi, but I didn’t know that it also goes by the romantic name of Calabash. In India we mostly eat this as a young vegetable, when its peel and seeds are rather soft. But apparently when it ages, the peel hardens, the flesh dries up, leaving a sort of bottle behind; In this form, it is called a calabash. It has been used by old cultures as a vessel, or even as a musical instrument. Apparently the fact that the size of these gourds roughly matches the size of the human head gives it its resonant qualities.

Sitar parts

Sitar parts

SitarKaddoo

Musical instruments, hmm…what kind? Some tribal folksy thing no doubt, that street performers play and bystanders throw change at? Sure…but also, think Ravi Shankar and the sitar. The calabash is used for the shell of the deeply buzzy and resonant sitar…the main resonating chamber of which is called…wait for it…the kaddoo.

QED.

Kaddoo koftas in gravy.

kaddoo koftas

kaddoo koftas

Ingredients:

  • One large kaddoo, peeled, quartered and seeded
  • Quarter cup besan
  • Half a teaspoon coriander powder
  • Some sprinkles red chili powder
  • One teaspoon aamchur
  • Salt to taste
  • 4 – 5 tablespoons oil
  • One recipe of browned onion tomato gravy

Method

Grate the kaddoo quarters. Salt it with about a teaspoon of salt and mix it with your fingers. Leave the grated kaddoo aside for about half an hour; during this time the salt will draw out most of the moisture.

IMG_0618 IMG_0619

Now you can do the rather tedious task of squeezing out the water from fistfuls of kaddoo my means of your hands. Save the water, it has some kaddoo-ness and we will use it later.
IMG_0629 IMG_0630

Meanwhile start off the process of making the browned onion tomato gravy. When it calls for water (at the end) use the kaddoo water, would you please? Lets not waste it.

The volume of the grated kaddoo will have much reduced, and it will be dry. Put in the besan and the dry spices. You do not need more salt. Mix it with your oiled fingers; it should now be amenable to form patties. Form about 6 patties and leave them side by side on a plate.

IMG_0633 IMG_0635

Panfrying them is next. Heat a non-stick pan with oil about an eighth of an inch deep. When nice and hot, put in the patties with liberal gaps around, and sort of flatten them. Let them cook for 5 – 7 minutes or until they brown at the bottom; flip them, some more oil perhaps, and cook for another 5 minutes.

The patties are ready, all that is needed is to slip them into a nicely simmering pot of the browned onion gravy.

IMG_0636 IMG_0637

And you are done. This dish goes very well with rotis/chapatis.

Browned onion-tomato gravy — let’s get this over with

Browned onion tomato gravy

Browned onion tomato gravy

Sindhi food has a ton of recipes that start with first making a browned onion-tomato gravy, then putting in whatever edible goodies you find in the fridge that day.

Browned onion gravy can make anything taste good. Those left over hard-boiled eggs from a week ago? Throw them in. The unidentifiable pulpy vegetable with the brown spots? Cut out the brown spots, throw it in, heat it through, and gloat. Lentils, beans of all descriptions, chicken, dumplings that are fried, dumplings that are boiled, in they go. Call them meatballs or call them koftas, throw them in. You could make a giant batch of the gravy, freeze it in meal-sized portions, thaw and add stuff to it — there you go, your main meal for dinner.

In fact this gravy is such a magician that it is a bit of a cop-out for an aspiring master chef, and makes me reluctant to use it too often. Think about it — if you are a doctor, how respected would you be if your advice for every ailment is — ‘take two aspirin and call me in the morning’? It might work but it is too easy. But this is still an indispensable skill to have in your Indian cooking repertoire, so let us take our two aspirin and learn to do this right.

Browned Onion-tomato gravy

Start with reading this recipe — how to caramelize onions. That is going to be our first step. This recipe makes enough for a base for the main meal for 2 – 4 people.

Ingredients:

  • One medium-large onion, chopped fine, or sliced thin.
  • One large or two small tomatoes, roughly chopped.
  • 3 – 4 large cloves garlic, minced
  • Half inch piece of ginger, minced
  • 1 – 4 serrano chilies to your heat tolerance, sliced
  • Half a teaspoon whole cumin seeds
  • Half a teaspoon coriander powder
  • Quarter teaspoon turmeric
  • Half a teaspoon salt
  • 2 – 3 tablespoons oil

Method:

Heat oil in a wide thick-bottomed pan. When it shimmers put in the cumin seed; when that sizzles, the onion and caramelize it.

Onions, garlic, IMG_0622 IMG_0623 IMG_0624

At this point add the ginger, garlic, chili, and let them cook on medium heat for a couple minutes. Now put in the tomato. Sprinkle some salt over. The thing about the tomato is that is has to liquefy, then mostly dry up. First, the combination of the heat and the salt will make it release its liquid. Then, cook some more on that wide-open pan of yours, and the liquid will evaporate. The remains of the tomato will combine with the caramelized onion to create a rough paste.

IMG_0627 IMG_0628

Browned onion tomato gravy

Browned onion tomato gravy

At this point the dry powders can go in. Give them a stir, and then put in some water; the amount depends on what you are trying to use the gravy for, anywhere from half a cup to a cup.

Bring the water to a boil, and let it simmer for about 5 – 7 minutes.

The gravy is basically done. But you can take it into multiple directions from here:

  • run it through a blender to get a smoother sauce
  • add some cream or milk to make it creamy
  • or add a cashew puree to make it creamy that way
  • add garam masala, extra chili in the form of red chili powder, cumin powder, or other spice mixture of your choice
  • or use it as is.

Soap chutney

Green chutney

Green chutney

Only after I first came to these foreign lands as an adult did I realize that there existed people who hated cilantro. I could not conceive of this. In India this deeply cut leaf of the coriander plant tops each meal and many spice pastes are centered around it. It is so commonplace that you would have to stop eating to avoid it. It is commonplace as water. Perhaps not that much. It is as common as…ah, say, soap?

Soap.

Yes, soap. People who intensely dislike cilantro all agree that it reminds them of soap. This is incredible to me. I’m a reasonably clean person, people, and I have had many close encounters with soap. Daily, you might even say. I have eaten cilantro by the fistful. At no time have I had the urge to rub the leaves onto my hands, nor to bite into the bar in the shower.

Soap? What to make of this?

Just to be complete, let us first consider the possibility that there is a secret society of cilantro haters who have secret meetings where they collude on what smell they will all agree cilantro reminds them of. That is a definite possibility, but I’m missing what the motive might be here.

The other possibility is that yes, indeed, cilantro has a secret life where it dabbles in cosmetics.  Because the few people who don’t mention soap, say that cilantro reminds them of lotion.

There is a scientific basis for this. There are fragments of fat molecules called aldehydes; the ones found in soap are same or similar to the ones found in cilantro. As this New York Times article by Harold McGee explains, people from cultures that are used to cilantro have learnt from an early age to tamp down the soapiness of cilantro in favor of the herbal and pungent smells.

Which brings us to cilantro chutney. I for one, adore the smell of cilantro so much that the question for me is: how much cilantro flavor can I pack into each cubic inch? The simplest way to do this is by making a paste.

Green Chutney

Green chutney was a staple in my household. There was always a steel tin of this condiment in the fridge. In earlier days our cook used a grinding stone, something like this:

Stone grinder

Stone grinder

Then the Industrial Age dawned in our household and then we used a blender, the picture of which I do not need to show you.

This chutney is great as a spread on bread, or as a side to all kinds of Indian snacks.

Ingredients:

IMG_0613 IMG_0611

  • 1 bunch of cilantro, rinsed and roughly chopped, including soft stems
  • Anywhere from 1 to 8 serrano chilies, depending on your heat tolerence
  • Half a teaspoon salt or to taste
  • For sourness, 2 teaspoons of lime juice or 1 teaspoon tamarind paste (optional)
  • Half a bunch fresh mint, leaves only (optional)
  • 1 – 2 cloves garlic (optional)
  • Half an inch piece of ginger, peeled and sliced (optional)
  • A cubic inch of onion (optional)
  • Half a teaspoon sugar (optional)

Method:

As you might have noticed there are a number of optional ingredients. Just the first three will give you a serviceable green chutney, but the addition of the others will enhance the flavor in their own unique ways. I particularly recommend adding onion, because onion has this unique characteristic (like salt) to bring out the flavor of the other ingredients, while not overstating its own. A good team player, is our onion.

Put everything into a blender with only the water that clings to the leaves from rinsing, and hit go. Maybe add a tablespoon more water but limit this. You might need to stop, stir, and go a few times, but eventually the blades will catch; and you will have your green chutney.

Interestingly encrusted salmon

IMG_0608

Salmon crusted with cracked black pepper is IN. Open a fancy restaurant, add that dish to your menu, and watch your cash register spin. But what is a few cracked peppers? I pooh-pooh it. Wait, I must catch a breath from laughing. I give you — salmon encrusted with the most interesting crust in the world.

Black pepper does make an appearance. Coriander seeds do as well. And also — that paragon of savoriness — urad dal (Vigna mungo), the platinum-blond lentils that turn red when roasted. Throw in some lemon juice and you have a meal. The fame of this recipe has spread far and wide throughout my home since I came up with it.

The most interestingly encrusted salmon in the world

Ingredients for the spice powder:

  • Half a tablespoon whole black pepper
  • One tablespoon whole coriander seeds
  • One tablespoon skinned and split urad dal

Ingredients for the meal:

  • 3/4 lb salmon steak or fillet
  • salt to taste
  • One tablespoon olive oil
  • Juice of half a lemon or to taste

Method:

IMG_0591

To make the spice powder we need to first roast the seeds. Heat a small thick-bottomed pan on medium heat. Put in the black pepper and coriander seed in one batch. Stir occasionally. In a couple minutes a few will start to pop (stand back). Empty the seeds into a small bowl.

IMG_0592 IMG_0594

Next, in the same pan, in goes the lentil. Stir once in a while to ensure even roasting. These will take longer but in a few minutes will redden. Take them off the heat into the same bowl.

IMG_0595 IMG_0597

Wait a few minutes for the spices to cool, then grind them up in a clean coffee grinder. The salmon crusting spices are ready. You can save the excess in a clean spice jar, nicely labeled and dated. You will thank yourself later.

IMG_0600

Next let’s prepare the fish. For us, dinner for two consists of a three-quarter-pound fillet or steak of salmon, but feel free to use as much fish as you need. Start the oven at 425 F to preheat.

Place the fish in an oven-safe tray. Make a few deep cuts with a sharp knife. Sprinkle salt to taste. Now spread olive oil over the fish, then lemon juice, taking care to drive some of the salty, oily, lemony mixture into the deep cuts you just made (now you don’t need to wonder why you made them).

IMG_0602 IMG_0604

Next comes the spice powder. I use it liberally to coat the fist. Perhaps a tablespoon and a half for a piece this size? The point is really to cover the flesh.

Goes into the oven next. I give it 20 minutes in a 425 F oven, and it comes out medium-well. Your mileage may vary.

This goes very well with patty-pan squash mashed (squashed?) but the recipe for that will come later.

Yogurt Rice — an iterative approach

Yogurt rice

Yogurt rice

A precept that is big in the software engineering world (my other life) is that development should happen in phases, but each phase should be releasable as a full-fledged product.

This precept was very much on my mind as I made yogurt rice for dinner the other evening. I’ll tell you why.

Now yogurt rice (otherwise known as curd rice; mossaru anna in Kannada, daddojanam in Telugu, bagala bath in Tamil) is a South Indian recipe that I hadn’t even heard of till adulthood. But had I ever eaten yogurt rice? Of course! Every single day of my tender young life I had yogurt rice for lunch. Yogurt rice with cauliflower, yogurt rice with ketchup (don’t ask), yogurt rice with papad, yogurt rice with sookha aalu, yogurt rice with pickles. If you pierced my veins you would probably have had thick and pulpy yogurt rice squirt out.

Sorry about that image. Here’s the point I’m trying to make. Short of the fancy ‘yogurt rice’ recipe with every bell and whistle, simply mixing yogurt with rice achieves a serviceable product. While being quite ricey and quite yogurty and cooling, it is its own thing with a very distinctive fragrance. That is your first iterative product — simply mix yogurt with rice. But we are getting ahead of ourselves.

Iteration 1: Mix it up

20130909_195135

Cook about a cup of long-grained rice with some salt. Let it cool a bit, break lumps with your fingers, then mix in about a cup of plain yogurt nicely. You are done with your first product. This is a great accompaniment to any spicy vegetable dish or pickle. Or heck, dot it with ketchup, scoop up a dot in each bite, but don’t tell people this idea came from me.

Iteration 2: Salad it up

20130909_195512

Now for the second iteration we throw in some crunchy salady ingredients to brighten the flavors. Imagine luscious smooth cooling yogurt rice with the occasional crunchy freshness, perhaps a couple in each bite. Chop up 2-3 scallions, greens and all; and perhaps a quarter of a deseeded cucumber into tiny cubes, and mix it into the yogurt rice.

Iteration 3: Spice it up

Yogurt rice is soothing and cooling. Perhaps too cooling and too soothing? We need to add some sweet, sweet pain. This calls for heat from two sources: green chilies, and ginger. Thinly slice one serrano chili, or a few smaller bird’s eye chilies, or one jalapeno. Also slice half an inch piece of ginger into strips. Mix those into the rice. Still in keeping with the salad theme, we do not cook these last ingredients but keep them fresh.

Iteration 4: Season it up

20130909_195703 20130909_200126

Now lets add a tadka. For the non-Indians, ‘tadka’, ‘vaghaar’ or ‘baghaar’ is a very standard method of finishing up many, many recipes: heat a bit of oil or ghee, throw in some whole or ground spices and / or aromatics, let them cook, and throw that seasoned fat into the dish and mix it in. So let us tadka the yogurt rice. Heat 2 tablespoons of oil in a little pan; when it shimmers, put in the following: a few sprinkles of asafetida; when it foams, put in a teaspoon of deskinned udid dal; when they start to turn reddish, put in a teaspoon of mustard seeds; when they pop, put in about 6 curry leaves. When they shrivel, it is time to turn off the heat and mix it into the rice.

Iteration 5: Fancy it up

What is expensive, nutritious and will allow you to charge 50 cents more for this dish? Cashews! In the same pan as the seasonings, put in a drop more oil, and put in a quarter cup whole cashews to roast. Once they darken in various places, turn off the heat, and mix it into the rice.

Iteration 6: Sweet touch it up

Now for the kicker — the last step that I didn’t even know about when I made this dish, but was told to me by my friend Rashmi after: put in about a quarter cup of pomegranate kernels and mix it in to distribute evenly throughout the rice. Can’t wait to try the 6th iteration of this dish the next time I make it!