Stuffed
Here is a riddle for all you wonderful folks. Two cousins. One is hairy, one is slimy. I have talked about the hairy one quite a bit recently. The slimy one doesn’t get much love because many people object to its sliminess. Fear not! There are many ways to make it unobjectionable.
Here is the hairy one. And here is the slimy one. Both from the mallow family.

OK I have dragged this one out enough. Of course, the hairy one is cotton. But the slimy one is the subject of today’s recipe — okra. The slime is a form of soluble fiber that has many benefits, from slowing absorption of glucose (diabetics take note) to capturing toxic bile and helping with constipation.
Now okra is often not popular. When I mentioned to my husband that okra and cotton were from the same plant family, he said, ‘no wonder okra tastes like cotton’. Funny guy.
But here’s the thing. You can do one of several things. You can use okra in recipes that absolutely thrive on its sliminess and use it to give cohesion to soups and stews. Like gumbo. Or, you can fry and crisp it up. Once you do that, no one would guess at the great gobs of sticky runny goo that normally erupts out of okra pods.
Or, you could do this.
Okra stuffed with spices (Bharela bhindi)
For this dish, the okra pods are left whole. A slit is made along the length of the pod with a paring knife, taking care to leave a pocket, not bust through to the other side. Stuff the pocket full of spices. Fry it. This process seems to dissolve the sliminess as well and makes it a delicious meal with some roti or rice and dal on the side.
While picking okra one has to be careful to pick the very young pods, where the ribs have not turned fibrous and woody (once that happens, there is no going back, and you will not enjoy eating them). A gentle squeeze while selecting them at the market will tell you if the pods are still young. The pods I found at the farmers market are from a variety that has been bred to have minimal ribs, and can be left on the plant longer without risk of turning woody. Nevertheless, I did find one or two that had, and I discarded them.
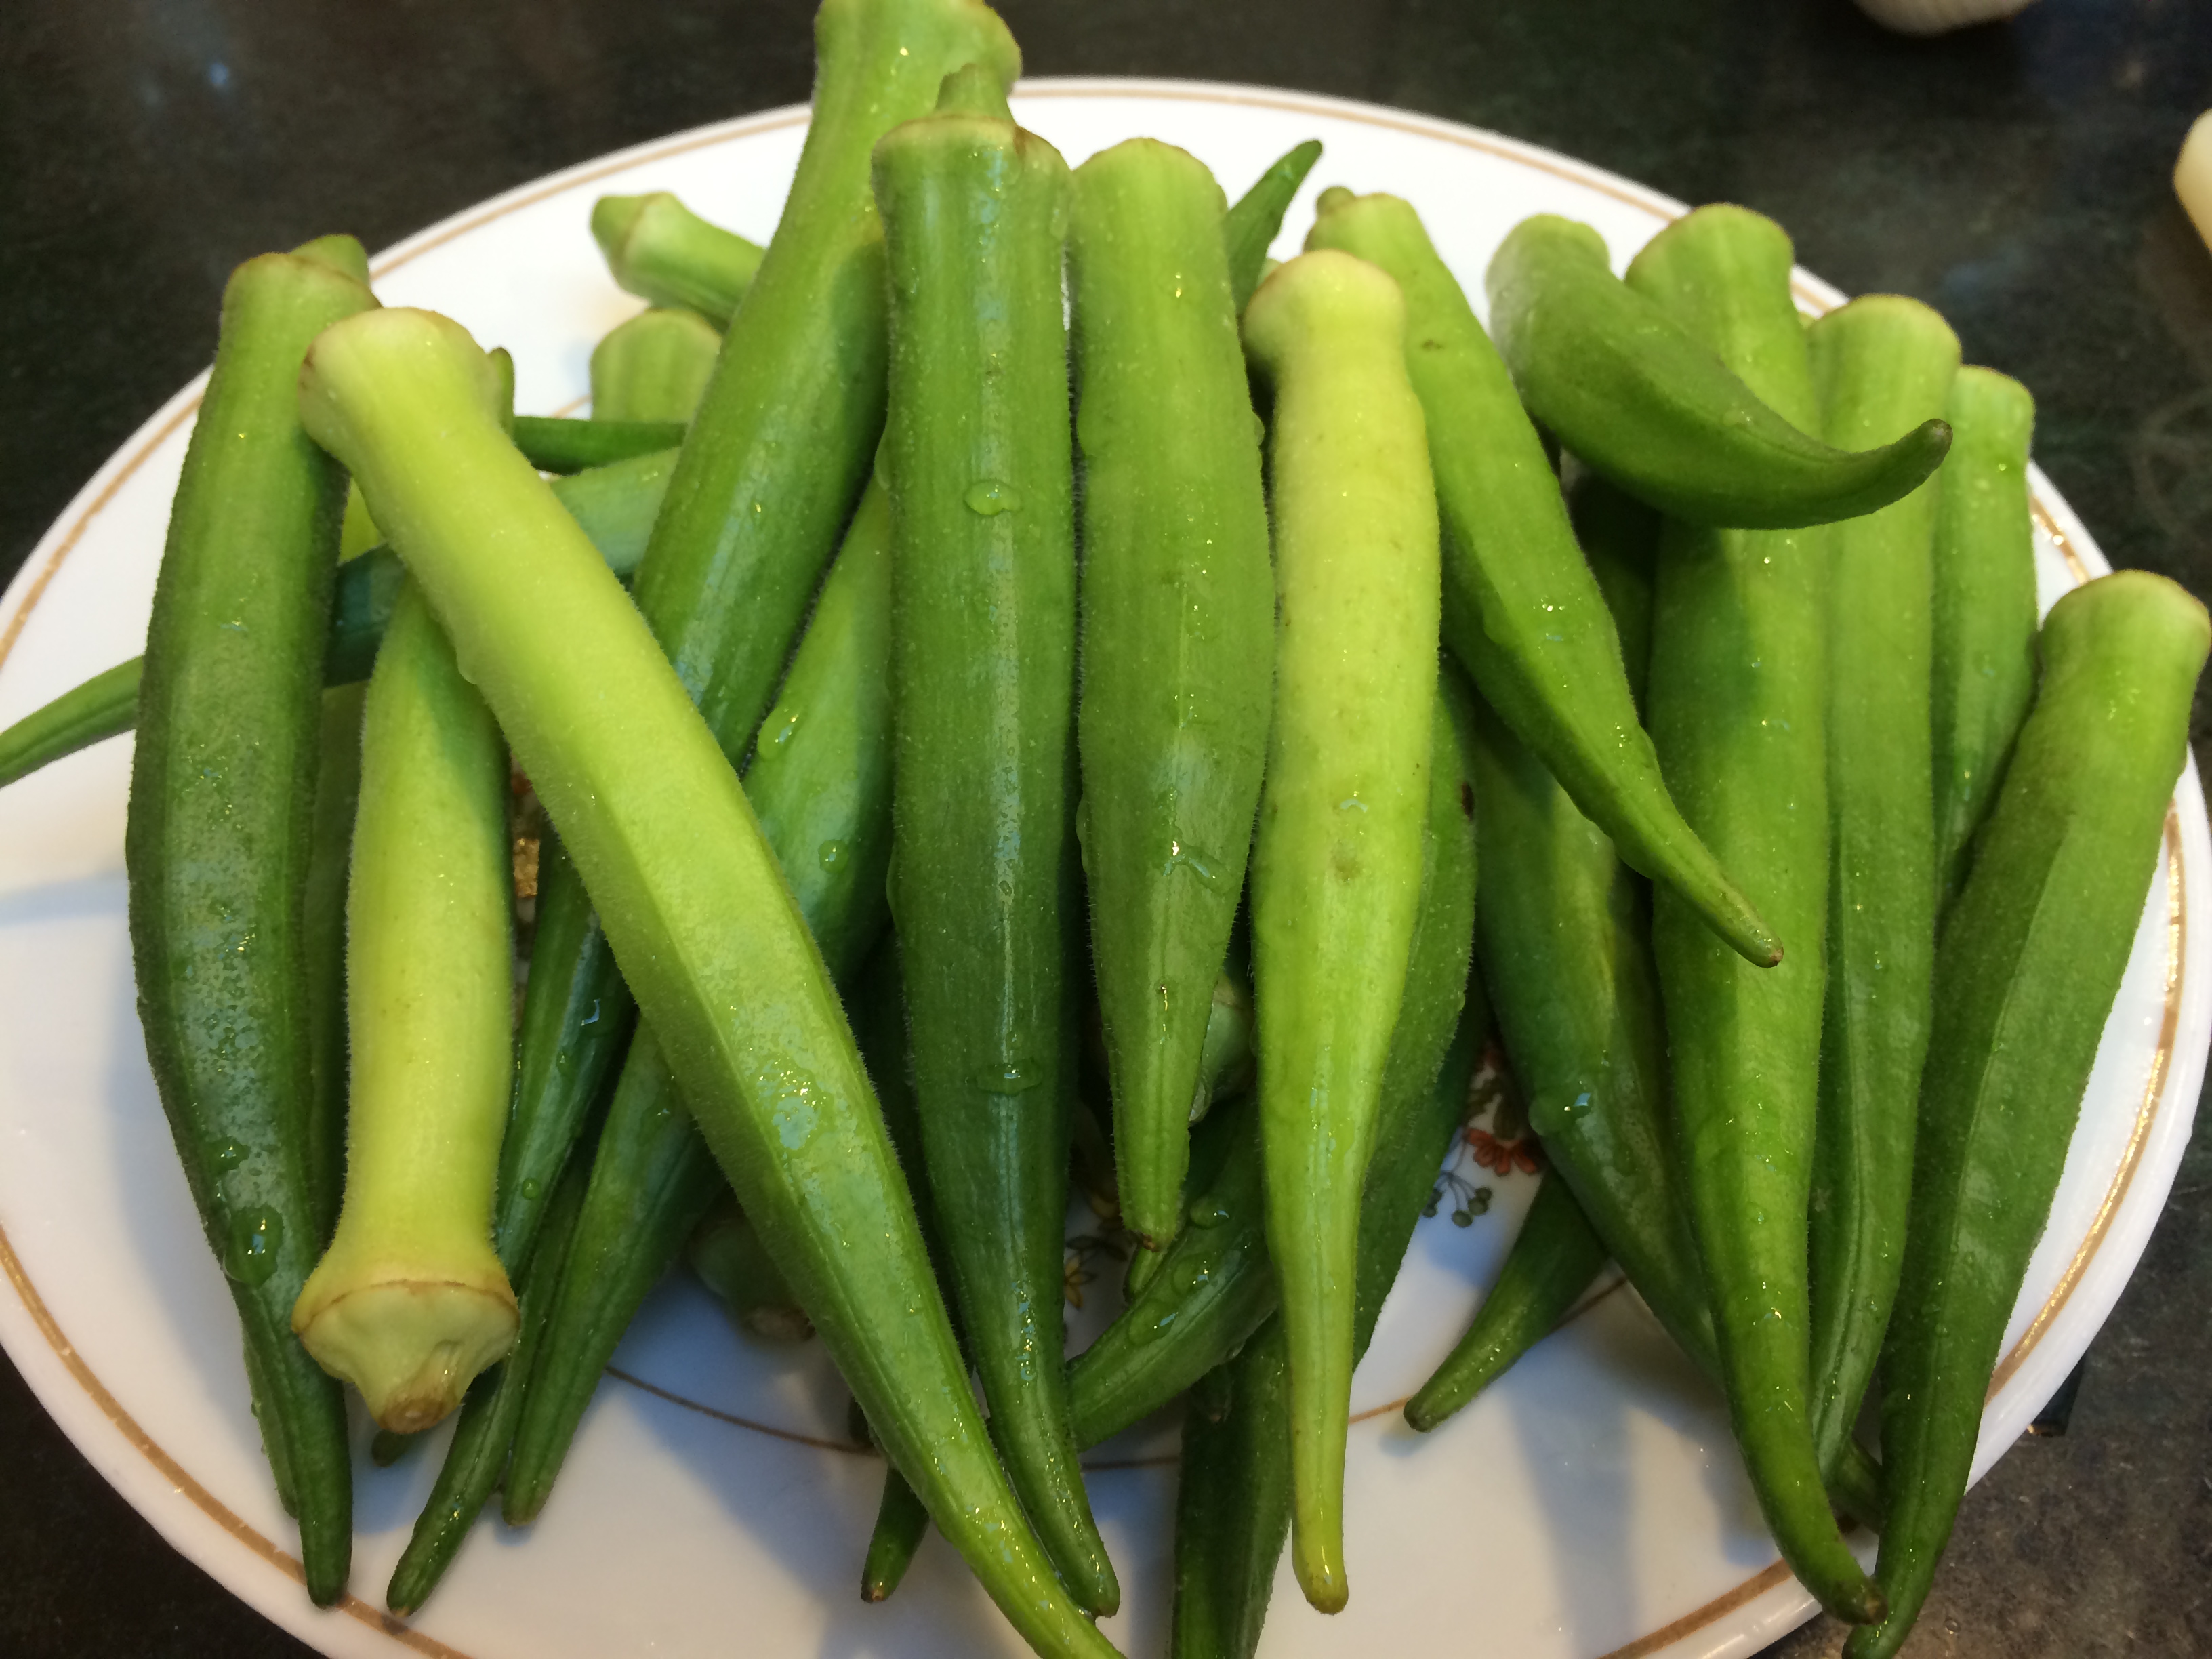
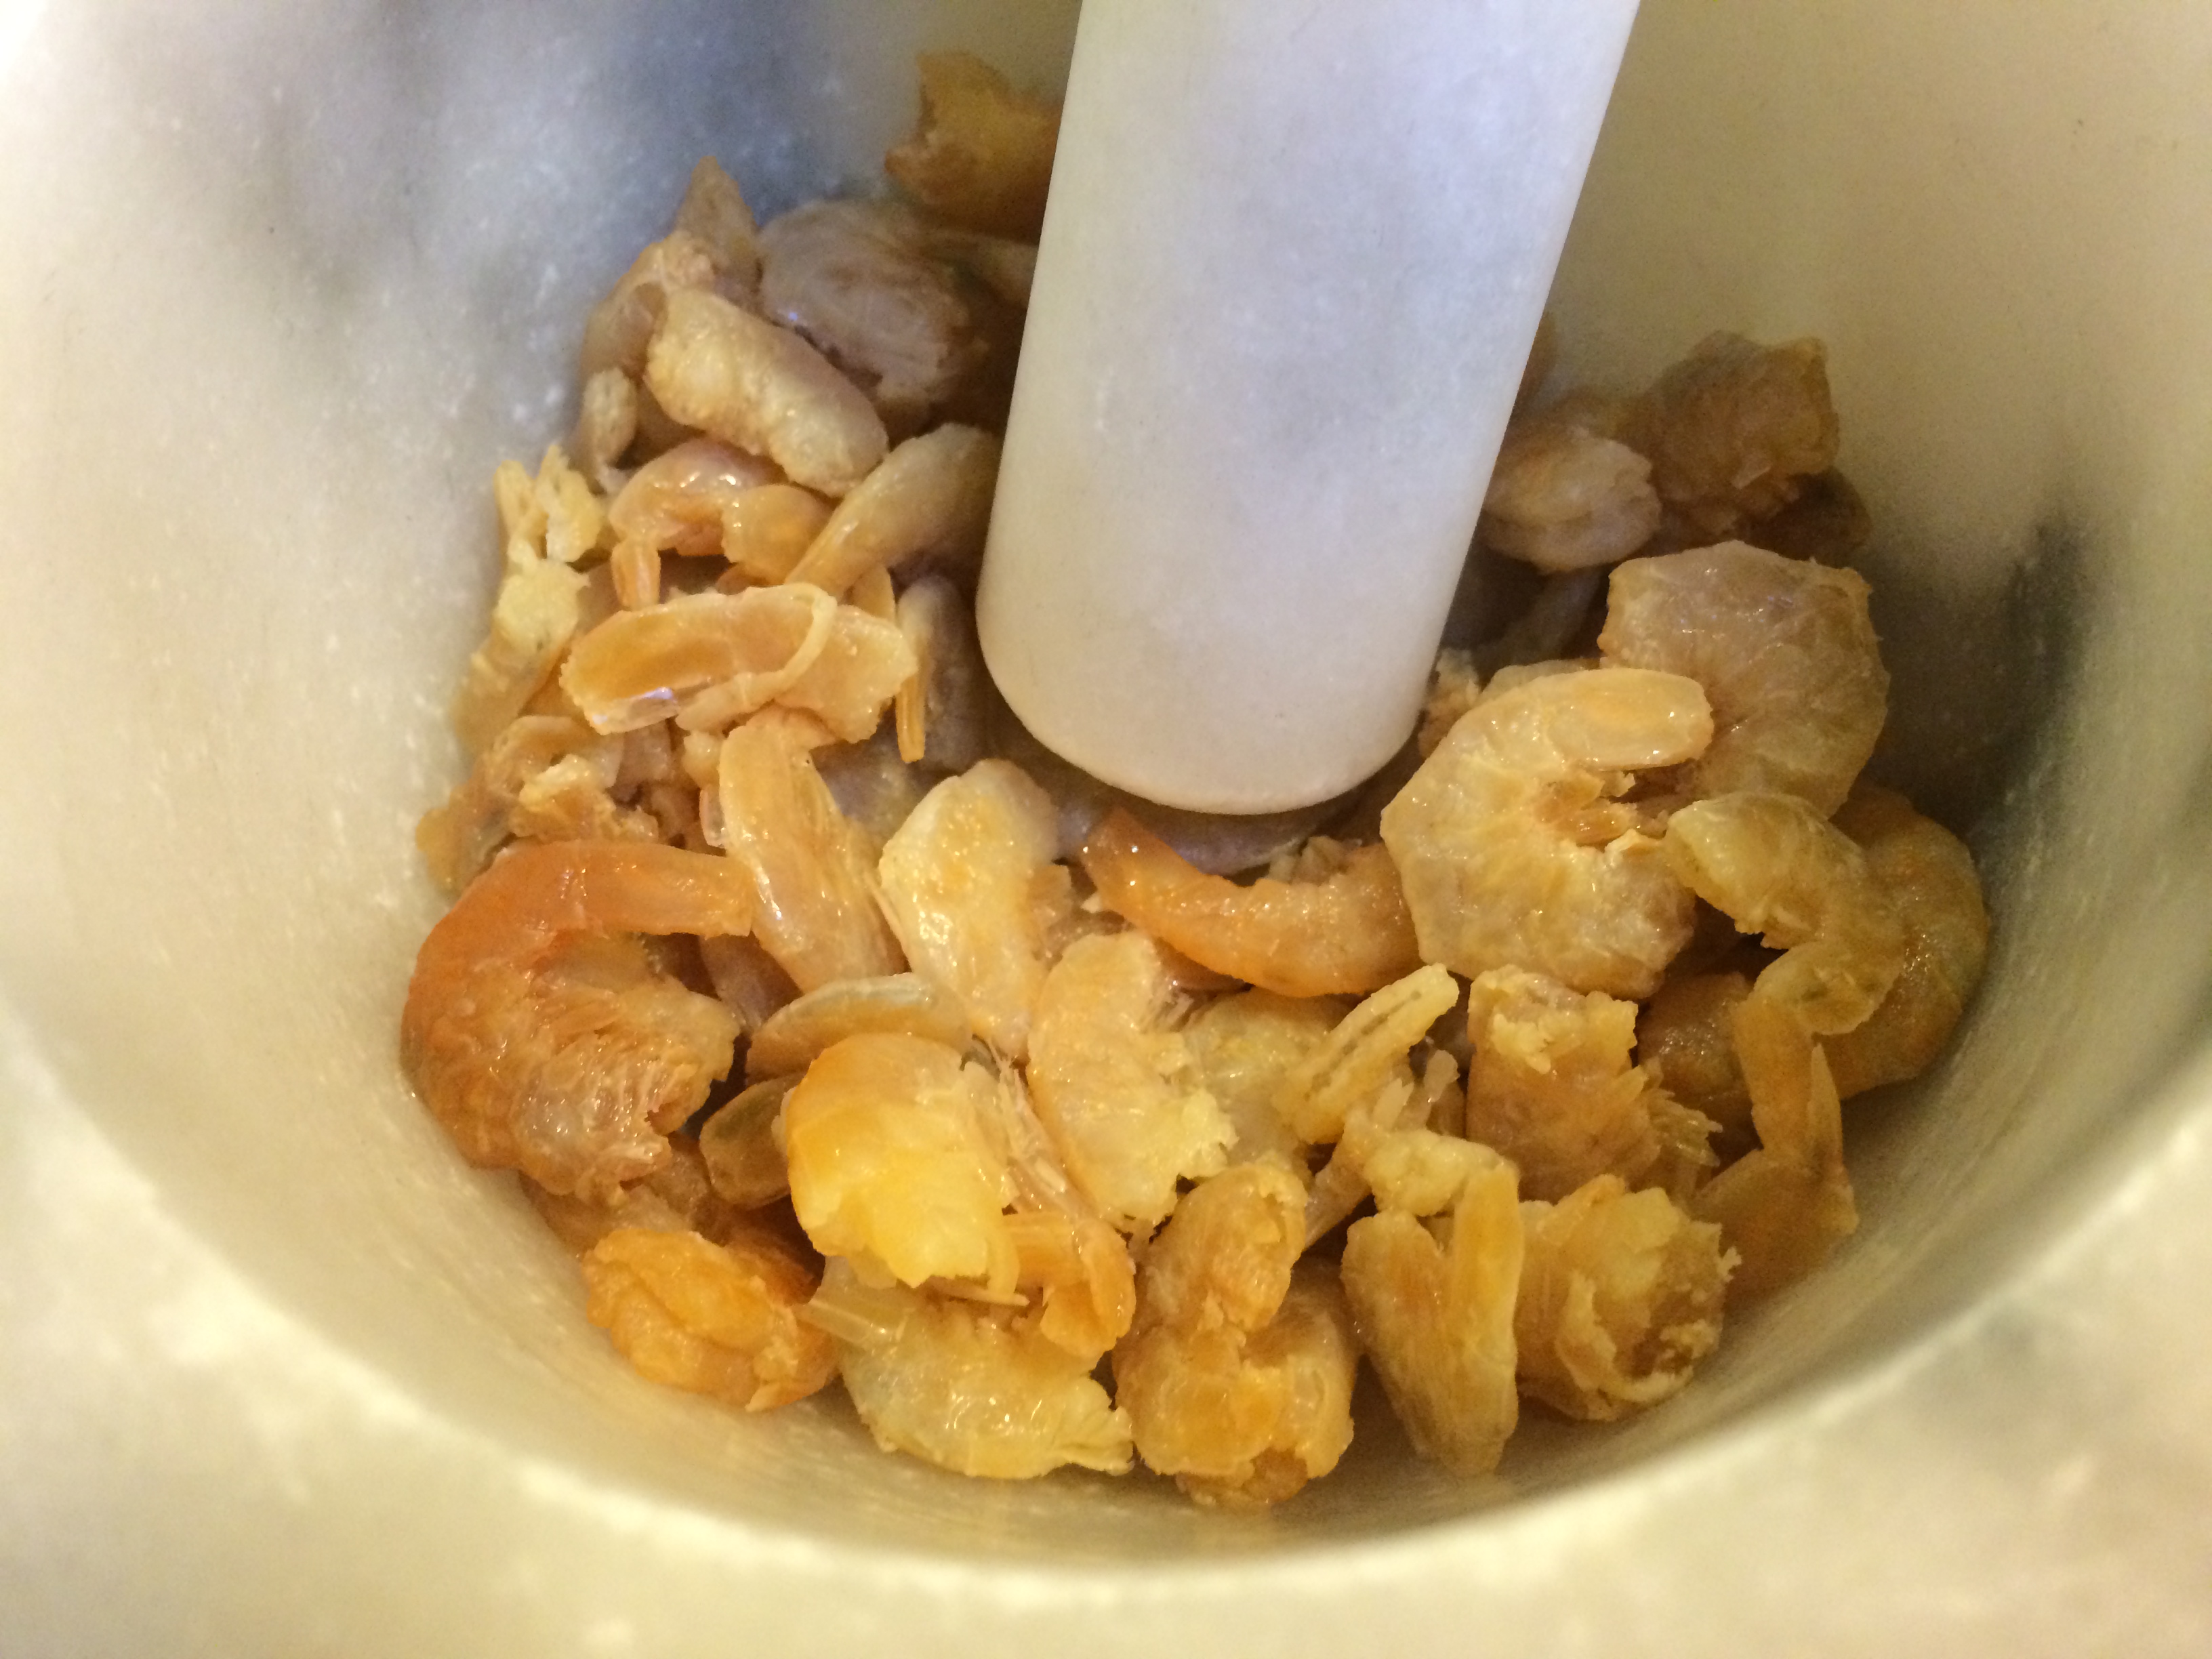
Pound of okra pods

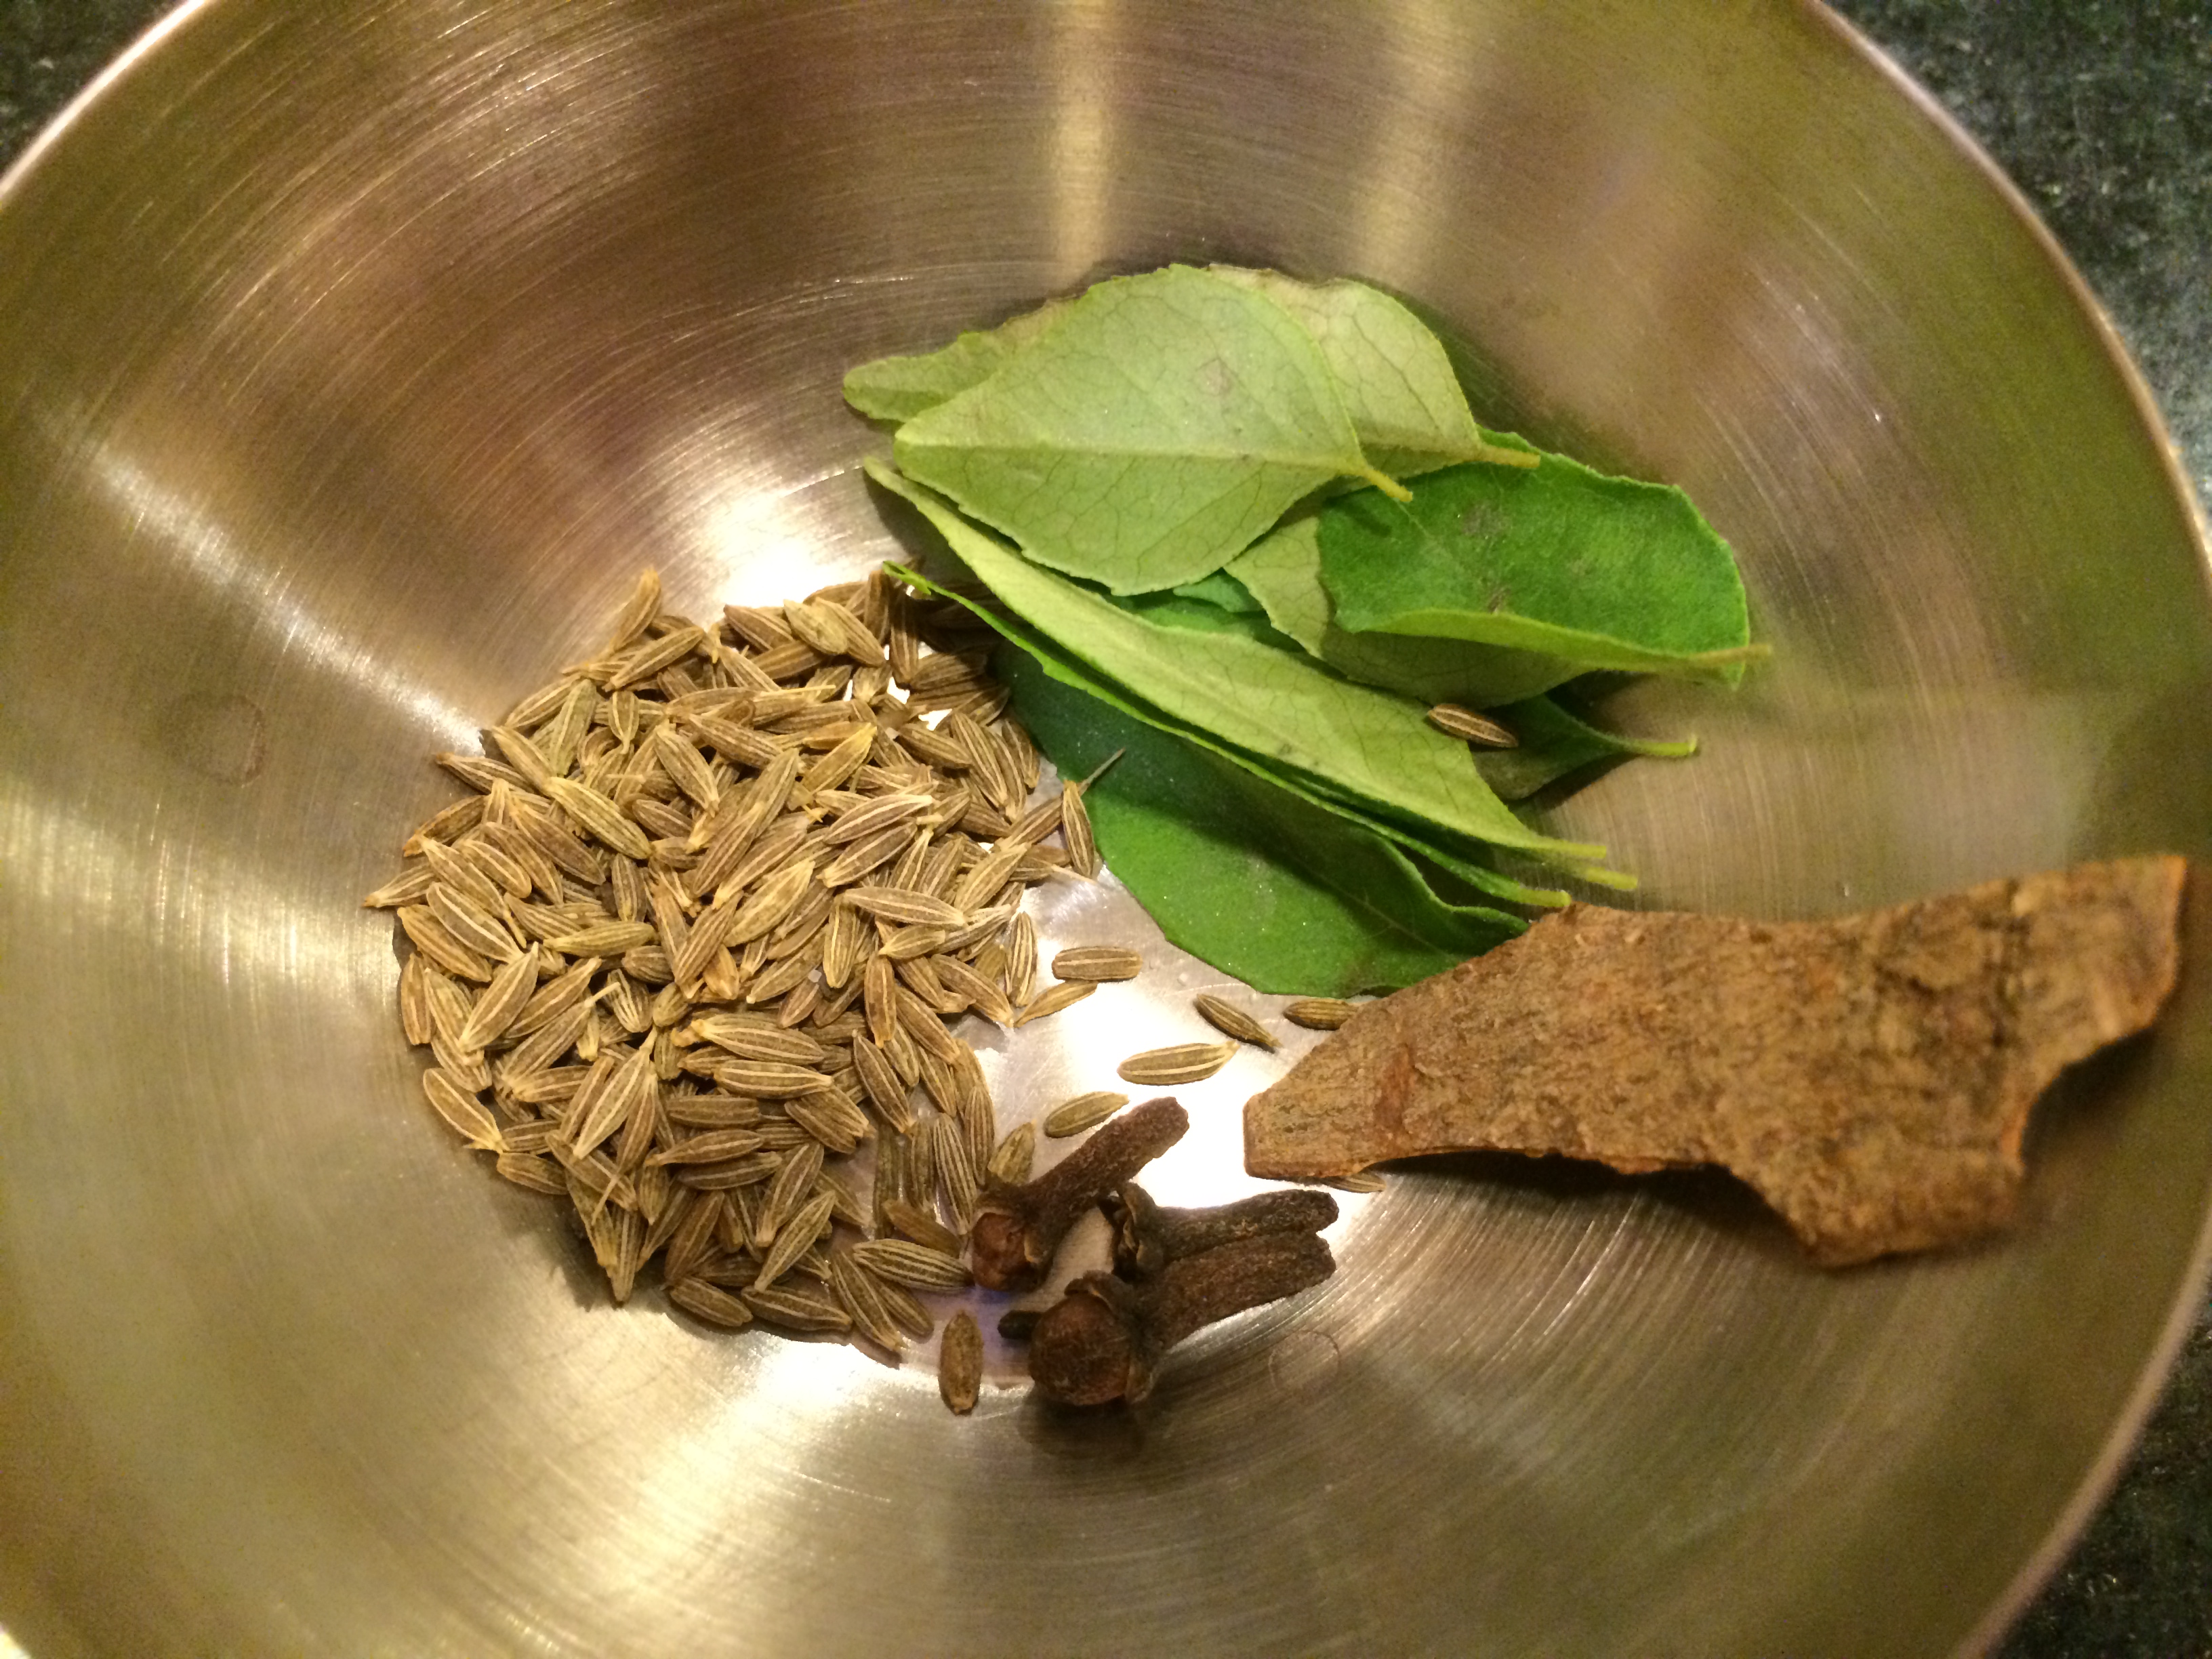
Whole spices

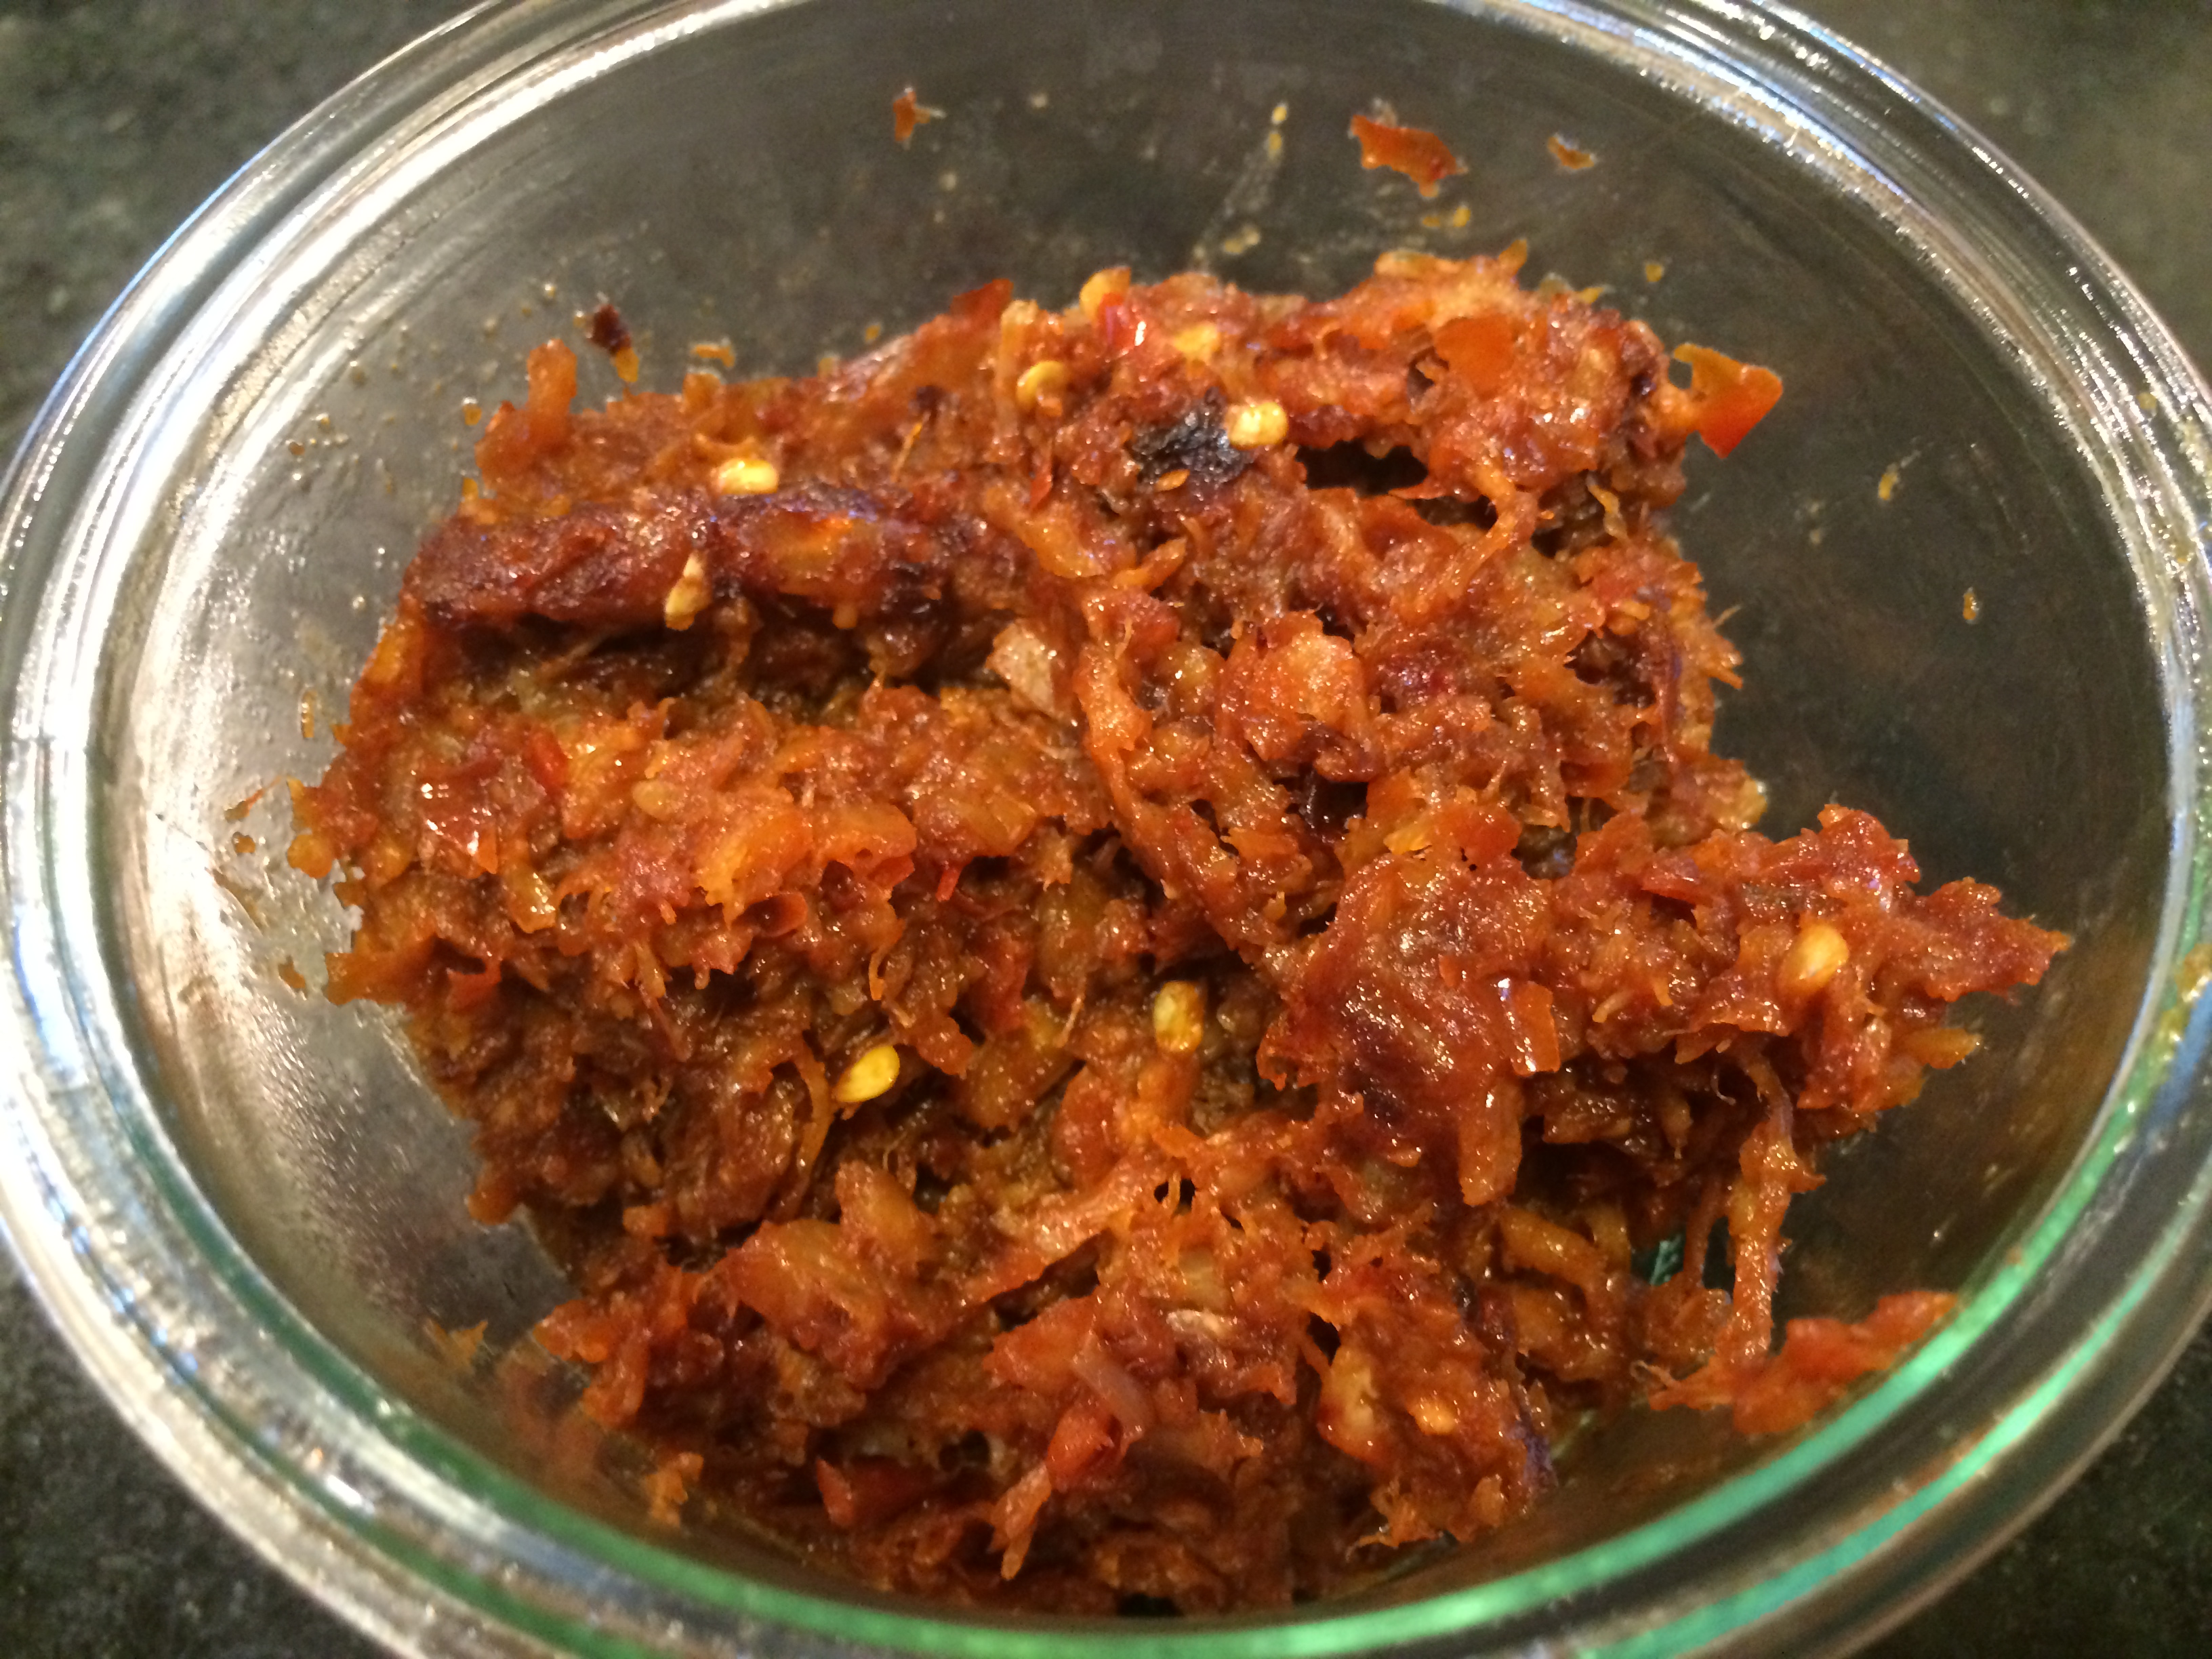
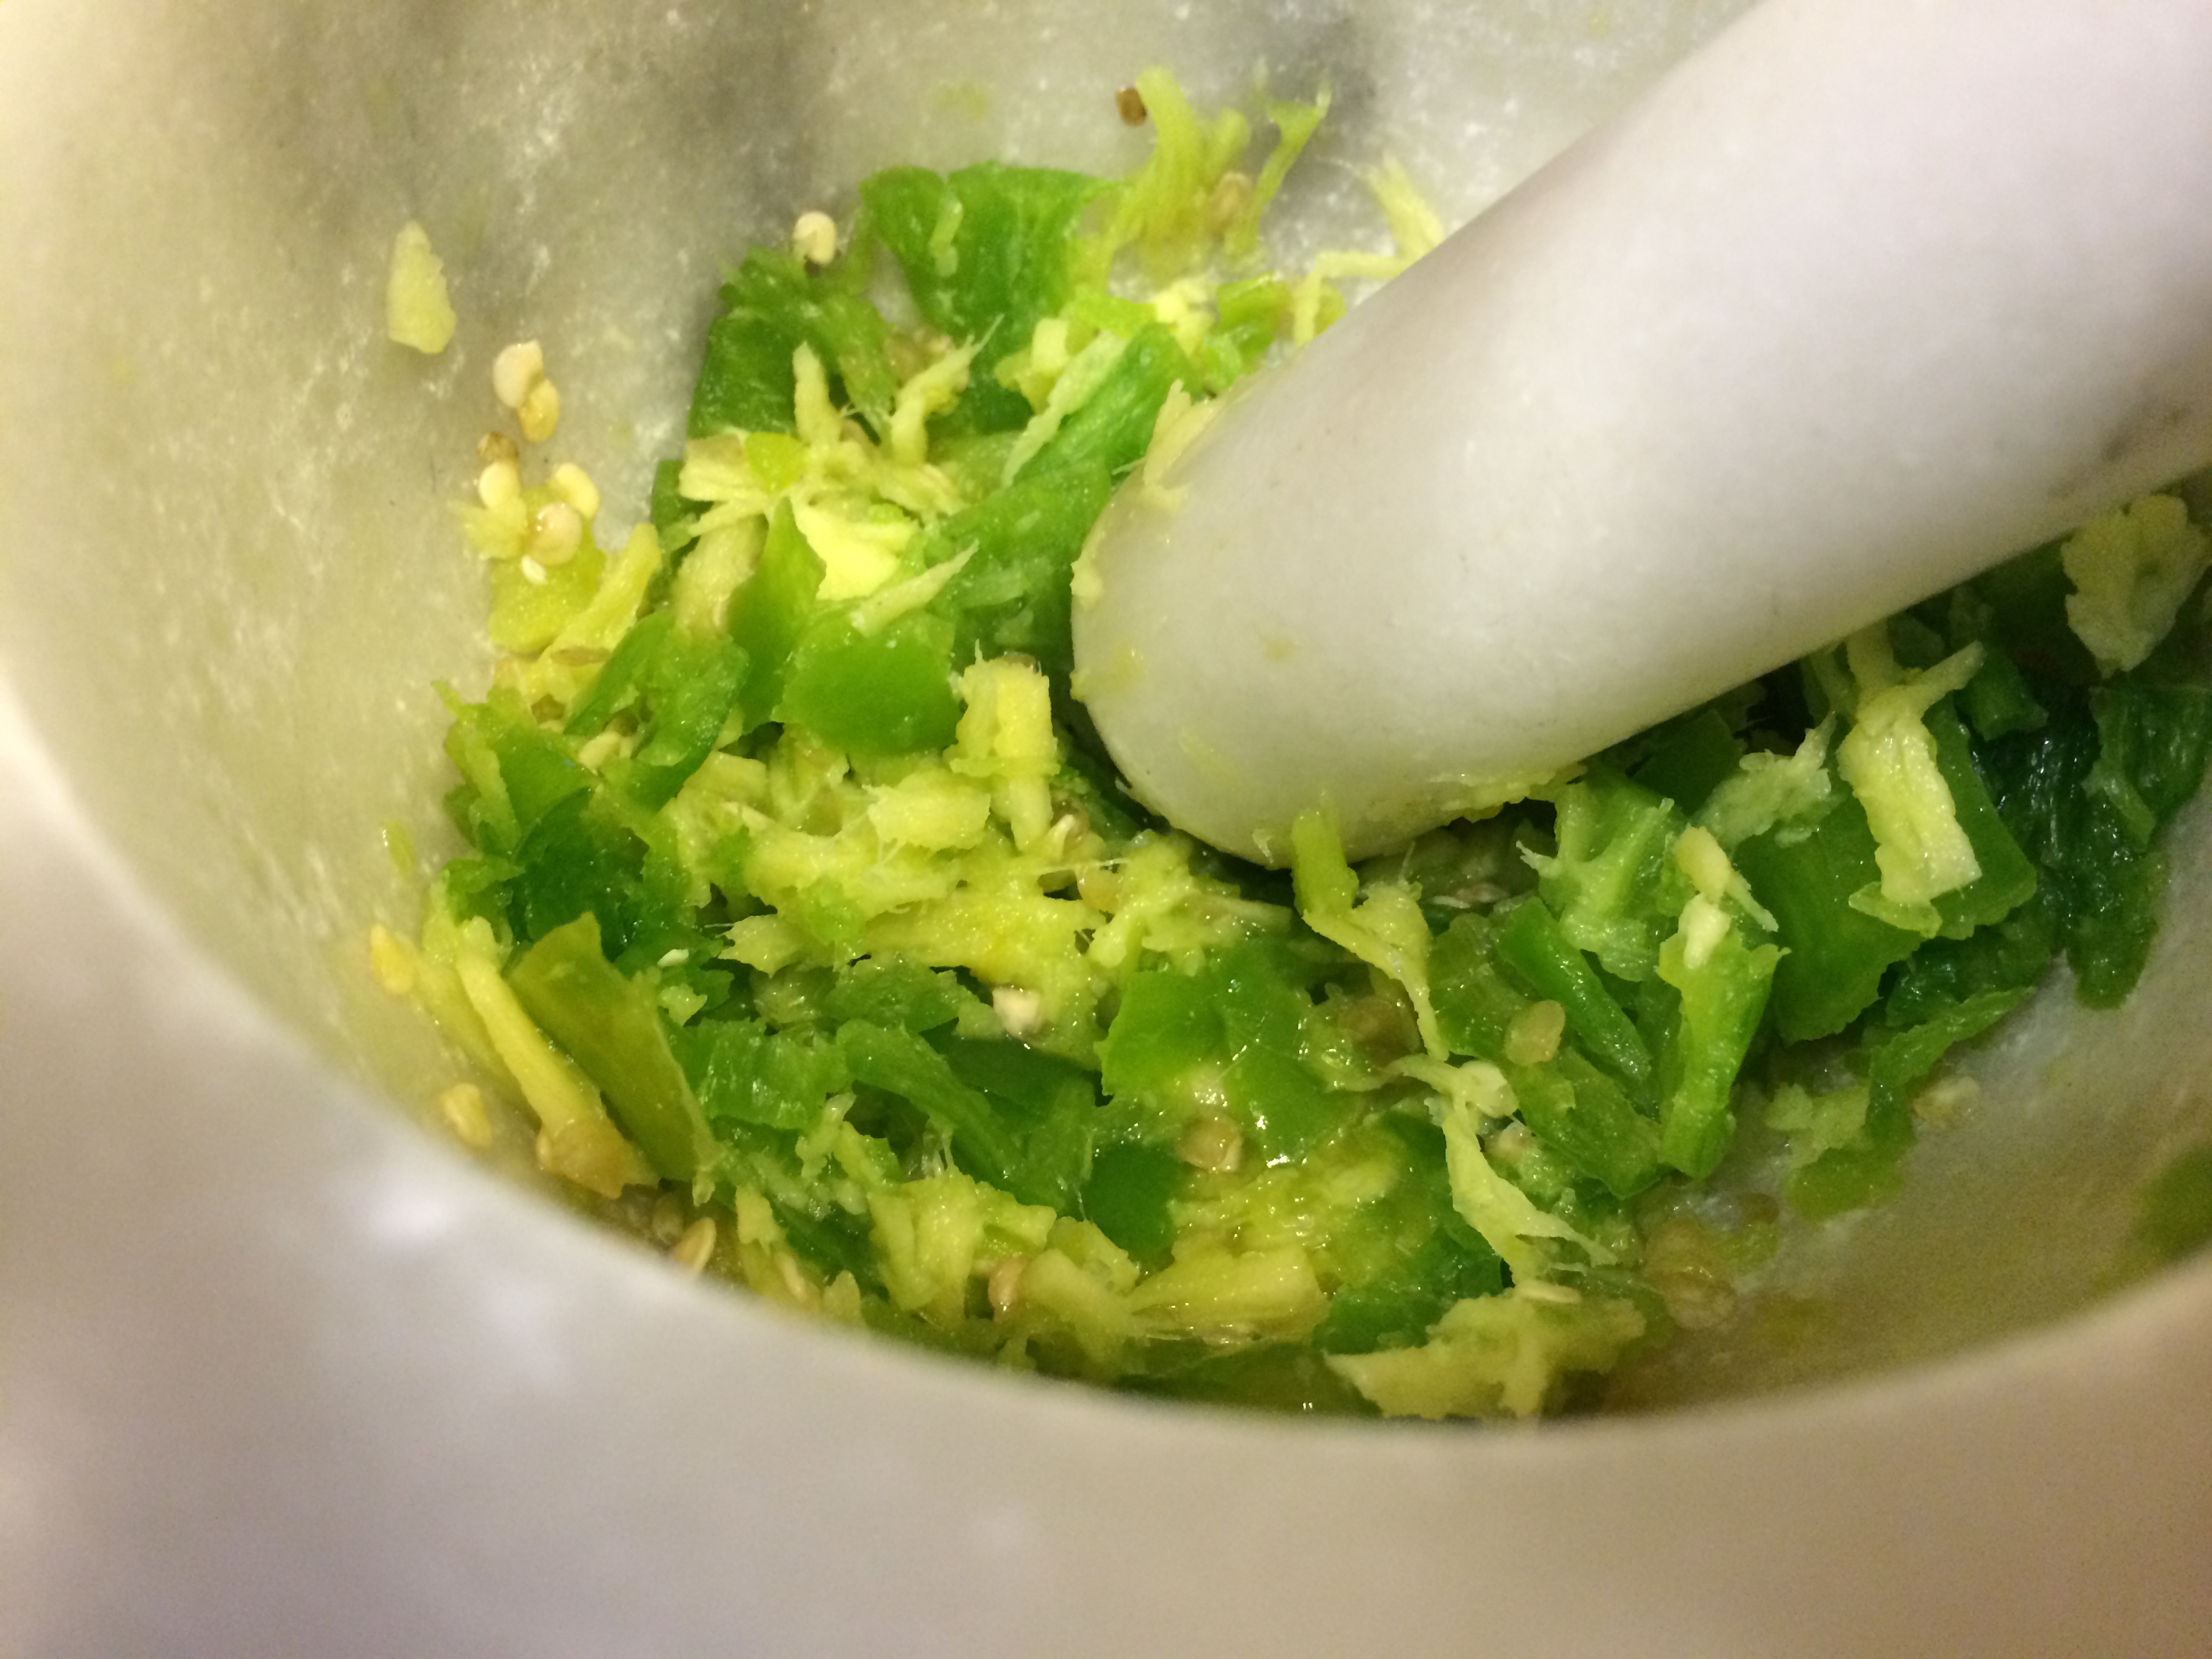
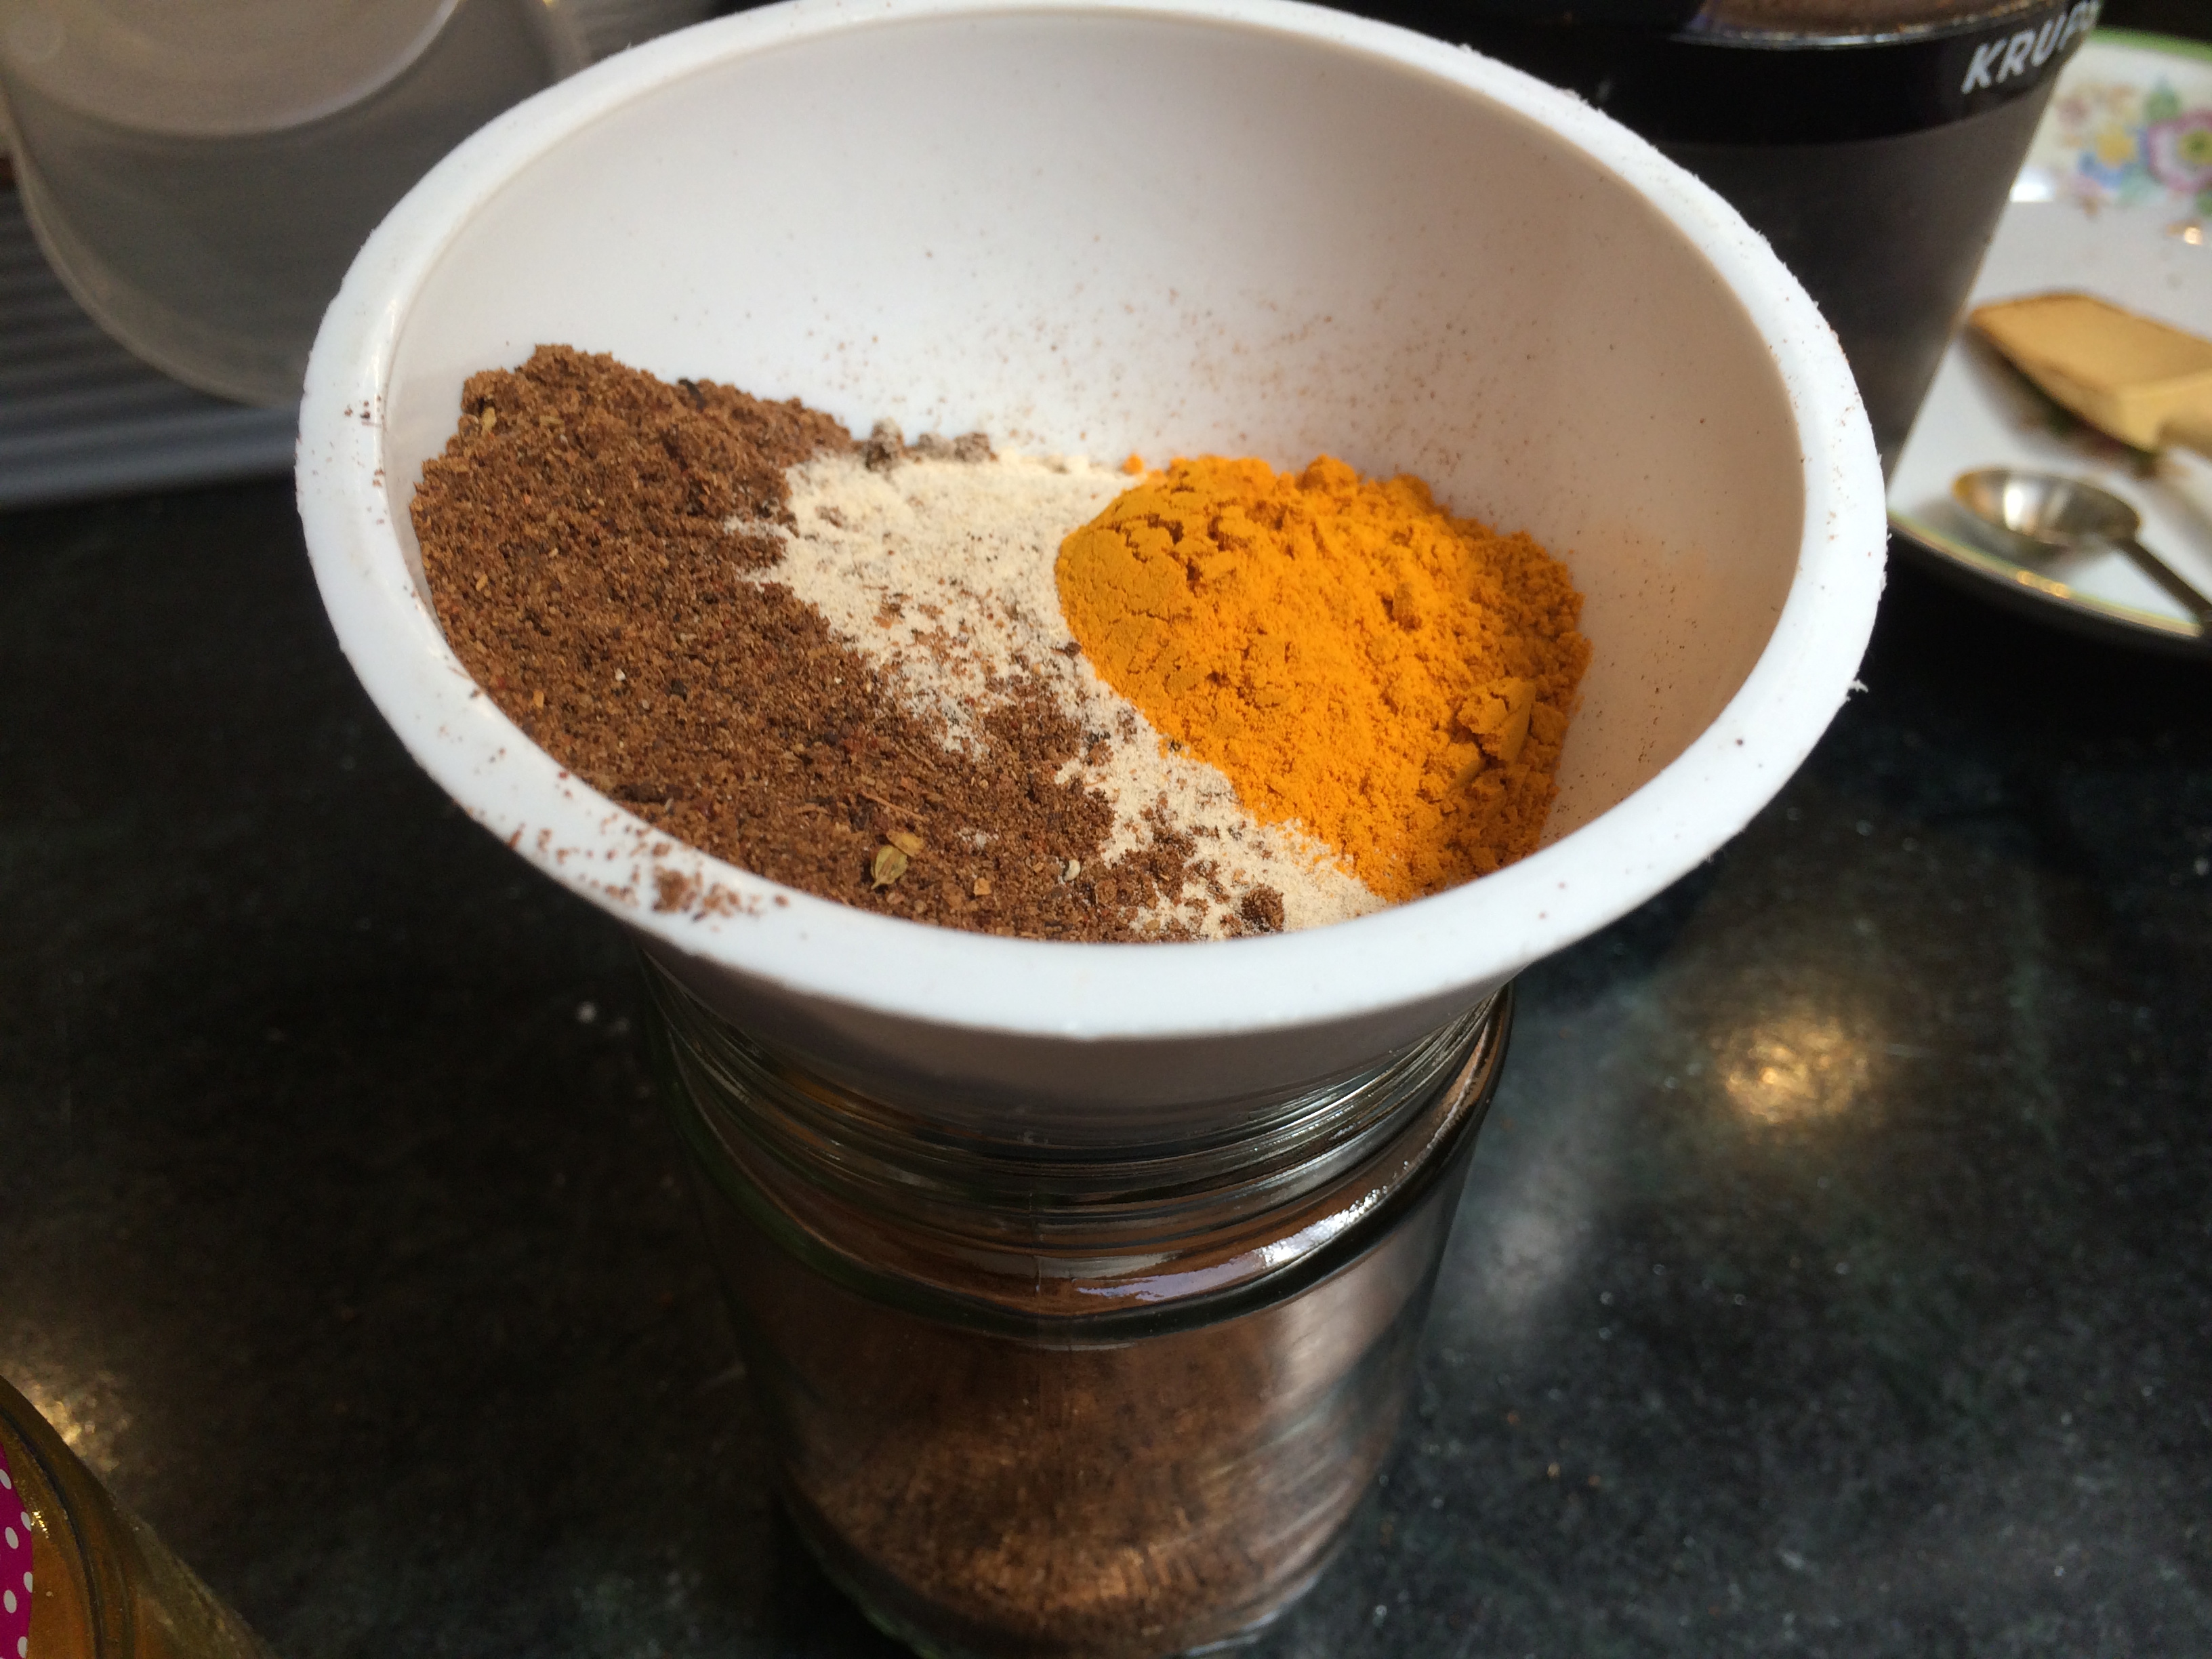
Roasting spices
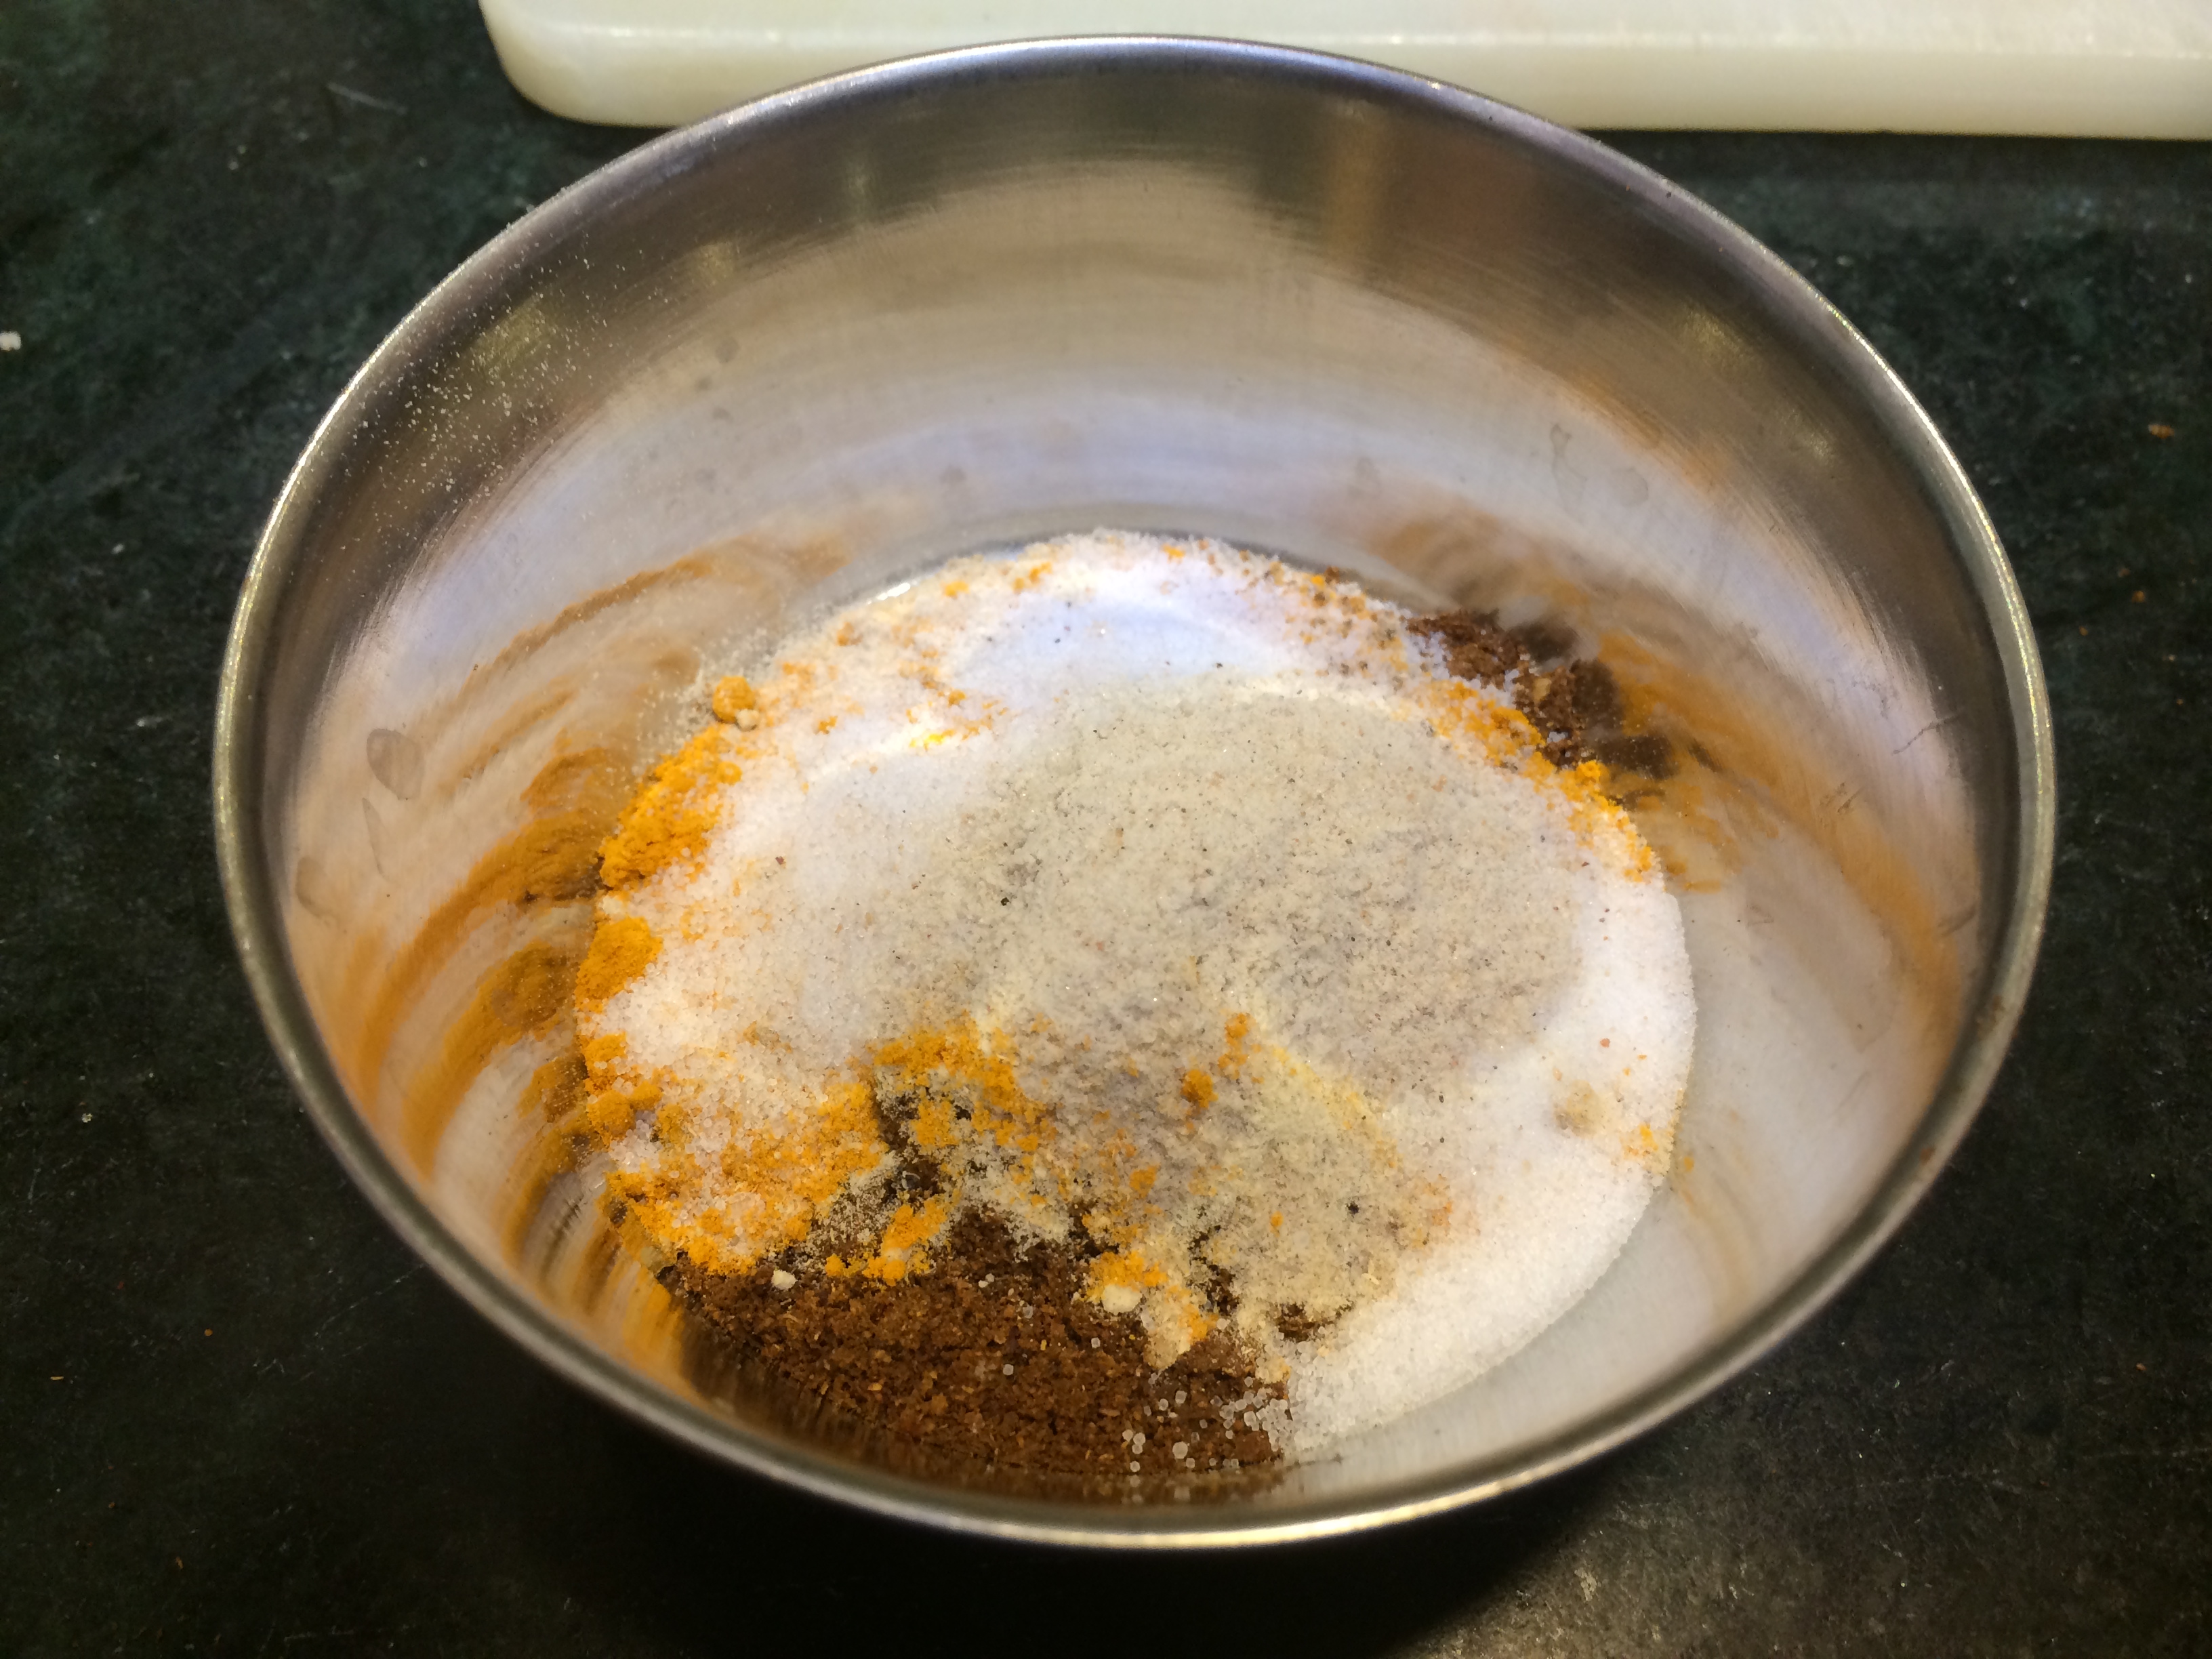
All spices mixed in a bowl


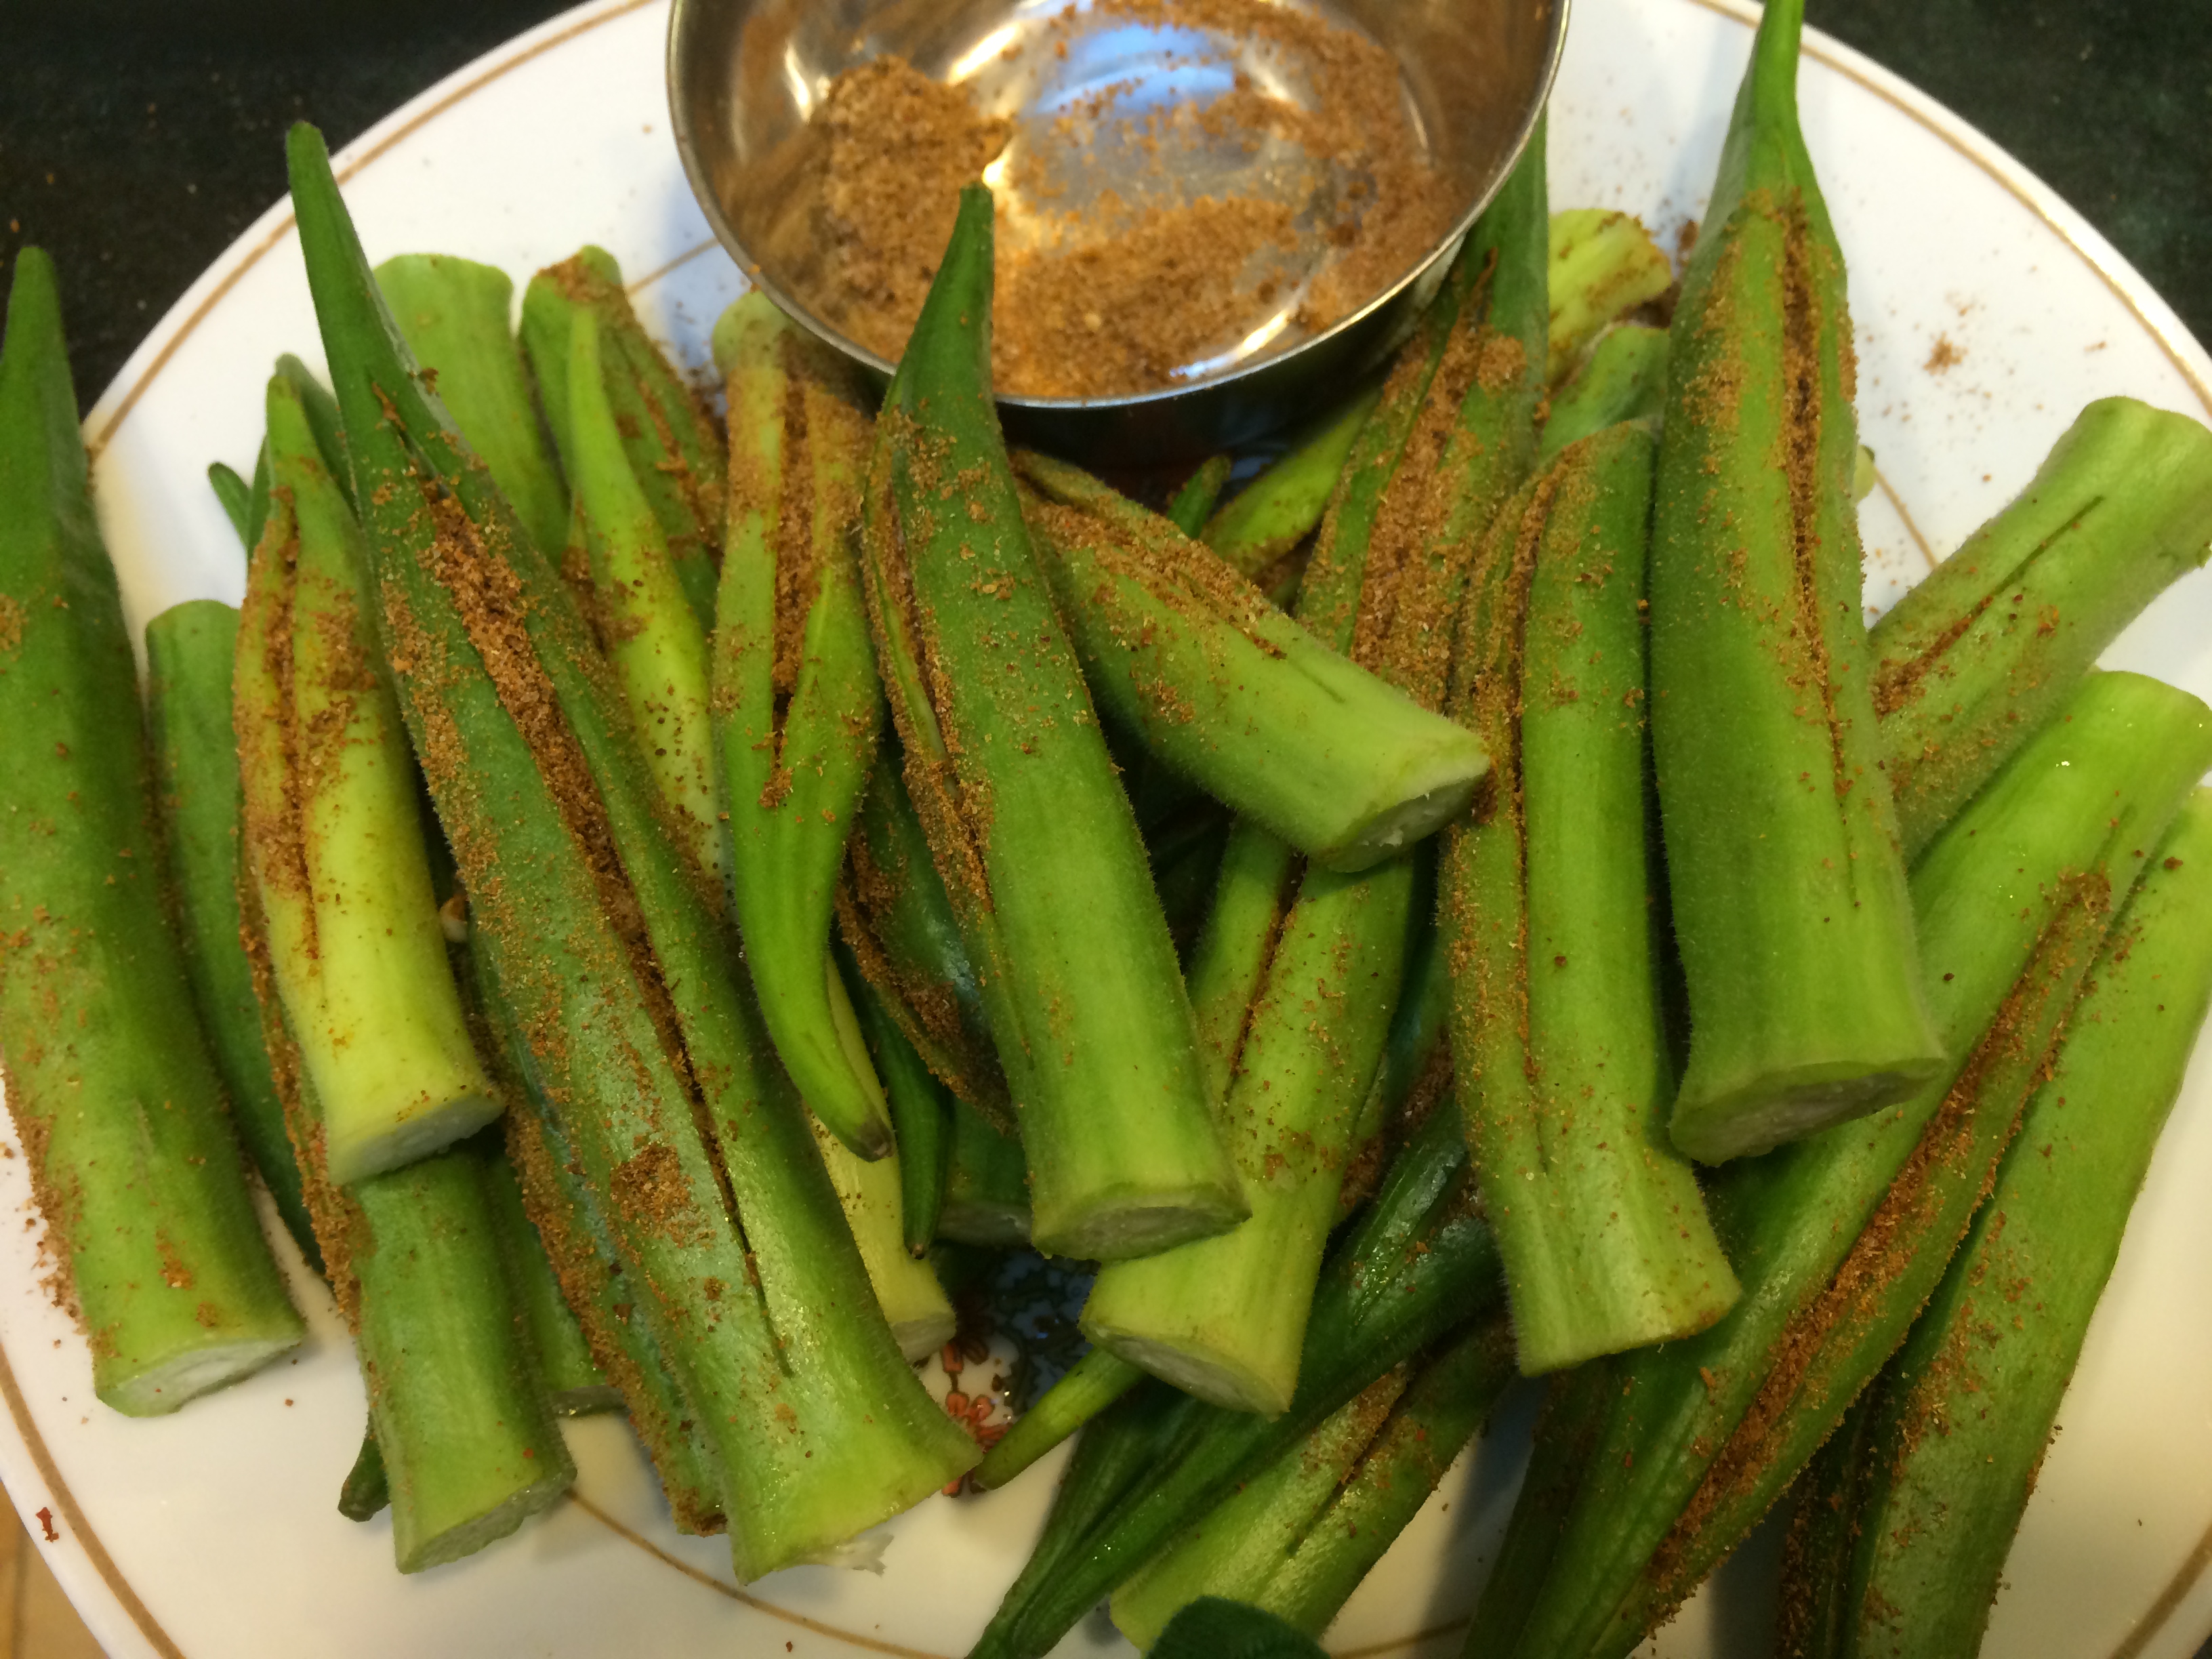
Stuffing the pocket
Stuffed and ready to go

Frying

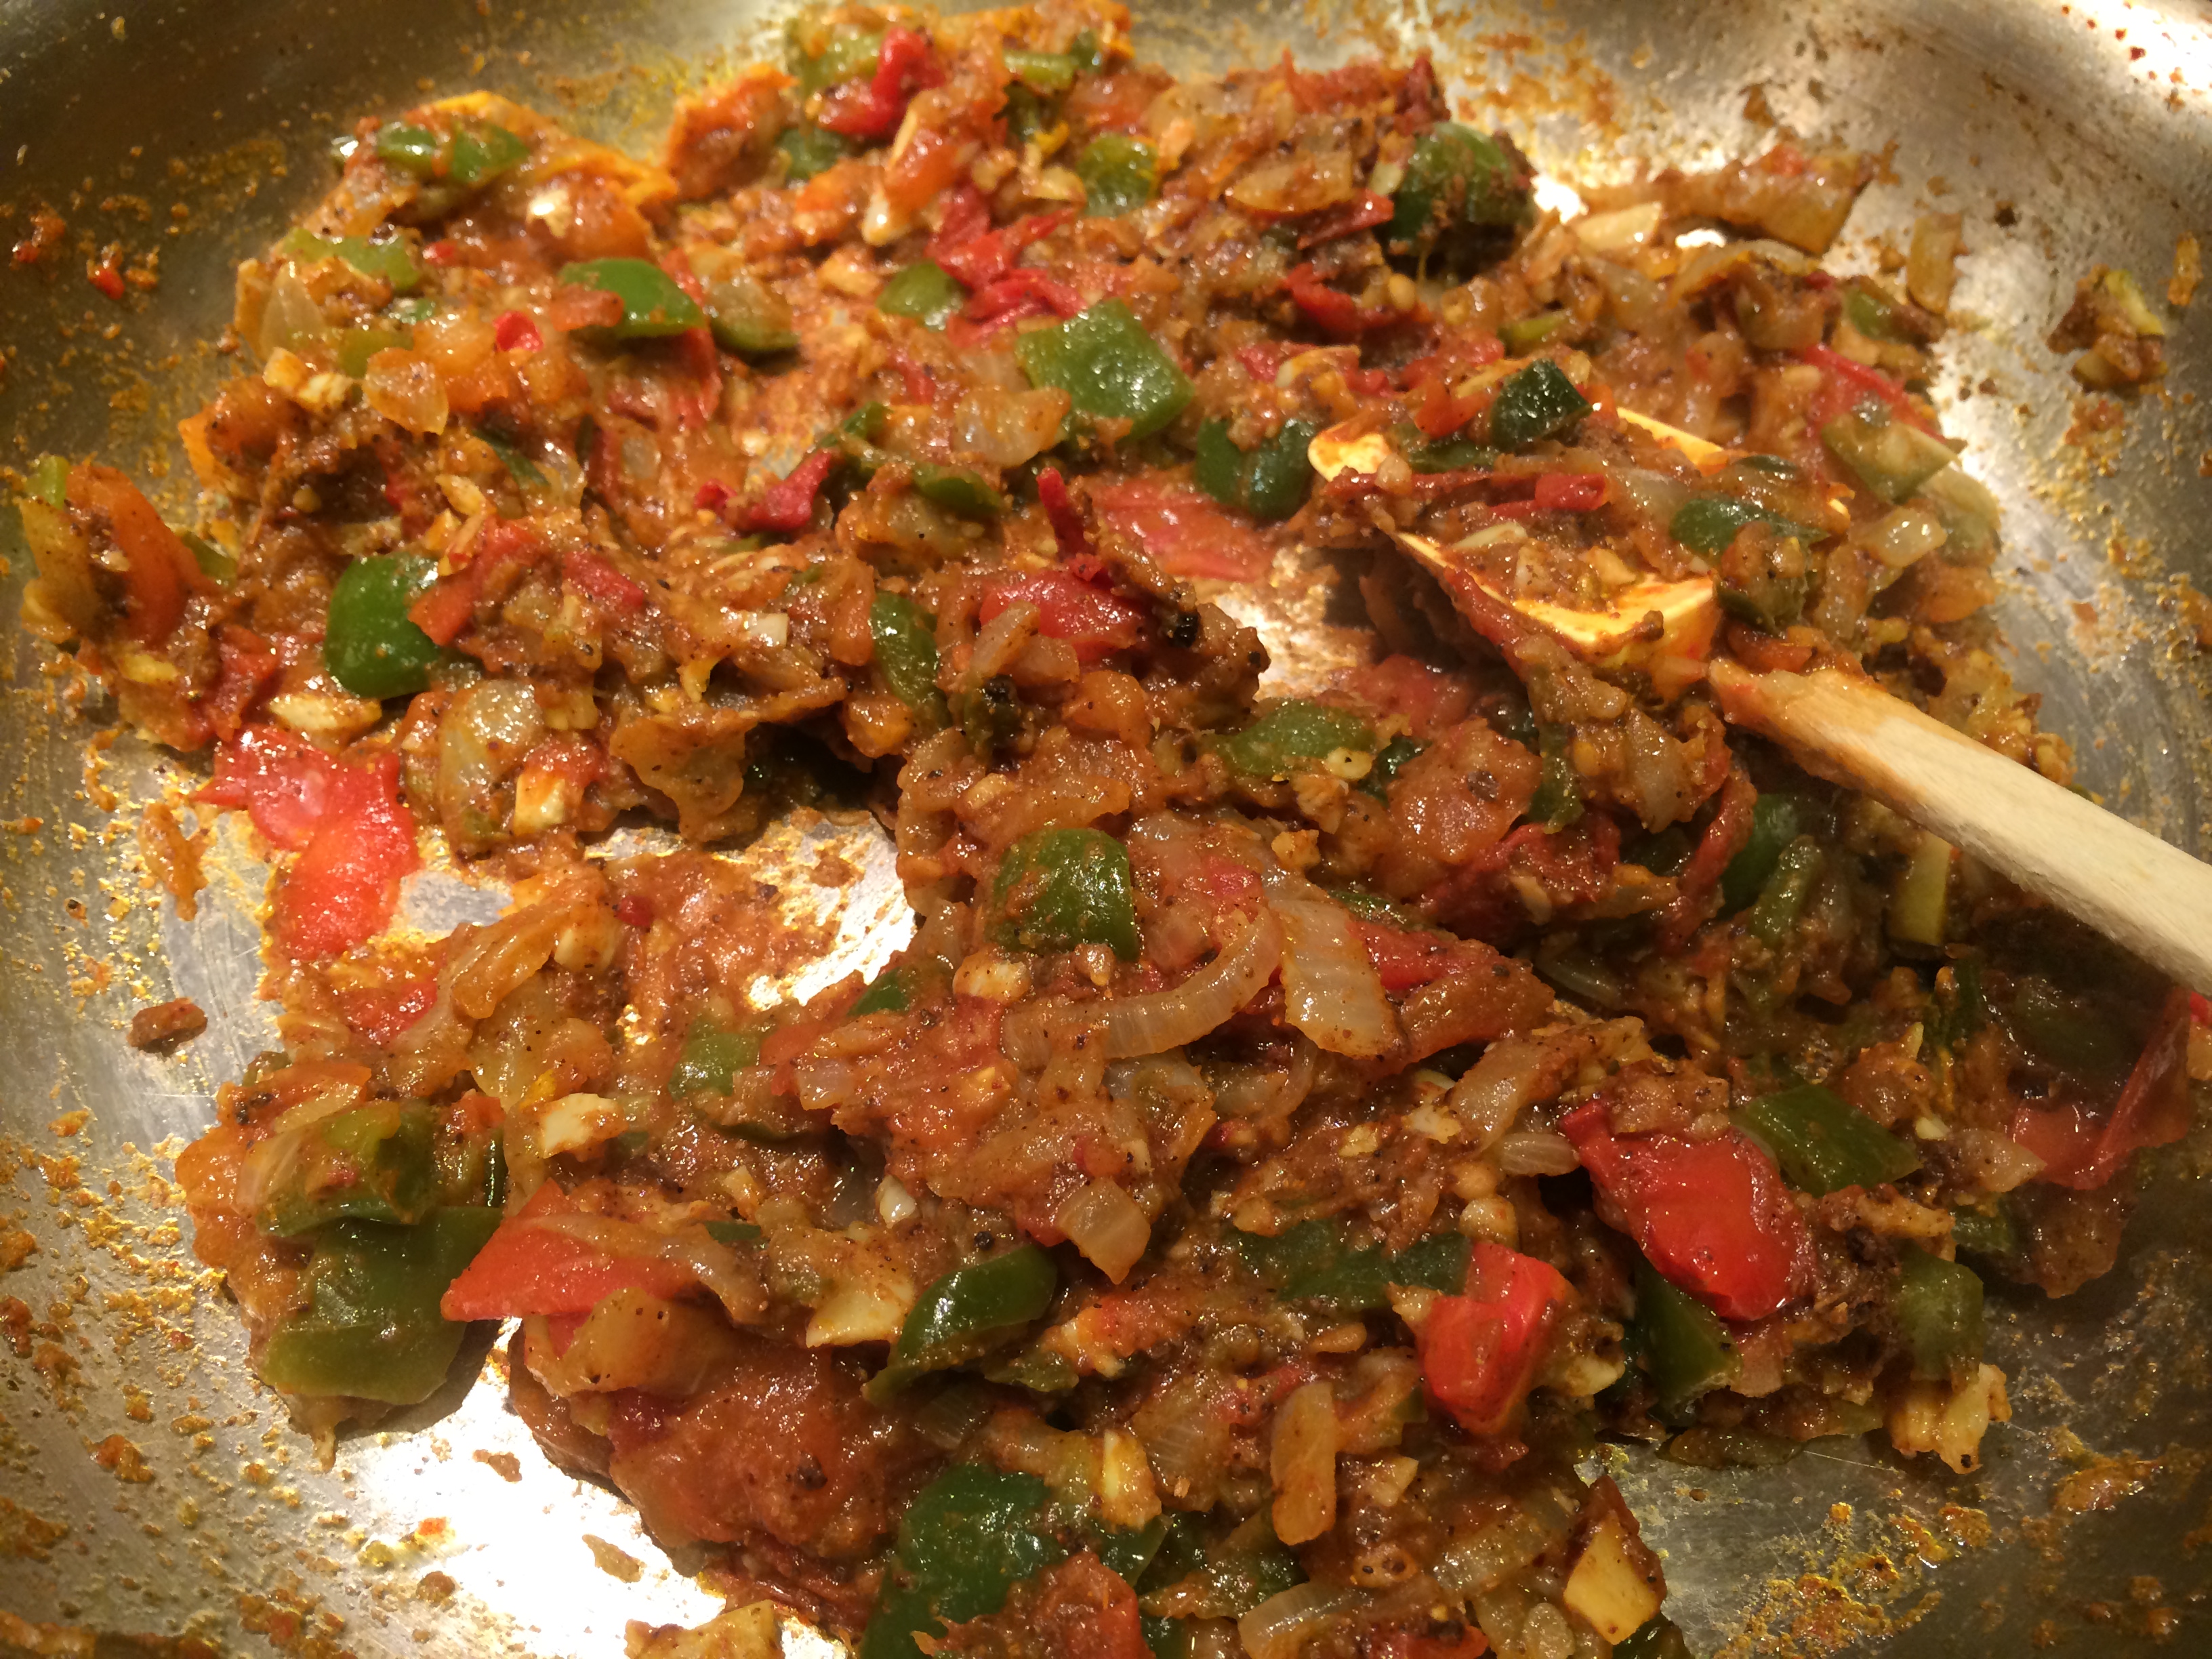
Add onion
Done
Stuffed okra/bharela bhindi
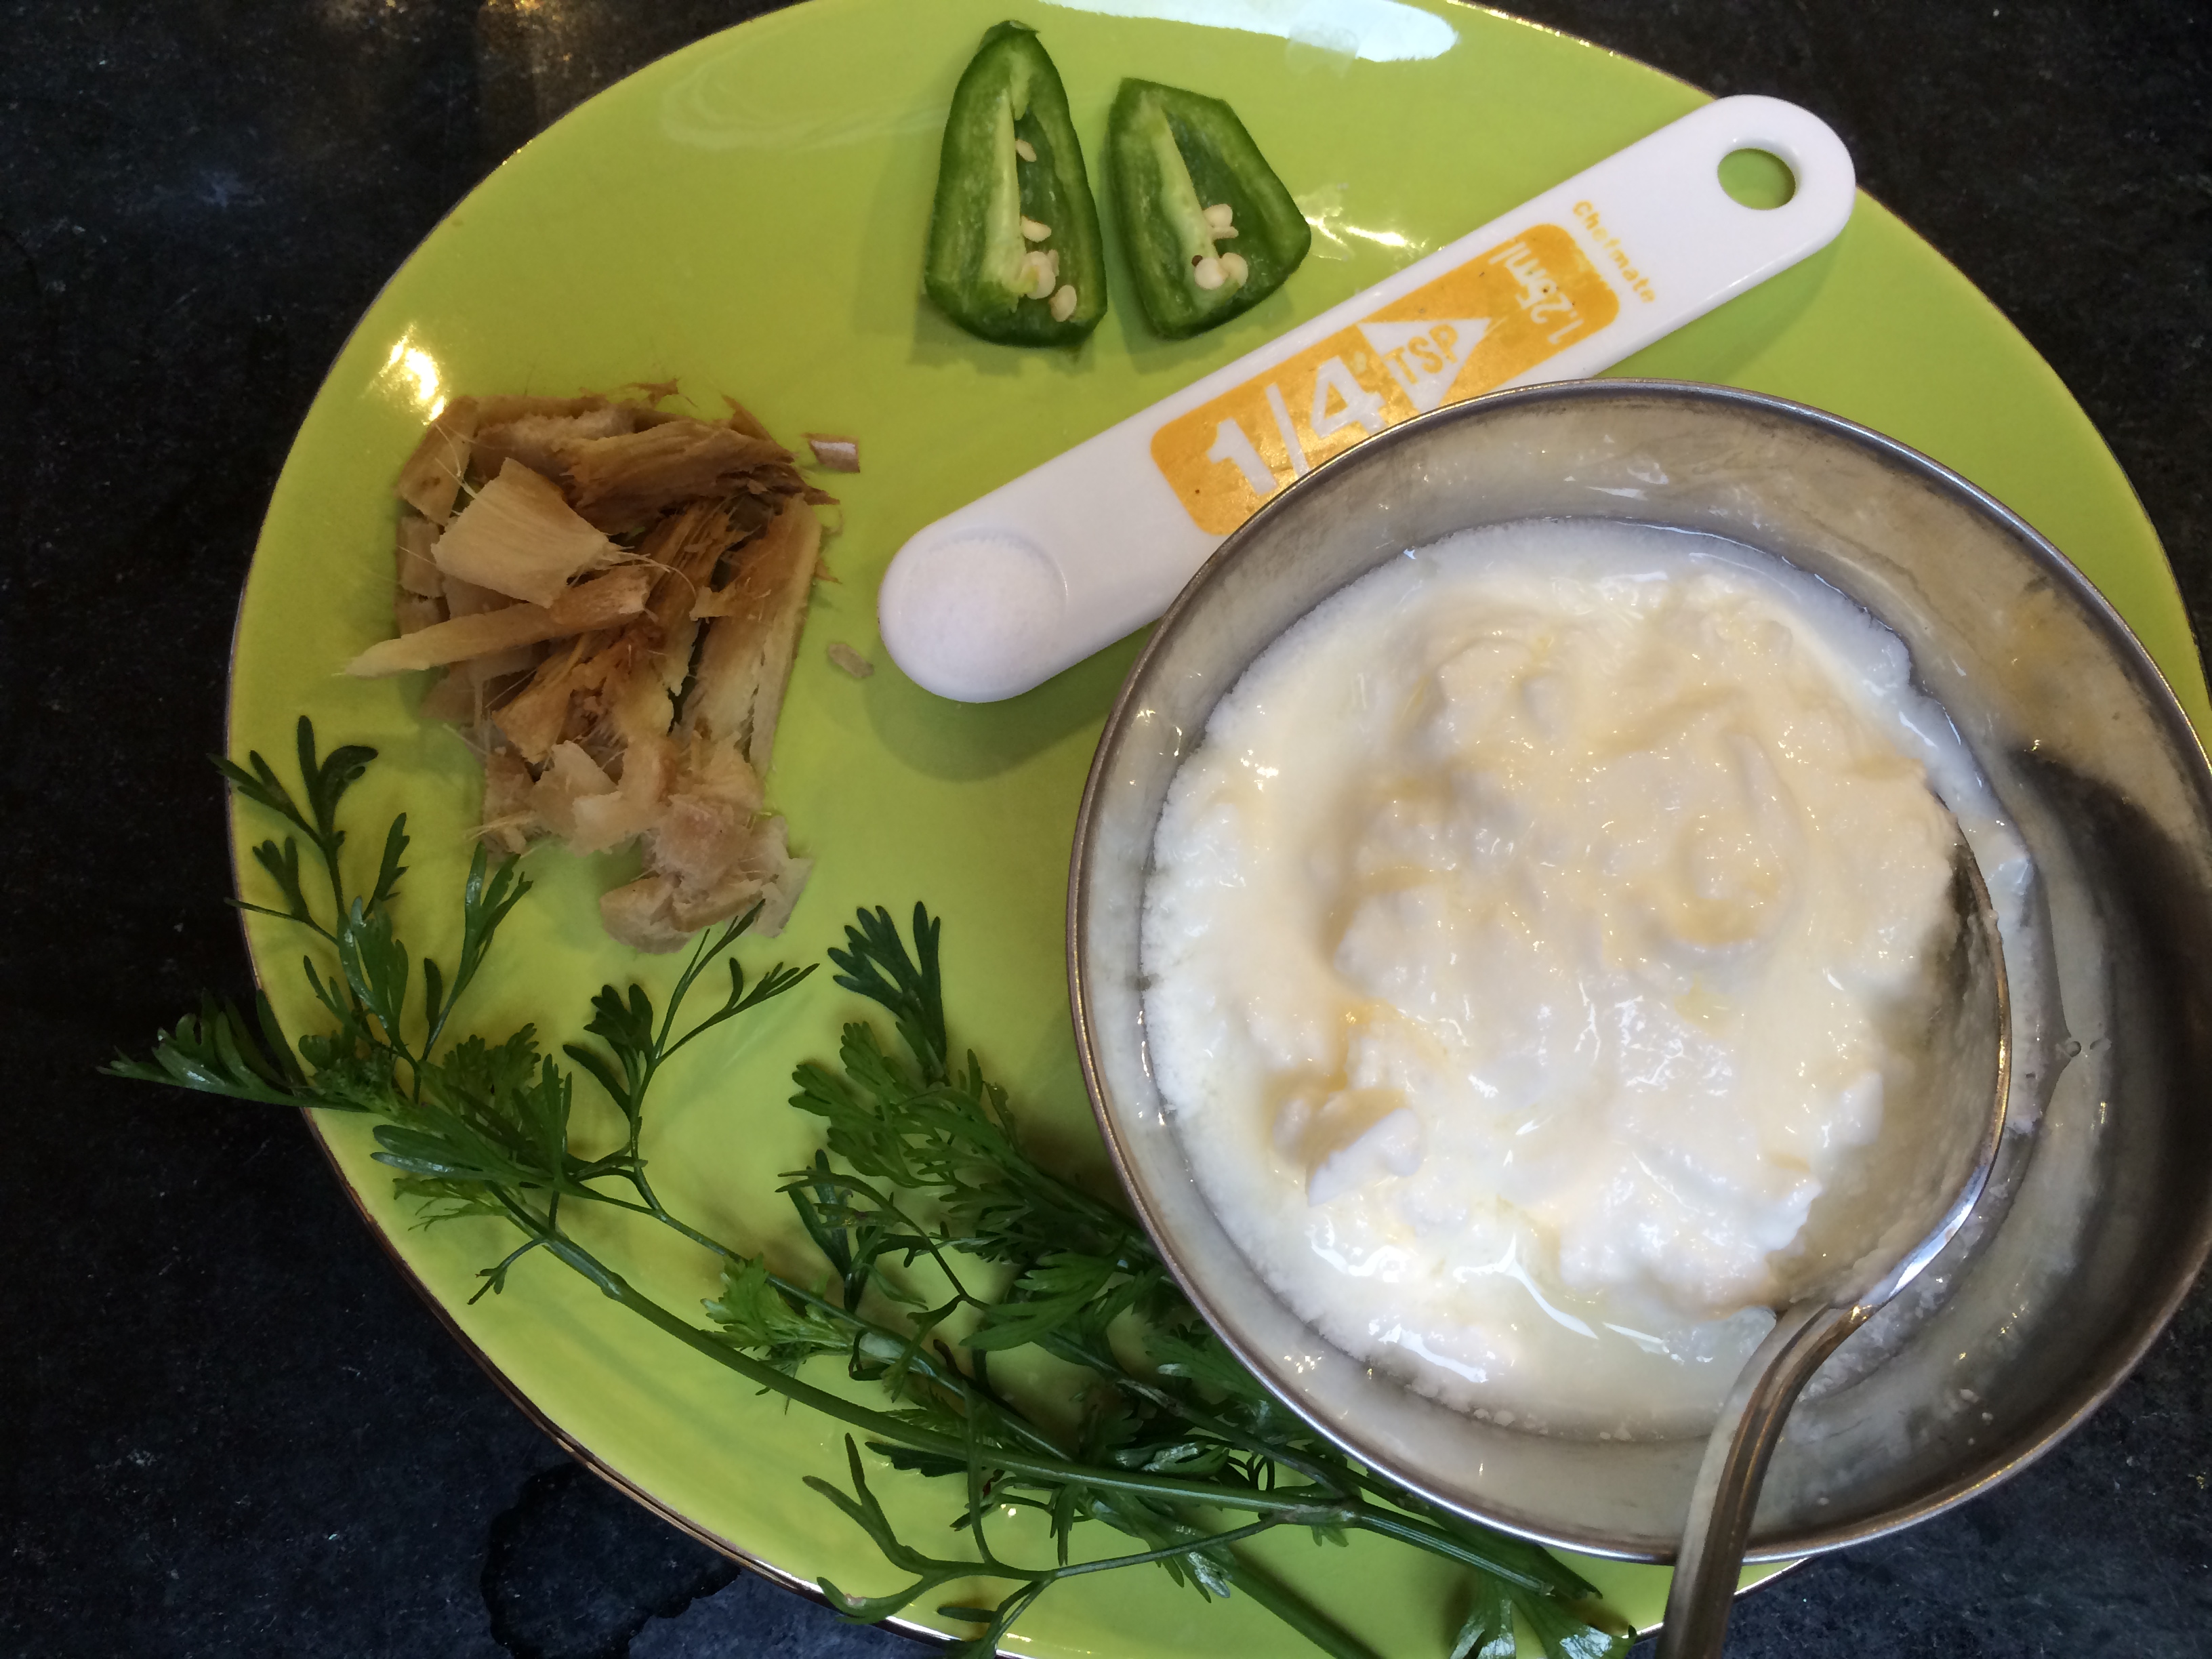
Ingredients for the spice mix:
- 2 teaspoons whole coriander
- 2 teaspoons whole cumin
- 1/2 teaspoon whole fenugreek seeds
- 1/2 teaspoon whole fennel seeds
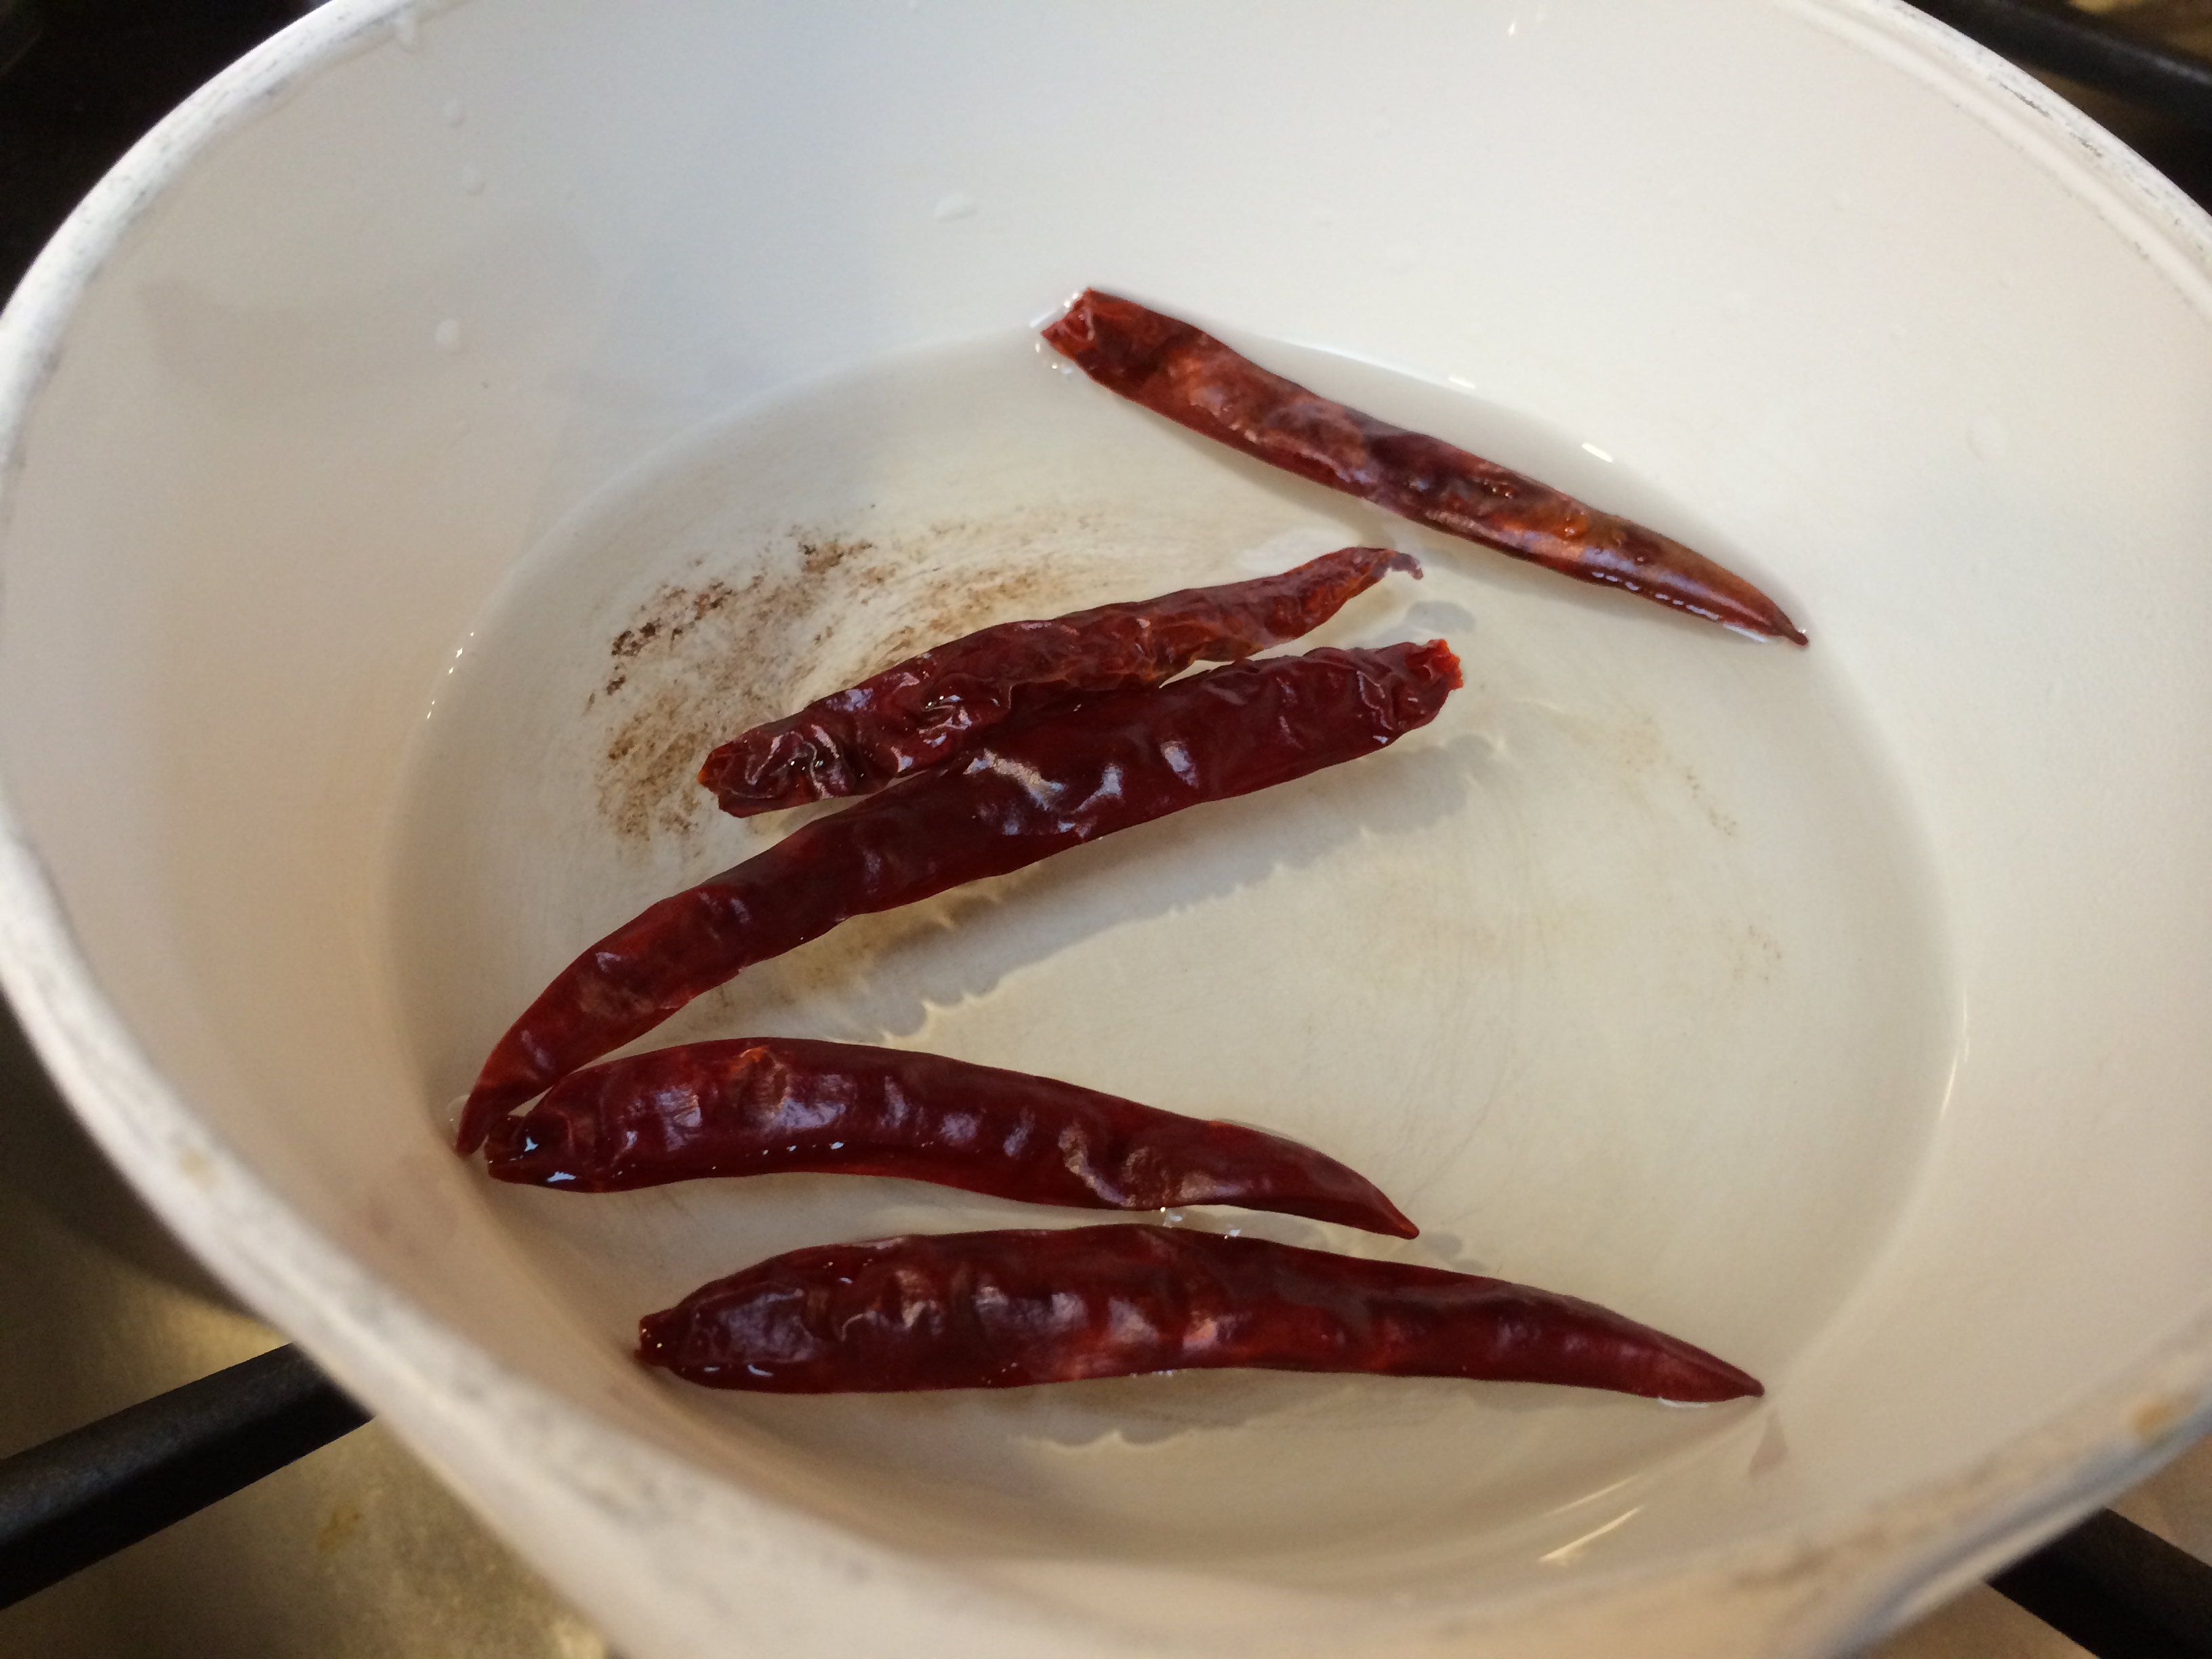
- 2 whole red chilies, more if you like
- 1 teaspoon dry mango powder (aamchur)
- 1/2 teaspoon turmeric powder
- 1/4 teaspoon asafetida
- 1/2 teaspoon red chili (if you want more heat) or paprika (for color and flavor)
- 1 teaspoon salt
Ingredients for okra
- 1 pound okra pods
- 3 tablespoons oil
- 1/4 onion, sliced (optional)
Method
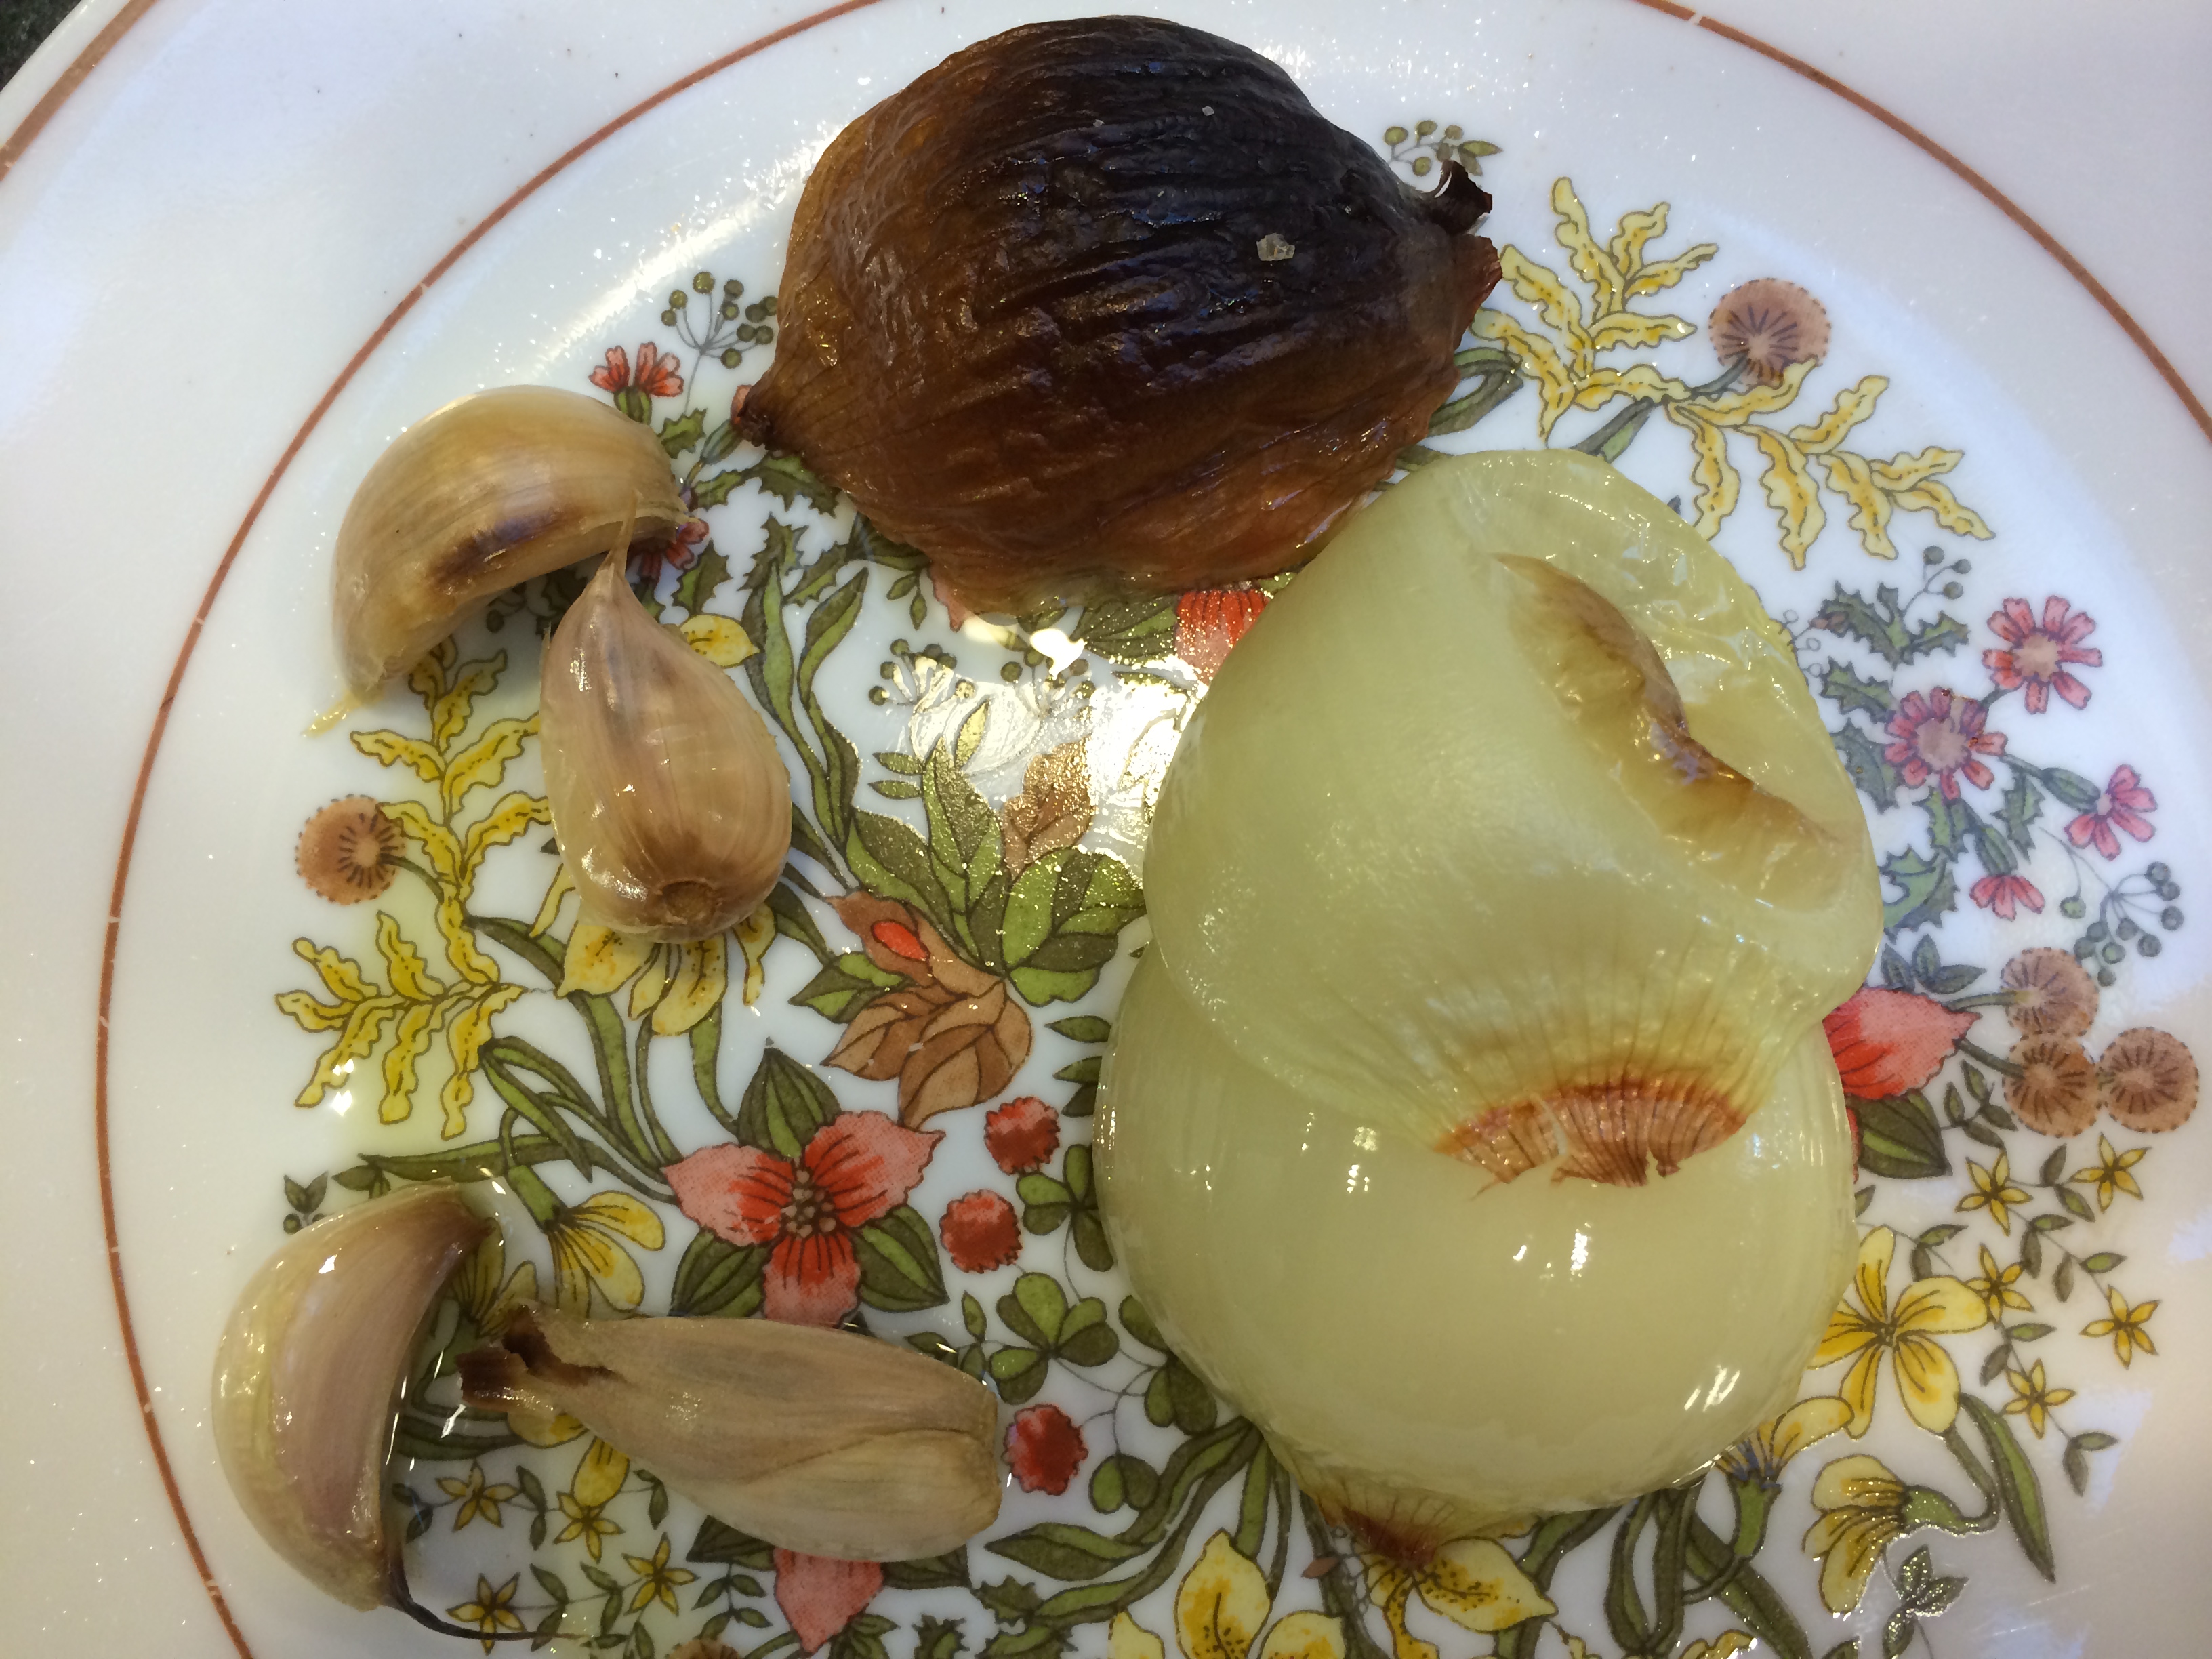
Roast the whole spices from coriander to red chilies in a thick-bottomed pan, just until an aroma arises. Take it off the heat, wait a few minutes for them to cool and grind in a clean coffee grinder. Now mix in the powdered spices from the dry mango powder to the salt.
Wash and completely dry the okra. Take off the very top, the hat that looks like a beanie where the okra is attached to the stem. Using a sharp paring knife, make a slit along the length of the pod, stopping a little short on both ends, to make a pocket. Fill each okra with the spice mixture. A small spoon is very helpful for this. Then using your fingertips, spread spices nicely inside the pocket.
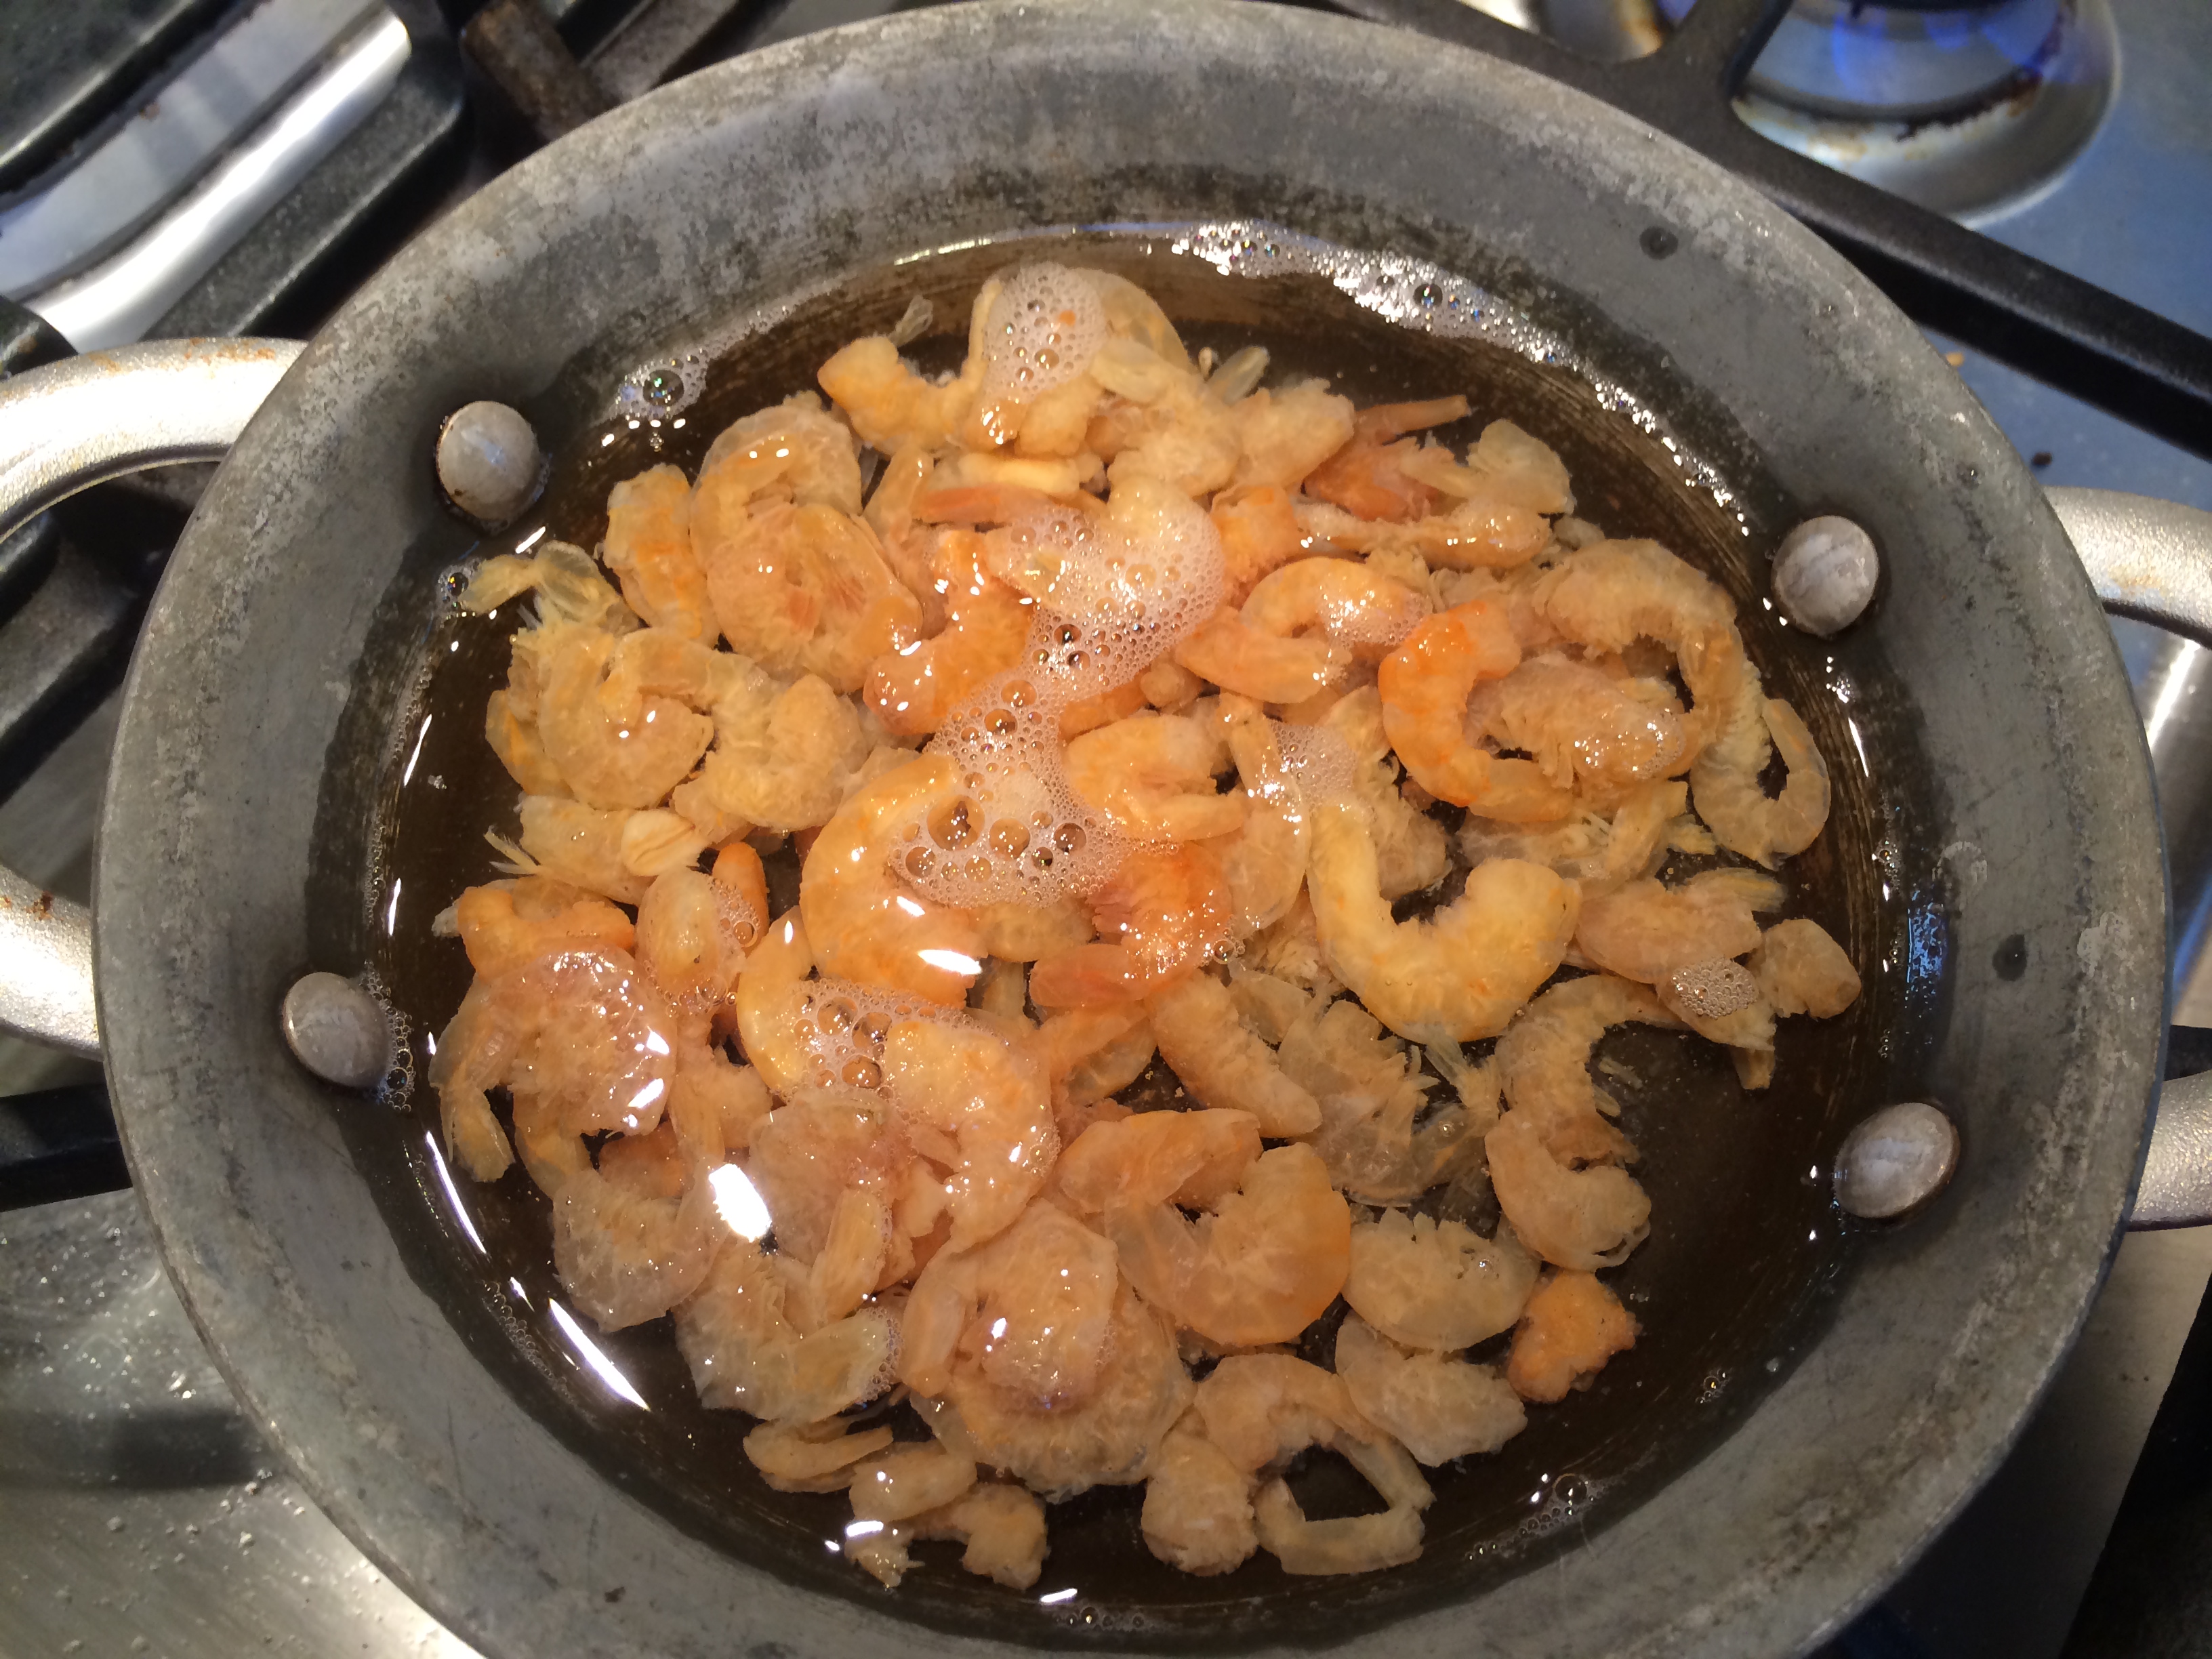
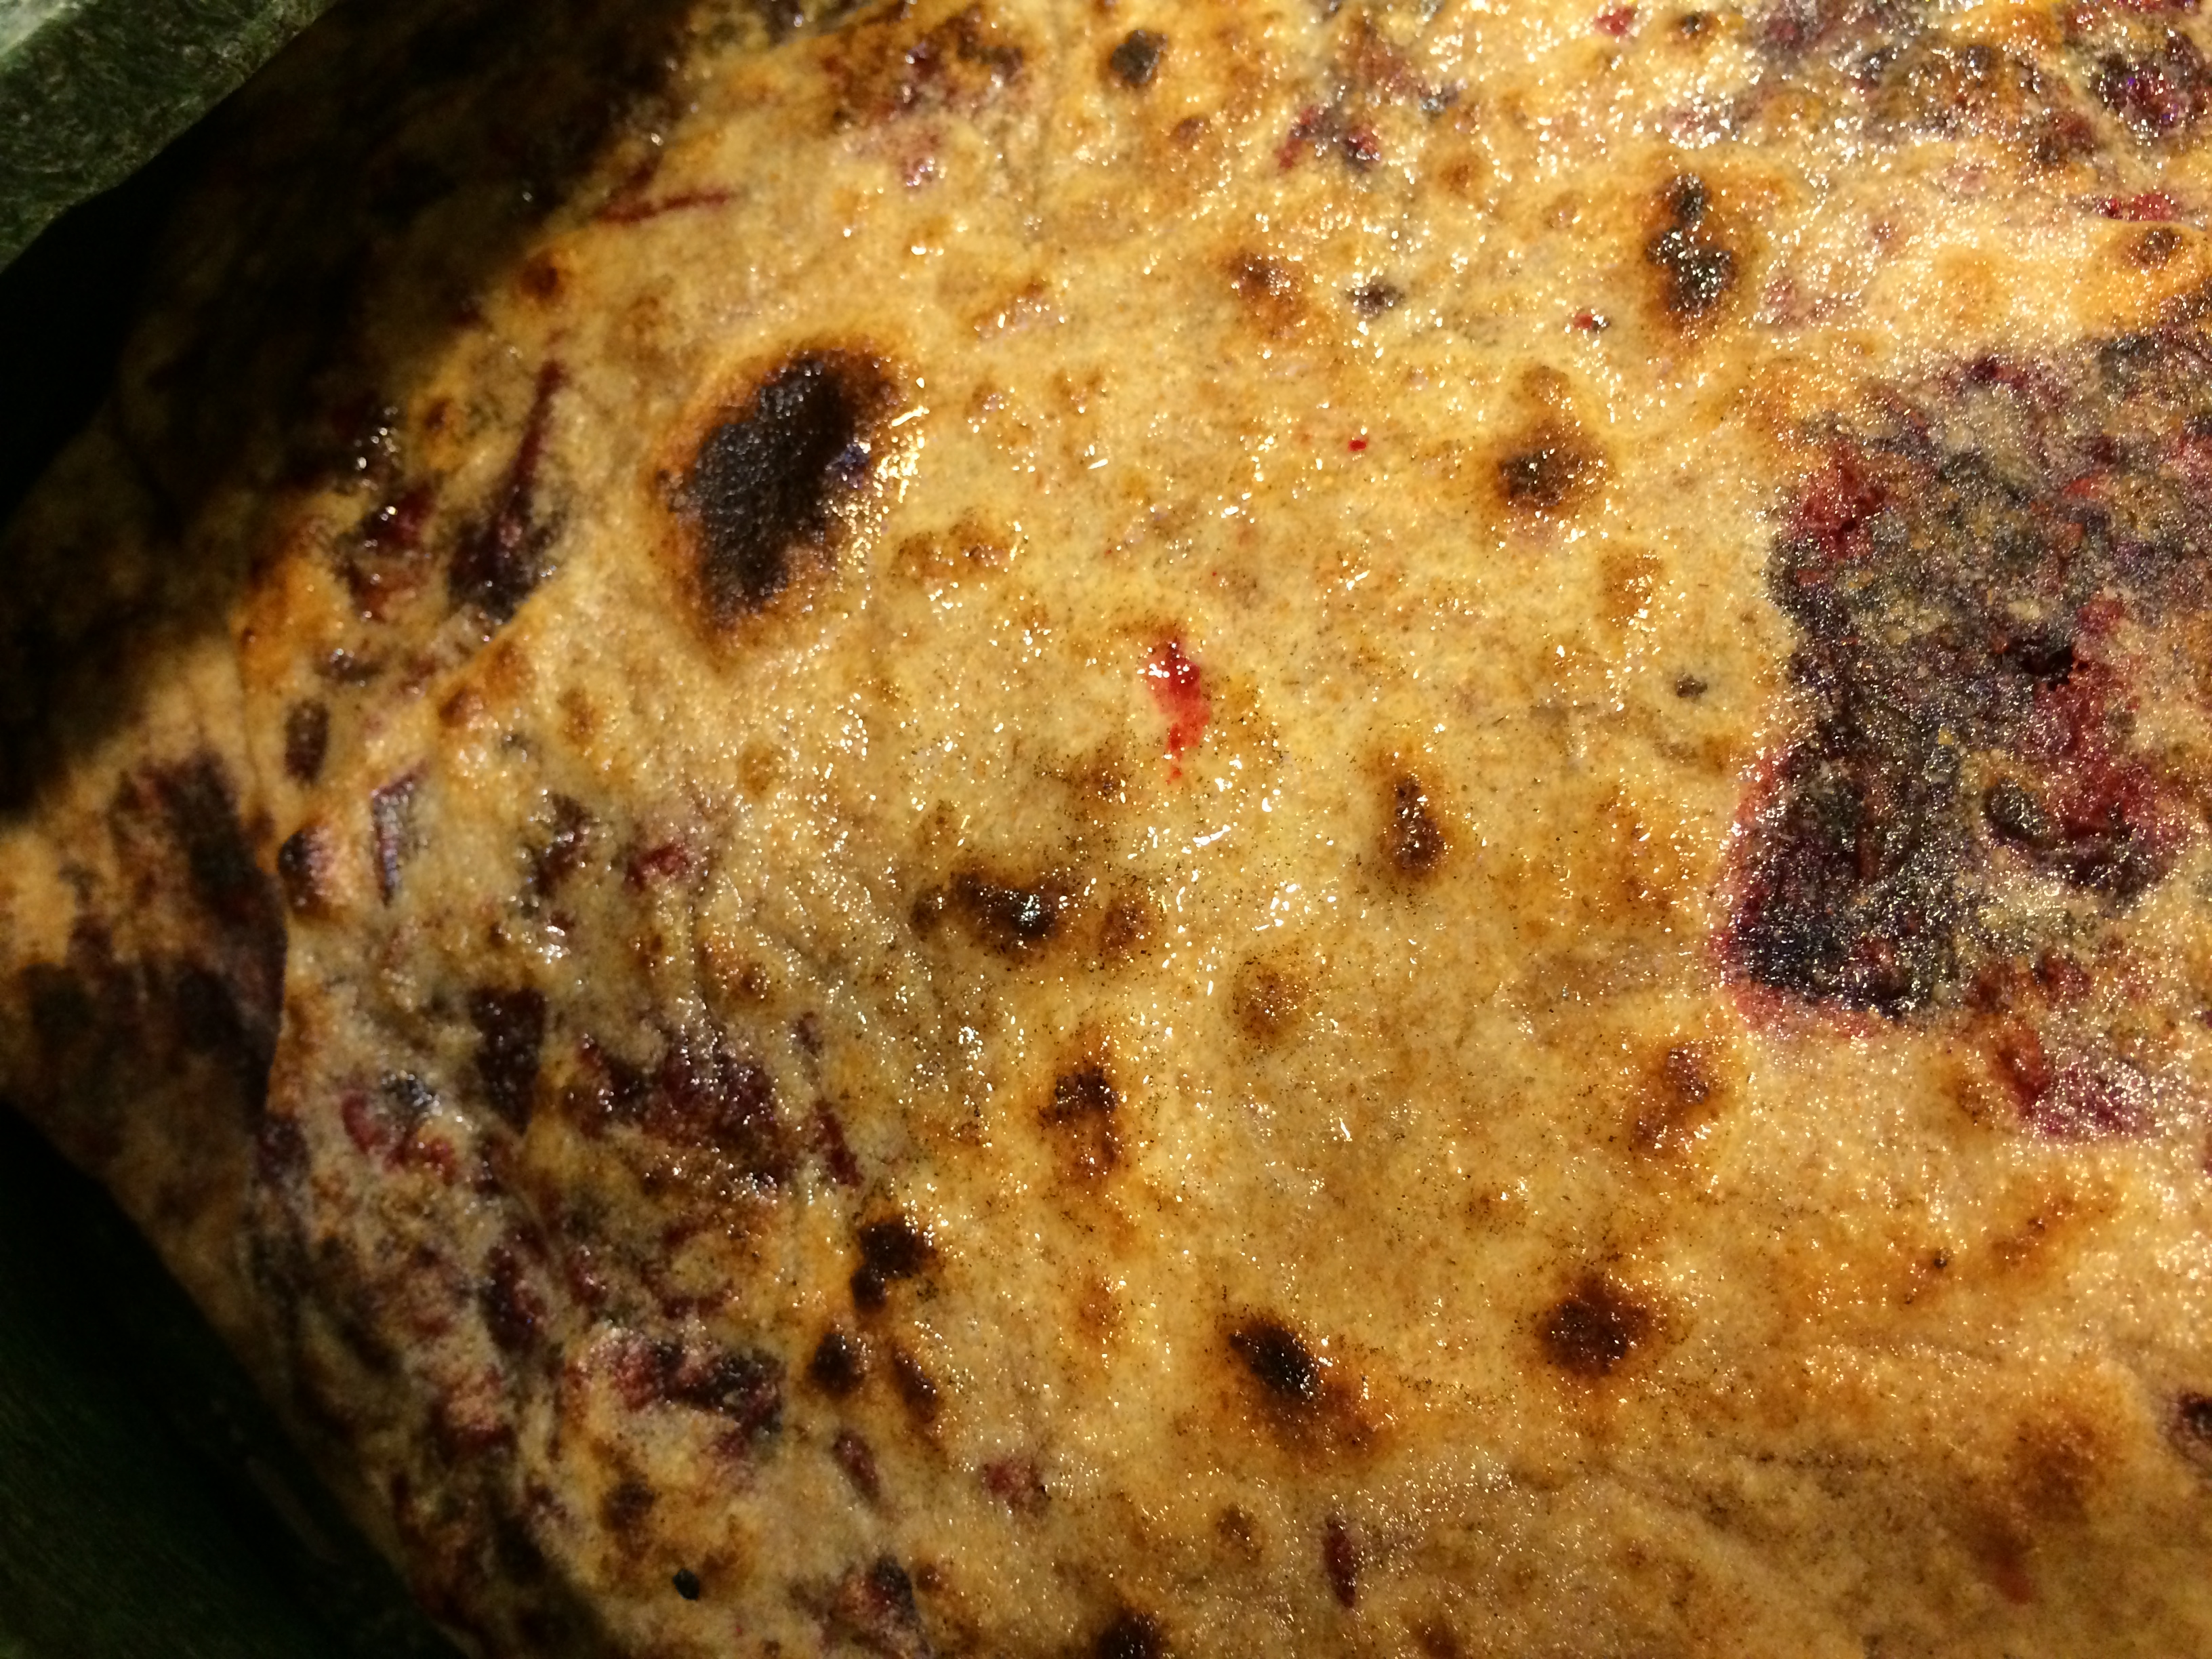
Once all the okra pods have been stuffed, heat the oil in a wide, thick-bottomed pan. When it shimmers, lay the okra pods flat in a single layer. Let them cook on medium-high heat for 10 to 15 minutes until each side is browned. Once in a while give them a turn with tongs or a spoon. Mostly just leave them be.
When they look pretty much browned, squished and done, throw in the onions. The onions only need to cook for a minute or two, the hot pan will soften them quickly. They do not need to brown. Turn off and cover the pan for a few minutes to allow the steam to finish the job.
(Click here to find me on Facebook and here on Twitter.)