Star-studded bread
A lot of what I know about bread-baking I learnt at the home of Rose Levy Berenbaum. No, she is not my favorite aunt or neighbor (though how I wish she were) — she was in her home, on TV, and I was in my home, watching TV and earnestly taking notes.
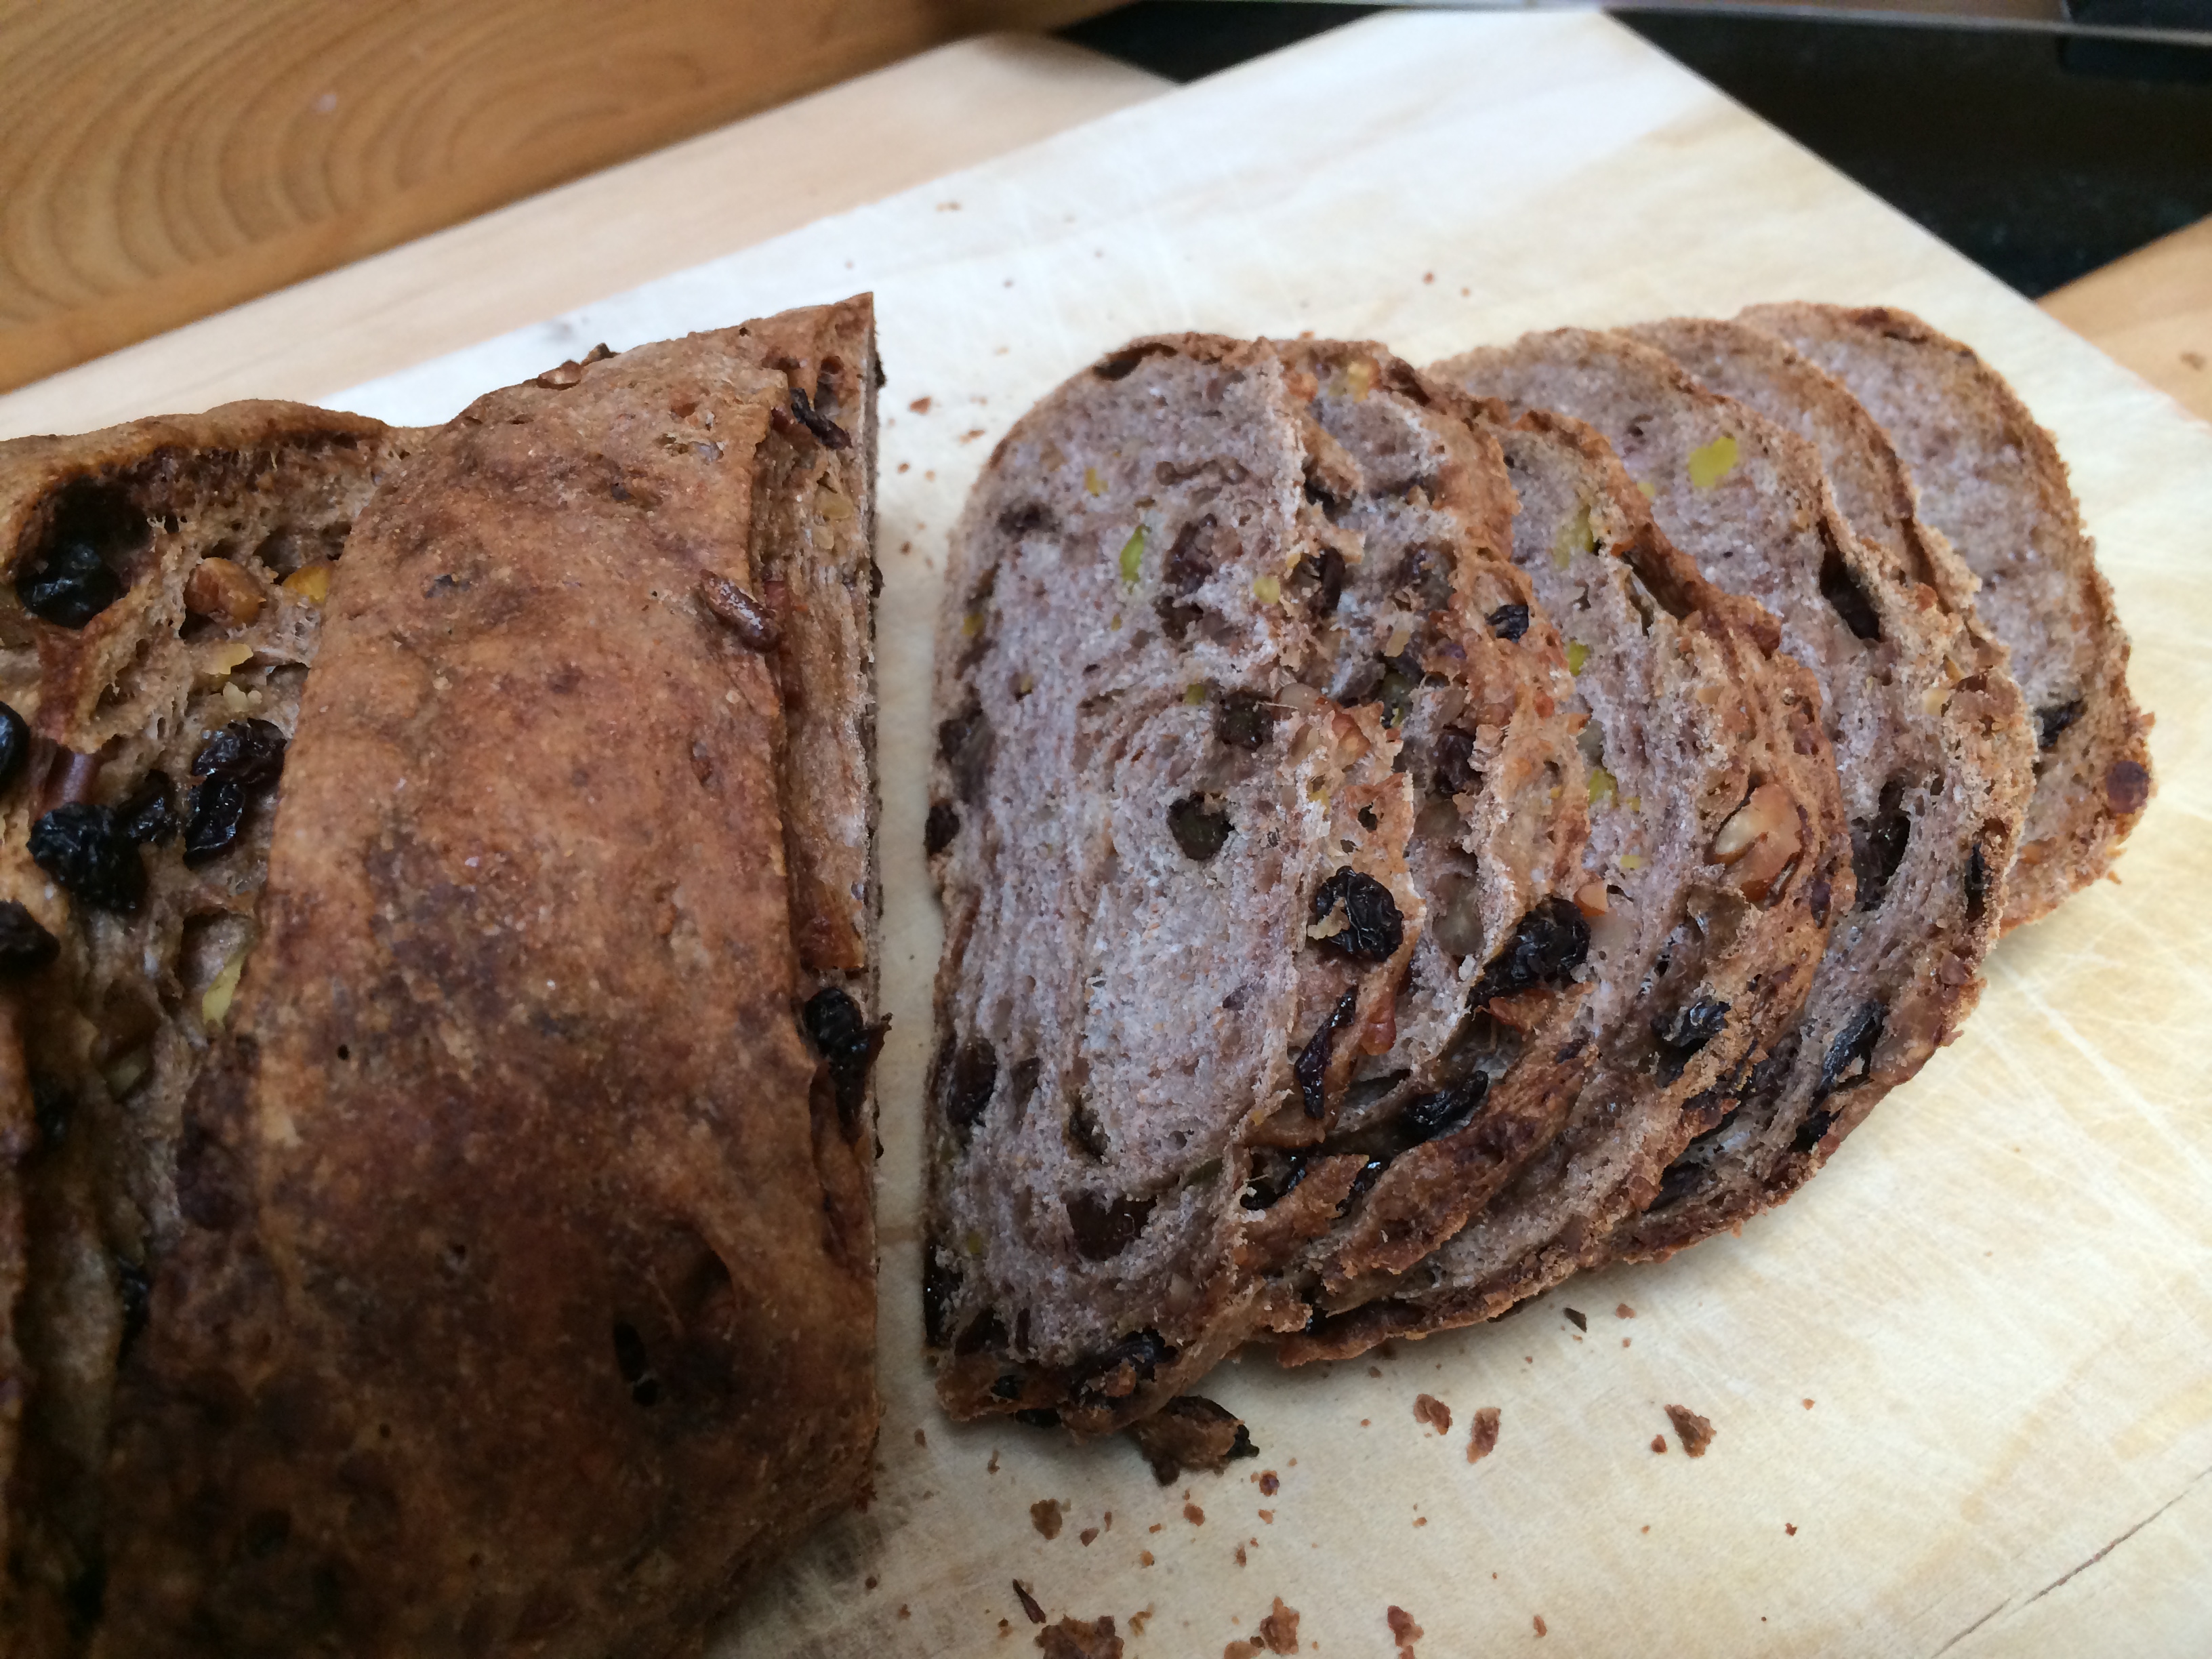
I have made several of the breads in her book The Bread Bible, and this one is one of my favorites. Of course breads with raisins and nuts are quite common. But the standard configuration they come in is the sliced bread with a square shape, sprinkled with cinnamon and a swirl in the middle. Now that is wonderful, but there’s more to raisin-nut breads than the cinnamon swirl.
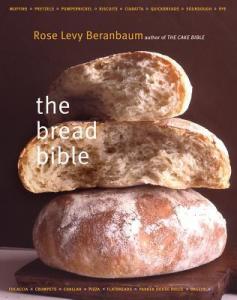
The Bread Bible
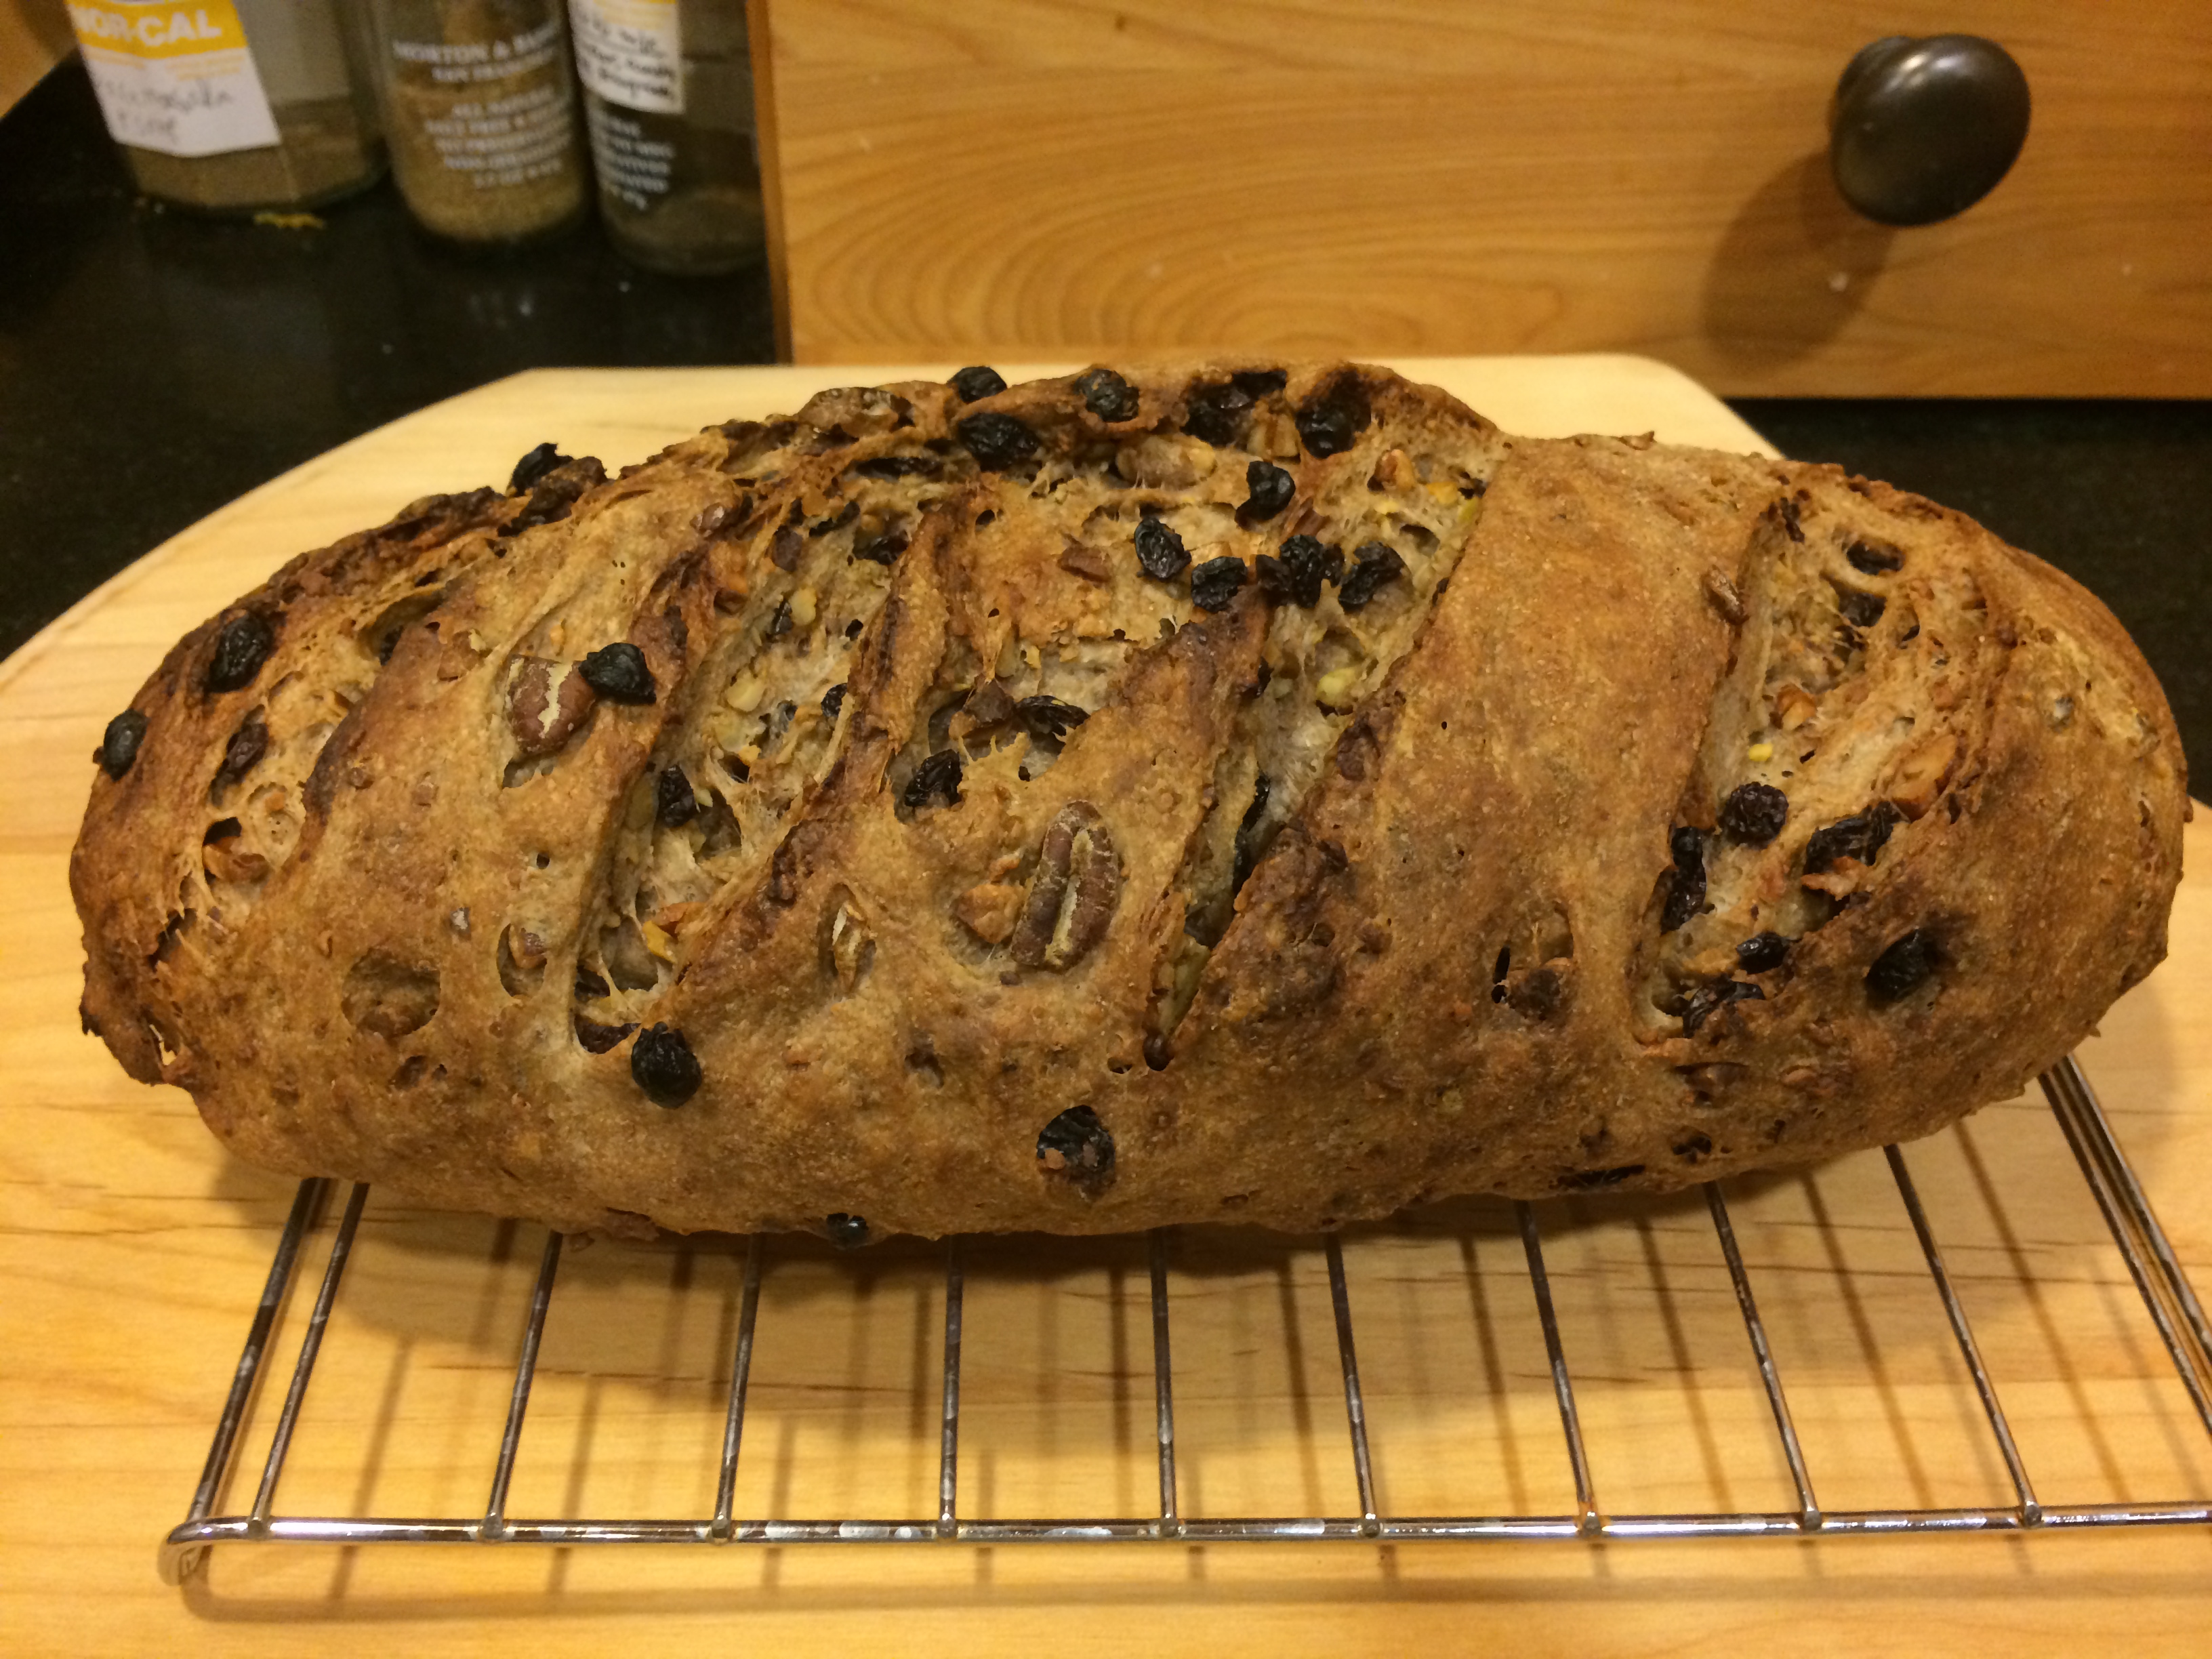
This particular bread (called the Raisin Pecan bread in the book) is a free-form loaf that is baked ‘naked’ in the oven, outside of any pans. Those are my favorite kinds of breads because of their crustiness. There is no cinnamon — that is the other difference. There is no swirl, instead the raisins and pecans are nicely spread throughout the loaf, hence the name that I gave it — star-studded. There is no added sweetness, making it less of a confection and more of an adult dinner bread. Spread with something creamy like clotted cream or a nice white cheddar it is one of the most popular snacks in our home.
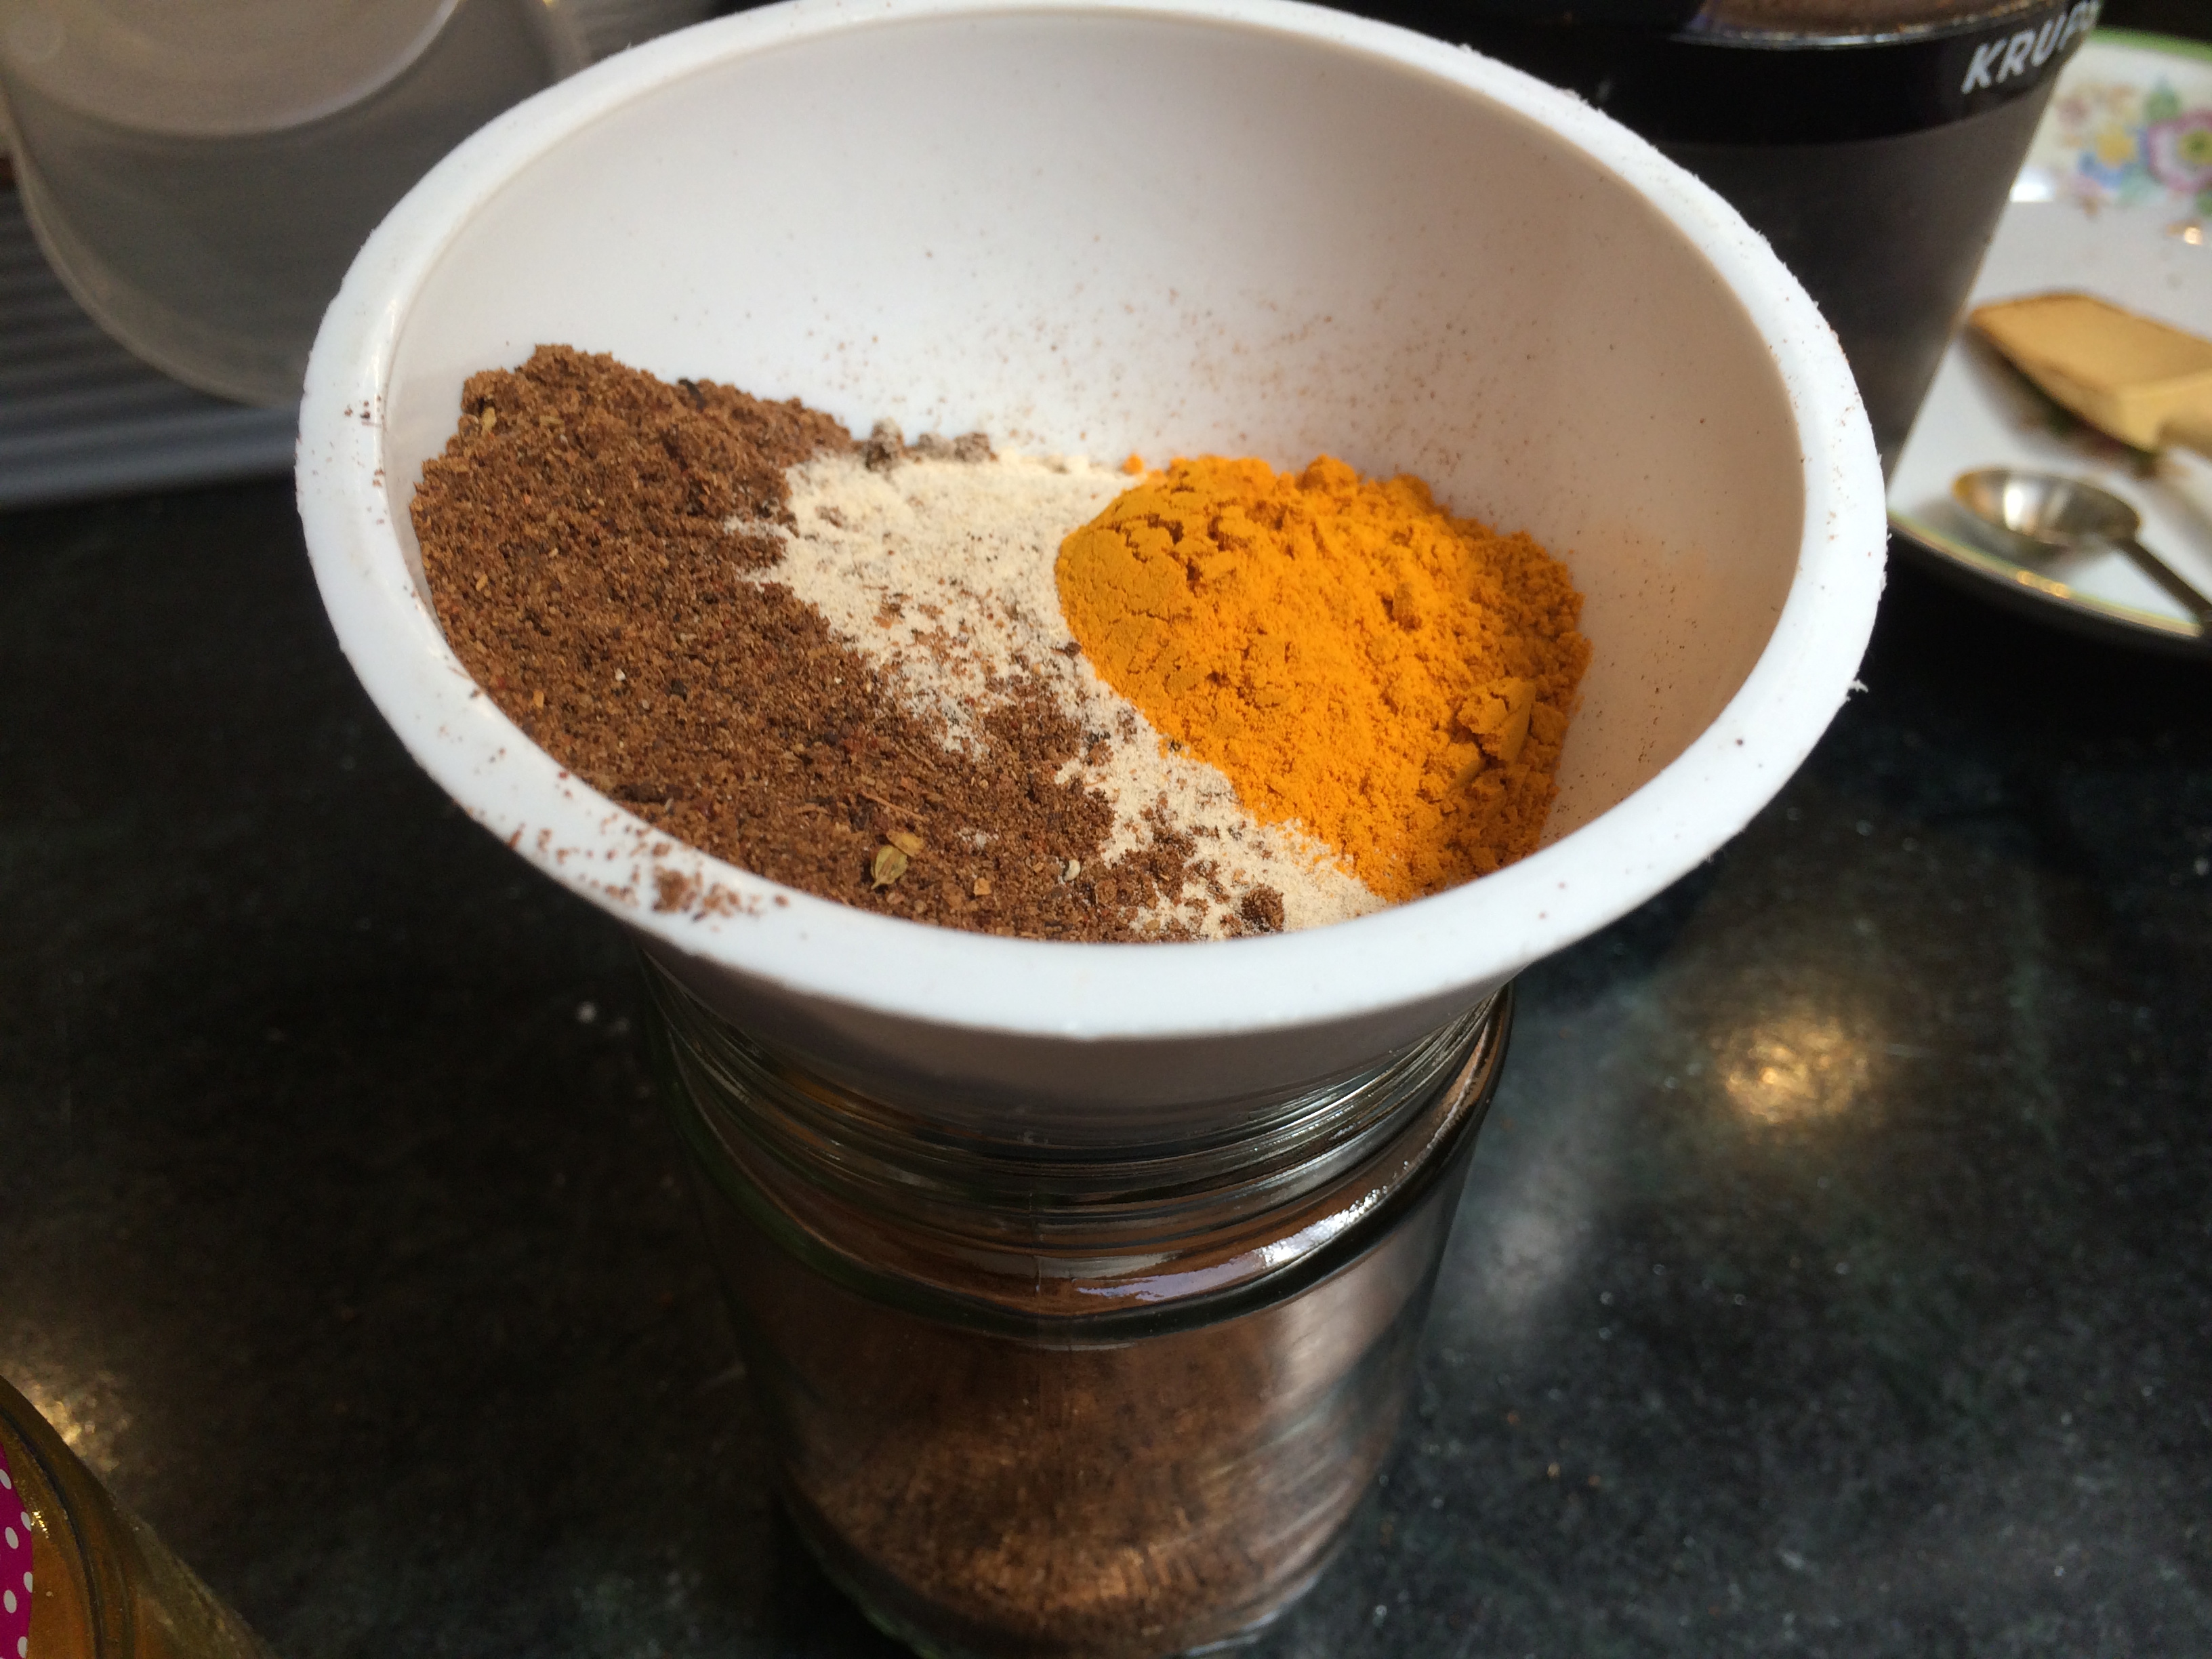
She uses some ingenious tricks to enhance the flavor. A sponge is mixed hours ahead or the previous day. Raisins are soaked for 30 minutes, no more; and the soaking water is used in the bread. Some of the pecans are ground fine to be mixed in with the dough, some are just broken bits and add a delightful crunchiness to many bites. The nut and raisins are mixed in in a very delicate procedure, after all the heavy kneading is done, to avoid a mess of runny raisin juice. Simple, small tricks, but they make a big difference.
I made one more modification — I substituted quite a bit of the flour with whole wheat, because we like that in our household.
Star-studded Raisin-Nut Bread
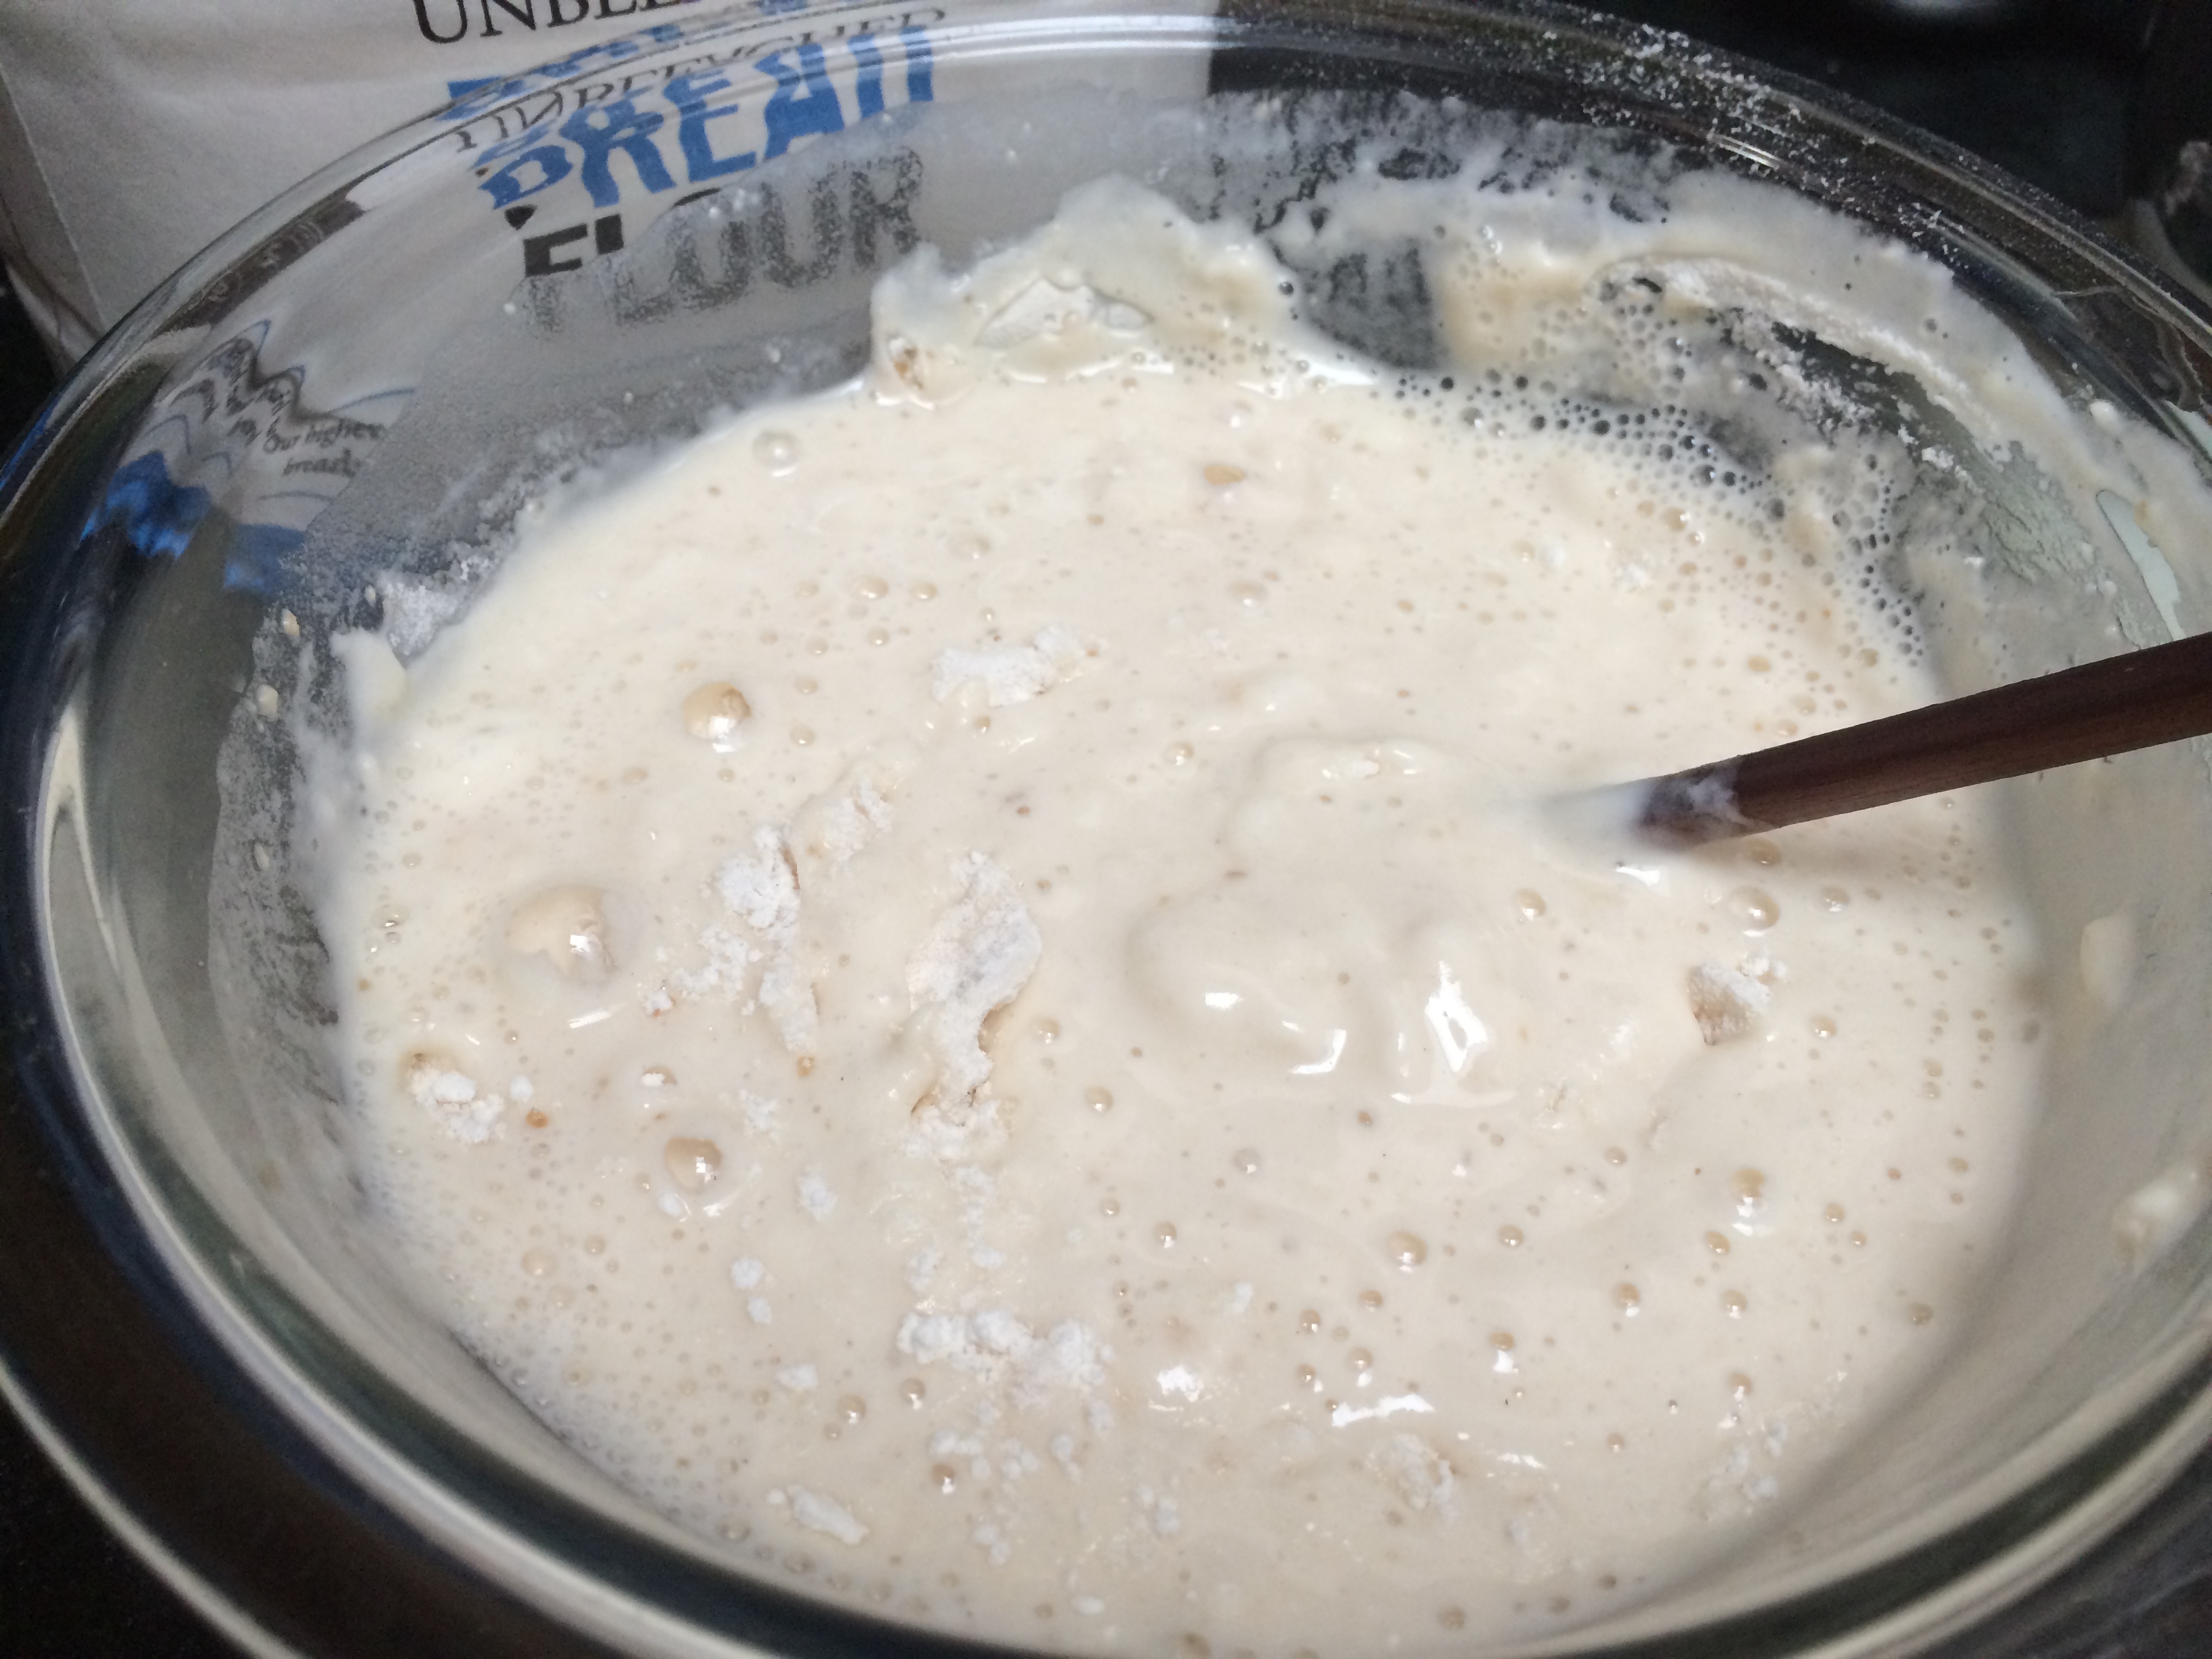
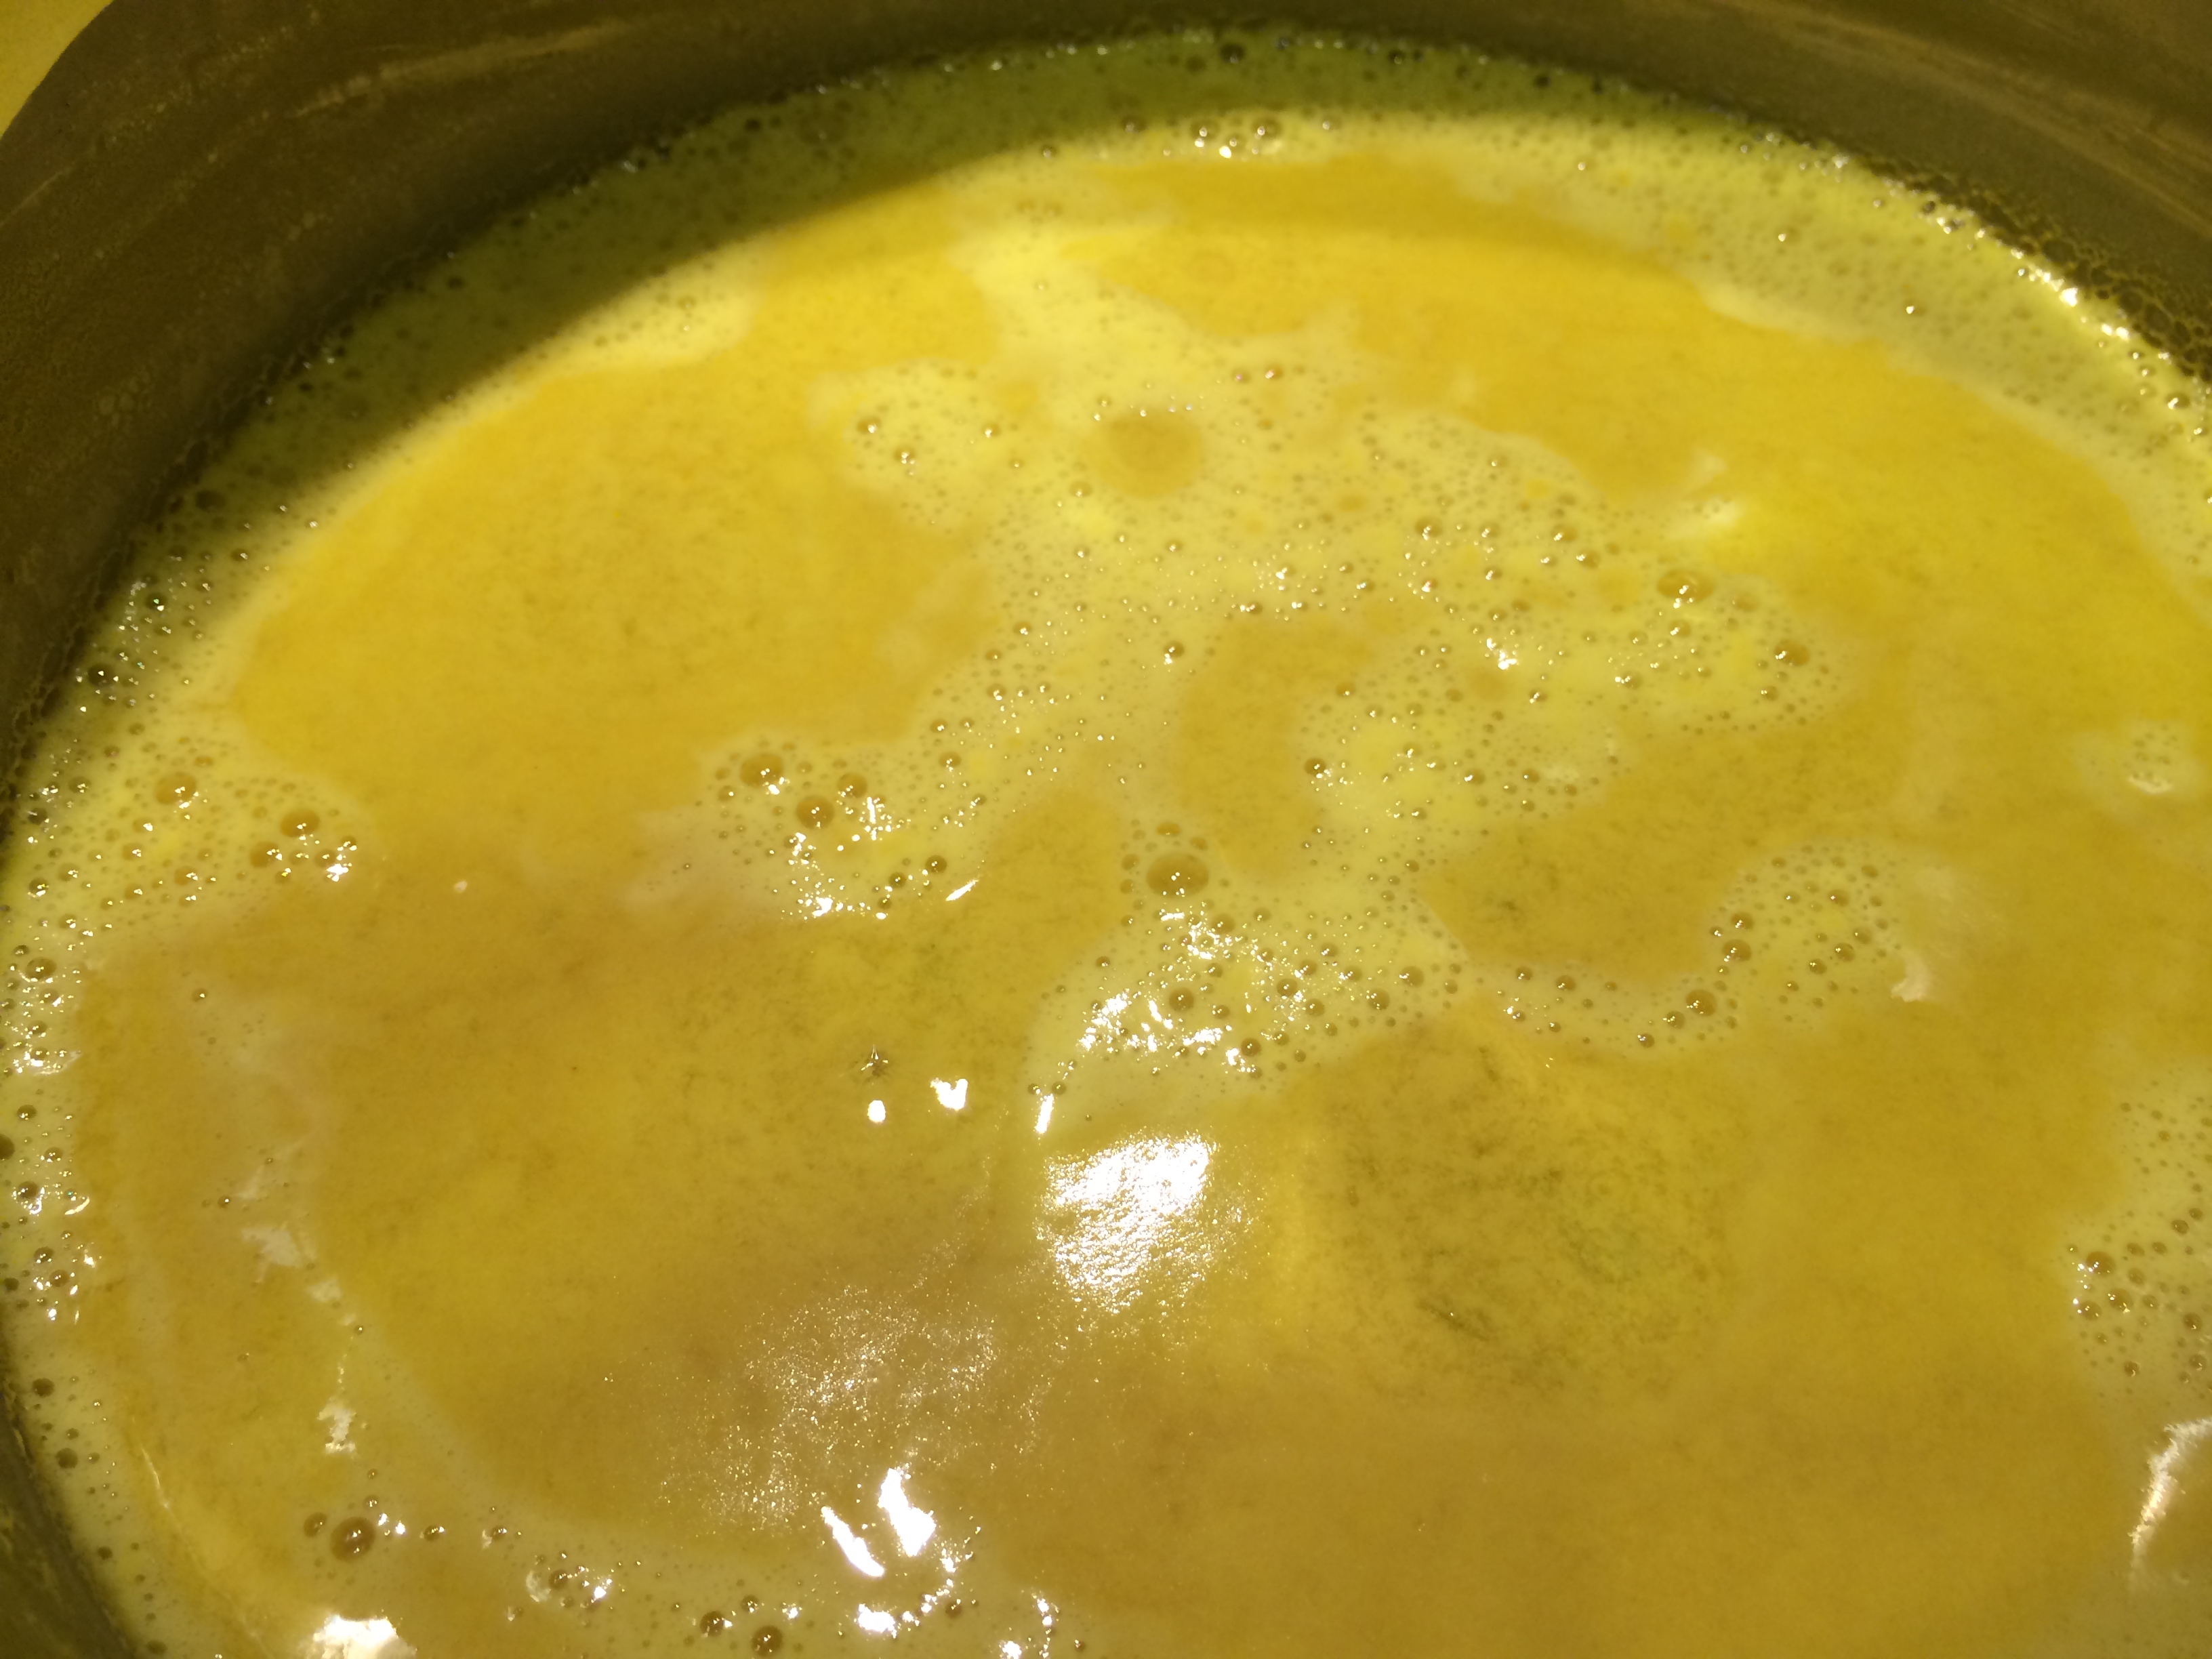
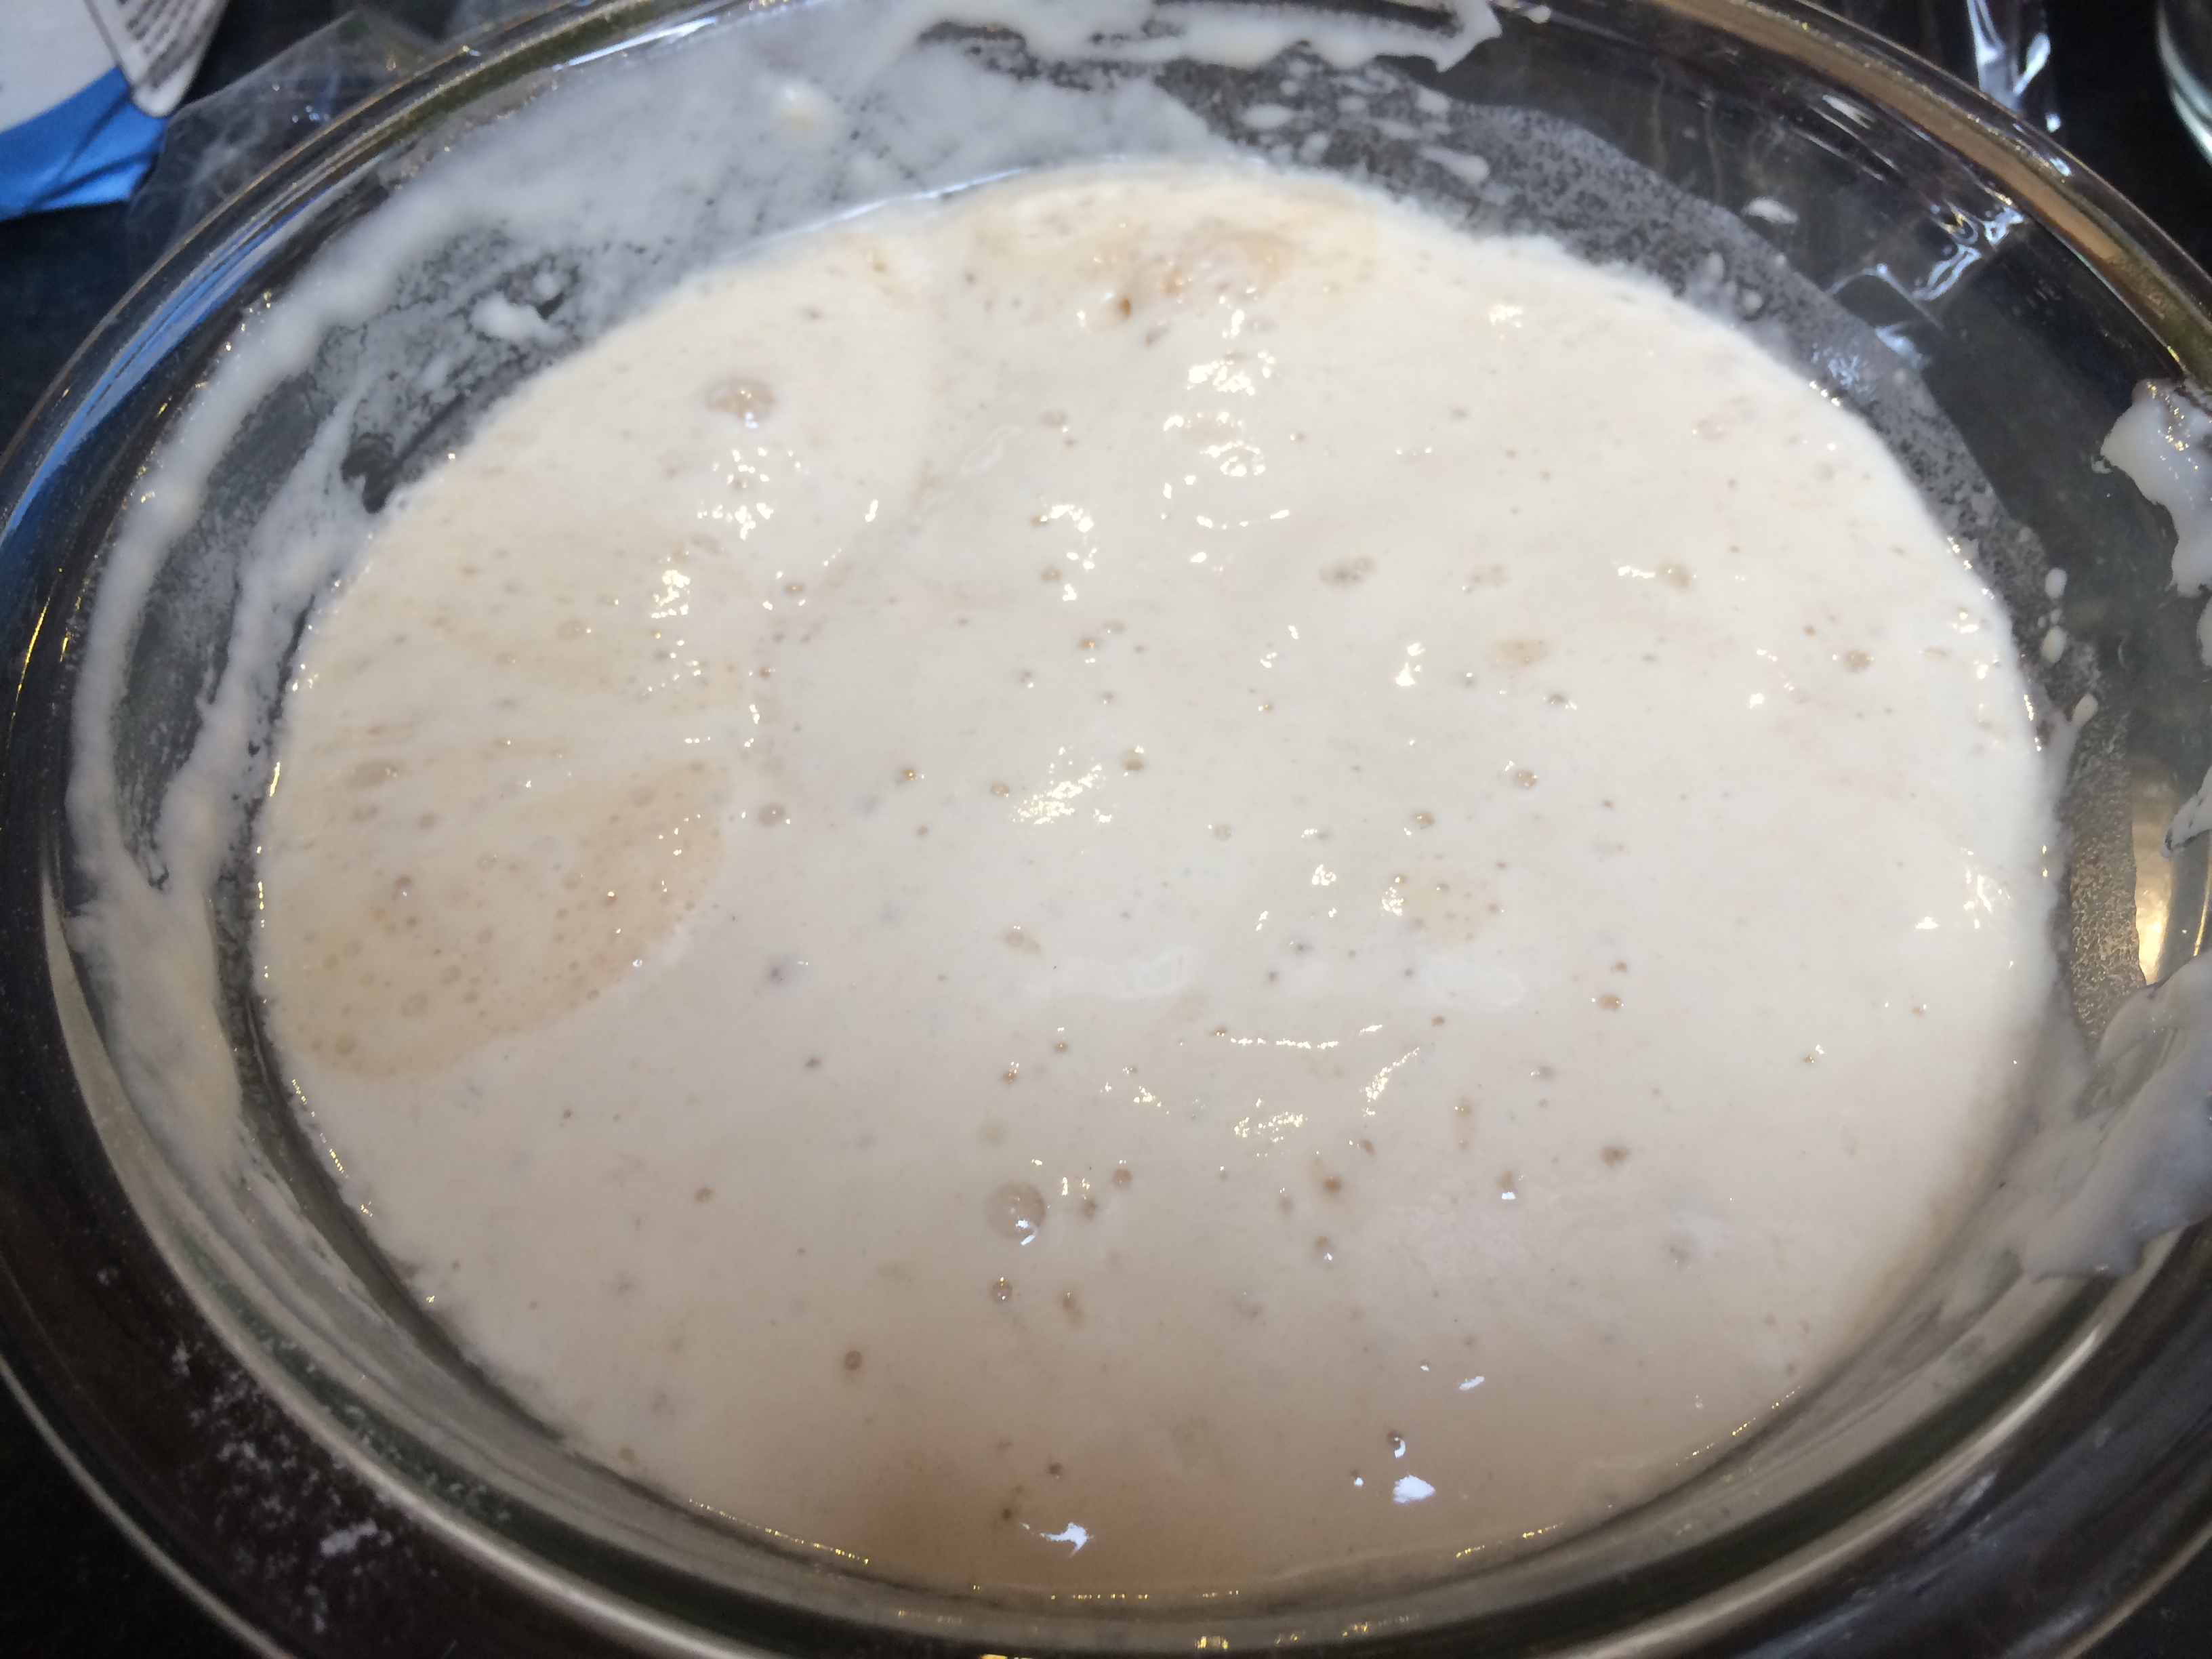
Mixing the sponge

Soaked raisins
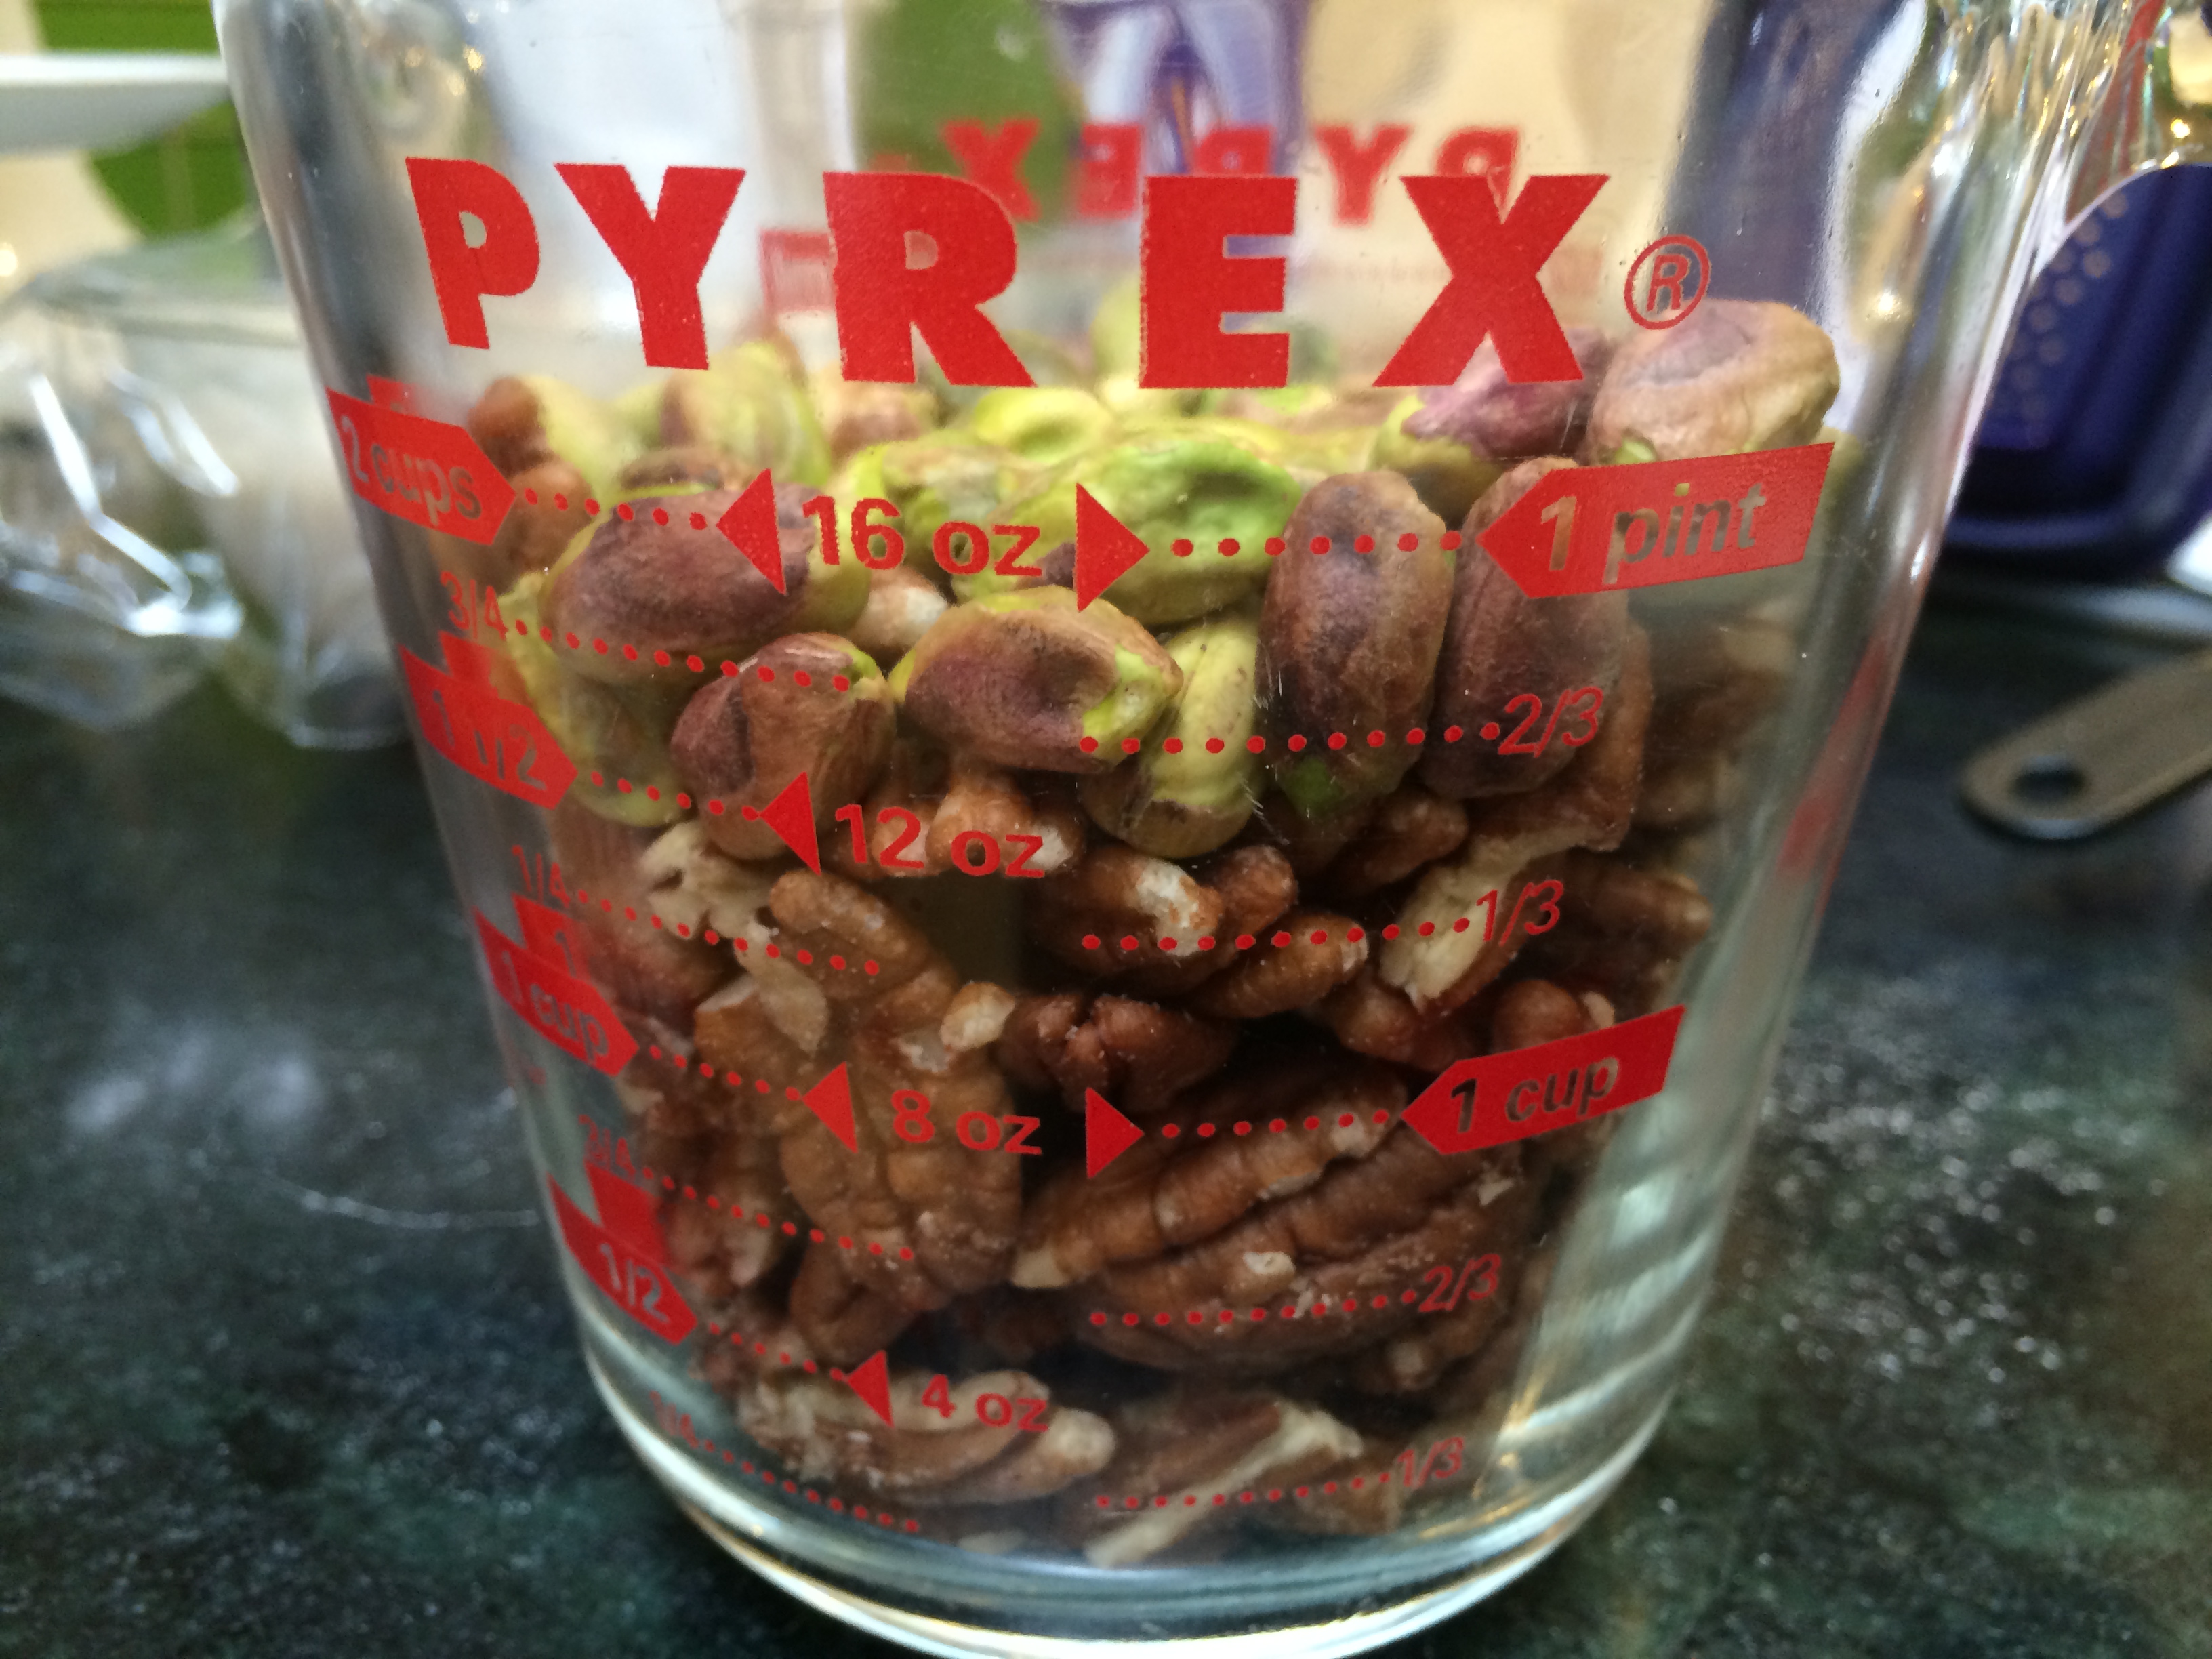
Pecans with some pistachio thrown in
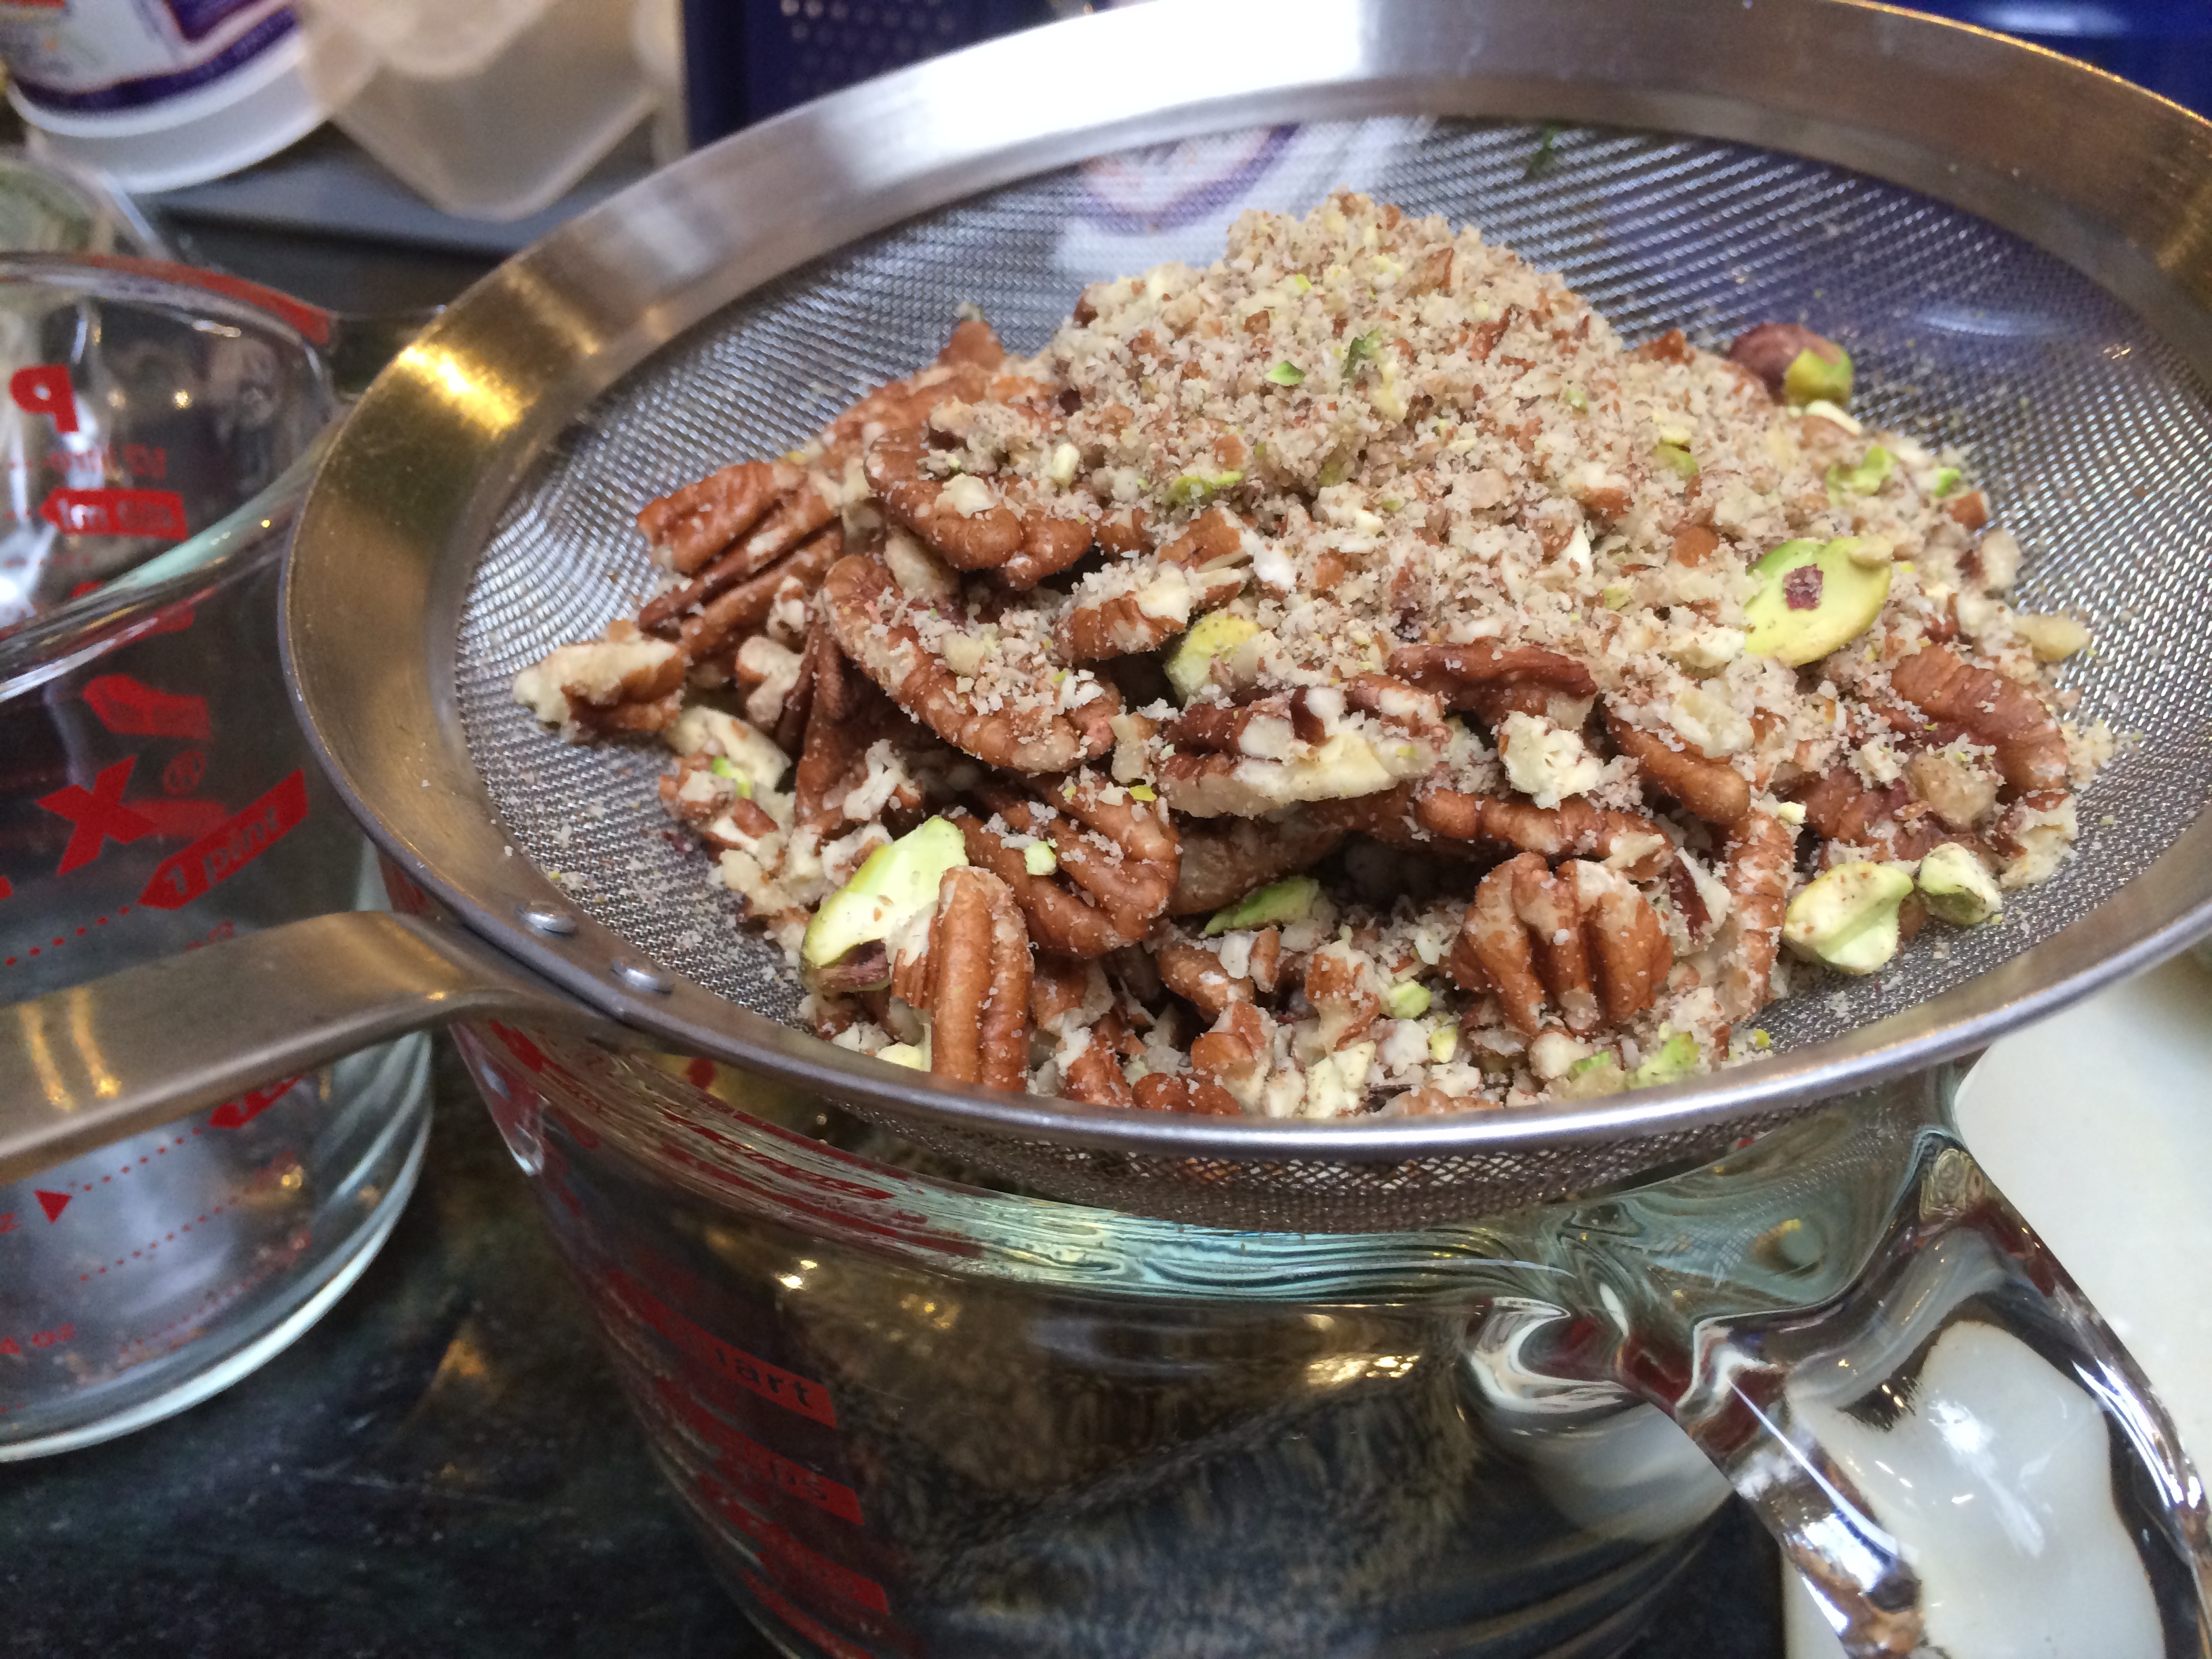
Straining ground pecans
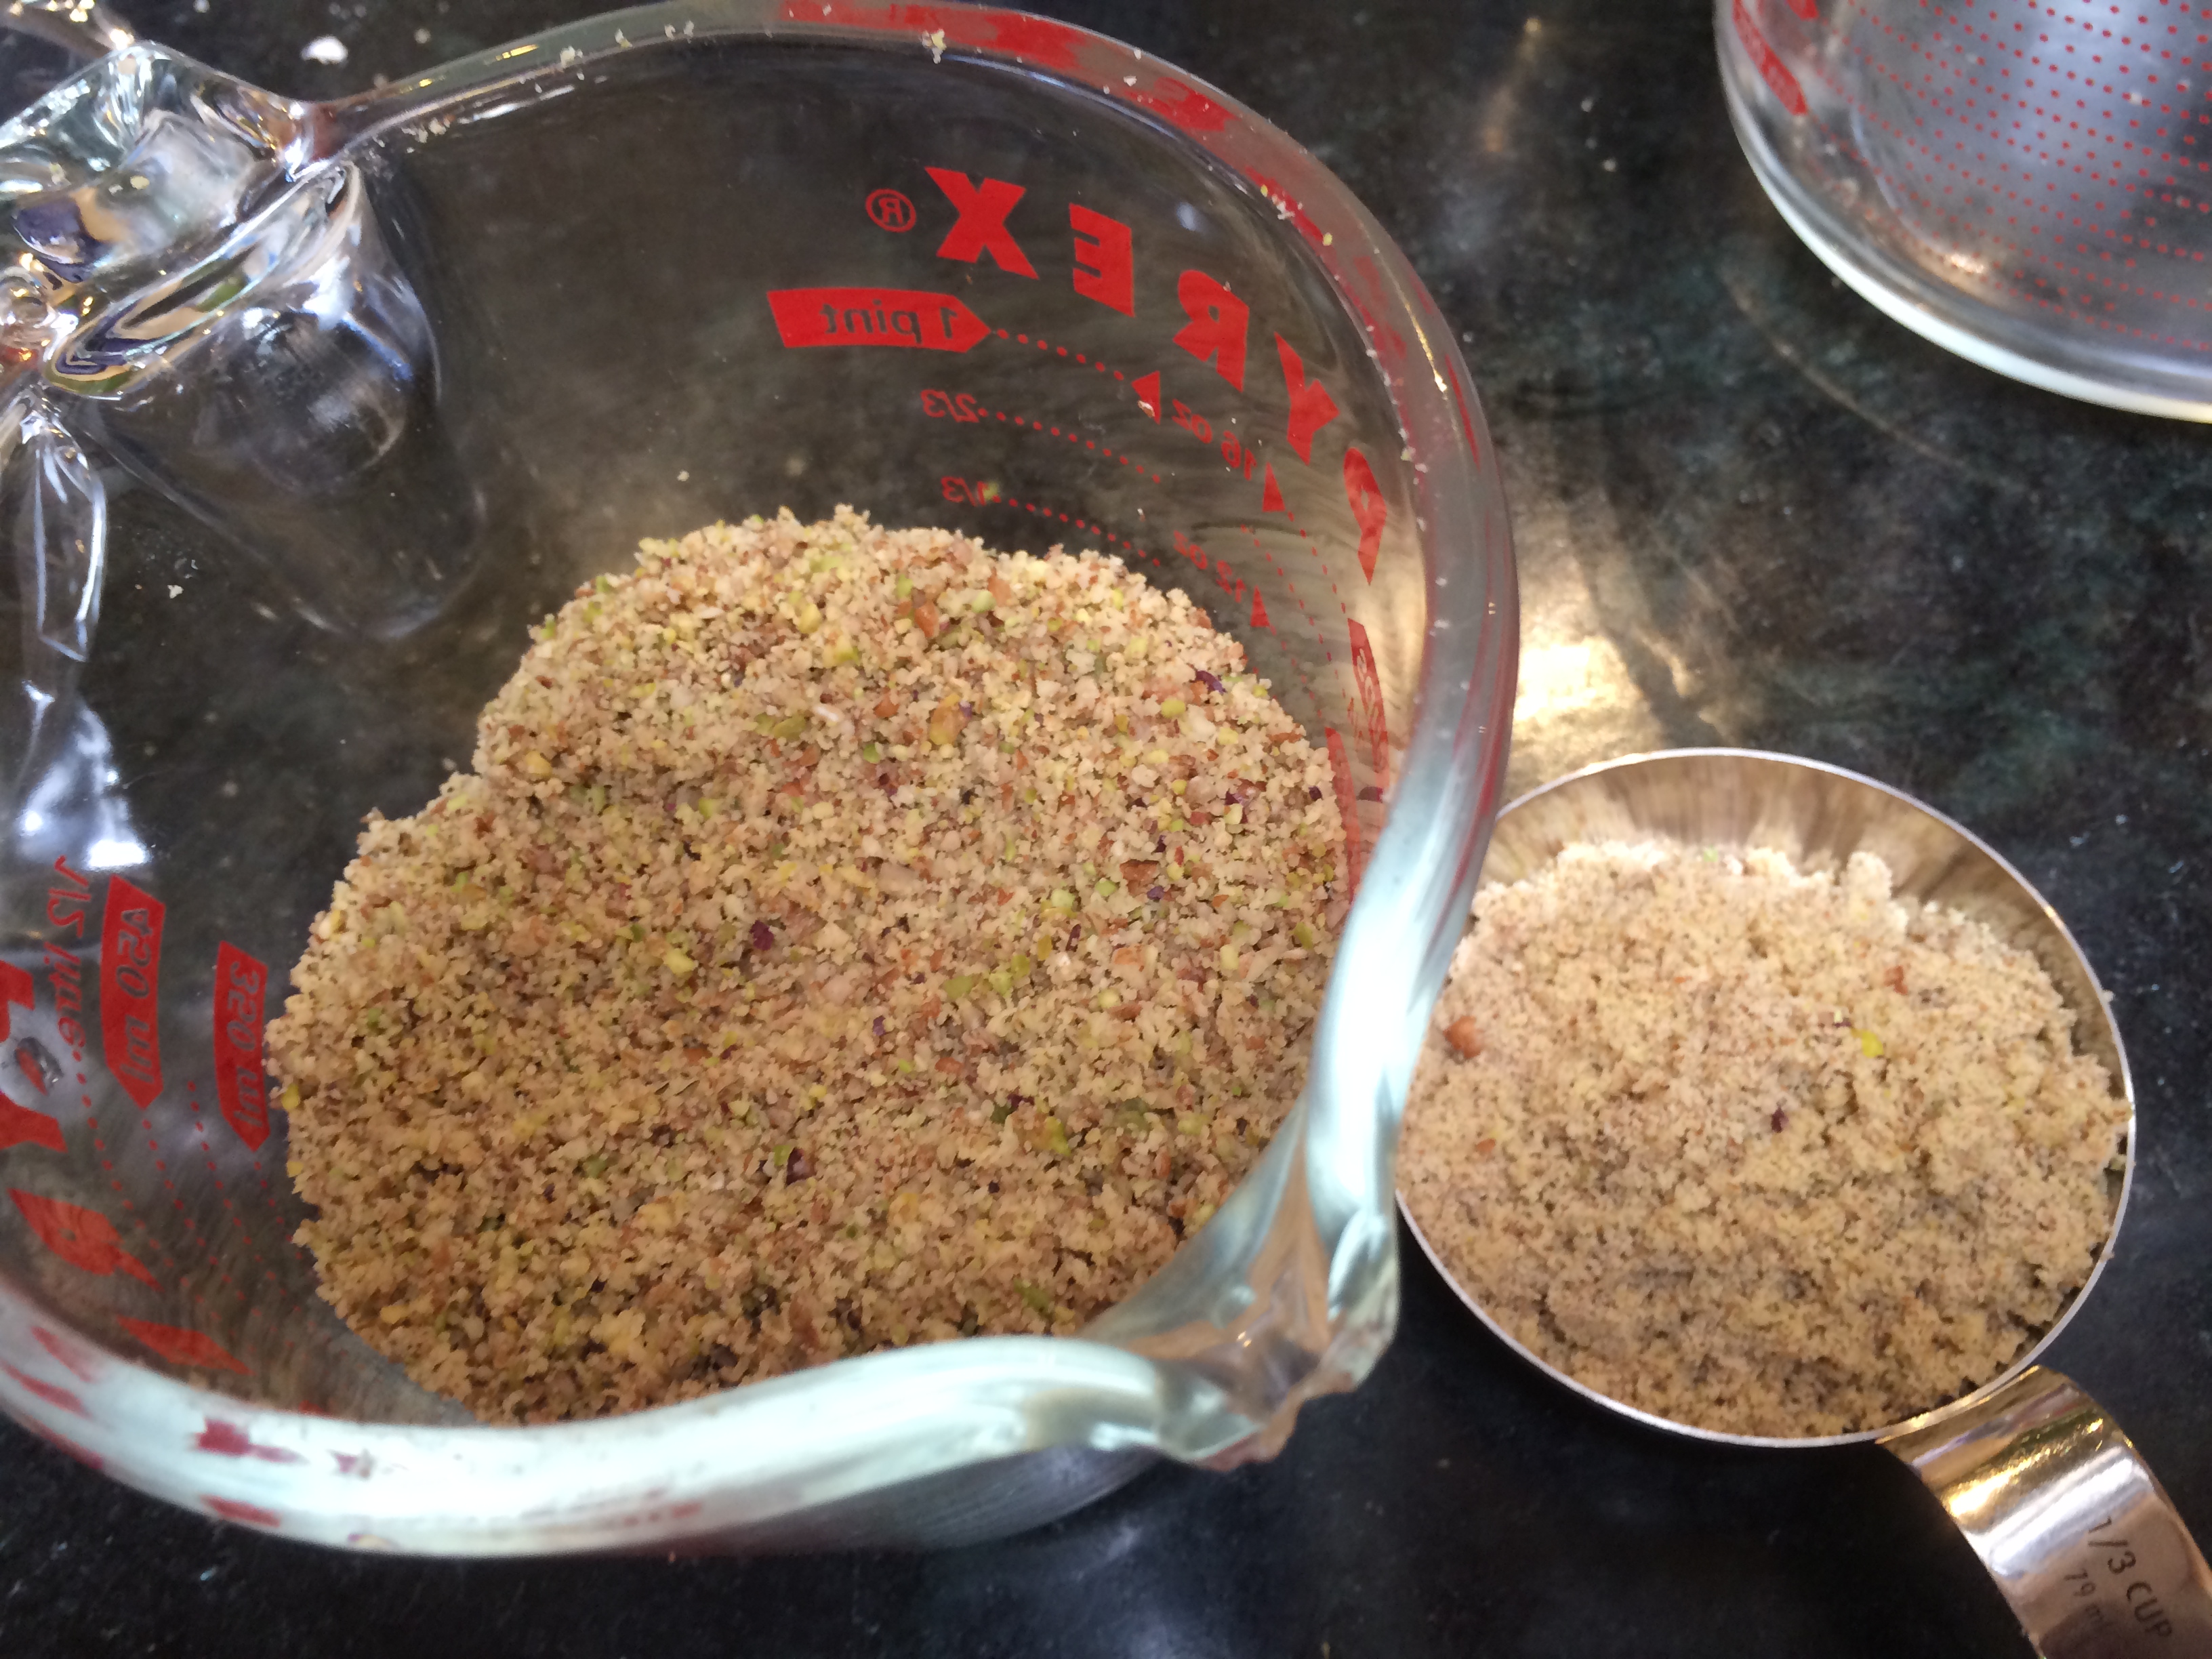
Ground pecans and bits
Sponge risen
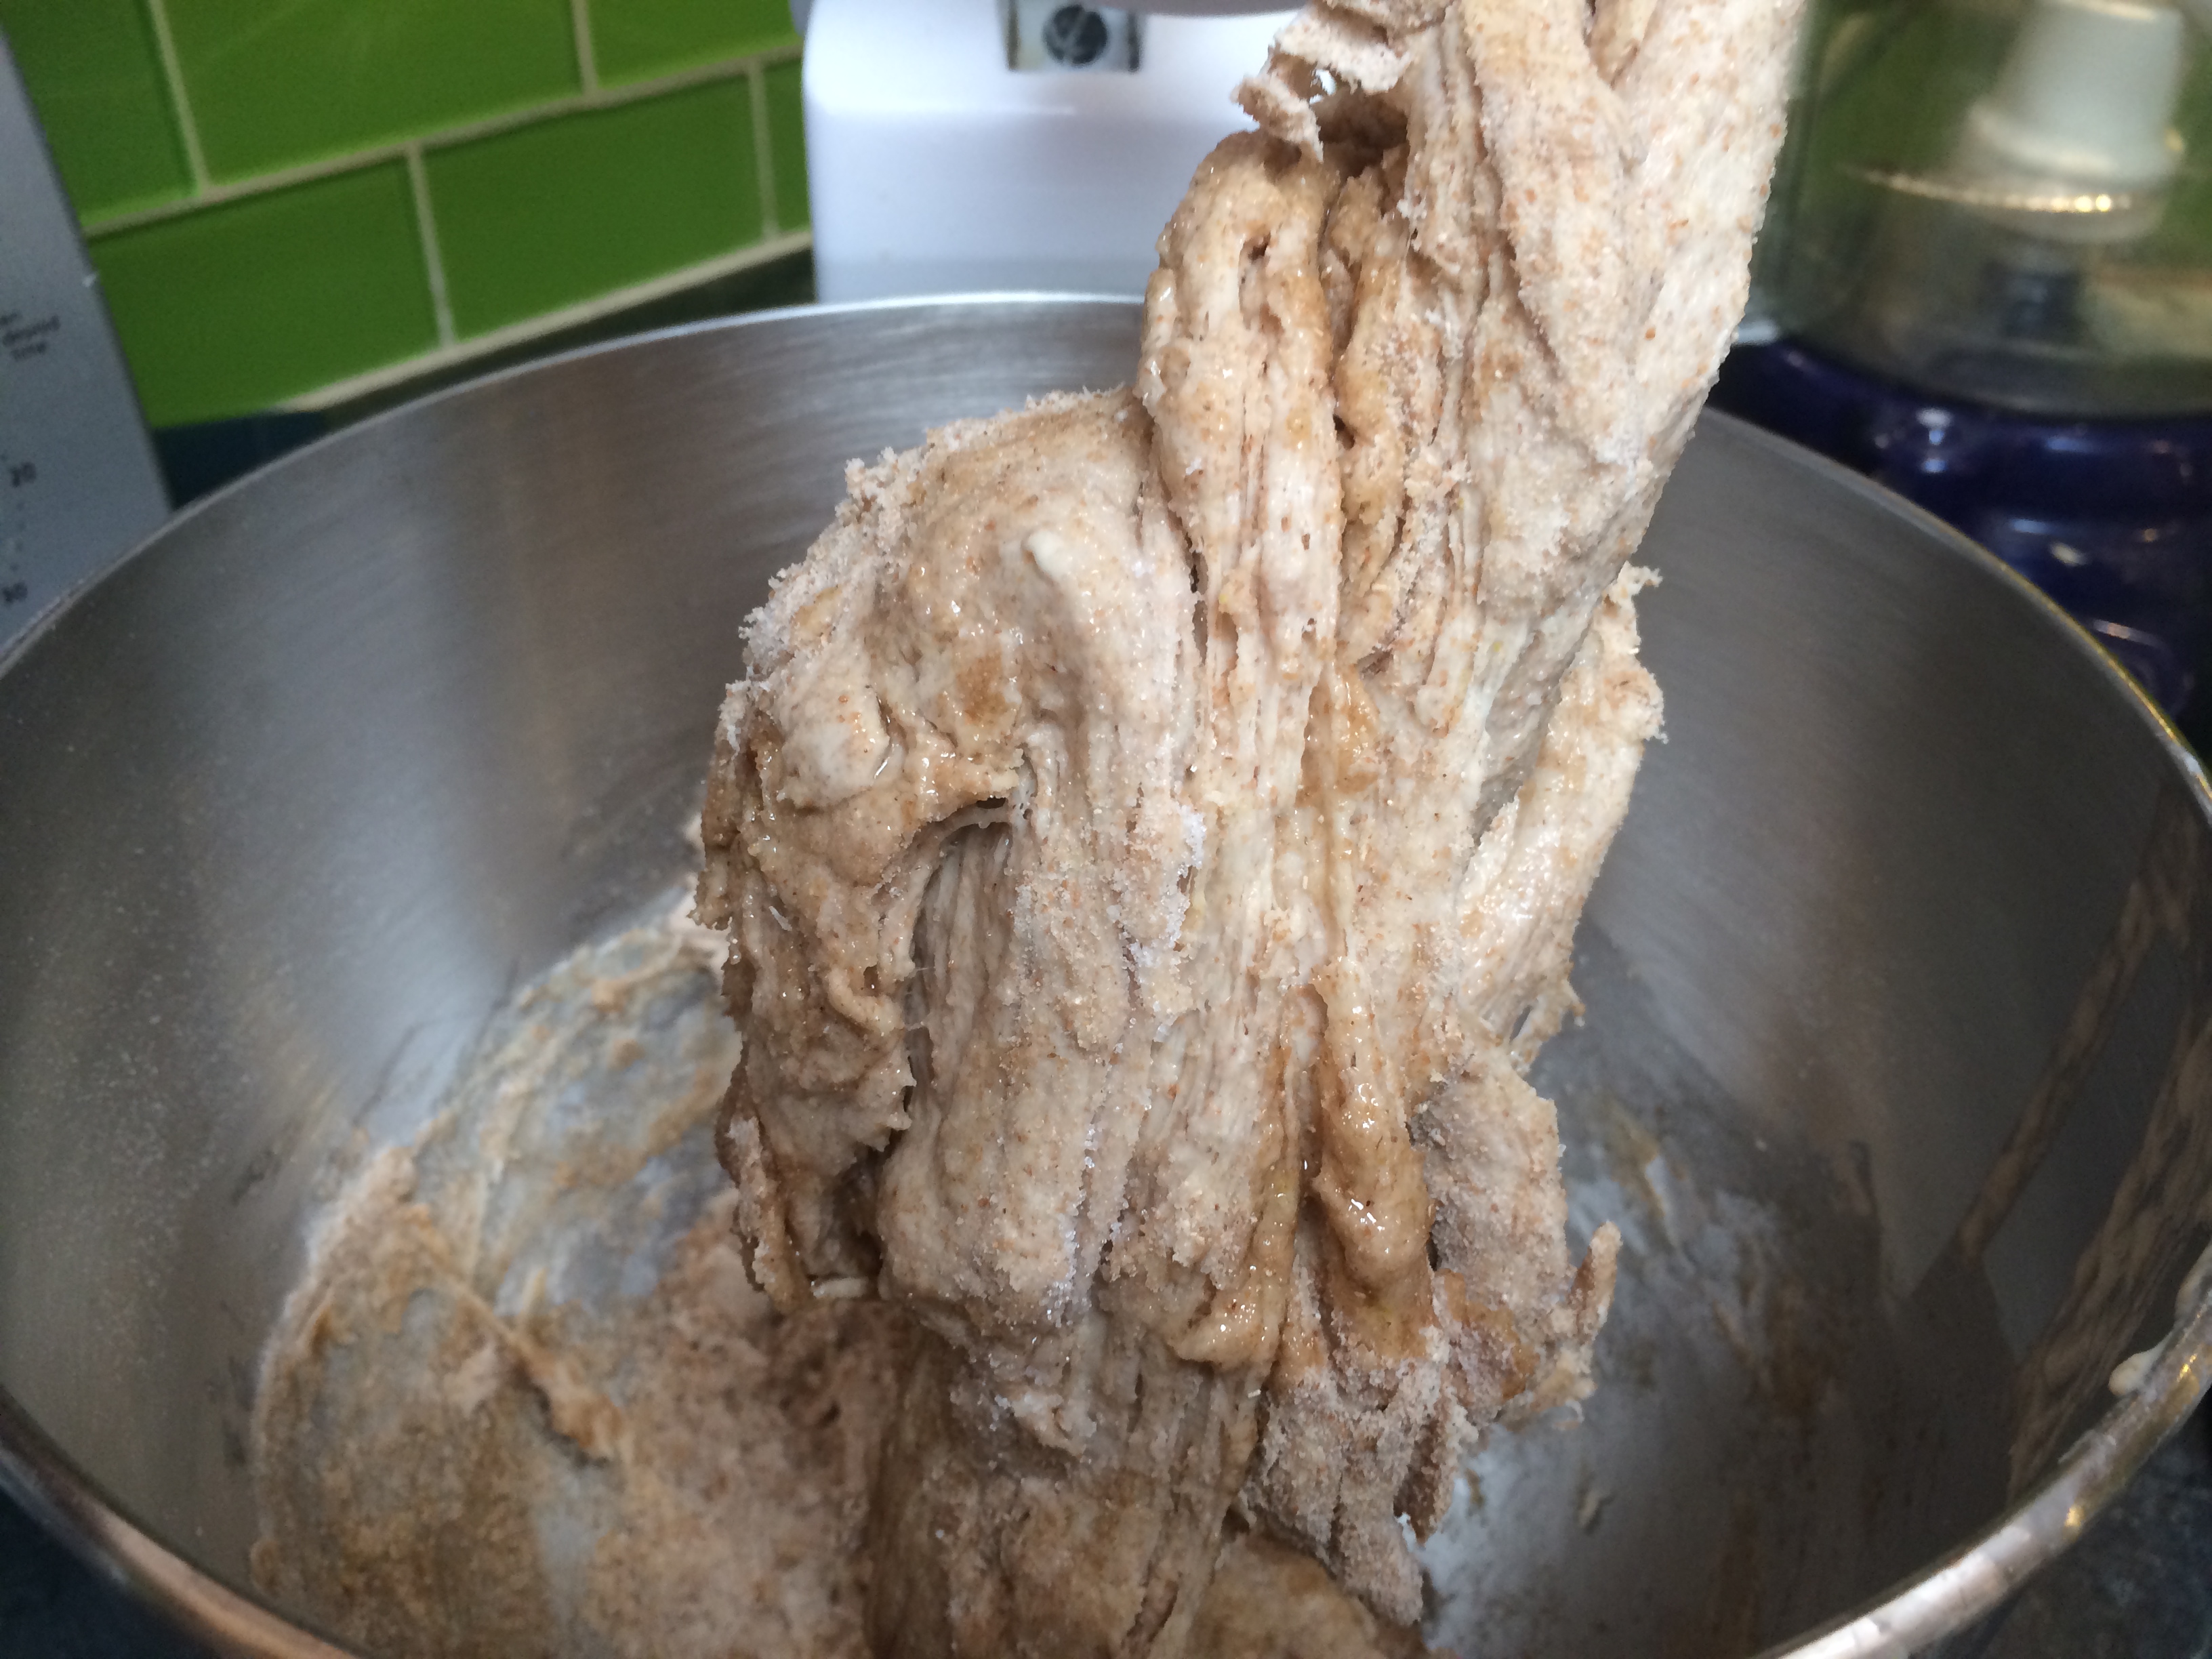
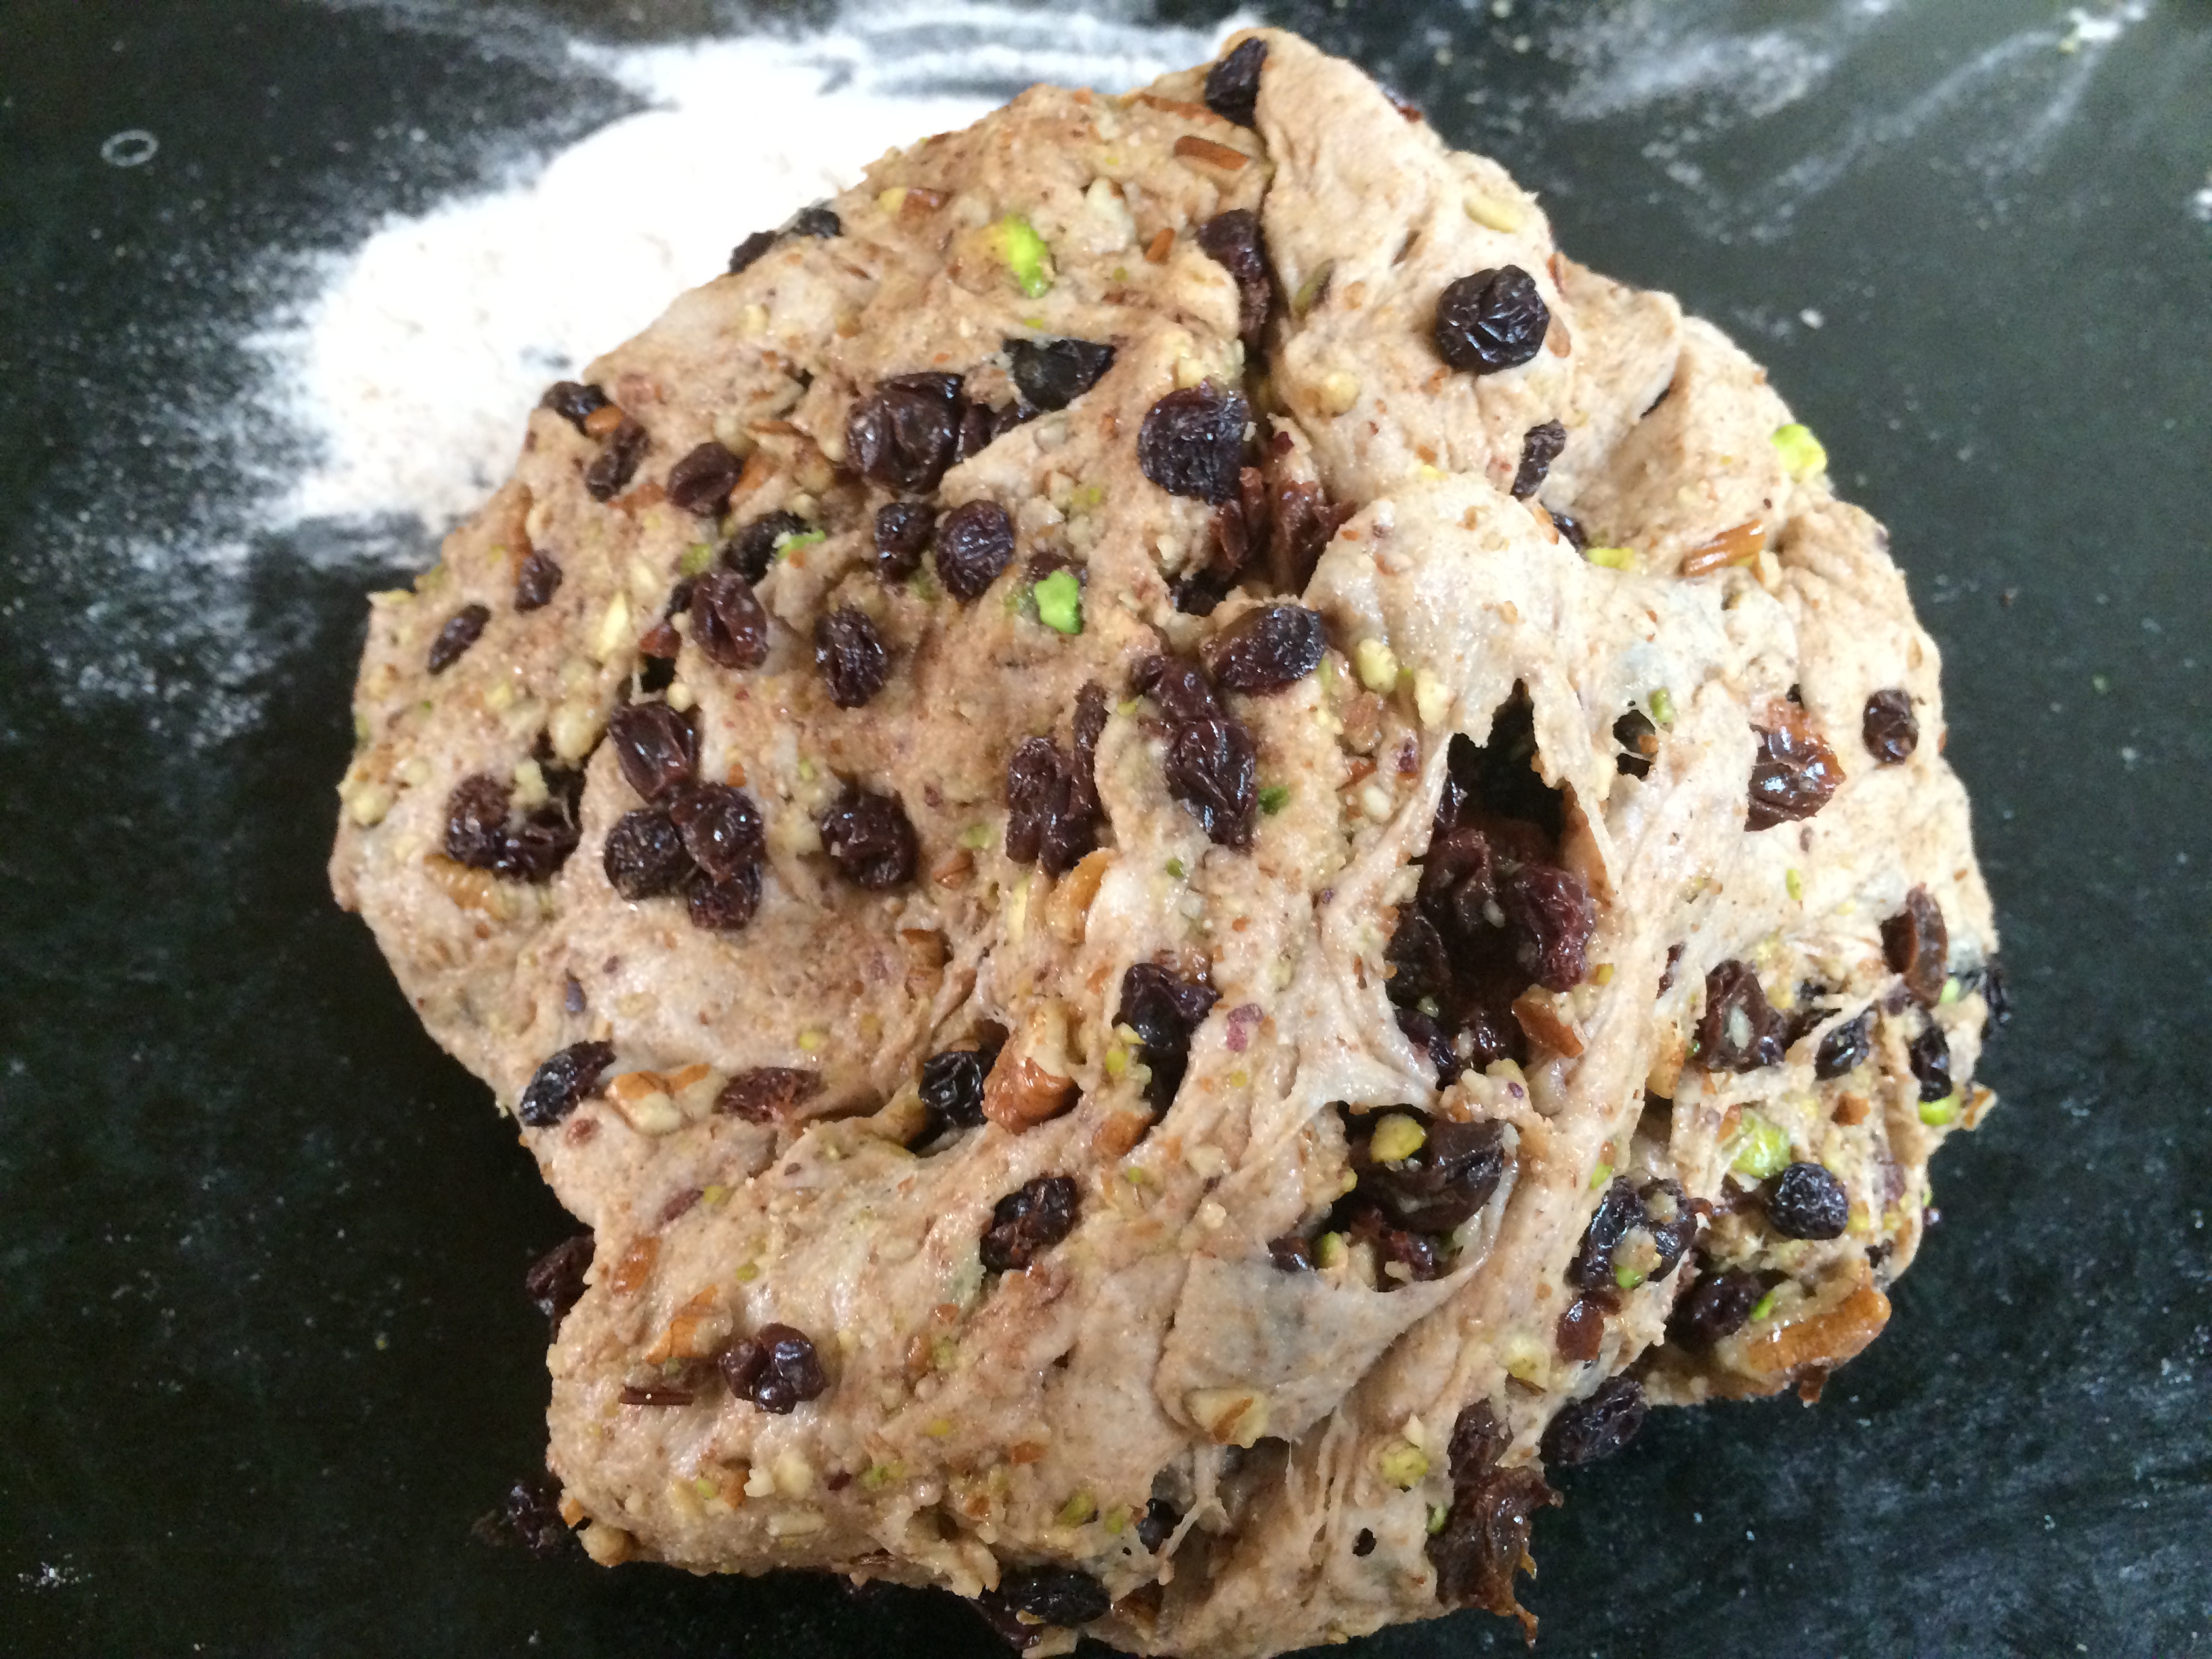
Mixing the dough
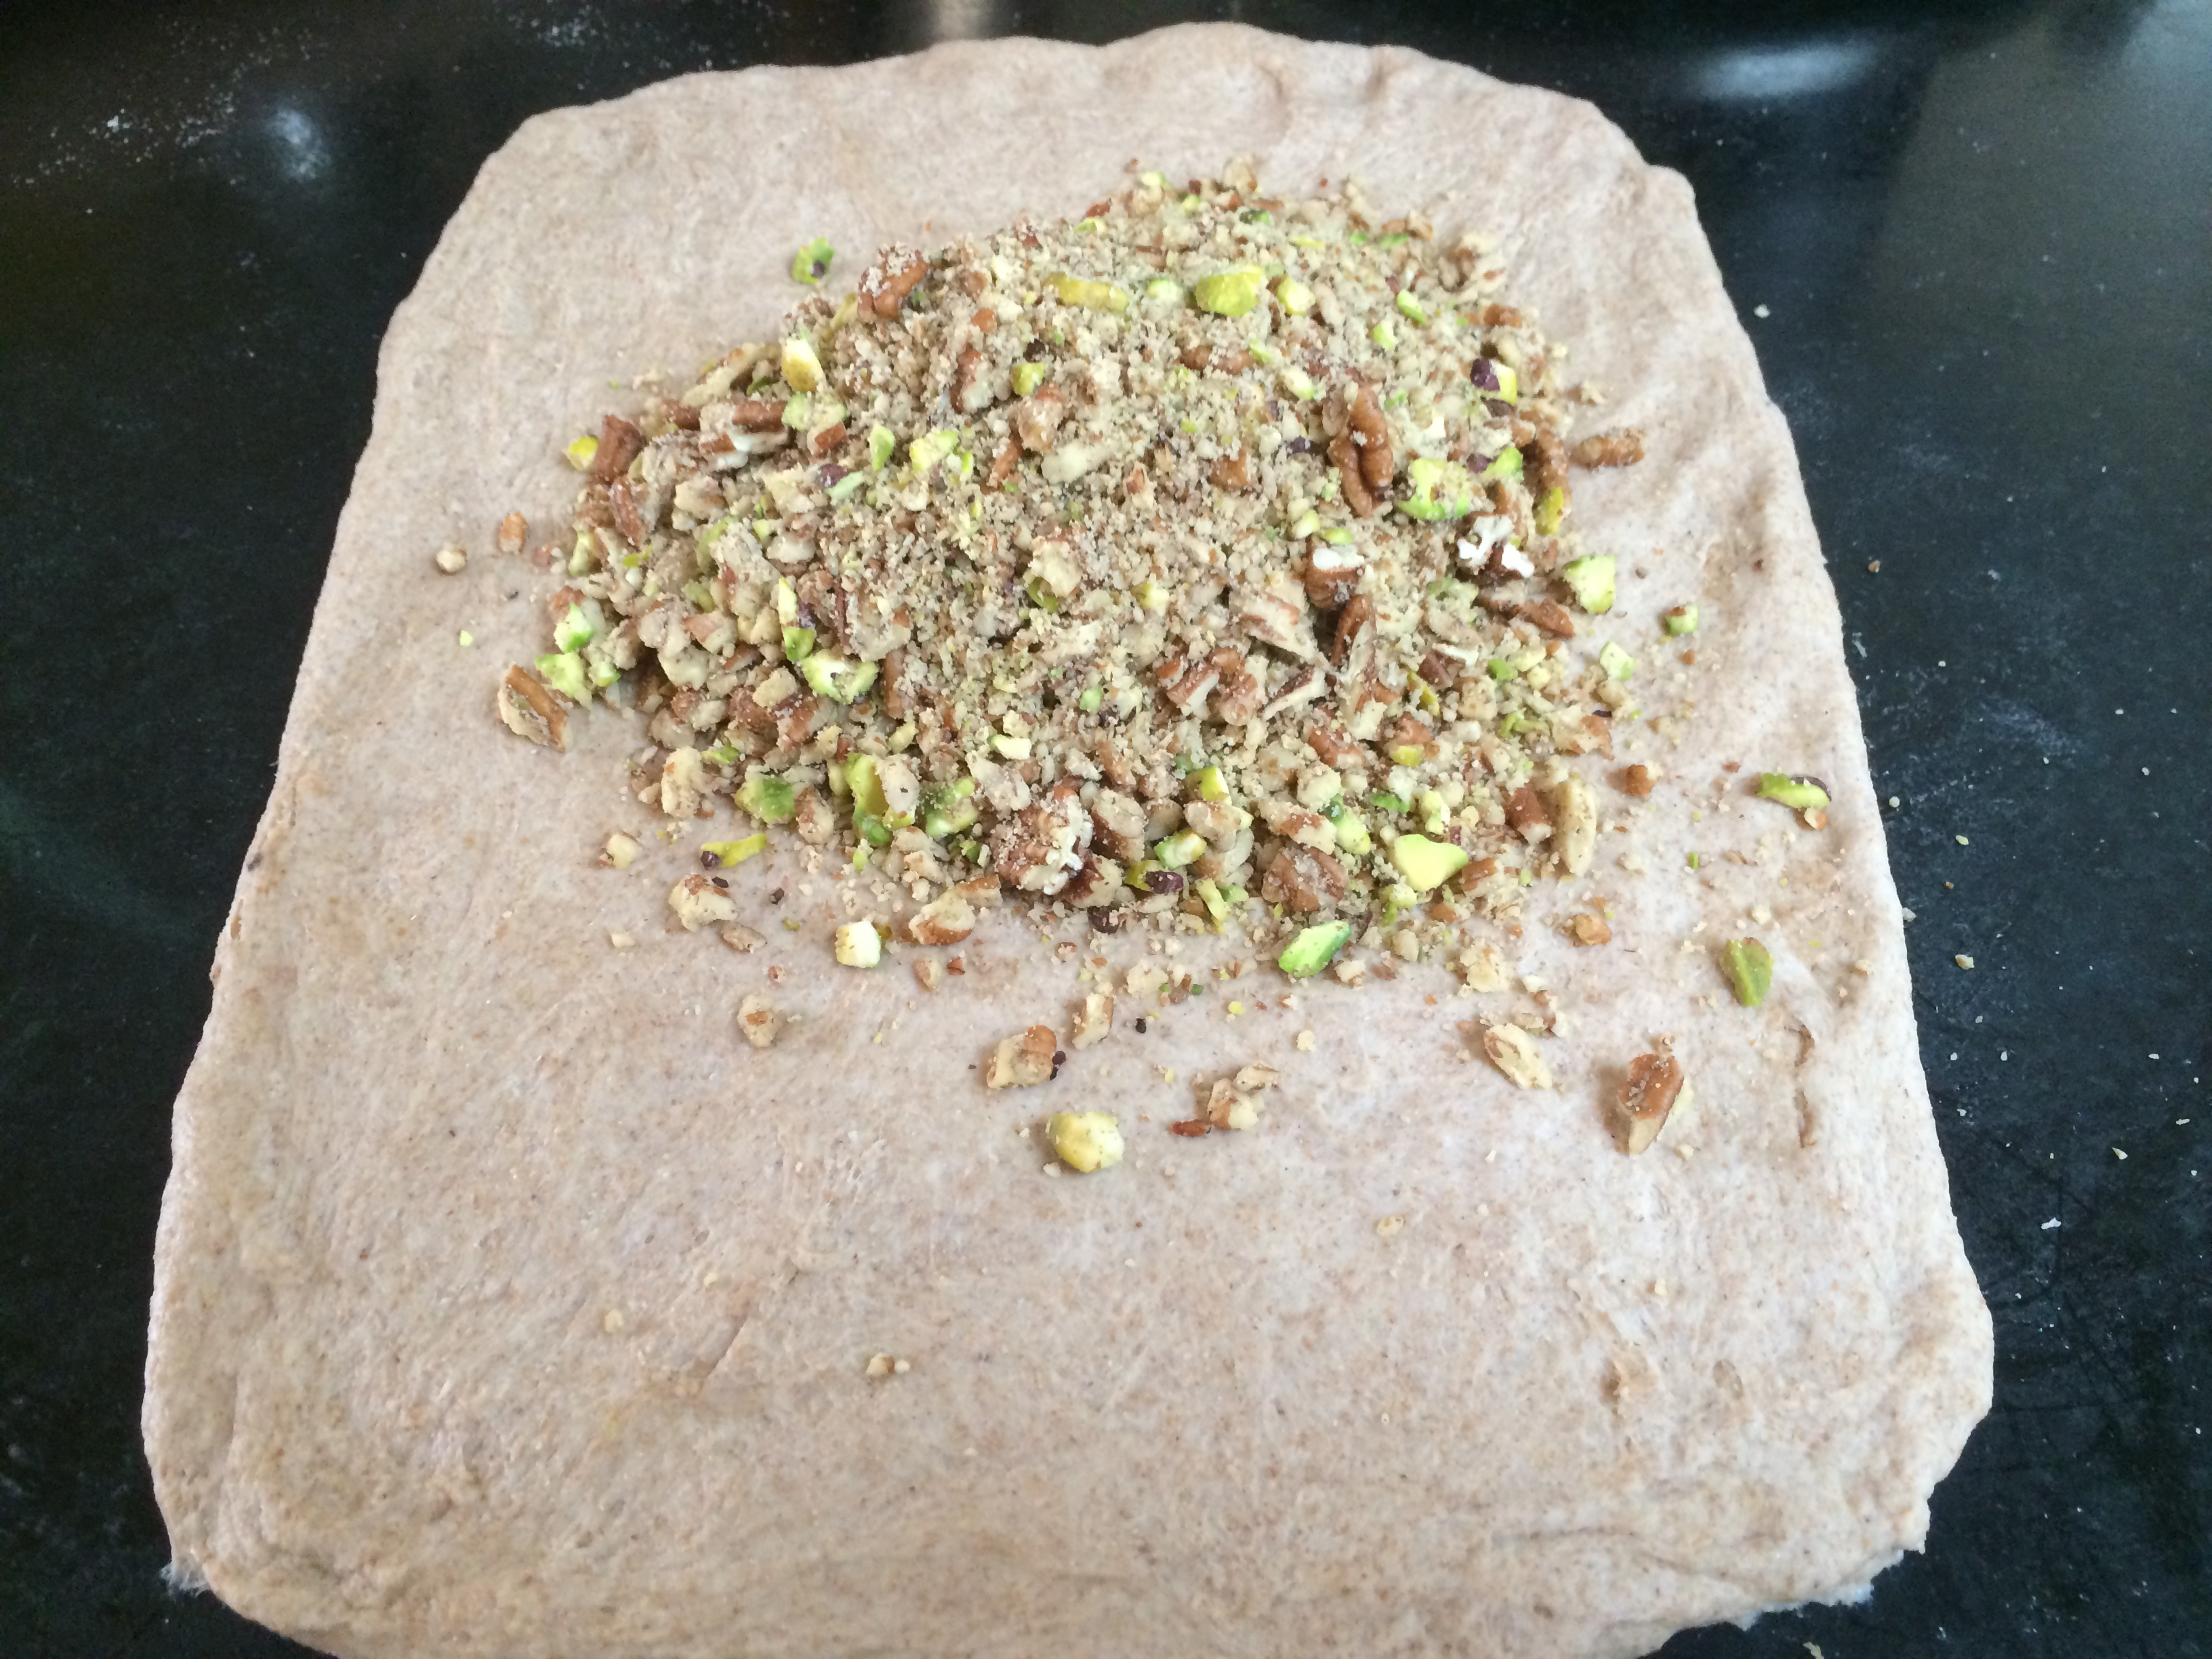
Spreading pecans
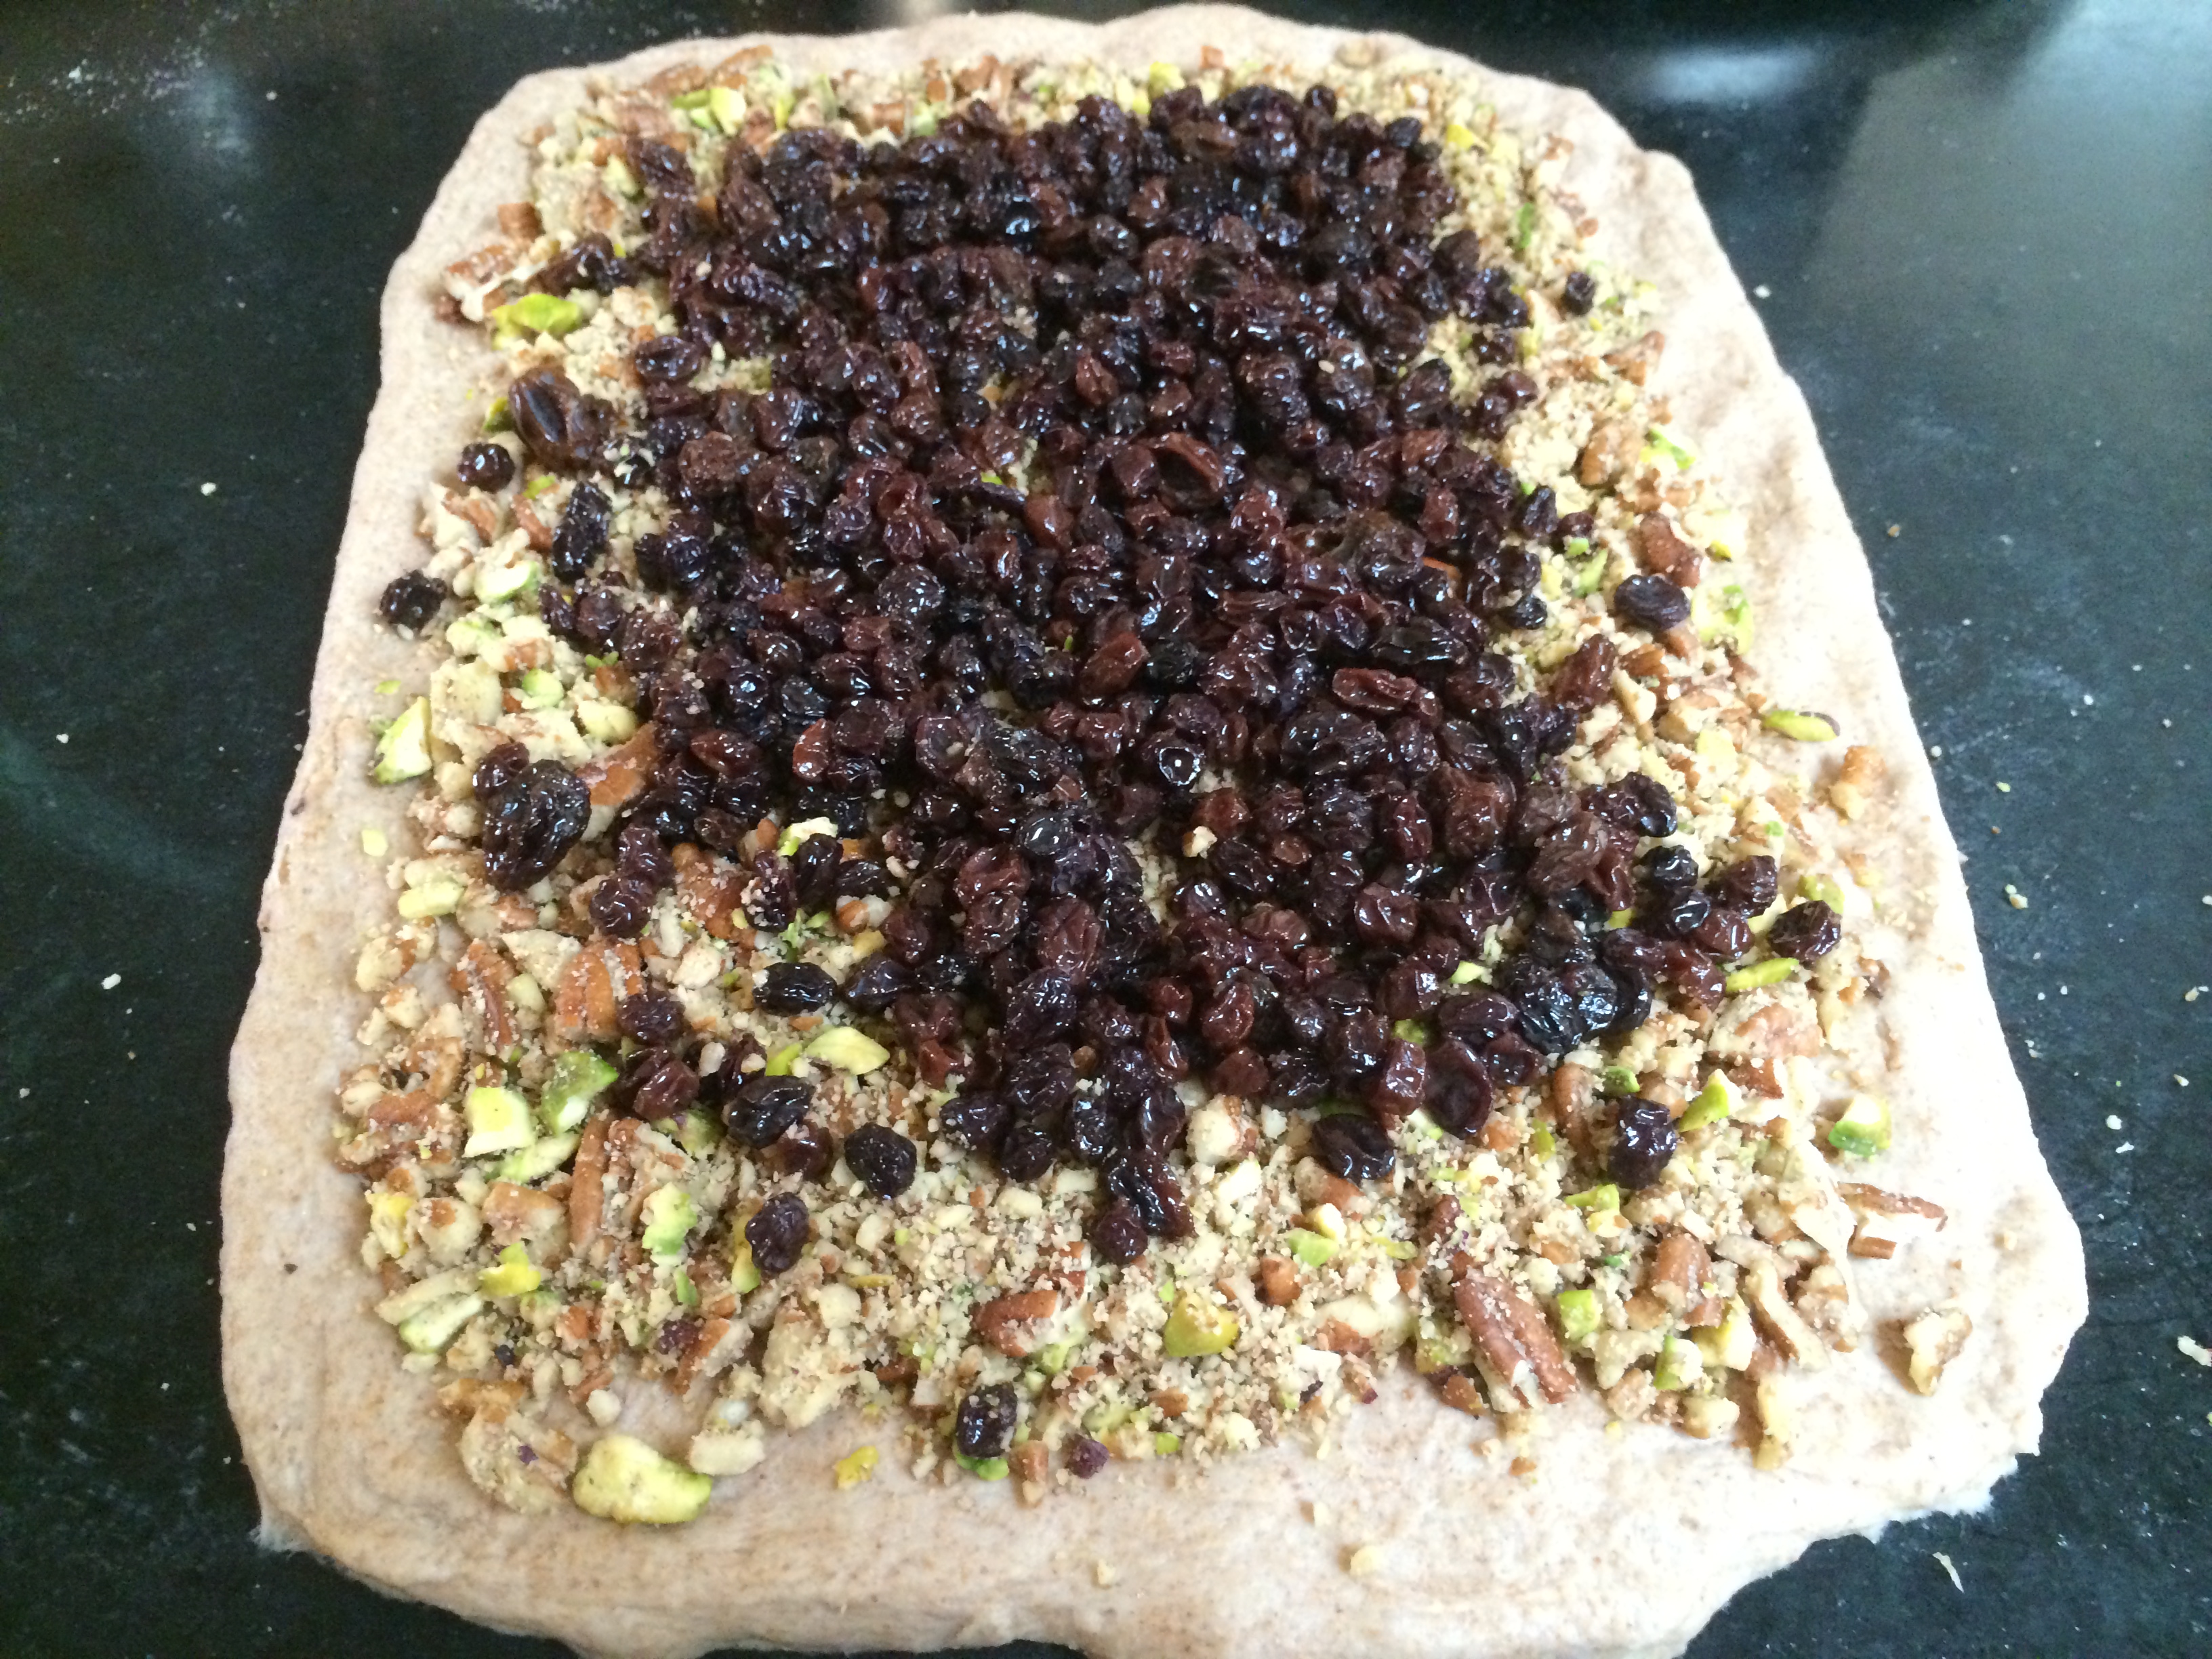
Adding raisins

Rolling it up
Ready for first rise
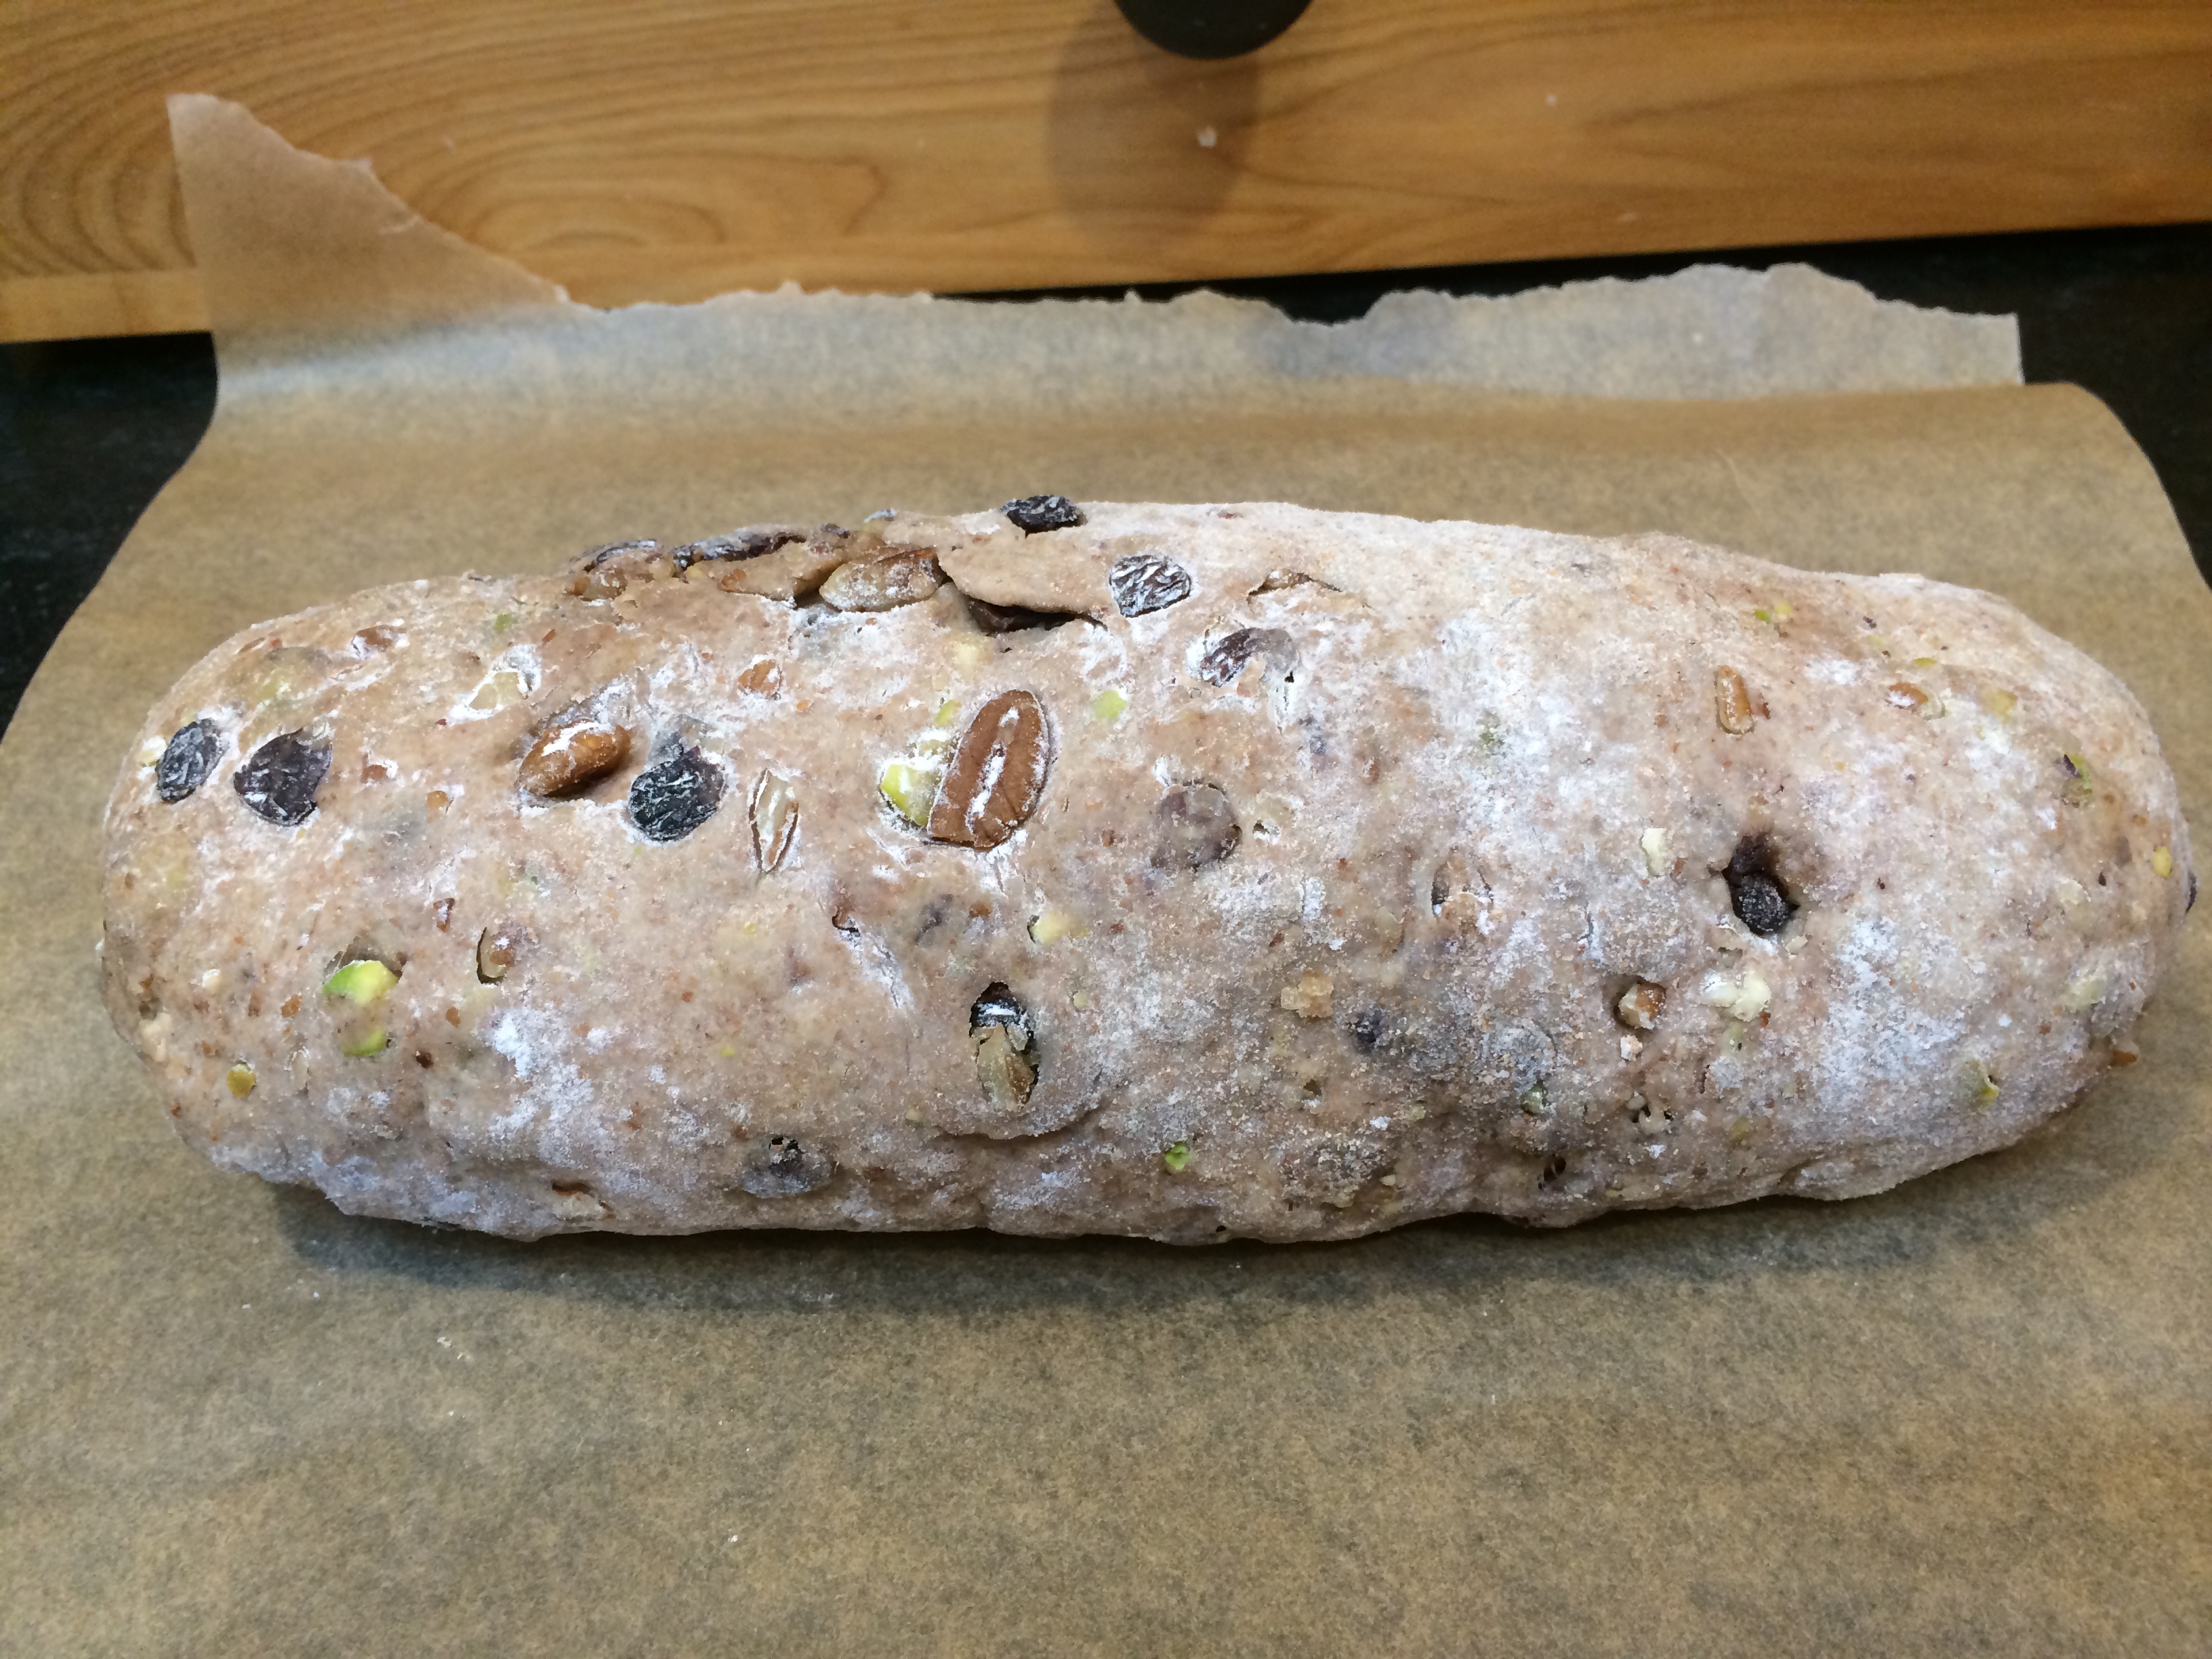
Shaped ready for second rise
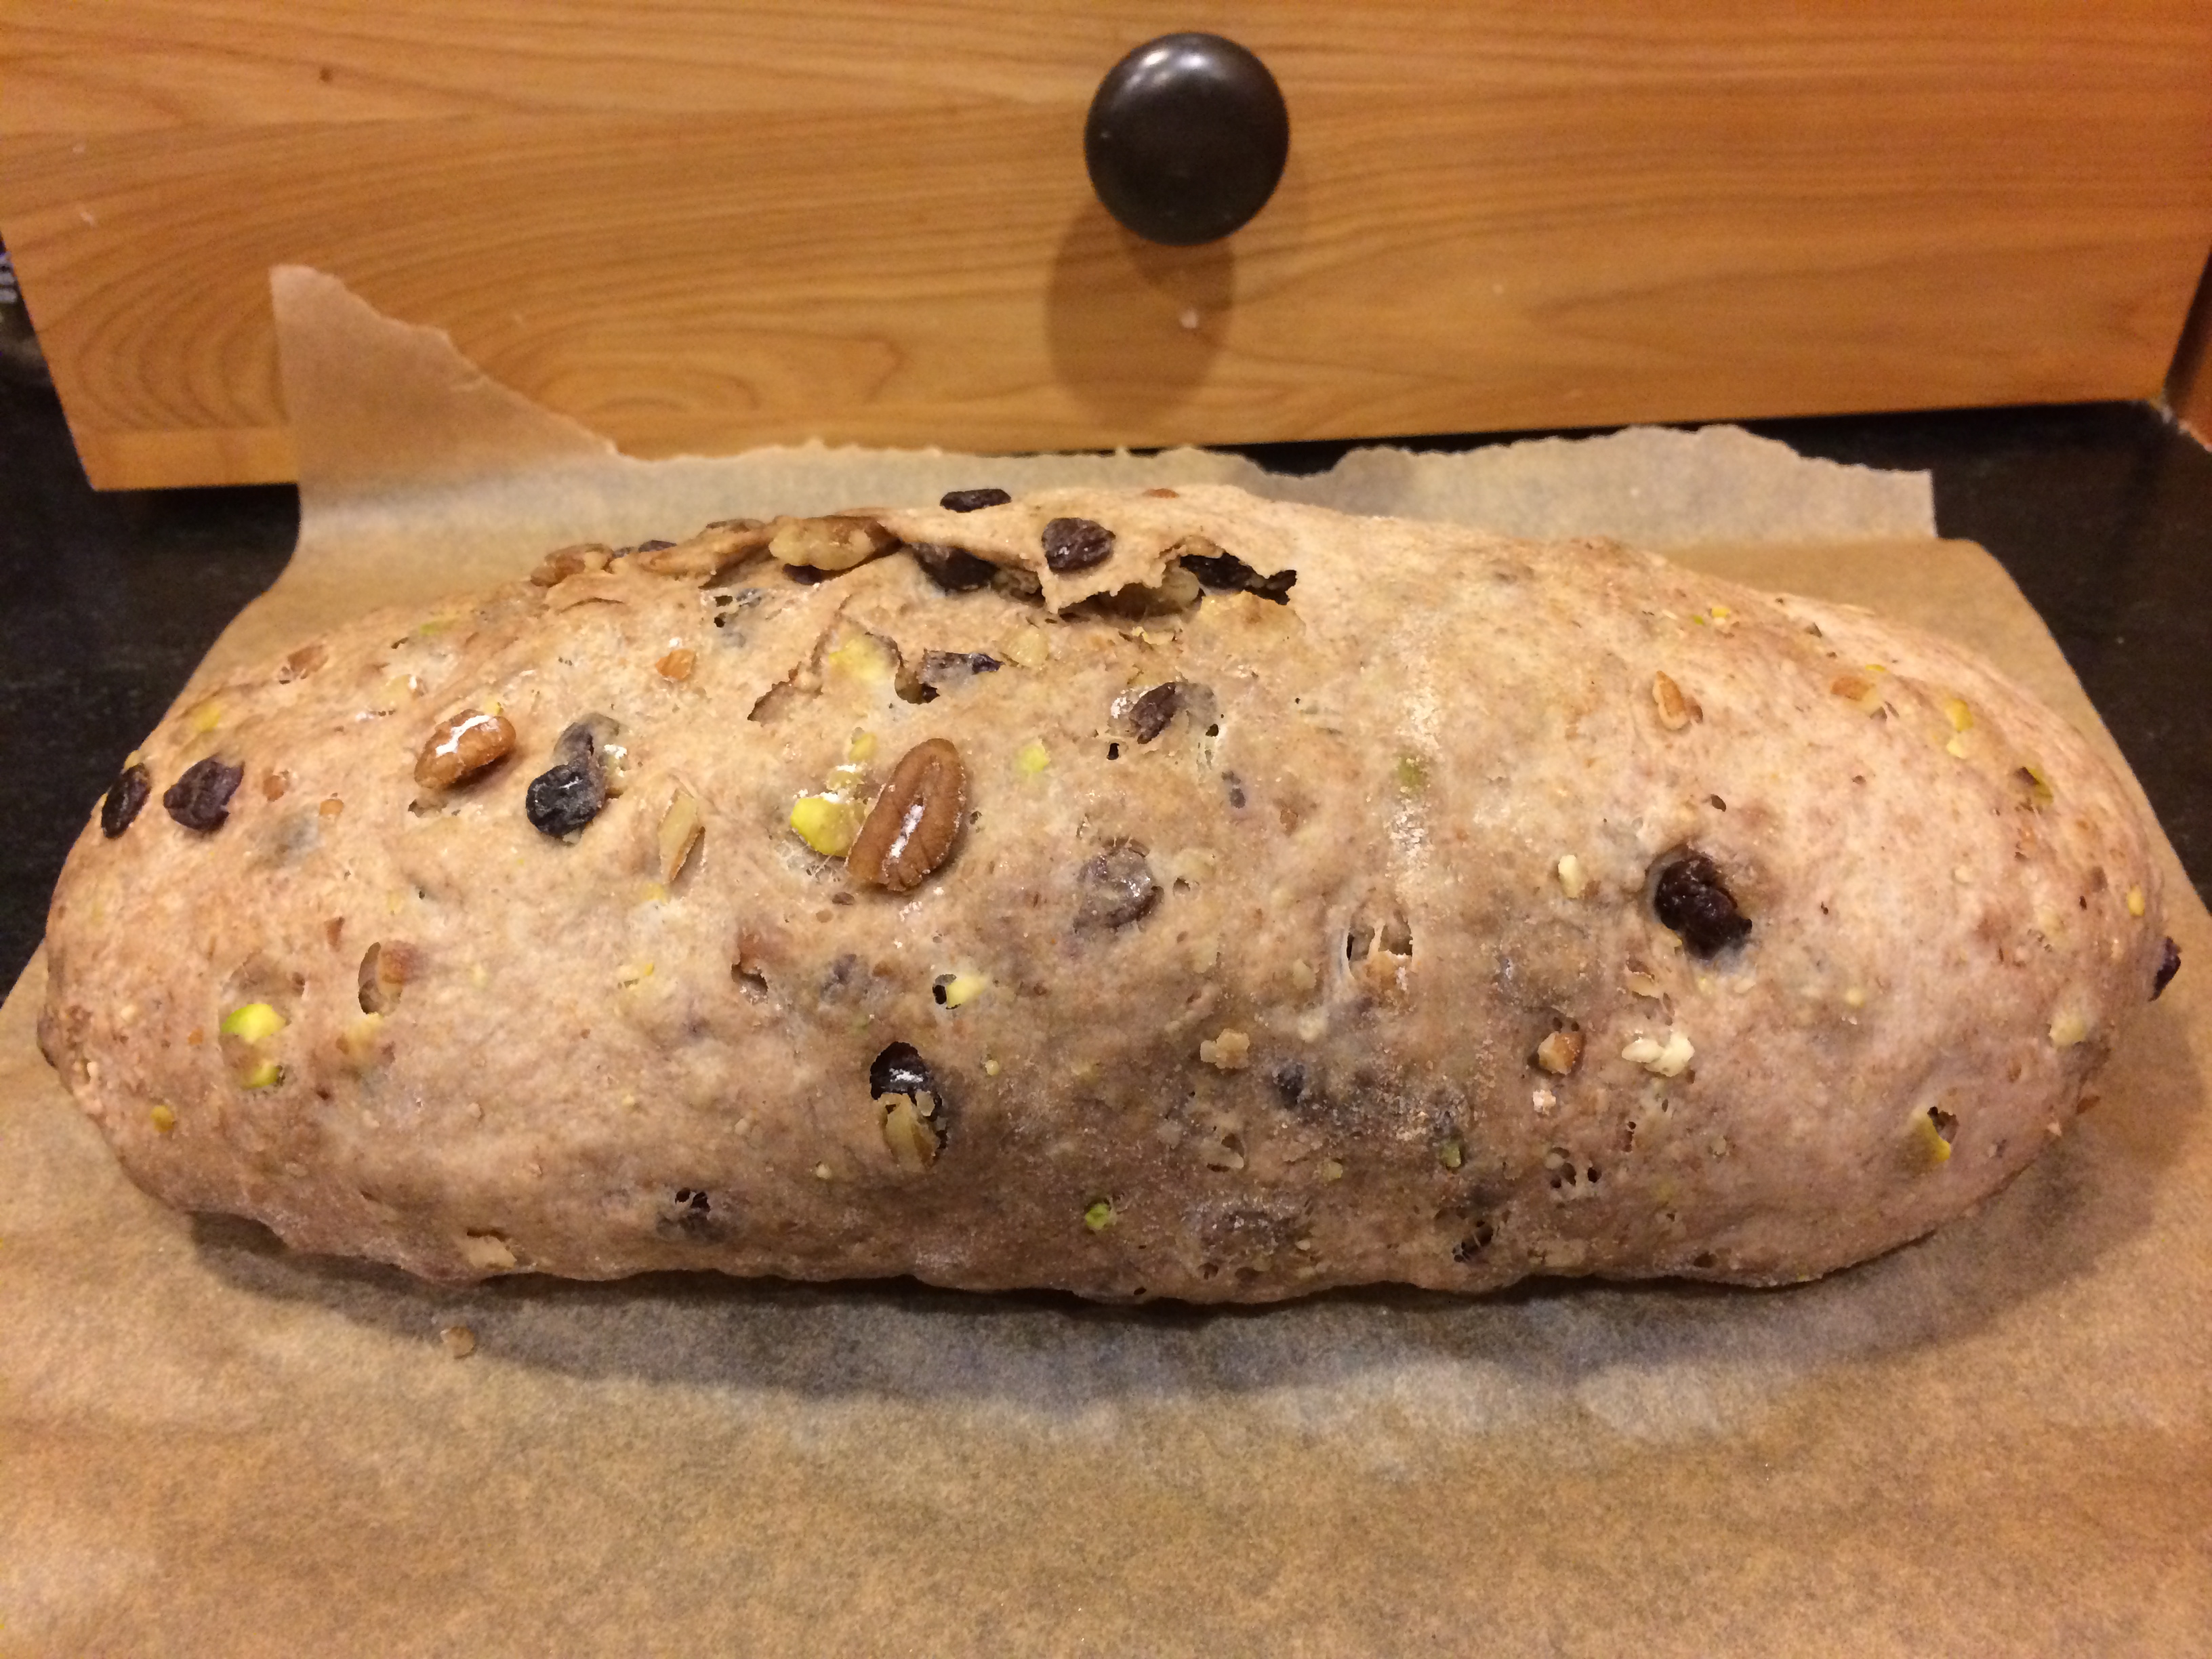
Risen
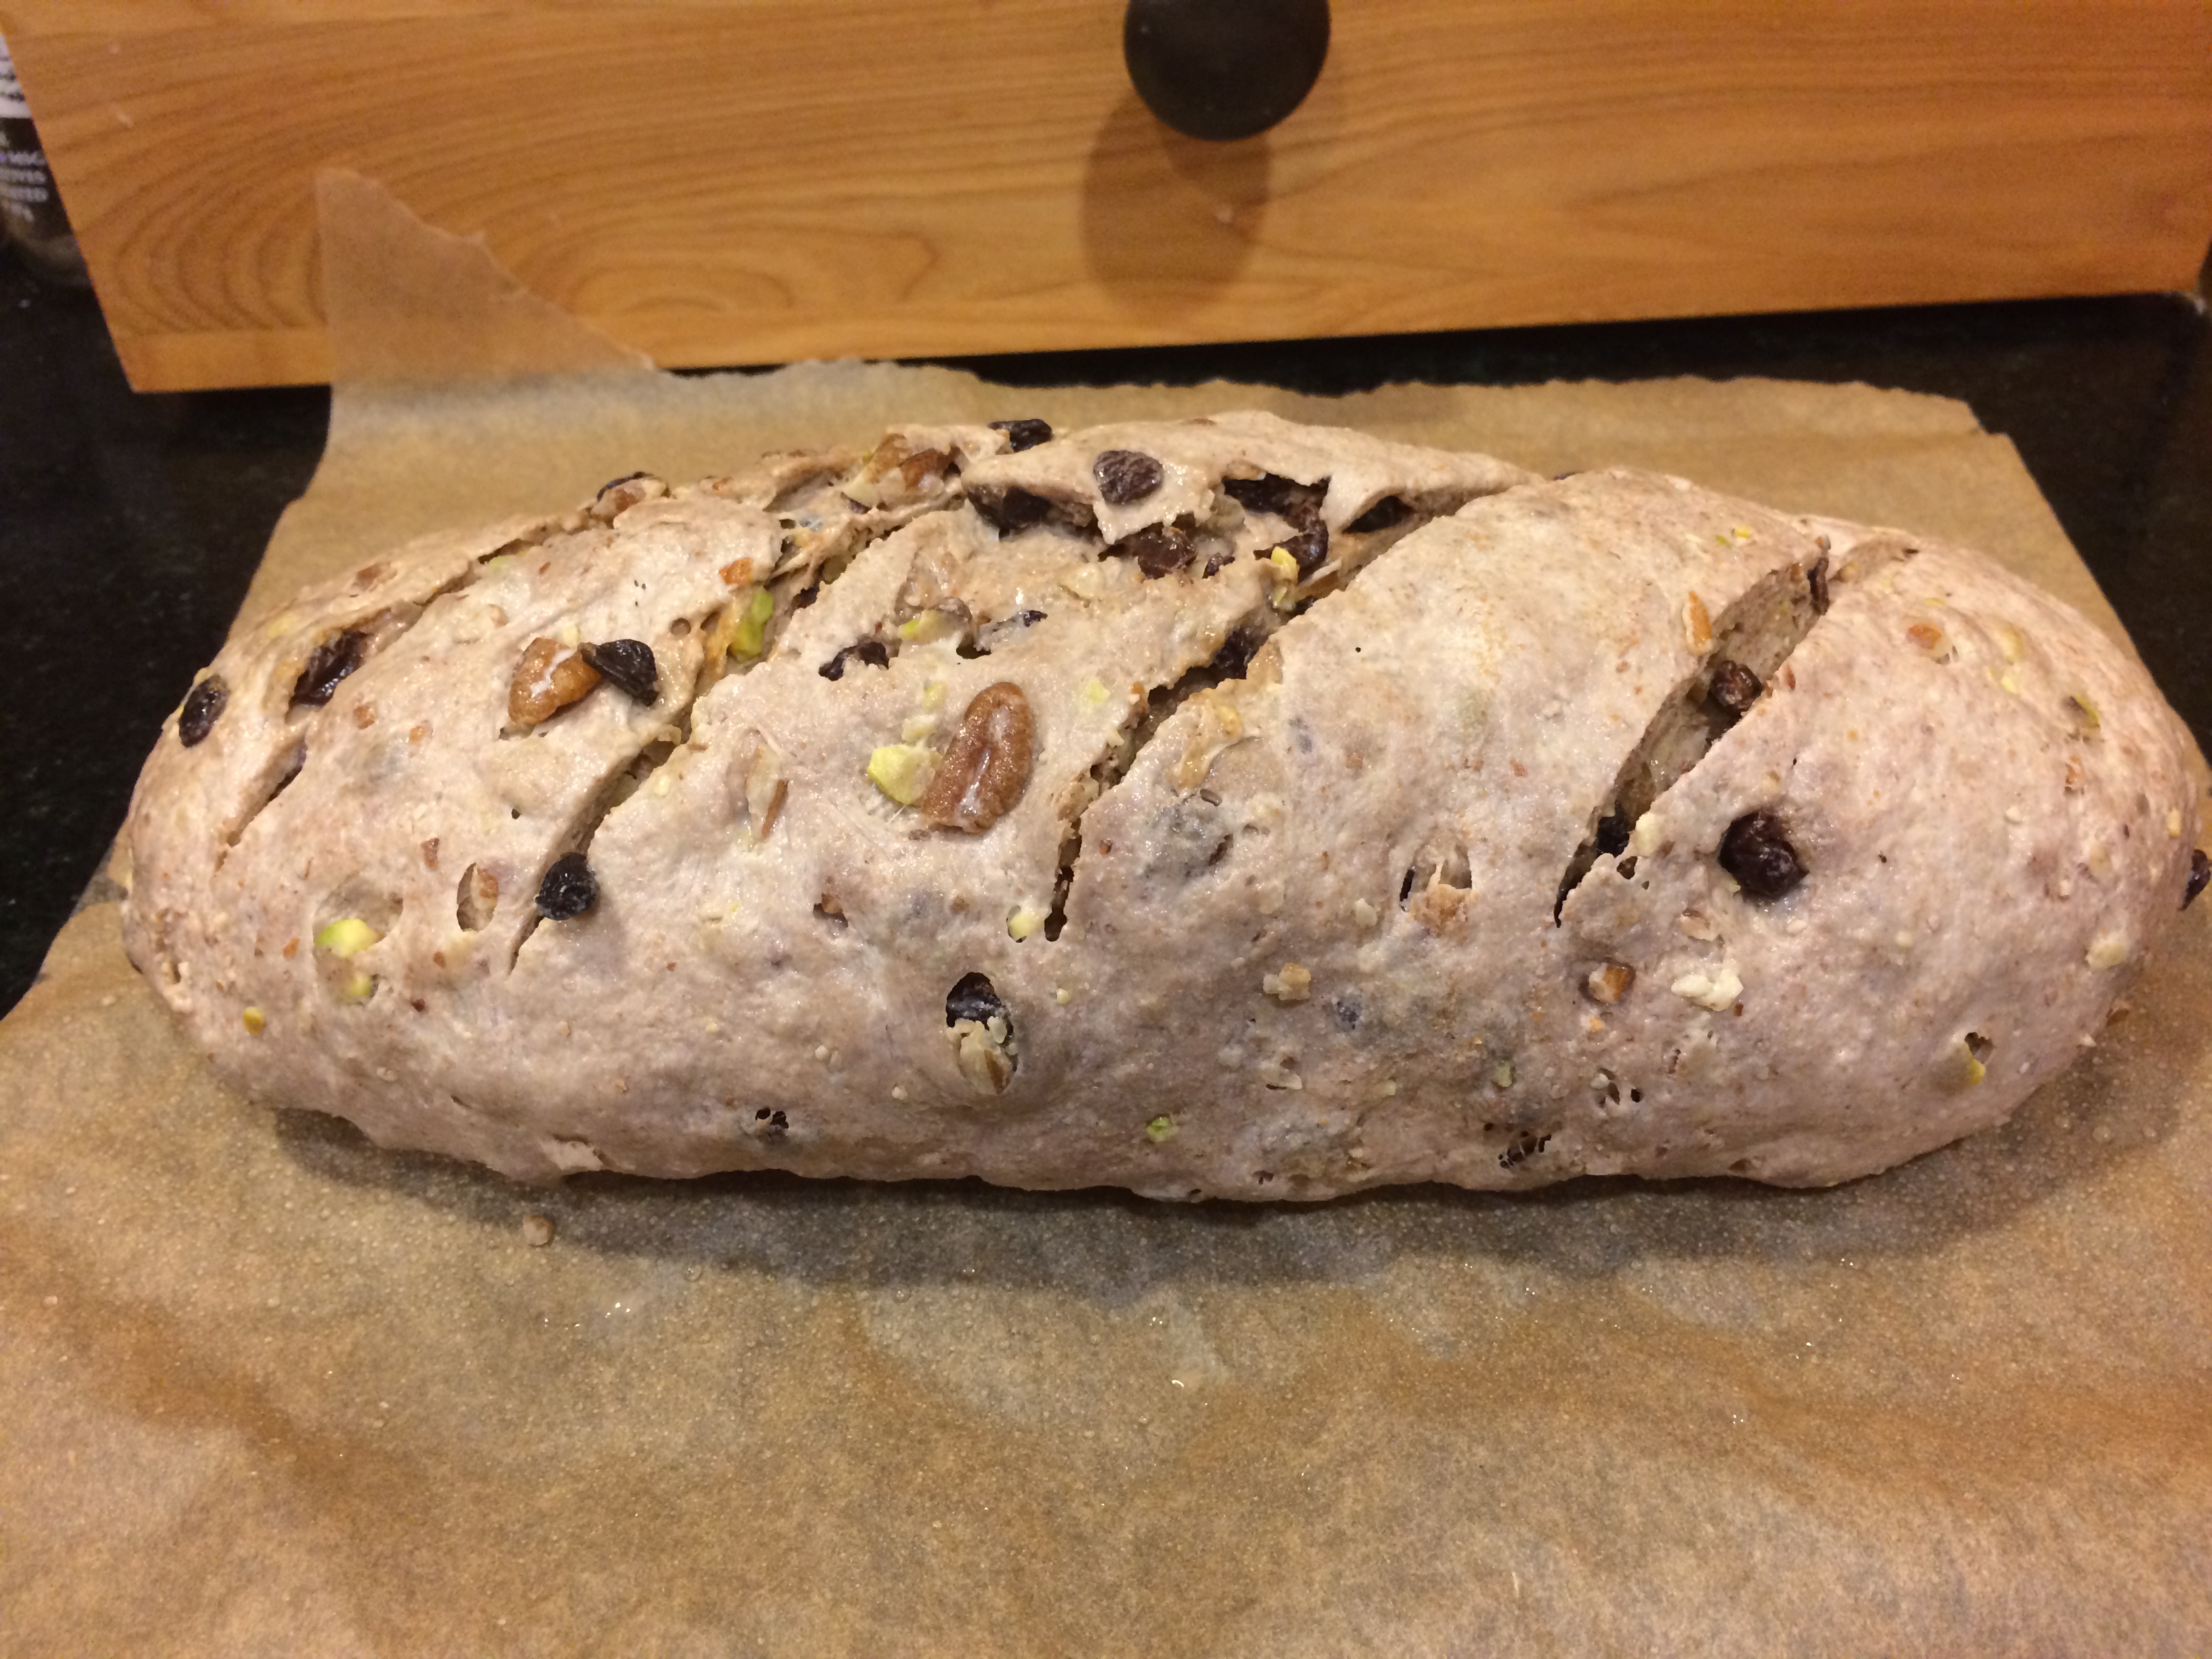
Scored
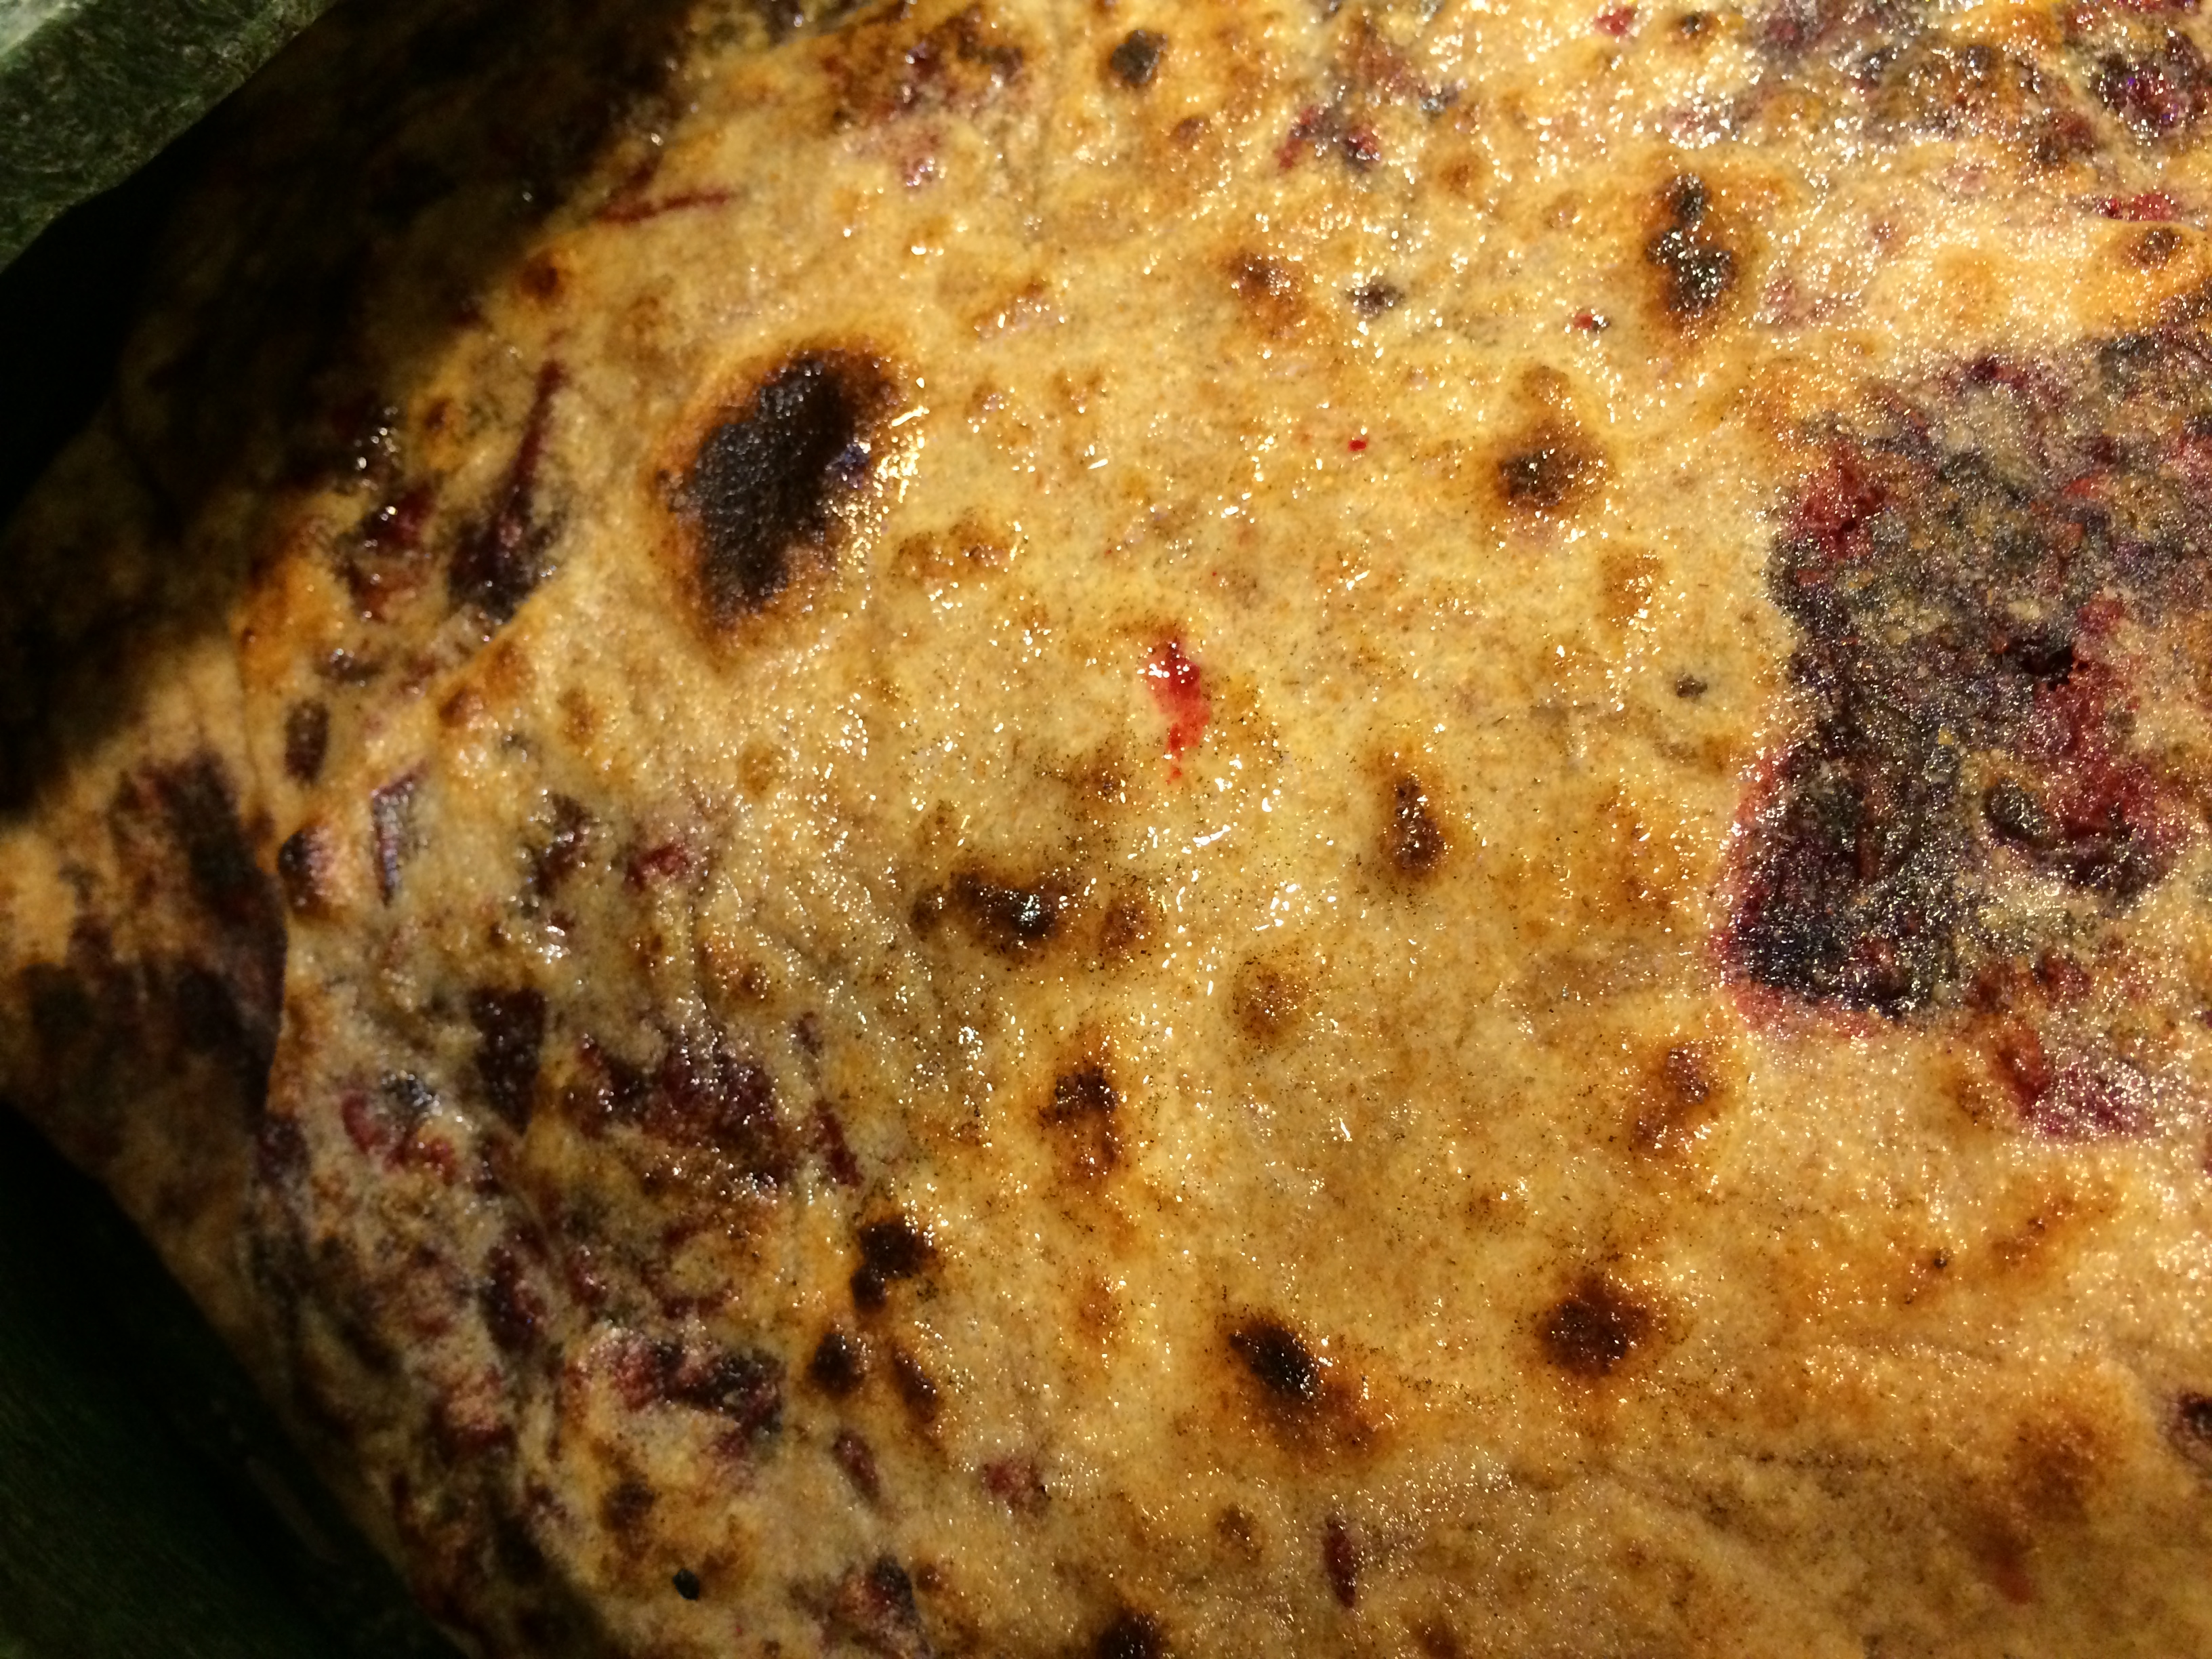
Done
Star-studded bread (adapted from Rose Levy Berenbaum's raisin-pecan bread)
Ingredients for soaking raisins:
- 1 cup raisins or currants
- 1/3 cup water
Method for soaking raisins:
Soak the raisins in hot water for half an hour. At this point, drain the raisins and you will be left with 1/4 cup water, that you can use to make the sponge below.
Ingredients for sponge:
- 1 cup bread flour
- 1/2 teaspoon instant yeast
- 1 cup water (including raisin soaking water)
- 1 tablespoon demerara sugar
Method for sponge:
Mix the dry ingredients together in a bowl, then pour in the water (remember to use 1/4 cup of the raisin water for added flavor), and stir stir stir with a wooden spoon or chopstick, almost like you are whisking it. The sponge will look like batter with some air incorporated into it. Cover with a plastic wrap and keep aside at room temperature for at least 1.5 hours, at most a whole day.
Ingredients for dough:
- 1.5 cups plus couple teaspoons more of whole wheat flour
- 3/4 teaspoon instant yeast
- 1.25 teaspoon salt
- 1/2 cup finely ground pecans
- 1.5 cups coarsely broken pecans (I substituted some with pistachios)
- 1 tablespoon oil
- All the sponge from above
- All the raisins from above
Method for dough:
Stir together the flour, the yeast, the salt. Add in the sponge and the oil and the ground pecans, stir with a chopstick or the dough hook to moisten fully. Cover with plastic wrap and leave it aside for 10 minutes. Come back to it and knead it properly into a dough. Let it rest for 10 more minutes.
Now flatten the dough and spread it out into a rough rectangle about 10 inches by 15 inches. Spread the broken pecans bits all over the rectangle leaving an inch border on all sides. Then spread the raisins over the same area evenly. Start rolling up the dough from a short end, also taking care to tuck in the edges. All the nuts and raisins will be hidden inside.
You do need to knead it lightly after, just to get it all to combine. At this point nuts and raisins might start falling out of your dough ball, just do your best to tuck them back in.
Cover with oil and allow the first rise until it is doubled, which will take about 2 hours. Shape it into a loaf and allow the second rise till doubled, covered with plastic wrap or a damp towel. This will take about 1 hour.
Heat the oven to 400ºF. Score the bread with a sharp, serrated knife. Each cut should go about half an inch deep. Mist the bread and put into the oven on a middle rack. In the first 5 minutes, mist inside the oven with a water spray bottle and quickly close the oven, about 3 or 4 times. After the first 5 minutes bring the temperature down to 375ºF. Continue baking for 40 to 50 minutes until it is golden brown.