Green tomatoes
Folks, I love my adopted city San Francisco, I really do. I love its hills, its fog, its MUNI and its BART, its rolling jagged windy roads, even its urinaceous sidewalks (with reservations). But really, if there is one thing San Francisco simply cannot pull off, it is ripening a frigging tomato.
And yet, in a textbook example of insanity, I keep growing them year after year, hoping that this will be the year when a perfect storm of global warming and sheer willpower will turn those multitudes of green globes red. Wouldn’t that be nice. But no, San Francisco does not oblige. First, the bush grows wildly, flowers and fruits luxuriantly, and the little berries grow into globes. But they stay green. Even my backyard squirrels sniff at them.
So I have a bush full of green tomatoes, and an impending case of late blight nipping at my heels. If I don’t rescue my green tomatoes now (some with a faint blush on them), I will lose them to the greasy blackness of blight.
So I harvest them, and now I have a basket full of green tomatoes. What do I do with them? So now we come to the fun part. There are certain options. Here is Salsa Verde, in my next post I will explore another one.

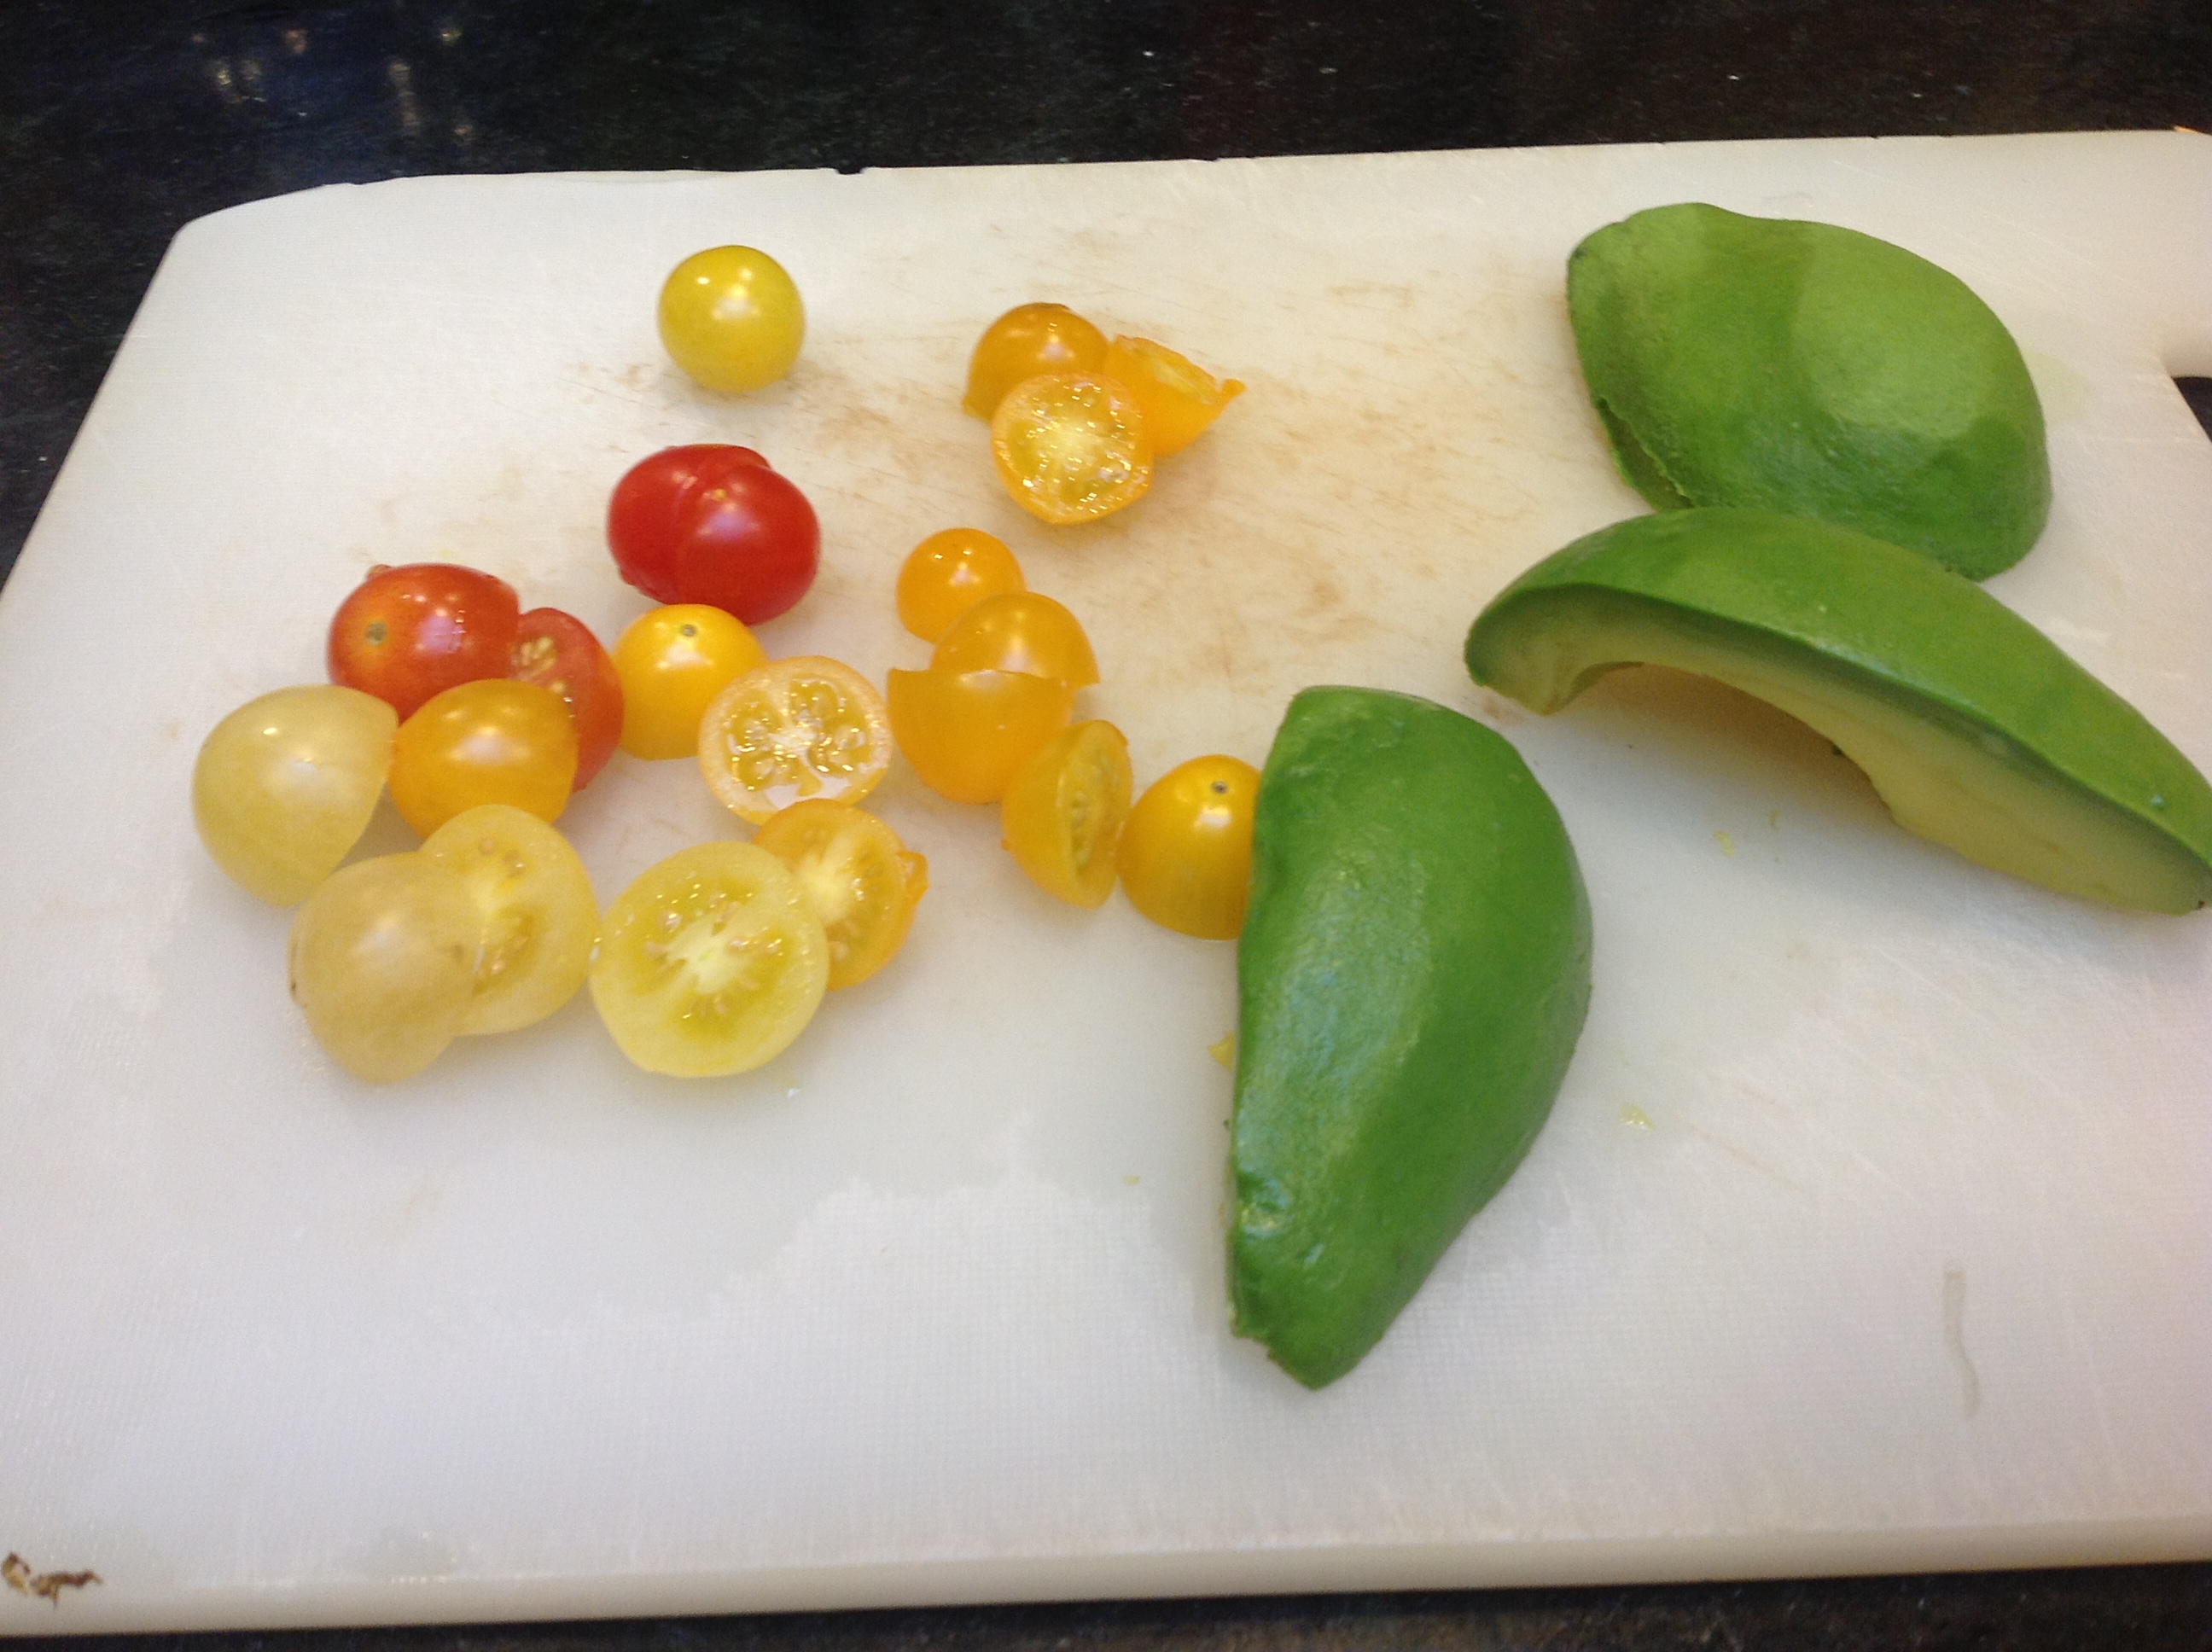
Tomatoes, sorted
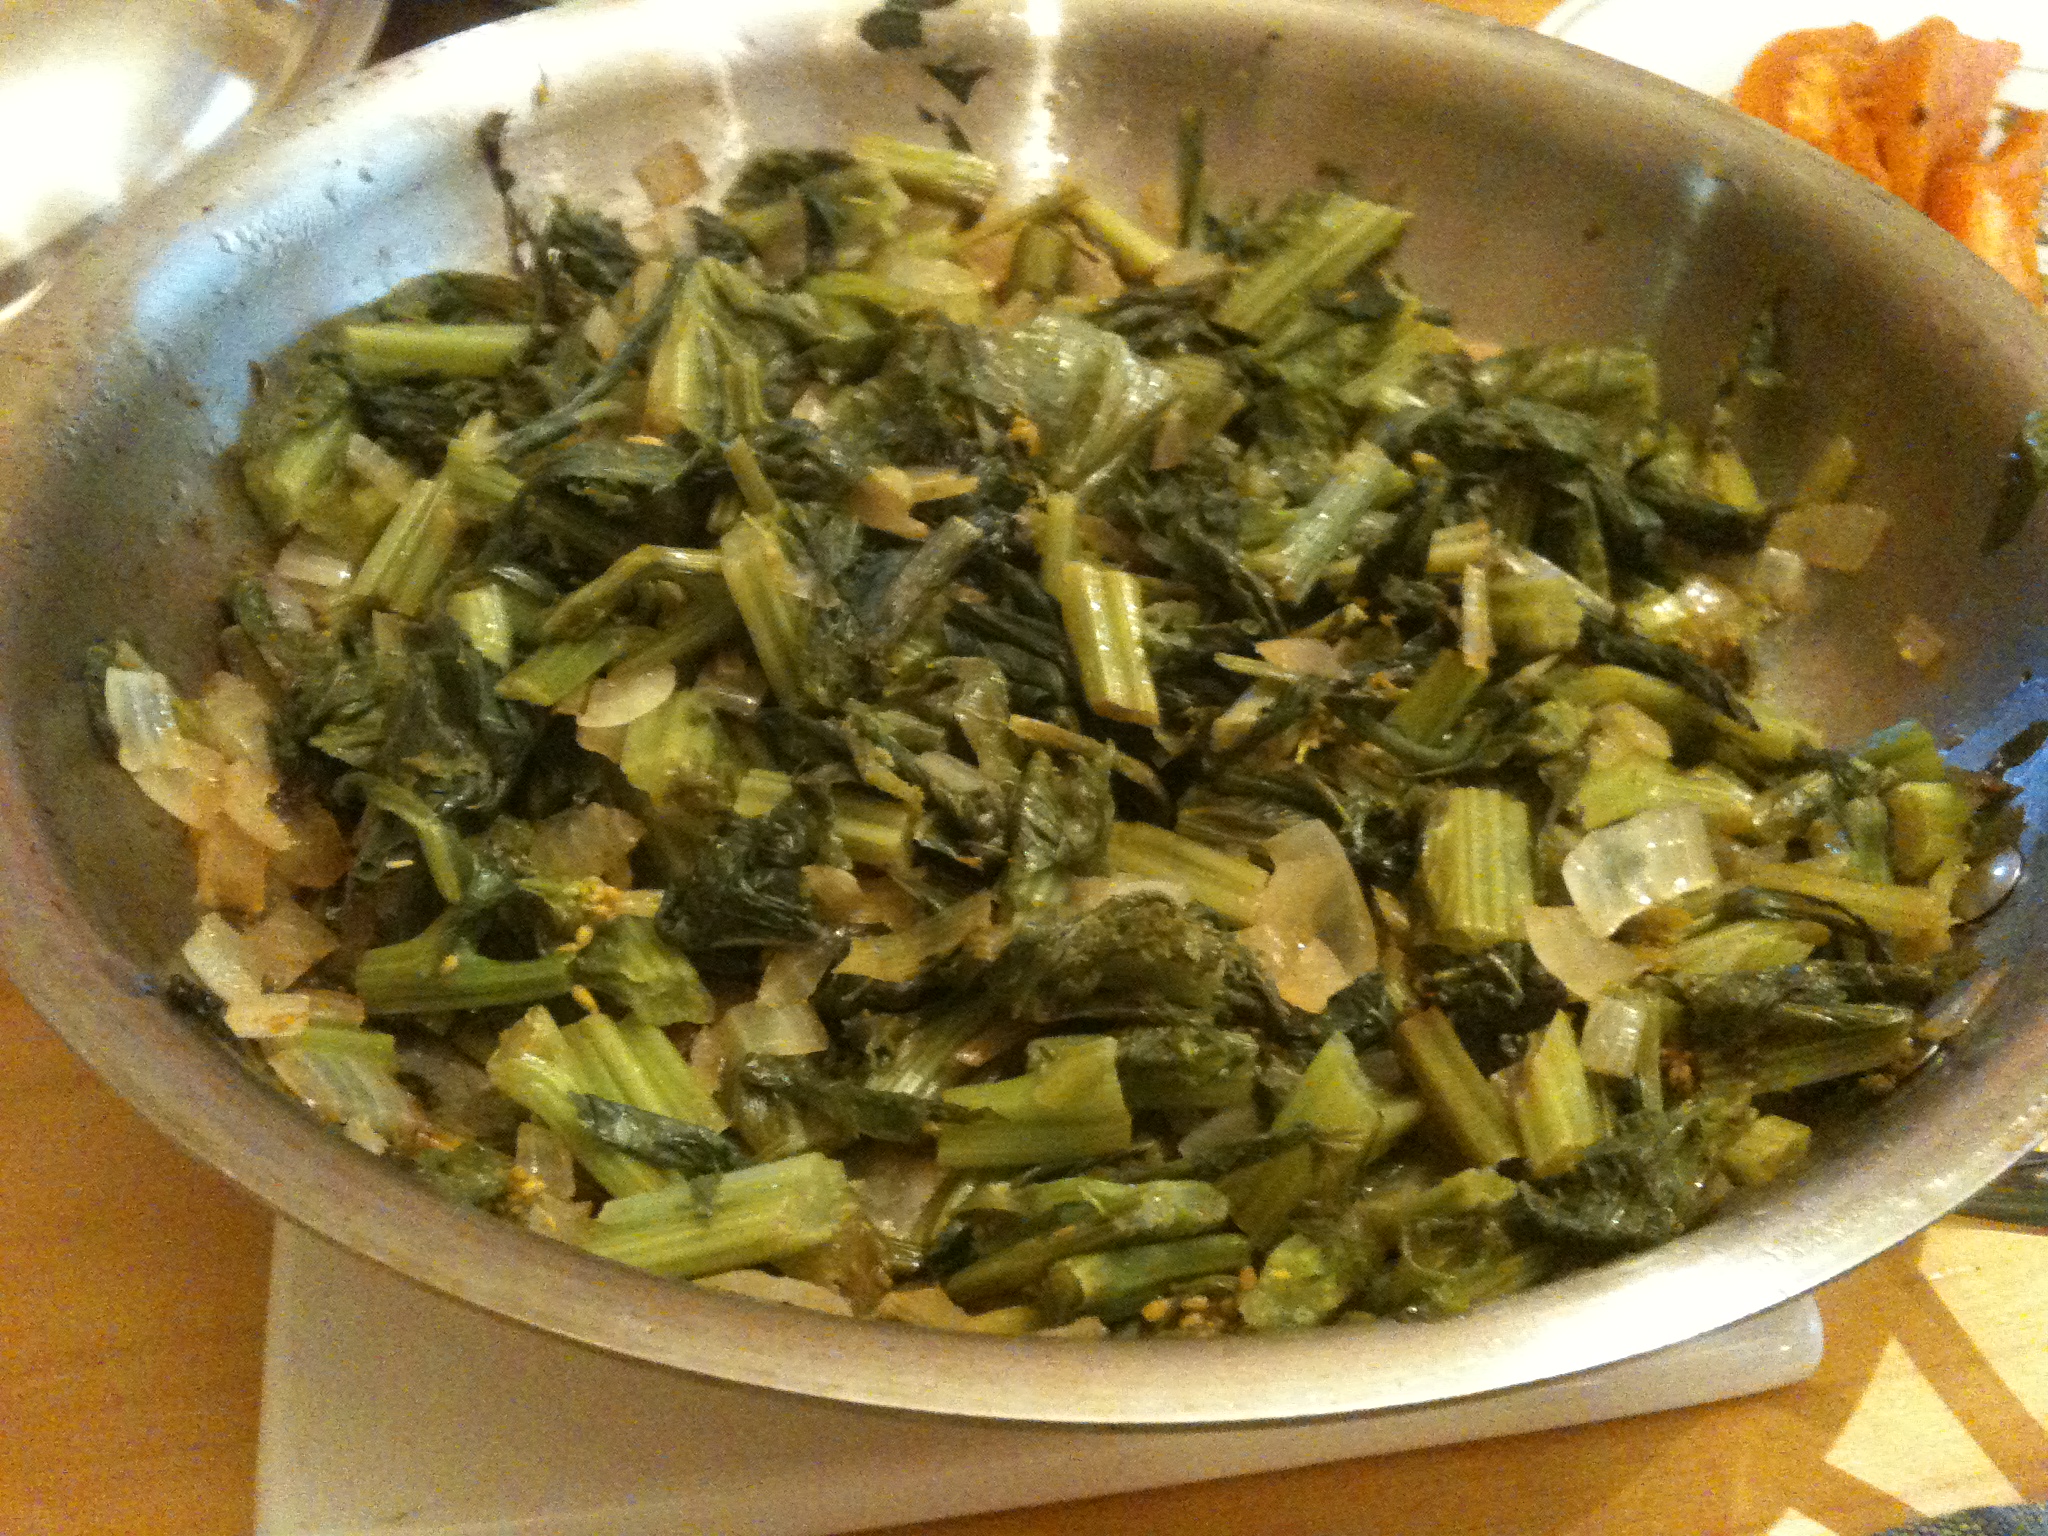
Salsa Verde
California is replete with Latin American culture and food, for which I am very grateful. It is hard to describe the tastiness of pairing earthy rice and beans with these ‘sauces’ or salsas — some cooked, some fresh; some red, some green. One of my favorite ways to dress a Mexican meal is with the triumvirate of guacamole, salsa fresca and salsa verde. The ‘verde’ means green, and usually the color is imparted by the tomatillo, which is a cousin of the tomato, but green tomatoes do just as well.


Salsa verde
Ingredients:
- 2-3 cups diced green tomatoes
- 3 big cloves garlic minced
- 2-3 green serrano chilies minced
- 1/2 cup onion cut into small dice
- 1 teaspoon salt
- 2 tablespoons minced cilantro
- 2 tablespoons lime juice
Method:
Put everything except the cilantro and lime into a pot and bring to a boil. Cover and cook on medium-low heat for about 10 minutes. Uncover and check if it looks mostly liquefied, if not, cook for another 5-7 minutes. Mash roughly, add cilantro and lime, cook covered to meld flavors for another 5 minutes.
Serve as a side with chips or any Mexican meal.
(Click here to find me on Facebook and here on Twitter.)