A meditation on tempering and a good-tempered moong dal

IMG_0824

Very little meat is eaten in India; many families are entirely vegetarian, but even the others (like mine) hardly got around to buying meat for the dinner table once or twice a month. I have met a lot of people in the United States who find that hard to believe. In this country all three meals are sometimes centered around meat. In addition to forming the main course, meat products are used to flavor the food: whether it is the use of chicken broth, or bacon cooked into the sauce base or thrown on salad, or ham hocks as a base for tough greens like collards.

Many modern cooks here are learning to leave aside the bacon in favor of aromatics like onion and garlic. In my mother-in-law’s generation people were a little afraid of these ‘strong’ and ‘aggressive’ flavors; nowadays, they generally lead to a flurry of swooning.

But what if you were to leave out the meat, leave out the eggs, then in a fit of pique throw out the onions and garlic too?

What would food taste like then? Is one supposed to develop a taste for grass? Well it turns out that this type of cuisine is one of the most flavorful in the world. Jain food, which is pretty much synonymous with the Sattvic or ‘pure’ food of Hinduism, leaves out any foods that might cause harm to other creatures; clearly this is an extremely high bar, but in practice, that means no meat, eggs, fish, onions or garlic.

That still leaves the wide world of vegetables (including my beloved cauliflower), all kinds of lentils (dals), grains from wheat and rice to millet and sorghum, the nutty fragrance of ghee, and of course what India is famous for, which is spices.

Tempering

My personal opinion — the ingredients are great and all. But really what sets apart Sattvic cuisine and Indian cuisine in general is the technique of tempering. Known by various names — tadka, chhaunk, bhagaar or vaghaar — this is the method of heating fat and throwing in whole spices until they release their essential oils.

Most non-Indian people ask me if I grind my own spice mixtures for Indian food. The answer is yes, I do. But for most everyday food, I don’t need to — because I just use them whole while tempering.

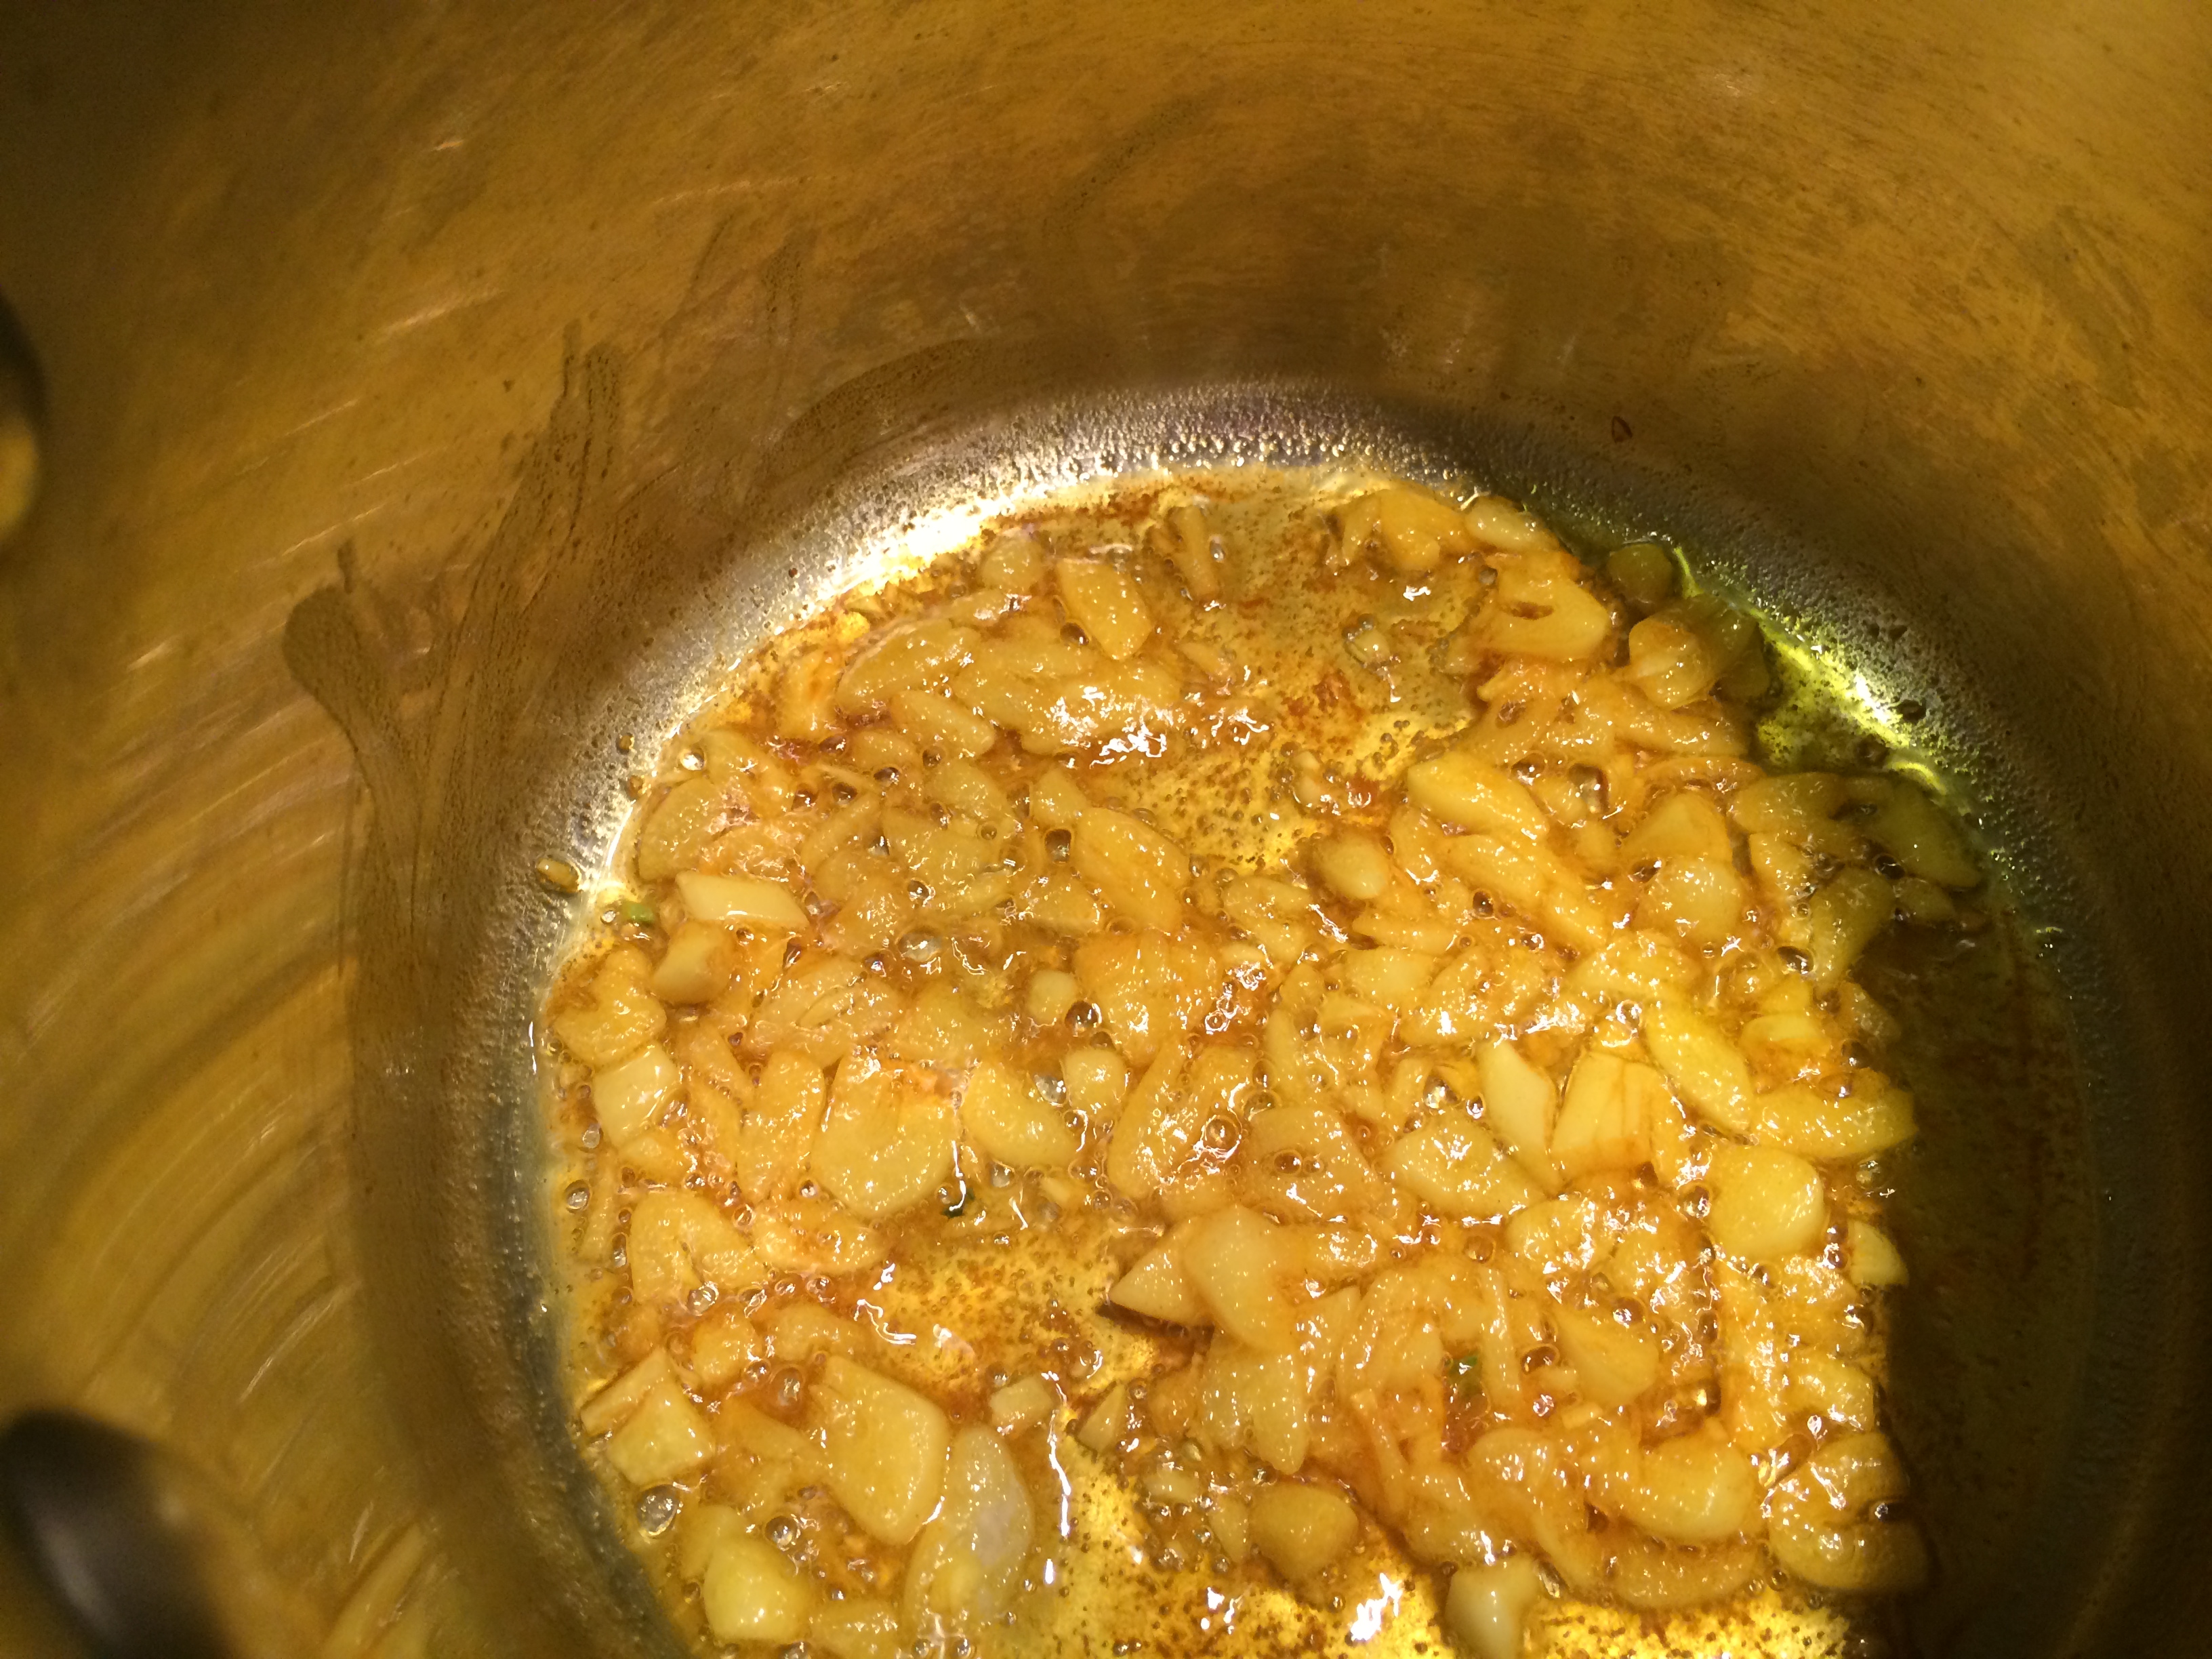
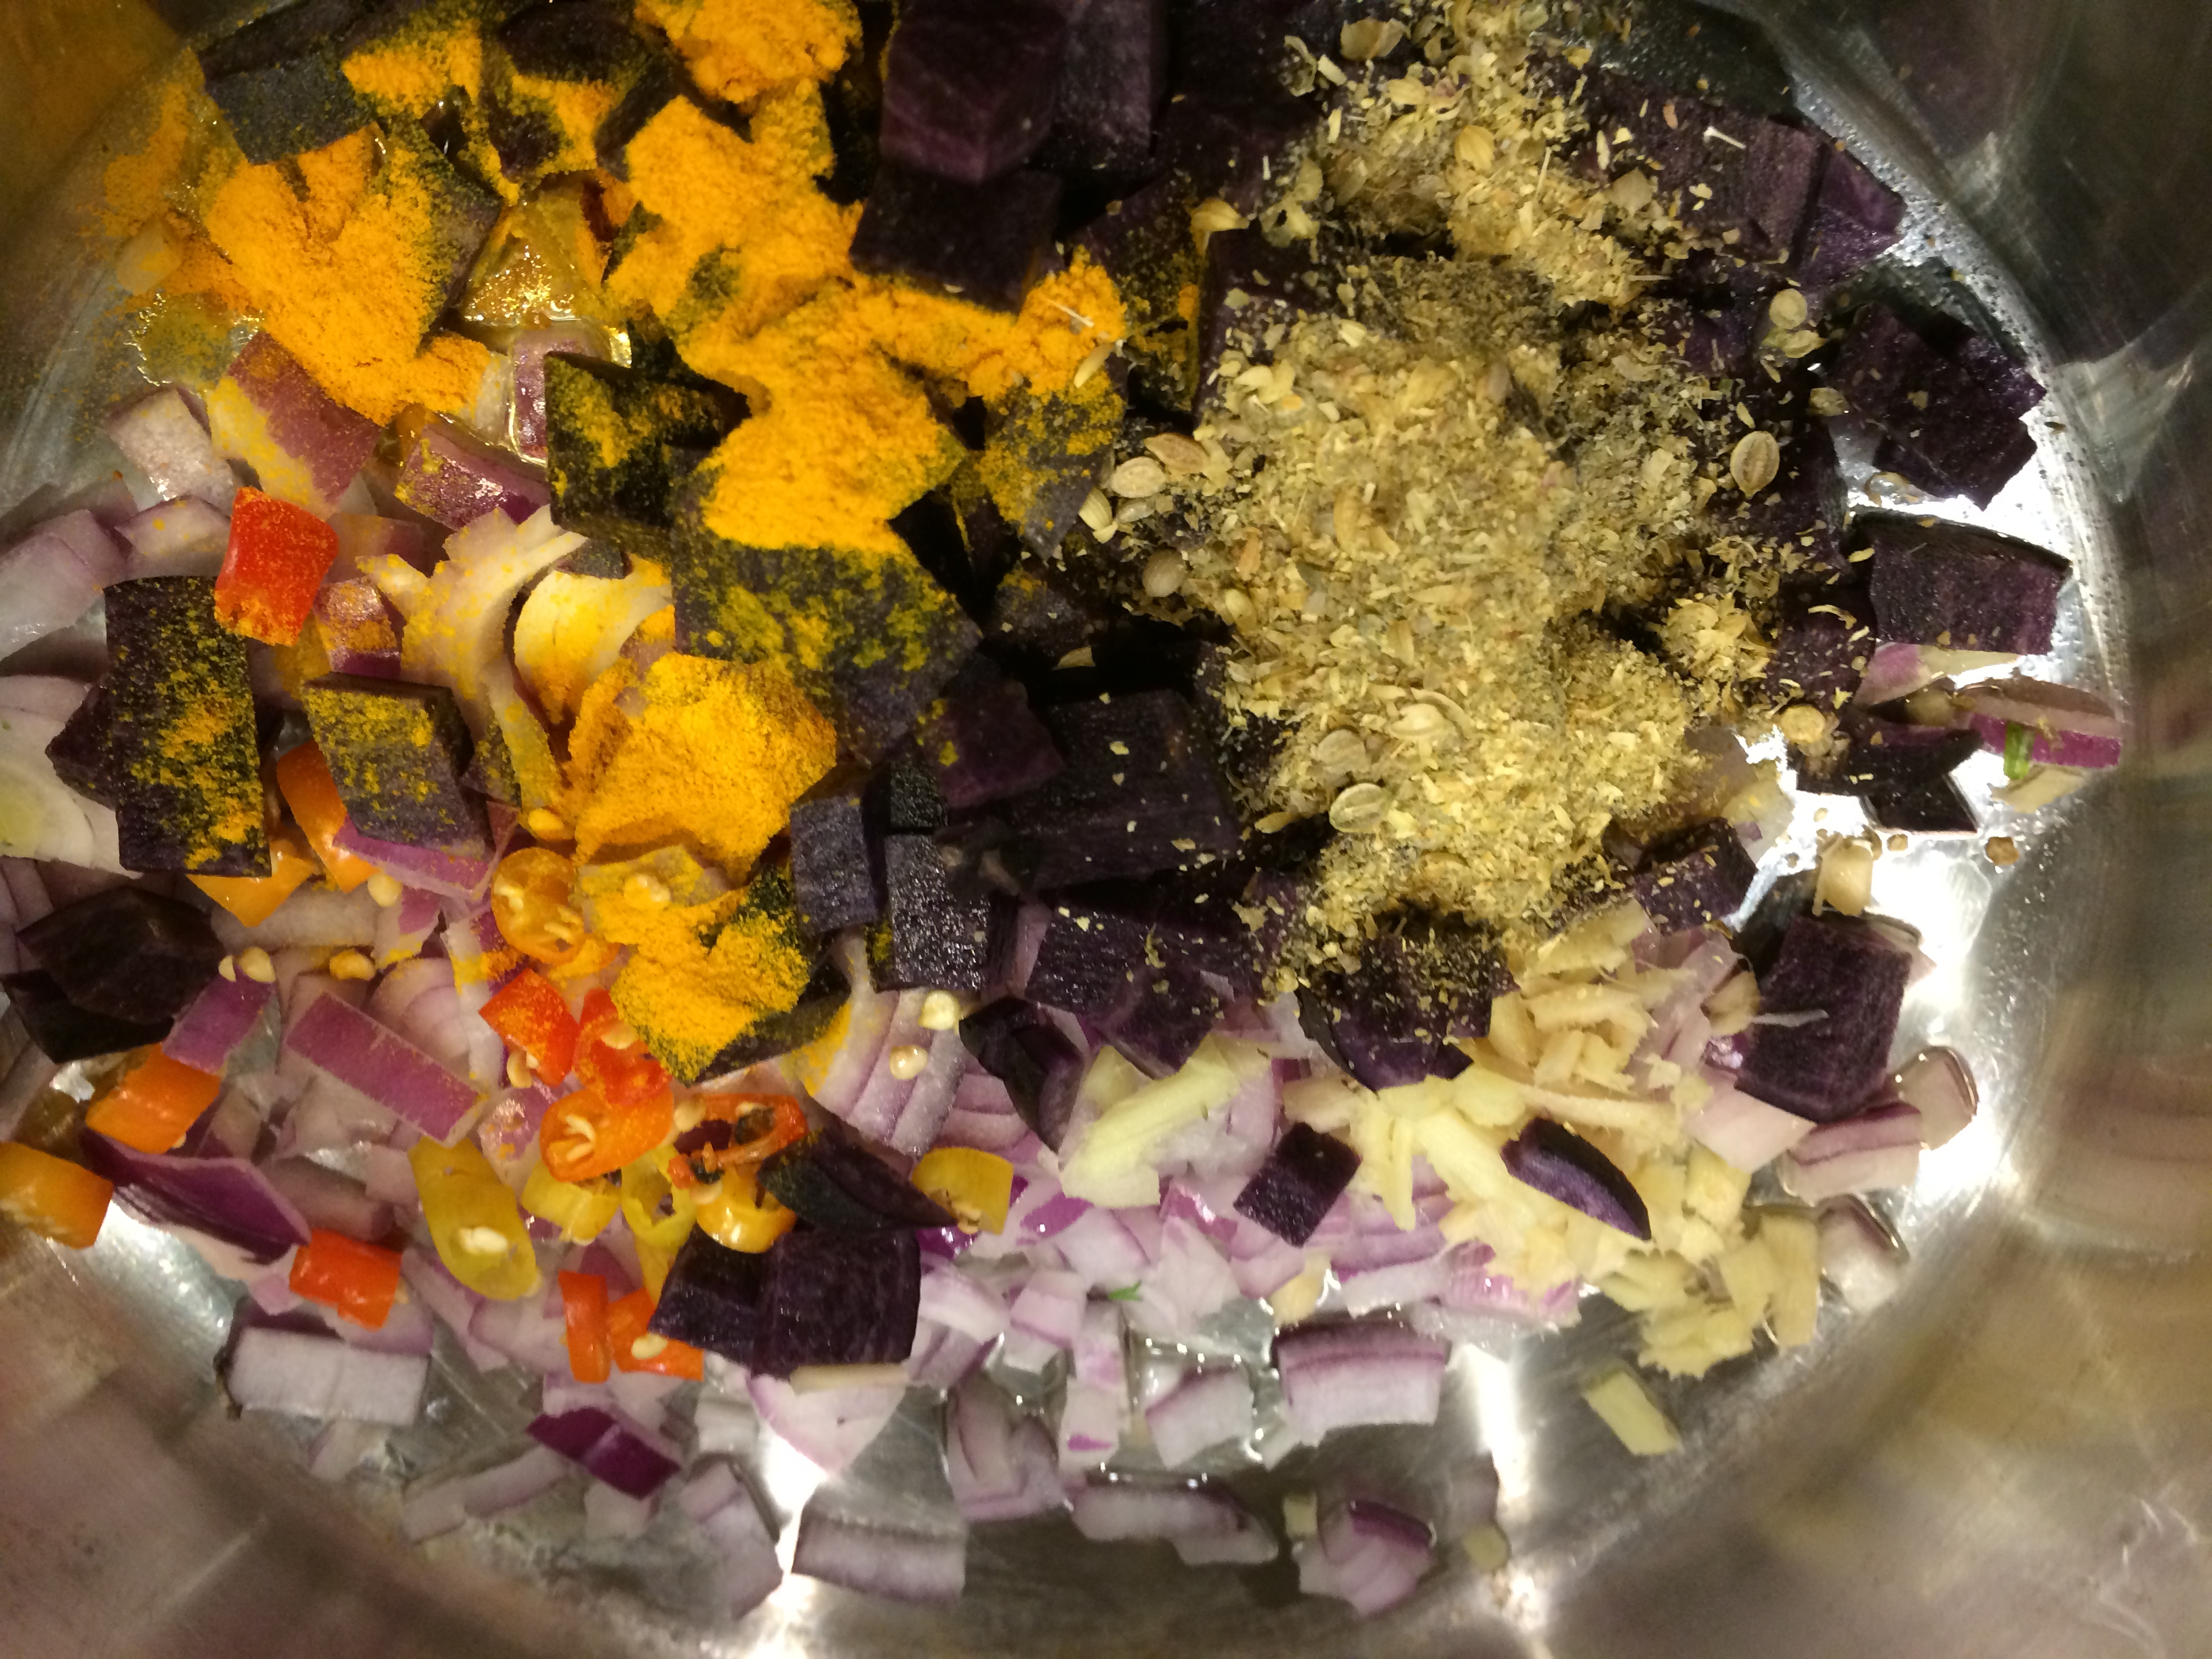
This is the basic process of tempering. Heat oil or ghee in a thick-bottomed small pan. When it shimmers (in case of ghee it should completely melt and a fragrance arise) the spices are put in. There is a certain sequence to the introduction of spices to the oil. There is, I admit, a bit of magic to this. Asafetida, if it is used, usually goes in first. Dry red chilies, if used, go in next. Mustard seeds (for me) usually go in last because they will pop with a vengeance. In between come the other whole seeds. Then in go the aromatic vegetables, such as garlic, ginger, chilies, onion, if any, that the recipe demands.

Tempering can be the first step of the recipe. Or it could be the last, as in the one below. The tempered oil is poured over the completed dish and stirred in.

Now spices are great even if you prepare them in the more well-known way — which is to grind them up into a mixture. I’m not going to run this method down (a classic of many cuisines, including Indian) but here is the difference from the tempering method. When you grind the spices, you are pulverizing every bit of them into the food. This includes the essential oils but also the fibrous seed-coating and other parts. Yes, there is a bit of the cardboard taste in most of the fibers. When you have a strongly flavored meal with onions or meat and so forth, you don’t notice this powderiness. But in a delicately flavored dish where the highlight is a lentil or a vegetable, the ideal method is to draw out the spice flavor into fat, leave the seeds whole where they add a bit of crunch, leaving the tastes pure.

And if you think about it, purity is what the Sattvic type of food is centered on.

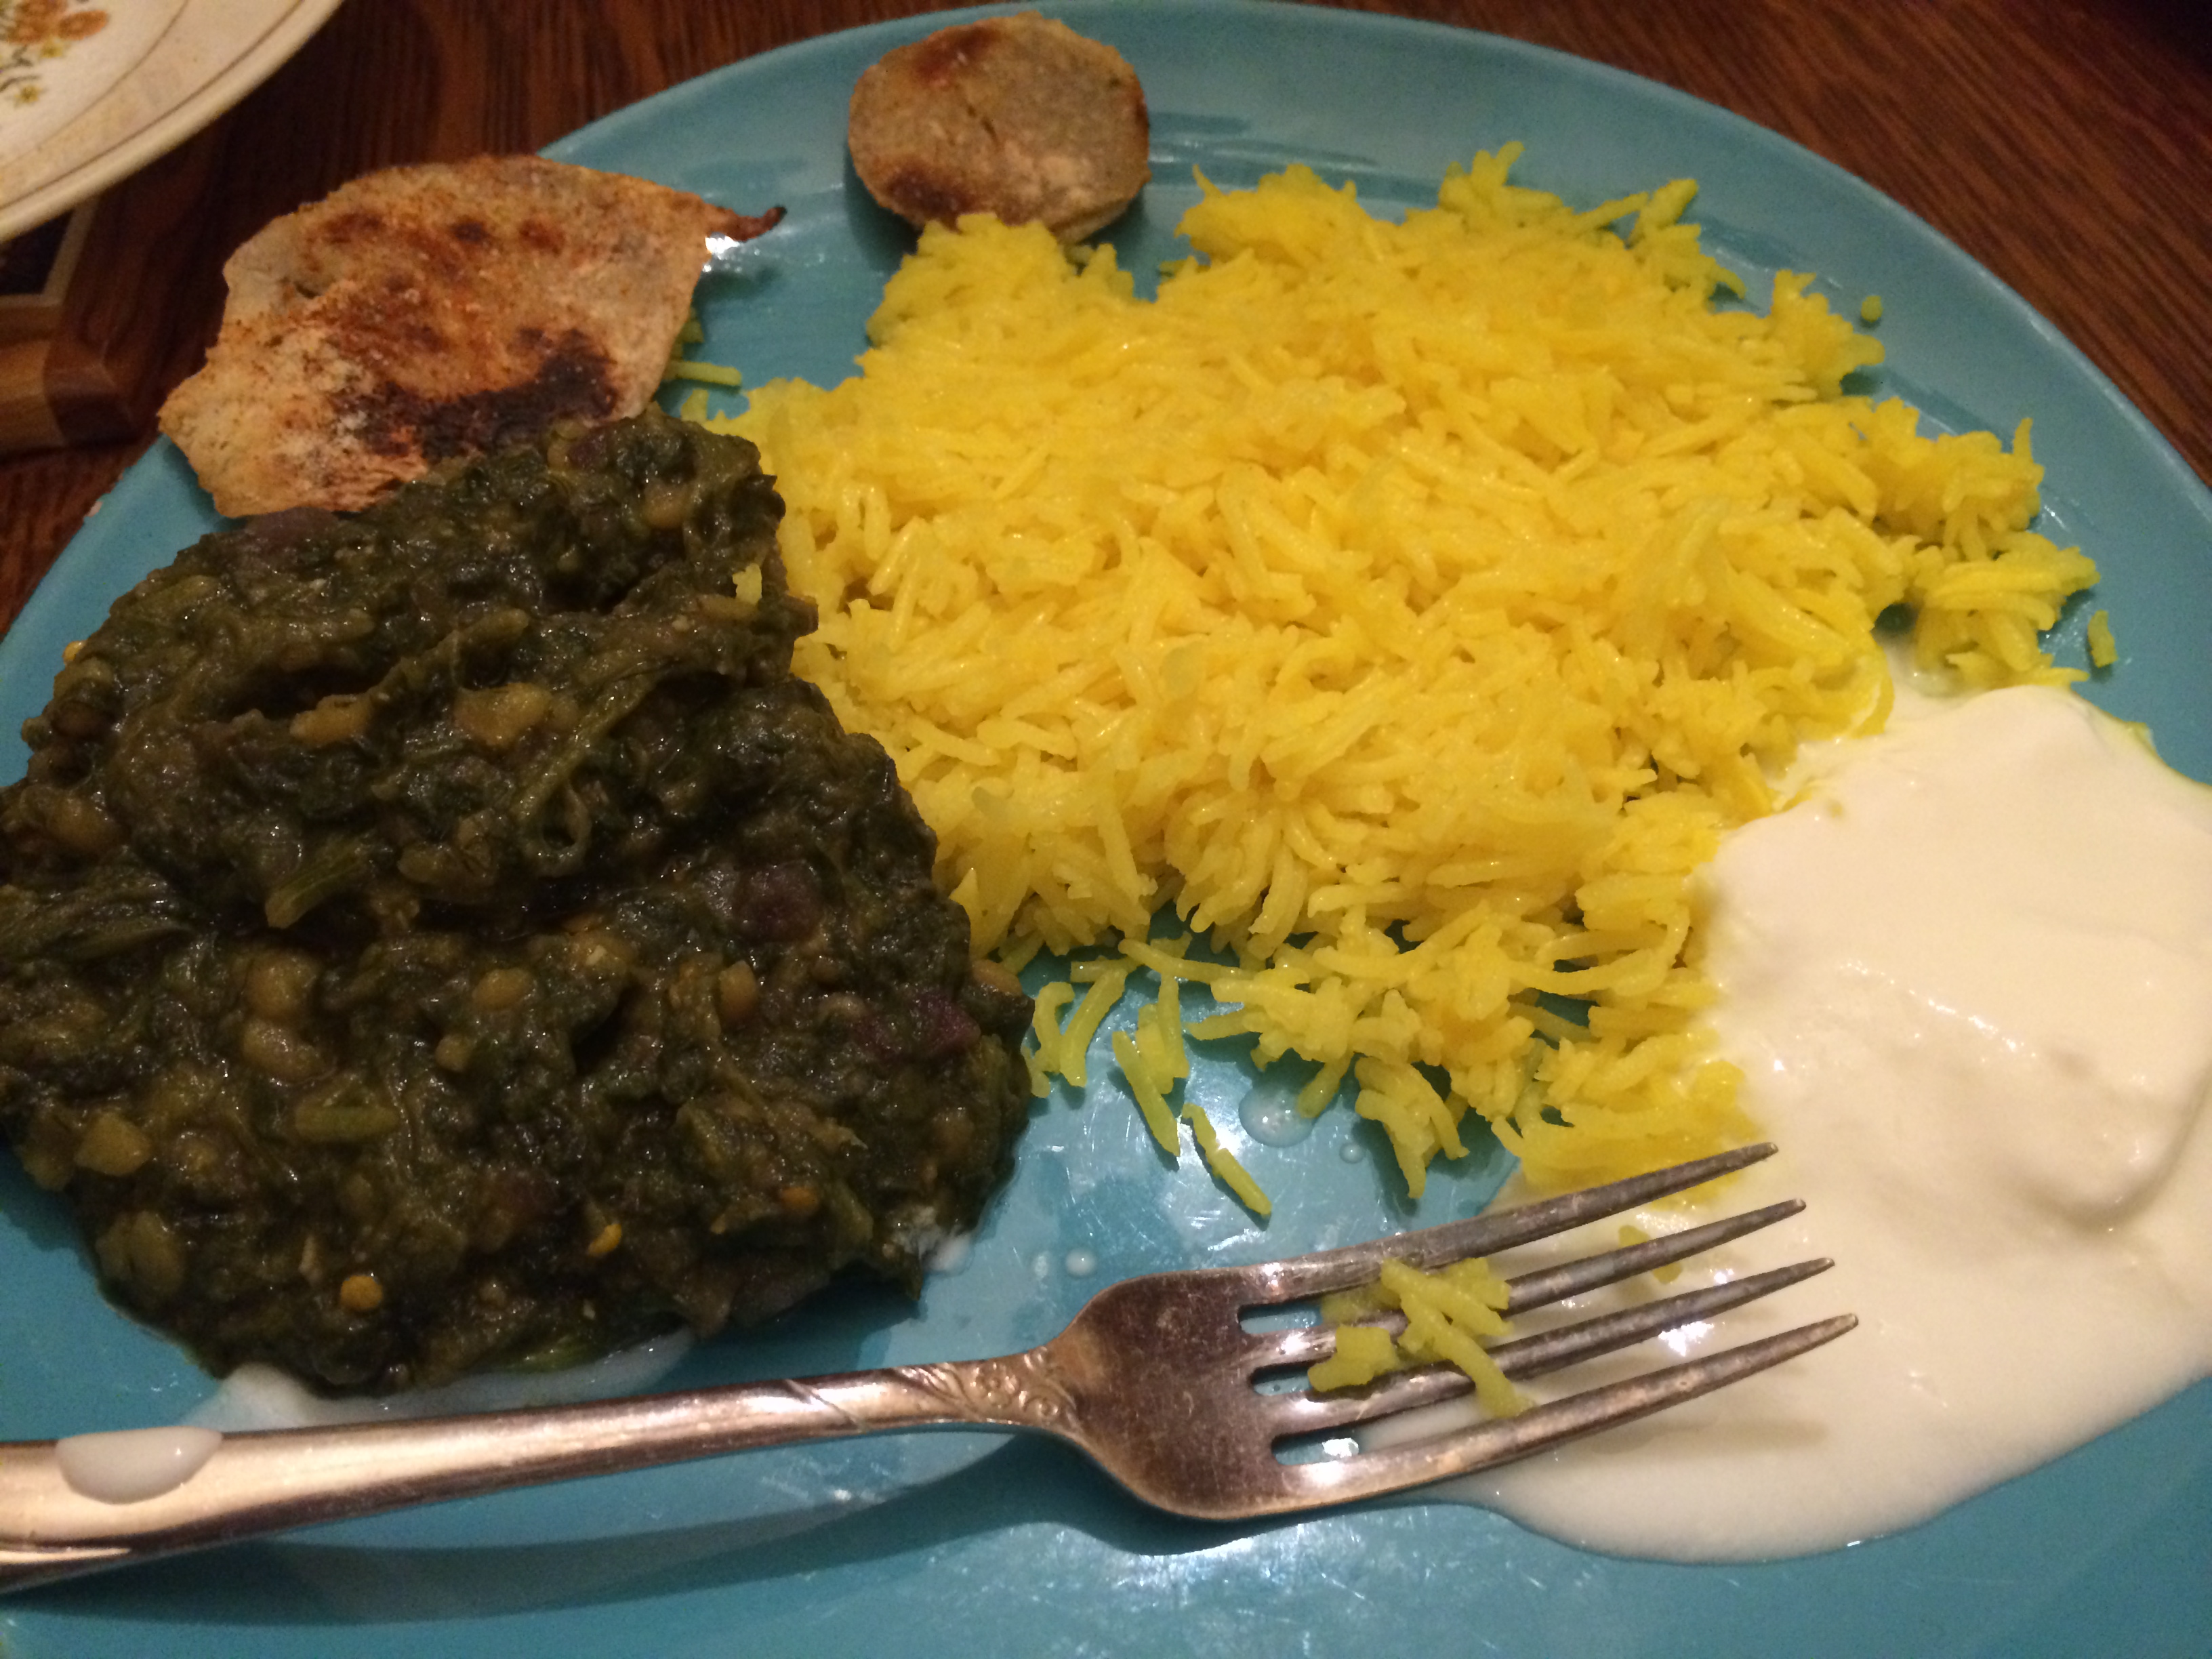
Moong dal tempered with whole spices

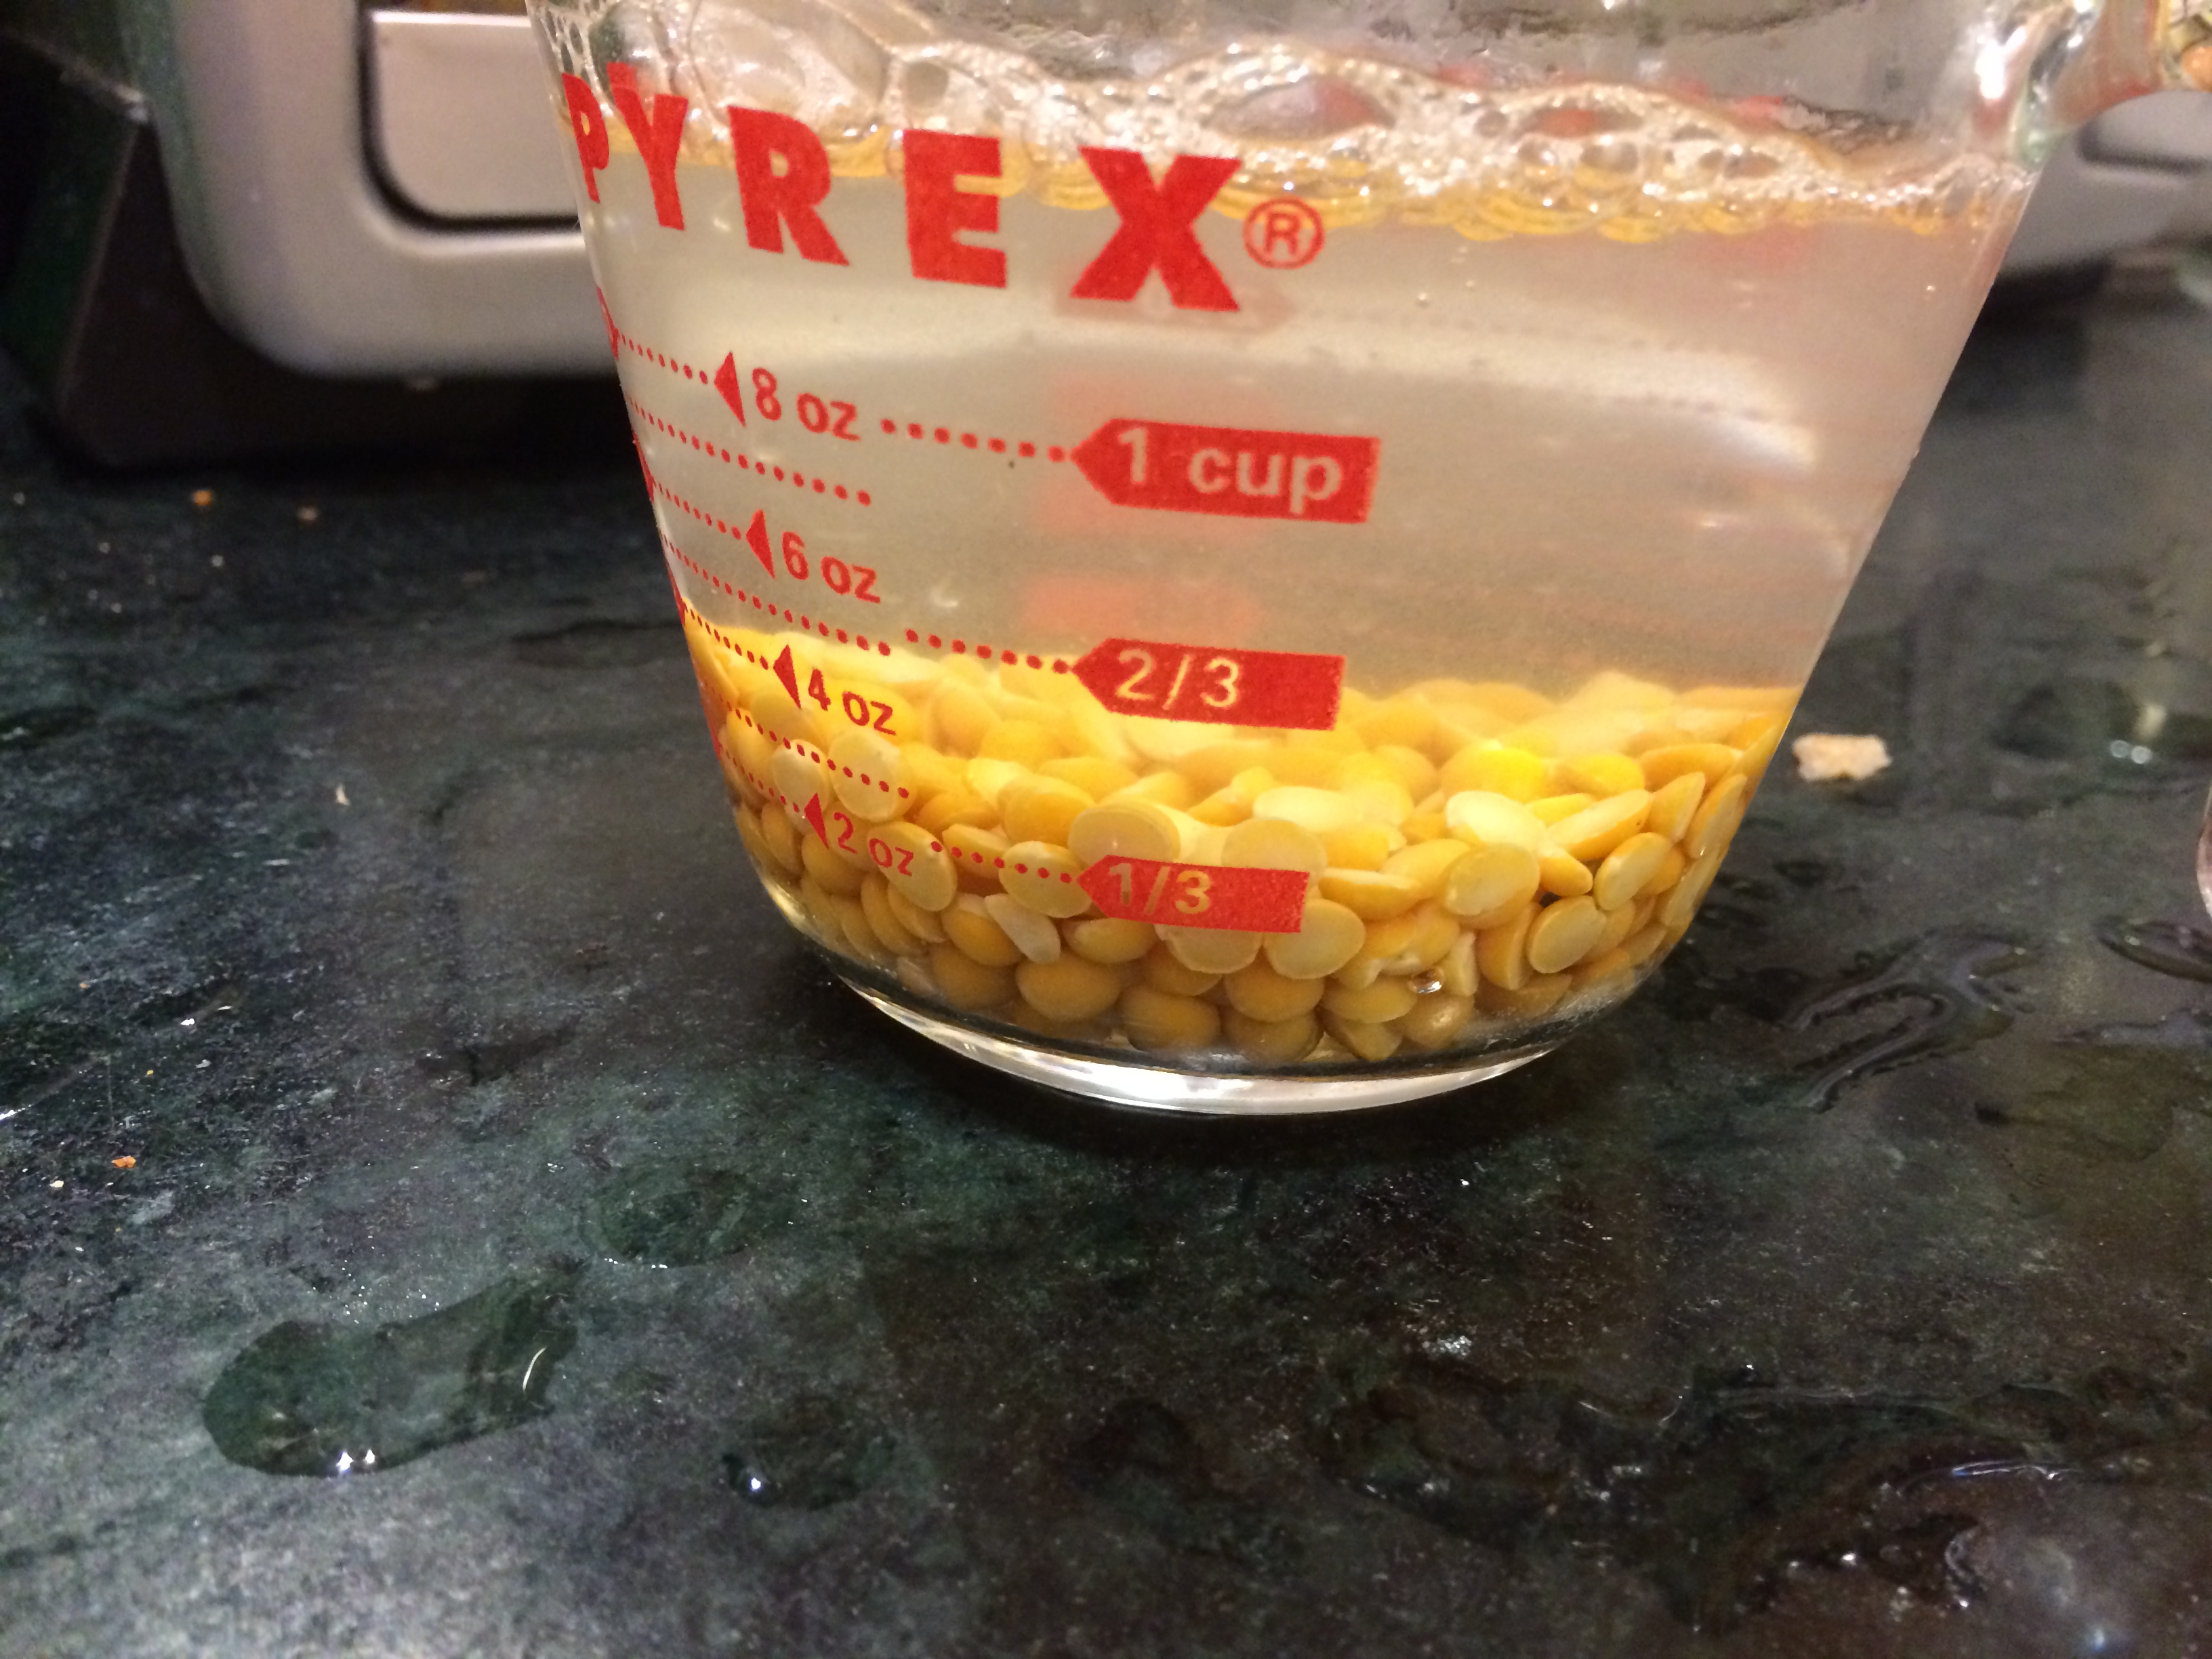
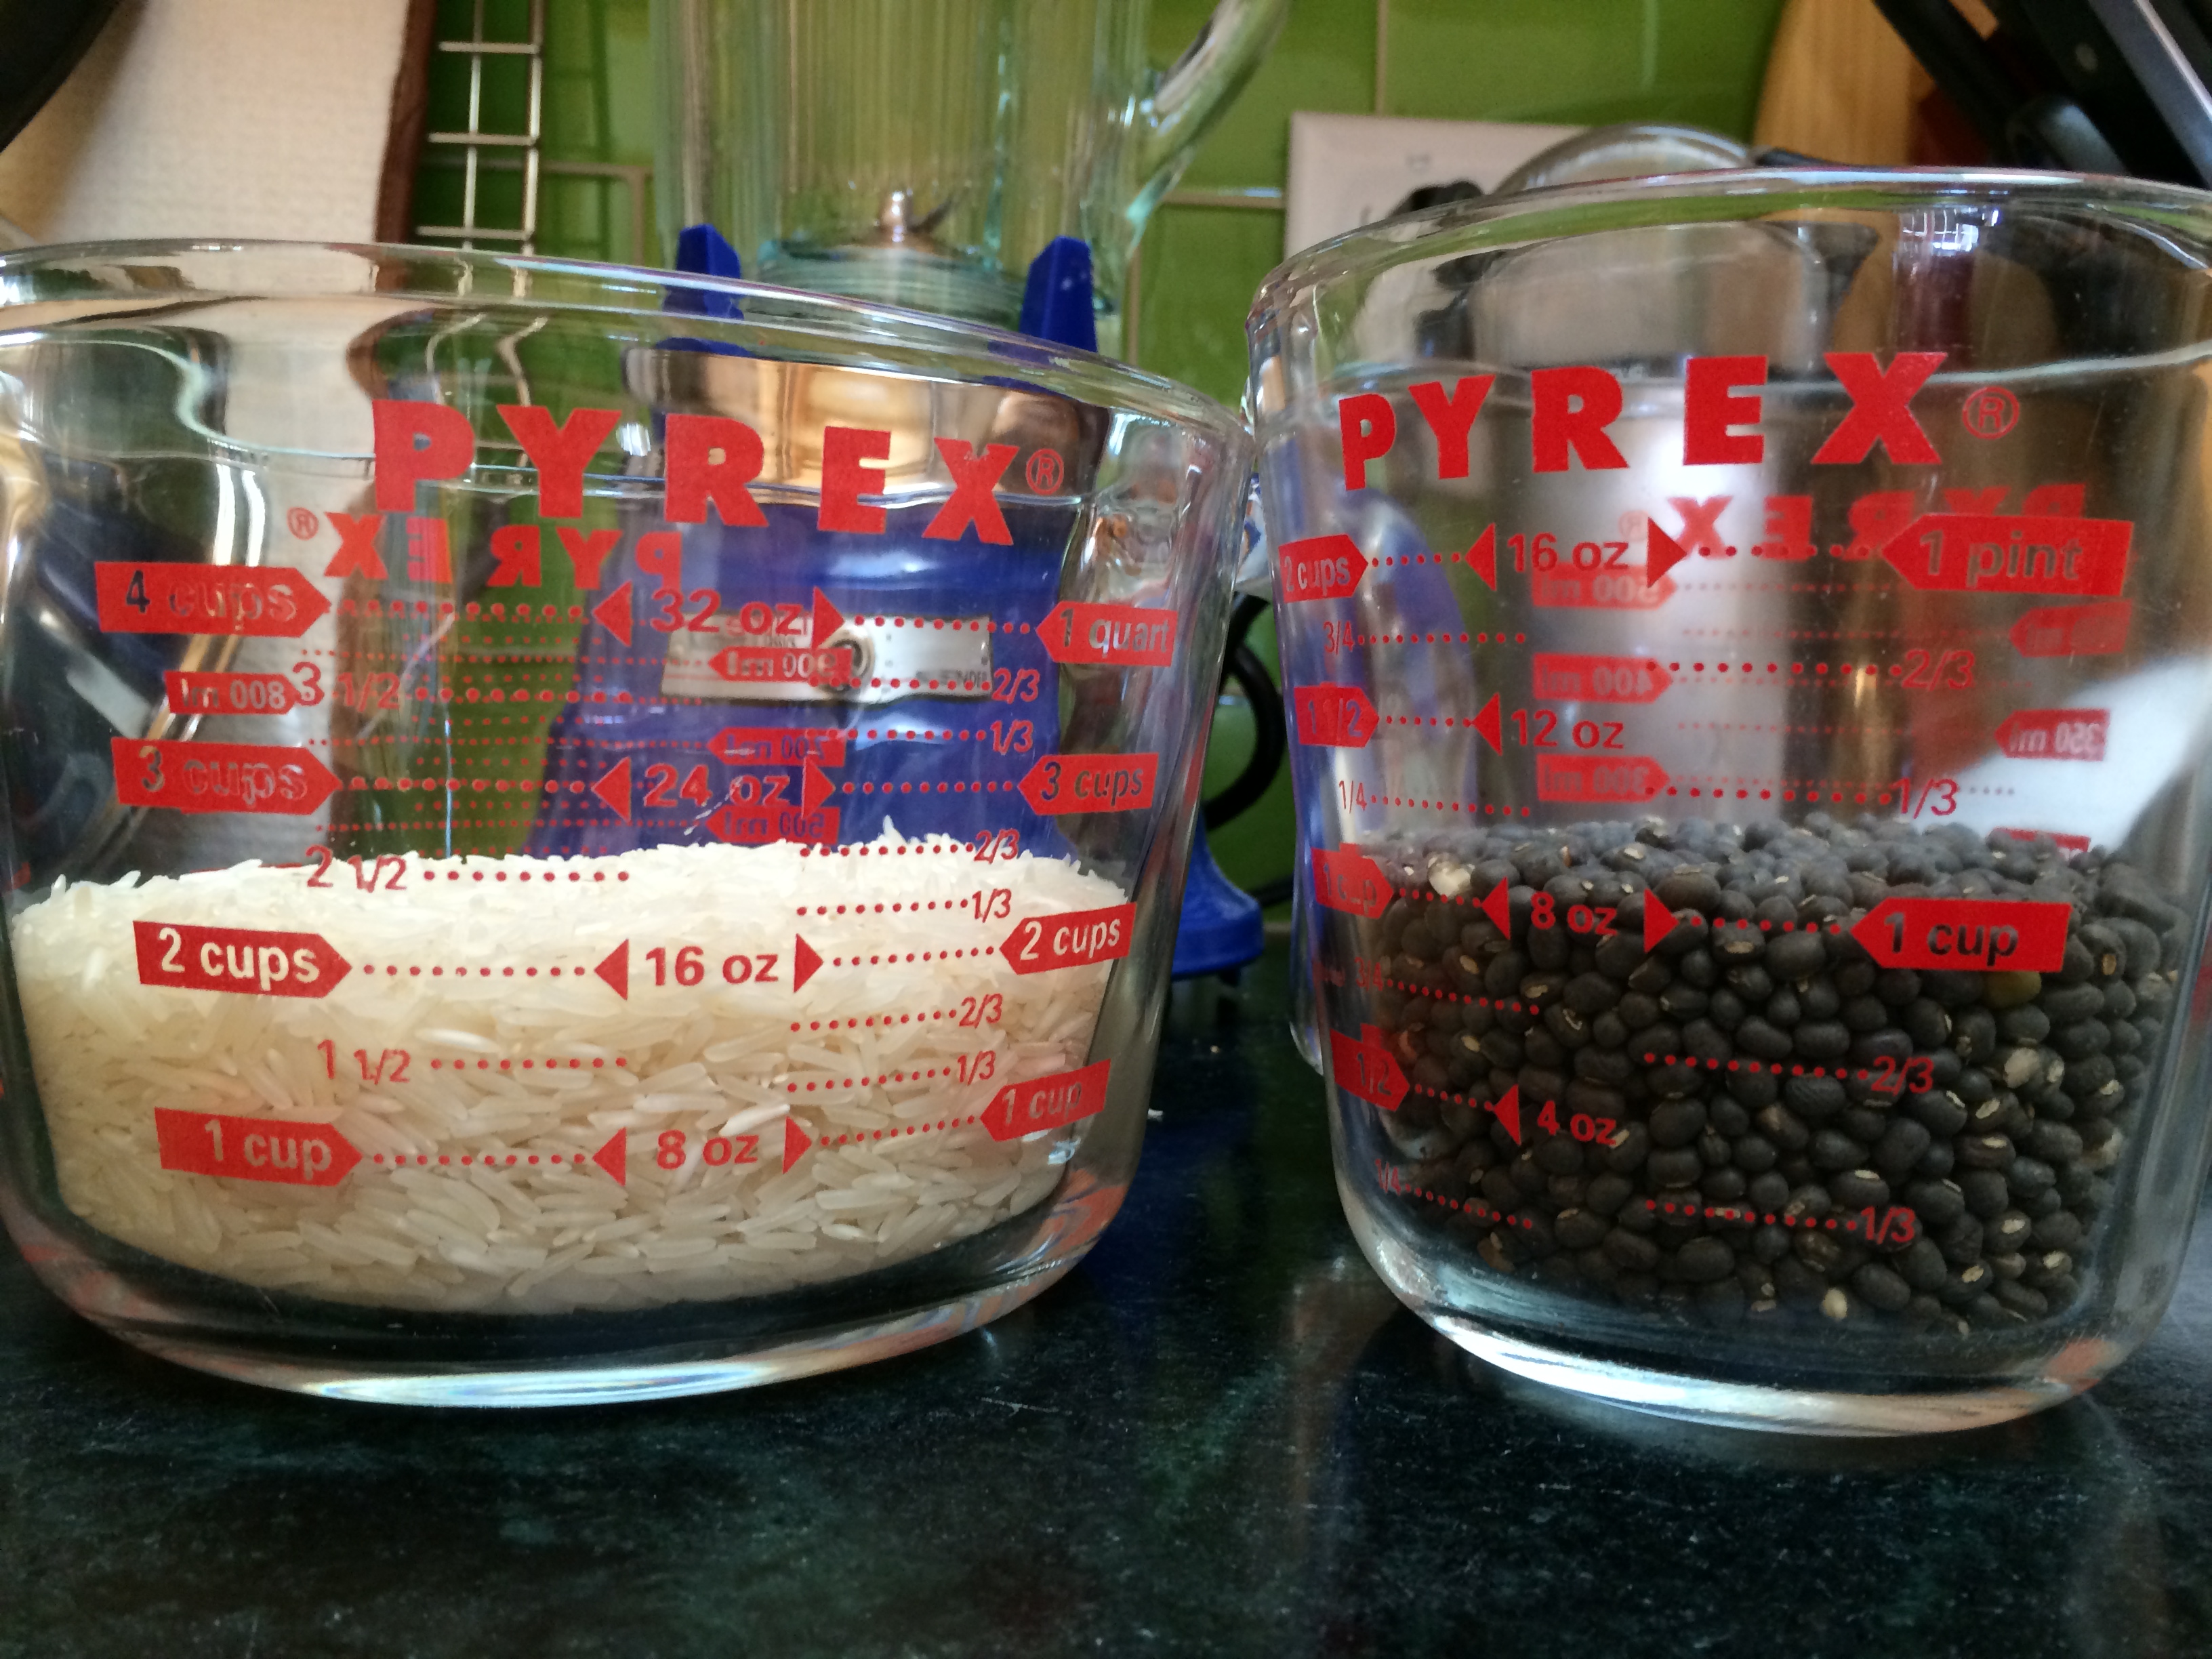
This dish uses a mix of the dehusked (yellow) moong dal and the split but skin on (green) moong dal. Moong dal, of course, is a synonym of mung bean. It is one of the fastest cooking dals and needs no pre-soaking. This makes enough for a dinner for two.

IMG_0811 IMG_0813

Ingredients:

  • 1/2  cup moong dal split and dehusked
  • 1/4 cup moong dal split but with skin on
  • 1/2 teaspoon turmeric
  • 1/2 teaspoon asafetida (hing)
  • 1/2 teaspoon red chili powder
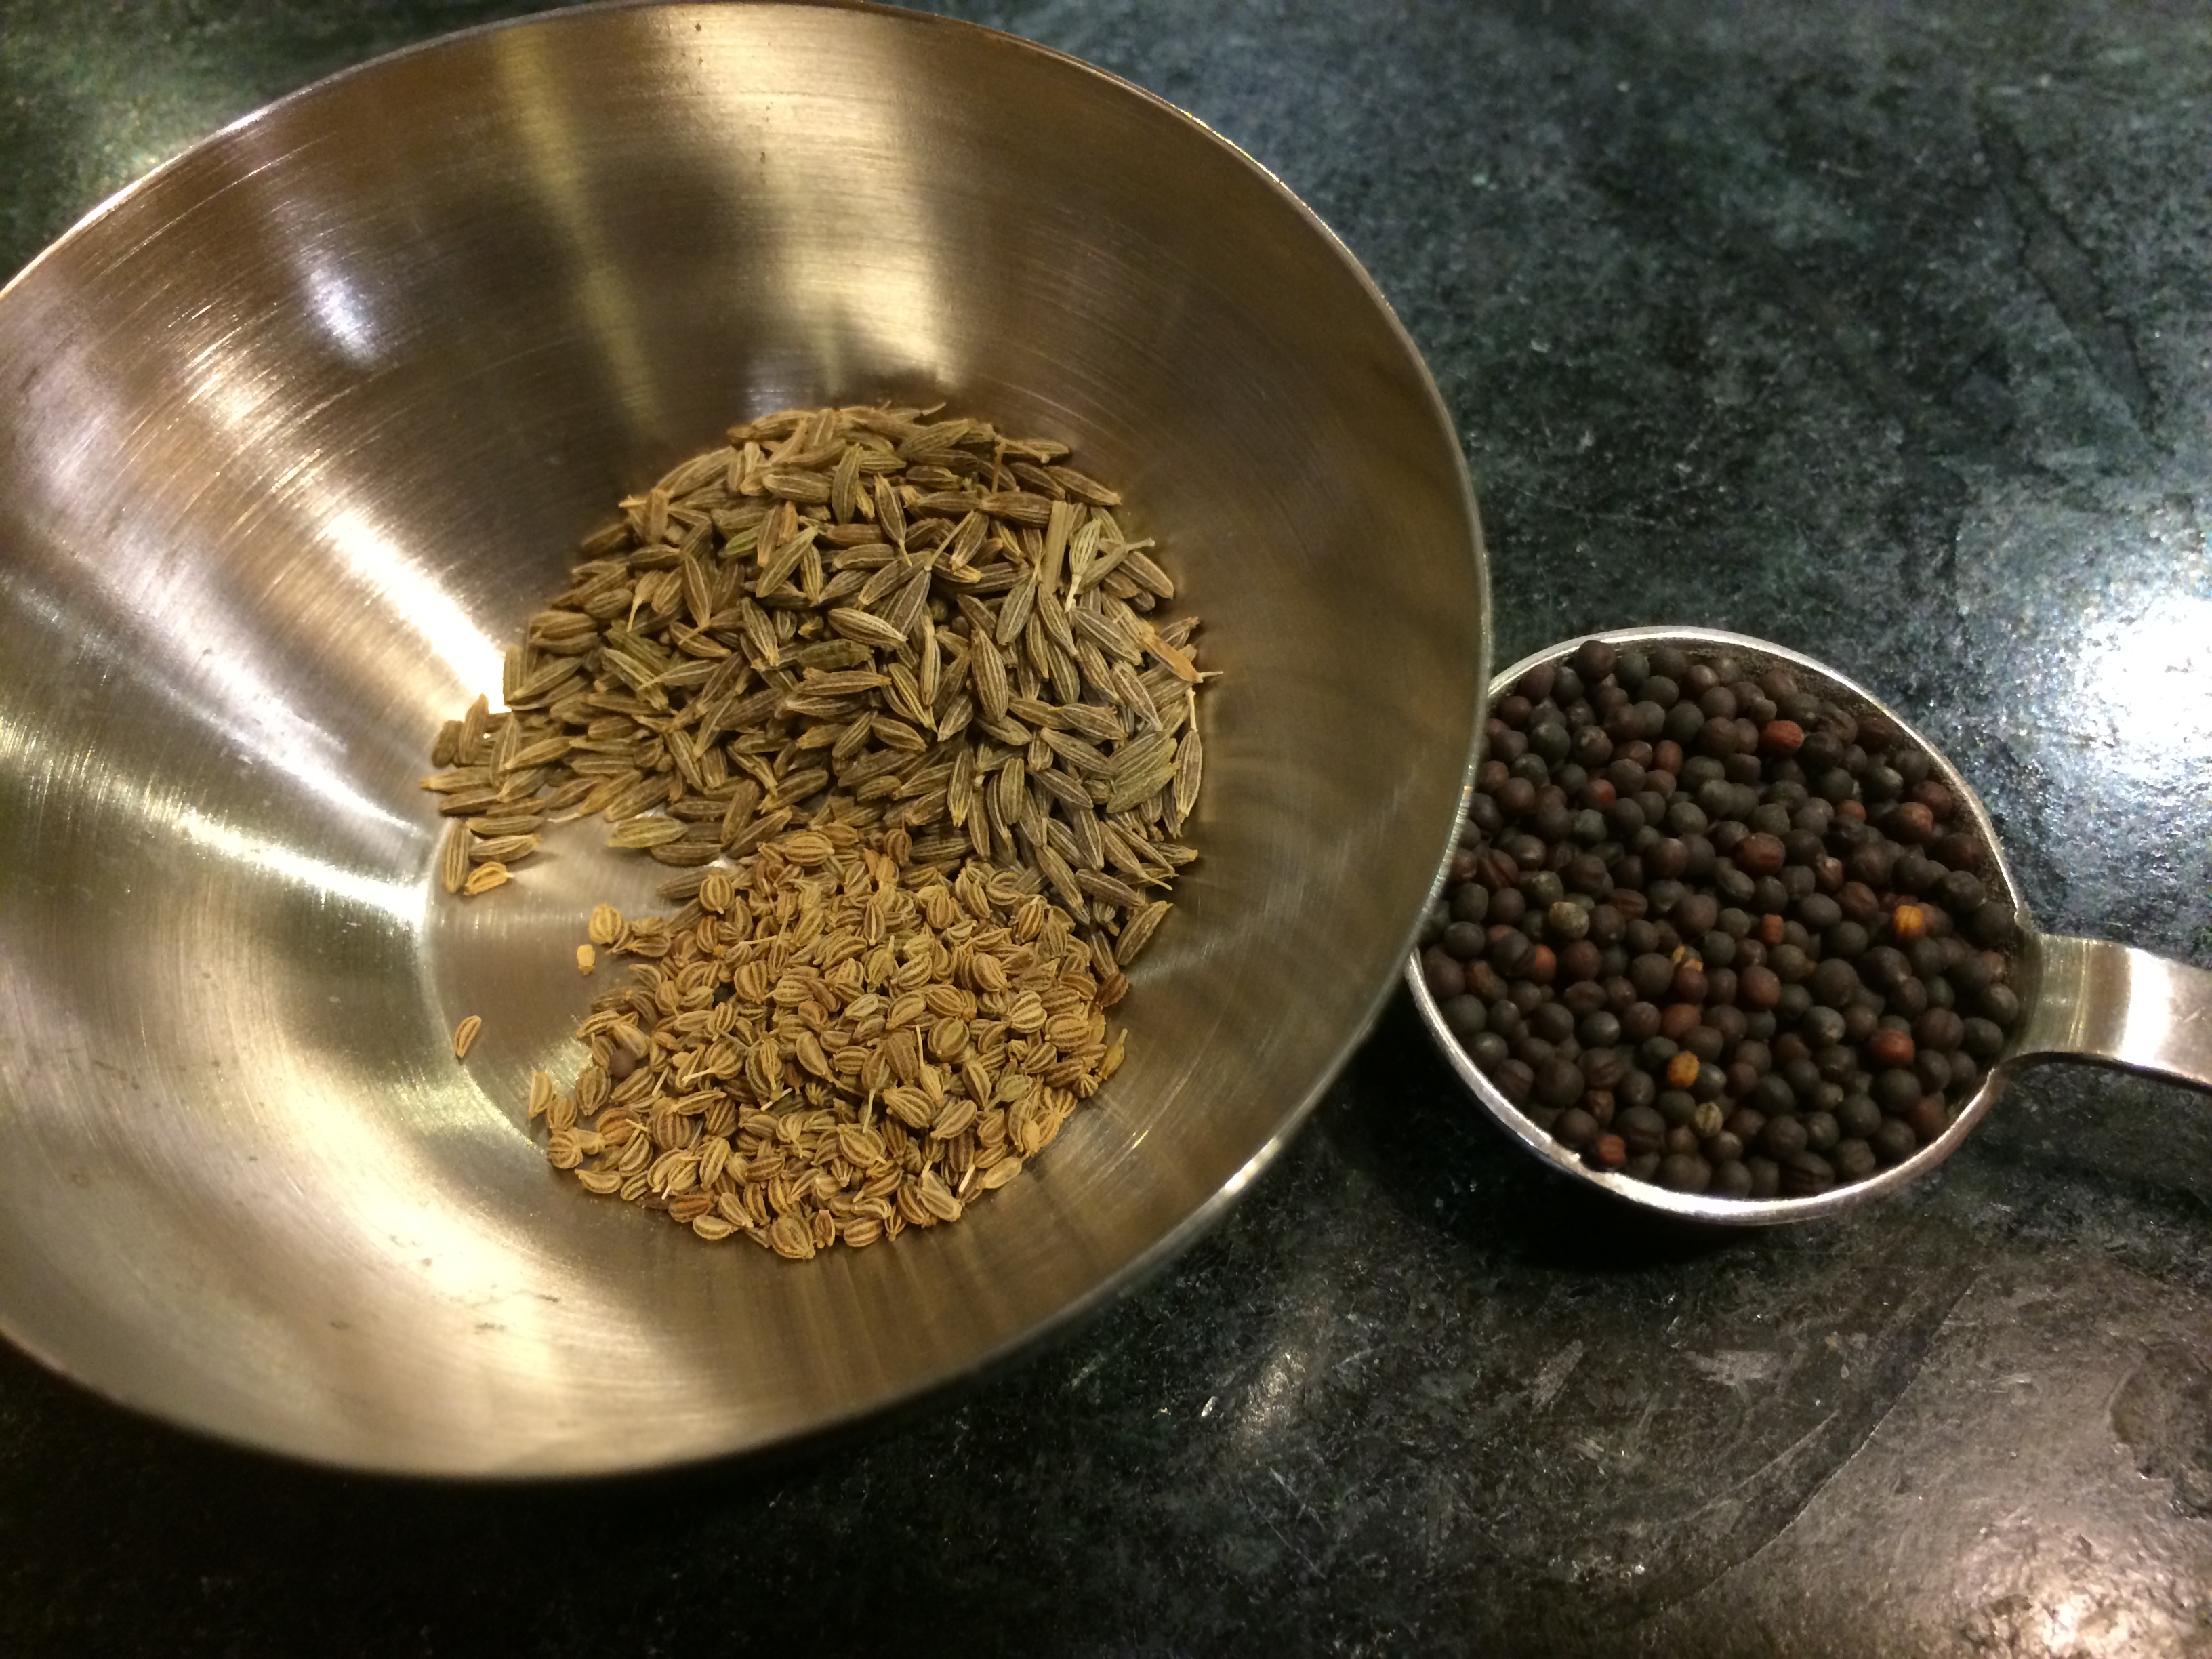
  • 1/4 teaspoon ajwain (carom) seeds
  • 1 teaspoon cumin (jeera) seeds
  • 1 teaspoon black mustard (rai) seeds
  • 1 teaspoon salt
  • 2 tablespoons oil
  • 2 cups water
  • For garnish: dry mango powder or lemon juice, more red chili powder, minced cilantro.

Method:

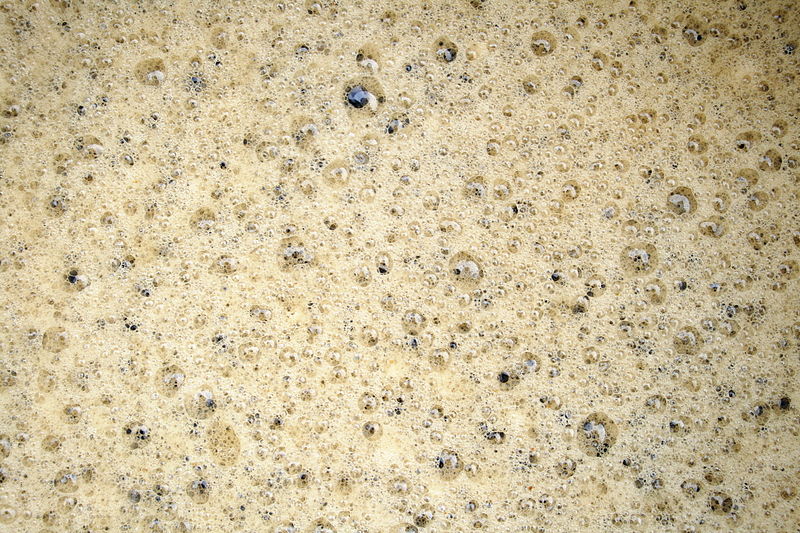
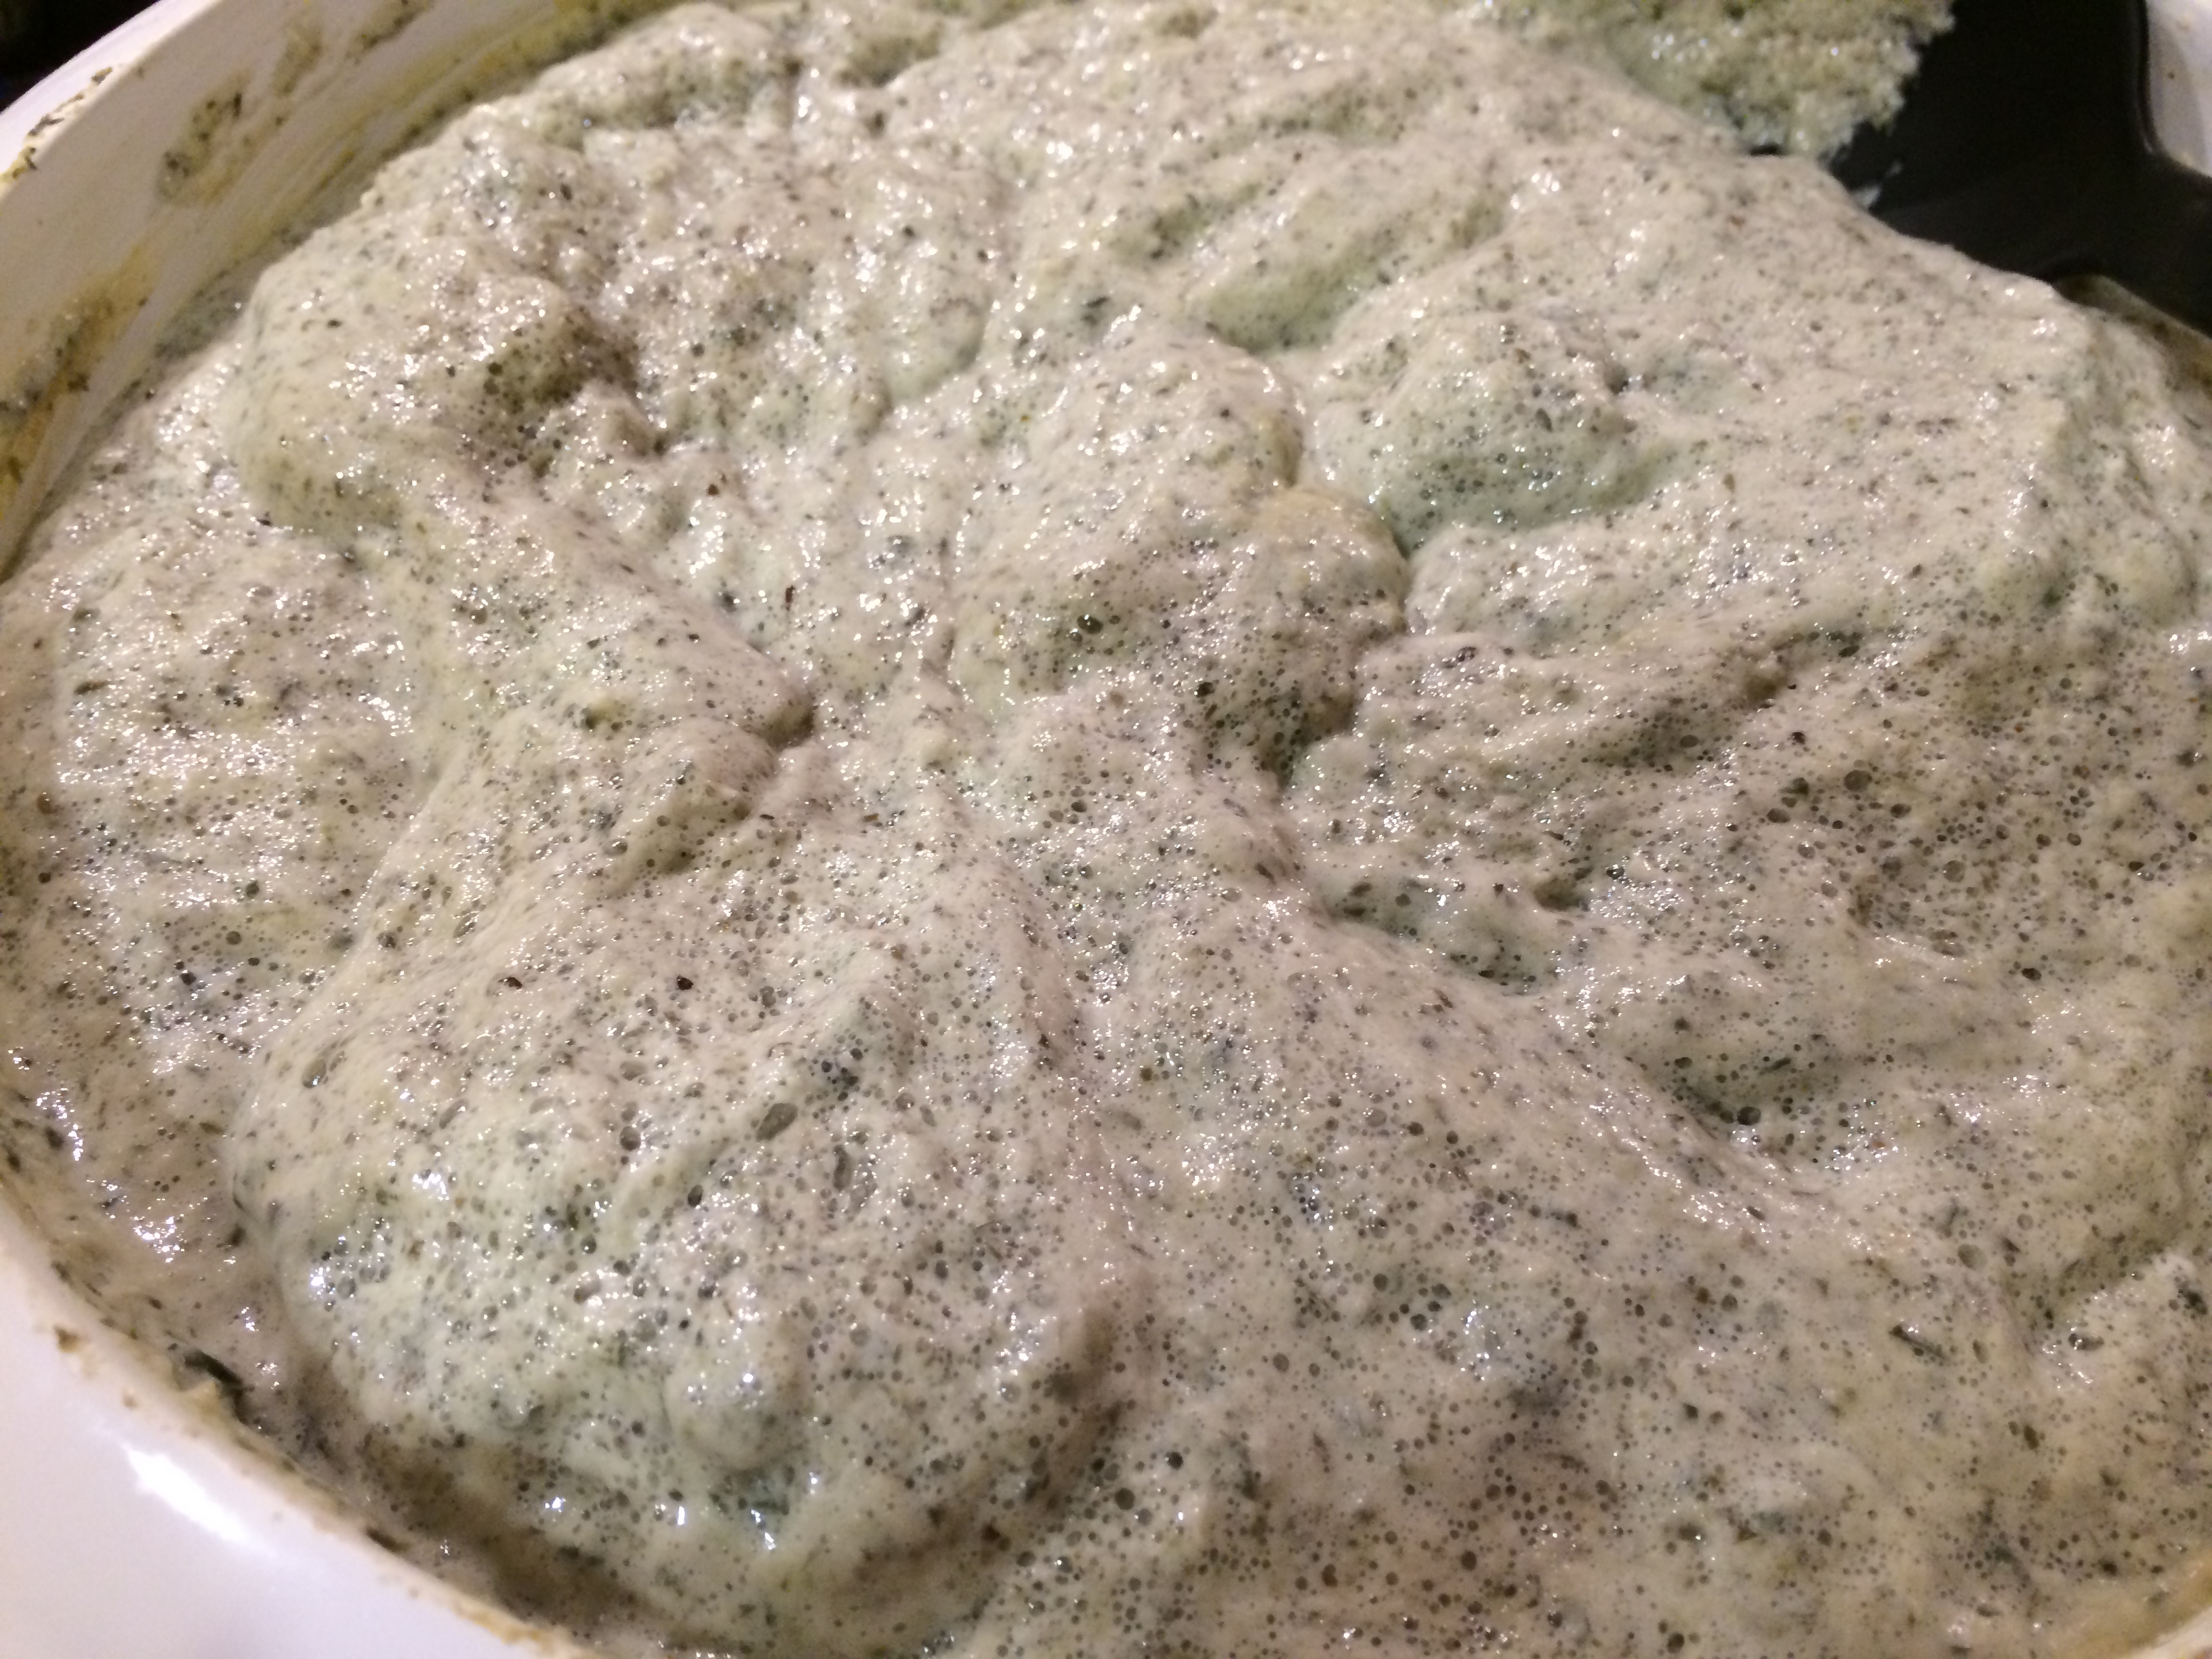
Rinse and drain the mix of dals in plenty of water. Put the dal in a pot along with 2 cups water and the turmeric. Bring it to a boil with the lid off; once it foams up heartily you can lower the heat to a simmer, partially cover with a lid and leave it for 35 to 45 minutes. At this point it should be softened. Add the salt.

IMG_0814 IMG_0815 IMG_0816

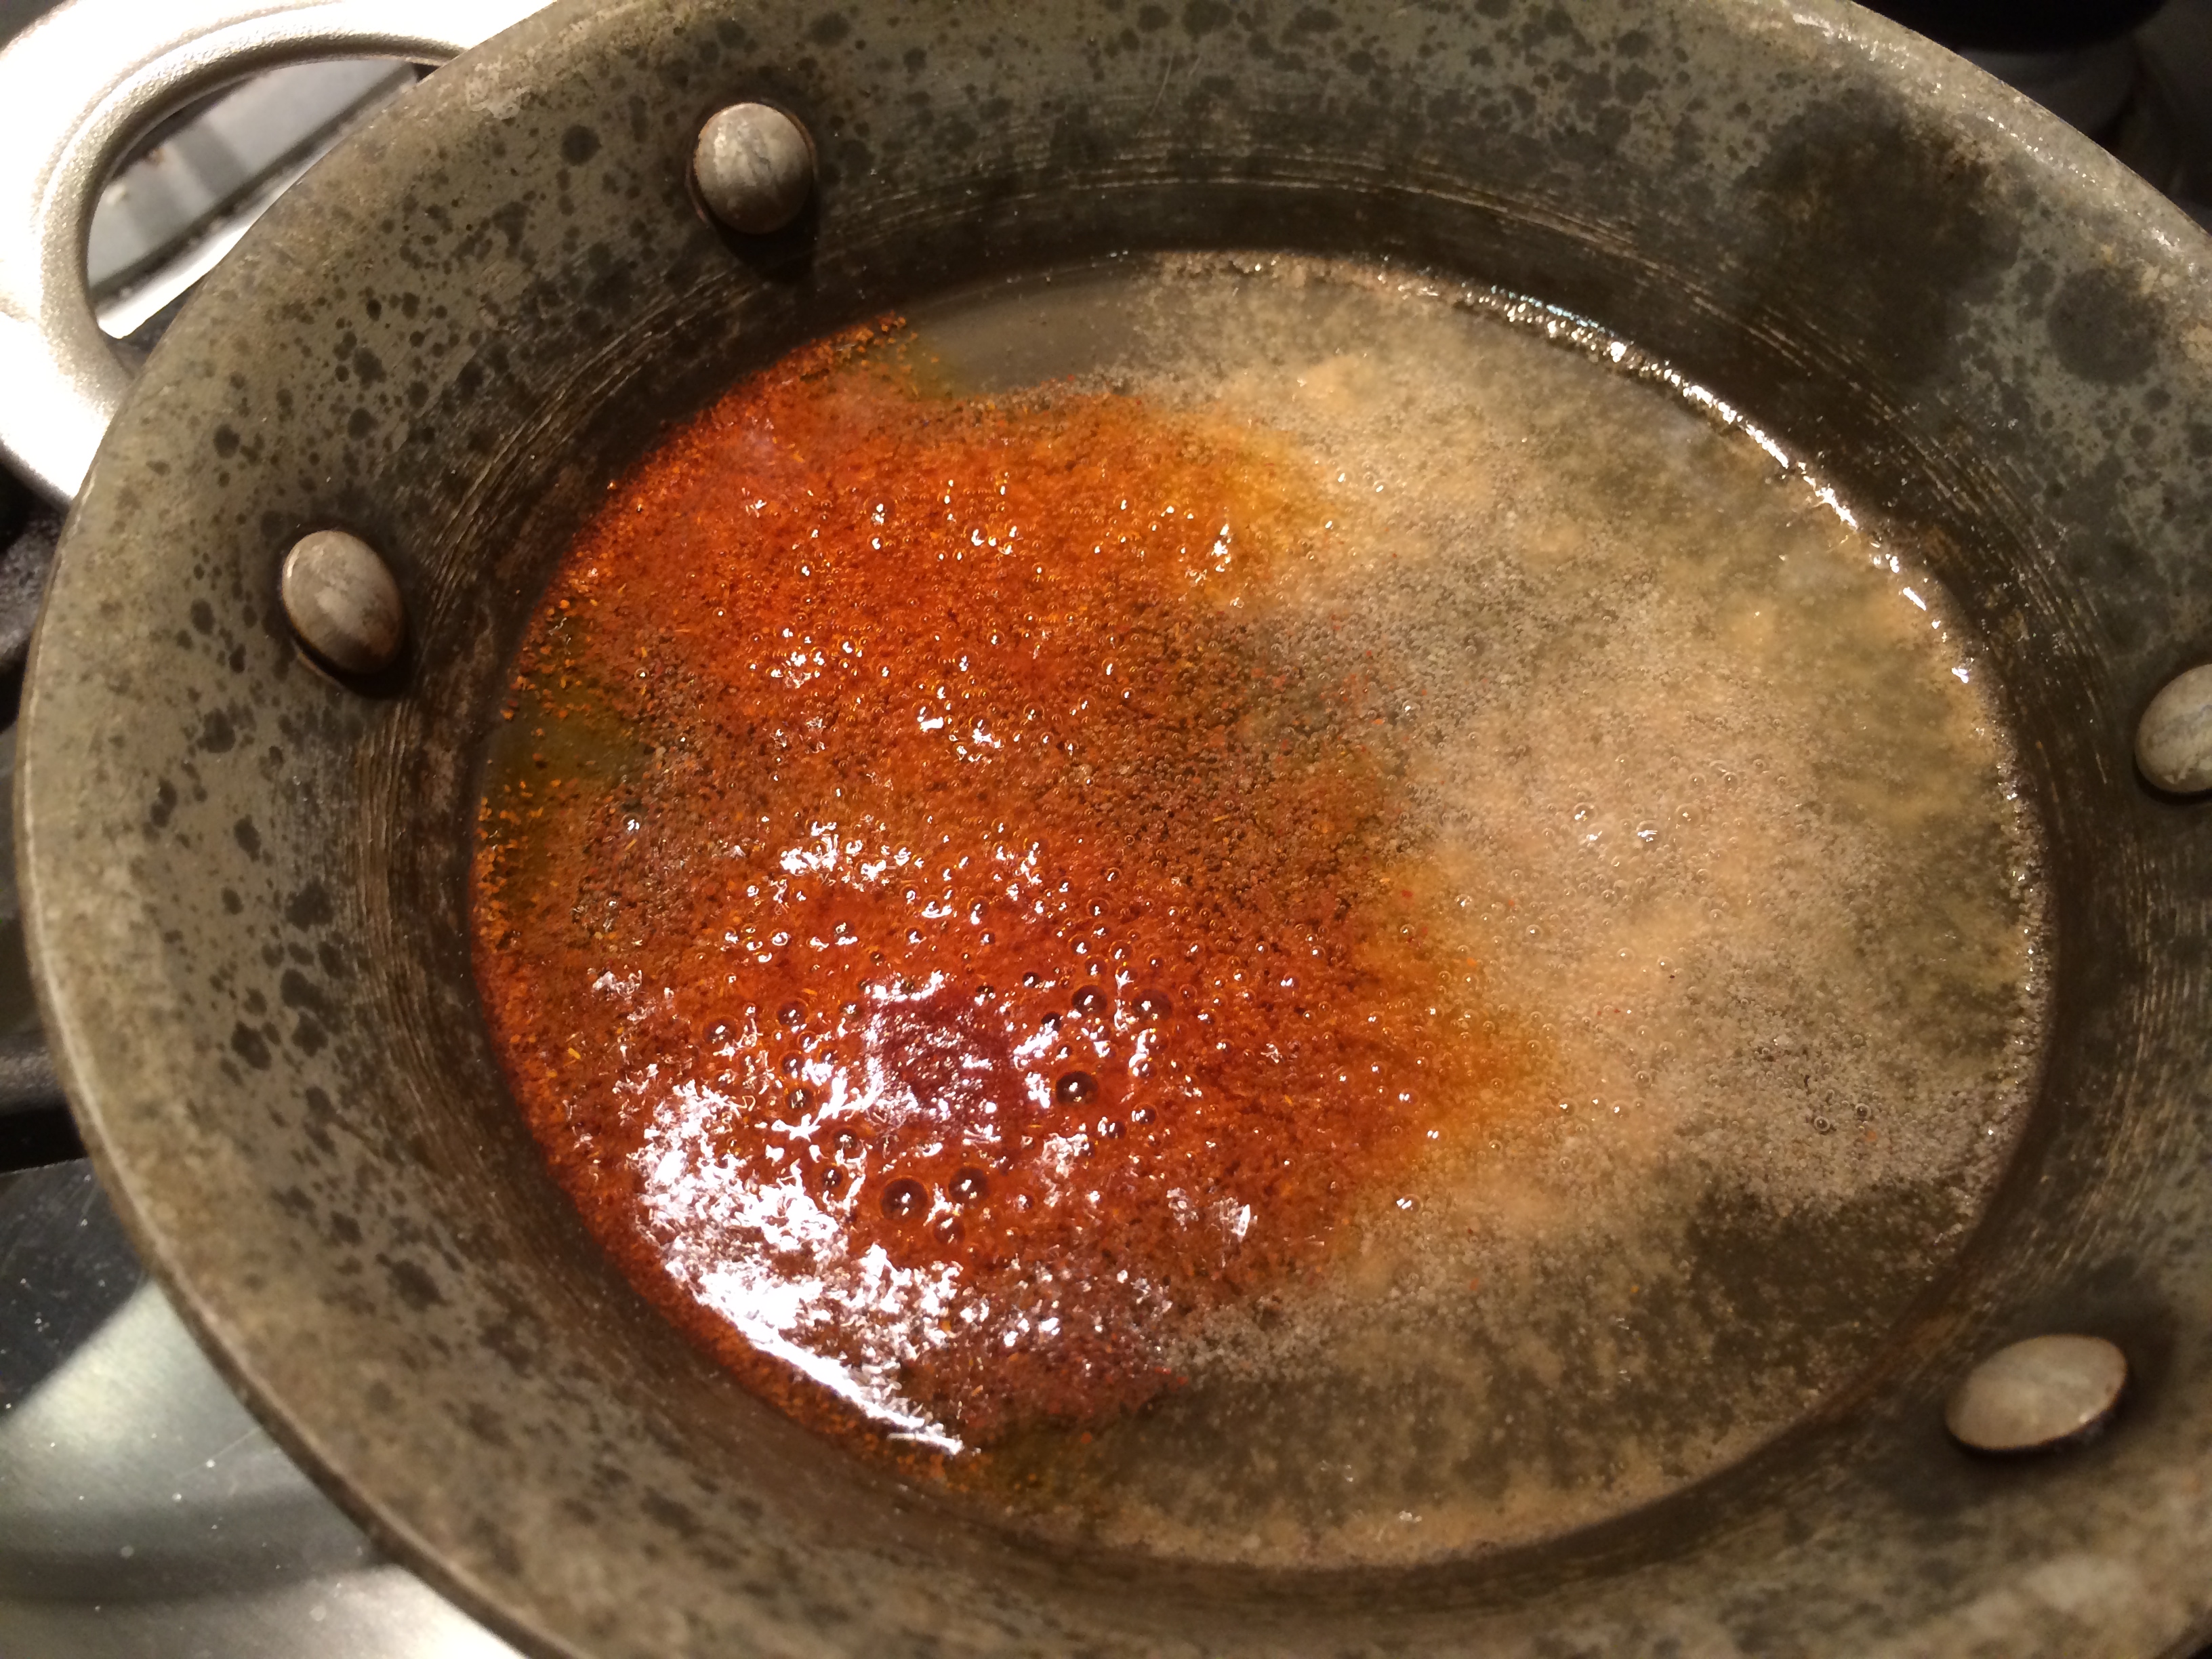
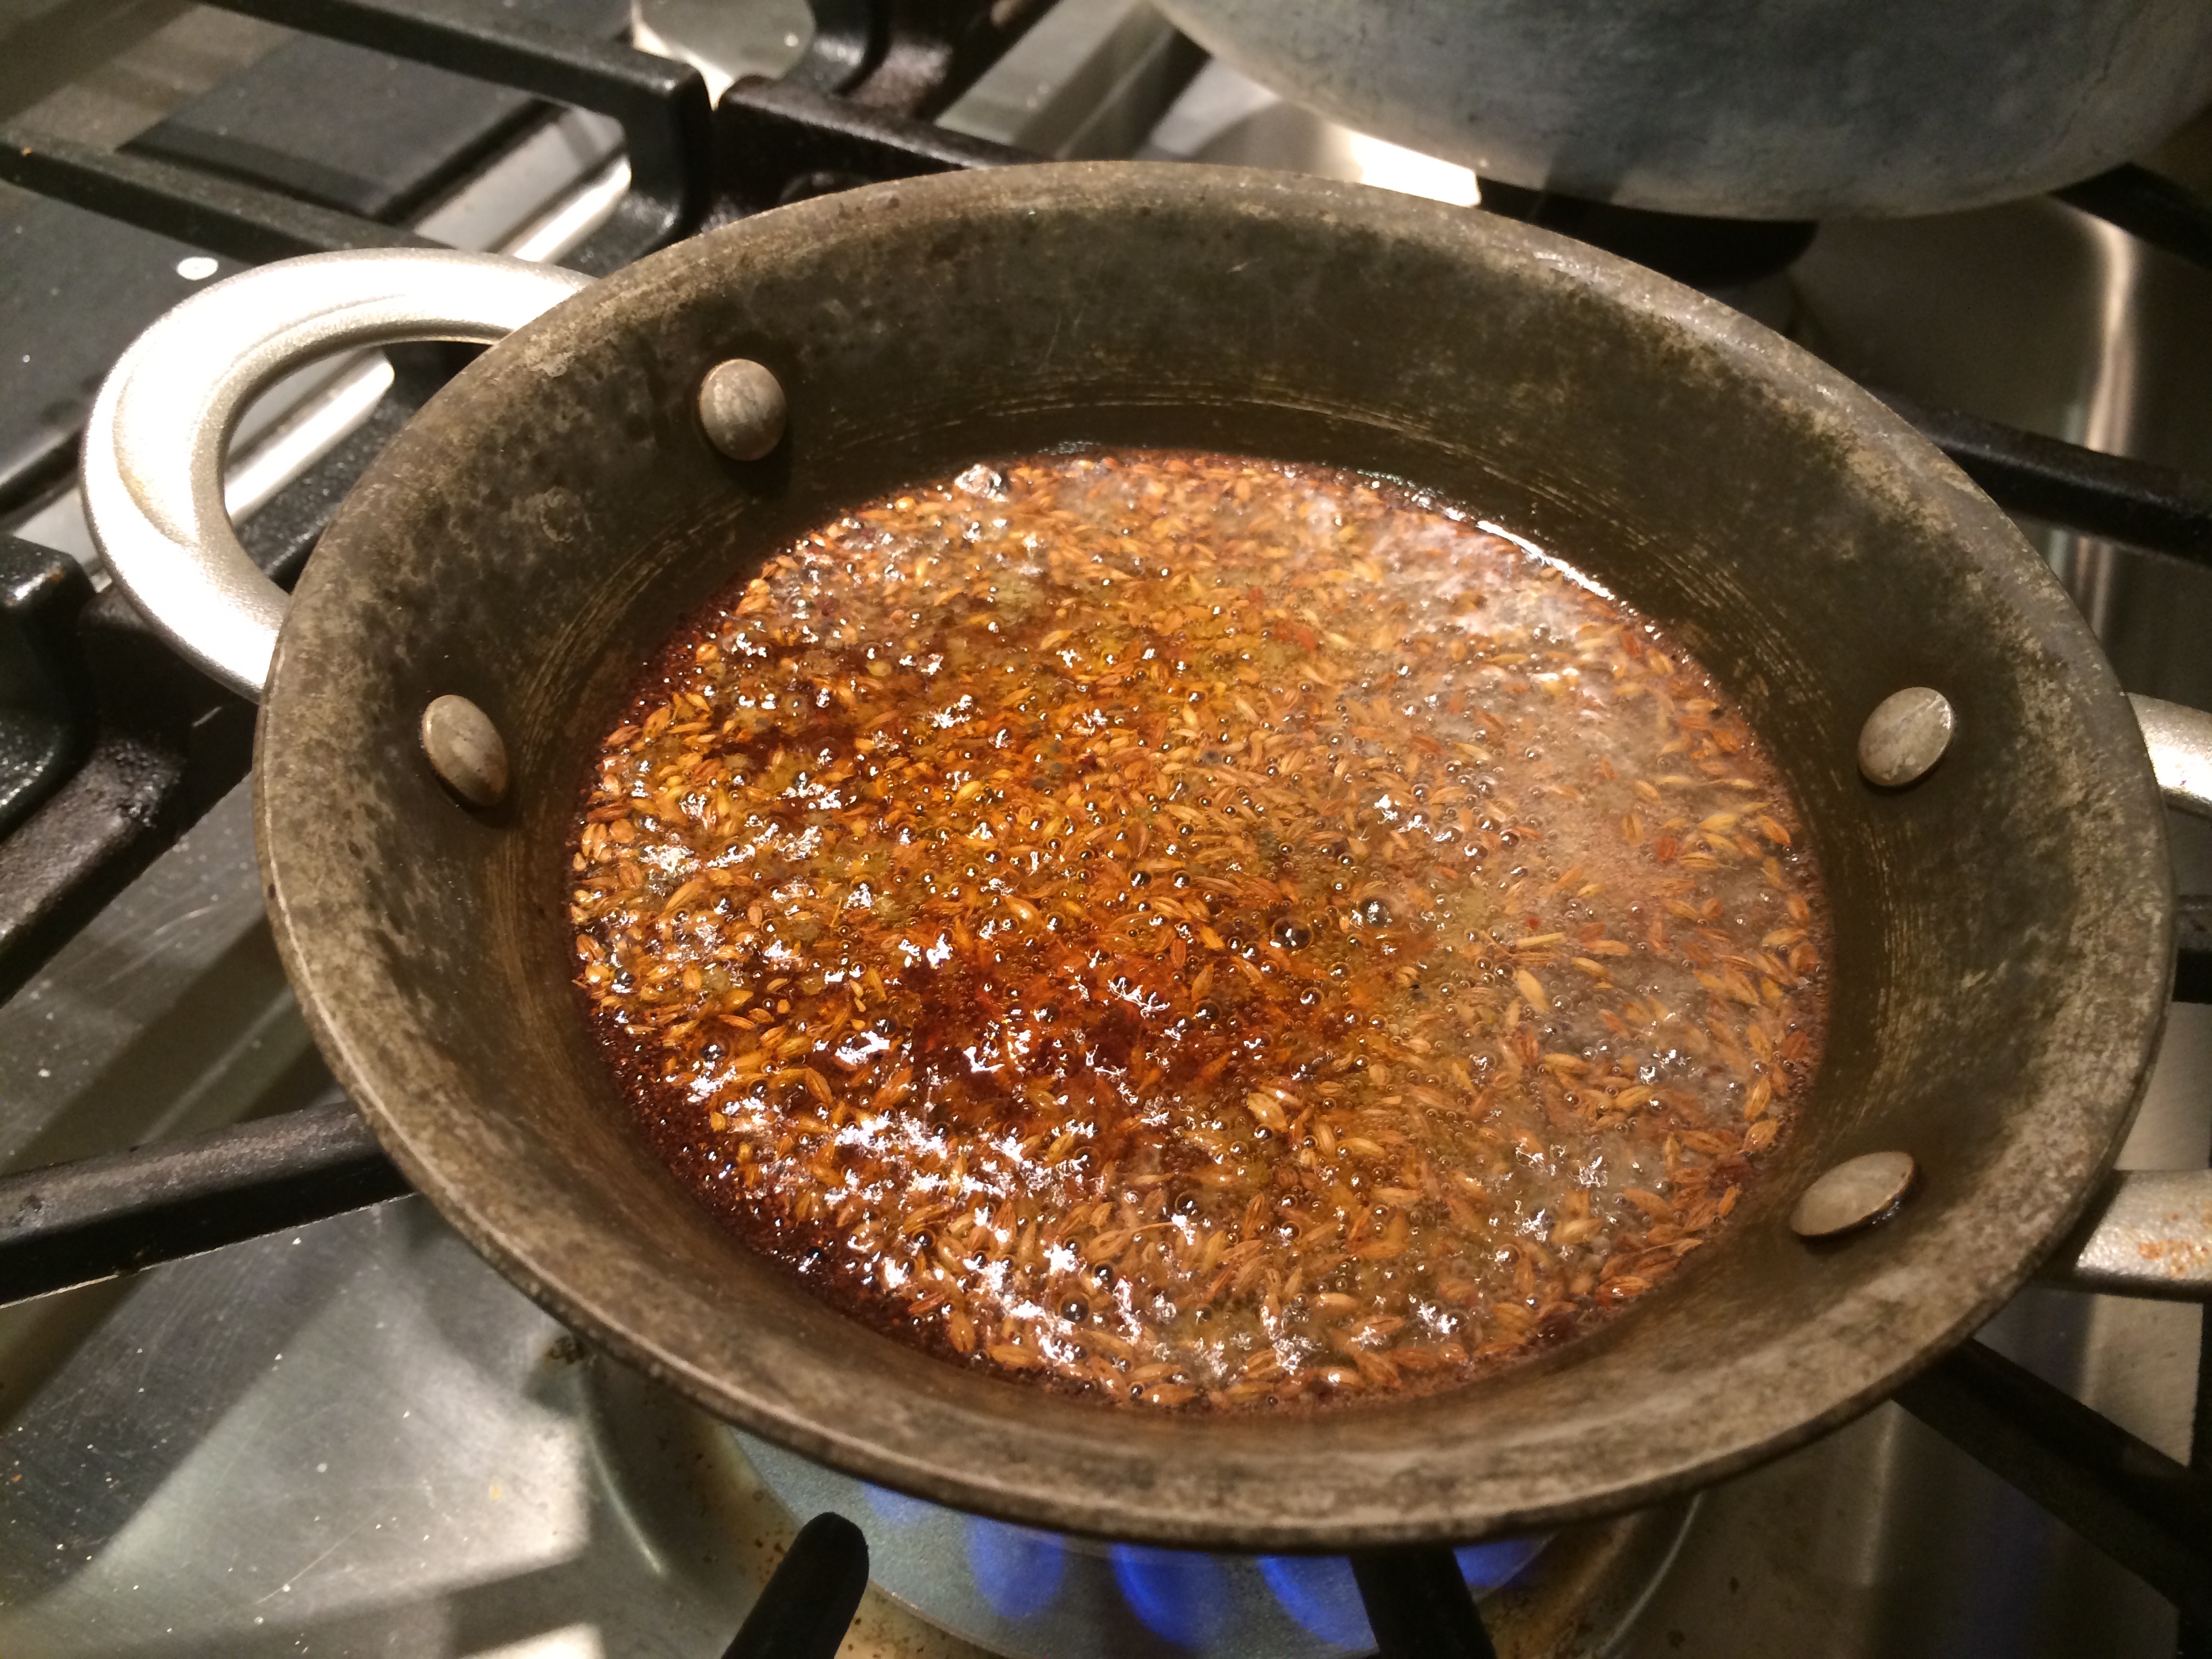
Heat the oil in a thick-bottomed pan. When it shimmers add the asafetida and the red chili powder; when they foam add the cumin and the carom seeds; when they sizzle add the mustard seeds; when they pop turn off the heat and pour the oil into the dal.

IMG_0817 IMG_0818 IMG_0819 IMG_0820

Stir and taste for salt. At this point your dal is ready, all that is left is the garnish. I have suggested some but feel free to experiment!

IMG_0822

Avocado Relish

There are some Westerners who go to India and fall in love with being Indian. They make all sorts of claims about their souls being Indian, or having been Indian in some previous life time; and, if you think about it, there couldn’t be a better proof of feeling Indian than throwing around claims about previous life times. Some start to wear rudraksha beads and saffron robes. The more extreme among them might take on a Hindu name.

We have all met at least a couple such people; if not, visit your nearest ISKCON and you will. But today I will introduce you to one such friend of mine — the avocado.

This fruit with buttery green flesh is native to Mexico. To me, the taste of the avocado has always been reminiscent of the flesh of young coconut: the kind you stick a straw in first to drink up the water and then the coconut-wallah scrapes the flesh off from the inside and hands it to you, using the shell as a bowl.

But stick it in a saffron robe and you would think this fruit was born and raised in India. It takes well to a number of Indian preparations. Mix it with yogurt to make a raita. Stick in a paratha. Spice it up to make chutneys. As I experiment I will be blogging about various Indian treatments for the avocado. But today, I will make that quintessential fresh accompaniment to rich and heavily spiced food — the kachumber.

Kachumbers are little salads or relishes that emphasize freshness and coolness. A bite of this is supposed to freshen your mouth during the meal. It usually consists some combination of onion, tomato, cucumber with lime juice. Try it with avocado, as below; it brings the taste of kachumber up to lusciousness.

This makes enough as a dinner side for two.

Avocado Kachumber

Ingredients:

  • Half an avocado, large, diced
  • Quarter cup finely diced red onion
  • Quarter cup finely diced tomato
  • One third cup finely diced cucumber
  • 1 green chili, serrano or jalapeno, finely diced
  • 1-2 teaspoon minced cilantro
  • Juice of one lime or lemon
  • Half a teaspoon salt

Method:

Couldn’t be simpler. Mix it all up! We had this as a side to fish and rice.

IMG_0693IMG_0695

Post script: Although I first tasted the avocado only after I came to California, where it grows easily even in home gardens, it turns out that avocado grows in India as well, under the guise of butter fruit. It seems to be known mostly in the south, and is only available during August and September. It also has trouble hitting that right moment of ripening — sometimes the fruit rots before getting there. But if you see it, do purchase it!

Curds and whey

IMG_0087

I have before rather blithely thrown around assertions about how easy it is to make yogurt at home. Room temperature, time, blah. blah. So, madam, how about you put your money where your mouth is, hunh? Hunh?

Fine. Let’s do it. And in the process, get answers to a few persistent questions.

Those of you who hire a house cleaner — you know how easy it is to have your house cleaned, right? You prepare the house and leave. They come over, do the job while you are out working, whooping it up, or waiting watchfully outside the door. Come back home and enjoy your clean house.

Did you do any hard work? No — you waited. Of course, you had to hire the cleaners and set things up for them. But you didn’t actually dust a single chair or sweep a single room. Someone did though.

Delegation! That is what making yogurt is about. We delegate the making of yogurt to the lactic acid bacteria. We ourselves do nothing but wait while they are about their task. Of course my analogy breaks down somewhat because the lactic acid bacteria are not really hard at work with their dustpans and brooms, but rather simply enjoying a meal. It is as though you hired house cleaners to come over and dine at your house, and magically when they were done eating, your house sparkled.

Yogurt-making process

Yogurt-making process

The picture above describes the process.

  1. Milk is full of two kinds of proteins floating about in the liquid — casein and whey.
  2. It also has a special type of milk sugar called lactose
  3. We add in yogurt starter, which contains lactic acid bacteria. They simply love to dine on the lactose
  4. As they do so, they give out lactic acid
  5. The lactic acid amount in milk builds up over time, turning the whole thing somewhat acidic (sour) — you see how it turns yellow?
  6. In that acidic (sour) environment, the casein knots of protein relax and spread out into long strands. Once they are all open they knit with each other into a web that traps the whey proteins and the liquid in milk. This is why the curds are jelly-like.

The experiment

Enough theory. Let’s get to action. In my home in Bombay we made a batch of yogurt every night. Most times it was delicious but every once in a while we would have a runny mess that us kids refused to eat. What went wrong? I have also made yogurt at home in California many, many times. Sometimes with spectacular success. Other times not. Why?

IMG_0075 IMG_0081 IMG_0086 IMG_0089

The ideal yogurt recipe is this: Heat milk to 185 F (scalding), wait till it cools to 110 F (warm). For each cup of milk, add a tablespoon of whipped yogurt and stir. Keep it warm for about 8 hours.

But what happens if you add less starter? What if you skip the step of heating to scalding first? Will room temperature work, just take longer? Time for…

The experiment! I made 7 cups of yogurt:

Cup 1: Left at room temperature to set, not scalded first, one tablespoon starter

Cup 2: Left at room temperature to set, scalded to 185 F first, half tablespoon starter

Cup 3: Left at room temperature to set, scalded to 185 F first, one tablespoon starter

Cup 4: In warm oven to set, not scalded first, half tablespoon starter

Cup 5: In warm oven to set, not scalded first, one tablespoon starter

Cup 6: In warm oven to set, scalded to 185 F first, half tablespoon starter

Cup 7: In warm oven to set, scalded to 185 F first, one tablespoon starter

The Results:

The most important factor that good yogurt depends on is warmth while leaving it out to set. In my home in San Francisco room temperature is around 70 F. The first 3 cups, that were left out on the counter to set, turned out terrible. It took 2 – 3 entire days for them to set, and those that eventually did, had by then developed off flavors. Cups 1, 2 and 3 ended up down the drain. To avoid that fate, yogurt must be set in a warm environment!

The second factor that mattered was whether milk was scalded up to 185 F first, then cooled, or was it just warmed up to 110 F directly. Funny thing is, yogurt formed either way. But the yogurt that formed when milk was scalded first was firmer with a more even texture. The reason for this is: when milk is scalded, some of the whey proteins get relaxed (denatured), and they help the casein proteins form a more even web, rather than clustering together. The actual effect of this is that when milk has been scalded first, the yogurt is firmer and more even, while if it hasn’t been scalded, the curds are more clumpy and separate from the whey.

The third factor — whether we used one or half tablespoon of starter, hardly seemed to matter at all. If the other two things were done right, you could not detect a difference. For the borderline cases, one tablespoon helped it some. It did not solve all problems though.

The Ideal Yogurt:

Now I am equipped to give you the most ideal yogurt recipe as tested by my household.

Start with whole milk. And if you are starting with store-bought yogurt, make sure it says ‘live cultures’. Warm up an measured amount of milk till the point it starts to rise and foam up. Turn it off. Wait till it cools down to just lukewarm. If you want to be precise, the first temperature is 185 F and the second temperature is 110 F.

IMG_0077

Fine. Turn on the oven to about 150 F or so. Turn off as soon as it reaches that, and turn on the oven light. Leave it on. Put the milk in the jar that you want the yogurt to set in. For each cup, put in a half tablespoon of stirred yogurt and stir to meld. Cover and leave in the warm oven for at least 6 hours. In 8, 10 or 12 hours, it will turn more and more sour, so it depends on your preference. Store in the fridge thereafter.

I have often woken up in the morning and, completely forgetting I have yogurt setting in the oven, turned it on with melted plastic lids, ruined yogurt and other disastrous results. So now, I use oven-proof glass Weck jars, and put a sticky note on the oven to remind myself.

IMG_0084

No more accidents. Just good creamy sour yogurt which is not accidental at all.

Exercise your right to choose — the chili

There there, I know what ails you. You love the smoky flavor of dried red chilies, but their heat makes you run for the jug of water. It may also give you the runs. You curse the American continent for inventing these pods of TNT. You wish that you could turn into a bird, not so that you could then fly, oh so free! — but because then you would lack the pain receptors for capsaicin that you share with other mammals.

Don’t worry, I understand! You can cry on the shoulders of Aunt Odd Pantry.

Chili pods drying

Chili pods drying

And still, the flavor of chilies haunts you! How to get one without the other? There is a way! You see, just like some countries invest heavily in defense (like my home, the United States), while others have to expend so much energy to just survive in the desert that they don’t have much left over for defense (like Dubai in the UAE), chilies come in two styles as well. Chilies that grow in wetter climates, where their sworn enemy (the fungus Fusarium semitectum) grows easily, invest a lot in defense and become hotter. While chilies that grow in drought conditions have to be more judicious in how much heat they develop. The arch enemy — the fungus — is less of a problem in drought anyway, because it needs wetness too.

The hottest chilies in the world are the bhoot jholokia from Nagaland, India and the Trinidad Moruga Scorpion — both come from very wet climates.

But then there is the panoply of larger, not-hot chili peppers — the pasilla, the Kashmiri, the ancho — that can be added to the mix to add flavor and color but not the heat. They thought of everything.

Anaheim Chilies from About Mexican Food

Anaheim Chilies from About Mexican Food

This dish in particular is based around that smoky flavor of chilies. Tomatoes and garlic play a supporting role. Yogurt is used to moderate the taste further. Like several of my other recipes, this is a gravy that one can throw anything into. It goes very well over rice, or with chapatis, or dosas, for that matter.

The recipe below makes enough for about 6 people.

Chili-tomato gravy

Ingredients:

  • A few big, mild chilies — I used 4 Kashmiri
  • A few small, hot chilies — I used 5 cayenne
  • 8 cloves garlic
  • Quarter cup cilantro — I used some thick stems I had left over
  • 3 medium tomatoes
  • 1/3 cup plain yogurt
  • 2 tablespoons oil
  • Half a teaspoon turmeric
  • 1.5 teaspoon salt

Method:

This proportion of mild to hot chilies gave me a pretty hot gravy. Feel free to use a different proportion, from no hot chilies at all to all hot chilies. You better know what you are doing if you choose the latter.

Heat a roasting pan on medium-high and place the dry chilies on it for a few minutes until they darken. Remove them to cool for a few minutes. When they are cool enough to handle, you can destem and deseed them. Grind them to a fine powder in a clean coffee grinder.

IMG_0298 IMG_0299IMG_0300

Make a paste of garlic, cilantro and chili powder, adding as little water as you can get away with.

IMG_0302 IMG_0303

Heat the oil in a thick-bottomed pot. When it shimmers put in the paste. Stir and let it cook until it darkens, on medium heat. Soon you will see the oil shimmering and the paste will seem drier and yet shinier. Then you know it is done.

IMG_0305 IMG_0306

Now whip up the yogurt and swirl it in. Stir and let that cook as well. In a few minutes, it will have properly merged with the paste and become homogeneous. Now it is time to put in the roughly chopped tomatoes.

IMG_0309 IMG_0311

At this point the paste is probably so liquid that you can raise the heat to highish. Let the tomatoes liquefy and boil off mostly. Add the turmeric and the salt. At this point, the basic gravy is done.

IMG_0312 IMG_0314

Add anywhere from a half cup to one-and-half cup of water to allow it to boil for a few minutes; also, by controlling the amount of water you are controlling what sort of dish you want it to be. If you plan to add some potatoes to it and have it over rice, for instance, you could make it more liquid, because potatoes will have their own thickening starch. If you plan to add chicken bite-sized pieces, and want a drier sauce around it, you can skip the water entirely — the chicken will let out some of its own liquid.

As you might have guessed, now is the time to make a dish out of it by adding whatever things you want to this sauce. Care must be taken to make sure that whatever you add will have similar cooking times. One trick is to precook the vegetables in a microwave and then add it in to blend.

Here are some ideas:

  • Chicken breast cut up with cilantro garnish
  • The ever-popular paneer blocks with peas
  • A combination of small cut up vegetables: carrots, peas, cauliflower, bell peppers, french beans, potatoes, raisins.
  • Fillet of strong-flavored fish, covered with the sauce, and simmered until done

This is what I did with it — paneer and peas.

20131224_192020

You say potato pancake, I say aalu tikki, she says kartoffelpuffern

Potatoes take supremely well to crisping up in oil. The brown crunchy coating that they develop, given enough oil and heat, is quite beguiling. Then again the insides consisting of the potato itself tends to be quite bland, so needs some help in the taste department. Also, potato does not hold itself together while frying, so it also needs some help in the ‘having integrity’ department. A conscience? No, a binder.

I have basically described an aalu tikki — a cake of mashed, spiced potato that is bound with some bread and fried in oil. This is a common Sindhi dish, eaten as an appetizer, a side, or an evening snack with possibly some sweet and hot chutney on the side.

My first clue that cultures have discovered this basic paradigm over and over came from a Swiss girl who interned at my work place. Invited over to our home for a meal, she spied a plate of aalu tikkis and said — ‘kartoffelpuffern!’ Kartoffel — potato, puffern — cake. Till today, this pair consists of the only German words I know.

Another such concoction is the Eastern European/Jewish latke. Here the potato is grated rather than boiled and mashed, and clearly the Indian version is more spicy, but the end result is similar. Latkes are traditionally eaten at Hannukah; we are a little late for that, but nice and early for the next one.

The recipe below makes about two dozen tikkis.

Aalu Tikki

Ingredients:

  • 3 russet or other starchy large potatoes
  • 1 tablespoon salt for boiling
  • 3 slices bread. It should not be sweet. I used crusty sourdough.
  • 1 tablespoon chaat masala, substitute with dry mango powder, substitute that with lime juice
  • 2 teaspoons coriander powder
  • 1.5 teaspoons salt
  • Quarter to half cup finely chopped onion
  • Quarter to half cup finely chopped cilantro leaves
  • 3 – 4 finely sliced fresh chilies, if you are cooking for kids you can leave them out.
  • Up to half a cup of oil

Method:

Boil the potatoes in about 3 – 4 cups of water. Put them in cold, add about a tablespoon of salt to the water, bring to a boil, and simmer, covered, till the potatoes are soft. I used a pressure cooker and it took about 10 minutes under pressure. Drain the potatoes when done and peel them when cool.

IMG_0270 IMG_0272

Meanwhile have the bread slices soaking in water until the crusts are softened. This will take at least 15 minutes. Now, squeeze out the water from the slices and save the bread. This will be used as the binder.

IMG_0274

Mash the potatoes. Once the lumps are more-or-less gone, add in the squeezed bread, the spices, salt, and the minced vegetables. The point is to mix this stuff nicely into a mostly homogeneous dough. I have found that this works best with your hands. There is no other kitchen implement that has five rubbery prongs with such fine control, plus the strength of the heel of your hand.

IMG_0276 IMG_0277

Anyway. Once the dough is ready, one is ready to fry them. Form small fistfuls of the dough into flying saucer shaped disks and save them on a plate. Clearly this must be done by hand, but oil your hands first to get it to not stick.

IMG_0278

Heat two tablespoons of oil at a time in a large, flat, thick-bottomed, non-stick pan. Once it is shimmering, put in as many disks as will fit in a single layer with gaps around. Flatten and spread them with a spatula somewhat. This is best done on high-ish heat with enough oil bubbling away beneath; in this configuration each side should take about five minutes.

Flip each tikki when it is browned underneath. Add more oil for this side. Five minutes on this side should suffice as well.

IMG_0280

Remove them and place on a paper towel to soak up the extra oil.

These are best eaten fresh, with a bit of chutney or ketchup on the side; if you like sandwich a tikki between bread slices and have it that way.

Yellow garlick rice

IMG_0170

Yes I know there is a misspelling in the title, I just like the way that looks. Please direct all complaints to: The Editor, The Odd Pantry, Internet.

This is a simple rice preparation that looks quite grand (some people will mistake the yellow as coming from saffron which is the world’s most expensive spice). But it is simple enough to do for an everyday meal. Basically, use this recipe when you want to do a minor feast; not, for instance, when you have the Prime Minister of Senegal over.

Yellow garlick rice

Ingredients:

  • 1 cup long-grained rice
  • 3 – 4 cloves of garlic, minced
  • Half a teaspoon turmeric
  • Quarter teaspoon salt
  • One tablespoon oil

Method:

Rinse the rice once and soak it for about 10 minutes to half hour. Drain the soaking water.

Heat the oil in thick-bottomed pot. Put in the garlic and the turmeric when the oil shimmers and stir it around for a couple minutes until the garlic looks shriveled. Now put in the drained rice and the salt, and stir to coat the grains with oil. Most of the grains will start to look opaque once they toast in the oil.

IMG_0167 IMG_0169

Put in one and a quarter cup of water and bring to a boil, covered. Turn it down to a simmer, tightly covered, and let it simmer for about seven minutes. Turn the heat off and leave it covered, in place, for about ten more minutes. This last step of waiting ensures that the collected steam is absorbed by the rice.

If you like, fluff with a fork before serving.

Variation: If you like, throw in a quarter cup of frozen peas before bringing to a boil. It will look a little fancier and be tasty too.


Licky spice mix

Sometimes exact translations don’t quite work, do they? Subtle thing, this language business.

Anyway, ‘chaat masala’ — so named because it is supposedly so delicious that one wants to lick — it? your fingers? — at any rate, one wants to lick some indeterminate thing — is today’s topic. ‘Chaat’ means ‘lick’ and ‘masala’ means spice mix in Hindi. Chaat masala is sprinkled on all manner of delicious snacky, faintly junky food, that are often eaten at street vendor stalls in the warm evenings while out on a stroll with your pals. In fact, many would claim, chaat masala is often responsible for the deliciousness. Making one want to lick stuff, is the key.

Here is the mix I use in my kitchen. I always have a jar on hand and hate myself when I don’t. So don’t be that person, and do make this mix.

Modified from 1000 Indian Recipes by Neelam Batra.

Chaat masala

Ingredients for chaat masala

Ingredients for chaat masala

Ingredients:

Method:

I realize that some of you will have to make a trip to an Indian grocery (if you live outside India) to collect these ingredients. Just be sure you don’t come back with a ready-made mix of chaat masala, though that will probably be available too, because that will wreck the whole point of this post.

Heat a small thick-bottomed pan on a medium-high flame. When it is hot put in the whole spices (cumin, black pepper, carom) — individually, because each of them will take a different amount of time to roast. Stir gently, and roast each spice for a couple minutes until they turn a shade darker. Empty into a bowl.

Stuff 021

Using a clean coffee grinder, powder the three whole spices. Then pour into a clean jar with a funnel along with the other three already powdered spices — asafetida, black salt and dry mango powder. Close the jar tightly and shake to combine. Label it and date it.

Stuff 024

The bane of every Sindhi child

IMG_0176

This is a meal that every Sindhi child has made faces over at the dinner table while dawdling over their food. But by the time that Sindhi child has grown up into a Sindhi adult, they begin to crave it with an intensity that is only matched by their craving for home.

When I was the Sindhi child making faces at Sai Bhaji — which translates simply to ‘greens’ — no amount of talking up by my mother about how this meal is a nutritional powerhouse mattered to me at all. Now as an adult (and a mother myself) I’m thinking — a delicious, simple-to-make, nutritional-powerhouse meal-in-a-pot! What’s not to like?

Sai Bhaji is a stewed concoction of spinach and other greens, some lentils, with other veggies thrown in. It is eaten with rice and plain yogurt and possibly something fried on the side.

One of the selling points of this dish is that you can throw in basically any vegetable you have lying around in portions that are too small to make a meal themselves. The taste of spinach and dill is strong enough that all these mini-portions will be swallowed, subsumed, absorbed and spat out as part of the Sai Bhaji empire. Thus adding even more nutrition.

Sai Bhaji (spinach-lentils stew)

Ingredients:

  • One bunch spinach
  • Half a bunch fresh dill
  • Two tablespoons channa dal, soaked for half an hour at least. This post talks more about channa dal.
  • 1 – 2 tablespoons oil
  • One small potato chopped
  • Half an onion, chopped
  • 1 – 4 fresh chilies, jalapeno/serrano/bird’s eye/cayenne
  • Half inch slice of ginger root, minced
  • One teaspoon coriander powder
  • Half a teaspoon turmeric powder
  • One teaspoon dry mango powder (aamchur) or substitute with lime/lemon
  • One teaspoon salt
  • Optional: 1 cup of other chopped vegetables, such as eggplant, zucchini, tomato, carrots, bell peppers, etc.

Method:

Have the channa dal soaking in plenty of water for about half an hour. Wash the green thoroughly in a sink full of water a few times. Chop them up roughly including the stems that are not too woody.

IMG_0163 IMG_0162

Now start layering the dish in a thick-bottomed pot with a well-fitting lid. First, the oil. Then, the onions, chili and ginger. Then, the potatoes, and the coriander and turmeric powders. Then about half the greens. Sandwiched between this and the other half of the greens throw in the drained channa dal. After the last of the greens, sprinkle the salt over, cover, and bring to a boil. The water from rinsing the greens should be enough to cook, or add about a quarter cup if it seems dry.

IMG_0164 IMG_0165 IMG_0166

Once it comes to a boil lower to a simmer and let it be, covered, simmering for about 45 to 50 minutes.

When you open the lid, the lentils should be softened and the greens cooked down a lot. Add the dry mango powder or lime/lemon juice, and mash it with a potato masher or the handy-dandy mandheera.

IMG_0172

mandheera

mandheera

IMG_0175

Warm it through before serving. This is generally eaten mixed with rice and plain yogurt. Three types of rice dishes work well: rice browned with onions, khichdi rice, or yellow garlic rice (recipe forthcoming).

On my plate, I served sai bhaji, rice and yogurt in three neat sides, with some fried taro on the side. My husband however likes it all piled up, like this:

IMG_0176 IMG_0178

Far be it from me to dictate which way you choose to eat it, but you won’t be sorry you did.

Garlic-fenugreek gravy with absolutely anything

IMG_0112

This is a Sindhi gravy that you can throw anything into, and make a wonderful meal, sort of like this gravy. And it is so simple to do, that you will be left wondering if you left out any steps. You didn’t!

Greenish in color from the fresh herbs, it also has the wonderful warm aroma of garlic. The herbs and the garlic together make an intense and unfamiliar aroma that most people are intrigued by.

As for what to put in it — some common Sindhi preparations use okra, or King mackarel fish, or zucchini; I have made a successful combination of paneer and peas in this gravy or potatoes and peas. You also have your choice about how wet or dry to make the result; and whether to have it with roti as a side, or over plain white rice. But use your imagination and let’s get started.

Thoom-methi gravy with potatoes and peas

Ingredients:

  • Half a large red or yellow onion, roughly chopped
  • 3 – 4 largish cloves garlic
  • 3 (or to taste) fresh chilies, jalapeno, serrano, bird’s eye or cayenne
  • half a bunch of cilantro, roughly chopped
  • 1 tablespoon dry fenugreek or half a cup fresh if you can find it
  • One large tomato
  • 1 teaspoon coriander powder
  • half teaspoon turmeric
  • 1 teaspoon salt
  • 3 cups of chopped vegetables: I used 3 cubed red potatoes and half a cup of peas.
  • 1 – 2 tablespoons oil

Method:

Combine in a blender the following roughly chopped vegetables, with about a quarter cup of water: onion, garlic, cilantro, fenugreek and chilies. Blend to a paste consistency, as shown below.

IMG_0098 IMG_0100

Heat oil in a thick-bottomed pot and when it shimmers, put in the paste and cook it on medium-high. In about ten minutes it will dry up and start to darken; keep stirring it once in a while. When it goes from looking like this:

IMG_0101

to looking like this:

IMG_0102

put in the chopped tomatoes. The tomatoes will first liquefy and then turn pasty and combine nicely with the rest of the spice. Stir for about 5 minutes; when they are more or less dry, put in the coriander and turmeric powders and stir. Now put in about a cup or cup and a half of water, bring to a boil.

IMG_0104 IMG_0105IMG_0106

Now the gravy is ready, and it is time to put in whatever chopped vegetables you want. I put in cubed potatoes, and simmered them with the lid on for 15 minutes to cook; then I put in the frozen peas and only cooked them enough to heat through.

IMG_0109 IMG_0111

Oh — I added the salt along with the vegetables so that they absorb the salinity properly.

Beasties in my batter

My mother always said that South Indians are much smarter than the rest of us simpletons because they eat a lot of urad dal. This is a bean I have mentioned before. It is alternatively called black gram or Vigna Mungo; this is what it looks like:

Vigna mungo, black gram, urad dal: whole on the left, split and dehusked on the right.

Vigna mungo, black gram, urad dal: whole on the top, split and dehusked on the bottom.

It is closely related to the more well-known moong dal (mung bean), they are both in the Vigna genus, which means they are about as closely related as…say…the polar bear and the grizzly bear to each other. Urad dal, though, has a blacker husk, and white (not yellow) underneath.

Even though this bean is eaten as a dal all over India, its most interesting use is in the fermented cakes and crepes of South India — idlis and dosas. In order to ferment it, the lentil is first soaked and ground thoroughly, and mixed with rice batter.

Fermentation of the Lactic Acid type

Let’s take a little digression into what fermentation does to the batter.

Fermentation

Fermentation

  • The mixture is kept warm, and you know what happens when you leave something out of the fridge — a whole jungle gets started in it.
Jungle of beasties

Jungle

  • Creatures like lactic acid bacteria, yeast, and bacteria that like to breathe air. They do battle, and one-by-one, are felled. The air-breathing bacteria (we know them as ‘contaminants’) are killed off right away, while soaking. The yeast also goes nowhere (unless you cheat by adding commercial yeast, which basically sends reinforcements to the yeast faction). The salt kills off many other weaklings.
  • What wins out is a certain lactic acid bacteria called Leuconostoc mesenteroides; and it brings a lactic acid bacterium friend, called Streptococcus faecalis.
Leuconostoc mesenteroides

Leuconostoc mesenteroides

  • These guys get busy stuffing their faces with your batter. They mostly gorge on the sugars and starch.
  • You know what happens when creatures eat — they produce stuff. All right, let’s get graphic — they excrete. One thing they produce is lactic acid, which is responsible for the pleasantly sour taste of idlis and dosas. Another thing they do is pass gas — in this case, it is carbon dioxide. This gas — CO2 — which is also responsible for the bubbles in bread, soda and beer — makes the batter rise and become fluffy. The cool kids call this ‘leavening’.
CO2 bubbles

CO2 bubbles

  • They also somehow increase the amount of vitamin B1, B2 and B3 in the batter.
  • Even though beans and dals of all types are really good for you, they also come with a bit of a sting in the tail — they have some ‘anti-nutritional’ properties which prevent your body from absorbing the goodness. Well, fermentation reduces those bad things.
  • One of the anti-nutritional properties of beans are those that cause you to…you know…flatulate. So the beasties in your batter are helping you from doing that too much, which is a good thing.

So now I’m thinking that my mother was wrong…it is not just urad dal that makes you smarter; it is the little beasties that ferment it.

Idli / dosa batter

Ingredients:

  • 1 cup urad bean, whole, skin on (I used whole grain to add that extra bit of nutrition to it).
  • 2 cups uncooked white rice (I used basmati but a short or medium grain white rice would work as well or better).
  • (in general a 1:2 ratio or dal to rice works well; you can experiment with 1:3, but don’t alter it more.)
  • 2 teaspoons salt (lactic acid bacteria finds salt very congenial, unlike yeast).

Method:

Rinse the dal and rice once in plain water and drain. Now leave them to soak in very generous quantities of filtered, room temperature water, separately. You must leave them for at least six hours; but I let them soak for more than twelve.

IMG_0016 IMG_0033

At the end of this time, the rice will have almost doubled, while the beans will have almost tripled. The black gram beans will have become lighter into a green, as seen below:

Black gram (urad dal), soaked

Black gram (urad dal), soaked

Now it is time to grind them separately. I used my trusty blender. This is not the ideal choice, because there is a chance the blades get overheated and kill the beasties. The ideal would be a stone grinder (also known as a wet grinder). Maybe someday I will make the big bucks and spring for one of those. In the meantime, I slum it with my blender (that I got for free from American Express). I have never had a problem.

Let’s do the rice first. I drained it, and added a cup of fresh filtered water along with it. Blend it for about 4 minutes, with breaks. The end result will be a thick white liquid. When you squeeze some between your fingers, you should feel tiny grit, which is the ground up rice. You are not trying to get this to be perfectly smooth. Tiny grit is what you are looking for. Empty it out into a very large bowl, that will be used for rising.

Next let’s do the drained dal. This time you will need to add a cup and a quarter of water to the blender. Blend for about 4 minutes, with breaks. The batter this time will be fluffier and not as watery. When you feel it with your fingers, it should feel smooth, not gritty.

IMG_0036

Black gram (urad dal) batter mixing with rice batter

Pour the dal batter in along with the rice batter. Add 2 teaspoons salt. Mix it with your hands; this is one of those instructions that every South Indian mother imparts to her children; as far as I am aware, no scientist has tested why this is so. The beasties are already on the bean, so it isn’t that. Could it be that this step imparts warmth? In any case, using your clean (but not sanitized) hand, gently stir the batter to combine. Leave it covered in a corner in your kitchen.

Now. I left it at room temperature in San Francisco, but the ideal is room temperature in South India, which would be in the nineties Fahrenheit. So if you like, you can leave it in the oven to rise, with either the oven light on to create warmth, or, after turning on the oven to about a 110 F and turning off. In a warm oven with the light on, this will take 12 hours.

Room temperature of about 70 F worked fine for me, but it did take longer.

In about 12 hours I raised the lid to take a whiff — oof! Wet socks, toe jam, belly button cheese…not sure what else it reminded me of. Clearly, my batter had developed a yeast infection. Be not squeamish, ye of little faith! Put the lid down and keep going.

Now I am not sure if this is typical, but it sure smelled like the batter went through a yeast infection phase on its way to a proper lactic acid bacterial infection. It could be that because I do so much bread in my kitchen (including sourdough) that the little yeasties are floating about just dying to get their naughty little hands into stuff.

IMG_0043

Risen idli/dosa batter

Risen idli/dosa batter

In any case, within about 24 hours of rising, I certainly smelled some of that lactic acid goodness — it smelled sour. It had risen to almost double the original size. The batter was ready.

Idli cakes

Ingredients:

  • 3 cups idli batter from above (this will make one dozen)
  • Idli steamer which usually comes with 12 perforated cups
  • some oil

Method:

Rub a bit of oil on each of the idli trays. Pour about a quarter cup of batter on each. Now place it in a pot with water to about a couple inches already at a boil; cover, turn it down to a simmer, and steam the cakes for about 12 minutes with the lid on.

IMG_0053 IMG_0054 IMG_0055 IMG_0057

Idlis are great with any manner of chutney on the side, or sambhar (dal made out of pigeon peas and its characteristic spice blend).

Dosa crepes

Ingredients:

  • 1 cup batter (this will make about 4 decent sized crepes)
  • 4 teaspoons oil

Method:

Thin out the batter with about a third to half again as much water. So if you start with a cup of water, use between a third of a cup to half a cup extra water. Basically, the batter should flow easily, much like crepe batter.

Heat a wide nonstick pan on medium high heat. Spread about a teaspoon of oil around. Now, we pour about a third of a cup of thin batter and spread it.

Spreading dosa batter into a nice thin layer is an art form. Here is what you need to know.

  • You don’t have to have a thin layer. But the thinner you spread it, the more crisp. Until you achieve that pinnacle of thinness, crispiness and paperiness — paper dosa.
  • If you pour batter on to a hot pan, it will immediately congeal and instead of spreading, you will get a rubbery mass. So the pan needs to be hot while cooking, but cool while pouring on. Traditionally people have used the onion trick — rub half a cut onion on the pan to cool it down. I used the French way of lifting it off the flame as I pour the batter on.
  • To spread it, people have traditionally used a spiral motion — take a flat ladle and spread the batter around with its bowl in a spiral fashion. Once again, I used the French method of tipping the pan this way and that to spread it.

In some places, the batter will be spread so thin that it is lacy.

IMG_0058 IMG_0060

Cover with a lid and cook on high heat for about three minutes. Or four. At this point, the underside will definitely look brown and crisp. If you try to lift it off, the crepe will easily peel off; even the thin lacy parts. You can cook it on the other side if you like but it is not strictly necessary.

Lacy, crisp edges of dosa after I took a bite

Lacy, crisp edges of dosa after I took a bite

Dosa can be eaten with similar accompaniments as idli; chutneys, sambhar; or really any manner of vegetable or meat viand. The South Indian restaurant standard is to make a wrap with a potato preparation inside.

Enjoy, and thank you beasties!