Dear Reader, are you willing to follow me in an experiment?
You will be following along in real time, just like a reality TV show! Suspense, excitement, a slightly risque end-product, and the very real possibility of failure. Hopefully this means high ratings!
We will attempt to make mead.

A goblet of mead, Konstantin Makovsky, from Art and Faith blog
Mead is the grand-daddy of alcoholic beverages. This past New Year’s Eve when you got nicely liquored up, knowingly or not, you raised your glass to the original makers of mead. Those were the guys about 11000 years ago who discovered that honey diluted with water, when left outside, will turn into a hotbed of yeast infection; those yeasties will eat up the sugars in honey thereby turning the beverage ‘dry’; and clearly yeasties that eat must excrete, which they will do, in great globs of alcohol. Those ancients also discovered that this yeast excretion — namely alcohol — has a nicely happy-making effect, adding zest to New Year’s celebrations.
What a perfect season to attempt mead.
This past Christmas we visited my brother and sister-in-law on the East coast. They own a mead-making set, which they have used once, with moldy results. This post chronicles their second attempt. This time, they are determined to see the bubbles of carbonation arise and sip actual alcohol. The Odd Pantry will be reporting from the field.
Deepak and Shannon’s Mead
Ingredients:
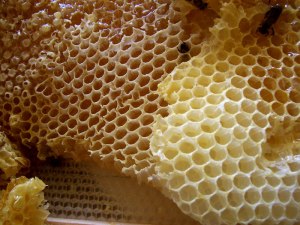
- 3.25 lb pure honey (buy from a health/nature type of store. Grocery stores often carry adulterated honey. Check the label. If it says the name of the flower it is probably good. Also if it is crystallized it is pure.)
- Acid sanitizer (amount according to directions on bottle)
- Yeast nutrient (urea) — 1 teaspoon
- Yeast energizer — 1 teaspoon
- Wine yeast — 2.5 g (half package)
- 1 gallon distilled or spring water
- Mix of spices and dried fruit (optional), for example a sliver of orange peel; raisins; cinammon; cloves; cardamom
Equipment:
- Funnel
- A large bowl for sanitizing
- A large bowl for mixing
- Small bowl for rehydrating yeast in 2 cups water
- 1 gallon glass jug with airlock, or 1 gallon plastic carboy with separate airlock
- Rubber stopper with no hole for the jug
- A thermometer that you can sanitize
- Weighing scale
- Spatula
Method:
The recipe that follows is adapted from this source.
In a large bowl, make a sanitizer and water solution. In this, sanitize all the equipment you will be using, including the inside surface of the mixing bowls. You can use the equipment directly without rinsing off the sanitizer.
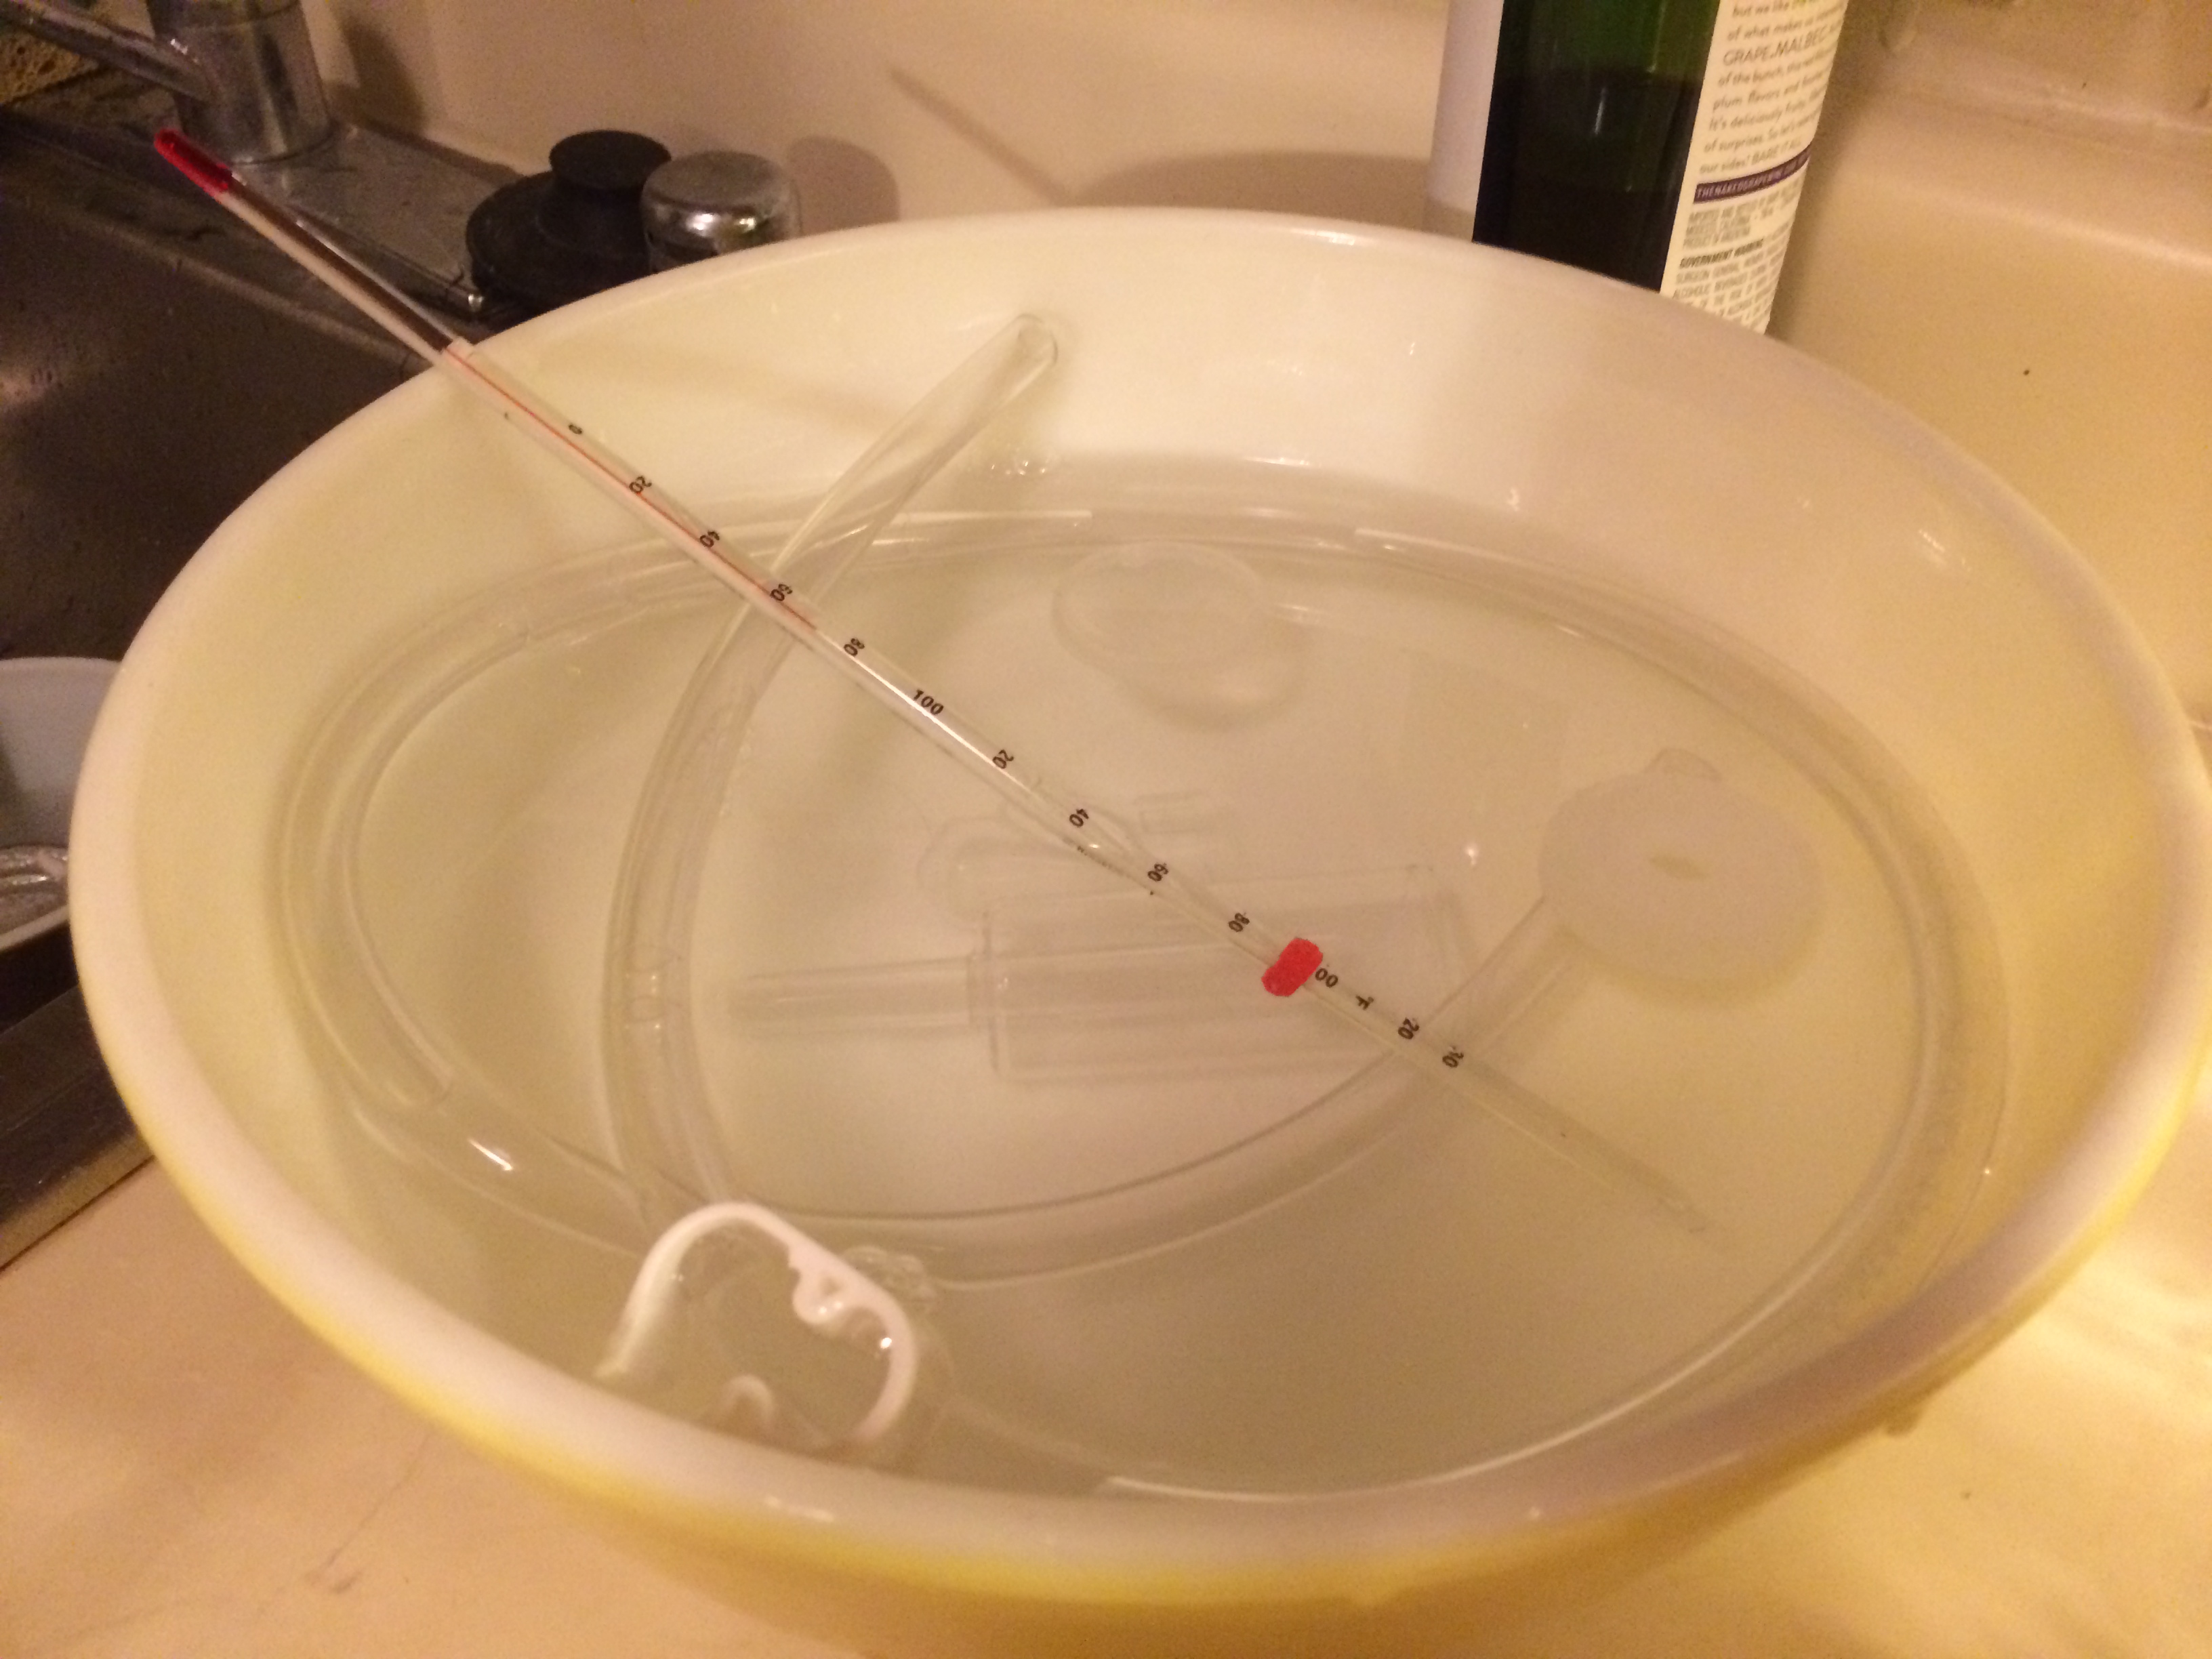
Sanitizing
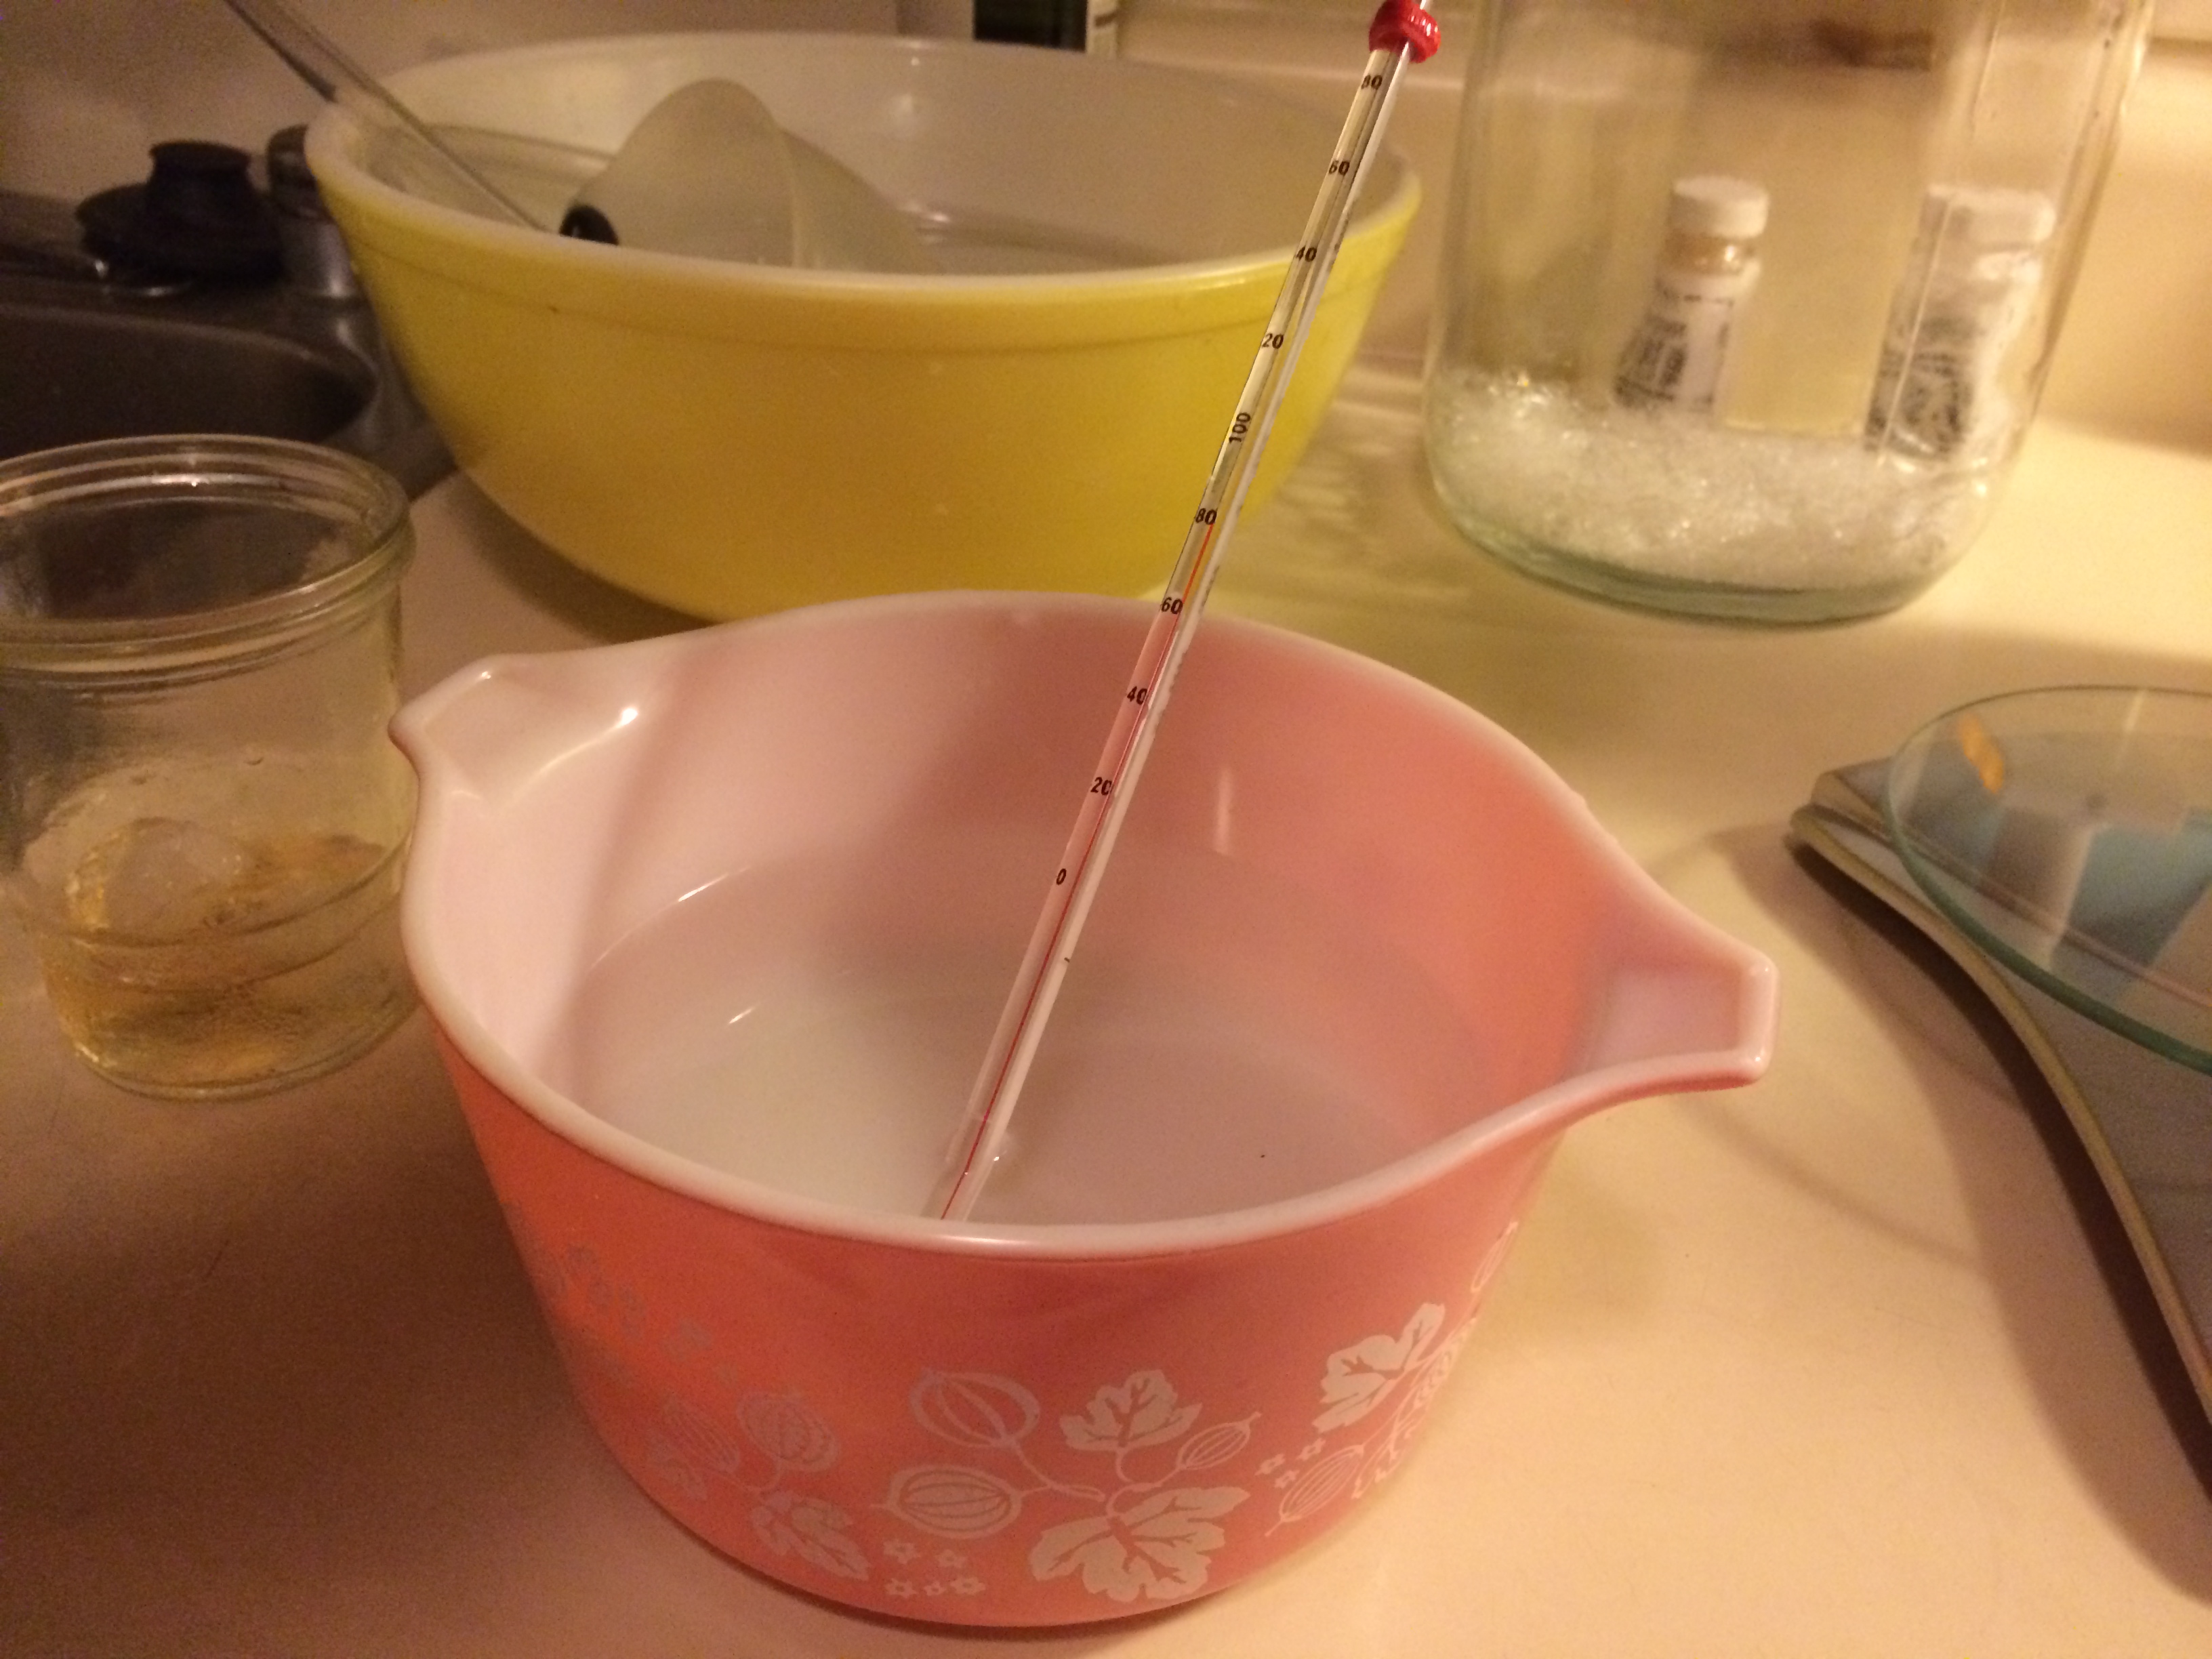
Use 2 cups of the spring water in a small bowl to rehydrate yeast: heat the water in a microwave to between 104 F to 109 F degrees (use the thermometer for accuracy) and pour half the package of yeast in. No need to stir — we will do that in 15 minutes.

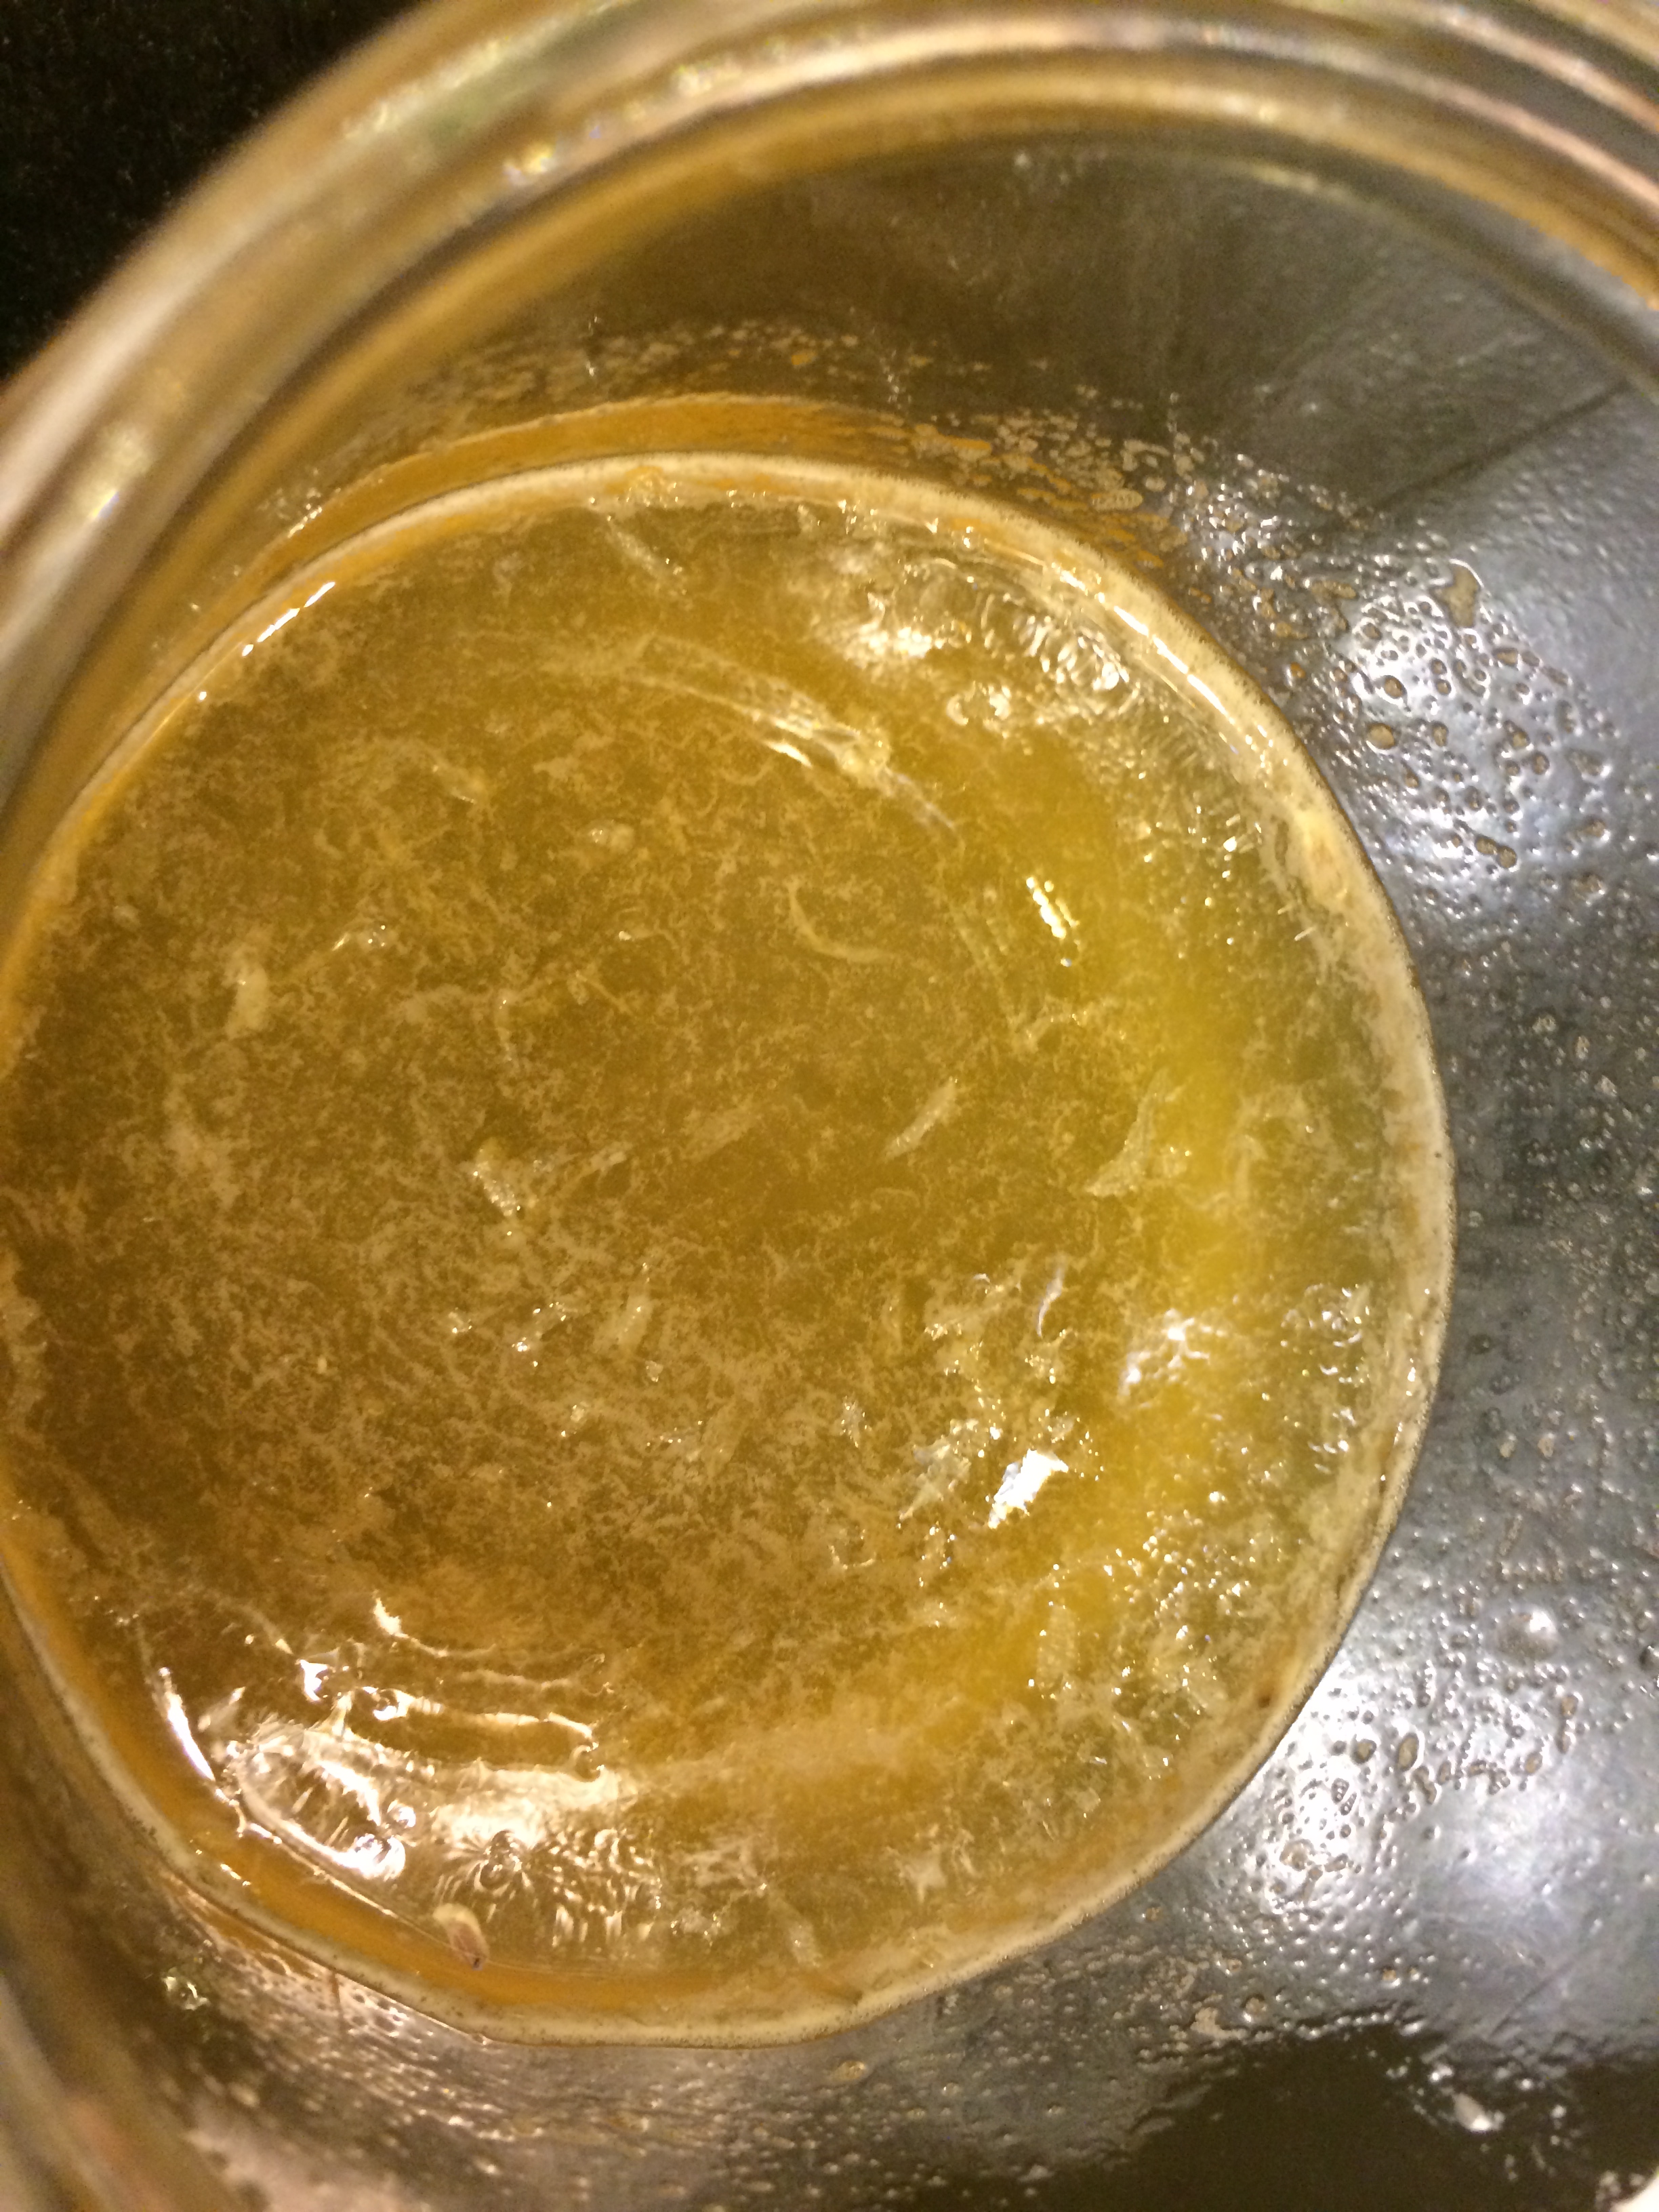
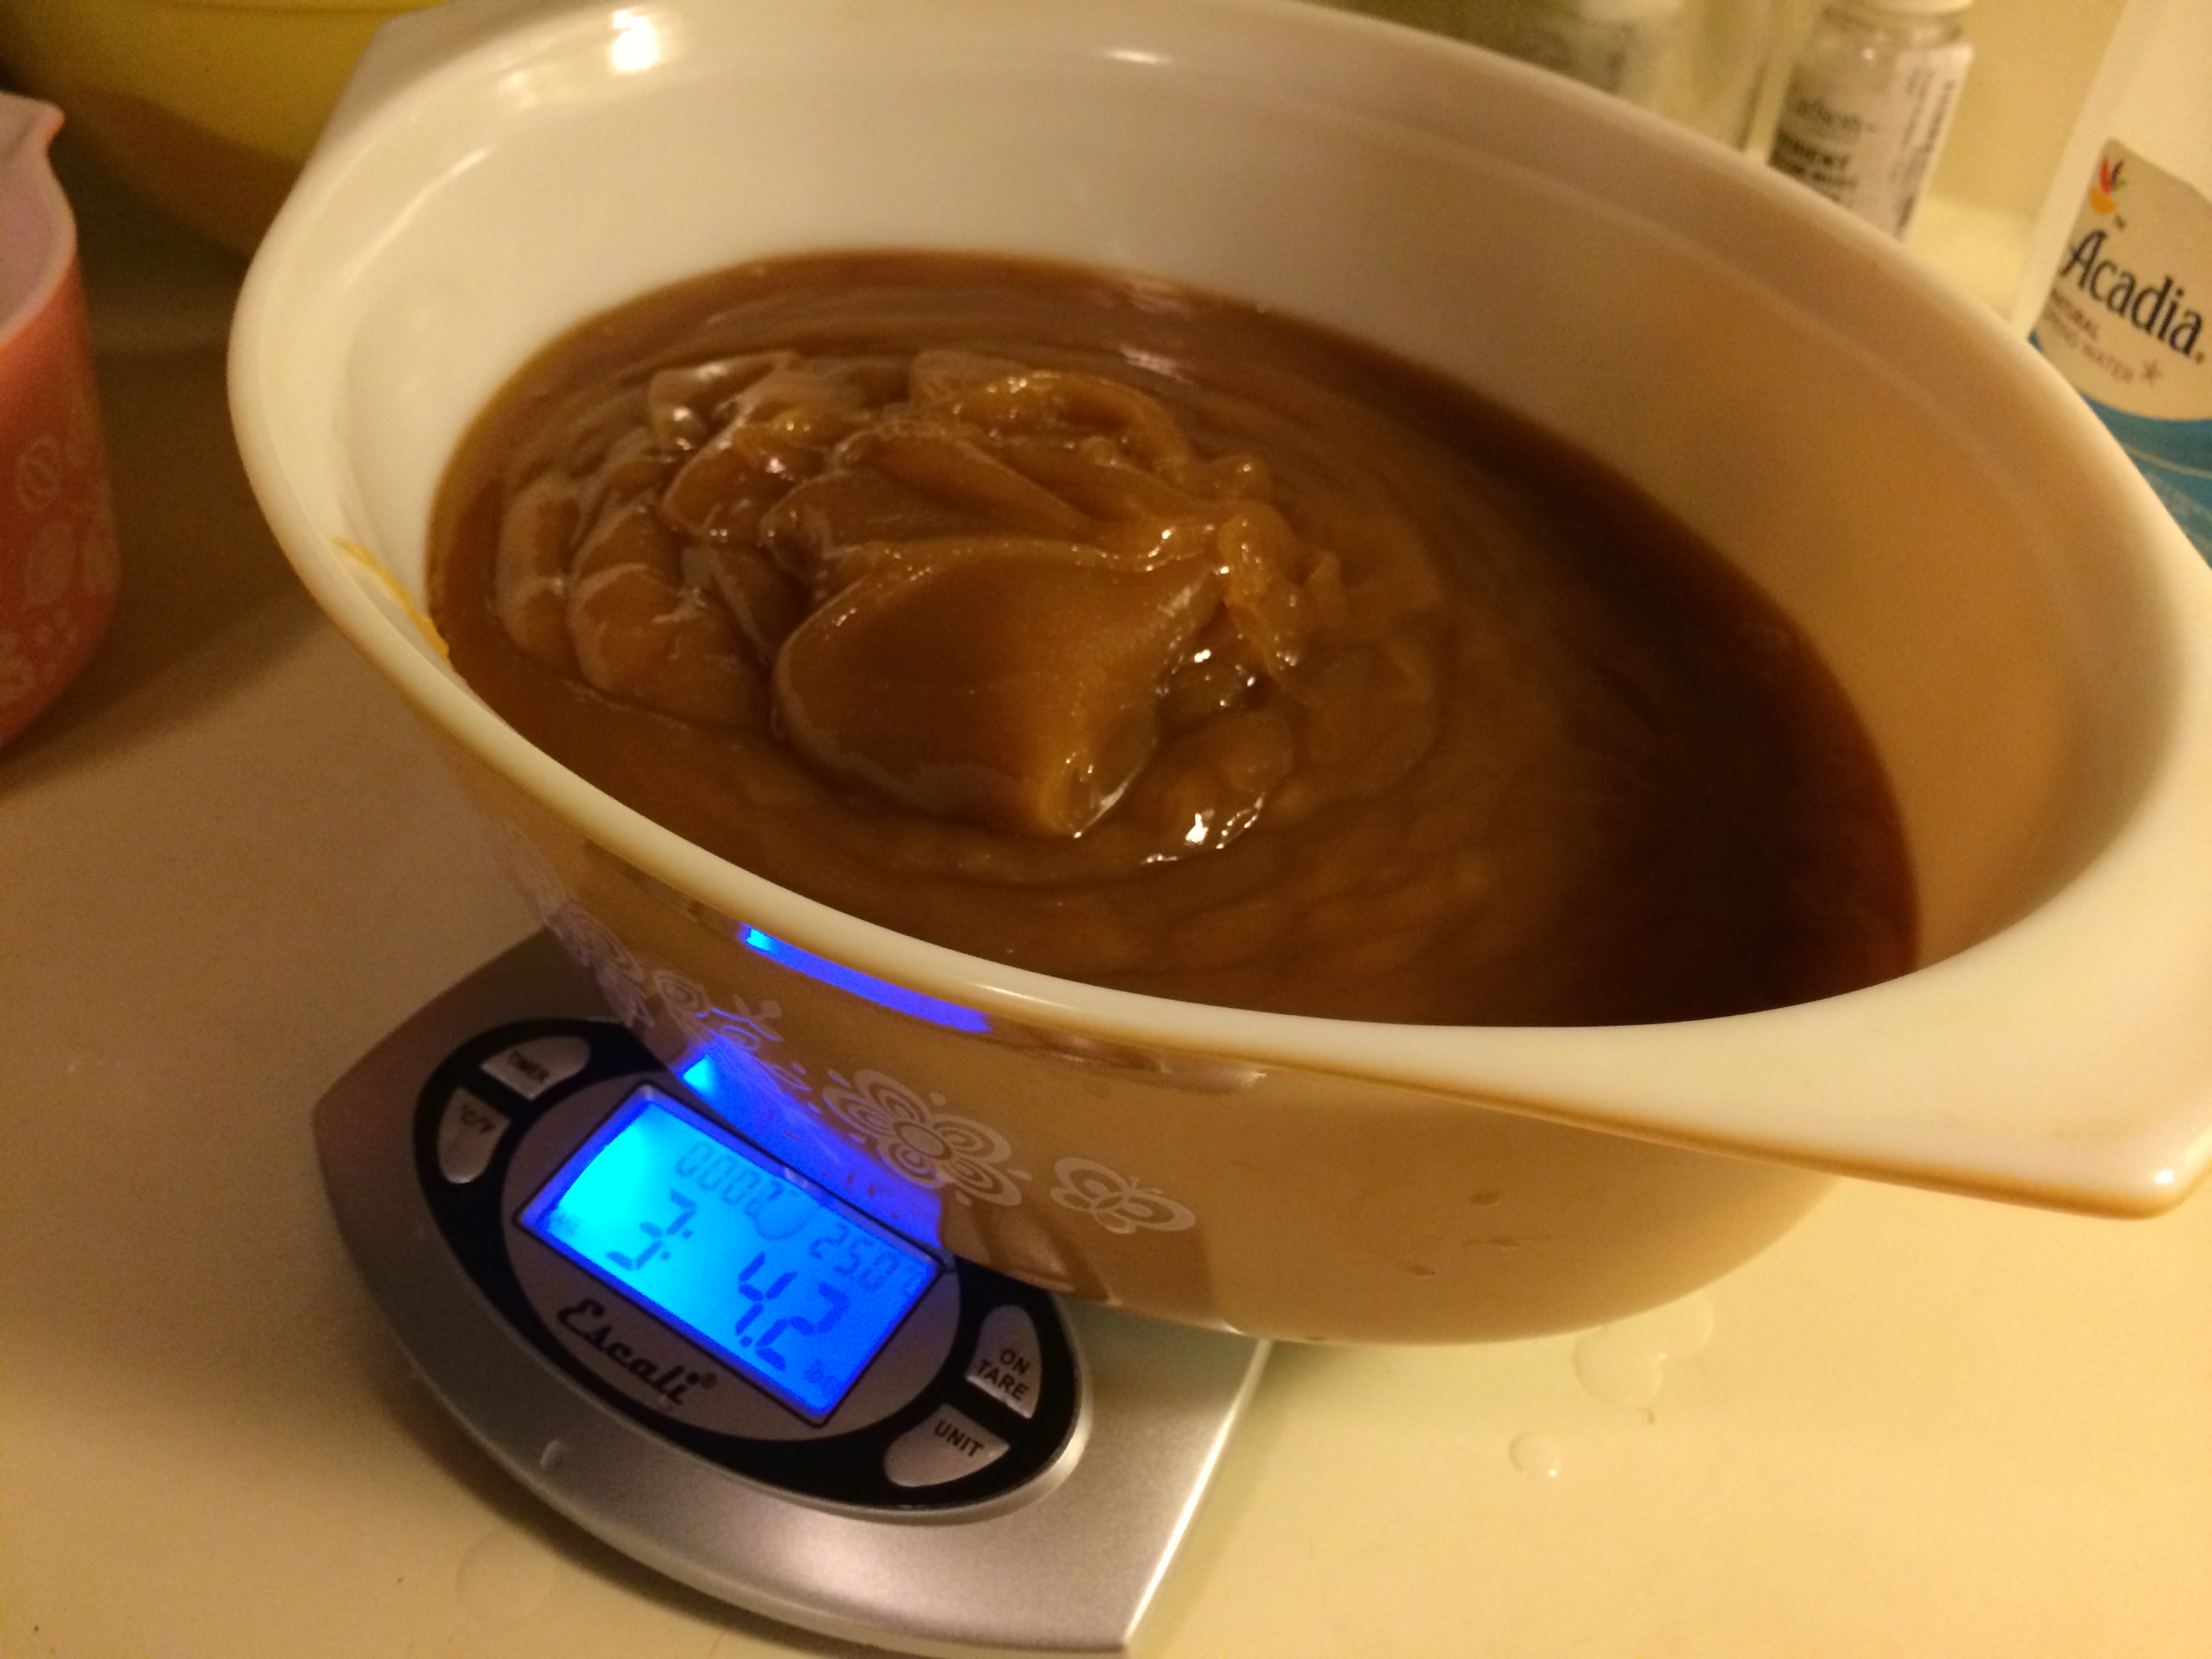
Meanwhile, weigh out 3.25 lb of honey in the large mixing bowl. If the honey has crystallized, you can liquefy it by first putting the jug in a warm water bath; do not microwave it. Add about 2 cups of the spring water in and stir it with the spatula; we are simply making the honey easy to pour into the jug.

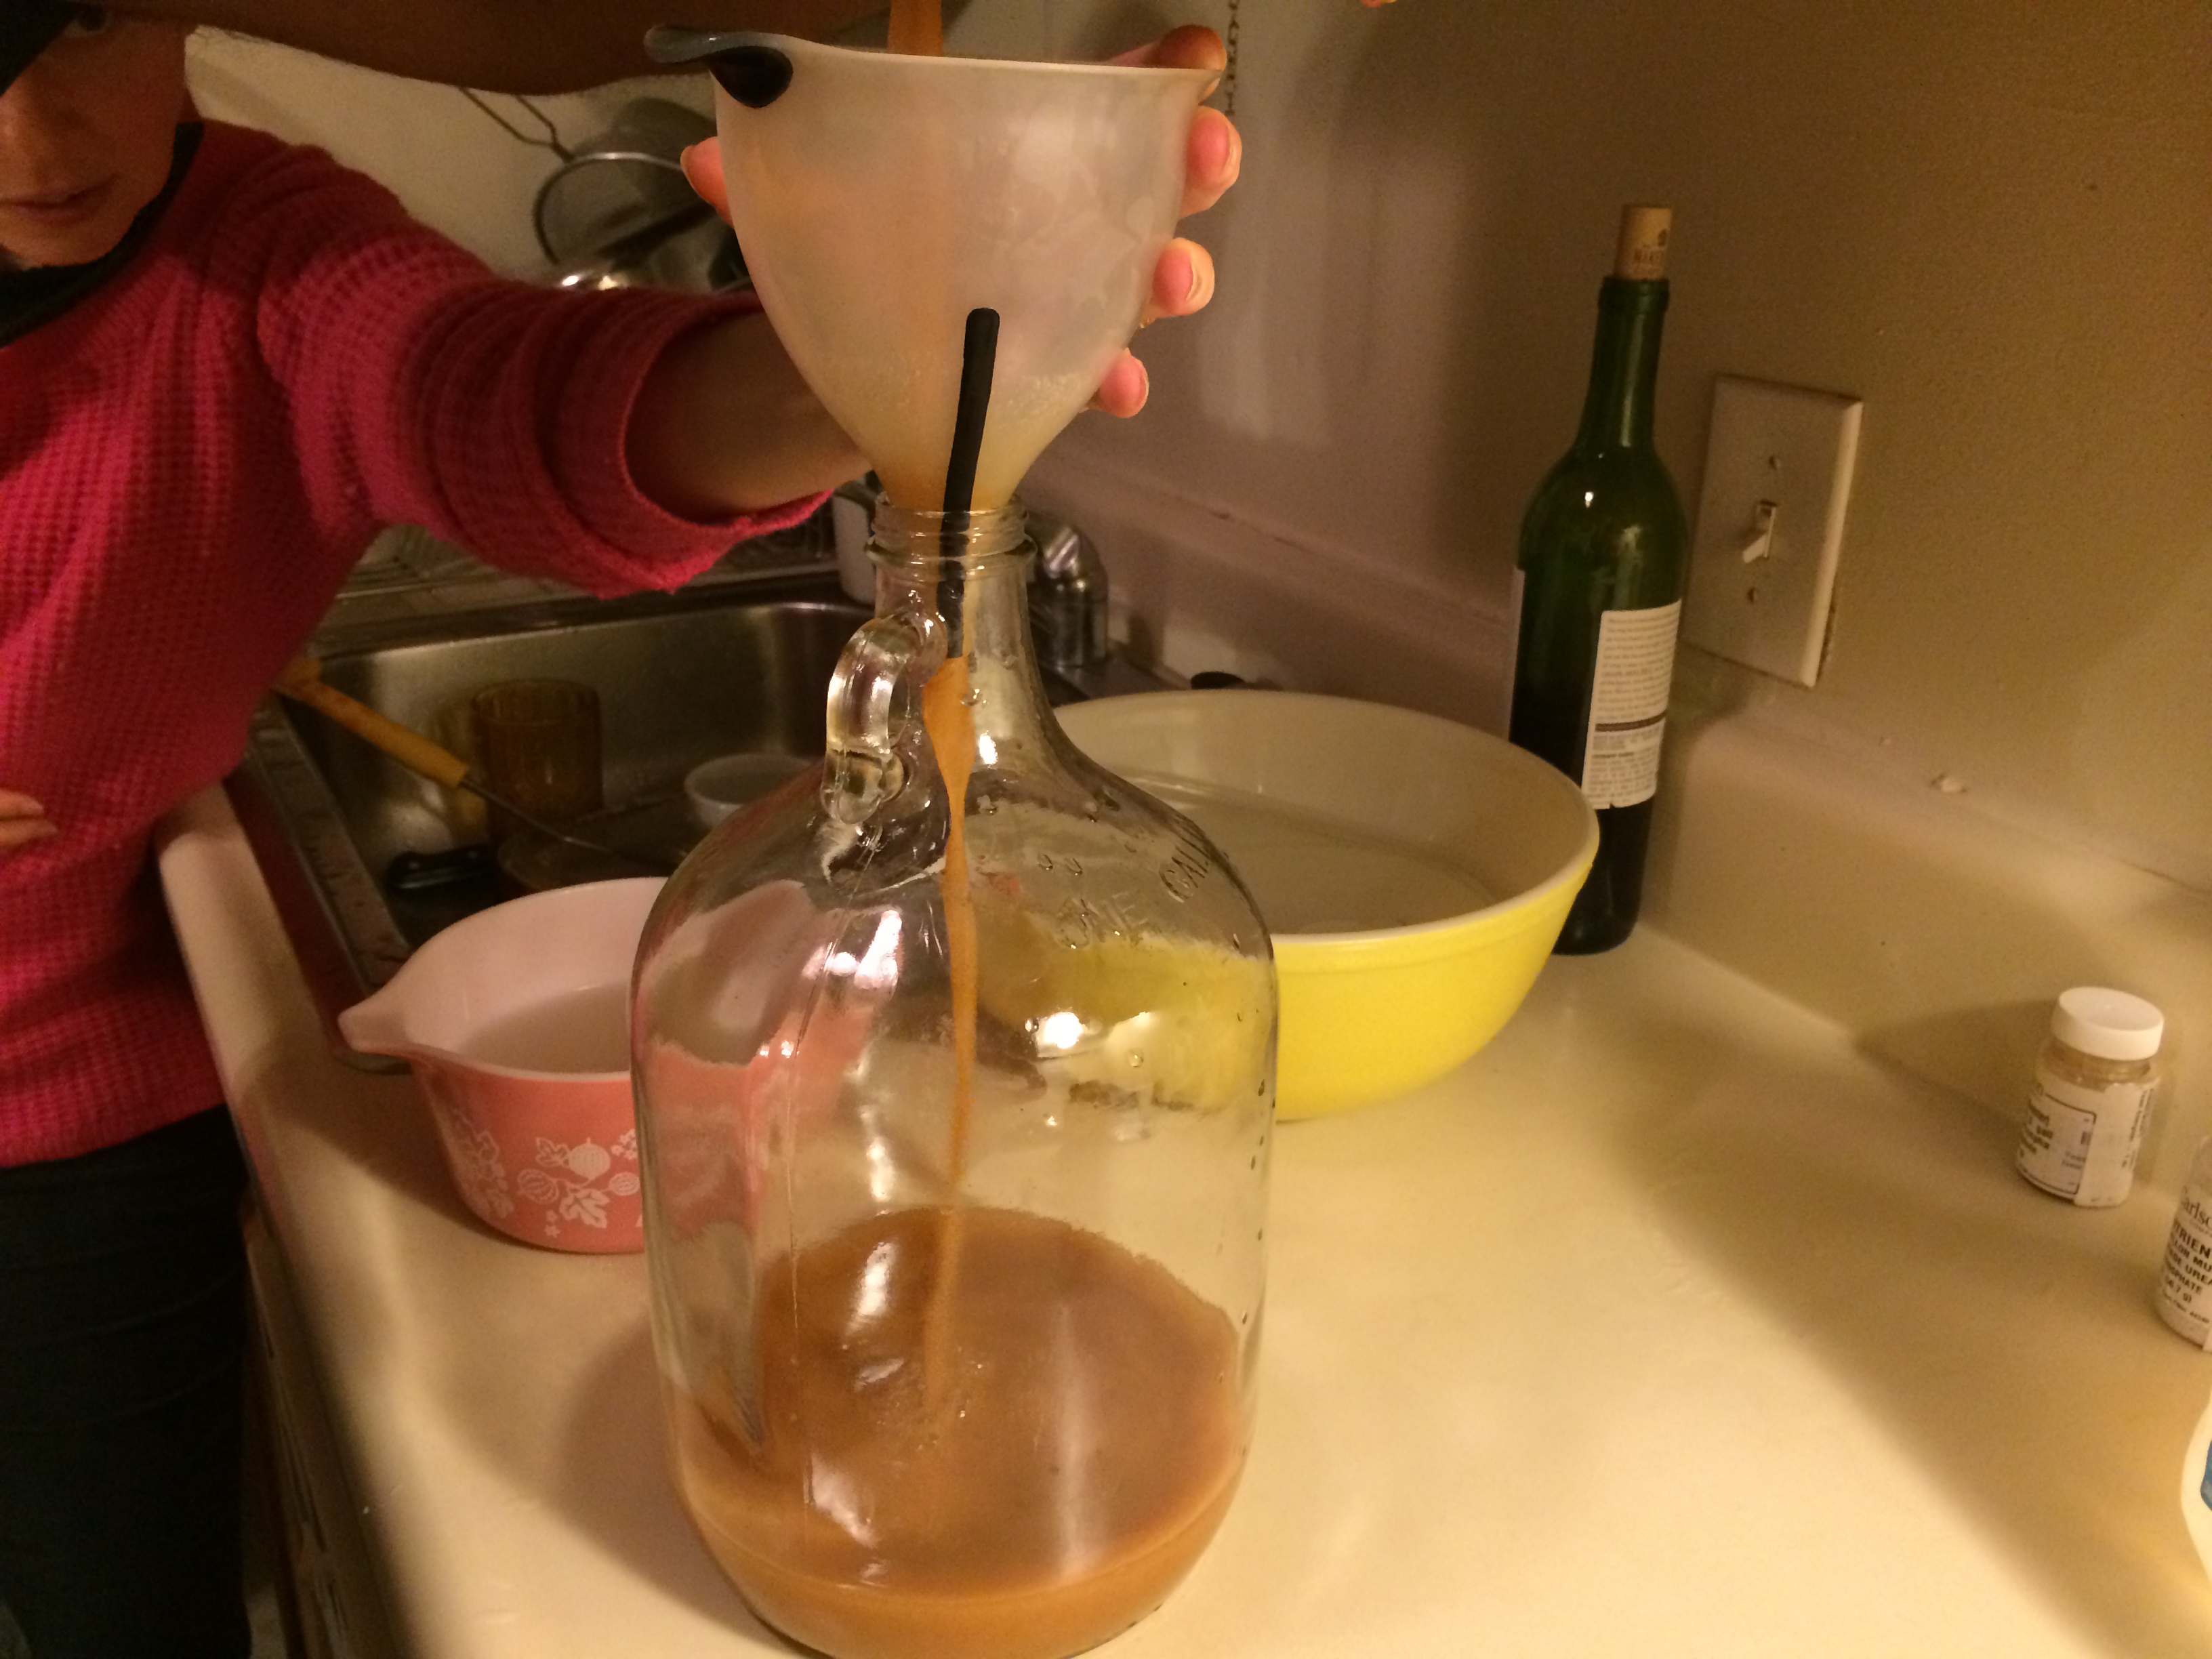
Pour the honey-water mix into the jug using the funnel. If you are using fruit or spices, now is the time to put them into the honey-water mixture.
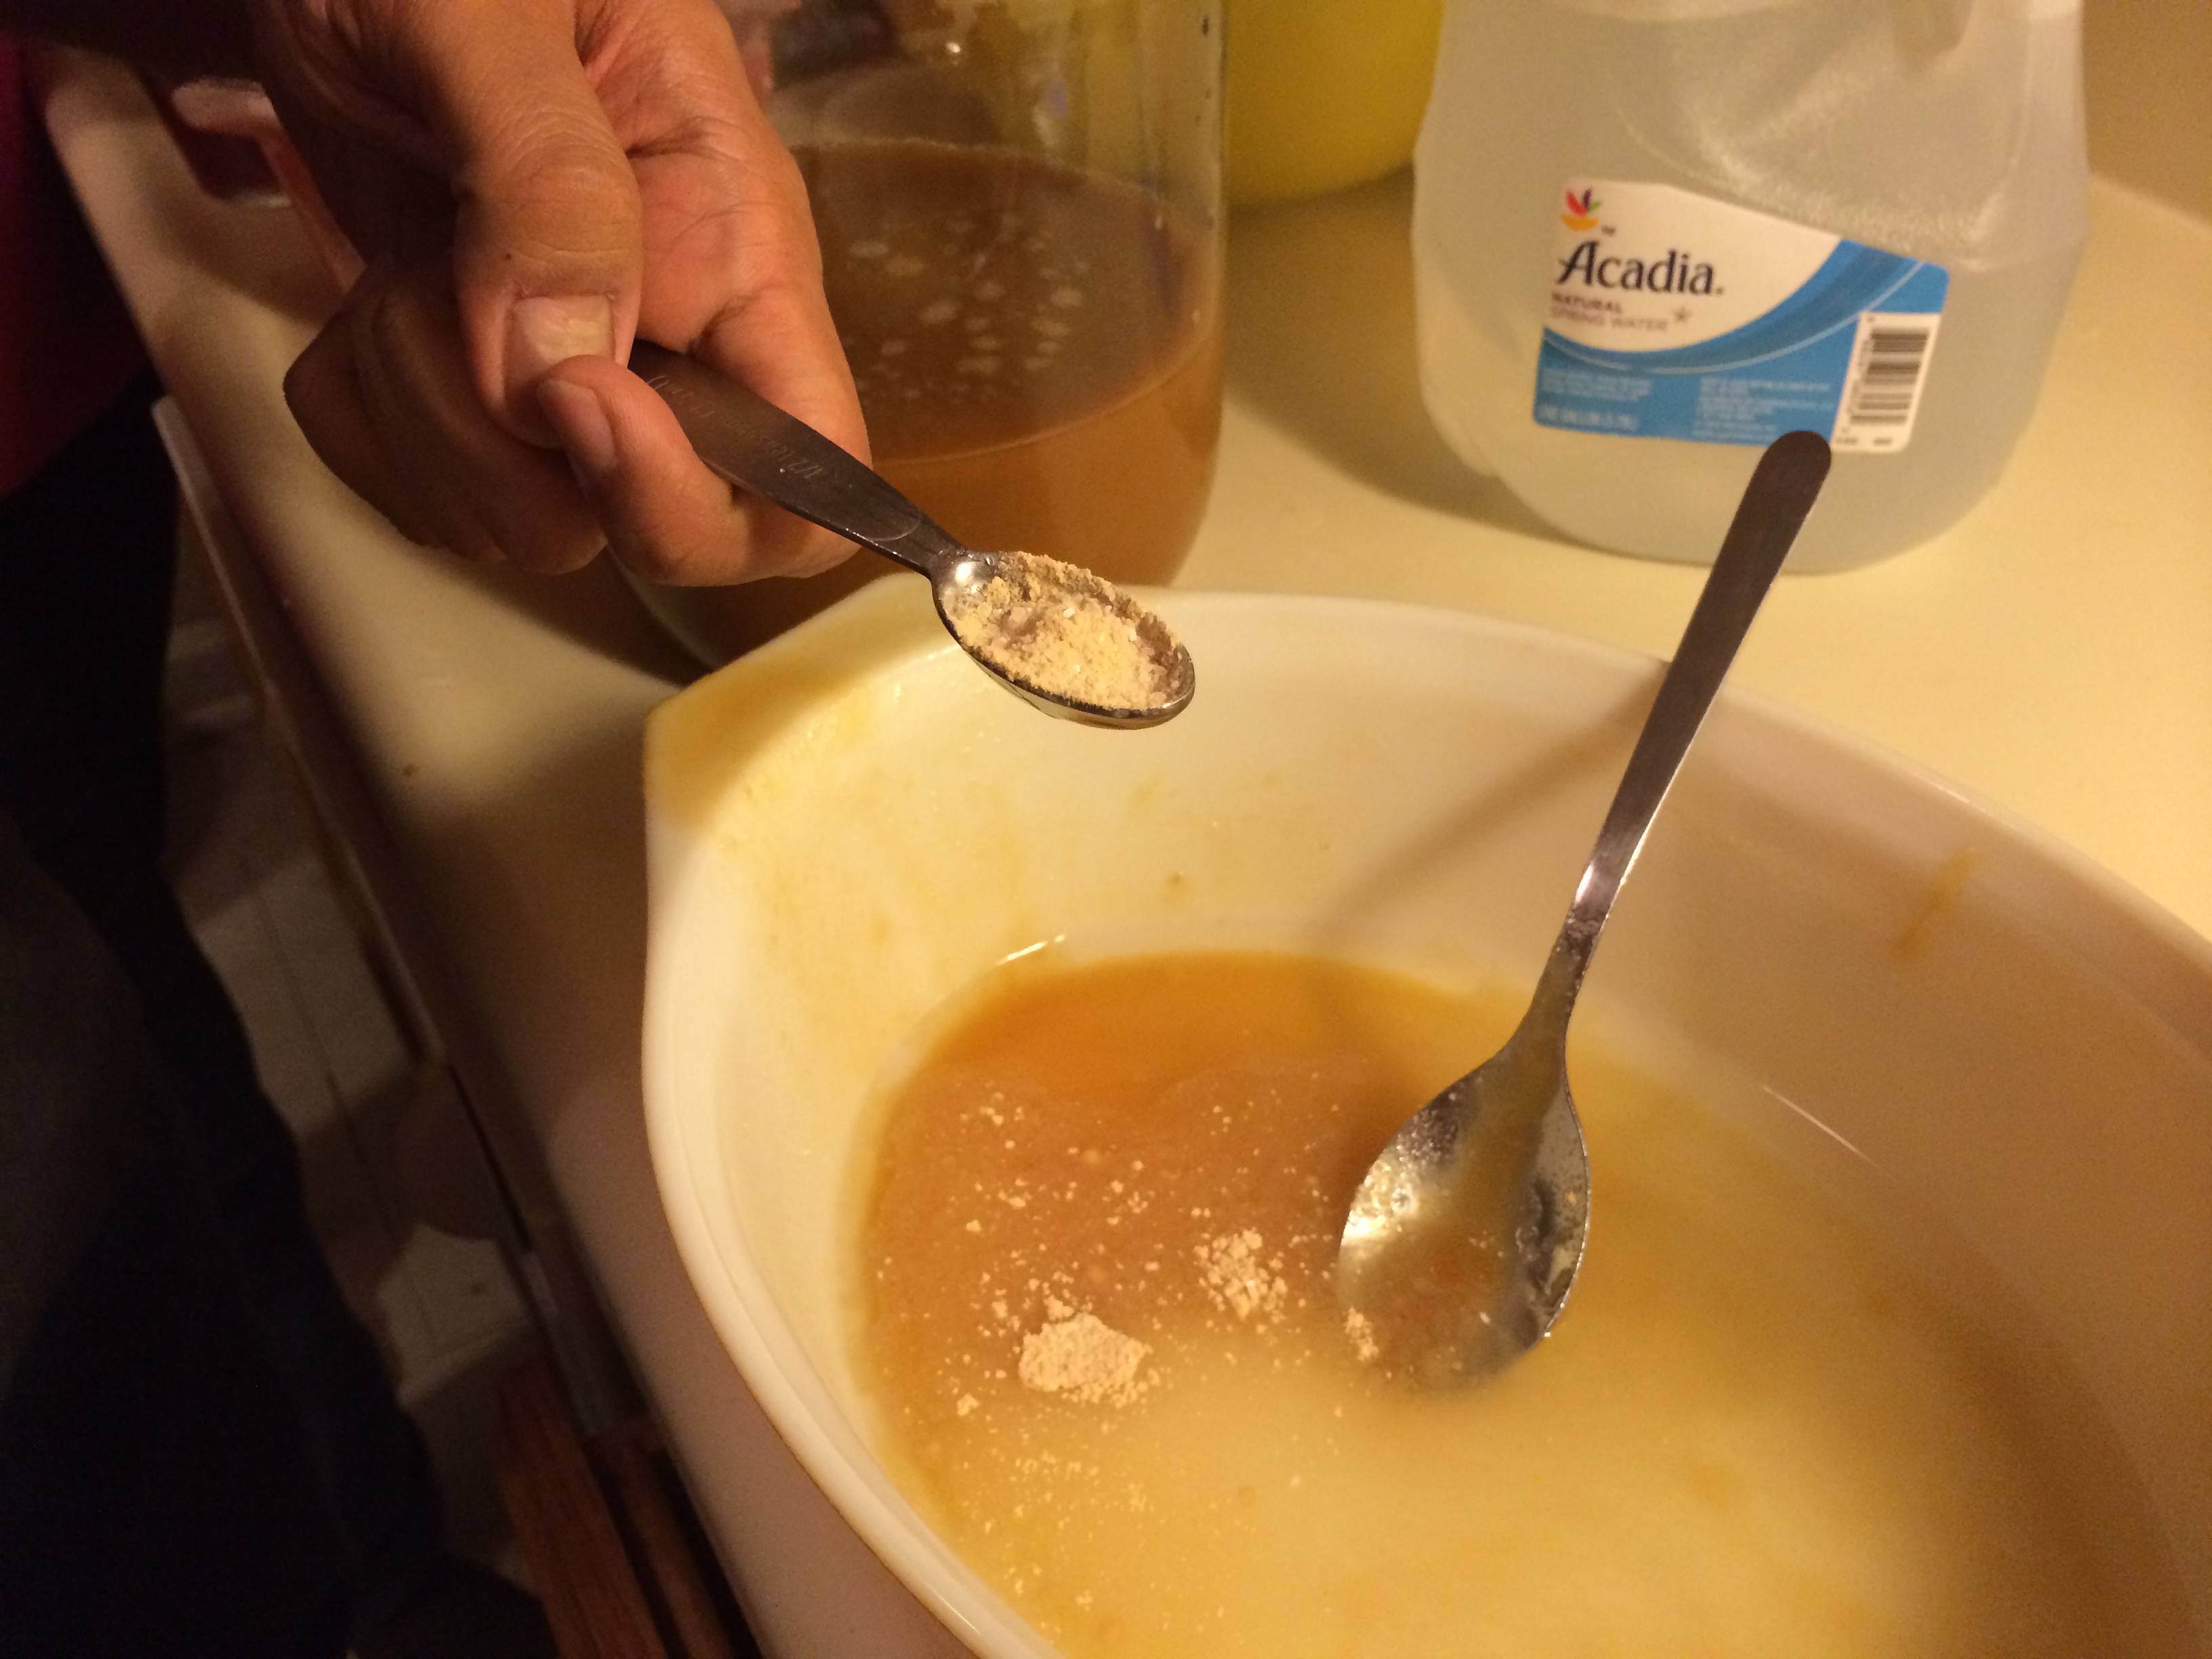
Add another 1 cup of the spring water in the mixing bowl, and add your 1 teaspoon of yeast nutrient, and 1 teaspoon of energizer. Stir and pour into the jug with the honey-water mix.

By now the yeast has been rehydrated; give it a stir and pour into the jug as well.
Add enough spring water to the honey in the pitcher to bring it up to the 1 gallon mark. Put the rubber stopper on tightly and give the jug a good shaking for five minutes.
The shaking is important for two reasons — it not only homogenizes the mixture, it also aerates it. Which is something the yeasties need. So, while you are shaking, put it down at intervals, take the rubber stopper off a couple times and let the air escape; put the stopper back on and resume shaking.
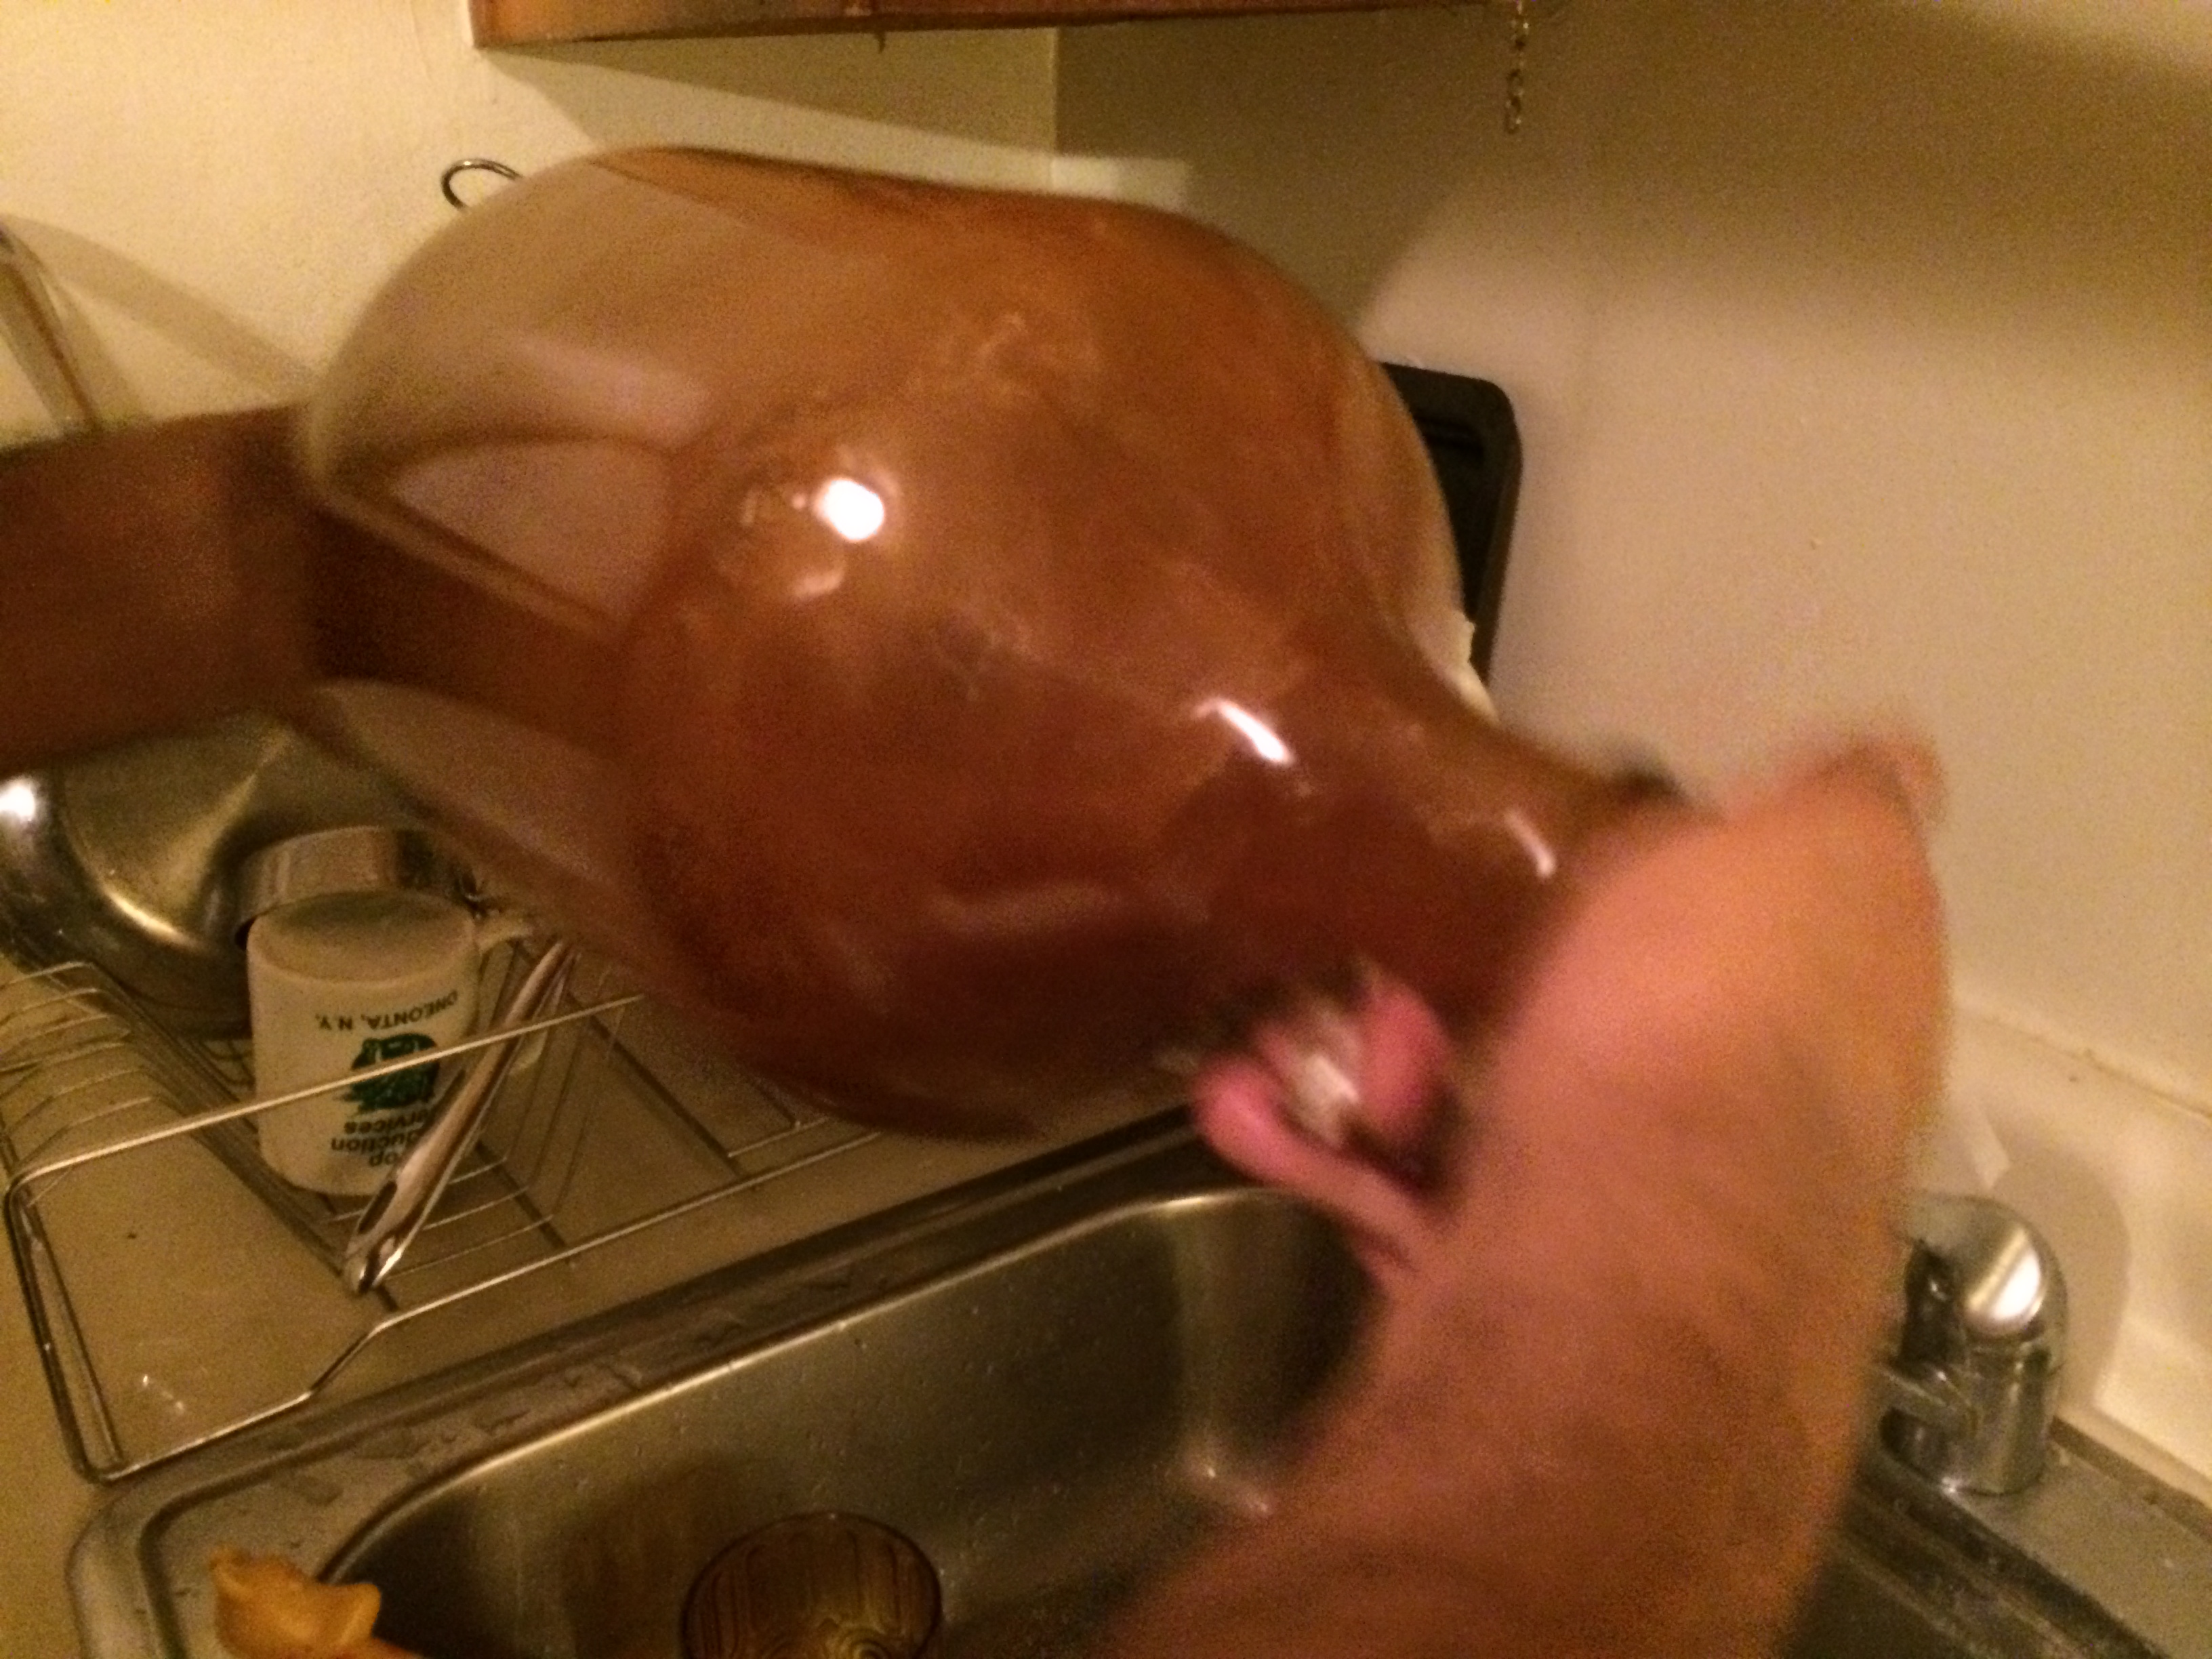
Shaking the jug to aerate
Put your sanitized airlock on the jug and cap it. Place the jug in a cool dark place in the house where it will lie undisturbed. Label and date the jug. As you can see, we neglected to do this.

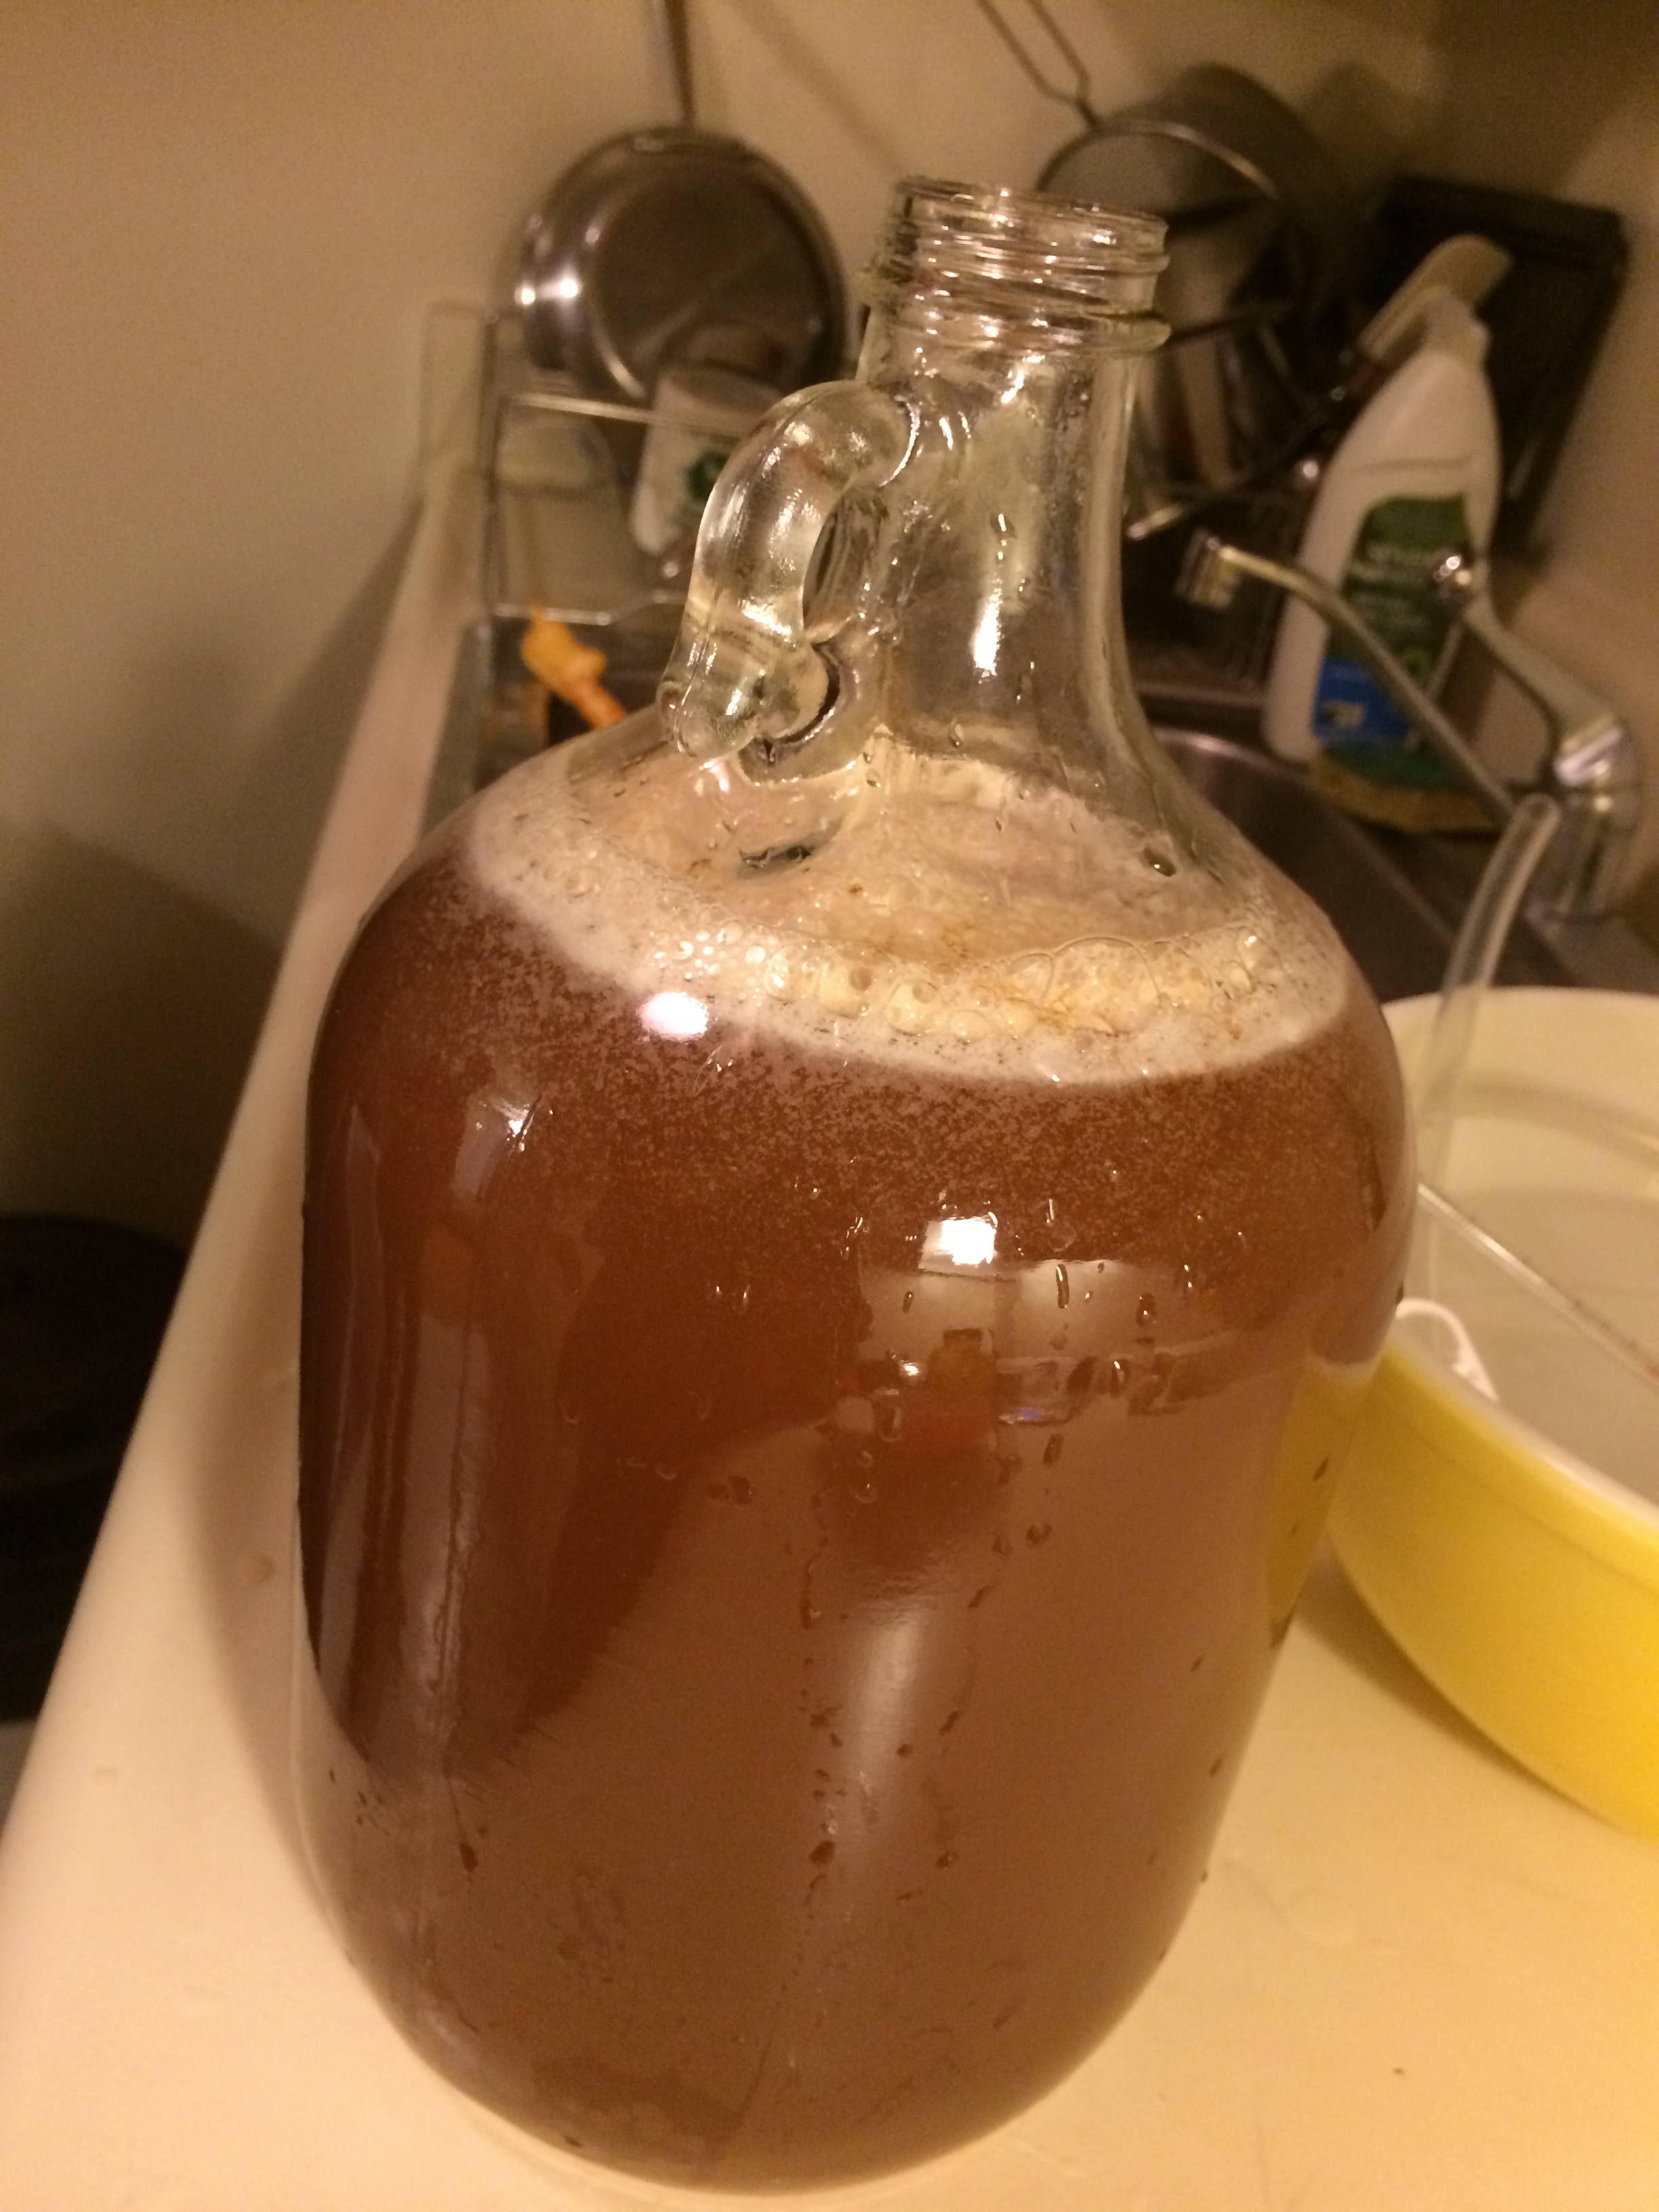
In a few days, we should see bubbles of aeration arising in the airlock. Then, the bubbles should die down in a couple to three weeks. Will this happen? To be continued….
Update: 6 days later.