All about dals in one place

Apologies to anyone who might be expecting a fun and interesting new post about kitchen antics from me…instead what I have to offer today is a dry, pedantic review of some dals. I updated my page about dals, and I plan to keep adding to it with other dals I have not yet covered, and of course adding links to more dal recipes. This page is meant to be a one-stop-shop for all dal-related information on The Odd Pantry. Dull, yes, but someone has to do it.

Check it out

Image

Beet parathas; a classic recipe book

Beet paratha

Beet paratha

Some years ago I found a book in a used bookstore that really spoke to me in the depths of my soul. It electrified me from the title alone, even before I cracked open the pages.

Now a few books have been known to be enormously influential in people’s lives. For some it may be ‘Thus Spake Zarathustra’ by Nietzche, or ‘Atlas Shrugged’ by Ayn Rand. For others it might be ‘War and Peace’ by Tolstoy. For me, it was this:

tasty dishes from waste items by Aroona Reejsinghani

tasty dishes from waste items by Aroona Reejsinghani

For the 1970’s in India, in the midst of famine, this book was quite apropos. I remember talk of the high prices of vegetables at every social gathering. Meat for many was simply out of the question. This book begins with an acknowledgement of the scarcity that every housewife has to deal with. It goes on to celebrate the leaves, stems, peels, leftovers that most of us throw away. The author painstakingly lists the vitamin content of each of these leaves and rinds, including the mysterious Vitamin P (?)

Not only is it completely impressive that she was able to do this research in the days before Google, it is astounding how many recipes she was able to come up with.

In here one finds 5 recipes that make use of banana peels (throw away the outer green part, she advises), 9 recipes that use turnip leaves, 2 that want you to fry up potato skins. Curdled milk, of course, is an industry, and the author dwells on that for a bit. Stale bread gets its own section with 36 recipes. Leftover fish, meat, chicken each get their own sections as well.

Now we no longer live in a world of food scarcity but quite the opposite. Most developed countries don’t spend over 10% of their income on food, in the US, where I live, it is around 7%. But the message of this book is more relevant than ever. The cost of food production remains very high, it just doesn’t come out of our paychecks, but instead we pay for it with depleted soils and poorer biodiversity.

I have to admit I don’t go scavenging around the thrown away peels for my next meal, but instead compost everything. Given my chunky waistline, I figure it is even better to feed the worms than me.

Beetroot

Beetroot from foodreference.com

Beetroot from foodreference.com

Now, about beets. Here is basically the entire beet plant from roots up to the leaves. Stare at the leaves for a bit. You all know that the greens are nothing but chard, right? Beetroot and chard are not even different species but simply different breeds. Just like a Dalmatians may be bred for running and bloodhounds for tracking a scent, but both remain dogs, chard is bred for fancy leaves and beetroots for fancy roots, but both remain Beta vulgaris. The roots of the first and the leaves of the second can be eaten. This website has more on this: Is chard root edible.

If you have no use for the greens, you could discard them I guess, but for goodness sake don’t throw them away and then go buy chard at the market!

Out of the bunch pictured, here are the parts I ended up throwing away for this recipe, the rest was all eaten. I threw away the long tails of the roots. I threw away the part where the roots turn into stems — that tends to be tough. I peeled the roots thinly with a vegetable peeler. Last, some stems have thick fibers that simply zipper all the way off; if I caught hold of some of those, I threw them away, otherwise I chopped them up along with the stems and leaves.

Parathas with beet root and greens filling

A reader might be forgiven for wondering if I’m going through the little-girl spectrum for my parathas; some time ago I did a recipe for purple parathas, this time they are pink.

Anyway, the idea of the stuffed paratha is simple — it is a whole wheat flatbread stuffed with filling inside. The filling for these consists of the grated root and the finely chopped leaves and stems, cooked together with seasonings. Parathas are great with some plain yogurt on the side.

Tails trimmed

Heads and tails trimmed

Greens finely chopped

Greens finely chopped

Grated, cooking with oil

Grated, cooking with oil

Cooked down and dry

Cooked down and dry

Uncooked paratha, pink showing

Uncooked paratha, pink showing

Cooked paratha, stacking up

Cooked paratha, stacking up

See the pink?

See the pink?

Parathas with beet root and greens filling

  • Servings: 8 parathas
  • Print

Ingredients for filling:
  • 3 medium beetroots with greens and stems
  • 1 teaspoon salt
  • 1 teaspoon red chili powder (or to taste)
  • 1 teaspoon chaat masala, substitute with dry mango powder, substitute that with lime/lemon juice
  • 1 tablespoon oil
Ingredients for parathas:
  • Roti dough made out of about 1 cup whole-wheat flour as in this recipe
  • Oil or ghee or butter for shallow frying on griddle.
Method:

Make the dough and set aside for half hour to rest. Make the filling: peel, trim and grate the roots. Rinse and finely chop the greens and stems. Heat the 1 tablespoon oil in a wide pan. When it shimmers, put in the beets, greens and all. Stir to coat with oil. They will very quickly start to cook down. Add the salt, the red chili, and the chaat masala and stir. The point is to dry out the filling. Once it looks pretty dry, turn off the flame and wait for it to cool. Taste for seasoning and adjust. I generally prefer the filling to be highly seasoned because the dough does not have any seasoning at all.

To make the parathas you can refer to this recipe, but I’m including most of the steps anyway. The dough is the same as used for rotis/chapatis. Roll out a thin circle about 5-6 inches wide. Place a couple tablespoons of the filling in the middle. Gather up the edges of the disk into a pouch. Flatten the pouch with your fingers, then roll it out again carefully so as to prevent the filling from escaping. Once it is a flat disk once again, about an eighth of an inch thick, it is time to shallow-fry on the griddle.

Heat the griddle on medium-high. When some drops of water thrown on it sizzle, it is time to put the rolled out paratha on. Wait for 30 seconds while the underside cooks; then flip it. Wait for another 30 seconds while the second side cooks. Now spread a few drops of oil or ghee on the top surface and flip it, to have the bottom shallow-fry in oil. A minute of this, now spread a few drops of oil on this surface and flip it again, letting it cook another 30 seconds. This way, each surface has been cooked twice, first roasted dry, then with oil, on the griddle.

Stack up the prepared parathas; enjoy them with some plain yogurt on the side. Greek yogurt is very popular nowadays, it would make a great dip for these.

I’m entering this in the Family Foodies challenge for May, which is to do with frugal eating. Perfect! Minds knitted together across the interwebs…that’s what blogging is all about.

This is hosted over at Bangers and Mash and Eat Your Veg…this is a link to the May challenge. May the cheapest skinflint win!


In my kitchen of alternative uses (May 2014)

Centenarian

My 100th post! (Centenarian from socyberty.com)

I often read the ‘In My Kitchen‘ posts hosted over at Fig Jam and Lime Cordial and am always impressed by the beauty in them. The sense of style, the creativity in food on display there is quite inspiring. I feel like such a clod in comparison! Well, clods like us have our uses too. I would like to own my useful cloddiness.

For my 100th post (purely fortuitous, this) I looked around my kitchen and thought I’d talk about some of the gadgets, widgets, tools, thingamajigs, etc., that I found the most useful this month.

But here is the catch. Clearly a post that goes something like — ‘The Fridge! it keeps things cool. The Stove for cooking’ — would get boring really fast. So the catch is that I want to talk about 10 things in my kitchen that I find tremendously useful in unintended ways. That is, in ways that the manufacturer did not intend.

ONE. Oven light as yogurt maker: Here is a secret — you do not need a yogurt maker to make excellent yogurt at home. If your oven light works, leave yogurt to set all night in the oven with the light on. It shields from drafts and creates a gently toasty environment for the lacto-beasties to get to work. Here is more about the process. You can also use it to speed up the rise of your dough for bread.

An 'X' to remind not to turn on the oven while yogurt is setting

An ‘X’ to remind not to turn on the oven while yogurt is setting

TWO. Oven timer for good parenting: Readers who are parents might concur that parenting is a lot about negotiation. I let you play for 5 minutes if you jump into the bath right after. Read a book for 15 minutes exactly, then it’s homework time. And so forth. I avoid endless arguments like — ‘that wasn’t ten minutes! That was just ONE minute!’ by using the kitchen timer on my oven. And this is how little my kid trusts me — she has to be the one to set the timer. The advantage of the oven timer is that it is at her face level and is easy to set and easy to read. And my, the beep is loud.

Get into the bath, Now!

Get into the bath, Now!

THREE. Sushi serving platter as spoon rest: If you read this post of mine you might know that I scorn the wimpy spoon-rests one can buy at the store. The aspect ratio of the perfect spoon-rest in my mind is a wide and not very deep rectangle so several spoons can be rested on it on just their bowl parts. So I use sushi platters instead. They can be quite decorative. As is the one pictured, a birthday gift from my husband.

Sushi platter as spoon rest

Sushi platter as spoon rest

FOUR. Compost pail as utensil holder: Speaking of wimpy…the usual utensil holders available from, say, William Sonoma, are completely inadequate for the number of spatulas, slotted spoons, wooden spoons, tongs and turners that I need near my stovetop. So I use one of those ceramic compost pails which really are a bit too decorative to consign to collecting rubbish anyway.

Compost pail as utensil holder

Compost pail as utensil holder

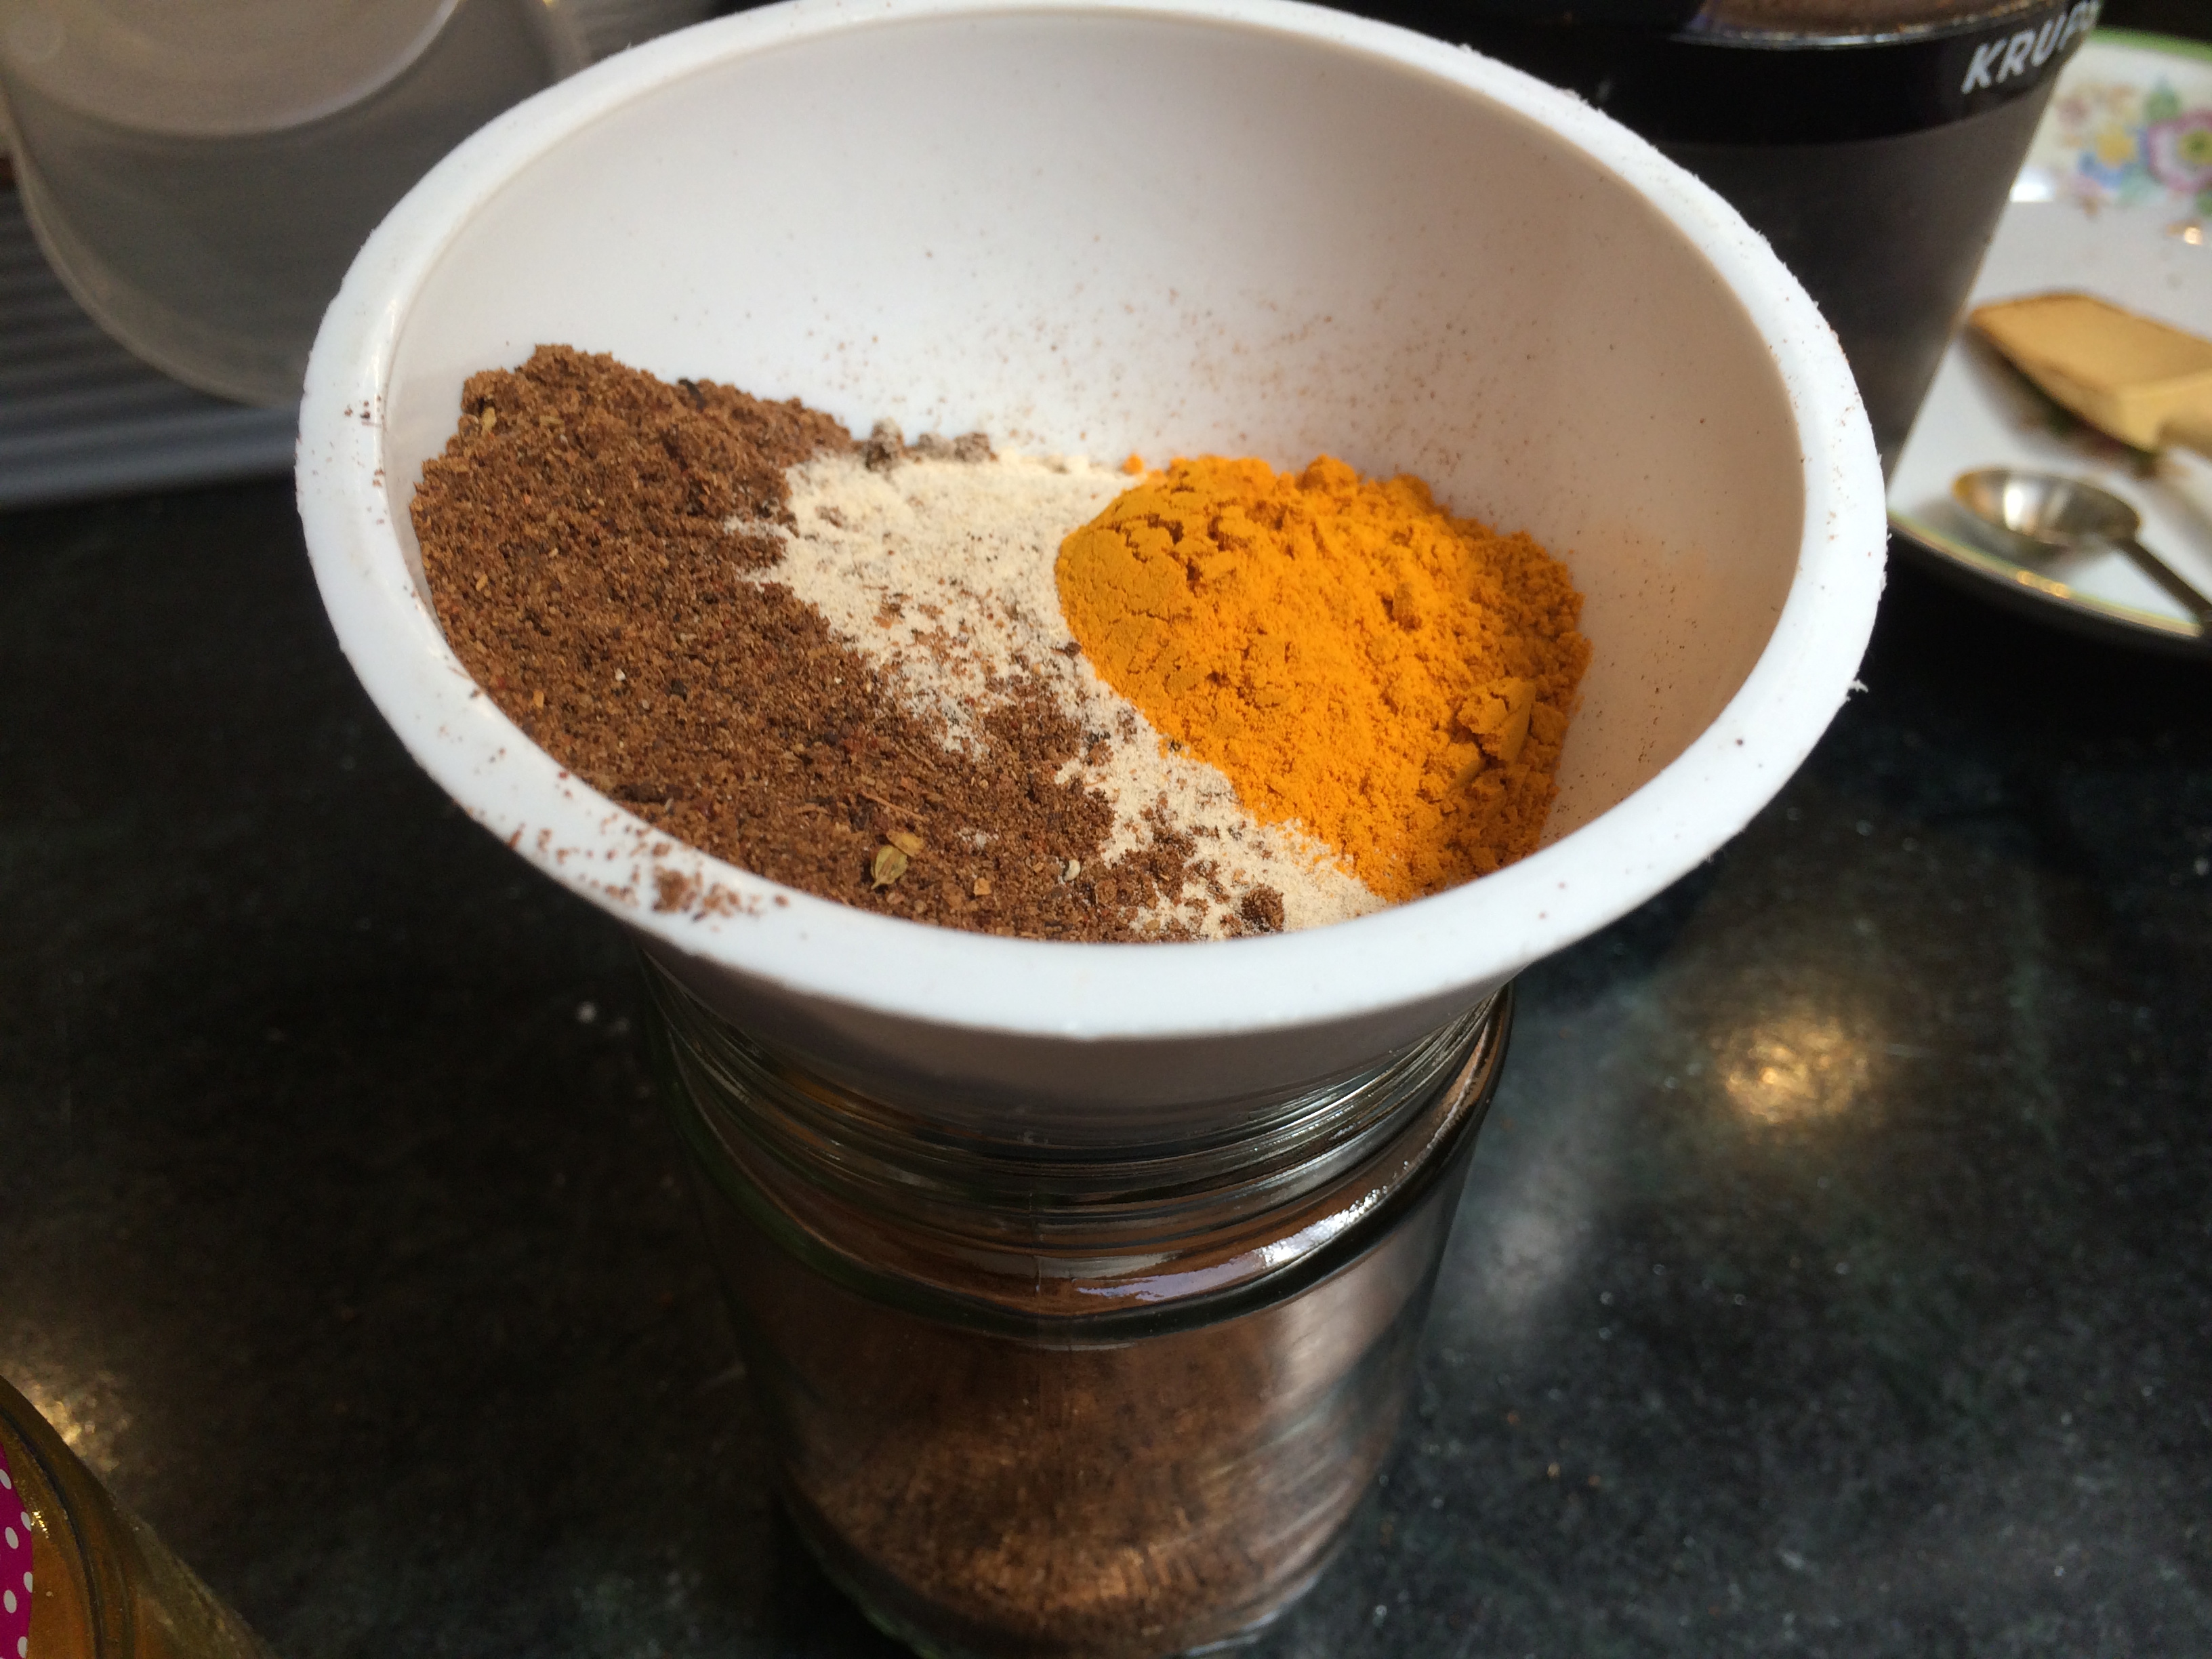
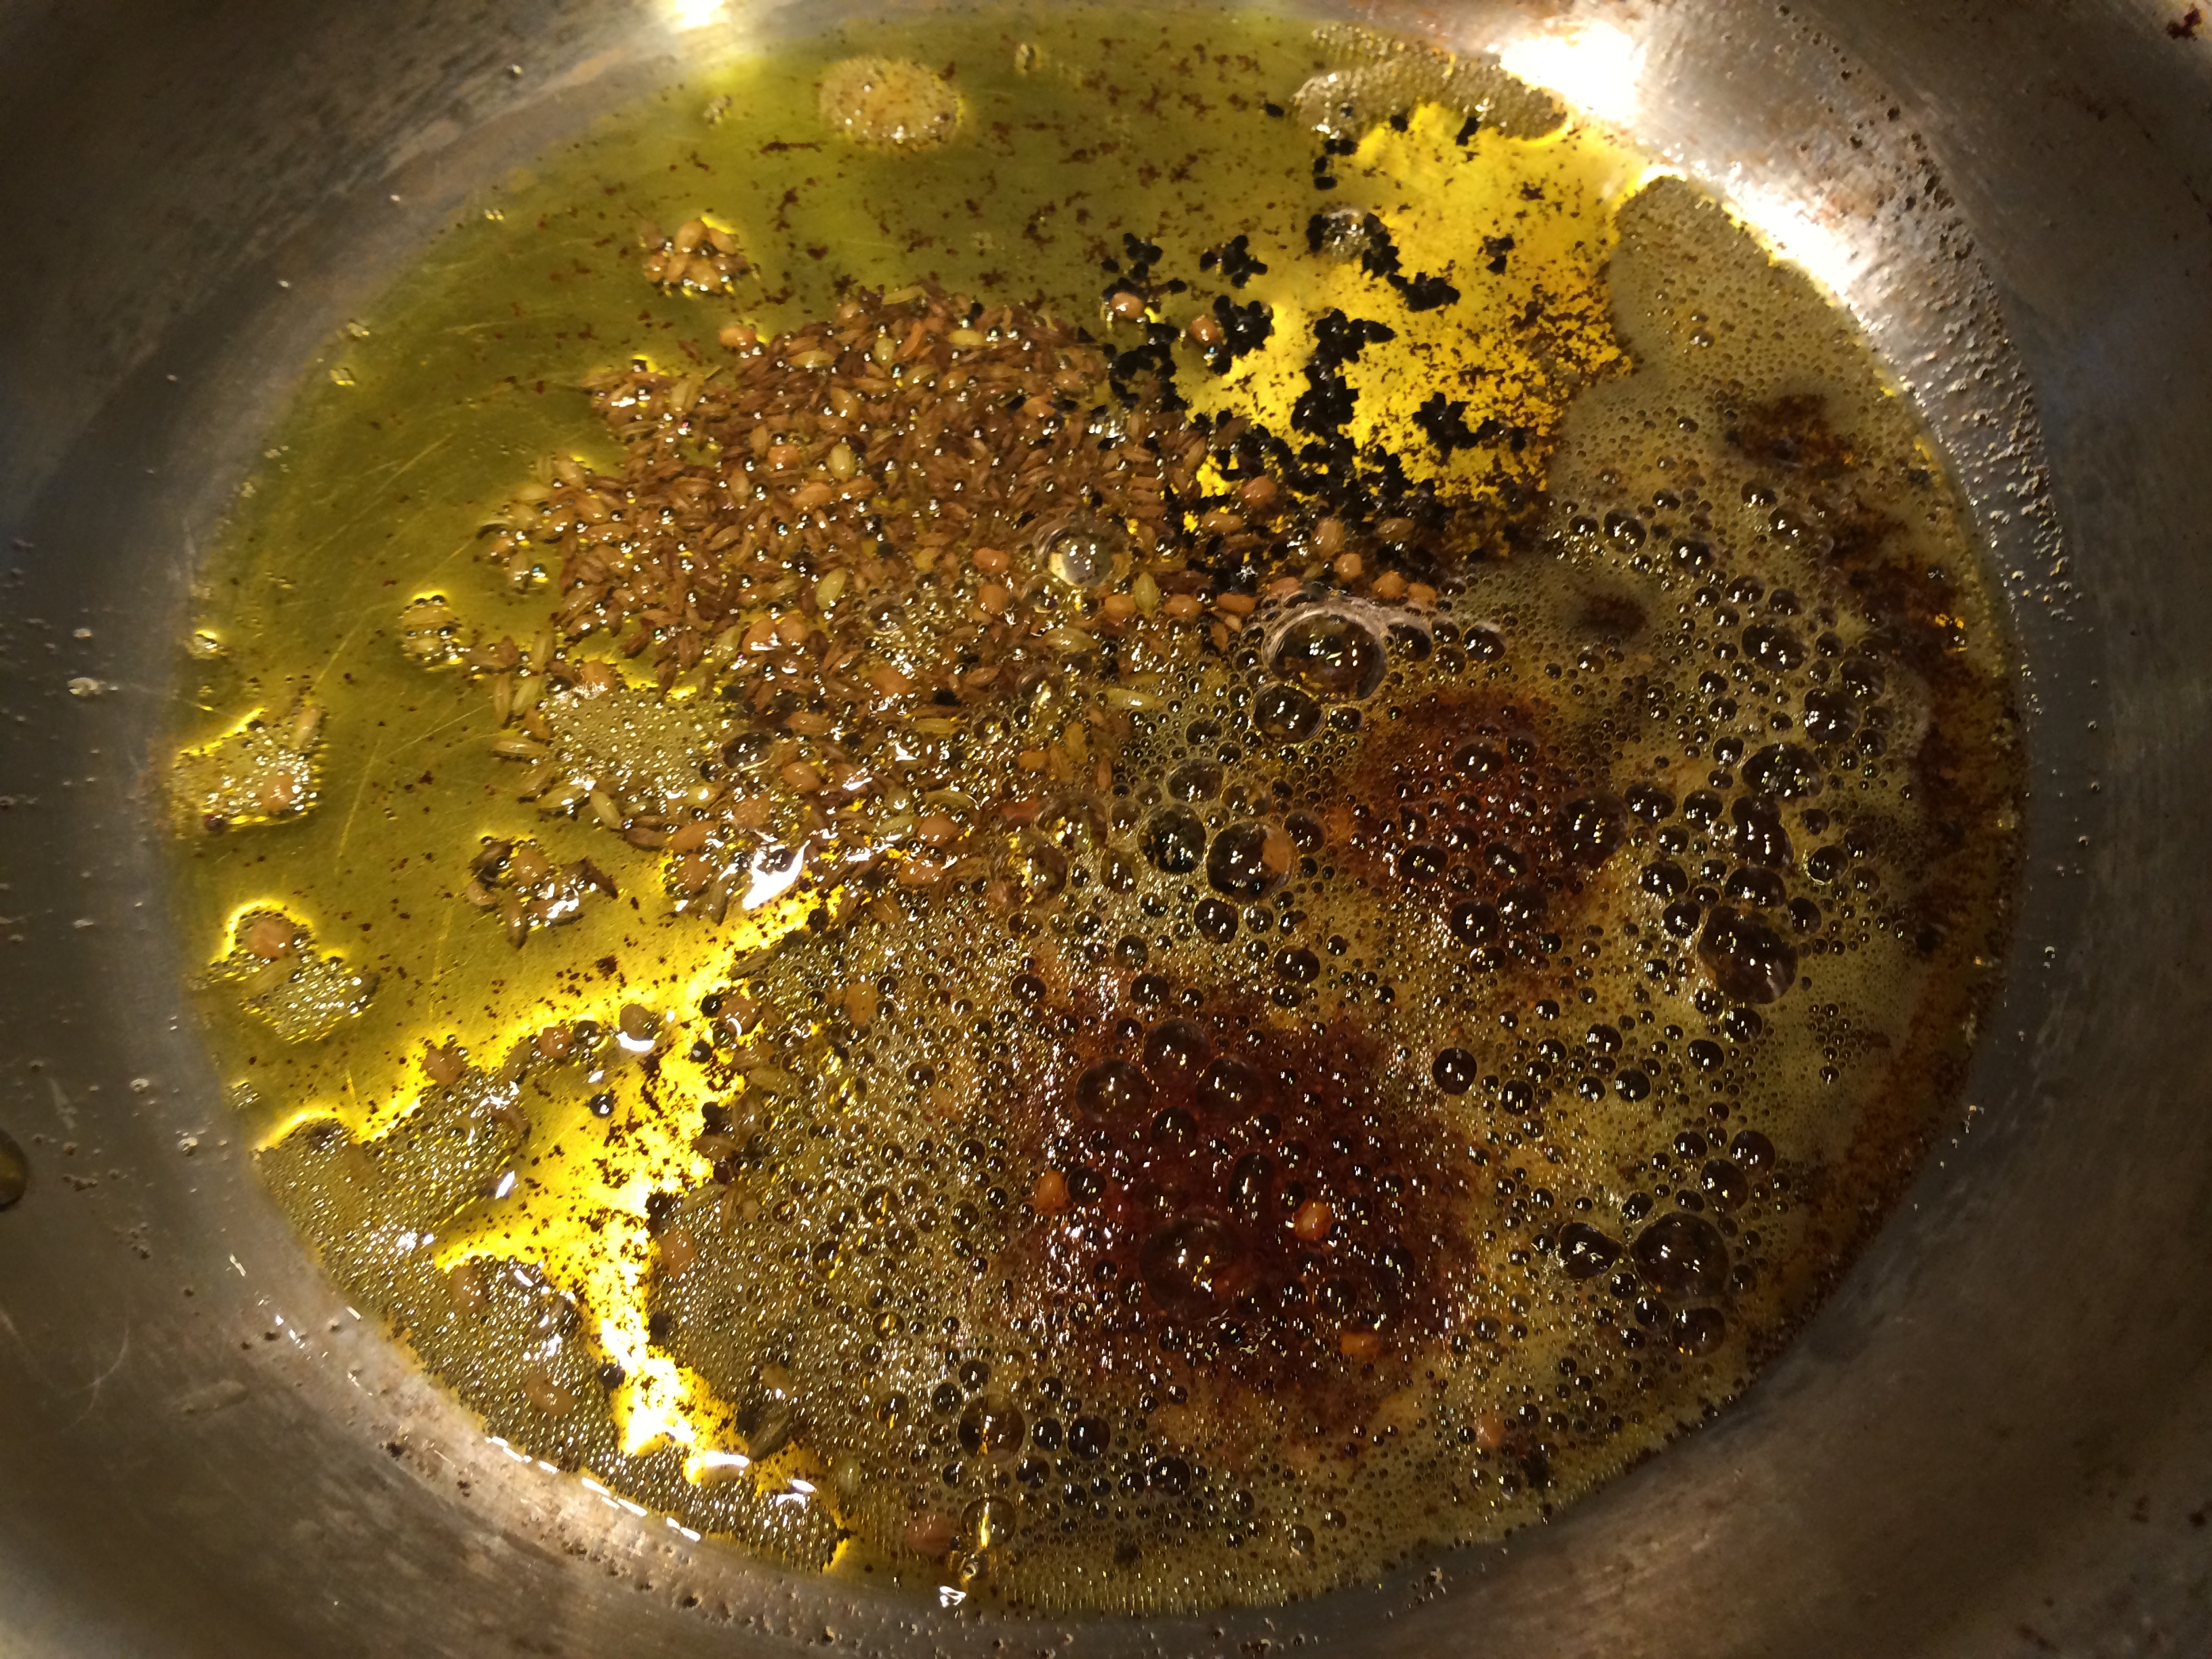
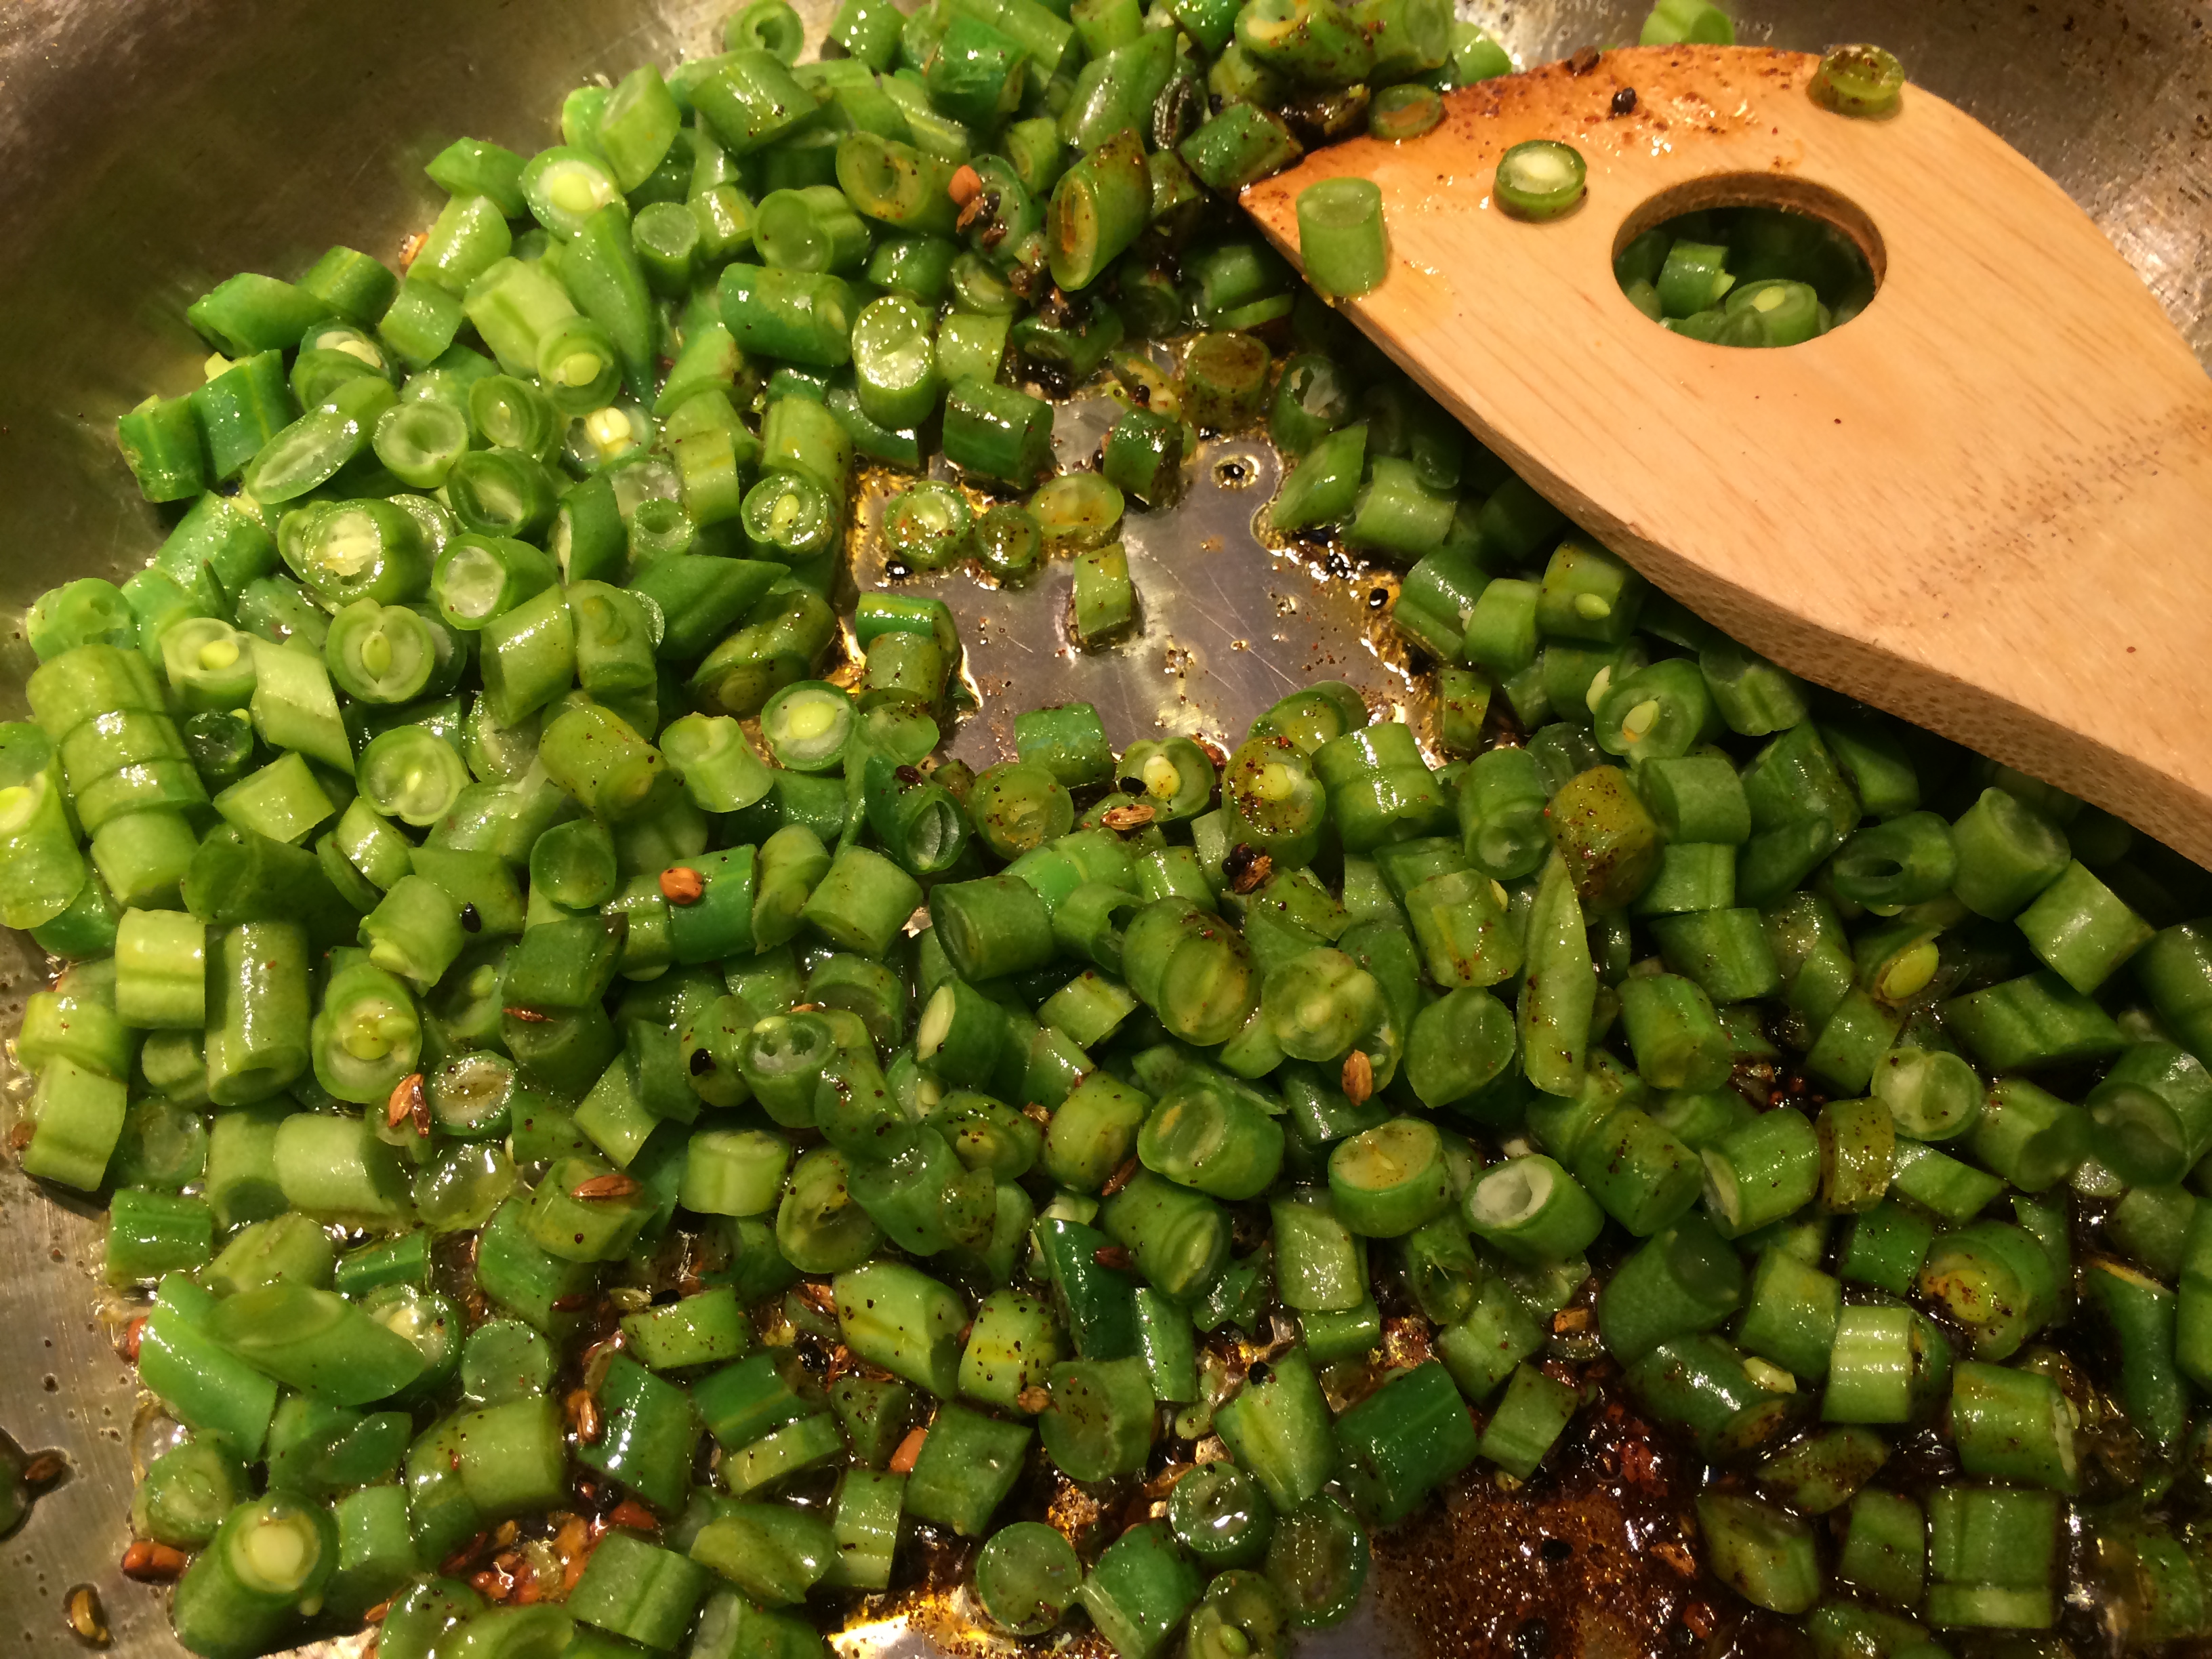
FIVE. Coffee grinder as spice grinder: Buying pre-ground spices is a mug’s game because of their propensity to turn into cardboard (turmeric is an exception). One must have freshly-ground spices, but how?! The mortar and pestle is one option, but for a busy weeknight dinner one needs to unleash the grinding power of a thousand suns. In other words, the electrical coffee grinder. Except mine is always used for spices and is always situated on the counter.

Spice grinder

Spice grinder

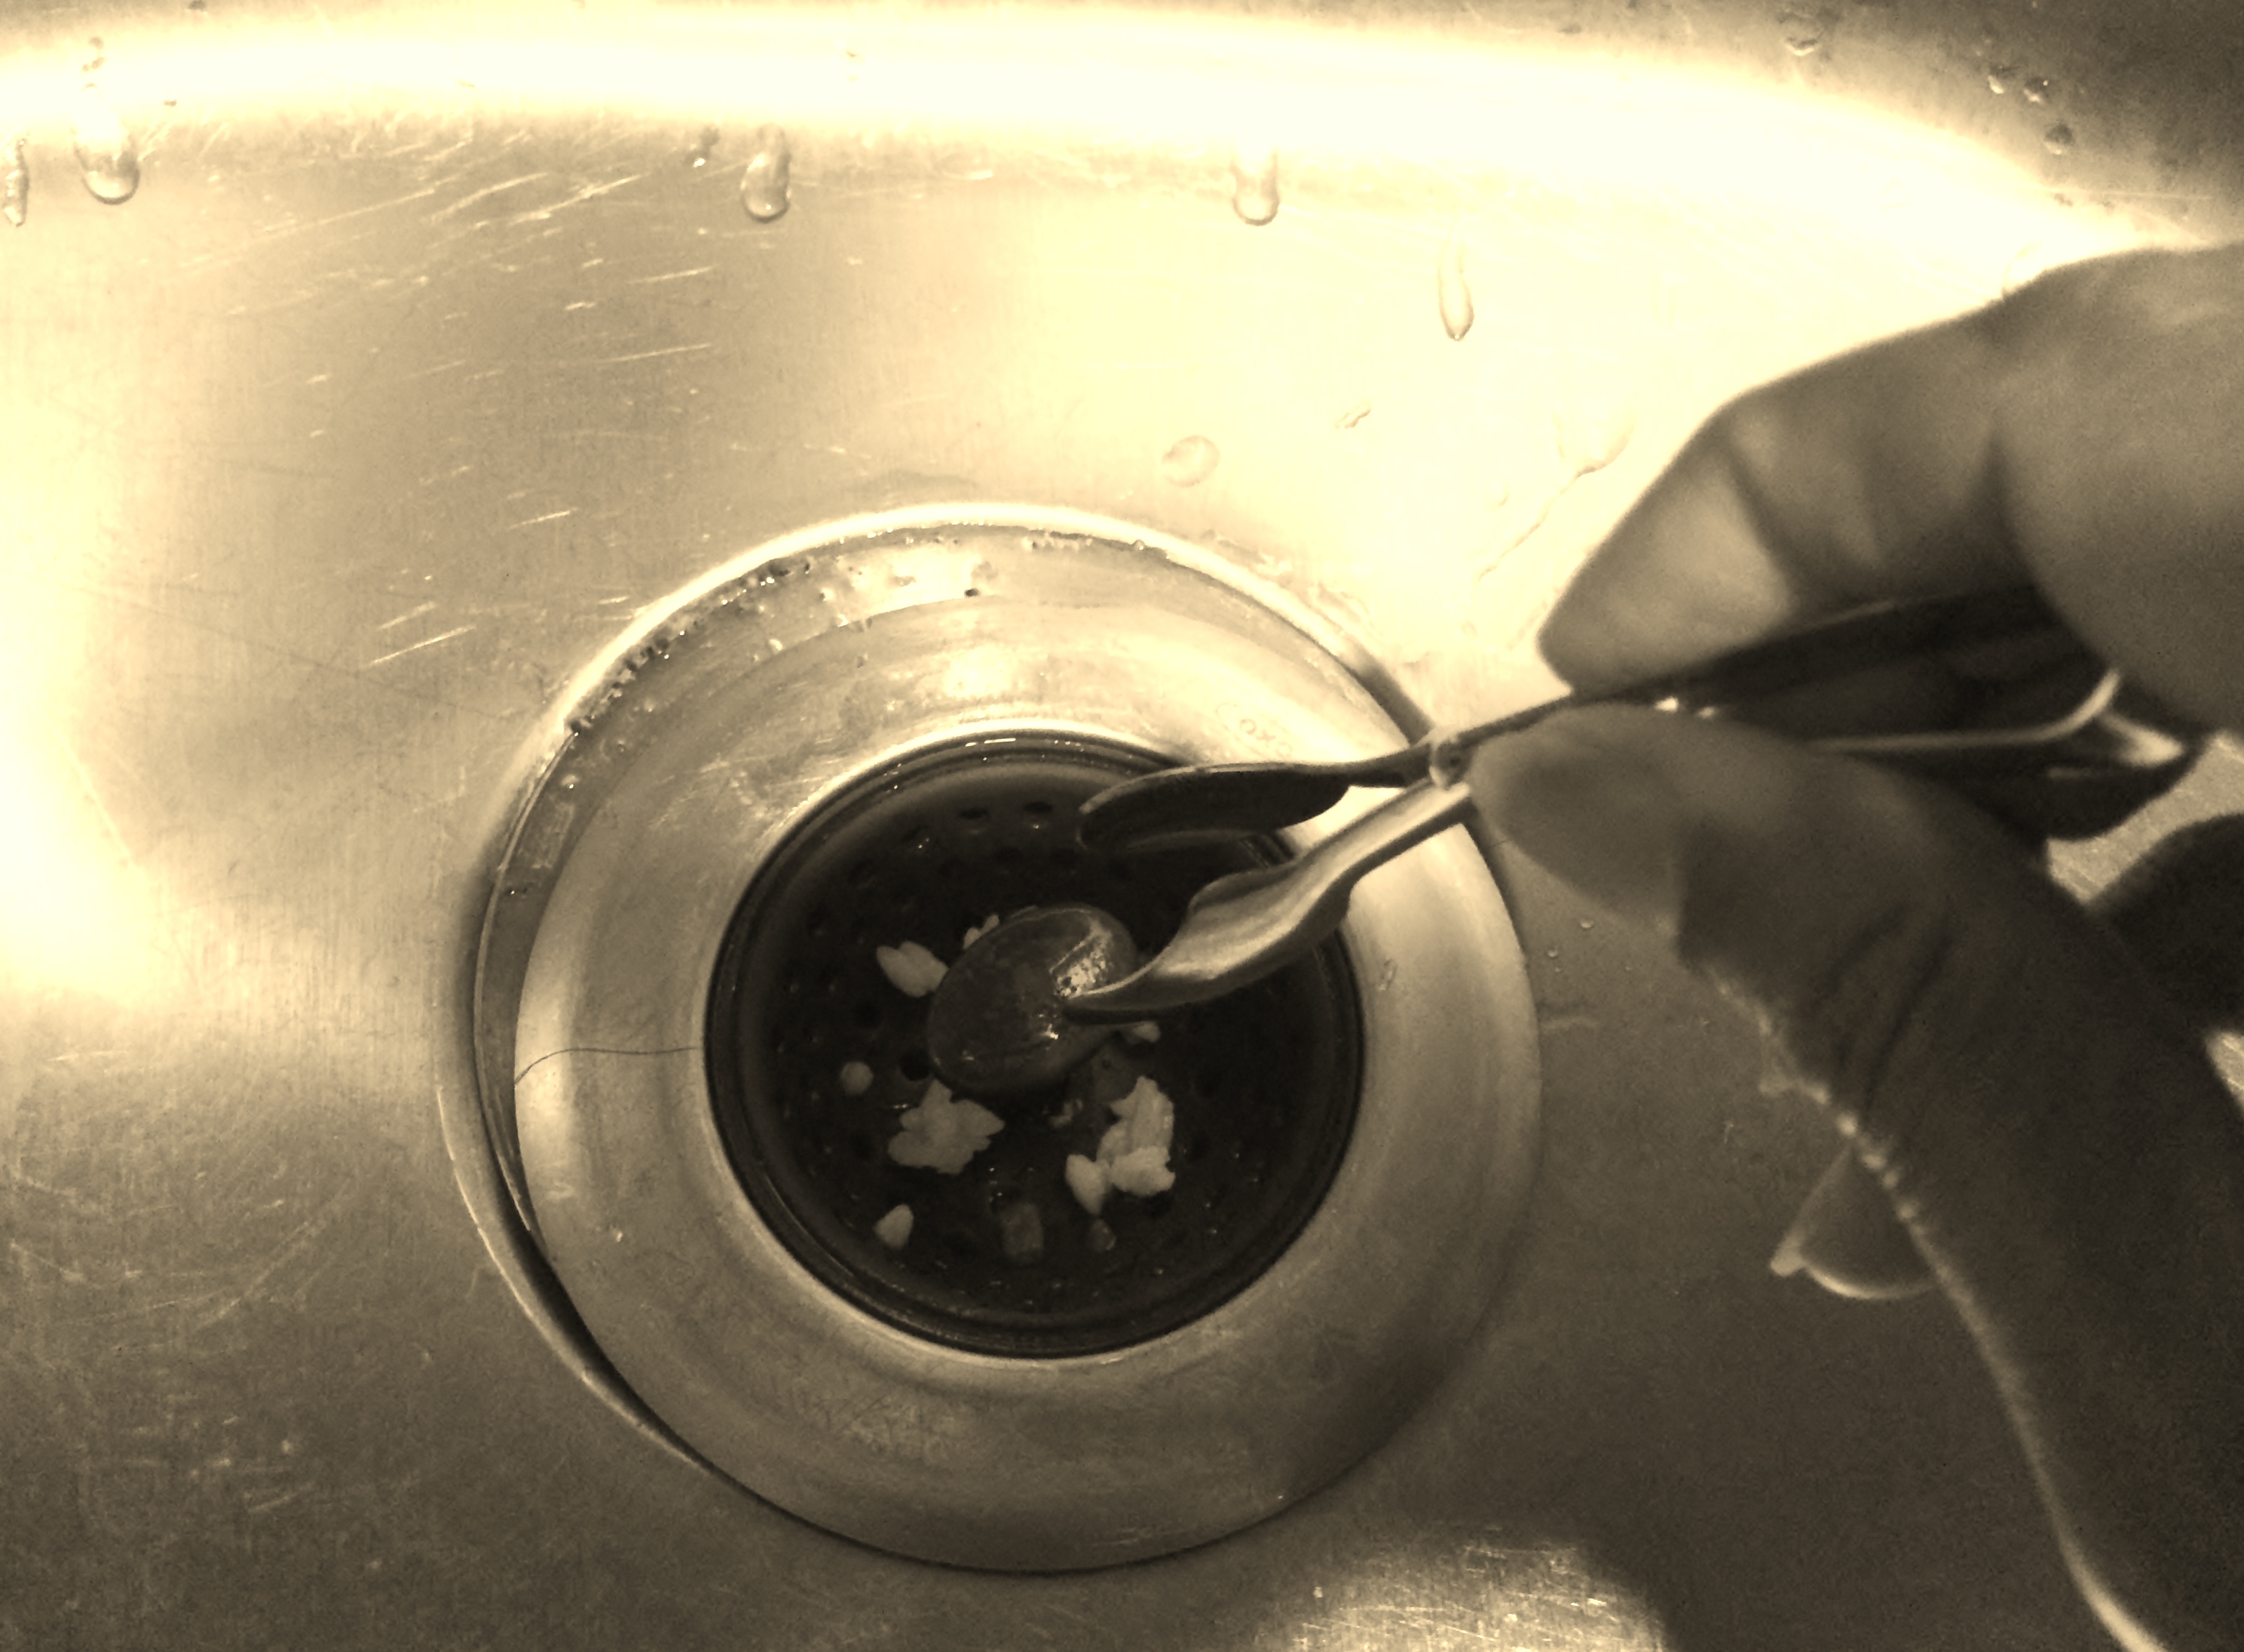
SIX. Lobster tongs to clean sink traps: My husband came home one day with these precious little lobster tongs that you pinch with forefinger and thumb to pry out whatever one pries out from lobsters. They are about 3 inches long. Given that we never make lobster at home, I thought it was an odd choice. But he knew they would be useful some day, he just didn’t know how. And they are! You know that gunk that seems to collect in sink traps that one is loath to touch, and yet pick out one must? Lobster tongs to the rescue. One has to only once draw out a long hair with gunk all over it and drop it in the bin with one of these to get how useful they are.

Lobster tongs to pick out gunk

Lobster tongs to pick out gunk

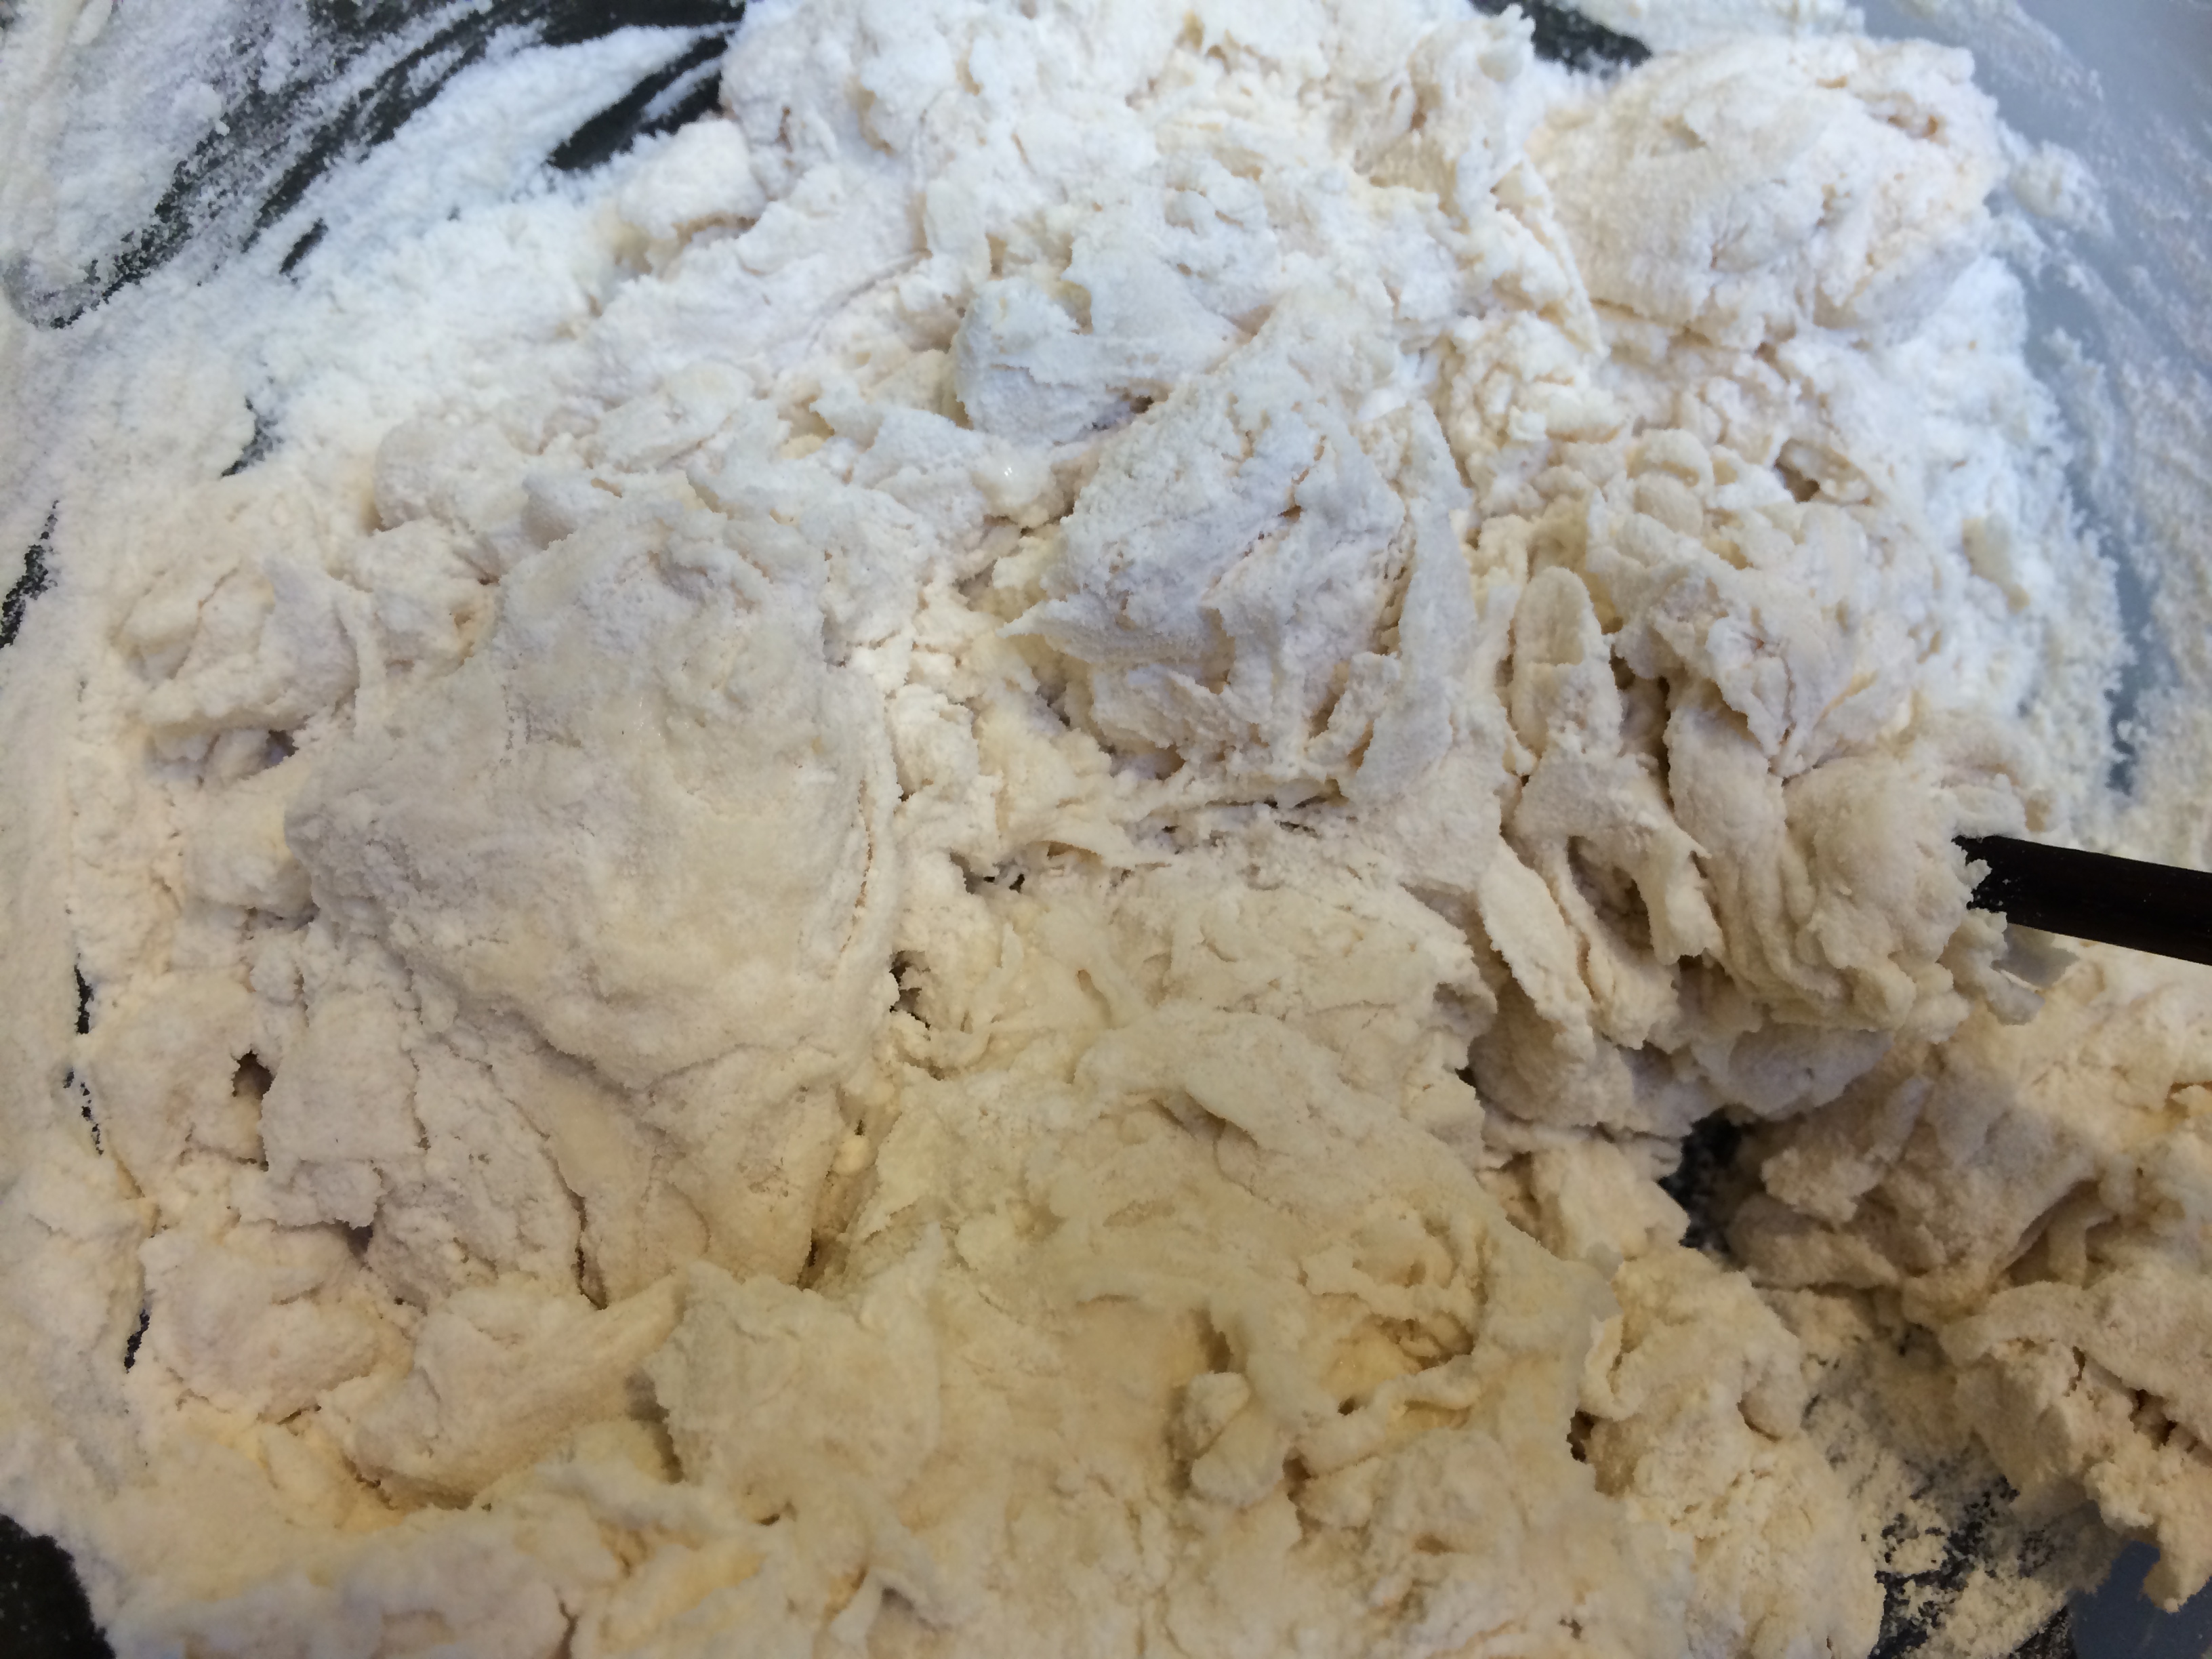
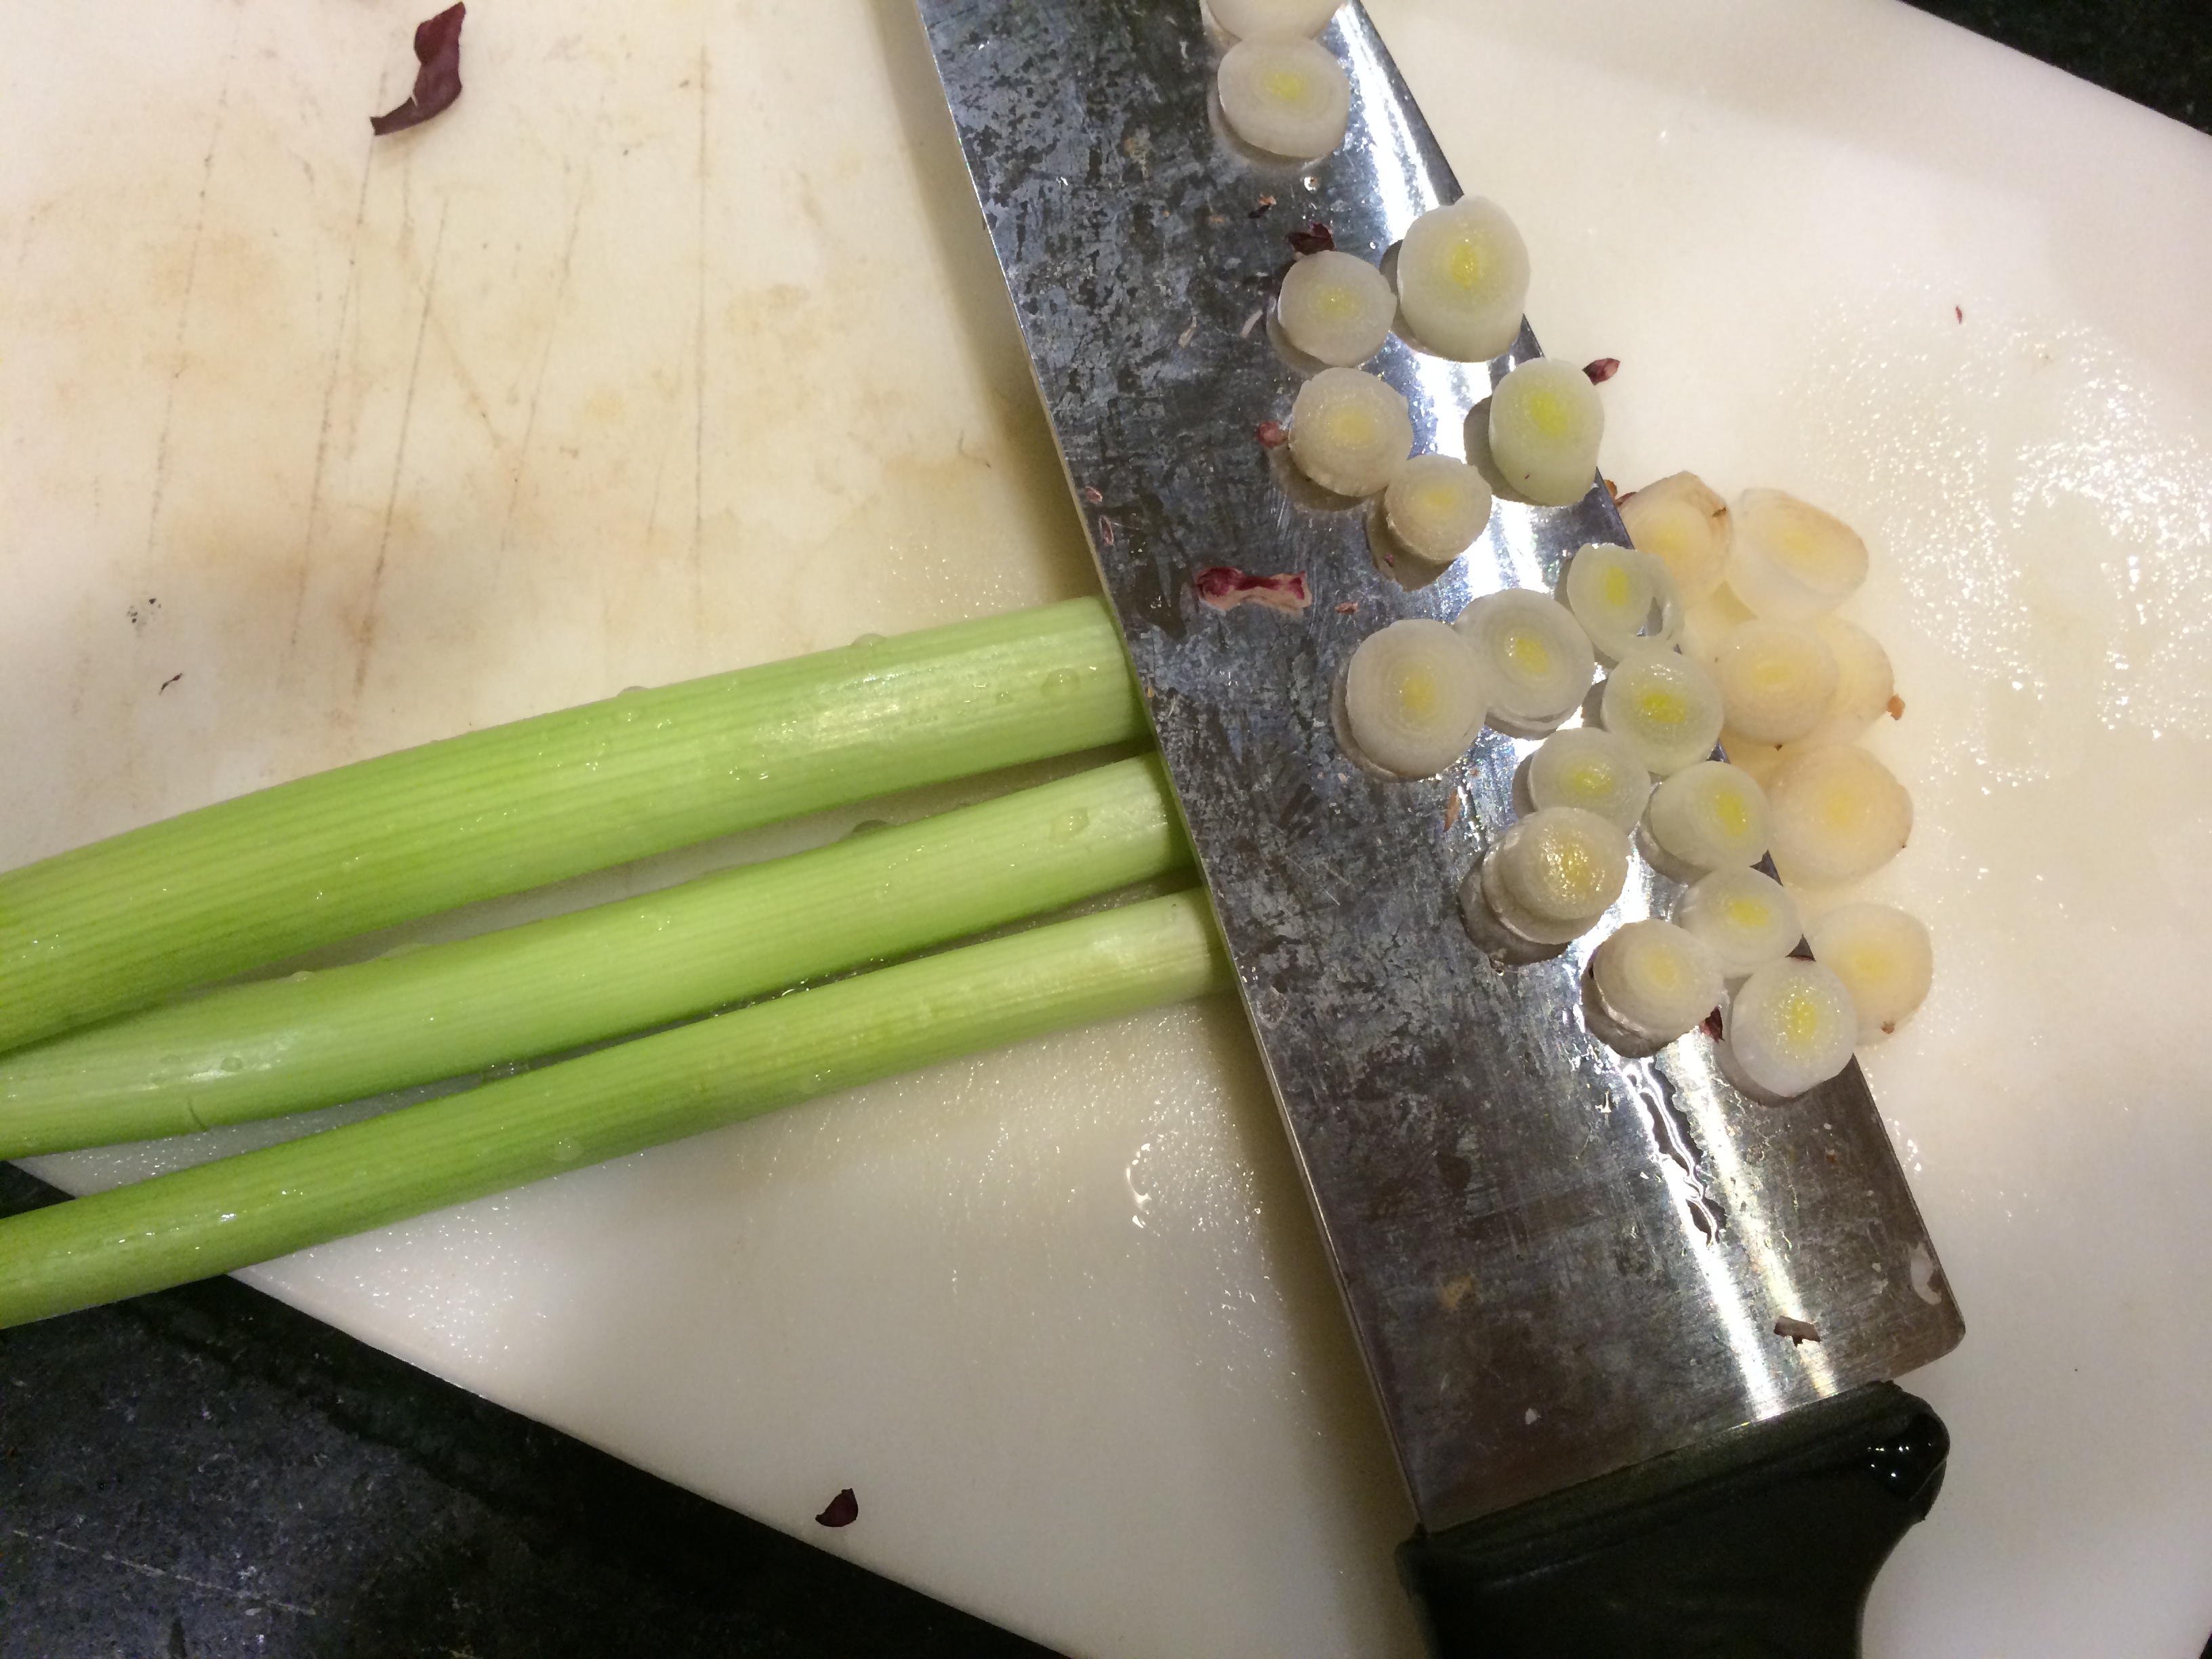
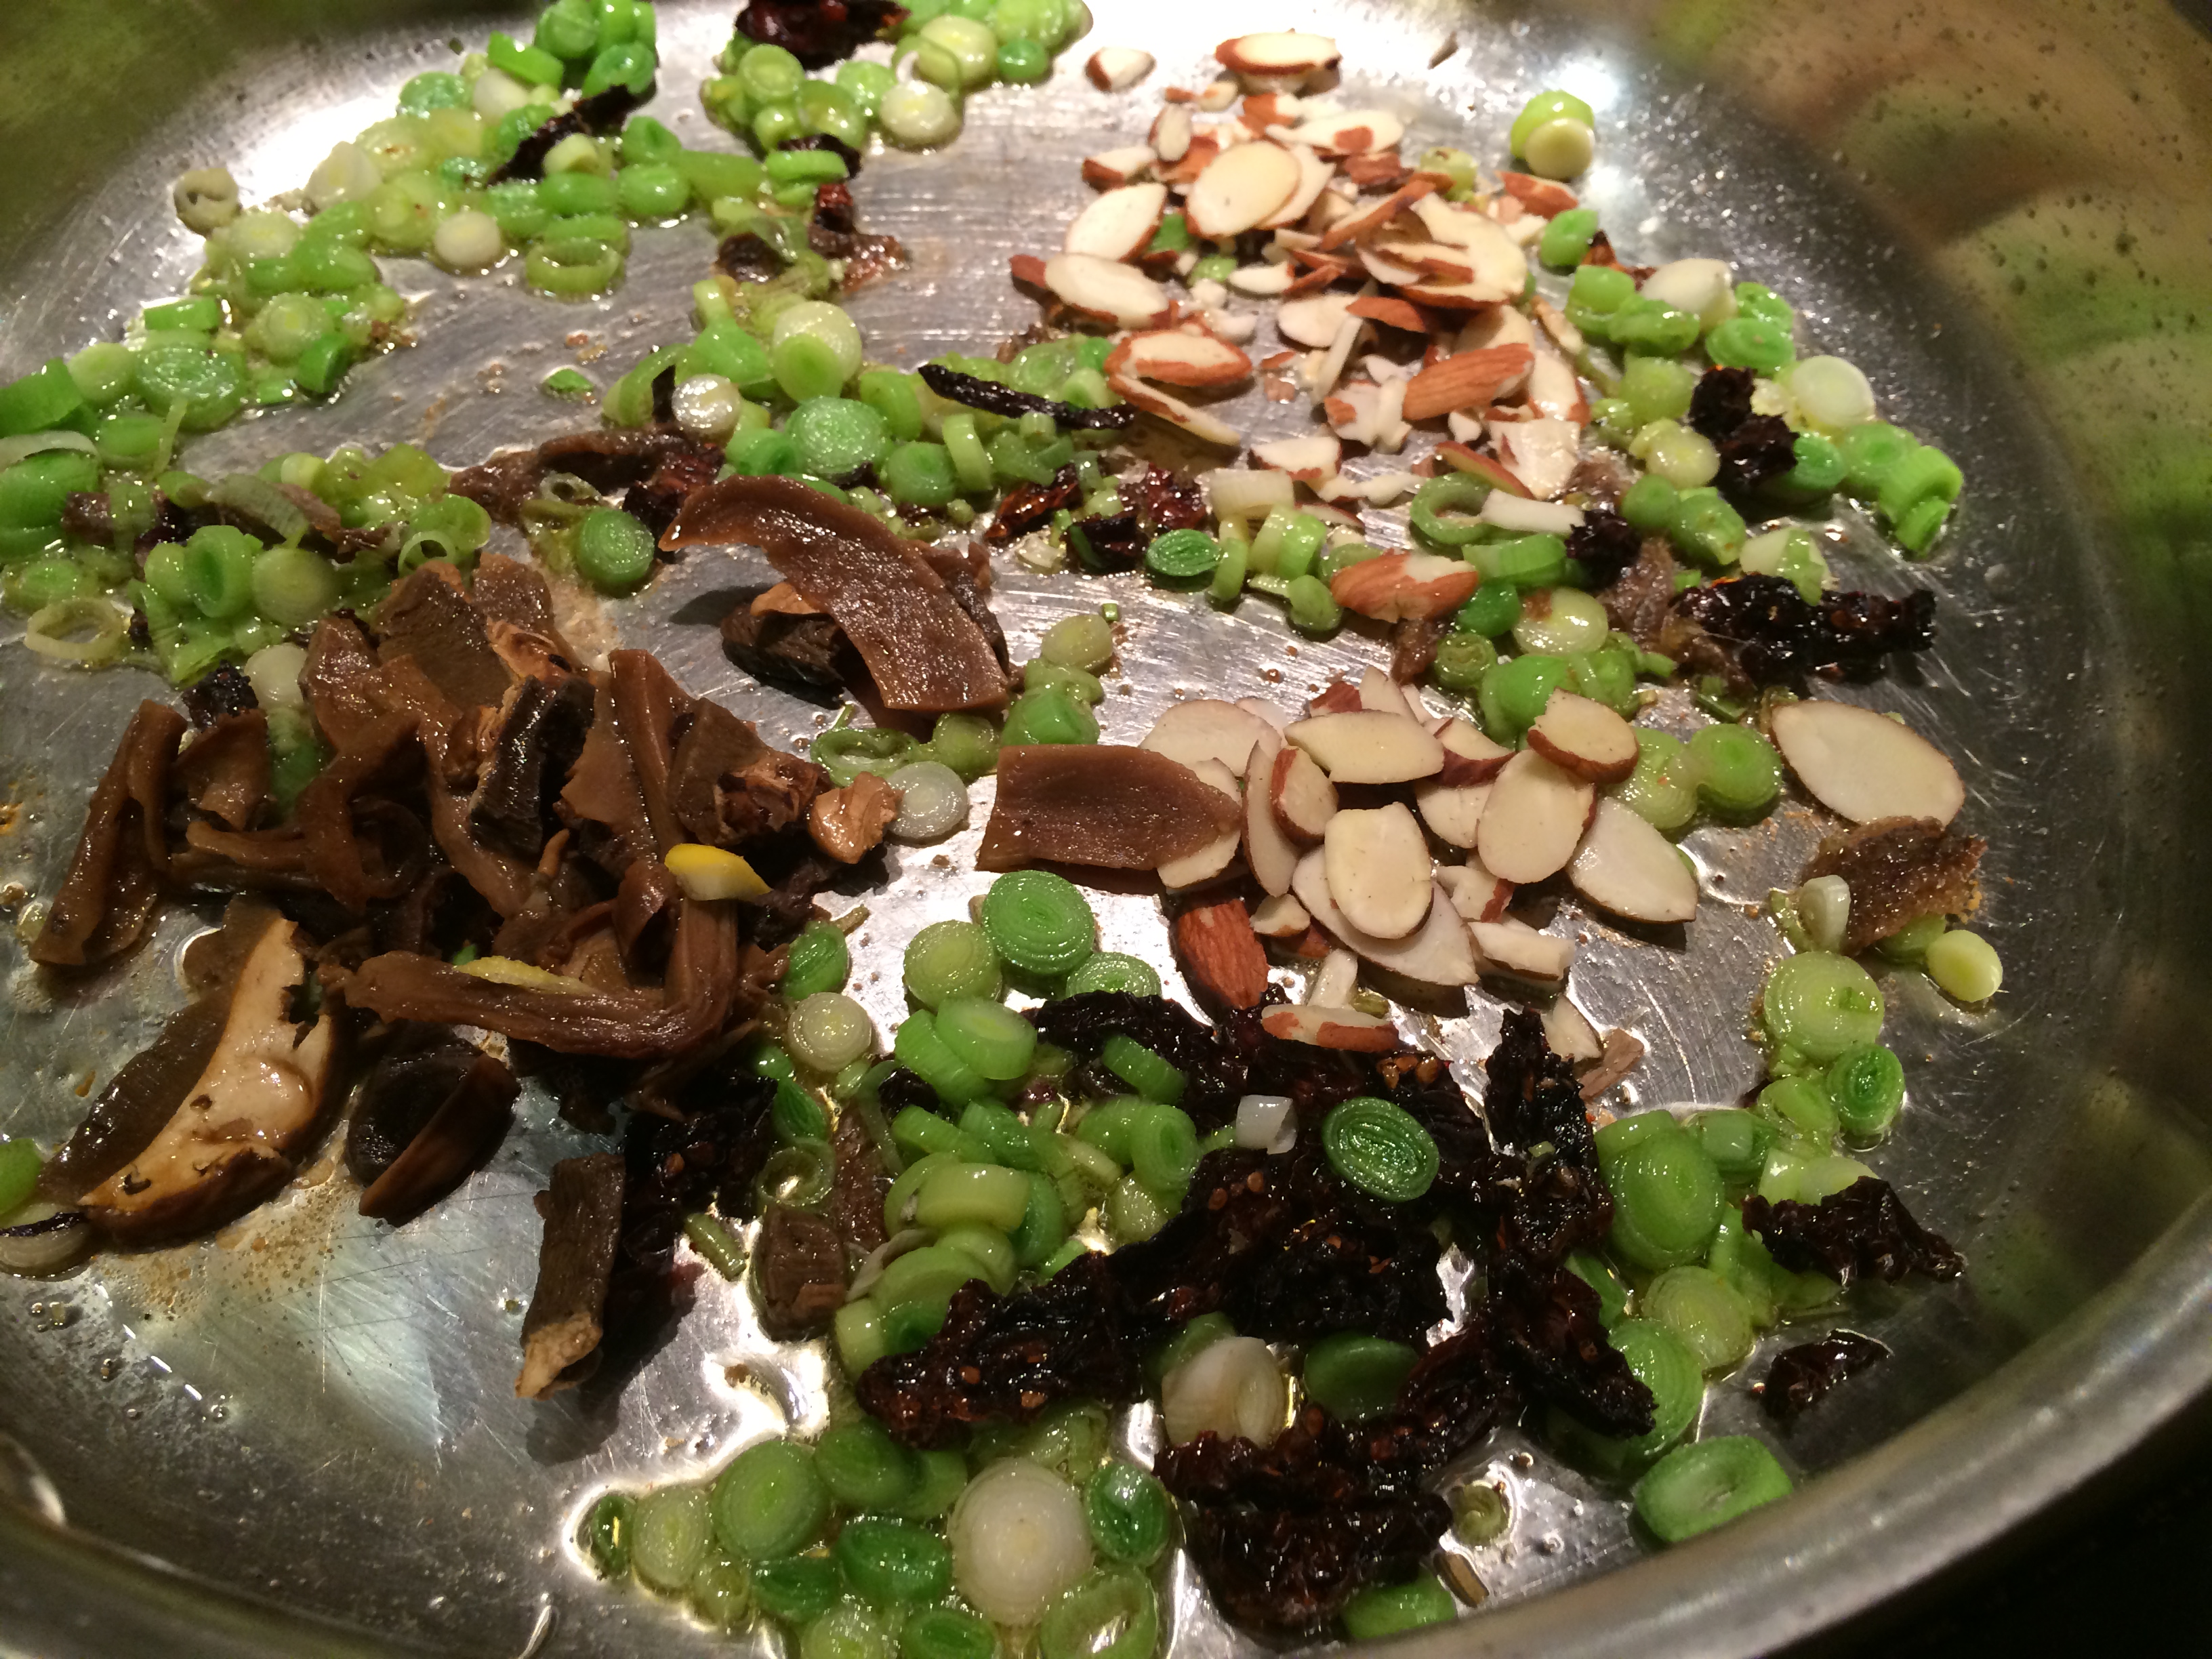
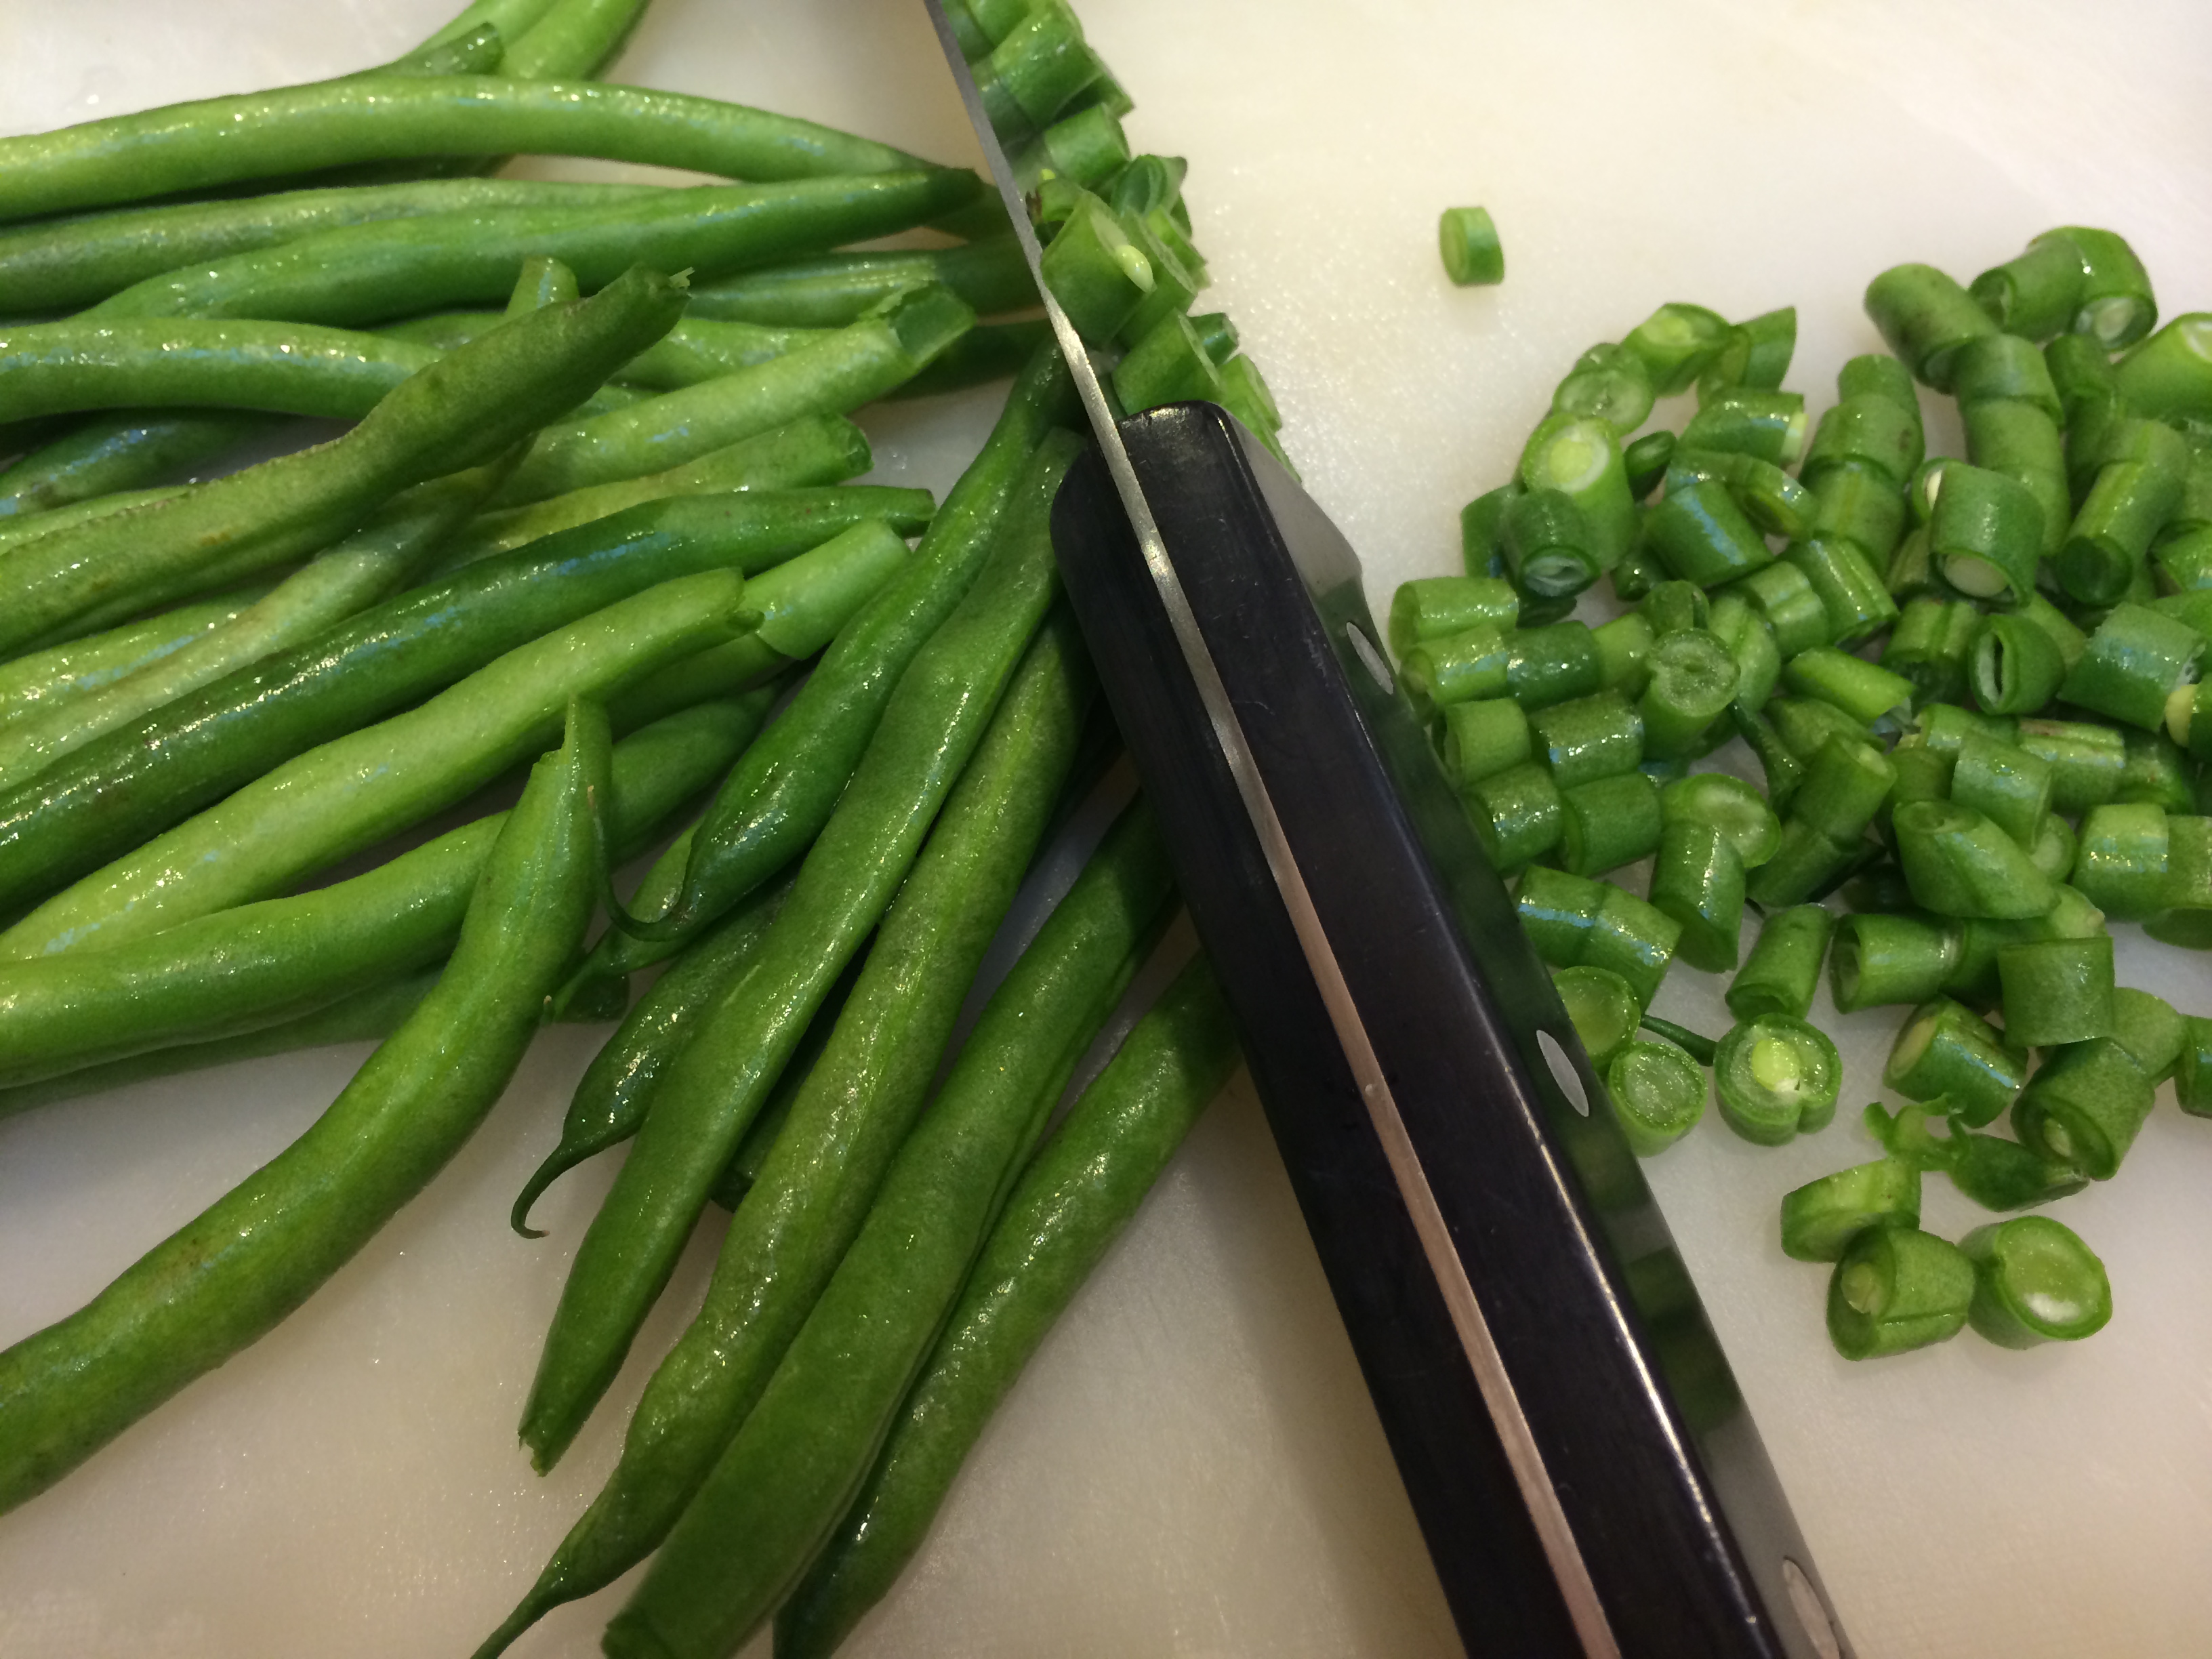
SEVEN. Chopsticks as general purpose thingies: Chopsticks are some of the most useful devices known to man. Of course, I know that upwards of a billion people use it every day to eat their meals. But that’s not what I use them for. Instead, they are perfect for a number of kitchen tasks: pushing ground spices through a funnel; stirring flour and water in preparation for making the dough; making little ditches in soil for sowing your seeds.

Stirring flour and water with a chopstick

Stirring flour and water with a chopstick

Pushing through a funnel with a chopstick

My 8-year-old helping with a chopstick

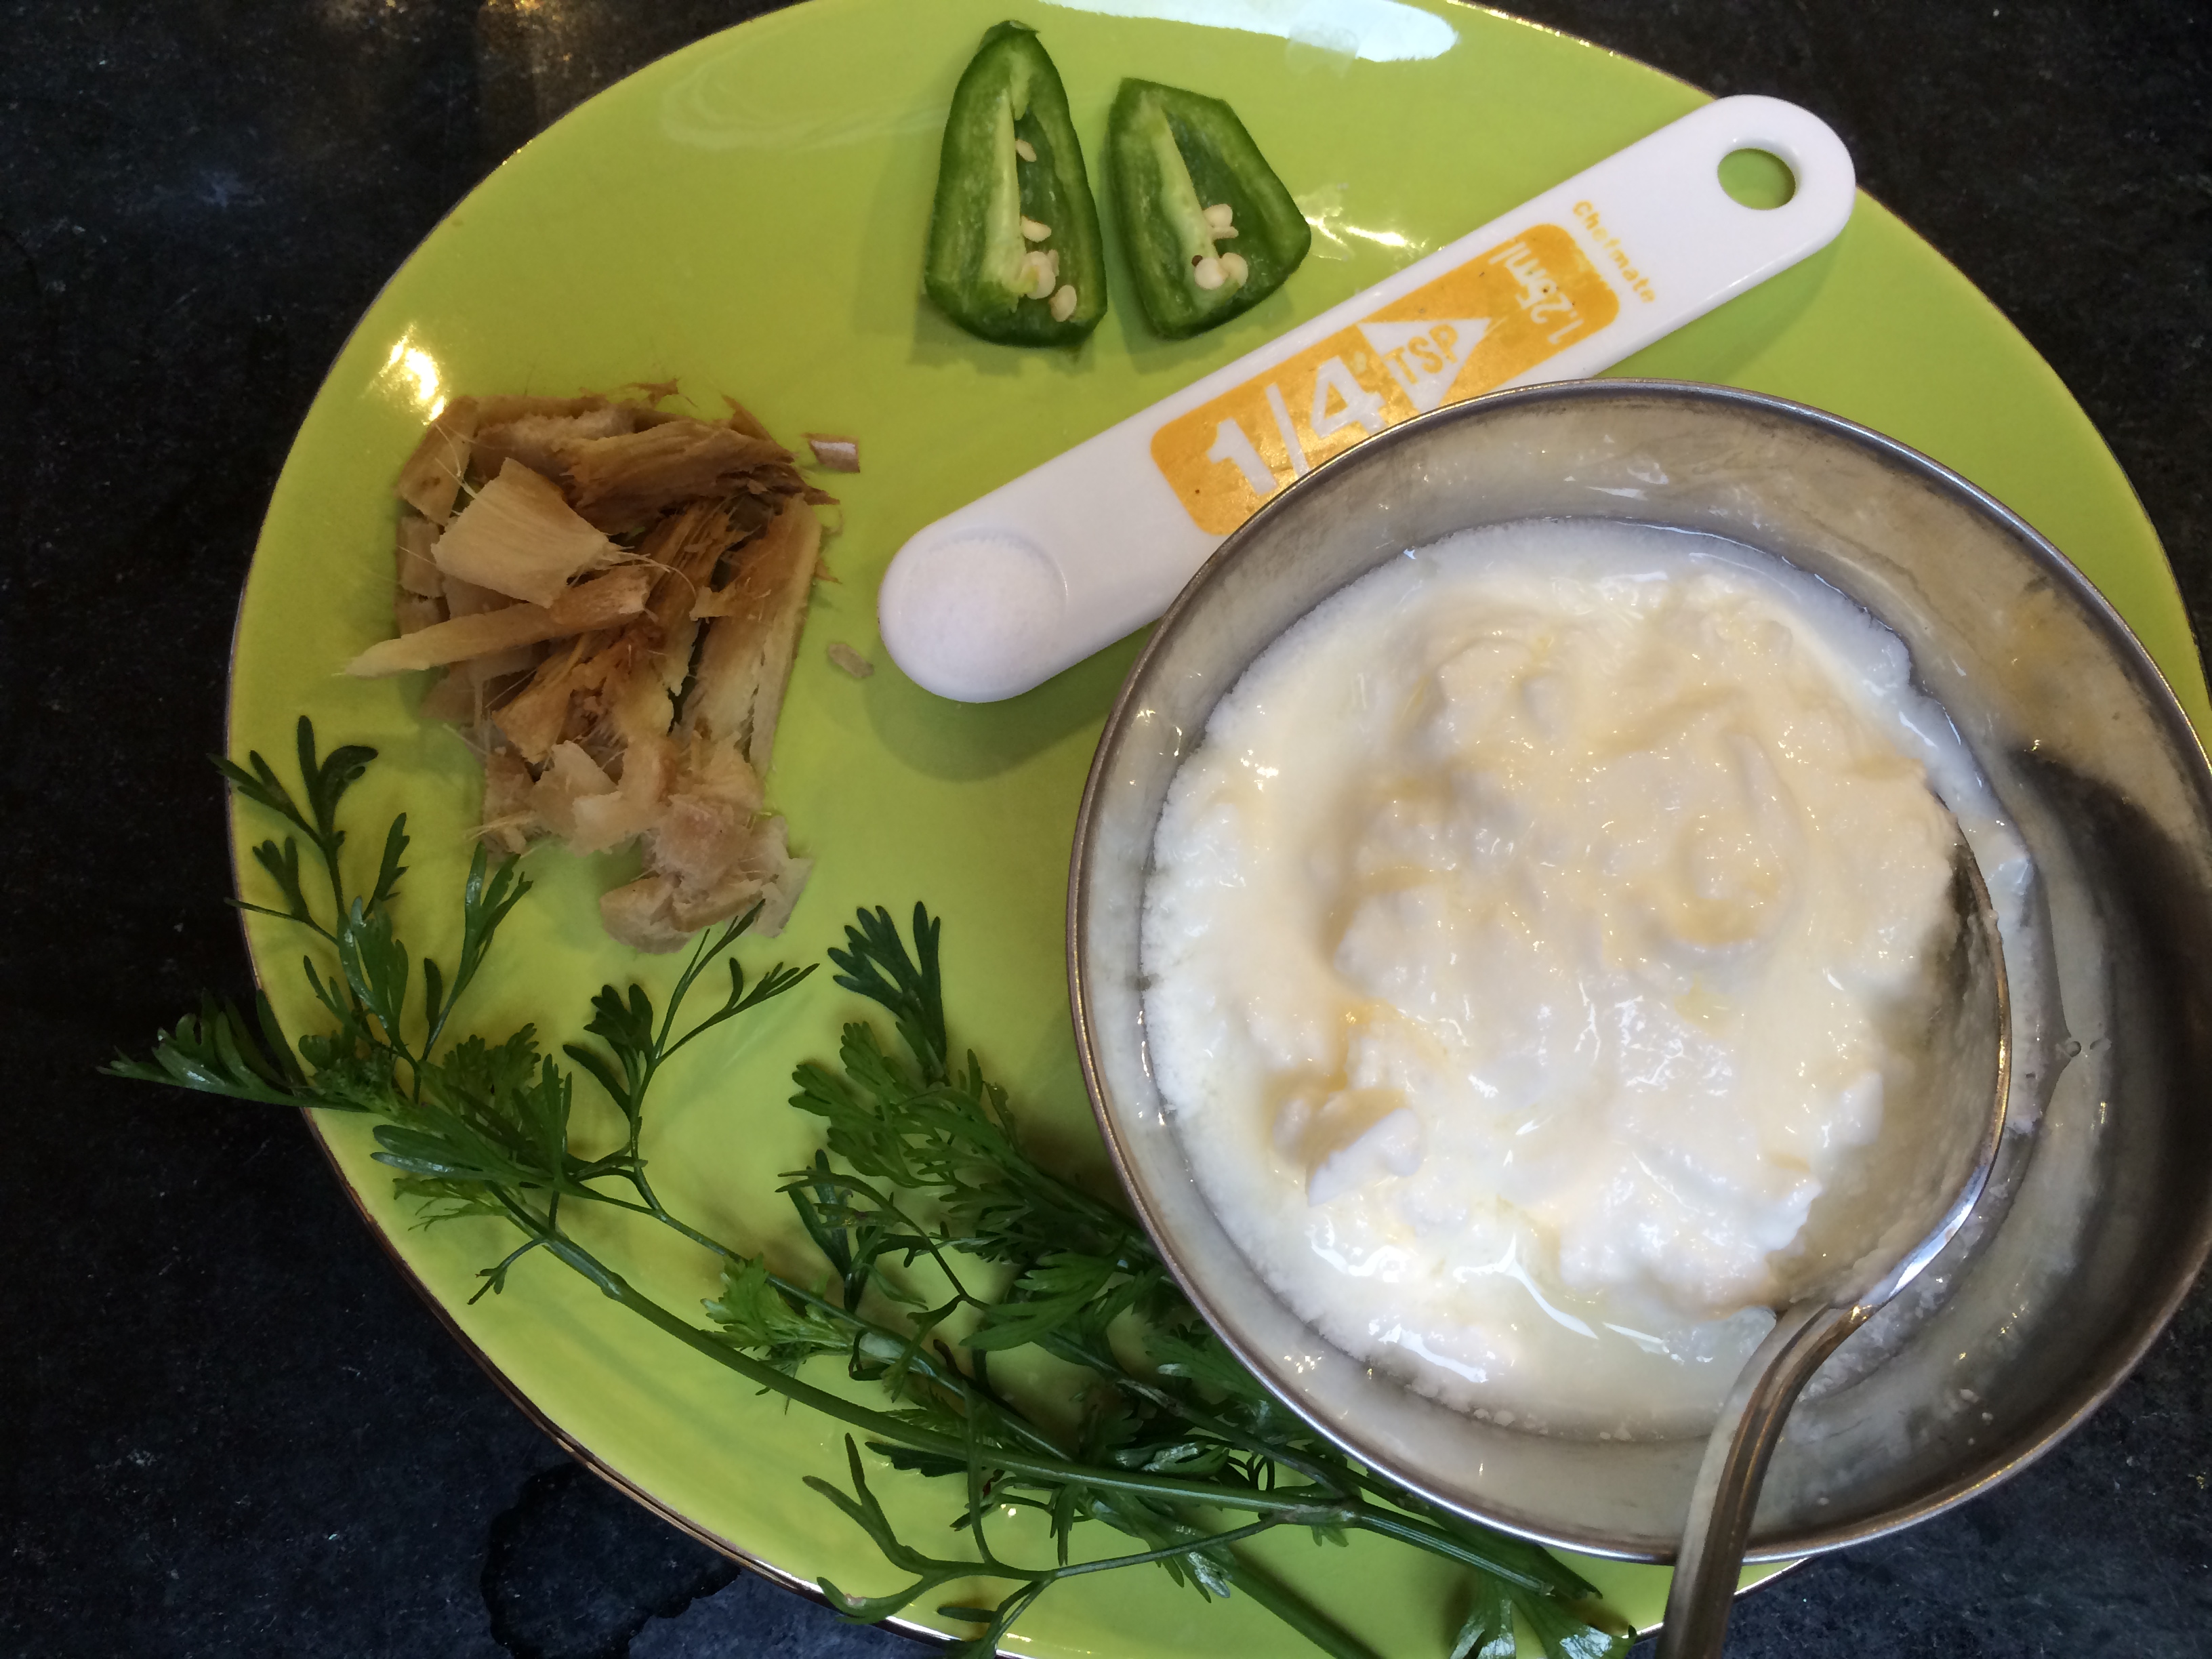
EIGHT. Egg-shell cartons for sprouting seeds: Purely aspirational, this one, but can I please enter it anyway? Please? This idea has been on my mind for years. Imagine neat rows of 12 egg carton ‘pots’ with soil placed in each scoop, and seeds sown in each. Then when it is time to plant, cut the scoops away from each other and the whole thing can go in the garden bed. No need to transplant.

Saved egg cartons waiting forlornly for carrot seeds to be sown

Saved egg cartons waiting forlornly for carrot seeds to be sown

NINE. Coffee cone and filter for oil: There — you’ve done it again, you went and deep-fried something. Delicious, wasn’t it? And now what? Do you throw the oil away? No, you send it through a coffee cone with a coffee filter neatly placed in it, while the filtered oil drains into a jar. It will take hours, but you have time. The result is cleaned oil that you can use again and particulate gunk that you discard.

TEN. Spouse as dish cleaner and lab rat: When I married one of these I could not have conceived of the many alternative uses it has. Its kitchen uses were certainly not on my mind at the time of the courtship. But it turns out, given that one is a cook, the spouse can make a great dish cleaner. Also, my kitchen being a bit of a lab, it sure is useful to have the spouse be the experimental animal.

Hubby (he does in fact have a head)

Hubby (he does in fact have a head)


An early summer beverage

Spiced buttermilk

Spiced buttermilk with cilantro flower

Summer has come early to San Francisco this year; sometimes it feels like it never left. With climate change looming, this is not as good news as it might seem. But let’s not worry our pretty little food-blogging heads about this just yet and cool off with this yogurt beverage.

Spiced buttermilk: Neeru majjige

This is another specialty from the southern state of Karnataka from my friend Rashmi. Just think — instead of reaching for a sugary soda you could cool down with a tall glass of spicy yogurty neeru majjige. Better to taste and way better for your body.

Ingredients for Neeru Majjige

All the ingredients

Blend it

Blend it

Strain it

Strain it

Squeeze dry

Squeeze this stuff dry

Spiced buttermilk

Done – spiced buttermilk

Spiced Buttermilk (Neeru Majjige)

Ingredients:
  • A cup of yogurt
  • A cup to cup and a half water
  • Quarter inch ginger
  • Half a green chili
  • Few sprigs cilantro
  • Quarter teaspoon salt
Method:

Simpler than simple. Blend all the ingredients together. Strain it. Squeee–eeee-ze the green remains dry. The mixture is a pale green, the squeezing will drip delicious light green drops on it. Refrigerate for half hour if you like.

Garnish with a sprig of cilantro, or like I did, a cilantro flower from the garden.

Like bhaji on pav

Pav bhaji stall (Photo credit: http://burrp.in.com)

Pav bhaji stall (Photo credit: http://burrp.in.com)

A couple posts ago I did the recipe for pav bread, and possibly some of you thought — well, ok, but where’s the bhaji? Especially if you have lived in Mumbai for any length of time. Those who have not might be forgiven for wondering what the fuss is all about.

You see, there aren’t a lot of dishes that Mumbai can claim as its own: most are brought in from other regions of India by immigrants. Pav bhaji is one of very few that were invented in the city. Just like the culture of the city itself, it is a bit of a mongrel; just like the city itself, it is imbued with street culture. It is street food, but it is so much more than food. It is a fixture of street life. It is fuel for hungry office-workers, cart-pushers, delivery-boys, ward-boys, brick-layers, day-laborers. A cheap lunch date for college romances. For a city that thrives on masala (spice), whether in food or in movies, it is a way to cram as much masala as is humanly possible onto the smallest paper plate.

The Bhaji

Now the word ‘bhaji’ is a bit like my most hated word — ‘curry’ (read this if you want to know why I hate it), in that it is a generic word for spiced and cooked vegetables. It suggests a hodge-podge, something that is so mixed up that one has to resort to vagueness. But in fact, although this dish was invented as a hodge-podge, it has now come to mean one exact dish, with one exact spice mix and one exact set of vegetables. Especially when used with ‘pav‘, as in ‘pav bhaji’.

This particular hodge-podge consists of several boiled vegetables, fried and mashed with spices. The whole thing is done on a giant griddle. Butter is spread all over the griddle and then the boiled vegetables sautéed. The mashing, as I remember, is done with a flat metal spoon. The mashed mixture is served with two pieces of pav bread, which have been sliced and toasted with butter and some of the spicy mix spread on it. The dish is topped with more butter. So there is butter underneath it, in it, and on top of it. Then, raw onions and cilantro are chopped fine, mixed with lime to make a bit of a relish, and that relish is thrown on top to garnish your paper plate.

The whole thing for less than 20 rupees.

Pav bhaji served

Pav bhaji served

History

Pav bhaji was invented by street-food vendors out of leftovers. In the late nineteeth century Bombay’s main industry was textiles; there were 130 mills in the central area of Girgaon (‘mill village’). The last shift let out at midnight. Street food vendors that sprung up around them threw together whatever scraps of vegetables they had from the day’s cooking and mashed it all up to hide its lack of pedigree. For the masala powder, once again, they threw everything in it indiscriminately, from garam masala (warm) spices like cloves to hot spices like dry red chilies.

From textile mill workers the dish became a standard for the underworld that was just getting started up around that time. A movie from some years ago called Vaastav depicts the story of an underworld don who gets started in business by opening a pav bhaji stall. Here is a clip of a song from the movie. I realize it is a little unconventional for a food blog to showcase Bollywood songs, but this one does show how the dish is made. This time, that is my excuse. (Next time I embed a song I won’t need an excuse.)

(Rough translation: here is a short man with a big belly, a man with money. He is eager for food. The griddle is hot, let’s throw the butter on it.)

Pav Bhaji

Today vendors of Pav Bhaji are everywhere from street-food stalls to expensive restaurants. It has lost its whiff of the underworld. Many variations have sprung up — Jain pav bhaji that omits onions and potatoes, khada pav bhaji that isn’t much mashed, Mexican pav bhaji that includes baby corn.  I’m still faithful to the original, so that is what I showcase here. In fact the spice mix has also become commoditized and is available for sale in most Indian grocery stores in nice neat packages labeled ‘Pav Bhaji Masala’, but of course we have to make it from scratch…so here we go.

First the spice mix:

Whole spices for pav bhaji masala

Whole spices for pav bhaji masala

Roasting

Roasting

Going thru the funnel

Going thru the funnel

My 8-year-old helping with a chopstick

My 8-year-old helping with a chopstick

Done and labeled

Done and labeled

Pav bhaji masala

Ingredients:
  • Quarter cup cumin seeds
  • Quarter cup coriander seeds
  • 2 tablespoons whole black pepper
  • 2 tablespoons cloves
  • 1 tablespoon fennel seeds
  • 3 black cardamom (use half of what I have pictured above)
  • 10 dry red chilies (change amount to suit your taste, this is pretty hot)
  • 1 tablespoon turmeric powder
  • 1 tablespoon dry mango powder
Method

Heat a cast-iron pan on medium heat. We are going to roast spices so be sure you have your windows open and fan on. Roast each spice separately until each is fragrant and slightly darkened. Empty into a plate. Grind them together in a clean coffee grinder. Pour into a jar using a funnel. Now is the time to mix in the already ground turmeric and dry mango powder. Shake to combine. Label and save.

Then the bhaji (vegetables):

Vegetables

Vegetables

Veggies about to be boiled

Veggies about to be boiled

Boiled veggies roughly mashed

Boiled veggies roughly mashed

Saute onions and green bell peppers

Saute onions and green bell peppers

Add ginger-garlic-chili paste

Add ginger-garlic-chili paste

Add tomatoes

Add tomatoes

Dry spices go in

Dry spices go in

Cook dry spices

Cook dry spices

Add vegetables

Add vegetables

Pav bhaji served

Pav bhaji served

Pav Bhaji

Ingredients:
  • Ginger-garlic-chili paste made from 6 garlic cloves, 1 inch piece of ginger, 2 green chilies
  • 1 medium onion chopped up
  • 3 medium tomatoes chopped up
  • 1 green bell pepper (capsicum) diced
  • For boiling:
    • 2 carrots
    • 10 or so green beans
    • 1 medium potato
    • Quarter of a medium cauliflower
    • Quarter of a medium head of cabbage
  • 1 teaspoon salt
  • 2 tablespoons butter or ghee
  • 2 tablespoons pav bhaji masala from above
  • 1/2 teaspoon turmeric powder
Method:

Roughly chop the vegetables that are for boiling, add half a cup of water and the 1 teaspoon salt. Bring to a boil, cover and cook on a simmer until softened, about 15 minutes. When they are done, roughly mash with a potato masher.

Meanwhile heat the ghee in a thick pan. When it is hot add the onions and bell pepper. Let them soften on medium heat for about 4 minutes. The important thing with the onion is that it must not caramelize — that adds a sweetness and brown flavor that does not go with this dish. Add the ginger-garlic-chili paste and stir, until the oil separates, which means the paste is cooked. Now in goes the tomatoes. They have to first liquefy then dry up. You can turn up the heat for this part.

Once they are dry, you can add the dry spices — the pav bhaji masala and the turmeric powder. Stir them in and cook for a minute. Plop in the mashed vegetables. Mash some more, cook for 10 minutes or so, gently stirring and mashing as you please, until they are well combined.

Give it a taste — now is the time to make adjustments. Adjust the salt. Add red chili if it is not hot enough. Add more ghee or butter swirled in on top for lusciousness.

Serve with pav bread, optionally sliced and toasted on the same pan, with a bit of butter. Garnish with minced onion and lime juice.

Let's connect... FB-f-Logo__blue_29 pinterest_badge_red Google+ twitter-button-small

I love you, Alemany Farmer’s Market! Plus: what one does with Bitter Melon Greens

Bitter melon greens with paneer

Bitter melon greens with paneer

I do so love you, Alemany Farmer’s Market! I love all the other farmer’s markets too but you are soooo special.

I have found that there are two types of farmer’s markets in the Bay Area. There are farmer’s MARKETS and then there are FARMER’S markets. The former are a lot about marketing. They sell produce, sure, but a lot of it is overpriced, and more than half the stalls are filled with high-profit-margin goods like infused oils in precious glass bottles. I can do that for free at home in an emptied jam jar and no preciousness.

Alemany Farmer's Market (Copyright: Kurt Rogers, The Chronicle)

Alemany Farmer’s Market (Copyright: Kurt Rogers, The Chronicle)

But Alemany farmer’s market, you truly are a FARMER’S market. I love you because you tickle my fancy every time I visit. Where else can I find corn that is blue and smaller than my palm and sticky. Where else can I find a fleshy, hairy stalk that is labeled ‘wild potato’ (even Google flopped on that one). Where else would I see tiny blotchy eggs that were apparently laid by a quail. Where else would I find a prickly pink egg, and not only giant taro with their purple stem still attached but also taro leaves. Where else can I find not one, not two, but three or four choy-related greens.

And no matter how strange and unfamiliar the sight I see, there’s always a crowd of customers expertly assessing, holding, pressing, rifling through the produce. There I stand, mystified, in awe, only to be elbowed aside by a little old lady with her cloth bag who has zeroed in on the unnamed leaves and is tossing aside the rotten ones and snagging the good ones. She is gone before I can gasp — excuse me, lady, can you save some for me, and by the way, what on earth is it?

In this farmer’s market, advice abounds. As soon as I pick up a fruit or vegetable and stand there regarding it, someone or the other’s voice will speak up beside me — you chop it, you fry it with garlic. Or boil it with chicken. Or what have you. More often than not, the English is broken and heavily accented and the accents could come from any part of the world from Africa to Vietnam. If San Francisco is a microcosm, then Alemany Farmer’s Market is a micro-micro-cosm. Or a micro-cosm-cosm? Something like that.

Best of all is when this market reintroduces me to some childhood friends that I didn’t at first recognize. The other day this happened to me twice. First I see these pretty round leaves tied in a bunch. The person at the stall informs me that they are moringa leaves, grown all over the world from Africa to the Himalayas to South-east Asia, a miracle vegetable that can cure all sorts of ailments. Sounds familiar, but what is it? Hold that thought…a post on that will come next.

Bitter melon greens

Bitter melon greens

Next I see a stall with these simply humungus bunches of bright green leaves with tendrils sticking out all over. Turns out these are leaves from the bitter melon plant — bitter gourd, karela, call it what you will. Well. That is an old friend and I love it. I have cooked with it many times. But I didn’t know that the leaves were edible too.

Bitter melon greens with paneer

Turns out they are, down to the stems. They are certainly bitter though, so I tried cooking them with something creamy to smooth out the bitterness. I used ghee and paneer.

The other thing about this recipe is that it is more of a mindset rather than a fixed set of steps. If you don’t have paneer, you might substitute with ricotta. If you don’t have the bitter melon greens, either dandelion greens, radicchio or frisée would be a great replacement. Out of the spices used, if you don’t have one, just leave it out, although of course the character of the dish will morph. The cumin seeds in particular, I would try not to leave out. Heat can come from any source like the cracked red pepper that the Italians use. Ghee of course, can be replaced with butter. Mmm…now I can’t wait to try this completely new recipe with all the replacements made! Here are pictures of the process.

Slicing the greens

Slicing the greens

Other ingredients: paneer, onion, garlic, chili, cumin

Other ingredients: paneer, onion, garlic, chili, cumin

Frying garlic, chili, onion

Frying garlic, chili, onion

Paneer goes in

Paneer goes in

Powdered spices go in

Powdered spices go in

Stir to coat

Stir to coat

Greens go in

Greens go in

Done

Done

Bitter melon greens with paneer

Ingredients
  • 1/2 pound paneer
  • Half a bunch bitter melon greens
  • 1 large shallot or half a medium onion, chopped fine
  • 4-5 cloves garlic, sliced
  • 1-3 serrano chilies, sliced
  • 1 teaspoon cumin seeds
  • 1/4 teaspoon turmeric powder
  • 3/4 teaspoon salt
  • 1/2 teaspoon red chili powder (optional)
  • 1 tablespoon ghee
Method

Rinse and slice the greens. The finer you slice the greens the better the final result. I ultimately didn’t get it super fine but I did try to ensure no stem was longer than half an inch. Dice the paneer into little blocks about 1/4 inch on each side. Finely chop the shallot, garlic and chilies.

Heat the ghee in a wide pan on medium heat. When it is shimmering, put in the cumin seeds. They will presently sizzle, then in goes the garlic and chilies. Let them get a little shriveled (couple minutes) and put in the onion. The onion only needs to cook until pink and translucent, not browned.

Put in paneer at this point, along with the dry masalas (turmeric powder, red chili powder and salt). Stir to combine. Greens go in next. Toss with paneer and spices. Then don’t need to cook for long. When they look shrunk down and shiny, add about half a cup of hot water, cover and cook on low for just about 4 minutes and you are done.

This goes well with chapatis/rotis or rice.

Let's connect... FB-f-Logo__blue_29 pinterest_badge_red Google+ twitter-button-small

A slab of bread rolls — laadi pav


Pav

Pav

Most people are only dimly aware of this but the Portuguese colonized India long before the British, and hung on till long after. Because of their influence, a particular yeasted bread called pav spread all around Bombay and became very much part of the culture of the city. (A word on that shortly.) Now pão in Portuguese simply means ‘bread’. In India, we have a pretty fraught relationship with yeast breads, as in, we didn’t get around to rising breads much. Most of the use of wheat flour is for flat breads. It’s not that risen breads are not popular in India — they are, very much so. But they come from the European influence, and have always remained a bit foreign. By that I mean that hardly anyone makes risen breads at home. When I was a kid, if one wanted pav, one had to resort to bakeries.

Irani restaurants

By iranichaimumbai (http://creativecommons.org/licenses/by-sa/2.0), via Wikimedia Commons

In the old days, most of the bakeries in Bombay were run by the Iranis, as part of tea-houses called Irani restaurants. They were pretty unique establishments, run by Zoroastrians who escaped Iran around the 1920’s. For me, it is impossible to think back to any neighborhood in South Bombay without thinking of the corner Irani restaurant that served it. The Iranis were foreigners and the rigid customs of Hinduism meant nothing to them. The food they served was mostly Irani cuisine but also had a touch of Europe.

Their clientele looked like the city itself. There were Christians and Parsees, taxi drivers and street workers, middle-class office workers and retirees. For a few rupees you could hang out for hours under the high ceilings, the drone of the fan overhead, read the morning newspaper that was still warm from the press, sit on the wooden colonial-style netted chairs at glass-topped tables in peace while you ate your breakfast.

They were not fancy. Customer service was a bit…brusque. This post has an entertaining story about that. Tea inevitably got poured into the saucer to be drunk. Breakfast was variations on pav. Maska pav is bread and butter. Brun maska pav is hard brown bread with butter. Akuri pav is pav bread with scrambled eggs. And so on.

If you want to further explore the old world of Irani restaurants, here are some websites with pictures and wonderful stories. The Heritage Institute page on it, and one from a website called Irani Chai.

Street food

The Irani restaurants are sadly on their way out. Many have turned into beer bars, one into a McDonalds. If they are around, they have survived by expanding their menus to include dosas and Chinese. But pav bread remains as popular in the city as ever. It fuels much of the manual labor that goes on in the city from the early hours to way past midnight.

I guess this is the appropriate time in this post for me to start referring to the city as Mumbai. People say that no one starves in Mumbai. To eat a decent, wholesome meal, you don’t need to own a kitchen or a stove or even own a pair of shoes. Every street corner has some food stall or the other. Many serve meals centered on pav. Plates and cutlery are completely unnecessary. Food is simply handed to you or may be wrapped in a newspaper.

One is vada pav, which is mashed potato deep-fried in a besan batter, served inside a pav, with garlic chutney. Another is pav bhaji, which is a mashed mixture served with pav with tons of butter. For 50 rupees you can fill your belly with an excellent, pure vegetarian, wonderfully-spiced meal. People, please realize how wonderful this is. The Odd Pantry will showcase all of those recipes eventually.

But one has to start with pav.

Laadi pav

The particular version of Portuguese pão that we in India latched onto looks like a grid of bread buns stuck together at the edges into a slab (‘laadi’). To me the word ‘laadi’ sounds a bit mechanical or construction-related, so it is quite endearing when it is used for bread. Looks a lot like a dinner roll that is available all over America.

But look, this is different. I’ve tried to recreate my favorite street food snacks at home using a standard dinner roll, but the results are terribly disappointing. This is because store-bought dinner rolls have more than a hint of sweetness and that simply does not go with the savory flavors of street food. It totally ruins it, in fact. They often don’t use real butter and one absolutely needs real butter.

This recipe of pav has no sugar whatsoever. None. You don’t need any. And real butter. Just try it.

Flour and yeast

Flour and yeast

Pour water in and stir

Pour water in and stir

Shaggy mass

Shaggy mass

Shaggy mass with butter poured on

Shaggy mass with butter poured on

Pav dough

Pav dough

Divided dough

Divided dough

Further divided dough

Further divided dough

Pav rising

Pav rising

Pav risen

Pav risen

Laadi pav

Ingredients
  • 3 cups bread flour (I used King Arthur, substitute with all purpose or maida in India)
  • 1 teaspoon instant yeast. This is also available in most stores as bread machine yeast.
  • 3/4 teaspoon salt
  • 2 tablespoons unsalted butter
Method

Have the flour in a large bowl. Sprinkle in the yeast and stir it in. Then sprinkle in the salt and stir that in. Add 1.25 cups room temperature water and gently stir to moisten all the flour and make a shaggy mass. Cover and go do something else for 15-20 minutes.

Melt the butter — I use the microwave for this. But make sure it is not sizzling, it needs to be just melted. Pour the butter over the flour mixture. Now give it a good kneading, for about 5-7 minutes. The dough will be smooth and shiny.

Cover with plastic wrap and leave it aside at room temperature to rise for 1.5-2 hours. My room temperature is around 70°F. In India, room temperature will be a lot higher, so I would leave it under a fan or airy window.

In 1.5-2 hours, it will have doubled. Gently take the dough out, and using a pastry cutter, divide it into 12 rolls. The way I do this is to first divide in half, then each of those into halves to make 4 quarters, and each of those into 3 to make 12.

Each roll must be shaped like this: take the dough in hand and start by rolling it into a pouch, press down the center point with your thumbs and keep rolling more and more of the bun into the pouch. You are sort of trying to make a stretched balloon with the outer surface. Pinch the seam of the pouch shut. Cover with oil and lay seam-side down on a cookie sheet. Each roll is to be place half inch away from its neighbors in a grid.

Let it rise for another hour. The rolls will have risen into each other and gotten connected. Bake in a 425°F oven for 15 minutes. If you like, brush with butter right away when they come out.


FB-f-Logo__blue_29 pinterest_badge_red Google+ twitter-button-small

End-of-the-week pasta

End-of-the-week pasta

End-of-the-week pasta

Friday night and the fridge is empty. Dinner needs to be made. The kid is hanging around the kitchen wanting to ‘help’, while the husband wants something simple and non-fussy. But good, of course — it has to be good. What to do? What to do?

Tucked away in a corner of the fridge, there is that radicchio left over from that salad I made, and some green garlic I picked up for a forgotten project. And of course there are some indestructibles hidden in the pantry, the dried mushrooms, the sundried tomatoes. The recipe invents itself! It’s time for the: ‘End-of-the-week Pasta’! Otherwise known as the: ‘Kitchen-sink Pasta’, or perhaps the ‘What-is-that?-throw-it-in Pasta’. Or maybe I want to call it the ‘Fresh Linguini with Radicchio and Slivered Almonds in a Porcini and Green Garlic Sauce’. What do you think?

Fresh Linguini with Radicchio and Slivered Almonds in a Porcini and Green Garlic Sauce

Curtain of linguini

Curtain of linguini

This recipe does not demand fresh homemade pasta, but it does politely ask for it. The delicacy of fresh pasta allows you to individually taste the many — um, disparate ingredients. My daughter loves helping with cranking the pasta machine, and loves the curtain of pasta strands that get extruded, so that’s a plus (no homework on Friday evenings, need to keep her busy). For the fresh pasta look here — It’s nice to be kneaded.

I also used cheddar cubes to finish, which formed nice gooey cheesiness around the strands.

A note about salt. I didn’t add any except to the pasta water, because I had the anchovies. If you leave those out, please do add salt to taste.

Here are some pictures to show the process.

Radicchio gets sliced

Radicchio gets sliced

Porcini reconstituting

Porcini reconstituting

Green garlic sliced

Green garlic sliced

Stuff cooking

Stuff cooking

Stuff cooked

Stuff cooked

Radicchio wilting

Radicchio wilting

Cheddar enters

Cheddar enters

Rapidly disappearing

Rapidly disappearing

Linguini with Radicchio and Slivered Almonds in a Porcini and Green Garlic Sauce

Ingredients:
  • Pasta strands from half a portion of pasta dough from this recipe
  • About a third of a bulb of radicchio
  • Big pinch of dried porcini mushrooms, reconstituted in hot water, or fistful of fresh
  • 3 green garlic stems, green and white parts (substitute with few cloves of garlic)
  • 2 – 3 anchovies
  • Big pinch of sundried tomatoes
  • Big pinch of slivered almonds
  • 2 inch block of great cheddar cheese, cubed
  • 1/4 cup good olive oil
Method:

Slice the radicchio, the mushrooms, and the green garlic. Set salted water to boil for cooking the pasta (about 1/2 gallon). While the water is coming to a boil, prepare the sauce. Heat the olive oil in a wide pan on medium. Put in the green garlic and anchovies. The anchovies can be left whole because they will simply merge into the surroundings. When they start to sizzle, put in the sliced porcini, the slivered almonds, and the sundried tomatoes. After a few minutes of cooking these, the radicchio can go in, just to wilt, it doesn’t need to cook long. Cover to keep warm and turn it off to wait for the pasta.

Meanwhile the water will have come to a boil. The pasta will take only a few minutes if you used the fresh ones, otherwise follow directions on the box. Fish the pasta out and put into the prepared sauce with the addition of a few ladles of pasta water. Toss to combine. Put the cubes of cheddar on top and stir that in to melt incompletely. Yes, incompletely.


For inspiration on green beans, look east

Green beans with Bengali spices

Green beans with Bengali spices

Bengal is a pretty far away land for me, since I am from the west coast of India, and ancestrally hail from even farther away Sindh. Exotic, I think, is the word I would use. In addition to that, I’m fond of the way Bengali sounds (not intelligible to me), full of rounded vowels; and the things they choose to say, seem old-world and fancy. Then, there is art. Sorry, I meant Art. This is what Bengal is known for above everything else (go google Rabindranath Tagore and Satyajit Ray, just to start). And if you think about it, great art is a lot about judicious choice.

So this is what I want to focus on today. A few  choices, judiciously made.

This dish is a dry sauté of green beans, with a simple tempering of whole spices. For vegetables cooked this way, a few choices you make are very consequential. How you cut the vegetables and how small. If they are small enough the high-heat sauté will be enough to cook them all the way through. If not, a slight steam-braise will be necessary, so cooking on low with the lid on to finish is called for. What fat one uses. Subtle choice, and often not subtle at all; the choice of fat can dramatically alter the dish. How high of heat one uses. High enough it is practically a wok-ish stir-fry. Low enough, and the primary means of cooking is from the steam emanating from the vegetable itself.

Naturally, the spices thrown into the fat to temper is consequential too. This is where the Bengali flair comes in. The famous Bengali spice mix, paanch phoran, consists of five disparate seeds from disparate plant families, that nevertheless come together in oil in an unforgettable partnership. For green beans, I find this to be very congenial and I usually cook them this way.

stuff 026Here is what goes into the paanch phoran, from bottom to top:

Fenugreek seeds: Fenugreek is a legume just like beans and peas. It has a distinctive smell that some have compared to maple syrup and a pleasing bitterness.

Fennel seeds: From the carrot family, fennel seeds are used as a mouth-freshener all over India.

Nigella seeds: Also known as kalonji, these small black droplet-shaped seeds are from the buttercup family. A relative, love-in-a-mist, is grown widely in England as an ornamental, I hear. Their flavor is reminiscent of onions when roasted.

Cumin seeds: Another carrot family member. Cumin has been used as a spice in India since ancient times. Its flavor is earthy and sharp at the same time.

Mustard seeds: Little brown balls with a kick. I have always thought of them as having a biscuity taste, whatever that means.

Bah, one can’t really describe a flavor. Go try it and I won’t need to.

Green beans sauteéd with Bengali spices

I want the green beans to be basically done with the sauté, so I cut them into small pieces, none wider than about a quarter inch. For the fat, I use mustard oil, for more of the Bengali style.

Cutting the green beans into small rounds

Cutting the green beans into small rounds

Look how golden the mustard oil is

Look how golden the mustard oil is

Red chili powder

Red chili powder

Tempering spices

Tempering spices

Throw in the green beans

Throw in the green beans

Cook for 10 minutes, uncovered

Cook for 10 minutes, uncovered

Green beans sauteéd with Bengali spices

Ingredients
  • Half a pound of green beans
  • Half a teaspoon red chili powder, or more according to heat tolerence
  • Quarter teaspoon fenugreek seeds
  • Quarter teaspoon nigella seeds (kalonji)
  • Half teaspoon cumin seeds
  • Half teaspoon fennel seeds
  • Half teaspoon mustard seeds
  • 3/4 teaspoon salt
  • 2 tablespoons mustard oil
  • 1 teaspoon brown sugar or jaggery
Method

Heat the oil on medium-high in a wide thick-bottomed pan. This is the temperature that the entire dish will be cooked at. Most Bengali recipes recommend letting the oil smoke first, but I hear that is bad for you, and I like the kick of mustard oil and don’t want to quell it, so I don’t let it smoke.

Throw in the spices in the following sequence: first the red chili powder; then the cumin; when it sizzles the nigella and fennel; when they sizzle the mustard seeds; when those pop the fenugreek.

Now in go the green beans. Stir to coat with oil. Let them cook, uncovered, occasionally stirring. Five minutes in, sprinkle in the salt. Ten minutes in, the beans will be mostly done, some charred, most shriveled, and still crunchy.

In this dish, I really like the effect of some sweetness. The sugar goes in towards the end of cooking, and is simply stirred in. Done.

Salad porn

Porn = things that excite you to look at but you can’t touch. That’s what I have for you today, Dear Reader. Not much of a recipe, just pictures of a salad we made for dinner that came out particularly colorful. Lettuce is conspicuous in its absence. In it are bitter radicchio and frisée, cherry tomatoes, blanched green beans, carrots cut into sticks, and avcado.

san bruno 002

Dressed simply with a sprinkle of salt, toss, pours of olive oil, toss, and squirts of balsamic vinegar, toss. It went quick…

san bruno 004