Pav bhaji stall (Photo credit: http://burrp.in.com)
A couple posts ago I did the recipe for pav bread, and possibly some of you thought — well, ok, but where’s the bhaji? Especially if you have lived in Mumbai for any length of time. Those who have not might be forgiven for wondering what the fuss is all about.
You see, there aren’t a lot of dishes that Mumbai can claim as its own: most are brought in from other regions of India by immigrants. Pav bhaji is one of very few that were invented in the city. Just like the culture of the city itself, it is a bit of a mongrel; just like the city itself, it is imbued with street culture. It is street food, but it is so much more than food. It is a fixture of street life. It is fuel for hungry office-workers, cart-pushers, delivery-boys, ward-boys, brick-layers, day-laborers. A cheap lunch date for college romances. For a city that thrives on masala (spice), whether in food or in movies, it is a way to cram as much masala as is humanly possible onto the smallest paper plate.
The Bhaji
Now the word ‘bhaji’ is a bit like my most hated word — ‘curry’ (read this if you want to know why I hate it), in that it is a generic word for spiced and cooked vegetables. It suggests a hodge-podge, something that is so mixed up that one has to resort to vagueness. But in fact, although this dish was invented as a hodge-podge, it has now come to mean one exact dish, with one exact spice mix and one exact set of vegetables. Especially when used with ‘pav‘, as in ‘pav bhaji’.
This particular hodge-podge consists of several boiled vegetables, fried and mashed with spices. The whole thing is done on a giant griddle. Butter is spread all over the griddle and then the boiled vegetables sautéed. The mashing, as I remember, is done with a flat metal spoon. The mashed mixture is served with two pieces of pav bread, which have been sliced and toasted with butter and some of the spicy mix spread on it. The dish is topped with more butter. So there is butter underneath it, in it, and on top of it. Then, raw onions and cilantro are chopped fine, mixed with lime to make a bit of a relish, and that relish is thrown on top to garnish your paper plate.
The whole thing for less than 20 rupees.

Pav bhaji served
History
Pav bhaji was invented by street-food vendors out of leftovers. In the late nineteeth century Bombay’s main industry was textiles; there were 130 mills in the central area of Girgaon (‘mill village’). The last shift let out at midnight. Street food vendors that sprung up around them threw together whatever scraps of vegetables they had from the day’s cooking and mashed it all up to hide its lack of pedigree. For the masala powder, once again, they threw everything in it indiscriminately, from garam masala (warm) spices like cloves to hot spices like dry red chilies.
From textile mill workers the dish became a standard for the underworld that was just getting started up around that time. A movie from some years ago called Vaastav depicts the story of an underworld don who gets started in business by opening a pav bhaji stall. Here is a clip of a song from the movie. I realize it is a little unconventional for a food blog to showcase Bollywood songs, but this one does show how the dish is made. This time, that is my excuse. (Next time I embed a song I won’t need an excuse.)
(Rough translation: here is a short man with a big belly, a man with money. He is eager for food. The griddle is hot, let’s throw the butter on it.)
Pav Bhaji
Today vendors of Pav Bhaji are everywhere from street-food stalls to expensive restaurants. It has lost its whiff of the underworld. Many variations have sprung up — Jain pav bhaji that omits onions and potatoes, khada pav bhaji that isn’t much mashed, Mexican pav bhaji that includes baby corn. I’m still faithful to the original, so that is what I showcase here. In fact the spice mix has also become commoditized and is available for sale in most Indian grocery stores in nice neat packages labeled ‘Pav Bhaji Masala’, but of course we have to make it from scratch…so here we go.
First the spice mix:

Whole spices for pav bhaji masala

Roasting
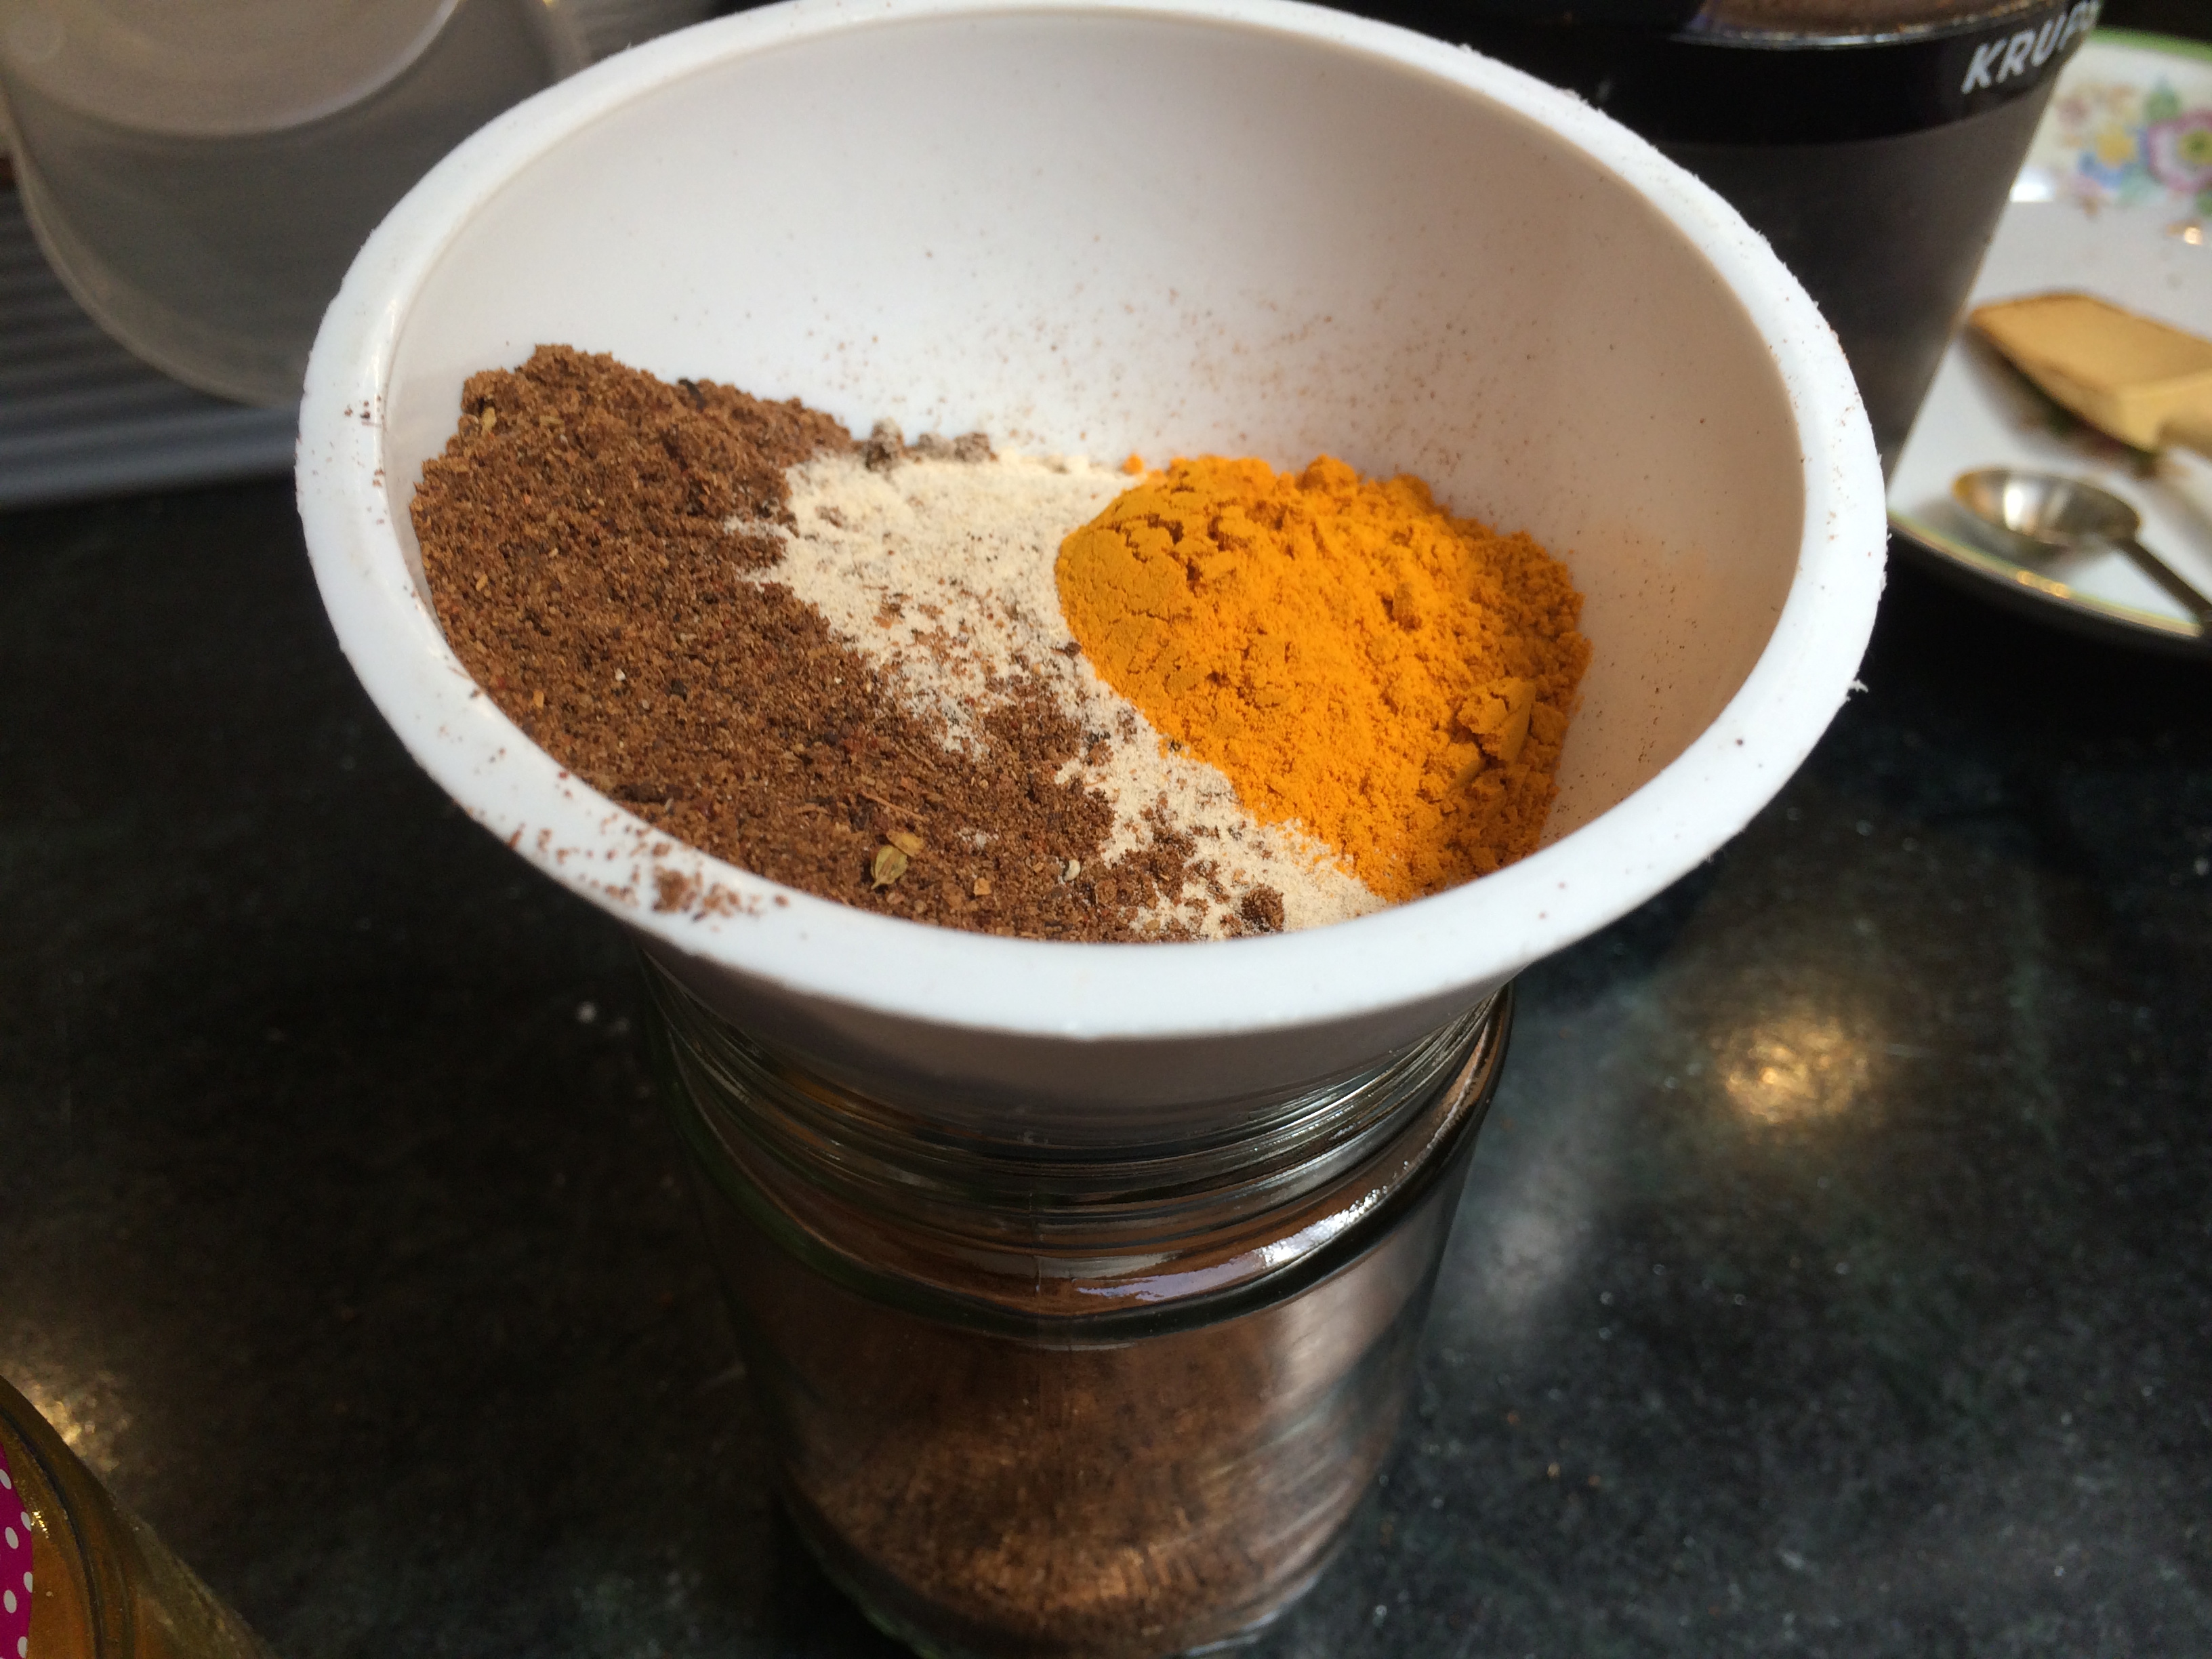
Going thru the funnel

My 8-year-old helping with a chopstick

Done and labeled
Pav bhaji masala
Ingredients:
- Quarter cup cumin seeds
- Quarter cup coriander seeds
- 2 tablespoons whole black pepper
- 2 tablespoons cloves
- 1 tablespoon fennel seeds
- 3 black cardamom (use half of what I have pictured above)
- 10 dry red chilies (change amount to suit your taste, this is pretty hot)
- 1 tablespoon turmeric powder
- 1 tablespoon dry mango powder
Method
Heat a cast-iron pan on medium heat. We are going to roast spices so be sure you have your windows open and fan on. Roast each spice separately until each is fragrant and slightly darkened. Empty into a plate. Grind them together in a clean coffee grinder. Pour into a jar using a funnel. Now is the time to mix in the already ground turmeric and dry mango powder. Shake to combine. Label and save.
Then the bhaji (vegetables):

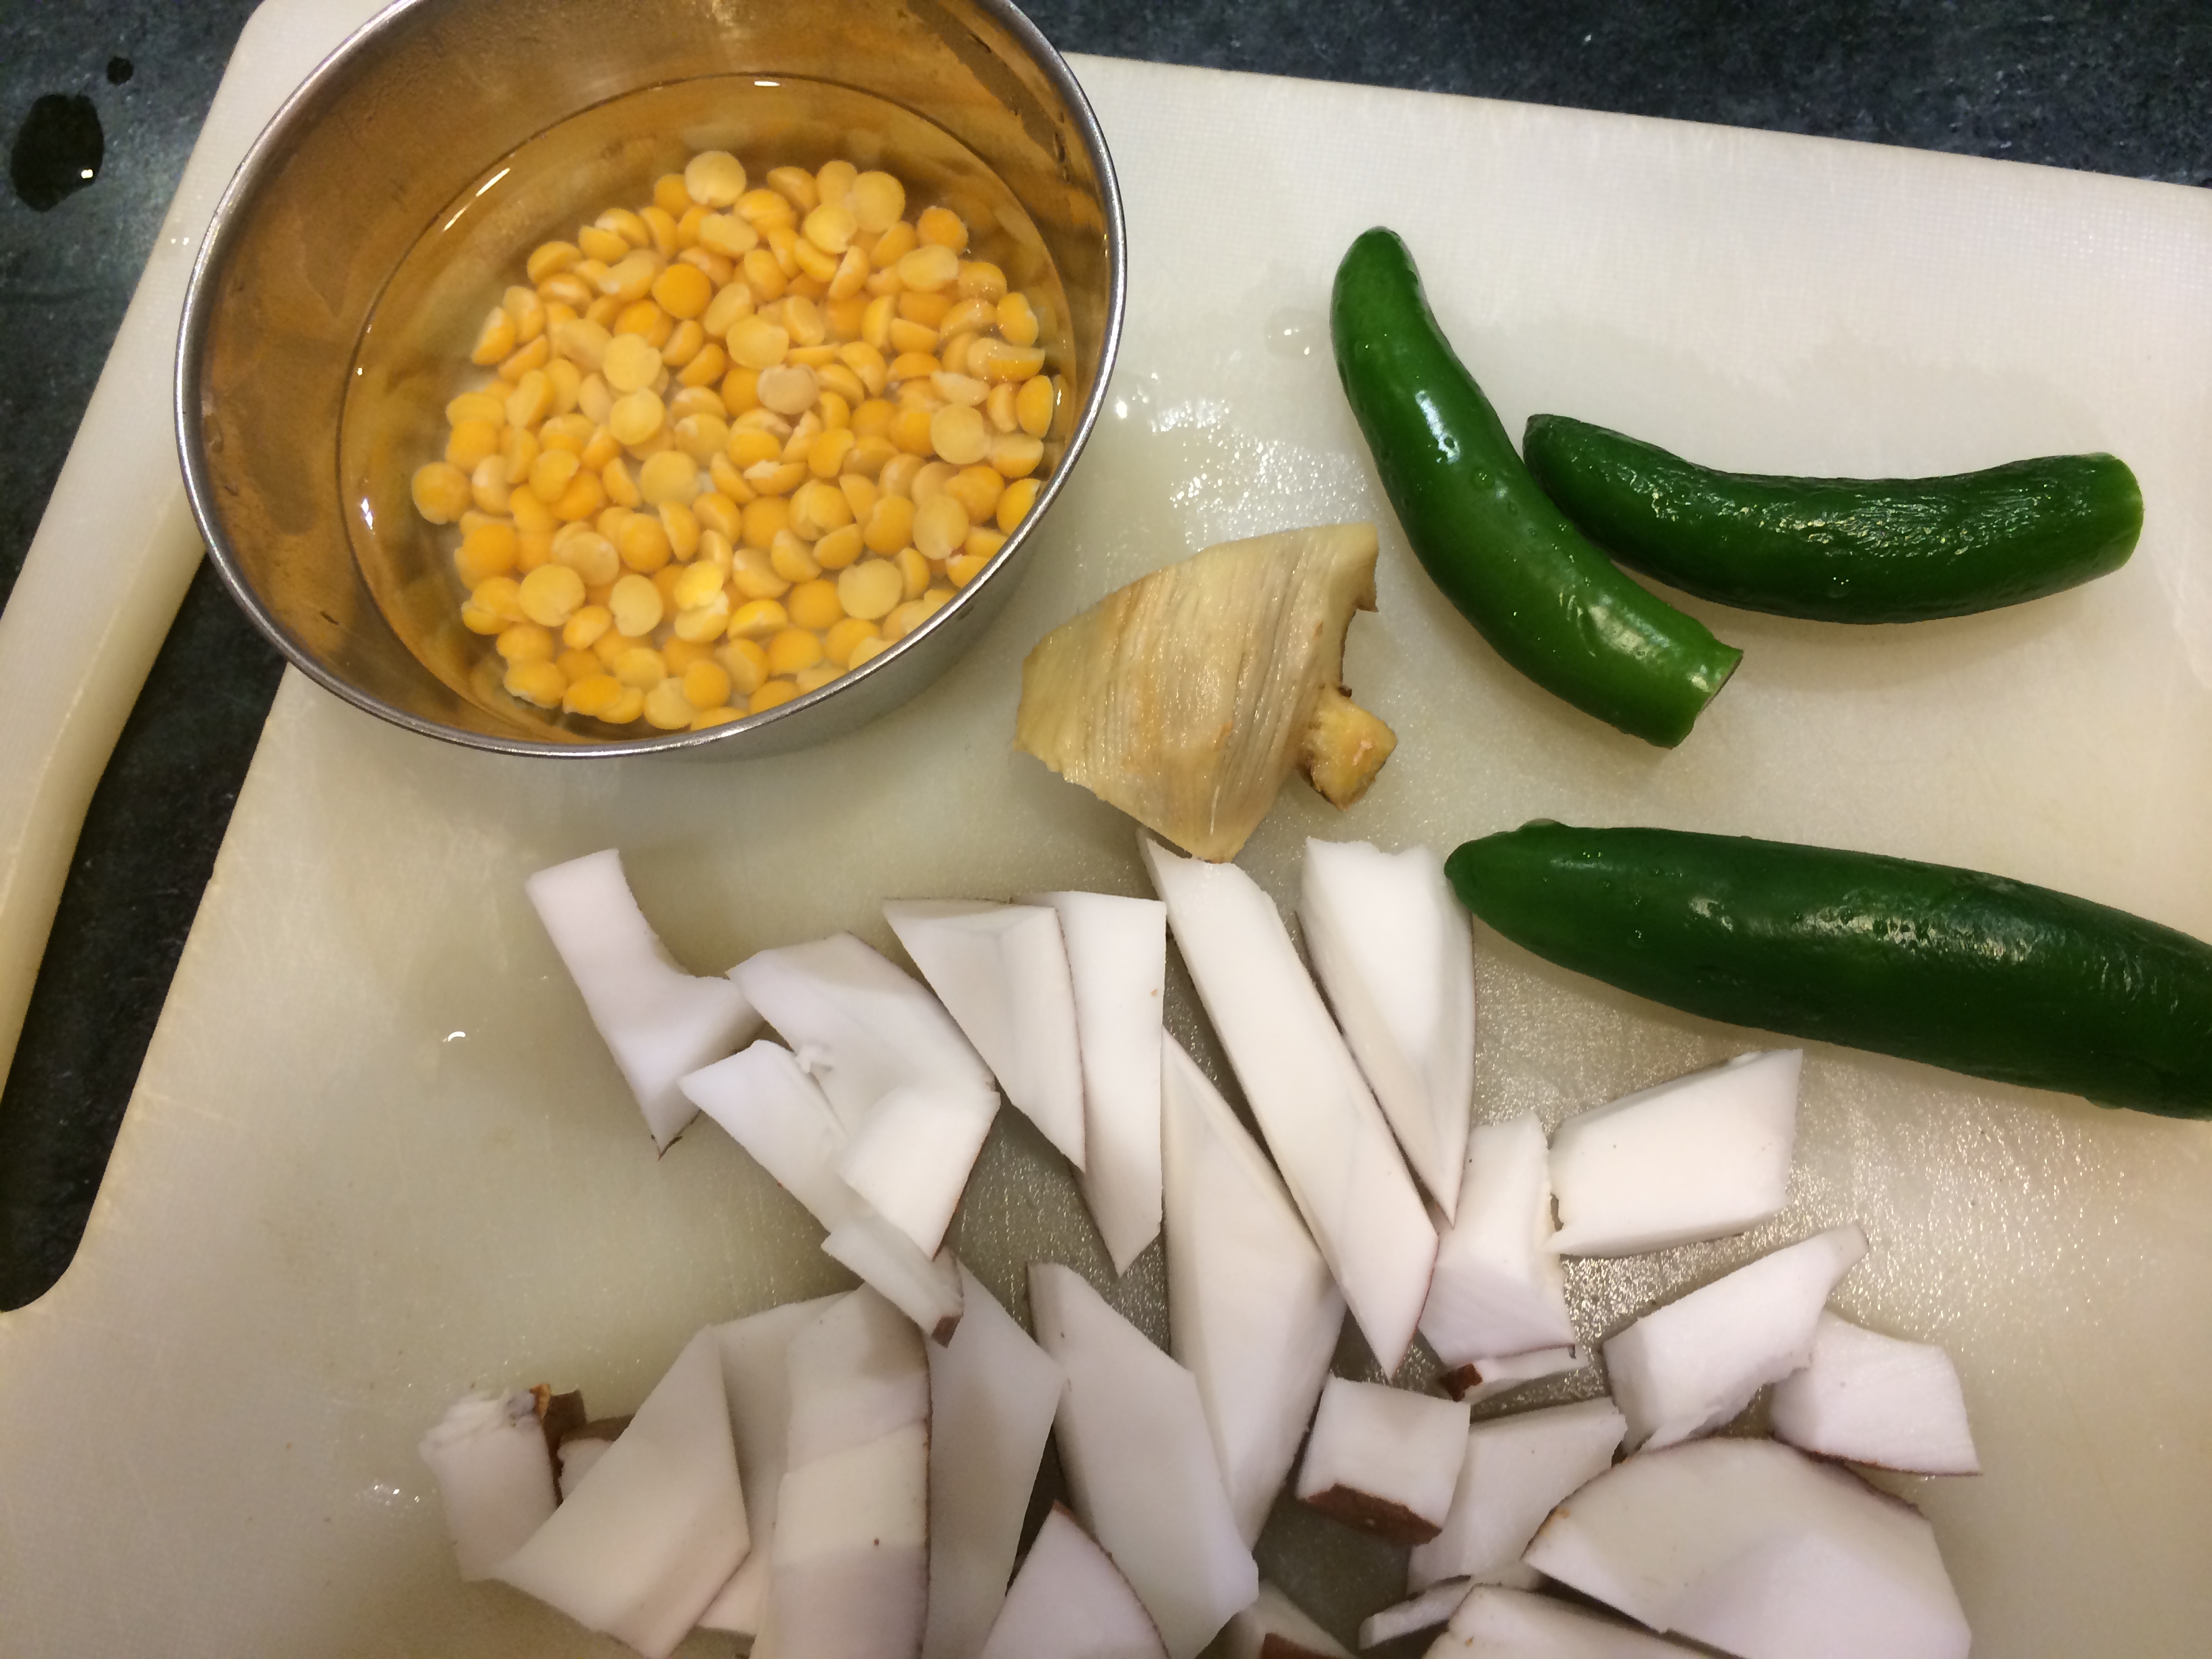
Vegetables

Veggies about to be boiled

Boiled veggies roughly mashed

Saute onions and green bell peppers

Add ginger-garlic-chili paste

Add tomatoes

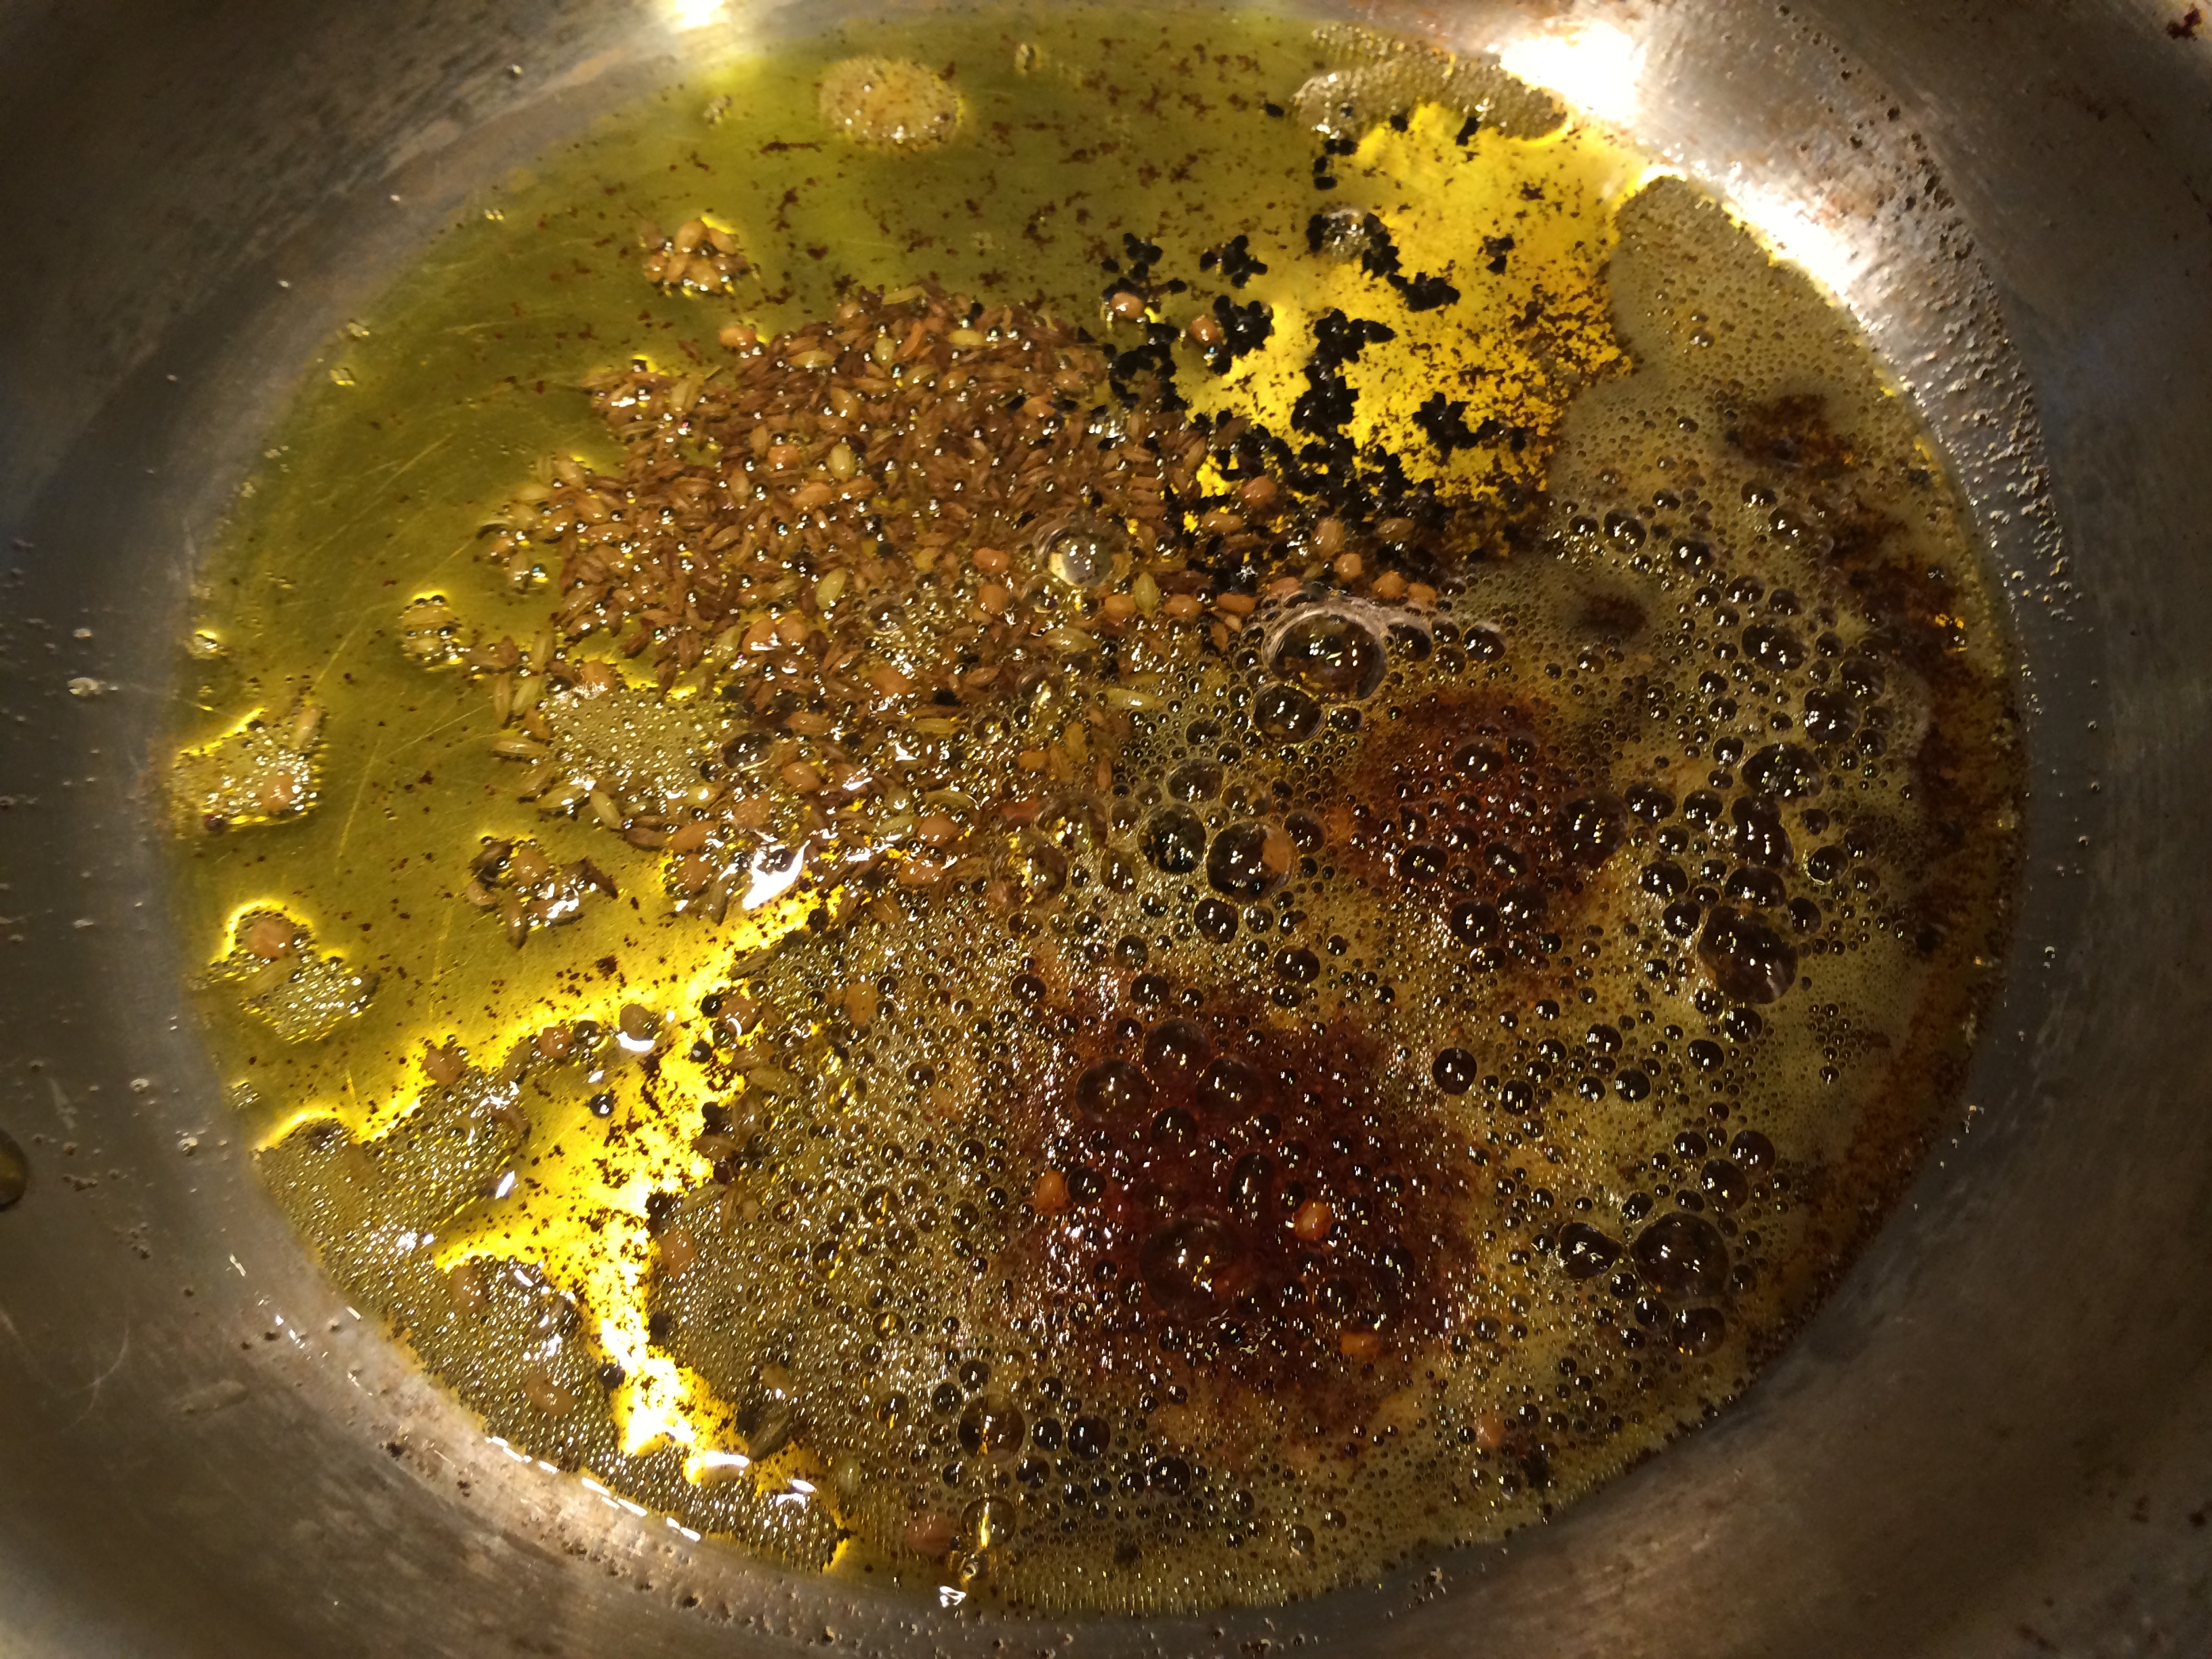
Dry spices go in
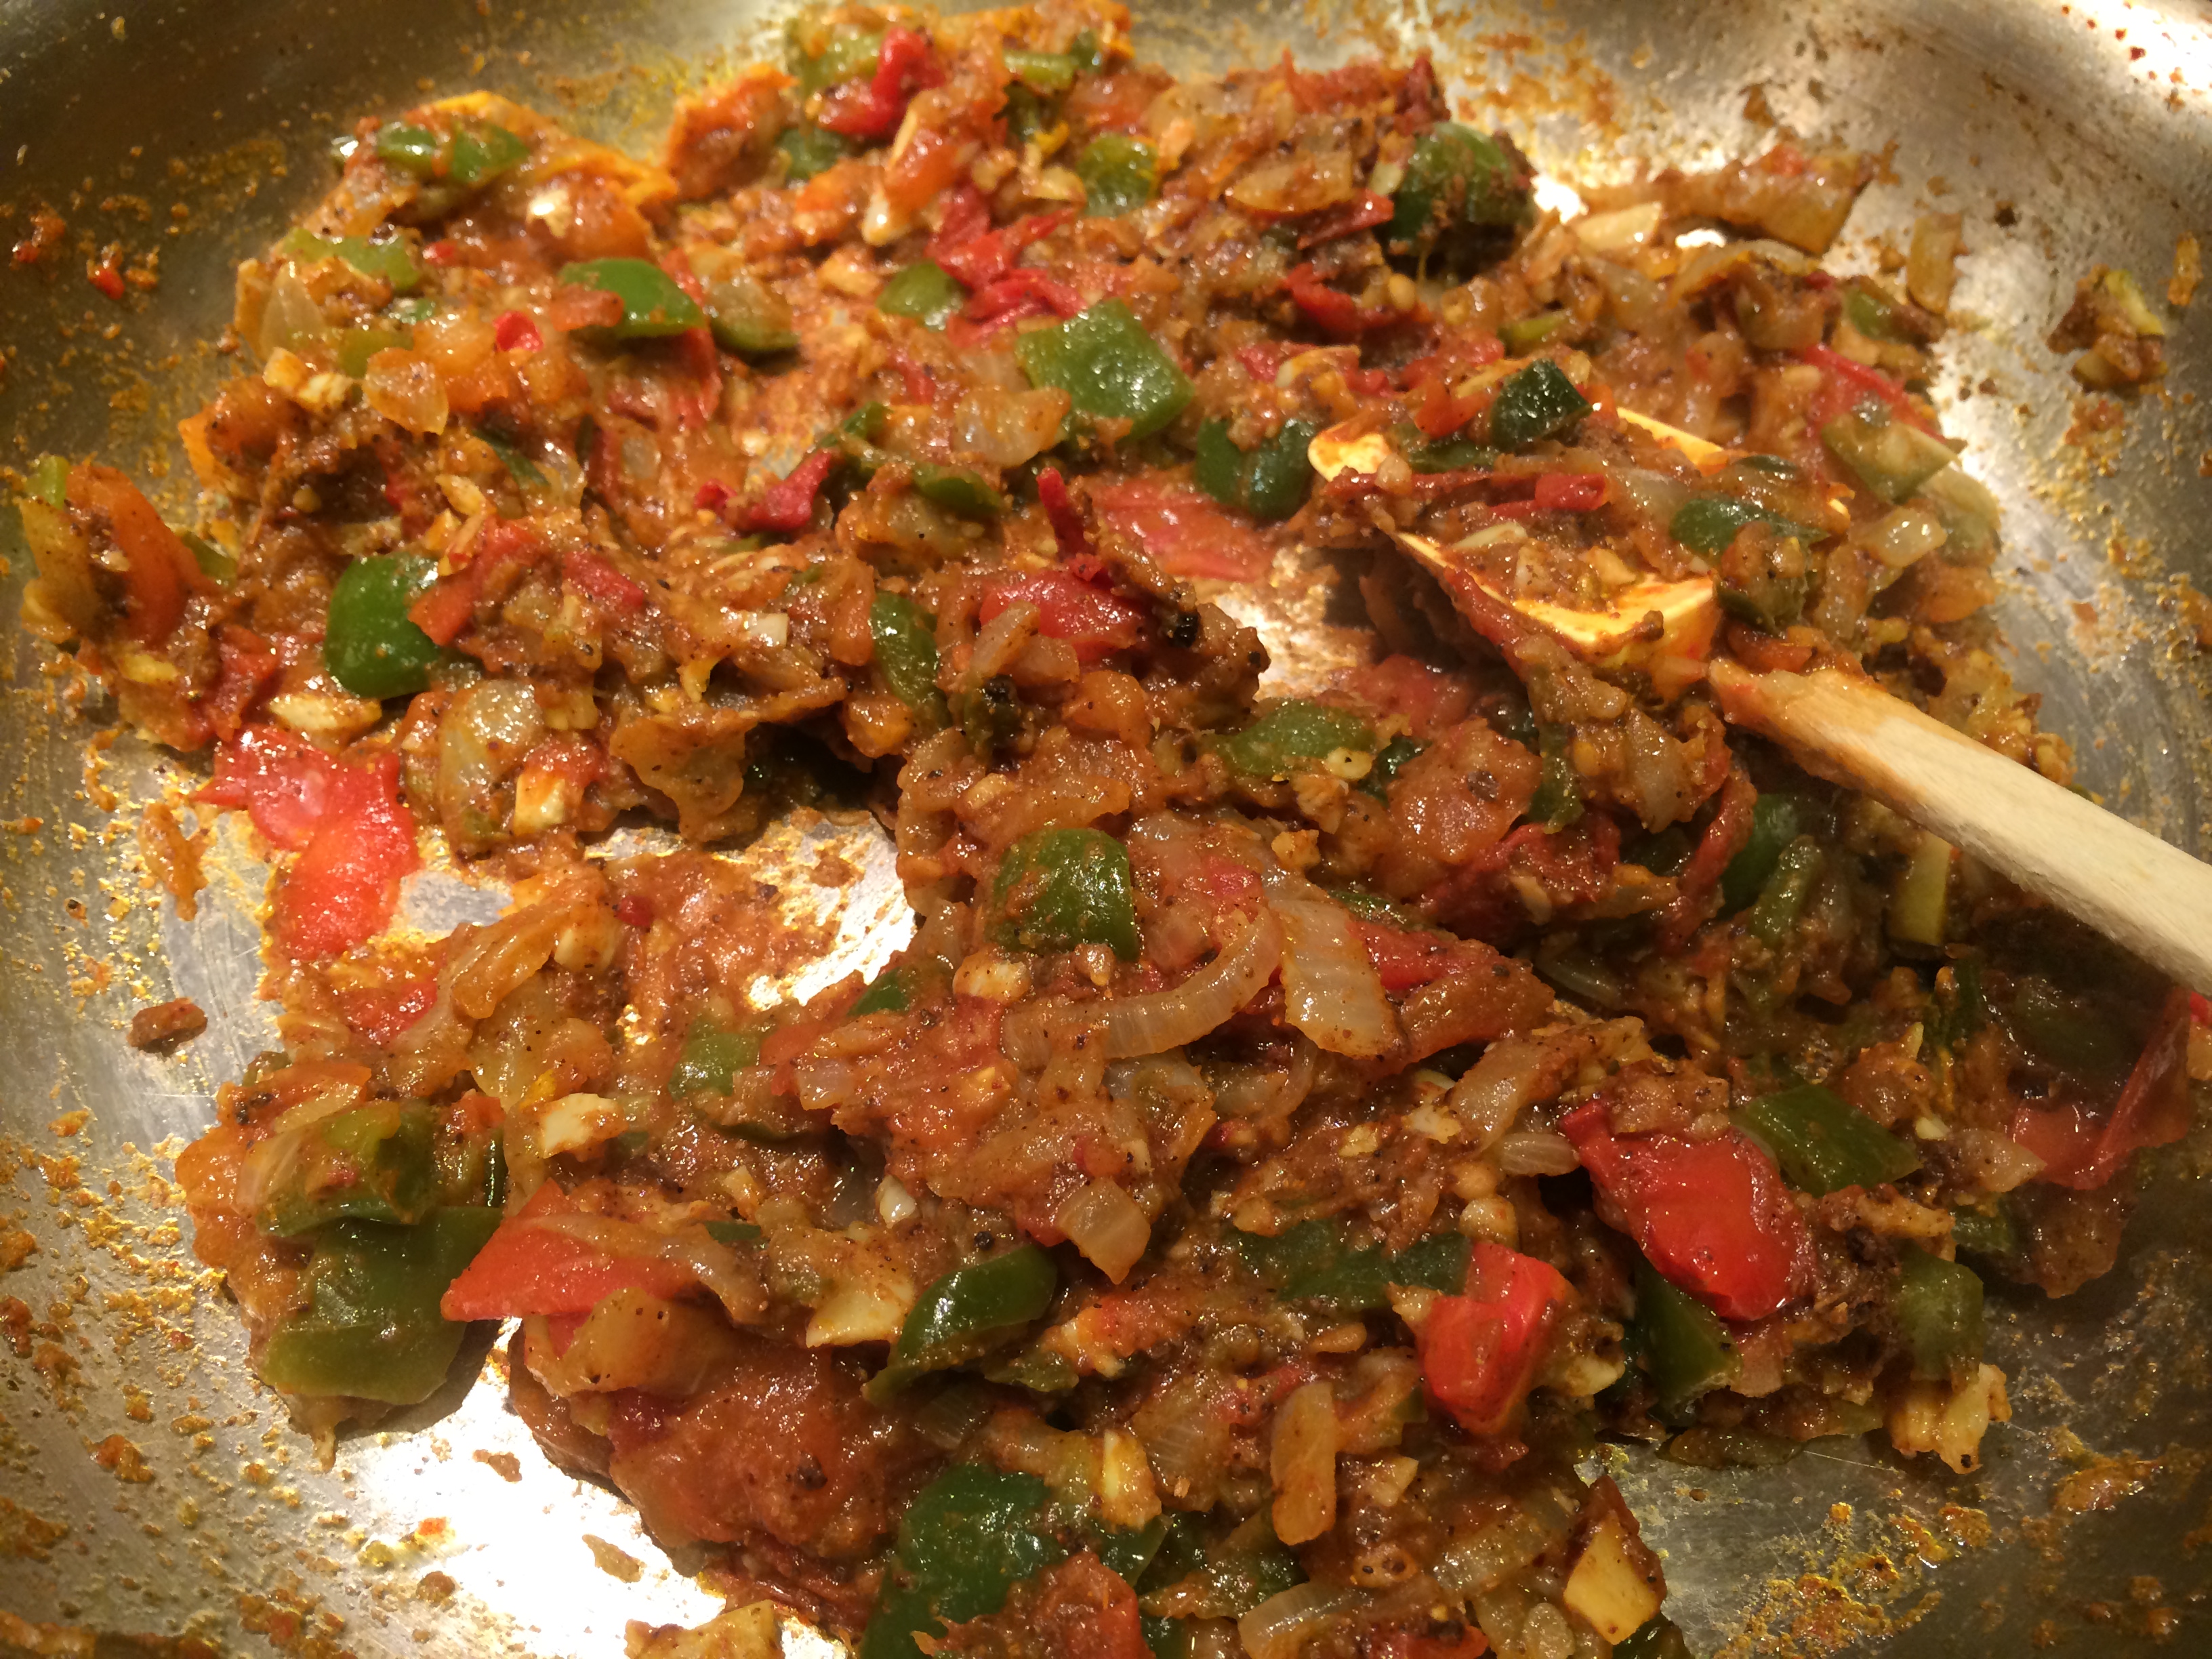
Cook dry spices

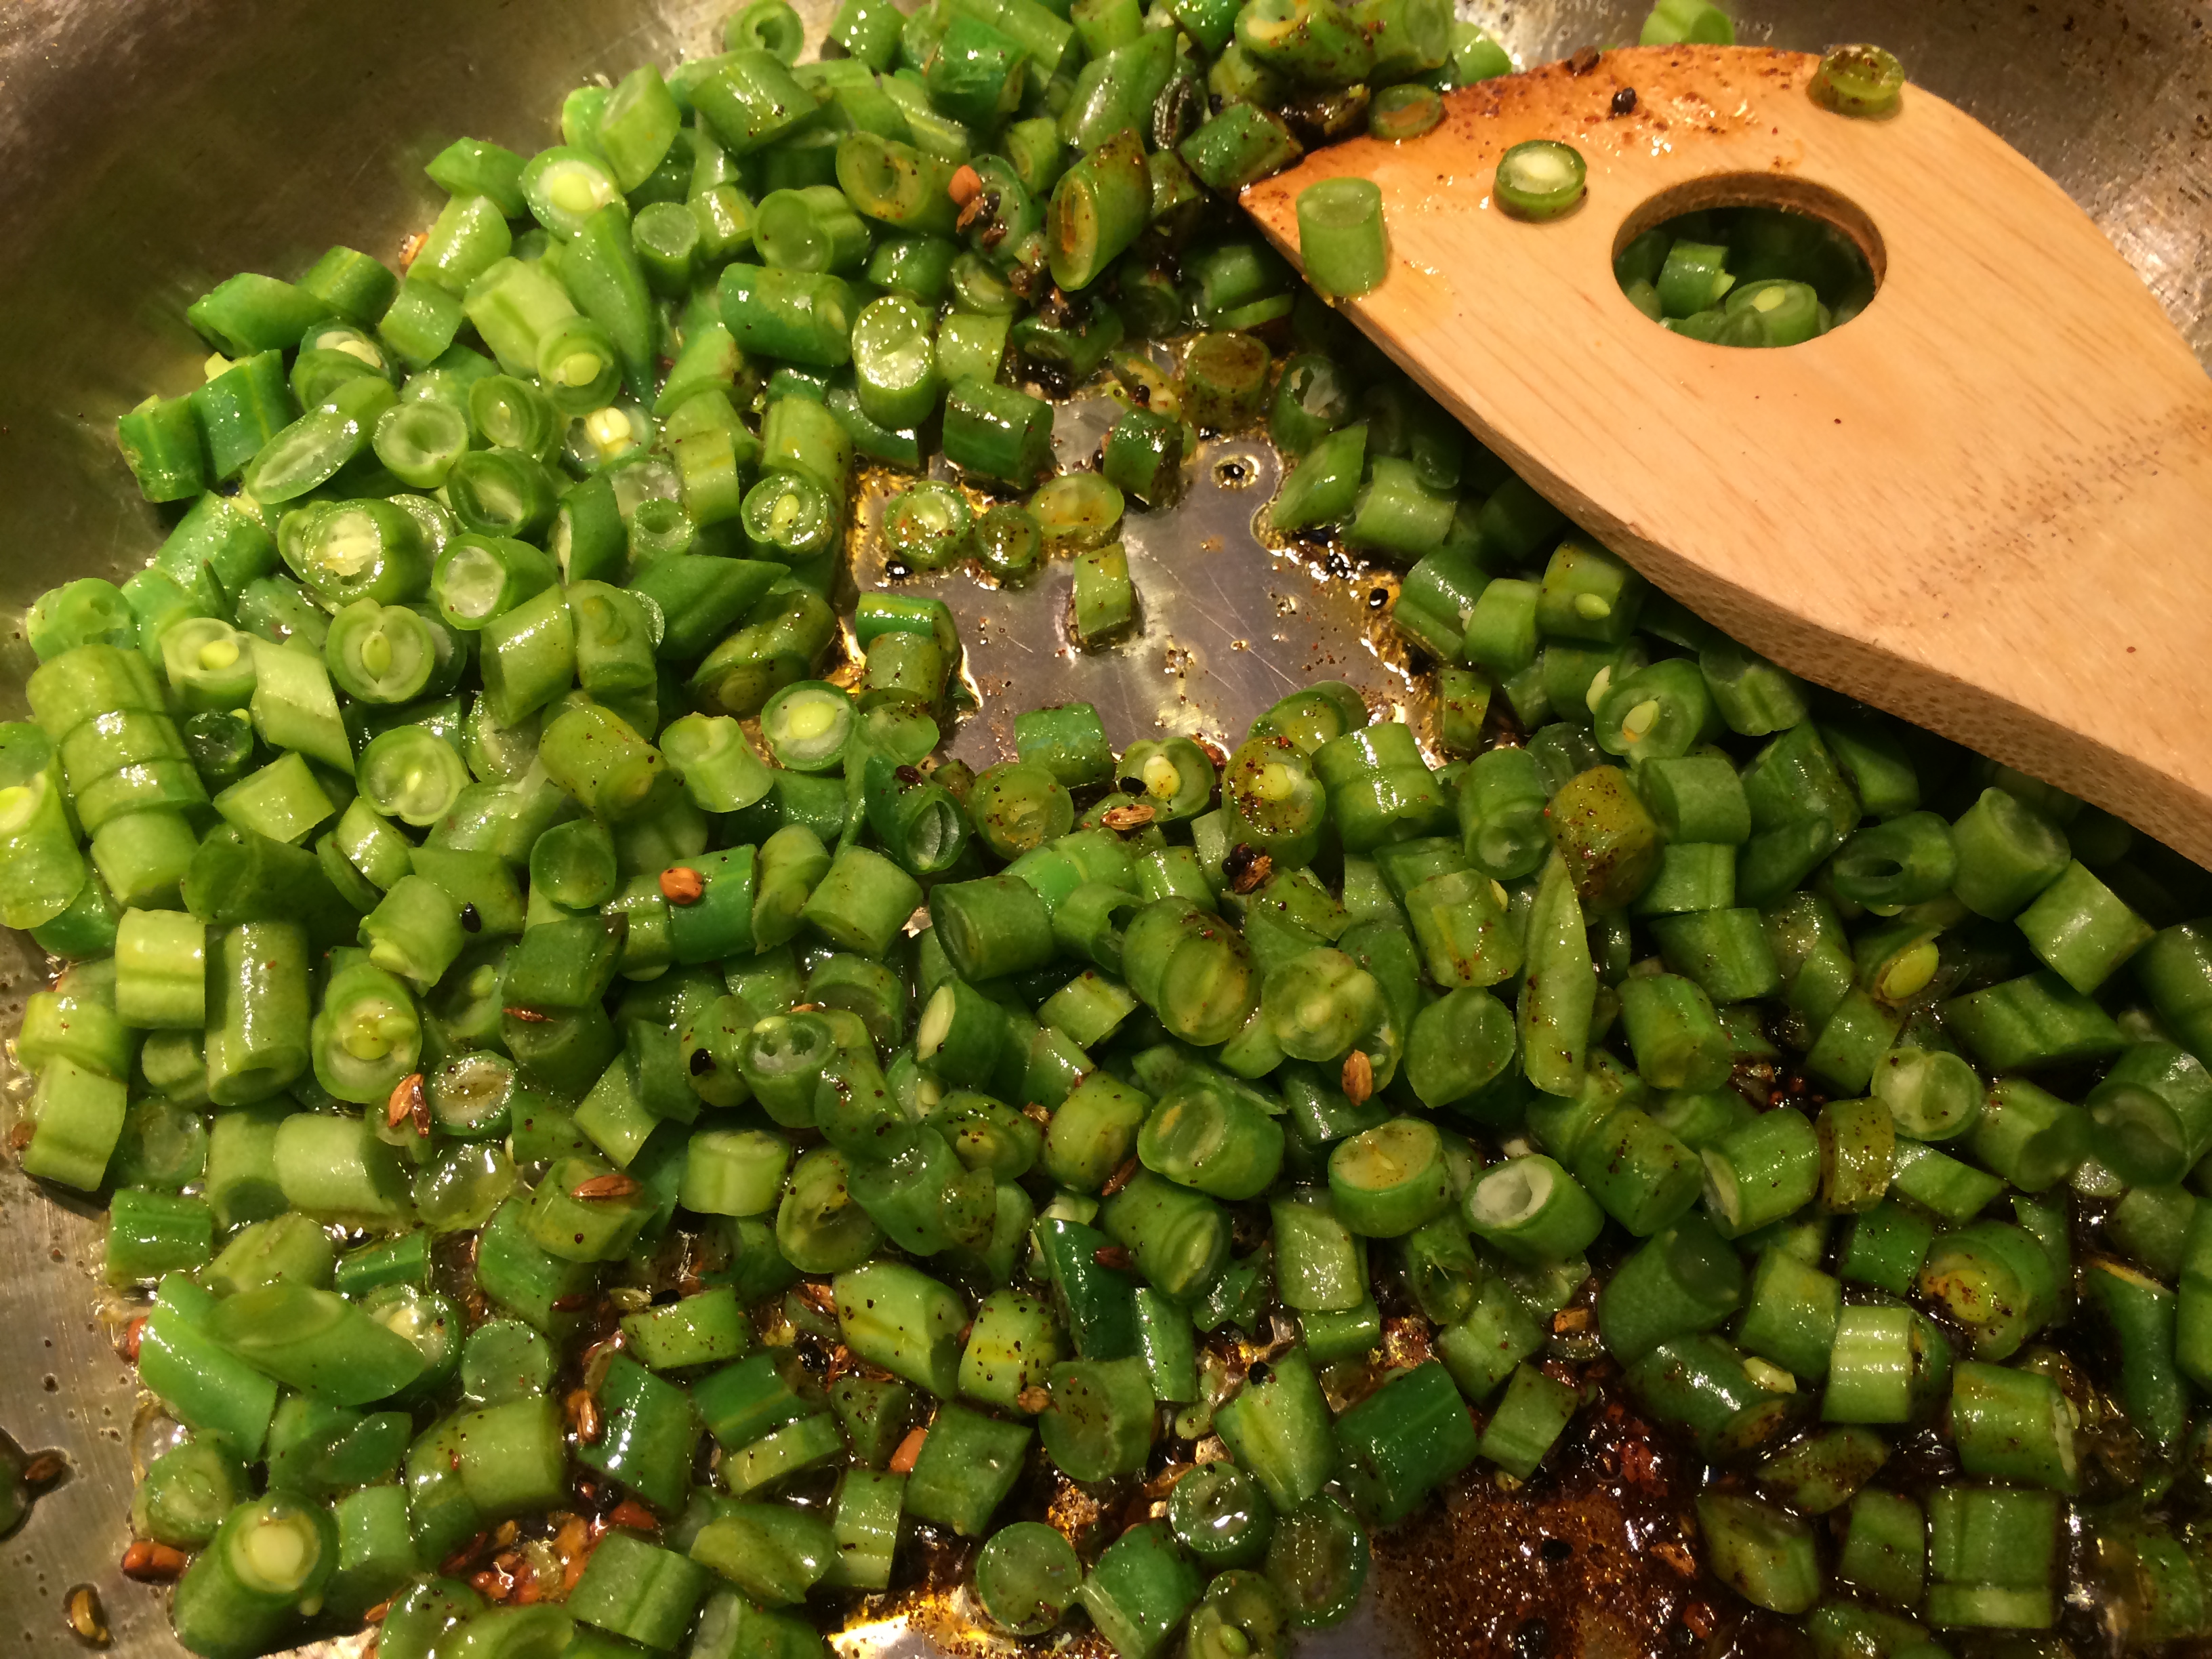
Add vegetables
Pav bhaji served
Pav Bhaji
Ingredients:
- Ginger-garlic-chili paste made from 6 garlic cloves, 1 inch piece of ginger, 2 green chilies
- 1 medium onion chopped up
- 3 medium tomatoes chopped up
- 1 green bell pepper (capsicum) diced
- For boiling:
- 2 carrots
- 10 or so green beans
- 1 medium potato
- Quarter of a medium cauliflower
- Quarter of a medium head of cabbage
- 1 teaspoon salt
- 2 tablespoons butter or ghee
- 2 tablespoons pav bhaji masala from above
- 1/2 teaspoon turmeric powder
Method:
Roughly chop the vegetables that are for boiling, add half a cup of water and the 1 teaspoon salt. Bring to a boil, cover and cook on a simmer until softened, about 15 minutes. When they are done, roughly mash with a potato masher.
Meanwhile heat the ghee in a thick pan. When it is hot add the onions and bell pepper. Let them soften on medium heat for about 4 minutes. The important thing with the onion is that it must not caramelize — that adds a sweetness and brown flavor that does not go with this dish. Add the ginger-garlic-chili paste and stir, until the oil separates, which means the paste is cooked. Now in goes the tomatoes. They have to first liquefy then dry up. You can turn up the heat for this part.
Once they are dry, you can add the dry spices — the pav bhaji masala and the turmeric powder. Stir them in and cook for a minute. Plop in the mashed vegetables. Mash some more, cook for 10 minutes or so, gently stirring and mashing as you please, until they are well combined.
Give it a taste — now is the time to make adjustments. Adjust the salt. Add red chili if it is not hot enough. Add more ghee or butter swirled in on top for lusciousness.
Serve with pav bread, optionally sliced and toasted on the same pan, with a bit of butter. Garnish with minced onion and lime juice.
Let's connect...