Loofahs are pretty useful little scratchy devices that one can use as scrubbies, usually in the bath on your pretty pink toesies. That’s great and all, but does my kitchen have any use of them? Yes.
Start with this:

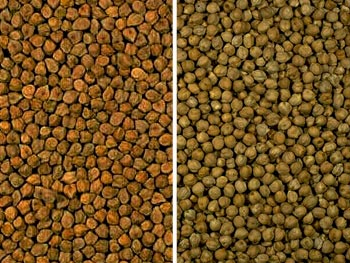
Loofah
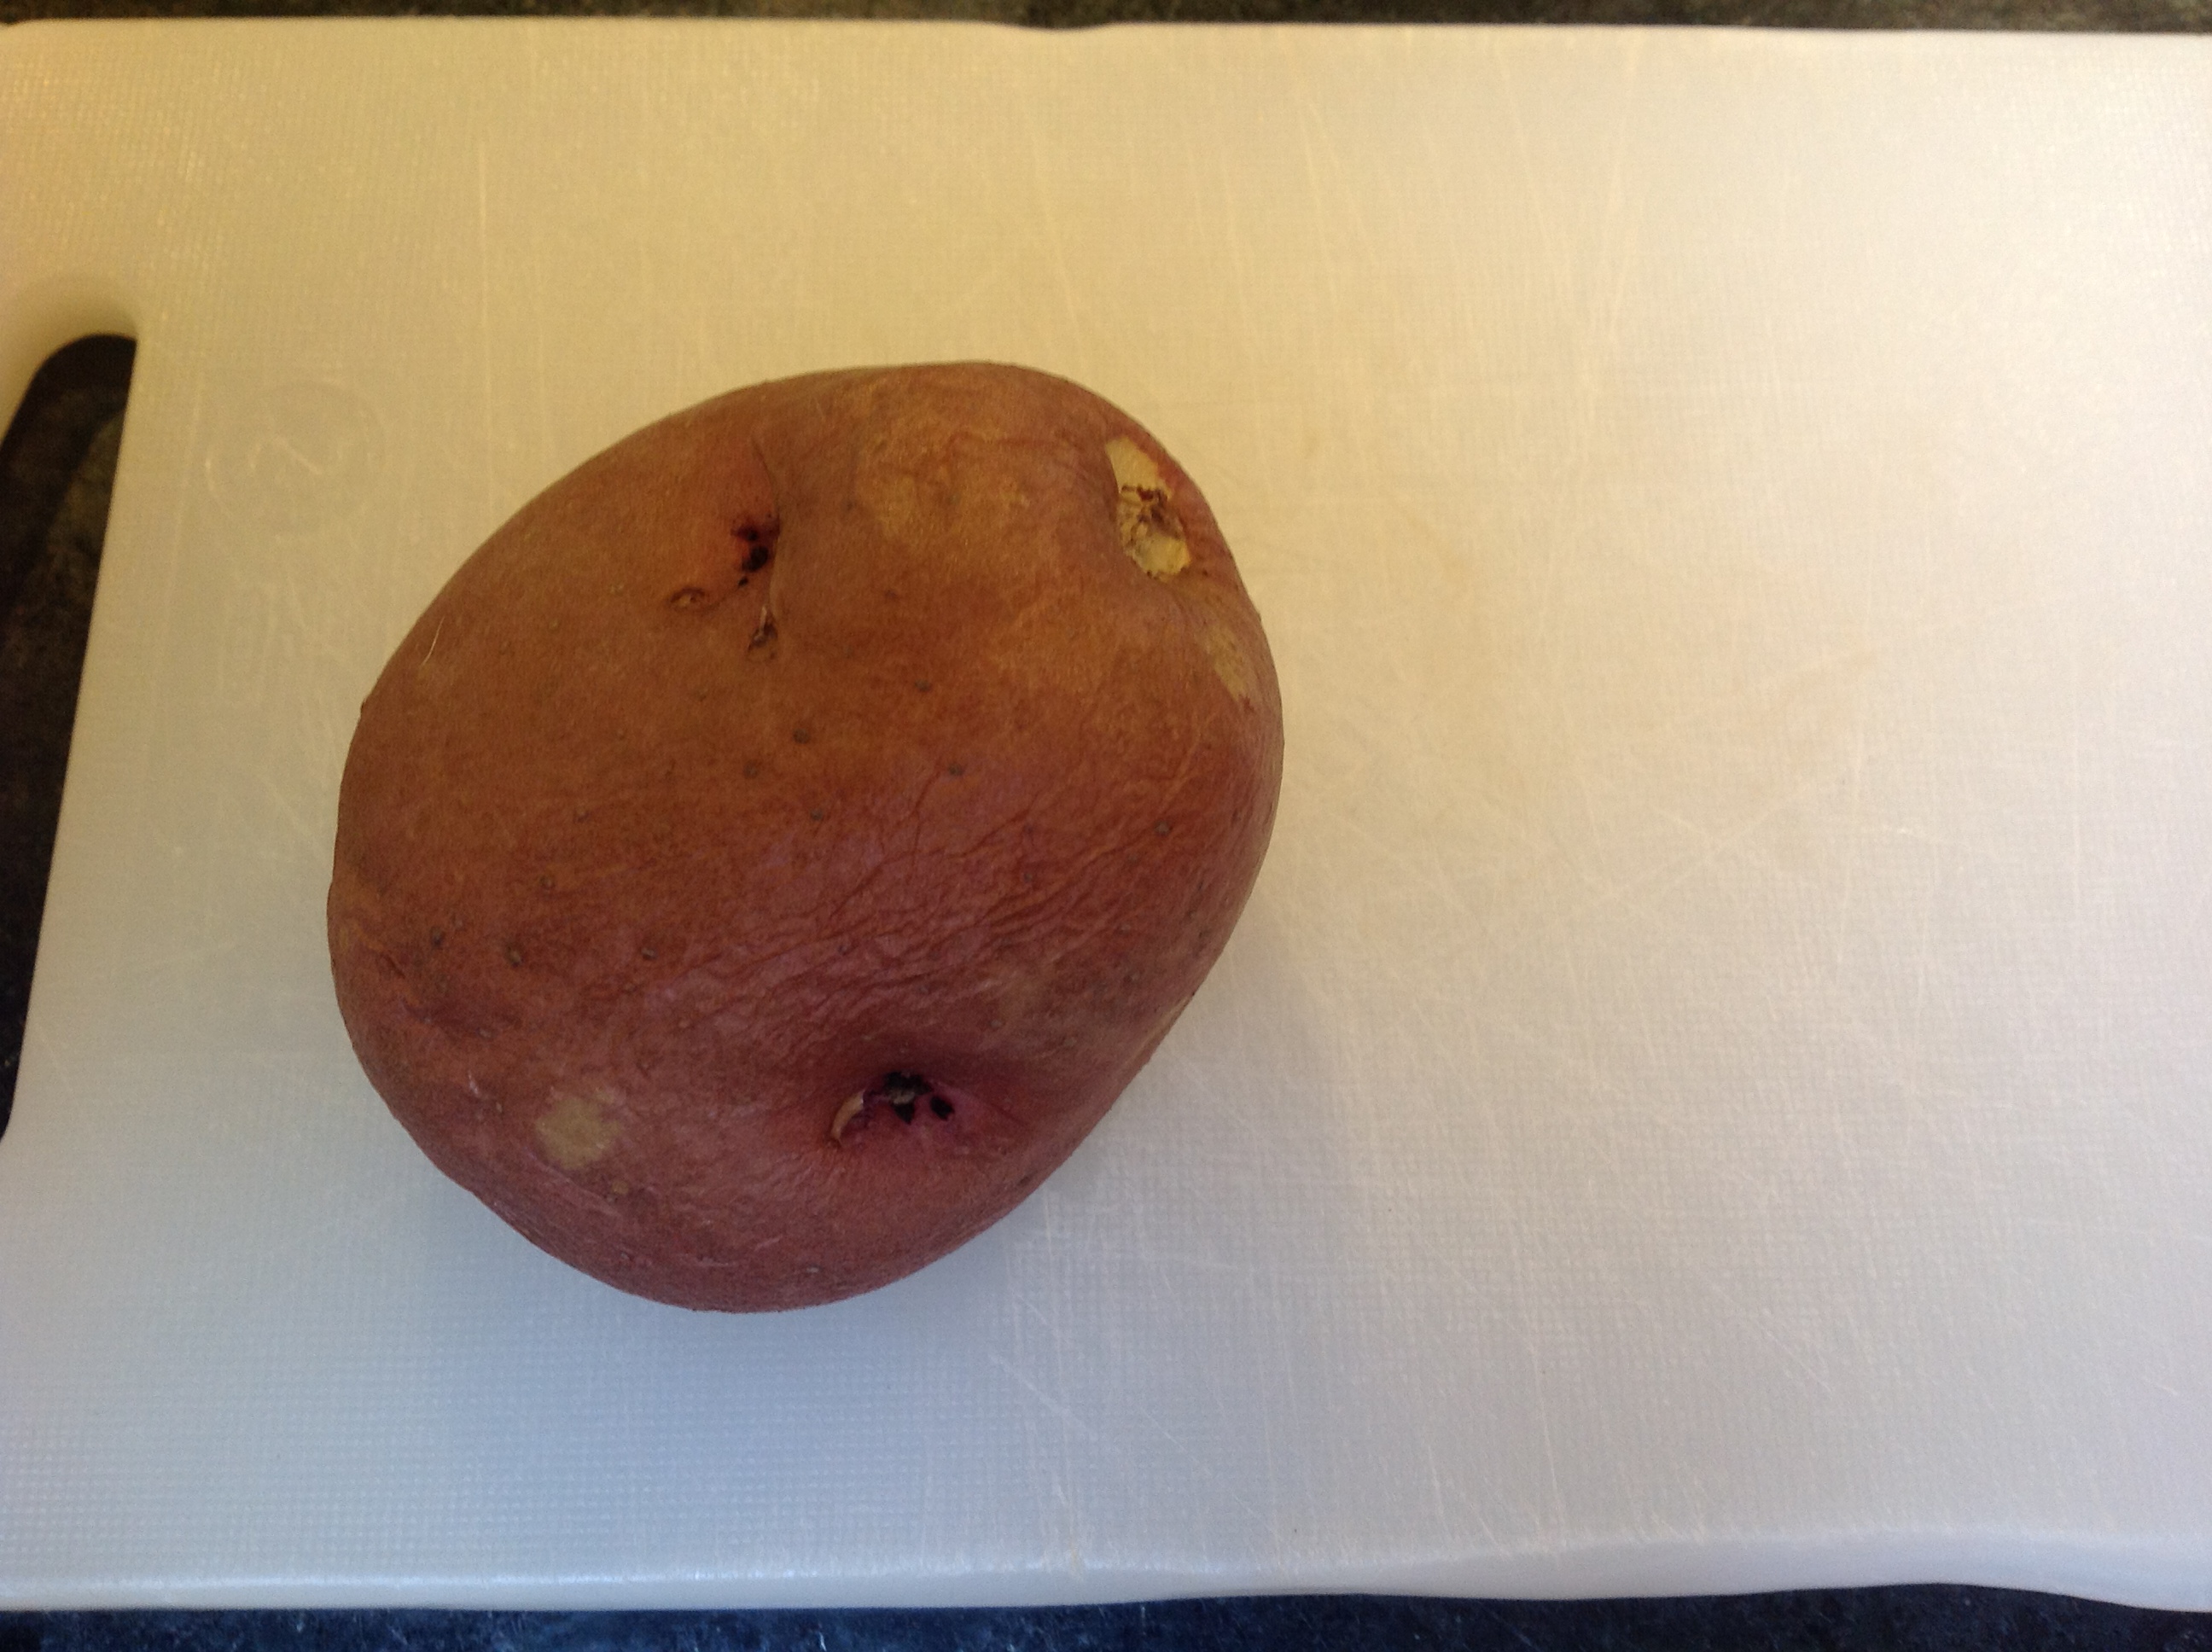
And go back in time several months at which time it looked like this:

Ridged luffa squash
At this point, loofah can be used to make an excellent meal. When these gourds are harvested green, the flesh is soft and delicious with a hint of sweetness. Leave it on the vine, and the flesh becomes fibrous and scratchy.
When young, I always knew this vegetable as ‘toori’. Its true name is luffa, which is where the more fancy appellation ‘loofah’ comes from. Now I love toori so much that if I was the farmer in whose job it was to grow a crop for loofahs, not many would make it that far.
Ridged luffa squash with garlic and tomatoes
Ingredients:
- 3 largish ridged luffa squash or equivalent amount
- 3-4 large cloves of garlic
- 1 large or 2 small tomatoes
- 3 fresh green chilies or to heat tolerance
- 6 or so curry leaves
- Half a teaspoon mustard seeds
- half a teaspoon turmeric
- 1 teaspoon coriander powder
- salt to taste
- 2 tablespoons oil
Method:
Peel the squash with a vegetable peeler; for the first pass, center the peeler on the ridges; once the ridges are removed, the second pass will remove the rest of the peel.


The flesh inside is soft and pale. The seeds, at this stage, are not developed into being hard and can be eaten. Chop up the flesh into cubes. Mince garlic and the chilies. Chop up the tomato.
Heat oil in a thick-bottomed pan on medium-high heat. When it shimmers, put in the mustard seeds and wait till they start popping. Then put in the minced garlic and chilies, and the curry leaves (I didn’t have these so I left them out). When these start to shrivel, you can put in the chopped tomato.

Now the standard with this type of dish is to let the tomato liquid boil off. This intensifies the flavor of the tomato. So keep the heat on medium-high, and stir the tomatoes once in a while, helping it along by crushing it with the back of your spoon.
Once the tomatoes seem pretty dry, put in the turmeric and coriander powder. Stir. Now put in the squash cubes and give them a stir to coat with the spices. Add the salt, use your judgment about the amount. Cover with a lid, bring to a boil (no added liquid is necessary, the salt will draw out the high water content of the squash flesh itself). When it comes to a boil, leave it with the lid on at a simmer.


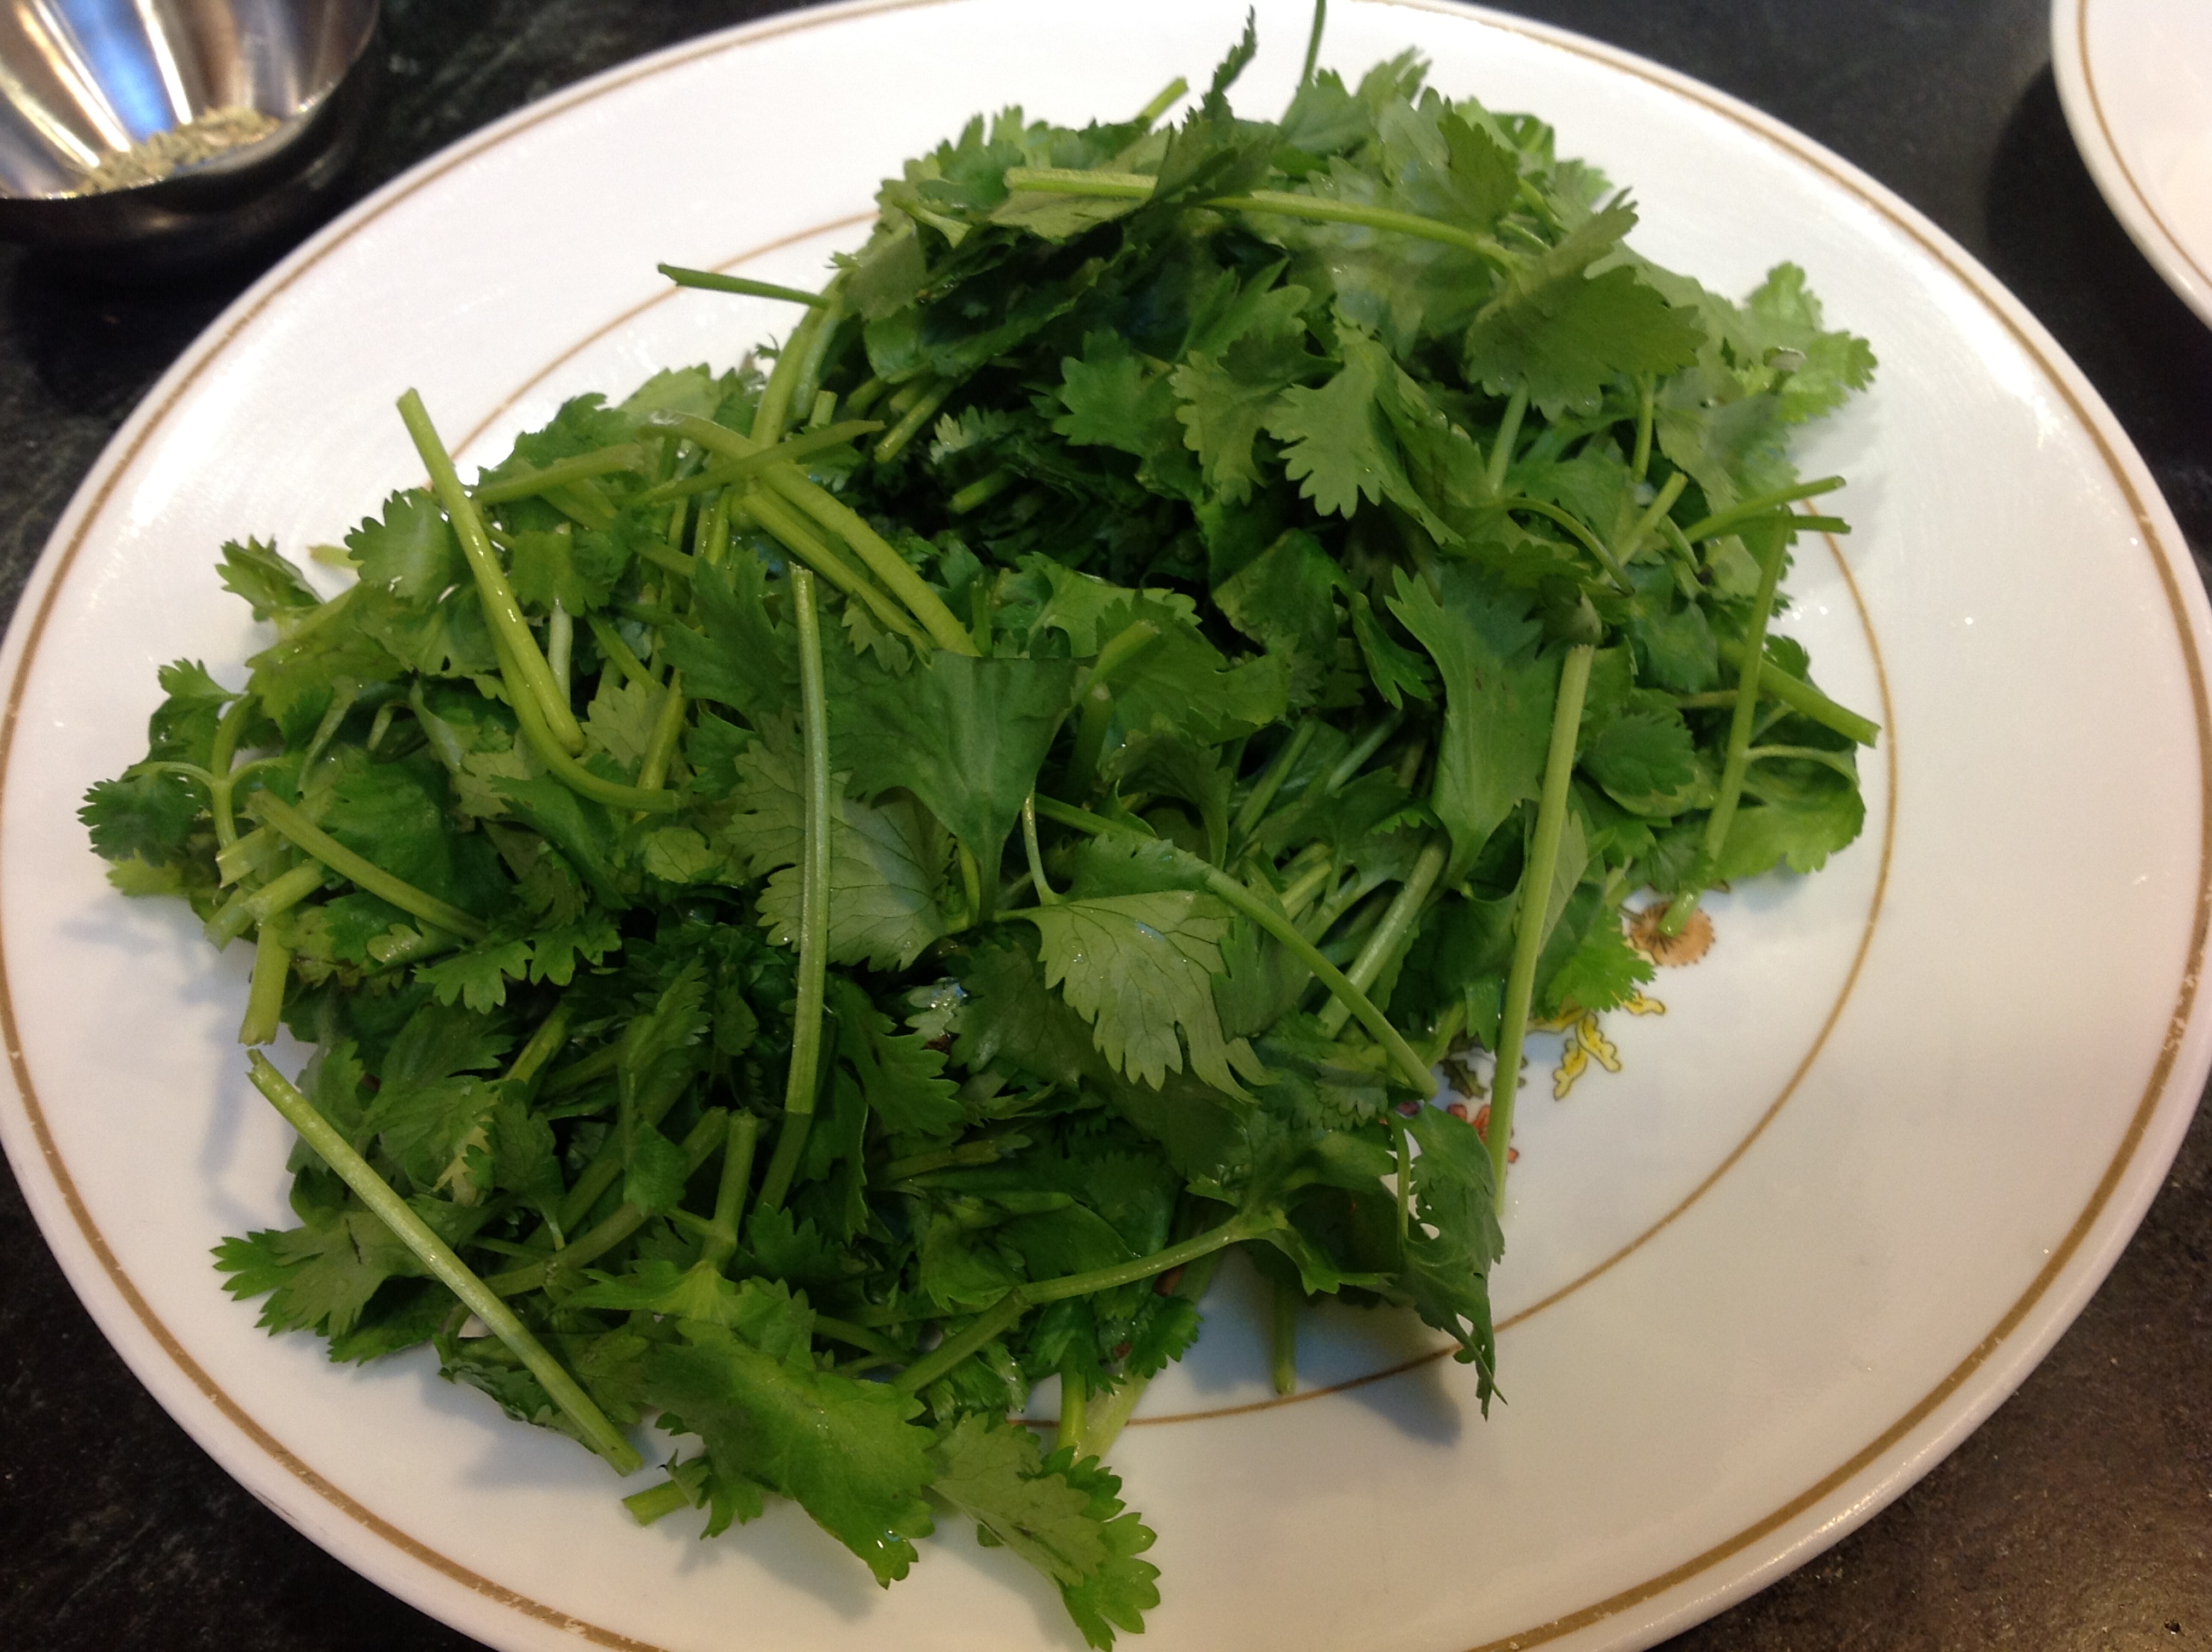
In another 15-20 minutes, the squash will be much reduced, and done. If you want, garnish with minced cilantro.

This goes very well with roti/chapati, or as a side with rice and dal.