Eggplant display (source: via Wikimedia Commons, user Phoebe (Own work))
Writing the eggplant post last week left me in a quandary. Since I live in the US, calling it eggplant seems natural. But then all through my childhood I called it baingan in Hindi and brinjal in English. Some of my readers from the UK will probably want to call it aubergine, while Australians, I hear, prefer the term egg fruit. [Update, 3/22: no, from comments, turns out they call it eggplant too.]
United by a common language indeed!
Well it turns out that the names of this humble vegetable have come about through a global game of Telephone (Chinese Whispers in India) involving empires and migrations of peoples. Sometimes the names have gone around the world and even come back to the source, changed, to go another round.
Intriguing.
![Wight, R., Illustrations of Indian botany, or figures illustrative of each of the natural orders of Indian plants, vol. 2: t. 166 (1850) [Goovindo] (Source: http://plantillustrations.org)](https://theoddpantry.com/wp-content/uploads/2015/03/45068.jpg?w=615&h=900)
Wight, R., Illustrations of Indian botany, or figures illustrative of each of the natural orders of Indian plants, vol. 2: t. 166 (1850) [Goovindo] (Source: http://plantillustrations.org)
The story begins somewhere in India near Burma. Before the Sanskrit speakers and even the Dravidian speakers migrated to India, it was largely occupied by the
Munda people. Remnants of the Munda people survive today as tribes in pockets. They were already eating a small, spiny, yellowish fruit that tended to be bitter. Being from the nightshade family, it was also toxic. Over the years they cultivated it to be edible, larger, less spiny, less bitter, and to grow in a season. Once in a while, you still feel super sharp spines on the green tops of eggplants — a reminder of how difficult this vegetable once was to harvest.
The later arrivals to India, the Dravidian-speakers and the Sanskrit speakers, based their words for local vegetables on the original Munda words. The Munda word for eggplant survives as echoes in the Sanskrit vrintaka. In fact, they must have known that the tomato and the eggplant are both from the nightshade family, because the eggplant was known as ‘kanta vrintaka‘ while tomatoes were known as ‘rakta vrintaka‘ — presumably, spiny nightshade and blood nightshade respectively.

Farmworker in Sejwat, Gujarat, India (source: Wikimedia commons, user Arne Hückelheim)
Another Sanskrit name that eggplant was given was ‘vatingan‘ which comes from its abilities to remove gas (=wind gone, or, more pointedly, fart gone). This word became the ancestor of a number of words used all over India:
- Hindi: baingan
- Kannada: badne kai (‘kai’ = vegetable)
- Telugu: vankaya
- Bengali: begun
- Marathi: vangi
- Sindhi: vangan
Interesting. I love eggplant, but I’ve never thought of it as a substitute for Gas-X. Perhaps I should.
Meanwhile, still in the cloudy ancient past, Persian cooks caught wind of it also. There the Sanskrit word vatingan became transformed into badenjan. Iranian dialects still have a range of similar words for eggplant, showing its ancestry: from the Encyclopedia Iranica, we have badengan, patlejan, vangun (similar to Sindhi) and vayemjun. In Afghanistan, smack in the middle, the word is bademjan.
Now remember that eggplant is a member of the nightshade family, famed producer of toxins (for instance tobacco with nicotine, chilies with capsaicin). And by this point eggplant hadn’t had the track record in cultivation to have the toxins bred out of it. So some of the writings on this vegetable from those ancient days are filled with warnings. Persian writers from the Middle Ages blame eggplant for all kinds of ills from leprosy to the mysterious black bile.
But then, they went on to say, salting it removed those toxins, turning it beneficial, and neutralizing the bile. Could that advice be the reason that we in the modern age of the cultivated, toxin-free eggplant, continue to salt it like dolts? Sorry, I meant to say, the Persian scholars have been hugely influential in our current cuisine.

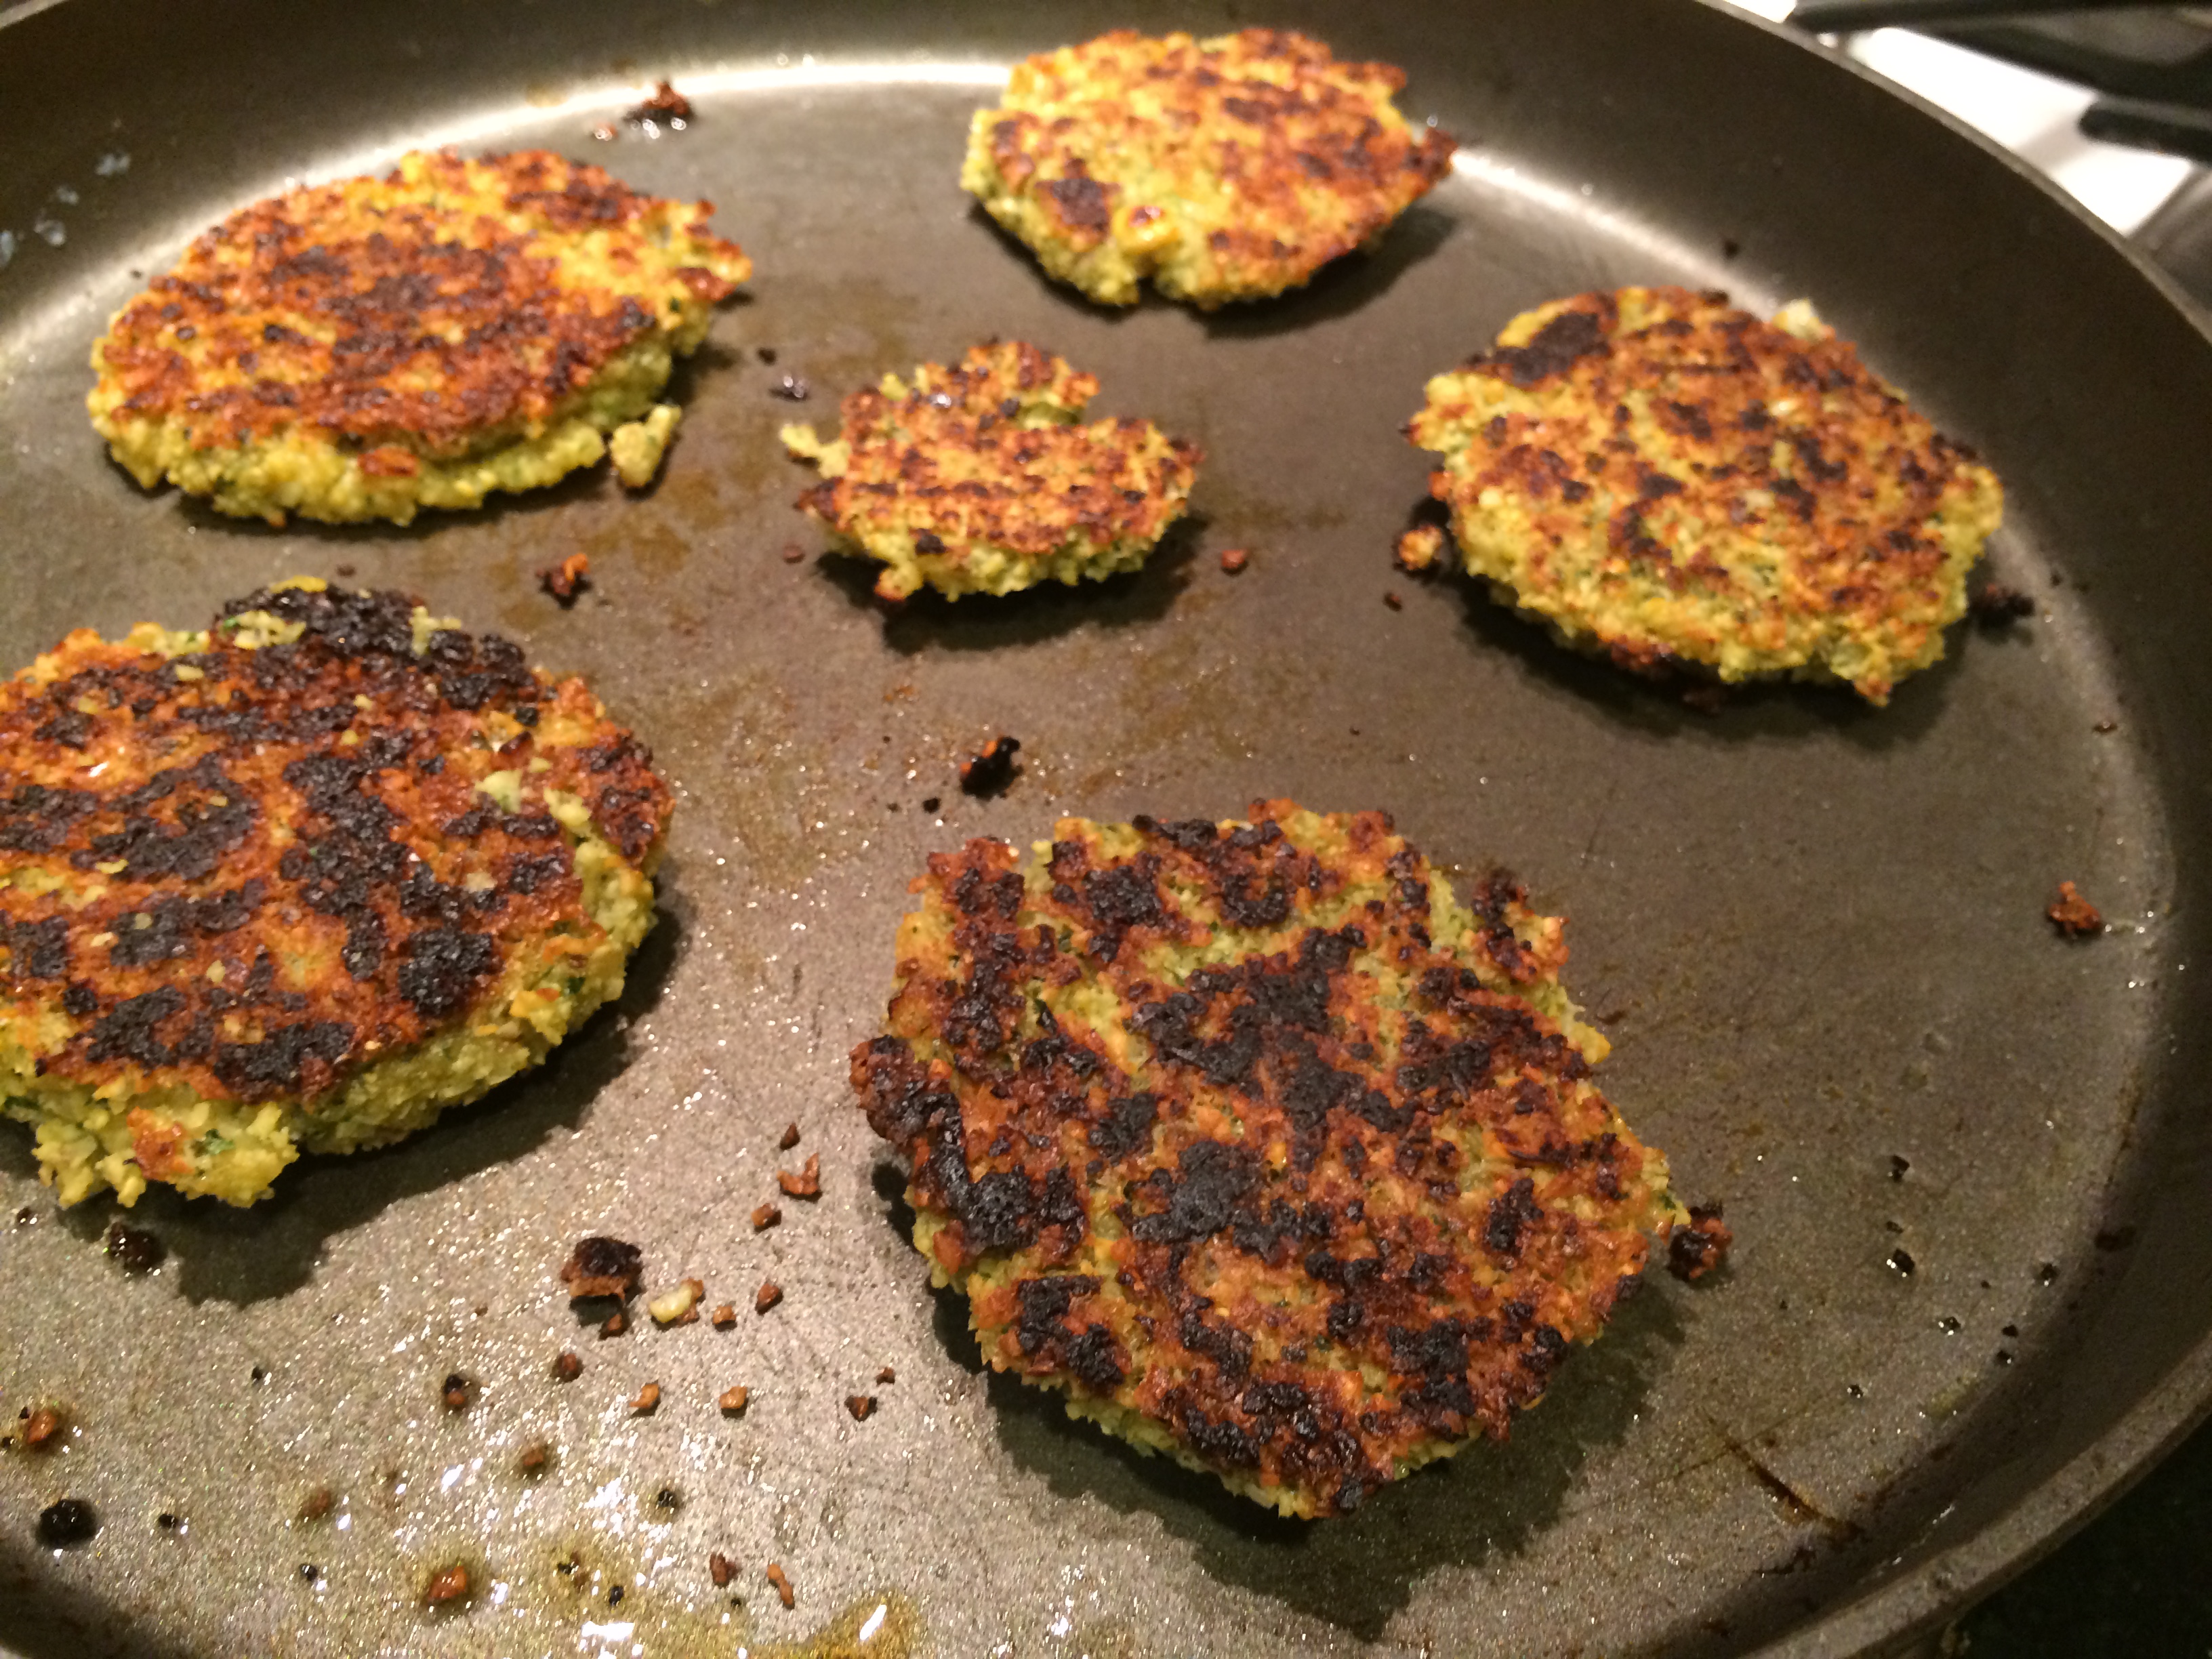
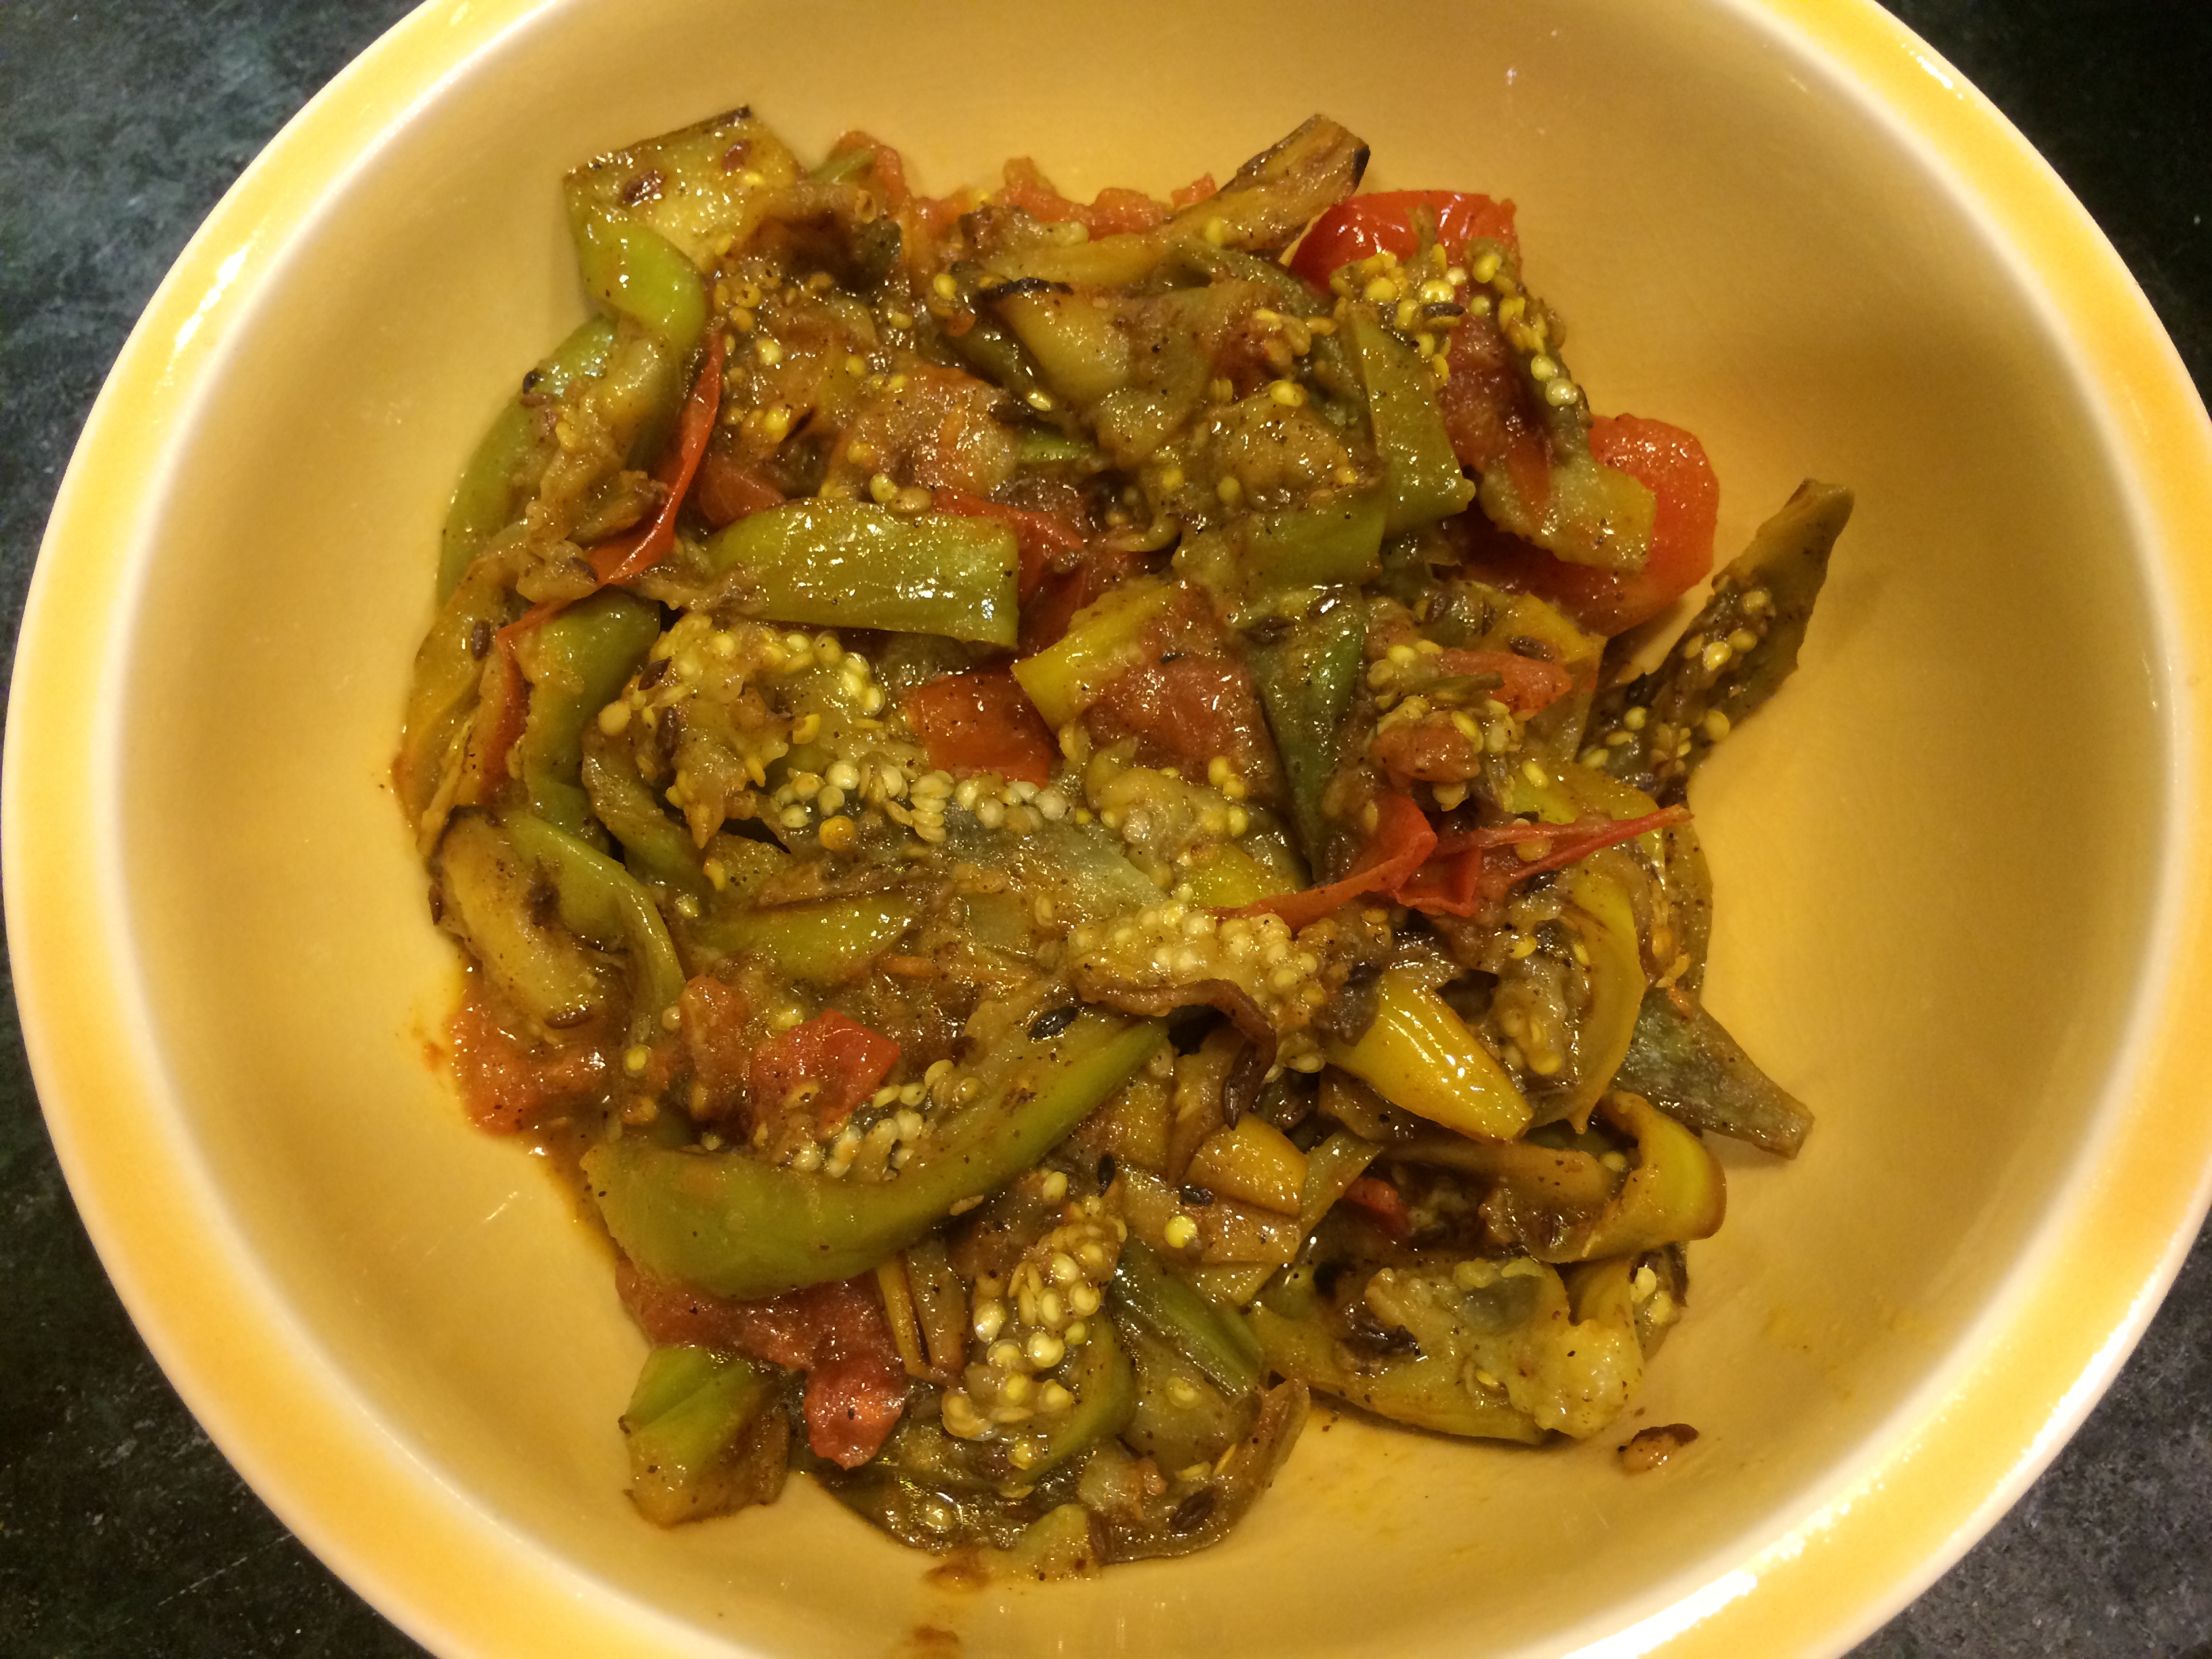
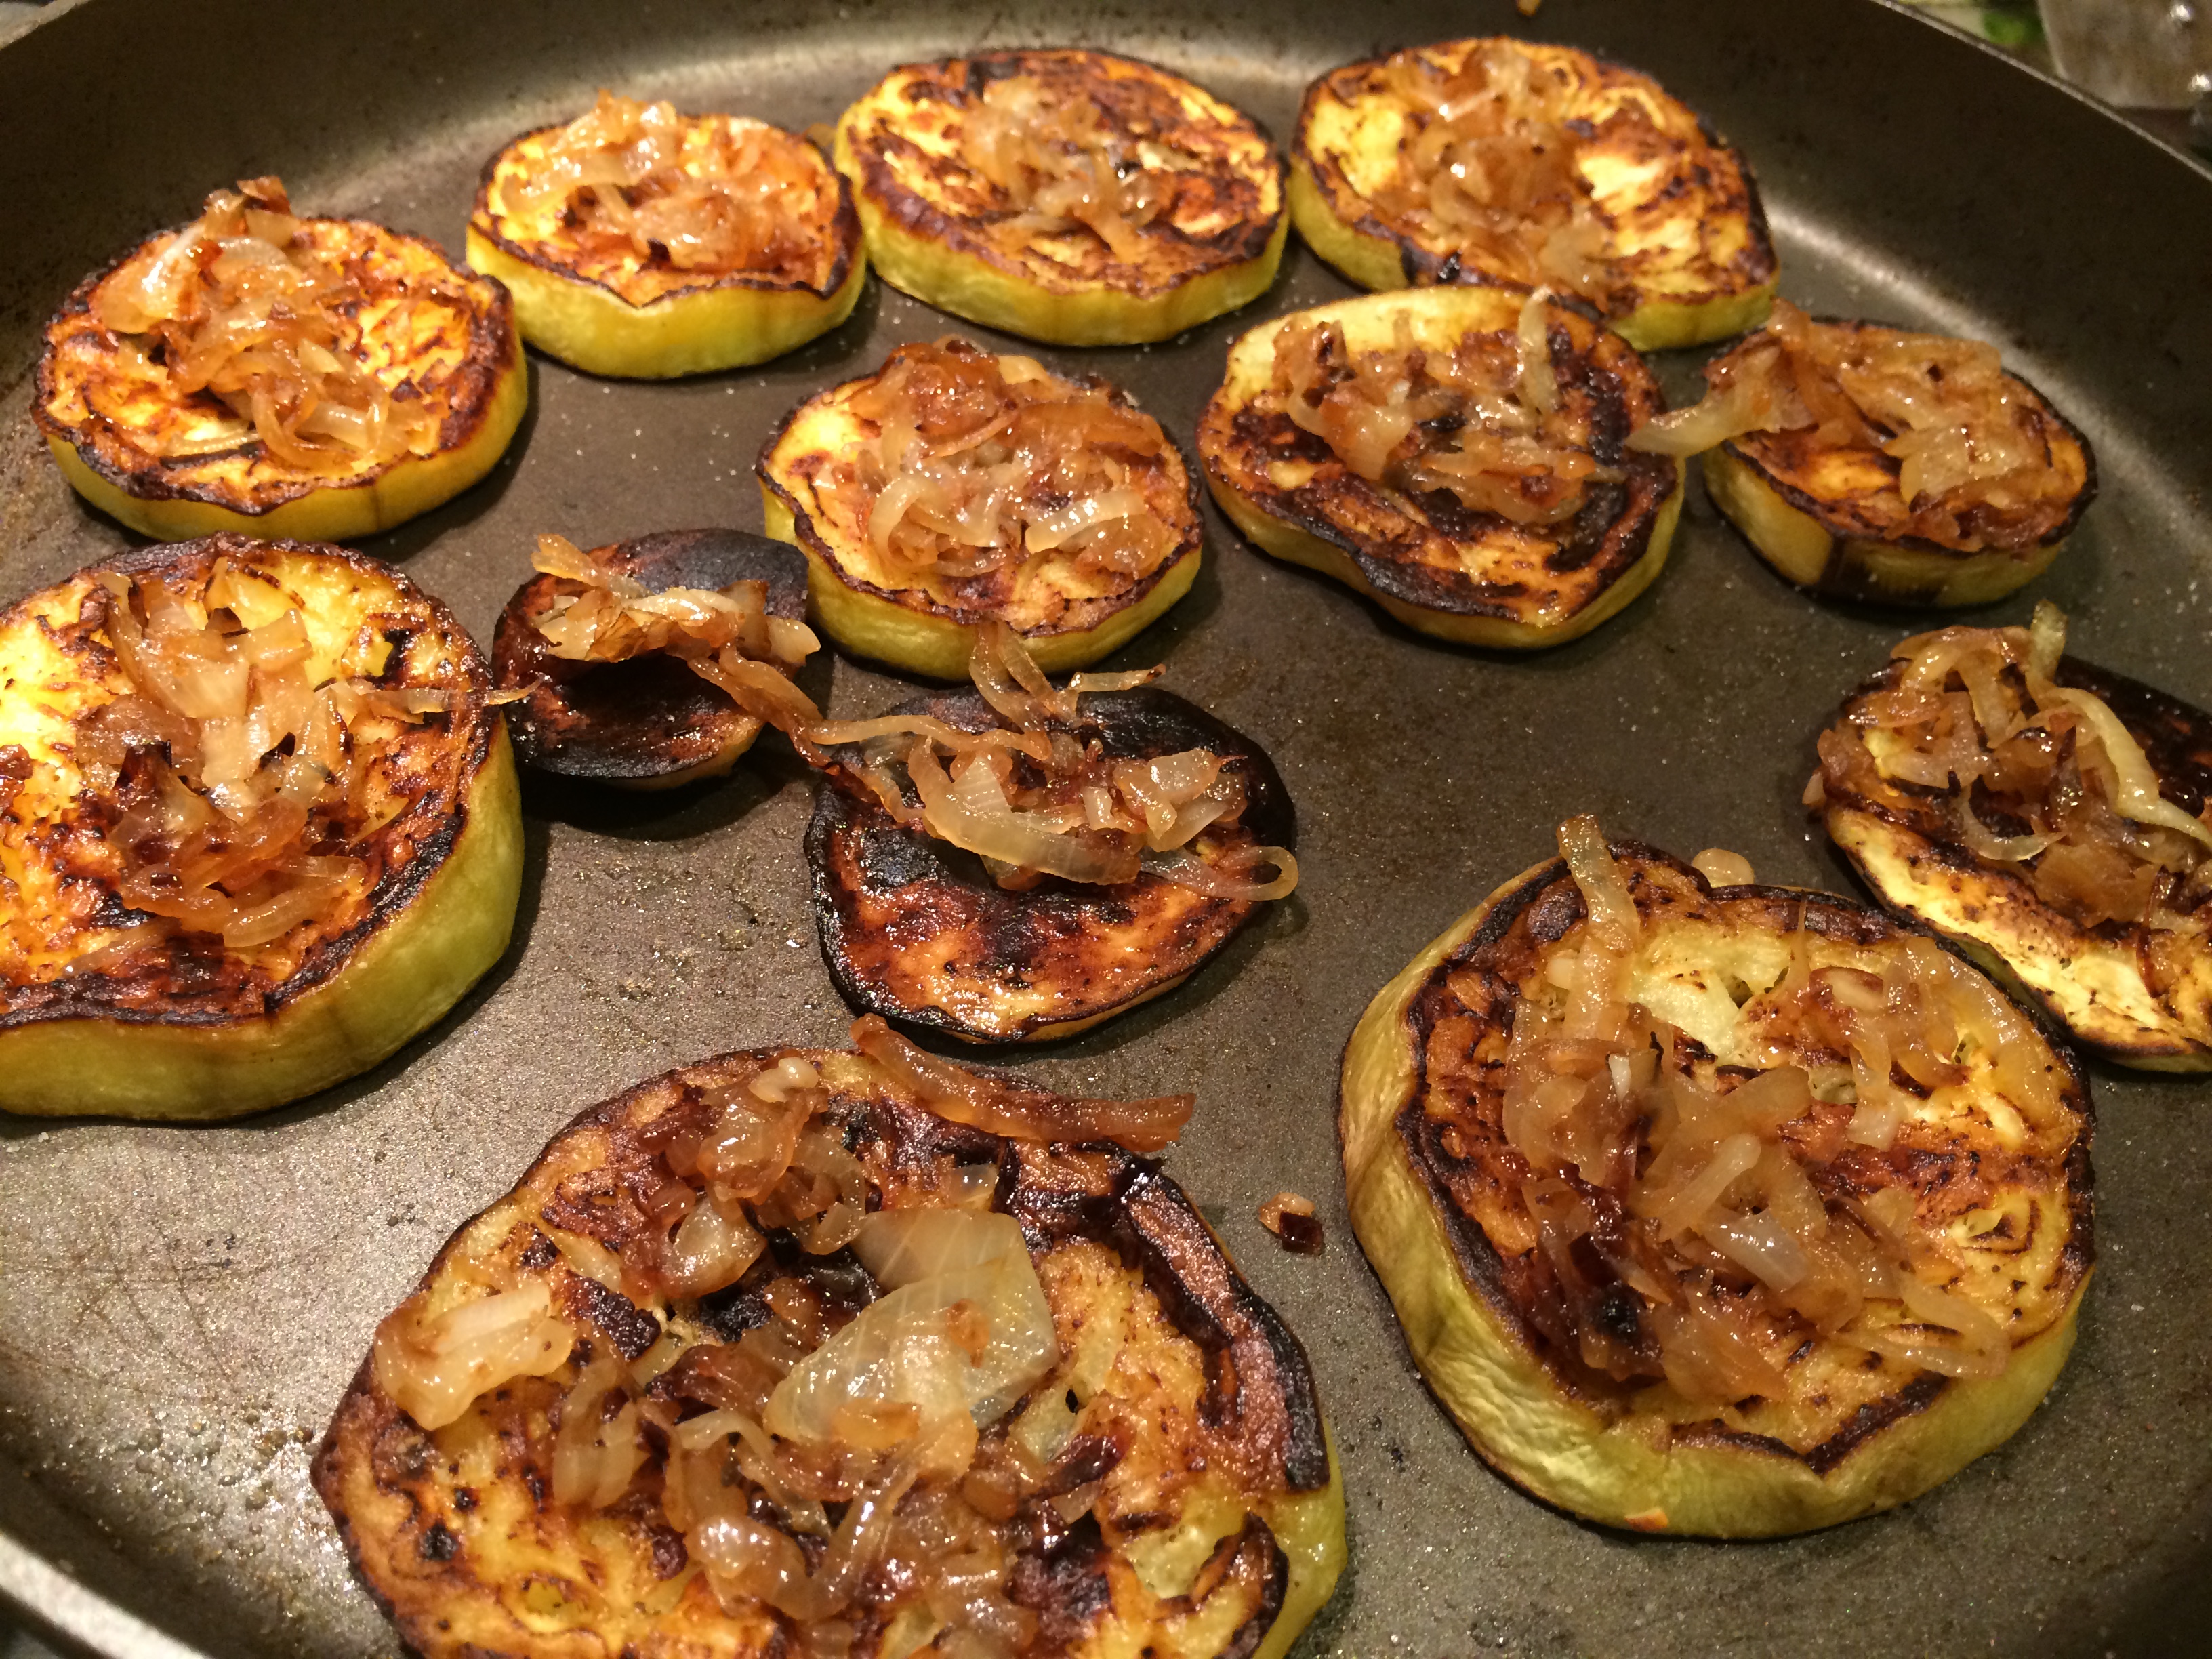
A dish made from eggplant and tomato — two nightshades
By getting the Persian cooks interested, eggplant hit the big time. The Persian lands were conquered by the Arabs in the seventh century. As food historian Rachel Laudan recounts in this essay, from the eighth century on, as the Islamic empire flourished in Baghdad, their chefs adapted Persian cuisine and spread it to their newly conquered capitals. They conquered Spain across the Mediterranean, and took the eggplant with them. The Arabs called it al-badinjan from the Persian, prefixing it with the Arabic definite article ‘al’. The Spanish dropped the ‘al’, and called it berenjena, as did the Portuguese, with their beringela. But Catalan kept the ‘al’, so eggplant became alberginia.
Now the French, nestled close to the Catalan lands, picked up this vegetable and also this word, but they had difficulty with the ‘al-‘ prefix, and rendered the word as aubergine. This word continues to be used today in France as well as England.
Interestingly, the Persian word for eggplant spread to Europe through two independent routes. West of the Mediterranean, it went to Spain and eventually France as aubergine. But east of the Mediterranean, the Arab conquest of Iran took it to Turkey, then to Greece, Italy and Eastern Europe. From the Encyclopedia Iranica again, “the spread of the word bādenjān can be traced in the Eastern Turkish patingen, Turkish and Russian patinjan, Georgian badnjan, Astrakhan Tatar badarjan or badijan.”

Yes, these are eggplants too. A farmer’s market haul
From that to Greek melitzana, and Latin melongena. Latin being a mother language in its own right, its word for eggplant became another fount of creativity. Linnaes picked it up to give its botanical name: Solanum melongena. Italian still uses the melanzana from the Latin. In fact just the other night I had some delicious melanzane alla Parmigiana. The English picked this up, briefly, as melongene, eventually to drop it in favor of aubergine. But they used that word long enough to bequeath it to Caribbean English as meloongen, as it is still used today.
Still with me? The insanity is not over yet, in fact, it is just beginning. Some in England heard the Latin melongena and took it to be mala insana — mad apple.
Mad Apple? We are a long way from Fart Gone. Are we still talking about Egg Plant? Yes.
As a matter of fact, the Old Foodie website quotes what seems to be the source of this mistranslation to ‘mad apple’ — a treatise known as Botanologia, the English herbal, or, History of plants (1710) by William Salmon. The English didn’t just mishear and corrupt melongena as mad apple. They also corrupted Badenjan to Brevun Jains, and the Portuguese beringela to Brown Jolly. It is still known as brown jolly today in the West Indies.
Now by this point the English were quite peripatetic themselves; rather than sitting in place waiting for fruits to land on their shores, they were out colonizing and bringing back botanical curiosities to grow at home. They had already become acquainted with eggplant through this route, and grew it as an ornamental. In the sixteenth century, it got described by an English herbalist known as John Gerard as ‘having the bignesse of a Swans egge’. This is probably the source of its current name, eggplant.
However, at this point the English did not consider it food, being from the nightshade family; just like Persian scholars from a thousand years ago, they warned of its propensity to cause disease, everything from cancer to piles to bad breath. ‘Doubtlesse these Apples have a mischevous qualitie,” John Gerard wrote, “It is therefore better to esteem this plant and have it in the garden for your pleasure and the rarenesse thereof, than for any virtue or good qualities yet knowne.’
This name, eggplant, is the one that the English took with them to America and Australia. It must be that they finally learned to enjoy it as food from the French, hence their word for it came from the French also — the elegant aubergine. (There are other examples of this Frenchification of food words: for instance, the English have a perfectly decent word that means ‘cow’ — it is, ‘cow’. But when they used the cow as food, they called it ‘beef’ from the French ‘boeuf’.)
Now, we are ready to come full circle, where I began, and where we began, back to India. The Portuguese colonized India in the sixteenth century, and brought their beringela back home. Either the Indians, or the later colonizers, the English, turned this into brinjal. This is the word that still survives today, as an English word, in India, Malaysia, and elsewhere. We think of this as an English word, but none of the English-speaking countries actually use it.
Notes: Eggplant was actually domesticated in China very early as well, in 500 BC; but I did not cover its trajectory through those lands, mostly because I lack familiarity with the languages. Also, I linked to my sources throughout, and my information is only as good as theirs is.
Hungry for more eggplant names? Here you go. Not satisfied? What’s it going to take? Here you go.
Tl;dr? Here you go.

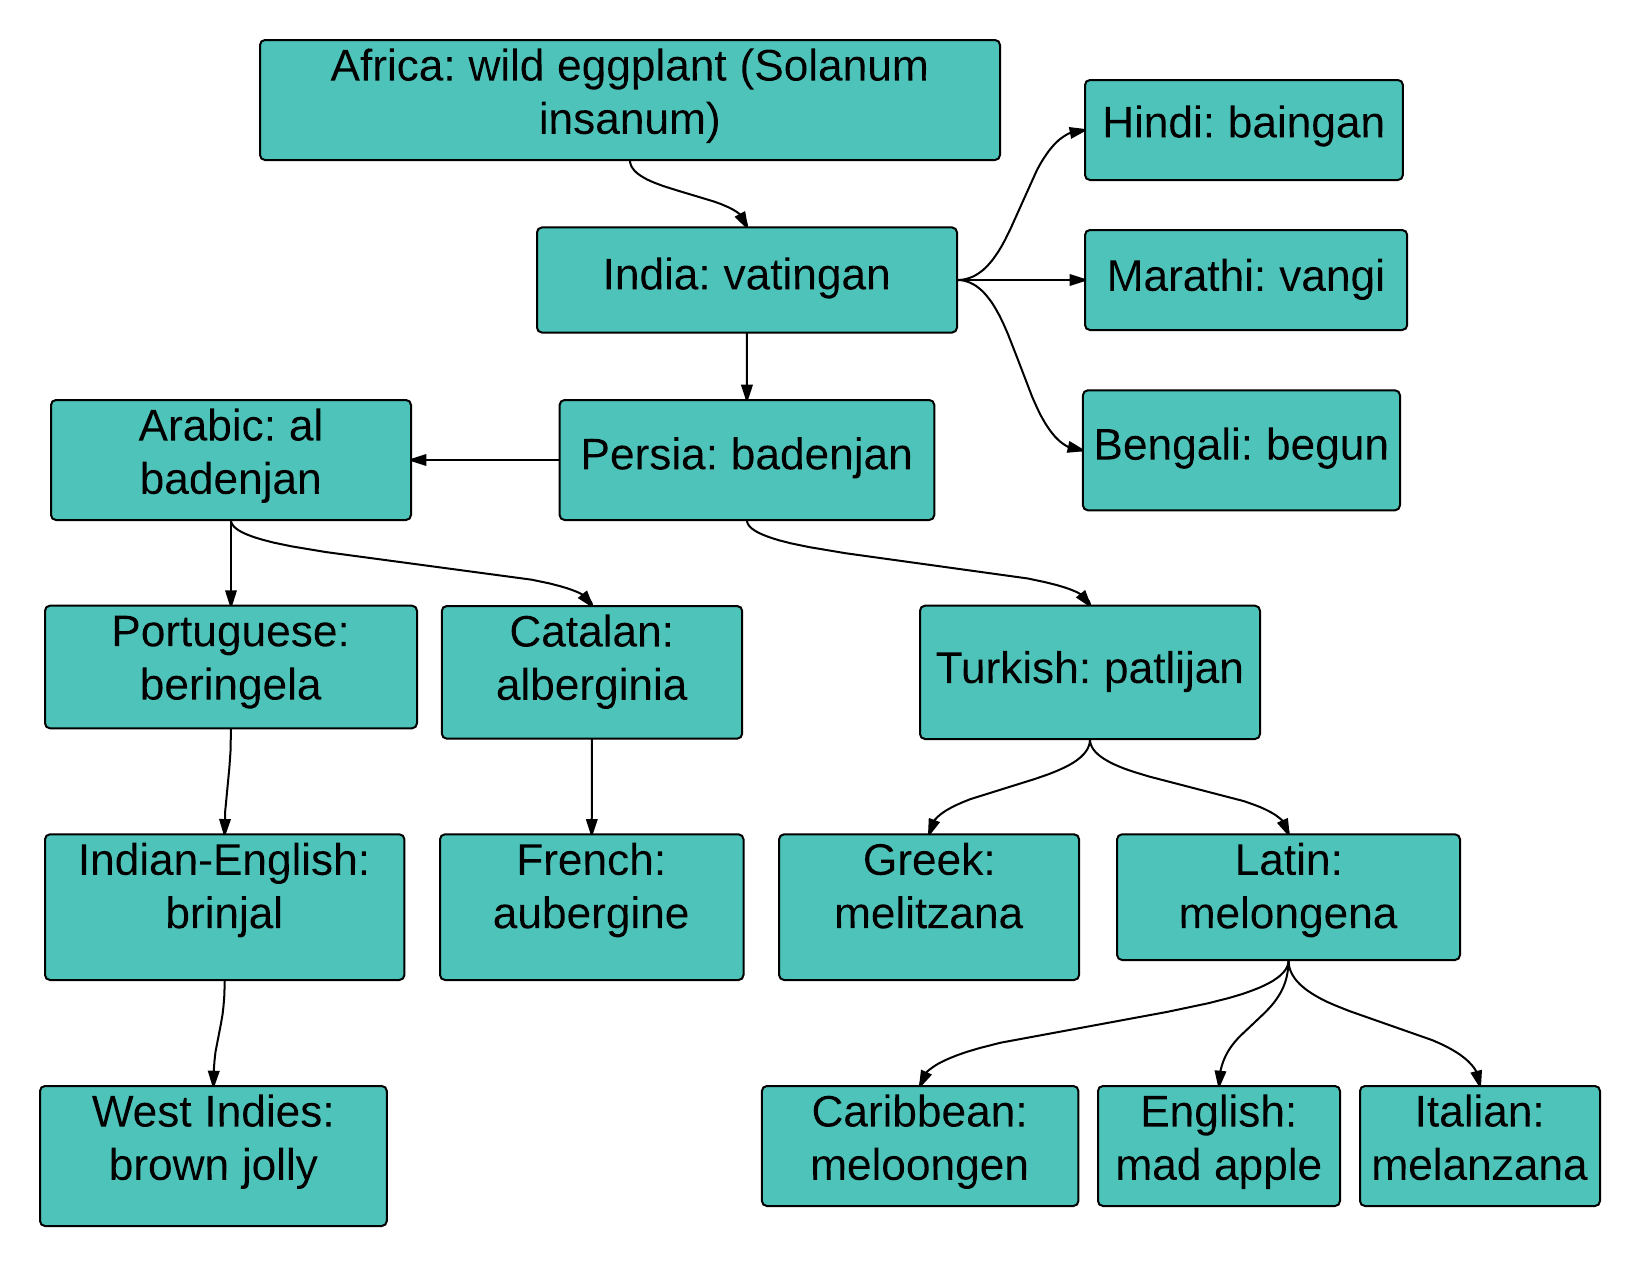
Eggplant words
(Click here to find me on Facebook and here on Twitter.)