Channa dal is the dehusked, split version of the black chickpea or kala channa. Most people know chickpeas or garbanzo beans in their lighter, bigger form (and often from a can); this lighter chickpea (known as kabuli channa) is native to the middle east, and eaten all over India too.
The black chickpea on the other hand, looks like this:
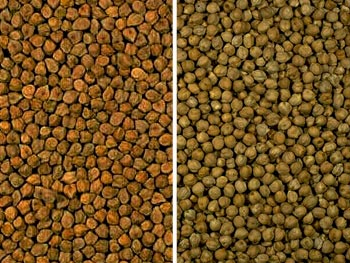
Black chickpea
It is known as kala channa, and is a smaller, darker chickpea that is native to India (strongly resisting the urge to make a racial joke here). Kala channa is eaten whole often and someday The Odd Pantry will delve into that. But get its wrinkled brown husk off, and split it into its two cotyledons, and you have yellow channa dal.

Channa dal
Among the dals, it is a mighty stubborn one and resists softening. It takes the longest soaking, and the longest cooking. Still, once you get there, the results are hard to beat.
I believe each dish must showcase the main ingredient’s essence; and since channa dal likes to keep its integrity, we will help it. What I mean by that is that we don’t cook it down to mush (as is the case with most split dals) but allow the channa dal to keep its shape. An initial saute step helps seal in the grain’s shape, so let’s get to it.
Solid citizen channa dal
Ingredients:
- 3/4 cup channa dal, soaked for one to two hours
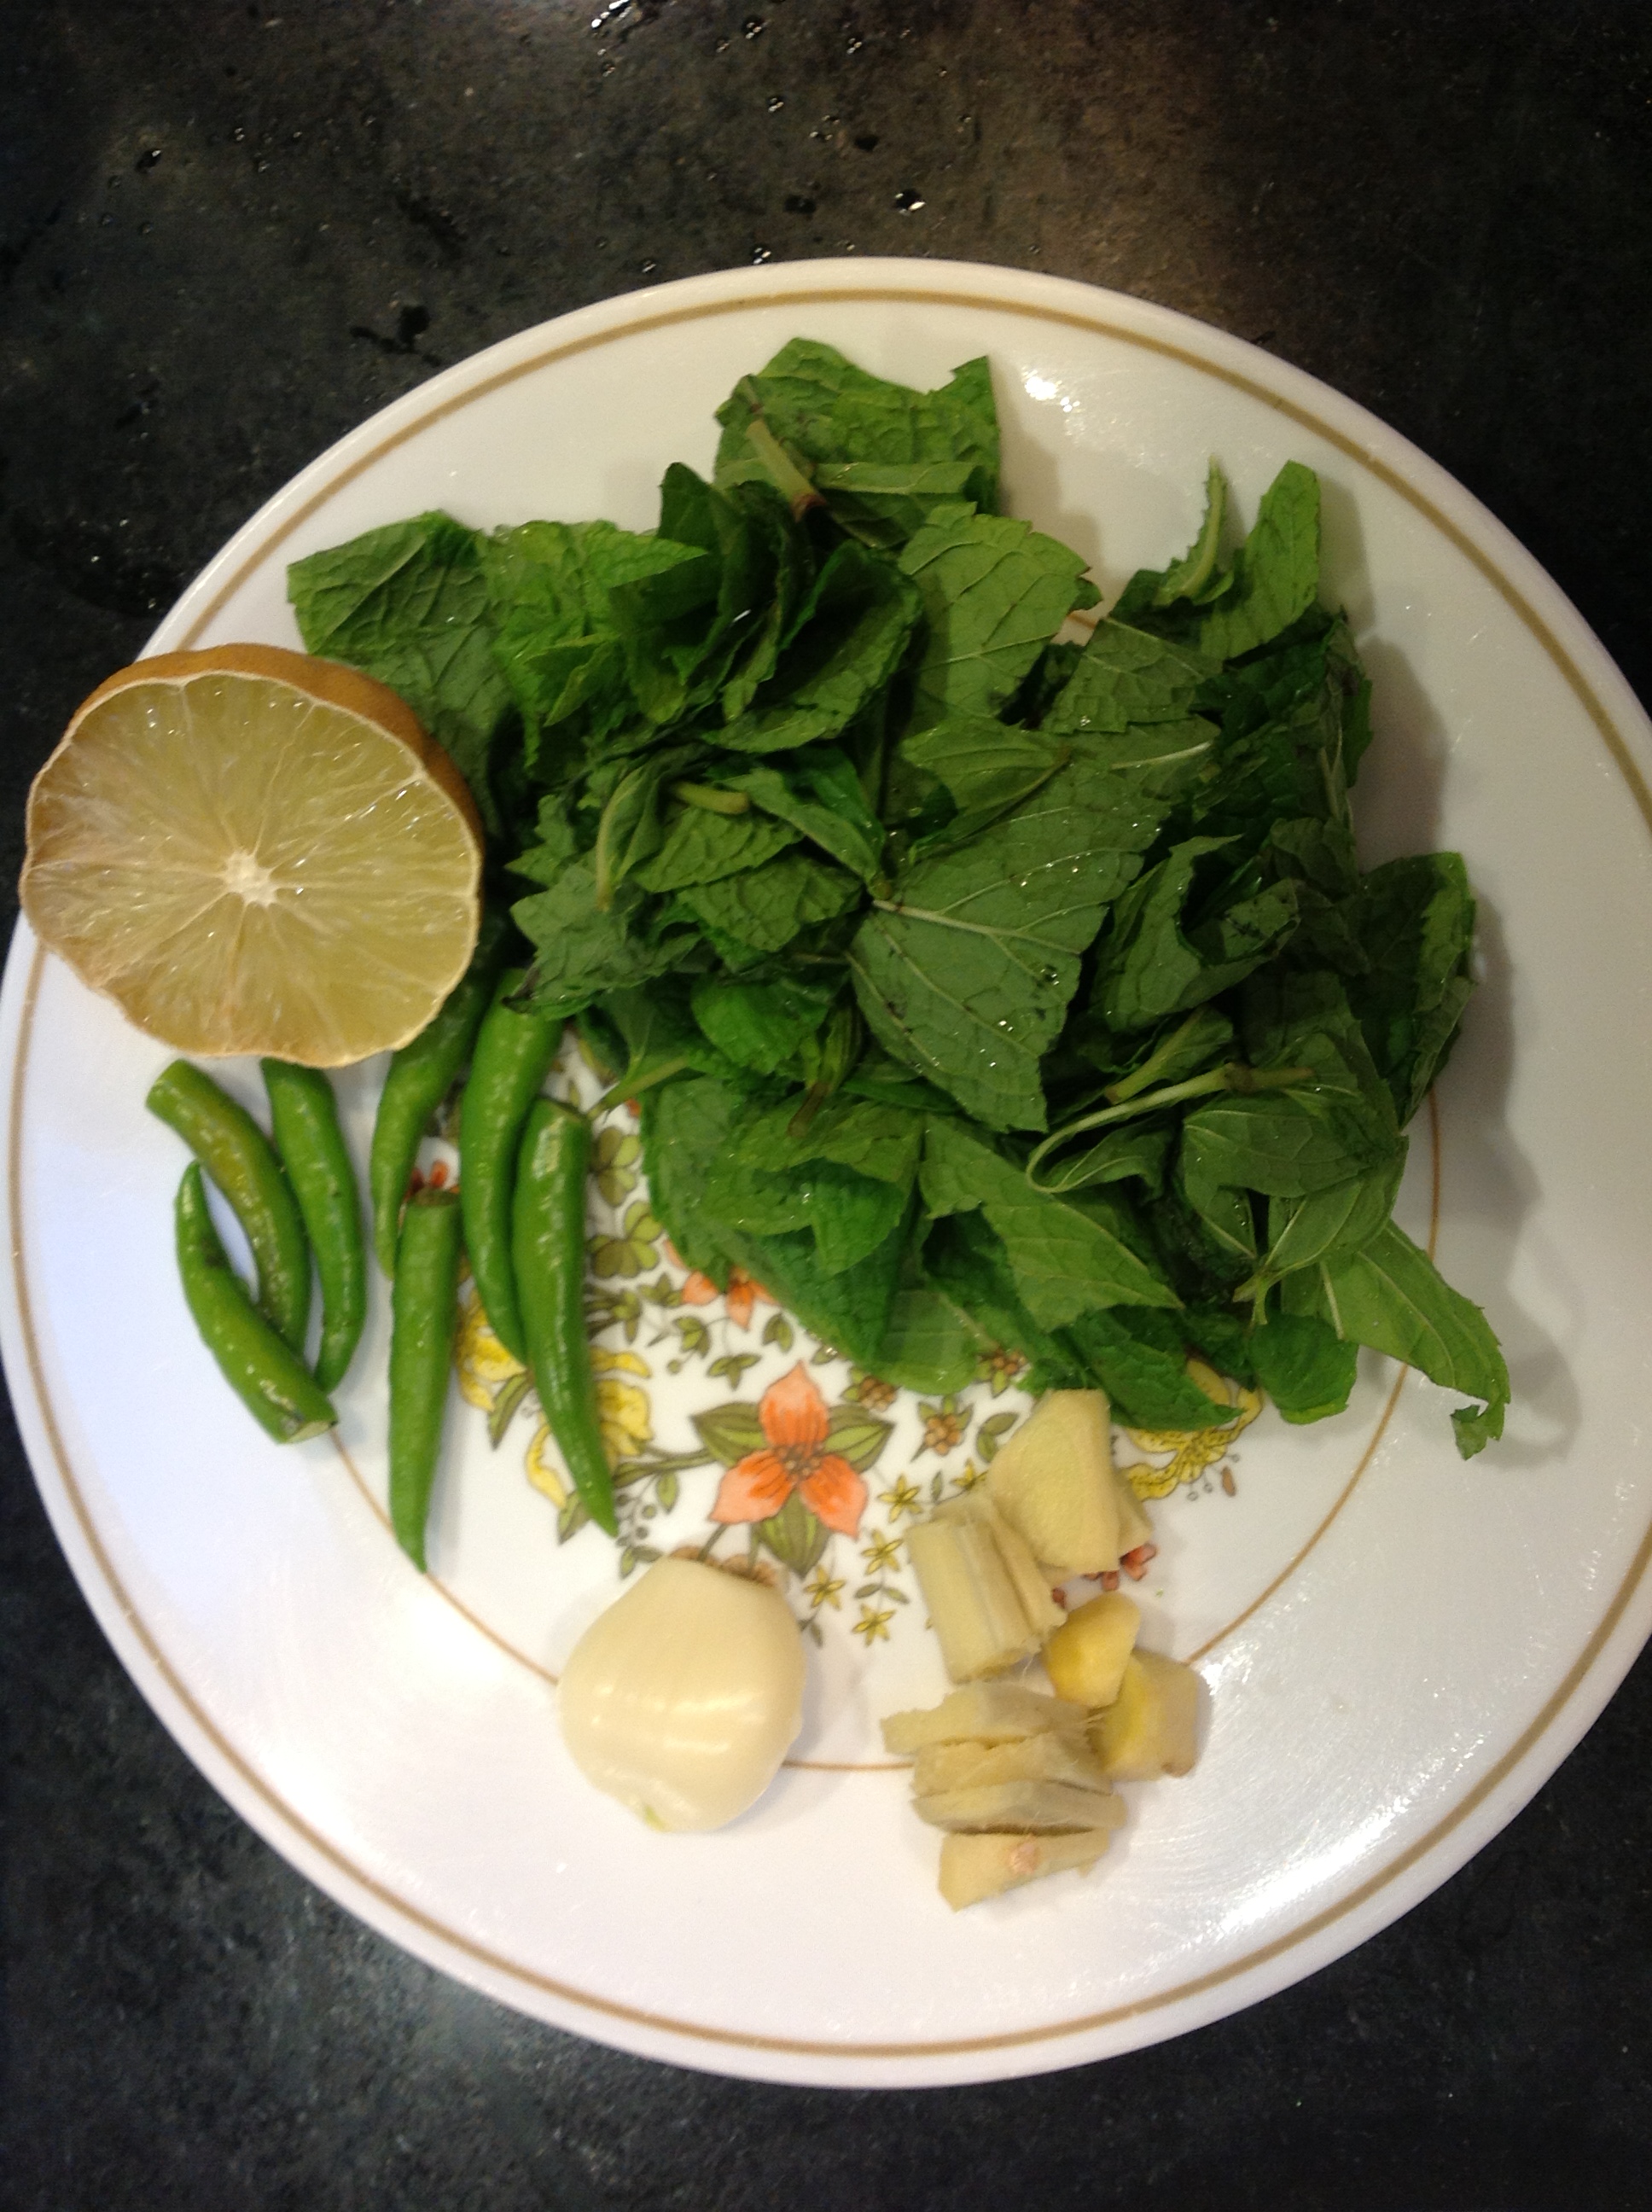
- Half inch piece of ginger, minced
- 1 – 4 serrano or bird’s eye or jalapeno chilies
- Half a teaspoon turmeric powder
- One teaspoon cumin seeds
- Half a teaspoon of asafetida
- Half a teaspoon of red chili powder
- Dry mango powder (aamchur)
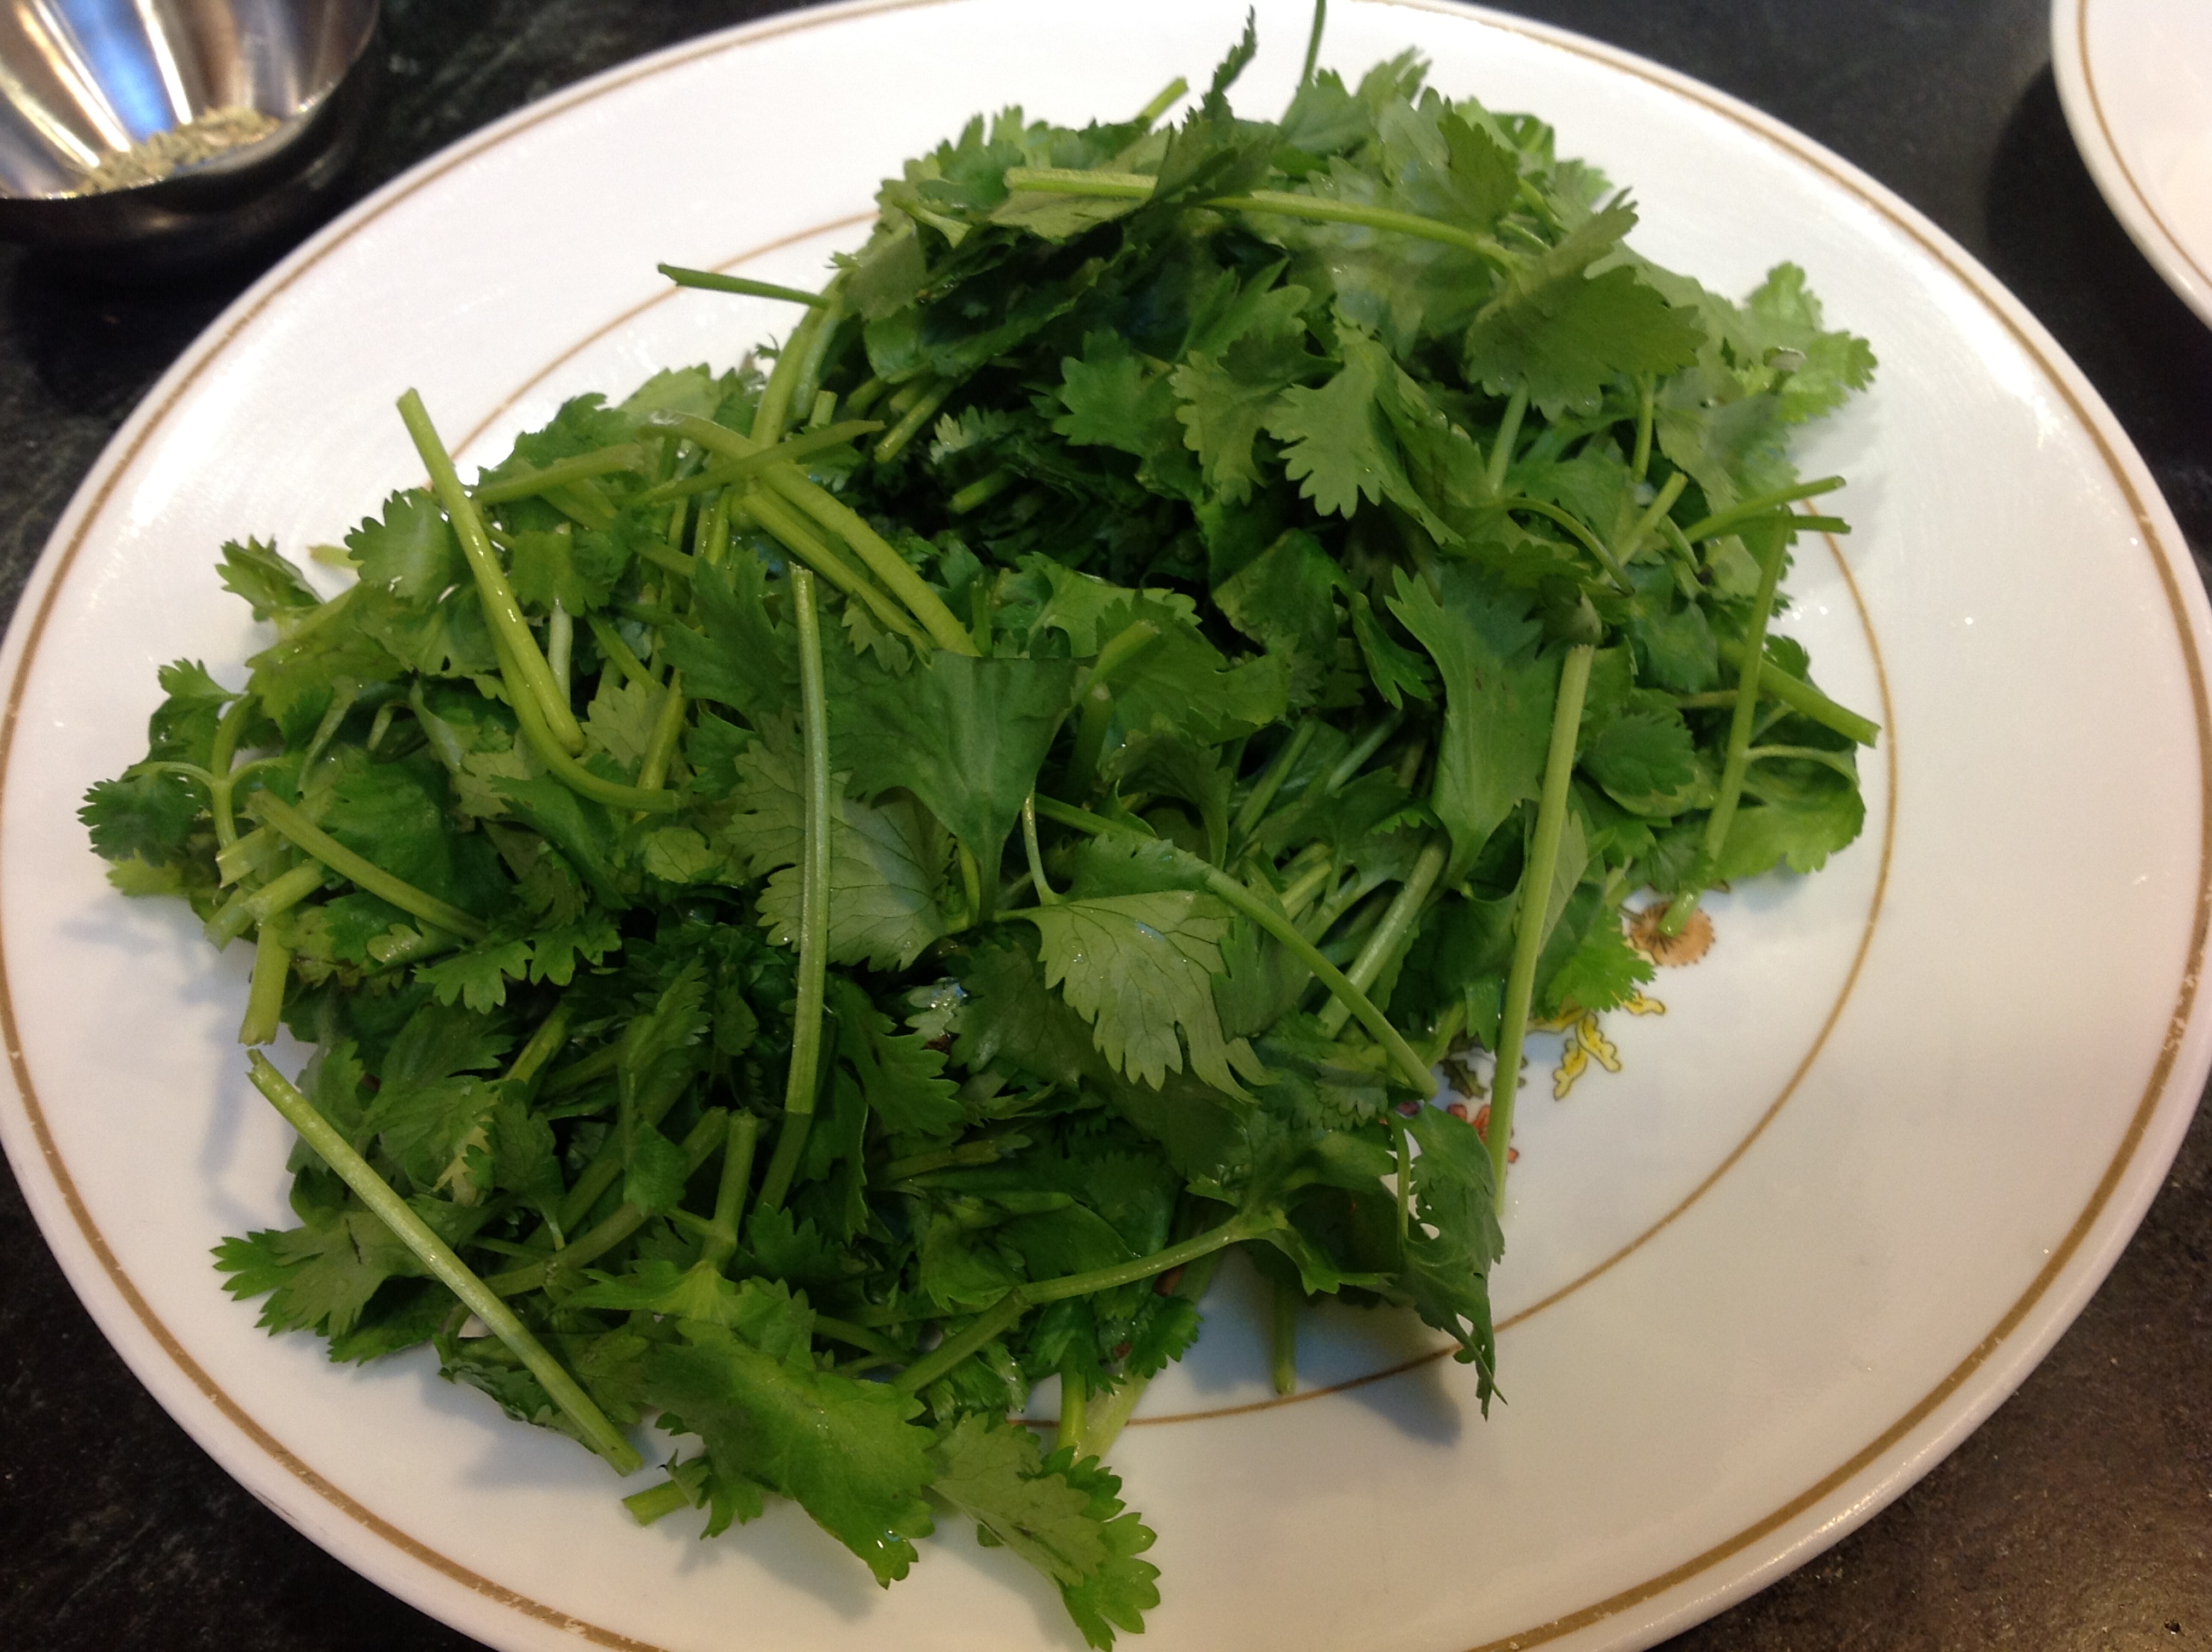
- 2 tablespoons finely chopped cilantro
- 2 tablespoons oil
- 1 teaspoon salt or to taste
Method:
Once you have soaked the dal, its volume will have doubled. Drain it of the soaking water.

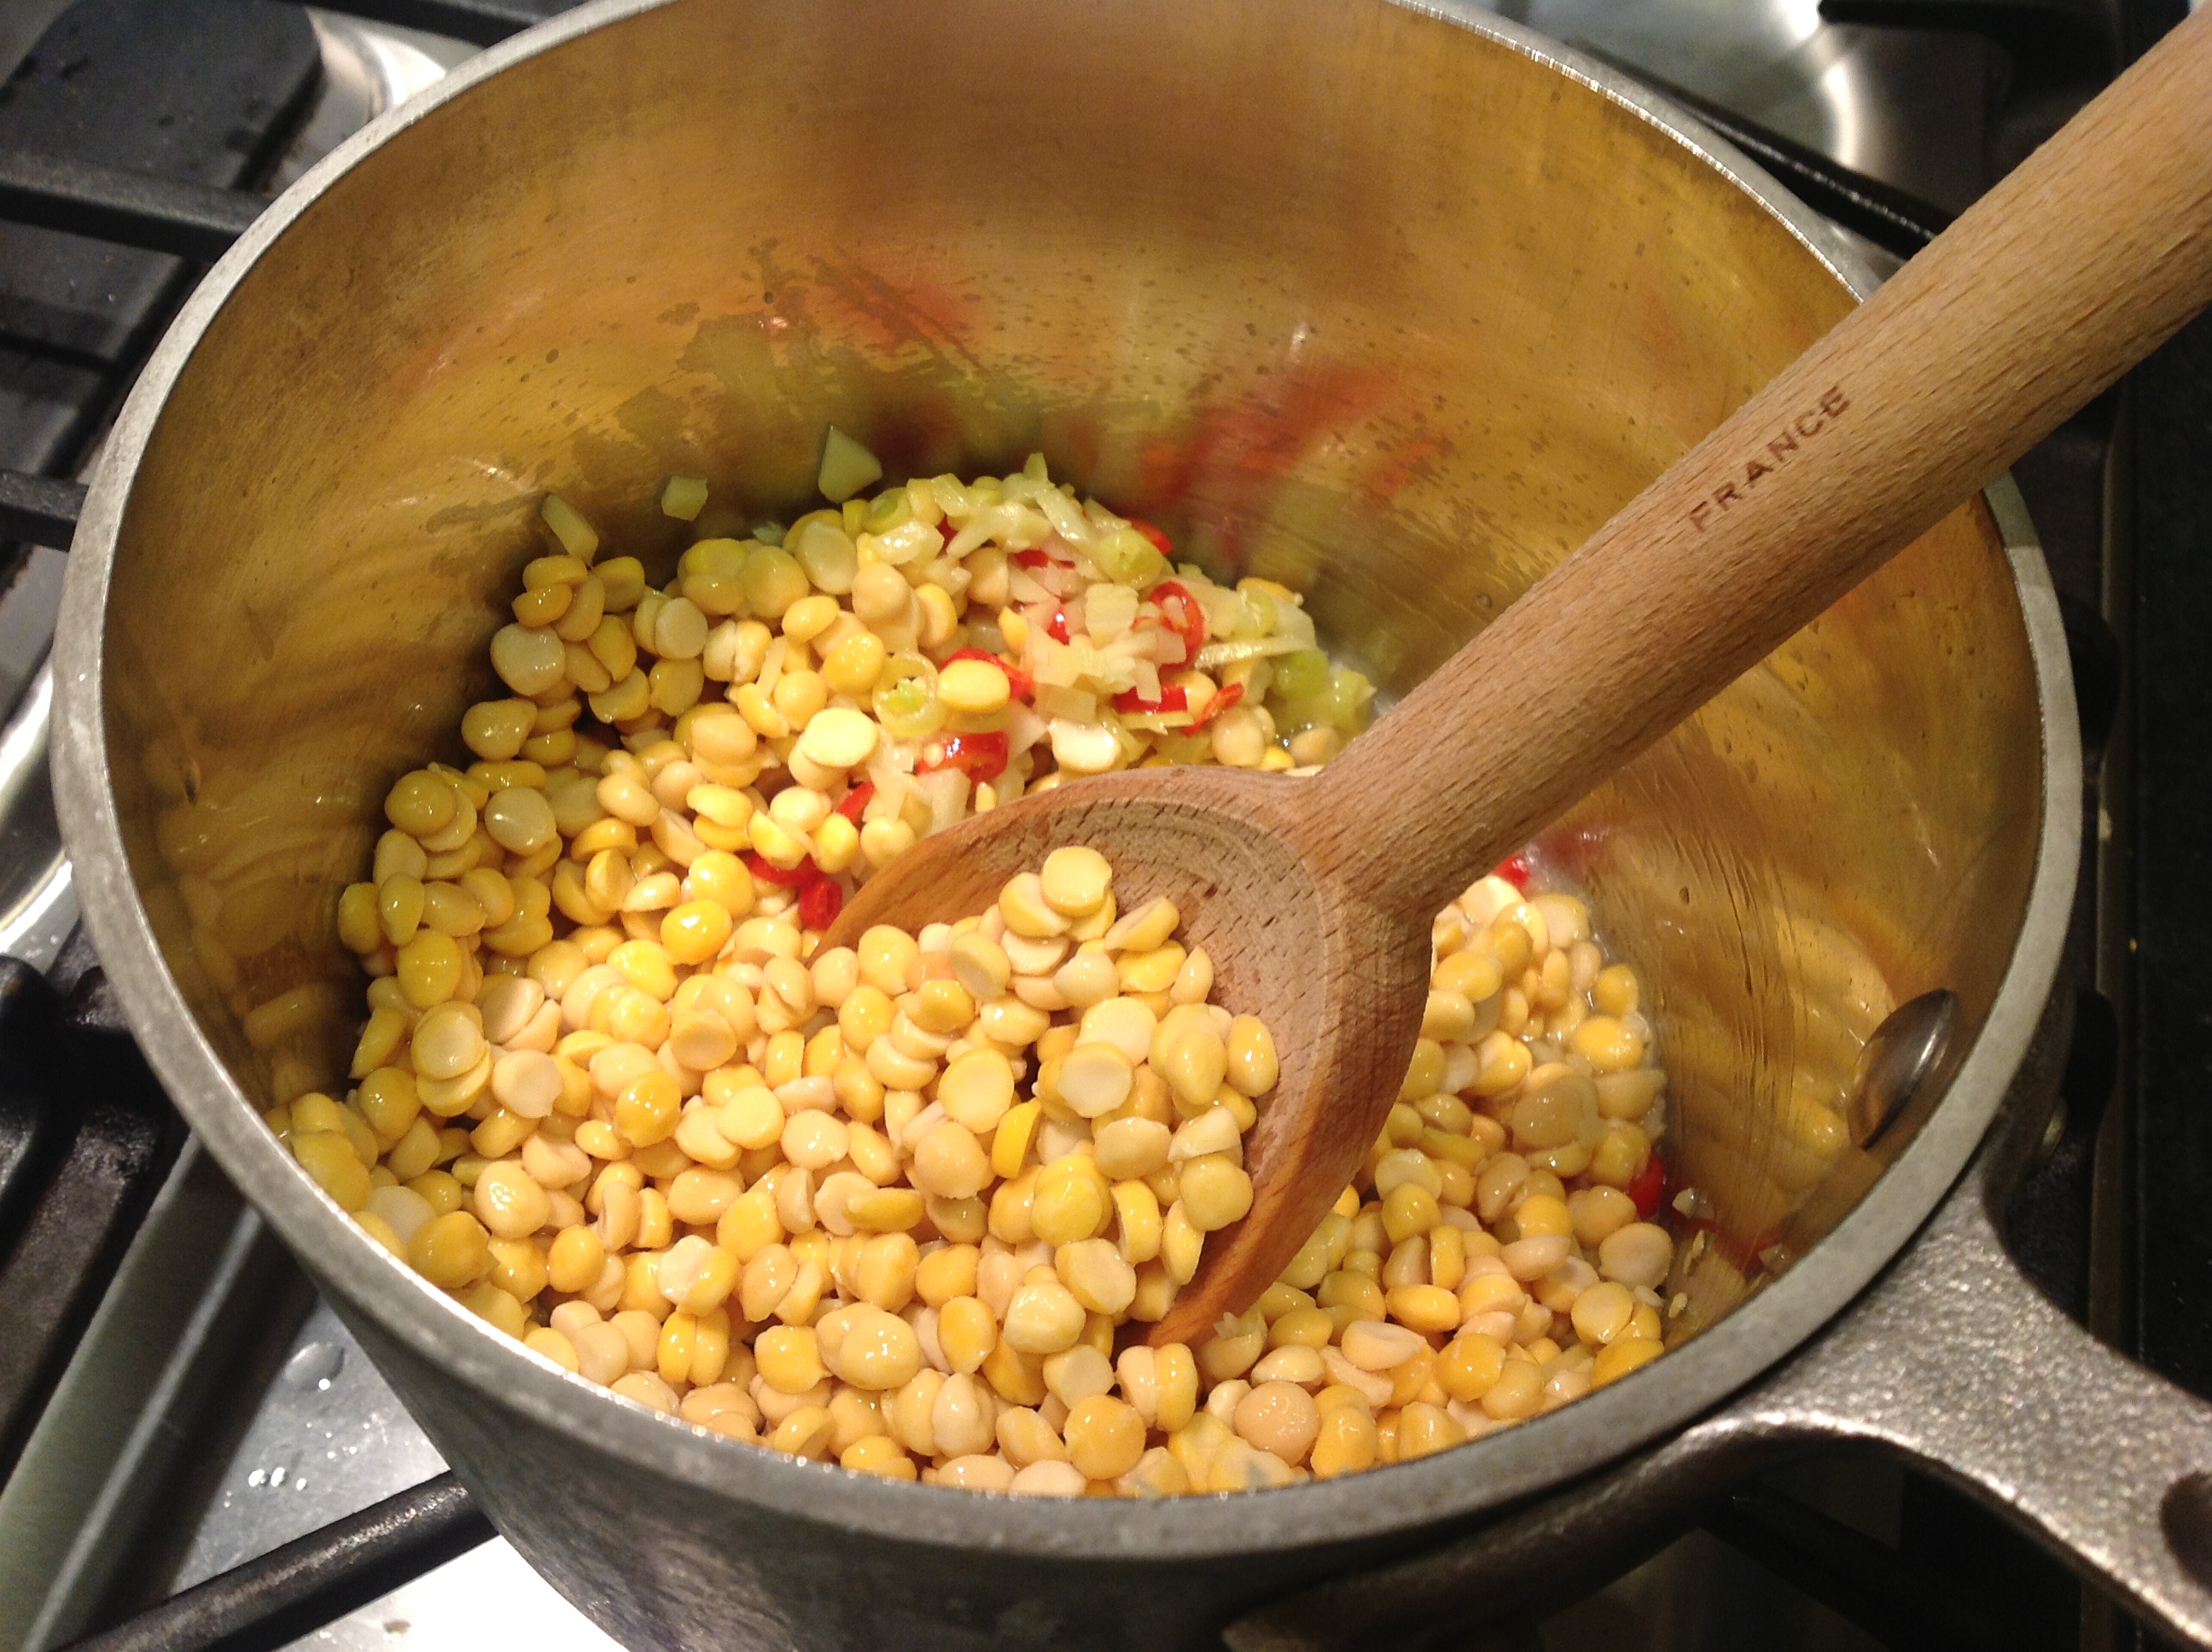
Heat half the oil in a thick-bottomed pot and when it shimmers, lightly saute the green chilies and ginger. Now put in the drained dal, and saute the grains on medium heat until the soaking water dries away; continue sauteing dal for another couple minutes or so. Now put in the turmeric and 2 cups water.
Bring to a boil with the lid off; once the water comes to a rolling boil and the foam subsides, lower the heat to a simmer, cover with a lid but leave a crack open for more foam to escape. The dal will take an hour and a half to soften.
Now add the salt and stir.
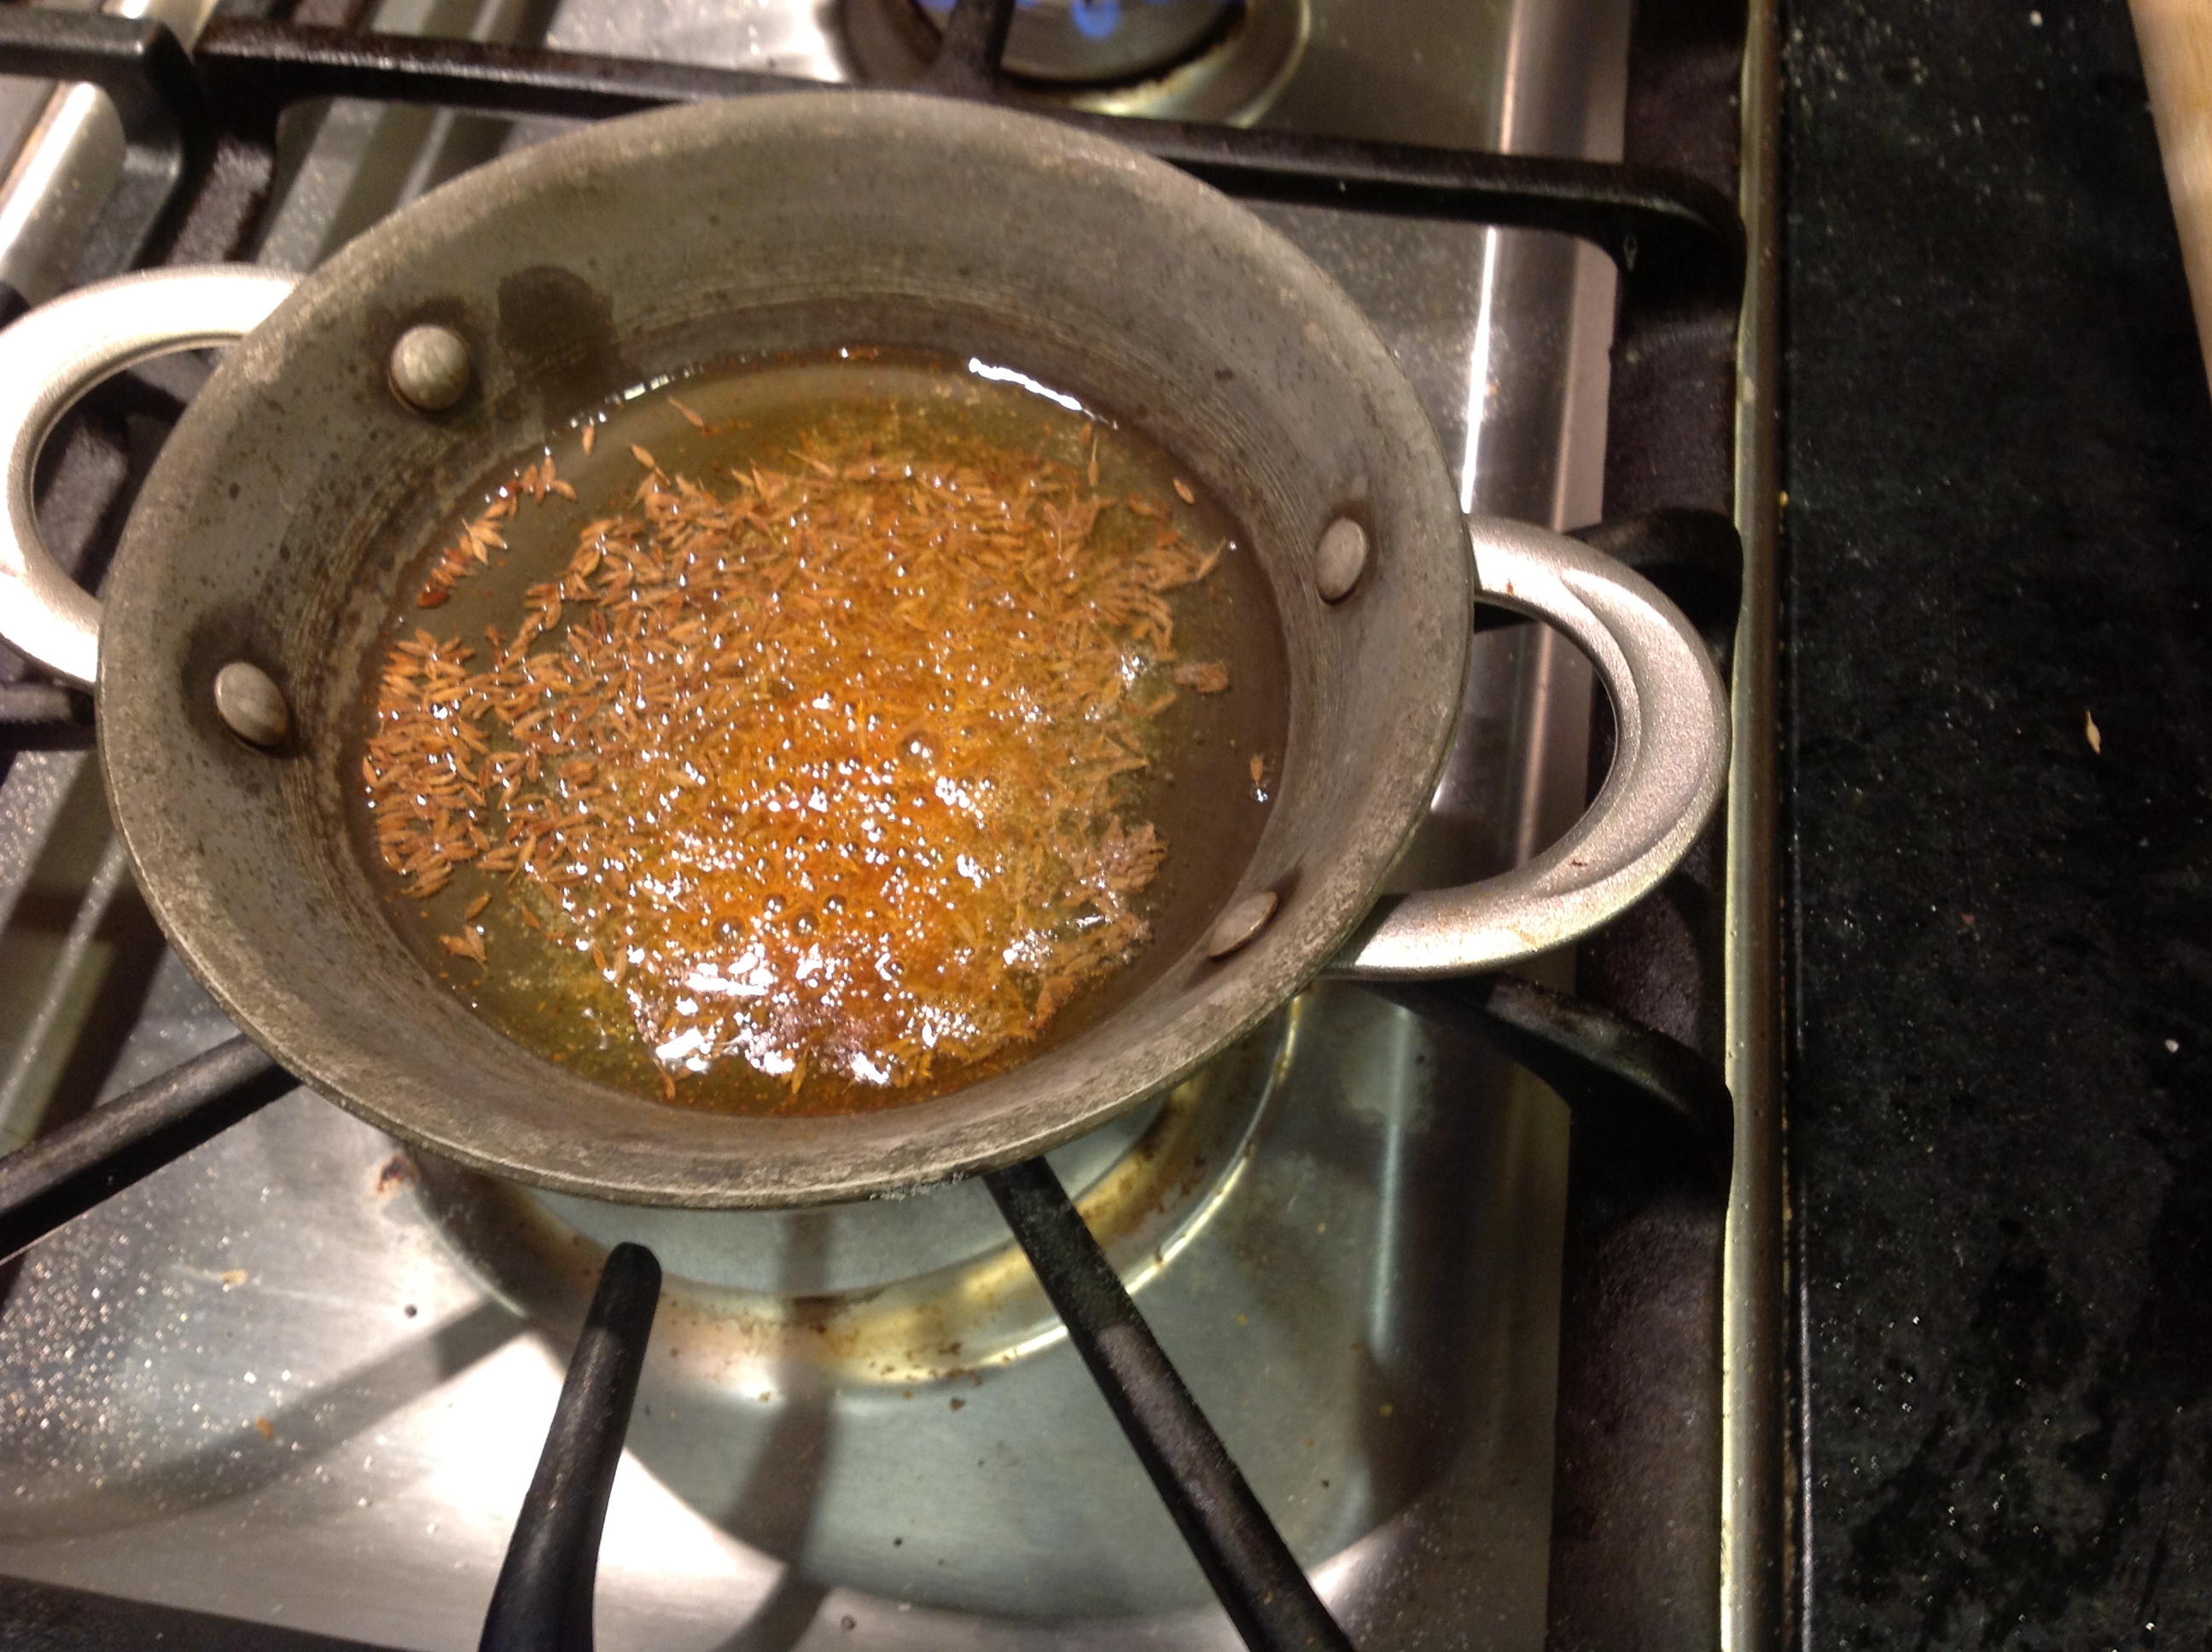
Heat the remaining oil in a small thick-bottomed pan. When it shimmers, add the asafetida and red chili powder. When they foam, add the cumin seeds. They will sizzle in a minute or two. Turn off the heat, add the oil and spices to the dal and stir once more. Also stir in the dry mango powder and the cilantro, leaving some for garnish.
Before serving, garnish with the dry mango powder and the cilantro to smarten it up. I like this dal with roti/chapati or pooris, with perhaps a dash of lime juice if you like.