I have a huge amount of respect for nutrition scientists. But one can sense that in food, they have met a worthy adversary.
Carbohydrate, fat and protein

WHO Food pyramid
There were the days when they confidently issued proclamations about ‘food pyramids’ that could be rendered in the colors available in a child’s crayon pack. There was carbohydrate, fat, and protein. Various experiments were performed on unsuspecting dogs and rats that led them to believe that out of the three, protein was the one true nutrient.
Then came sailors and prisoners who were given protein enough, but were afflicted with swollen gums, purple spots, and finally, death. This disease was called scurvy. This disease had been known since the Roman times, and had often been treated with herbal cures such as lemon juice. Another time, a sailor stepped ashore and ate some cactus fruit, and found that it had curative properties too.
The vitamins
So what was it about lemon juice and cactus fruit that had the magical property to cure scurvy? Surely, they thought, since scurvy was a disease of ‘putridness’, whatever that means, and clearly, acid cuts ‘putridness’, it has got to be the acid in lemon juice that does the trick. So they began dosing sailors with diluted sulfuric acid and vinegar, to no avail. This acid treatment went on pointlessly for years, apparently, until a doctor named James Lind had a forehead-smacking moment and realized the sulfuric acid was doing more harm than good.

James Lind feeding citrus fruit to a scurvy-stricken sailor aboard HMS Salisbury in 1747 (Artist: Robert A Thom)
It was through such nightmarish means that scientists were forced to accept that the complexity of nutrition went beyond the big three of fat, carbohydrate and protein, and the ph dimension of alkaline and acid. By the early twentieth they had identified nutrients that were given the name ‘vitamins‘ which meant ‘force of life’, or something. Vitamin C cured scurvy while Vitamin B cured beri beri and pellagra; others were discovered too.
So food science climbed up the ladder of complexity, but you can tell how many nutrients they expected to find in food, because they started naming them after the alphabet. There may be ten, there may be twenty, surely it would not go beyond A through Z, right? They found 13 vitamins.
Phytonutrients
The farther one goes, the farther behind one gets. Now they have identified so many nutrients that this layperson (me) has lost all hope of catching up.
‘Phytonutrients‘ is the name used to describe all kinds of nutrients available only through plants. They help plants perform all their planty duties: fight germs, fight aging, fight toxins, stay alive, in other words. They give the plants their colors; their smells; their pungency. When we eat plants, we get the benefit of these chemicals too, for surprisingly similar functions.
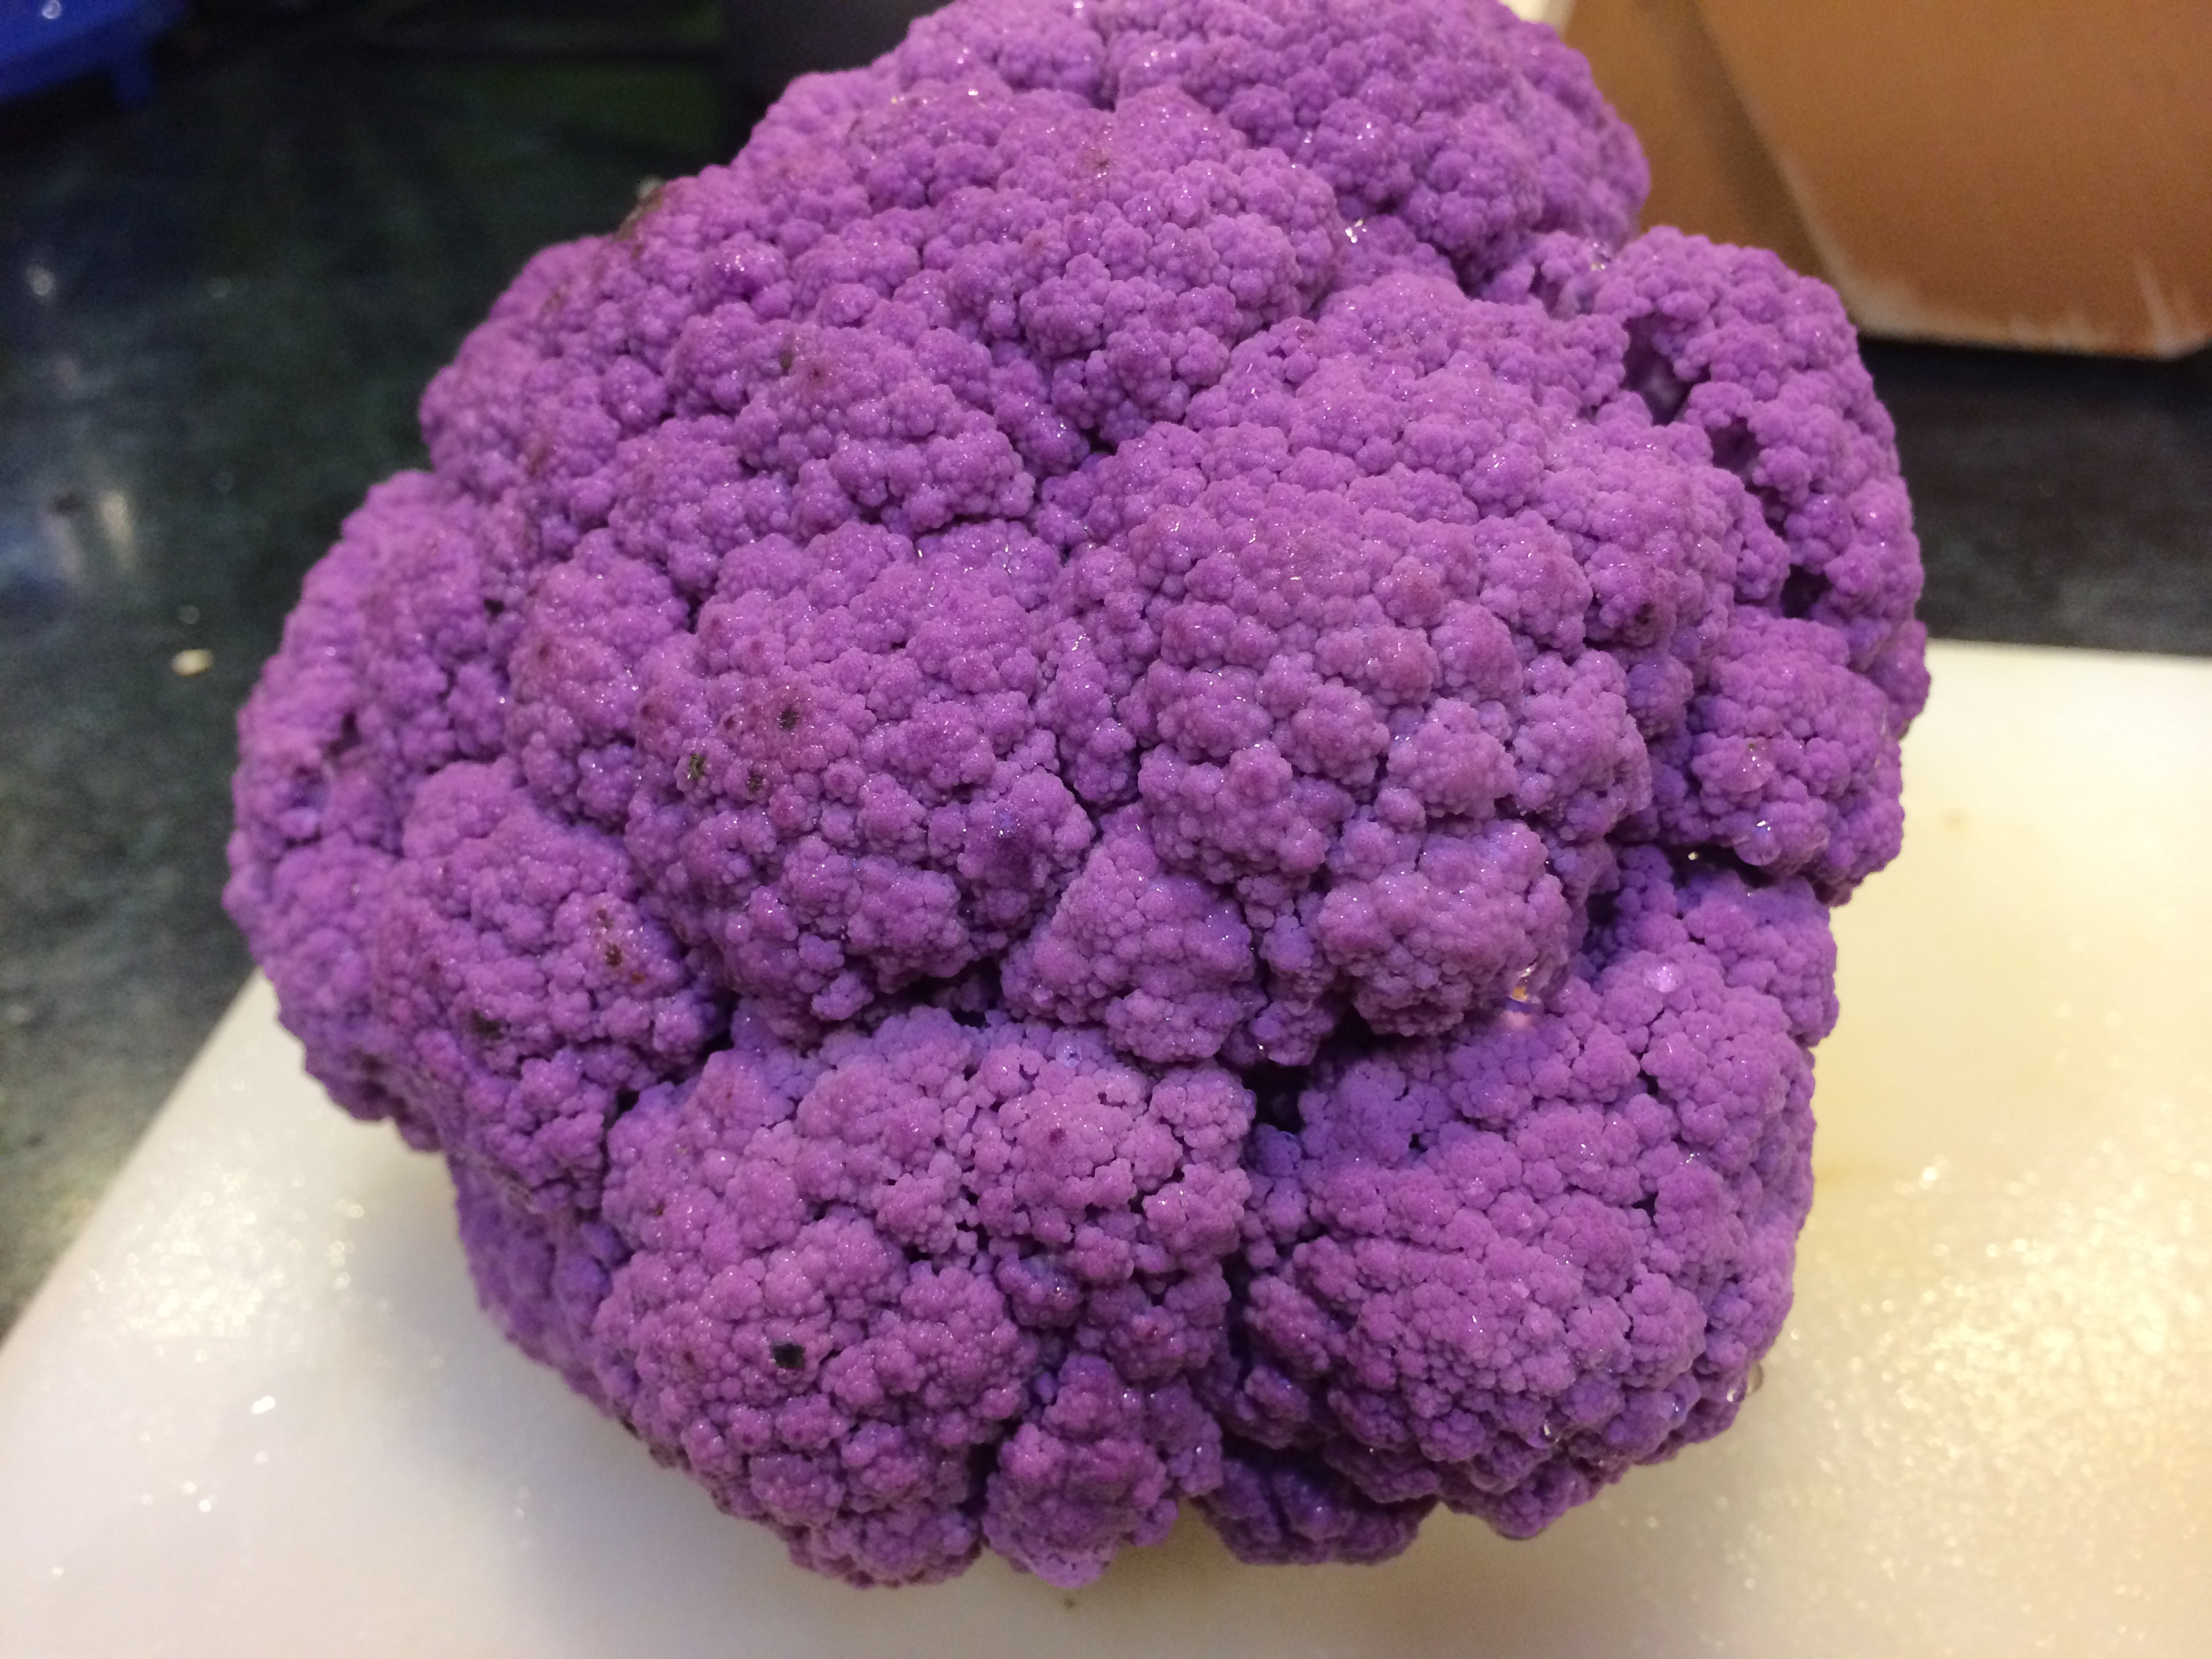
Now there is a type of phytonutrient that is a pigment that gives plants a purple color (anthocyanins). There is tons of tantalizing research about how beneficial these pigments are for us. There is evidence from folk medicine — hibiscus has been used for liver dysfunction, while bilberry has been used to cure night-blindness. There is evidence from the test-tube that the purple pigment prevents the growth of cancer cells. There is evidence from tests on rats that the purple aids in cardiovascular health.
The pigments have antioxidant properties, so that is one reason why they might have so many benefits. But scientists are now alive to the dangers of accepting the simple explanation. These pigments belong to a set of 4000 other compounds called flavonoids; plants use all of them in concert to perform various functions through their lives. So it is not just this or that chemical that provides this or that benefit; it might be any of the 4000 thousand put together that does it. So it isn’t the purpleness itself; it is the army of its cousins working together in the plant.
That makes sense — plants do not live on vitamin supplements. They use whatever they’ve got in whatever combination they can, to do the things they need done. If we eat those plants, we ingest those chemical complexes and gain similar benefits.
We have come a long way from the time scientists dosed sailors with vinegar. Now one can imagine them shaking their fist and saying, ‘Just — just go eat purple food.’
Well, that’s easy.
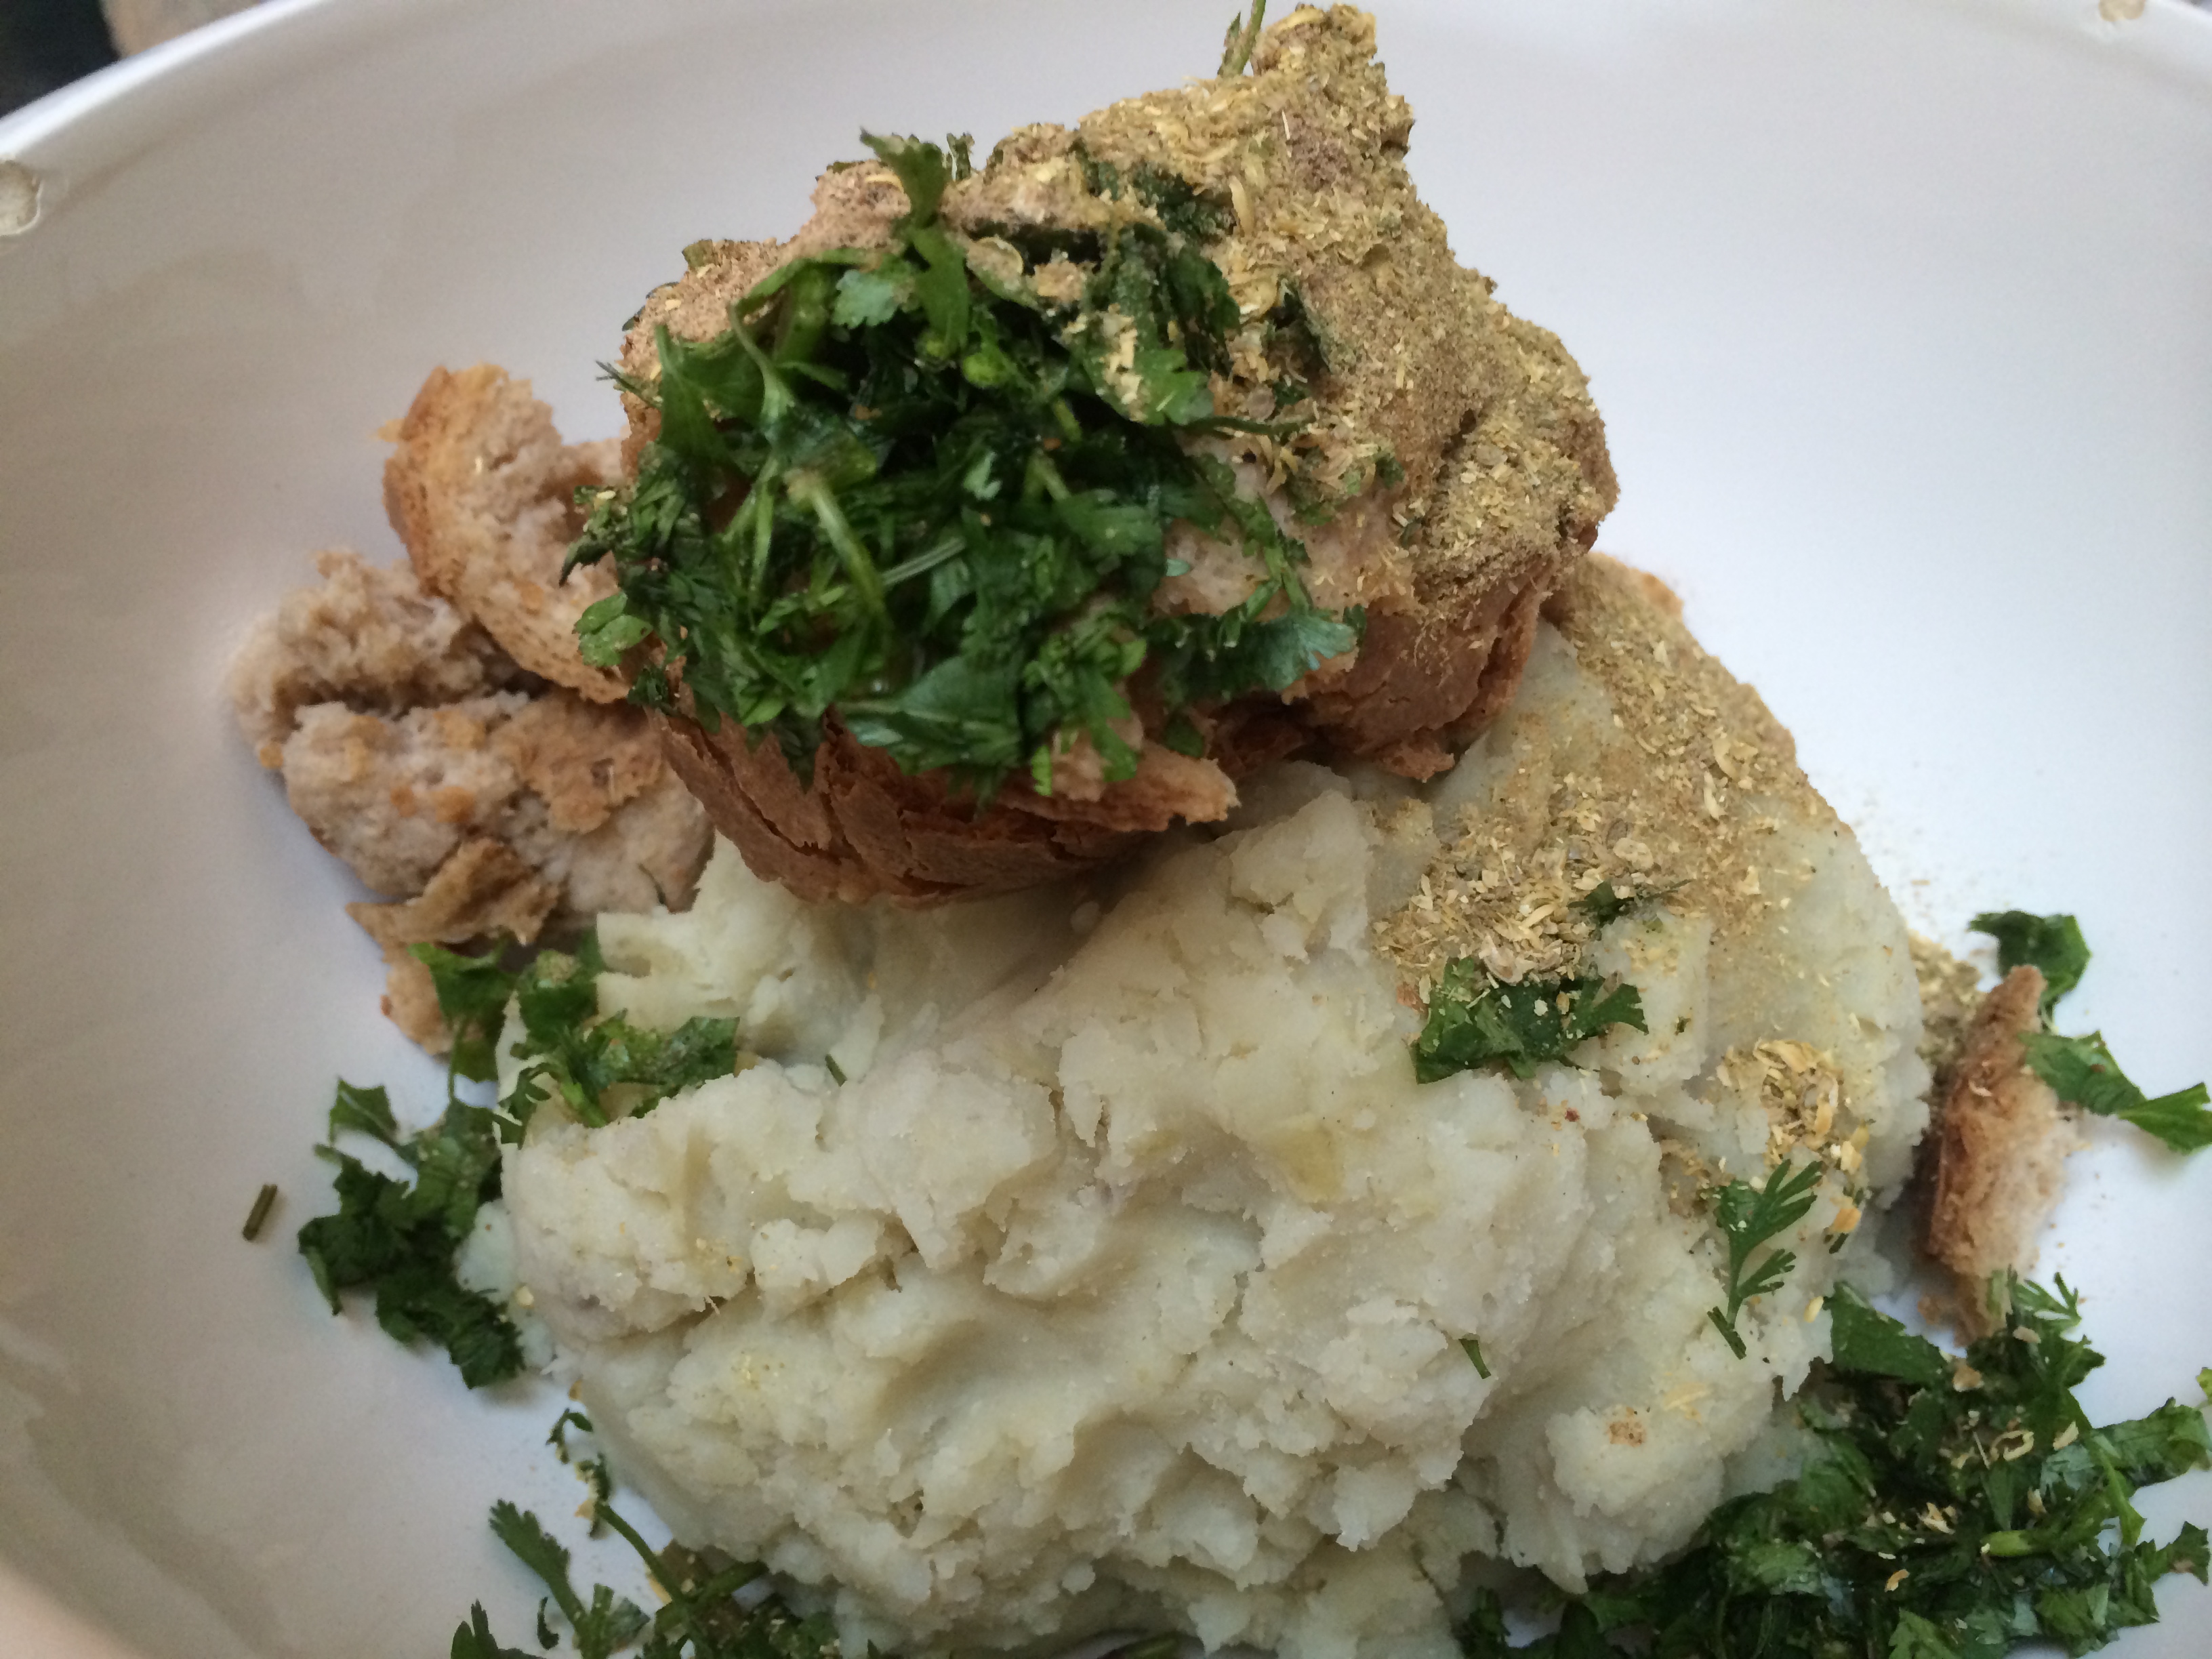
My purple parathas
I love stuffing cauliflower or potato into rotis to make parathas. Eating them with plain yogurt is soul-satisfying. But on this day, I made them purple.
Ingredients for the roti:
- Have a look at this recipe (Rolling the Roti) and make as much as you need. I made 2 potato parathas and 8 cauliflower ones = 10 rotis total.
- Oil or ghee as needed.
Ingredients for potato filling (for 2 parathas):
- 1 medium purple potato
- 1 – 2 tablespoons finely chopped onion
- 1 tablespoon finely minced cilantro
- 1 small green chili sliced, or substitute with half a teaspoon red chili
- 1 teaspoon chaat masala
- Salt to taste
Ingredients for cauliflower filling (for 8 parathas):
- About 4 cups purple cauliflower florets
- An inch of ginger, minced fine
- 1 – 2 green serrano chilies
- 1 tablespoon oil
- 2 – 3 teaspoons chaat masala
- 3/4 teaspoon salt
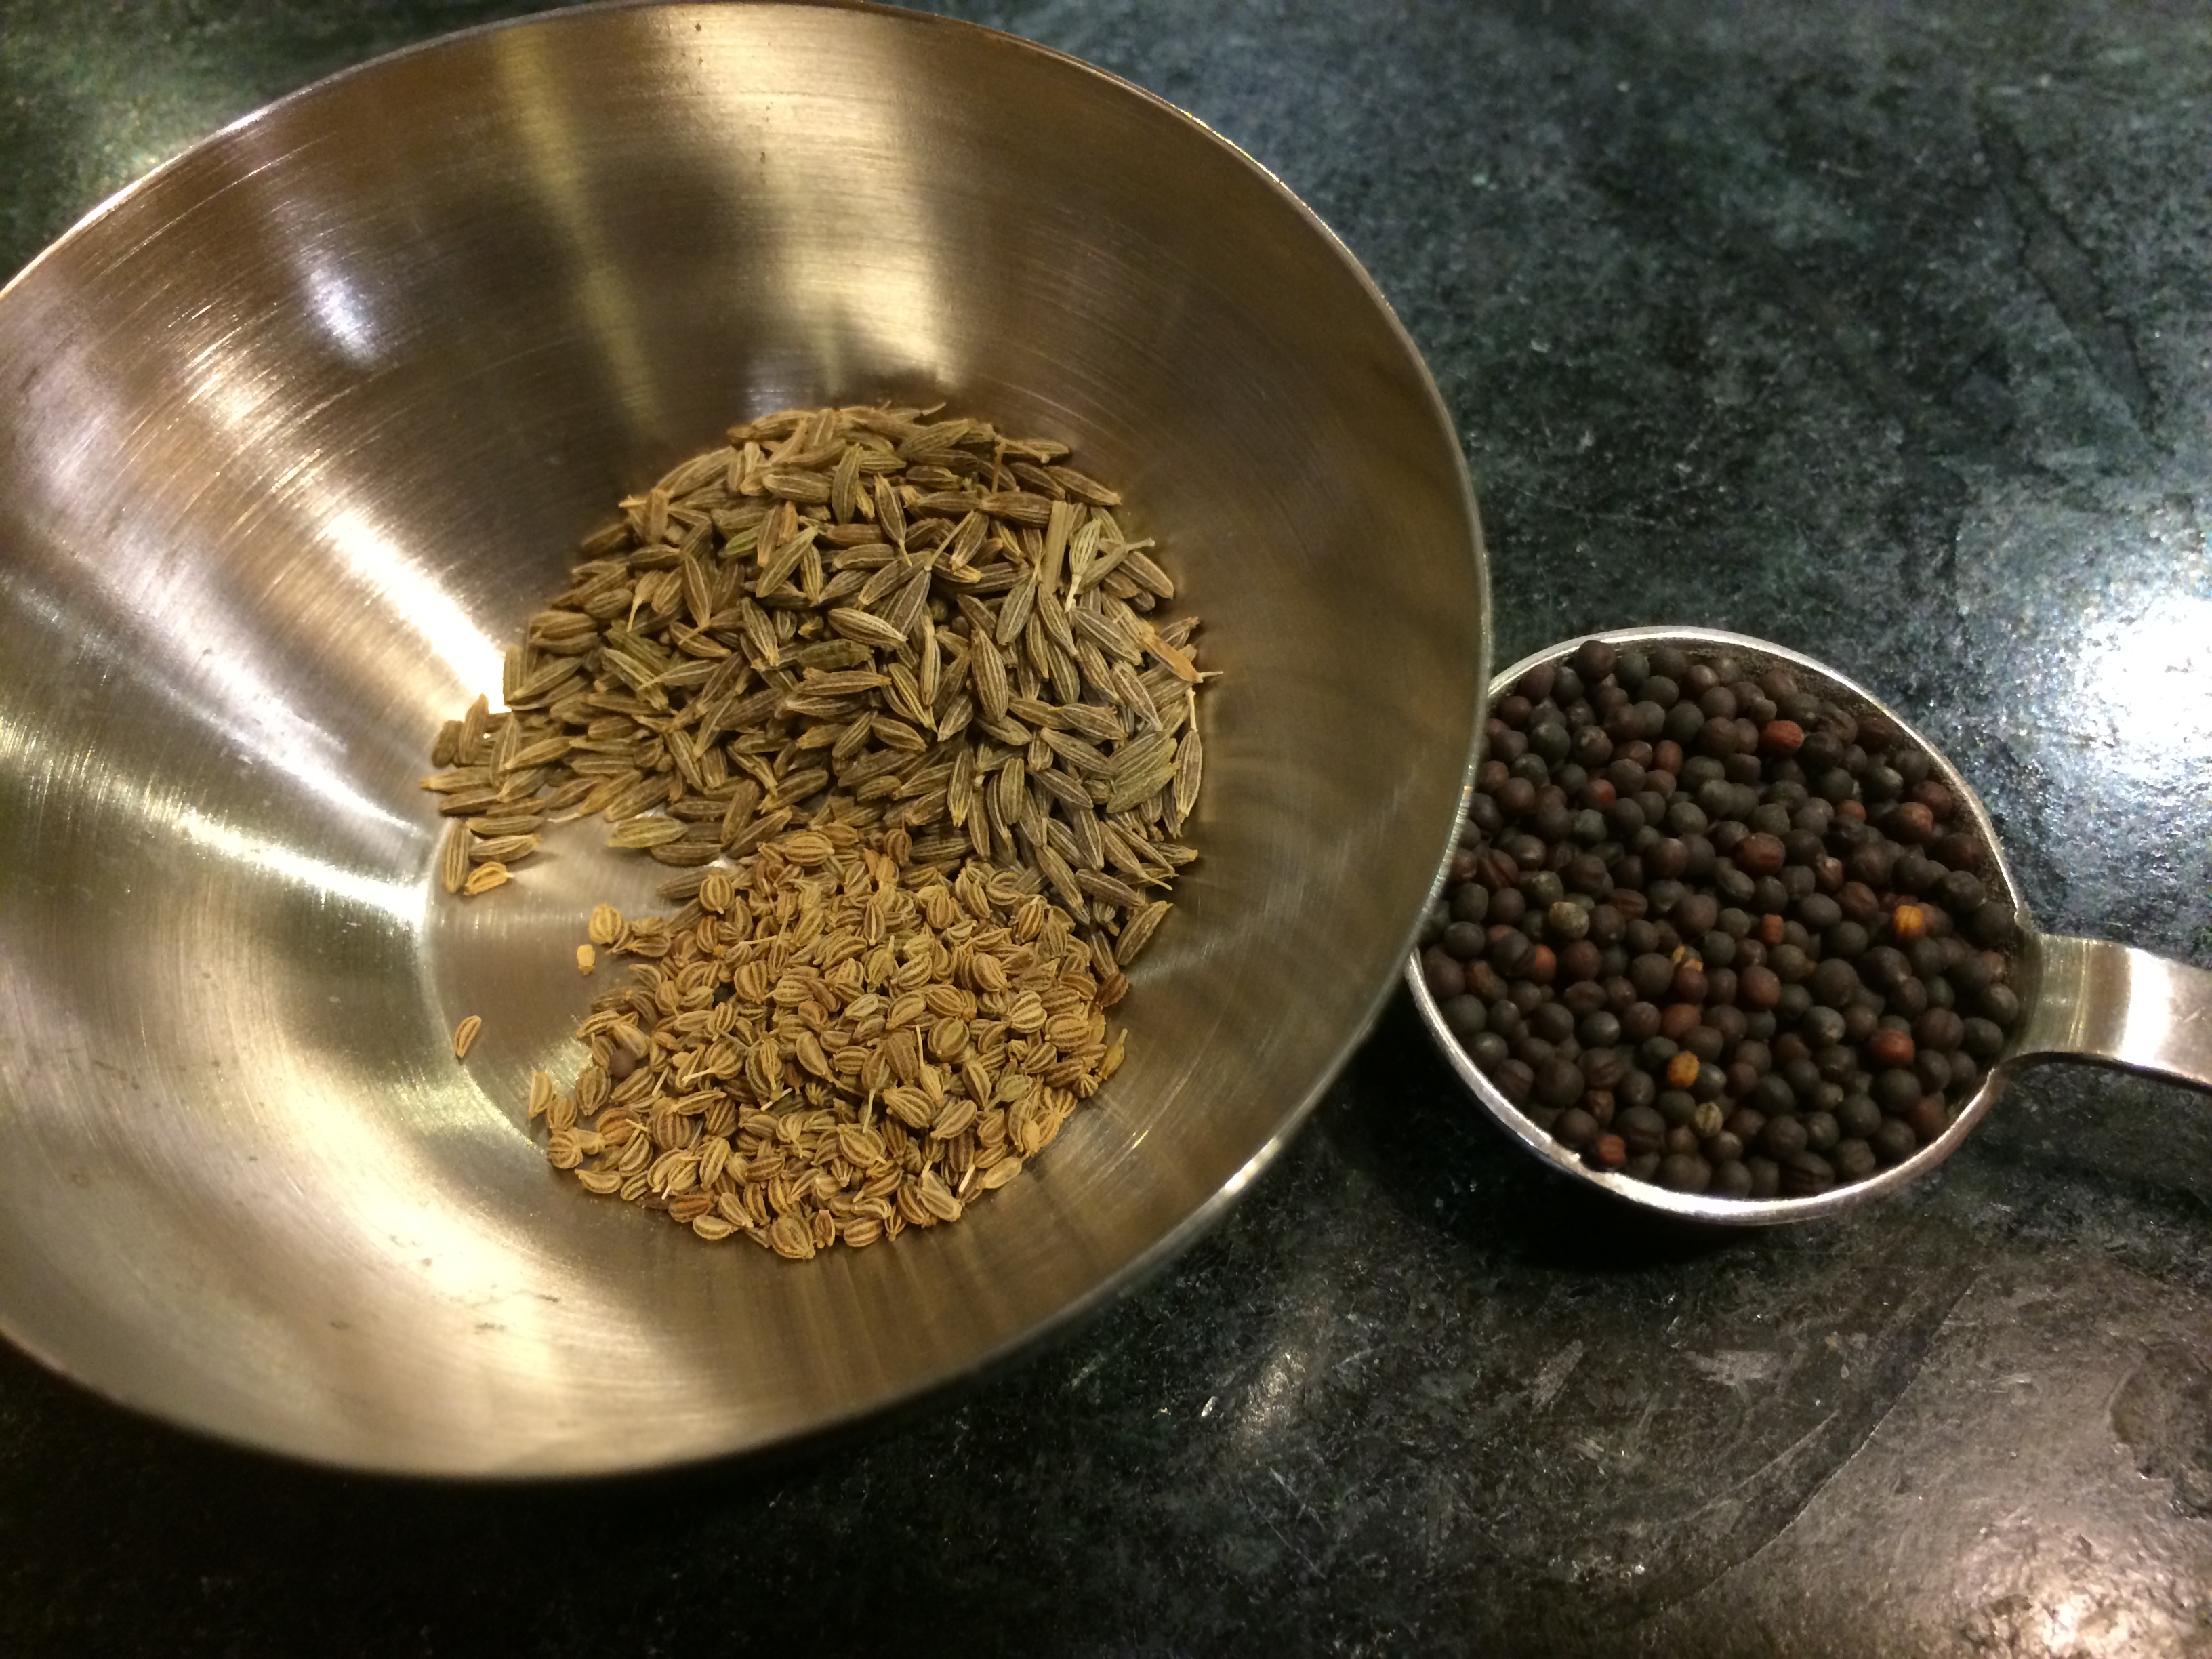
- Half a teaspoon cumin seeds (optional)
- Sprinkle of asafetida (optional)
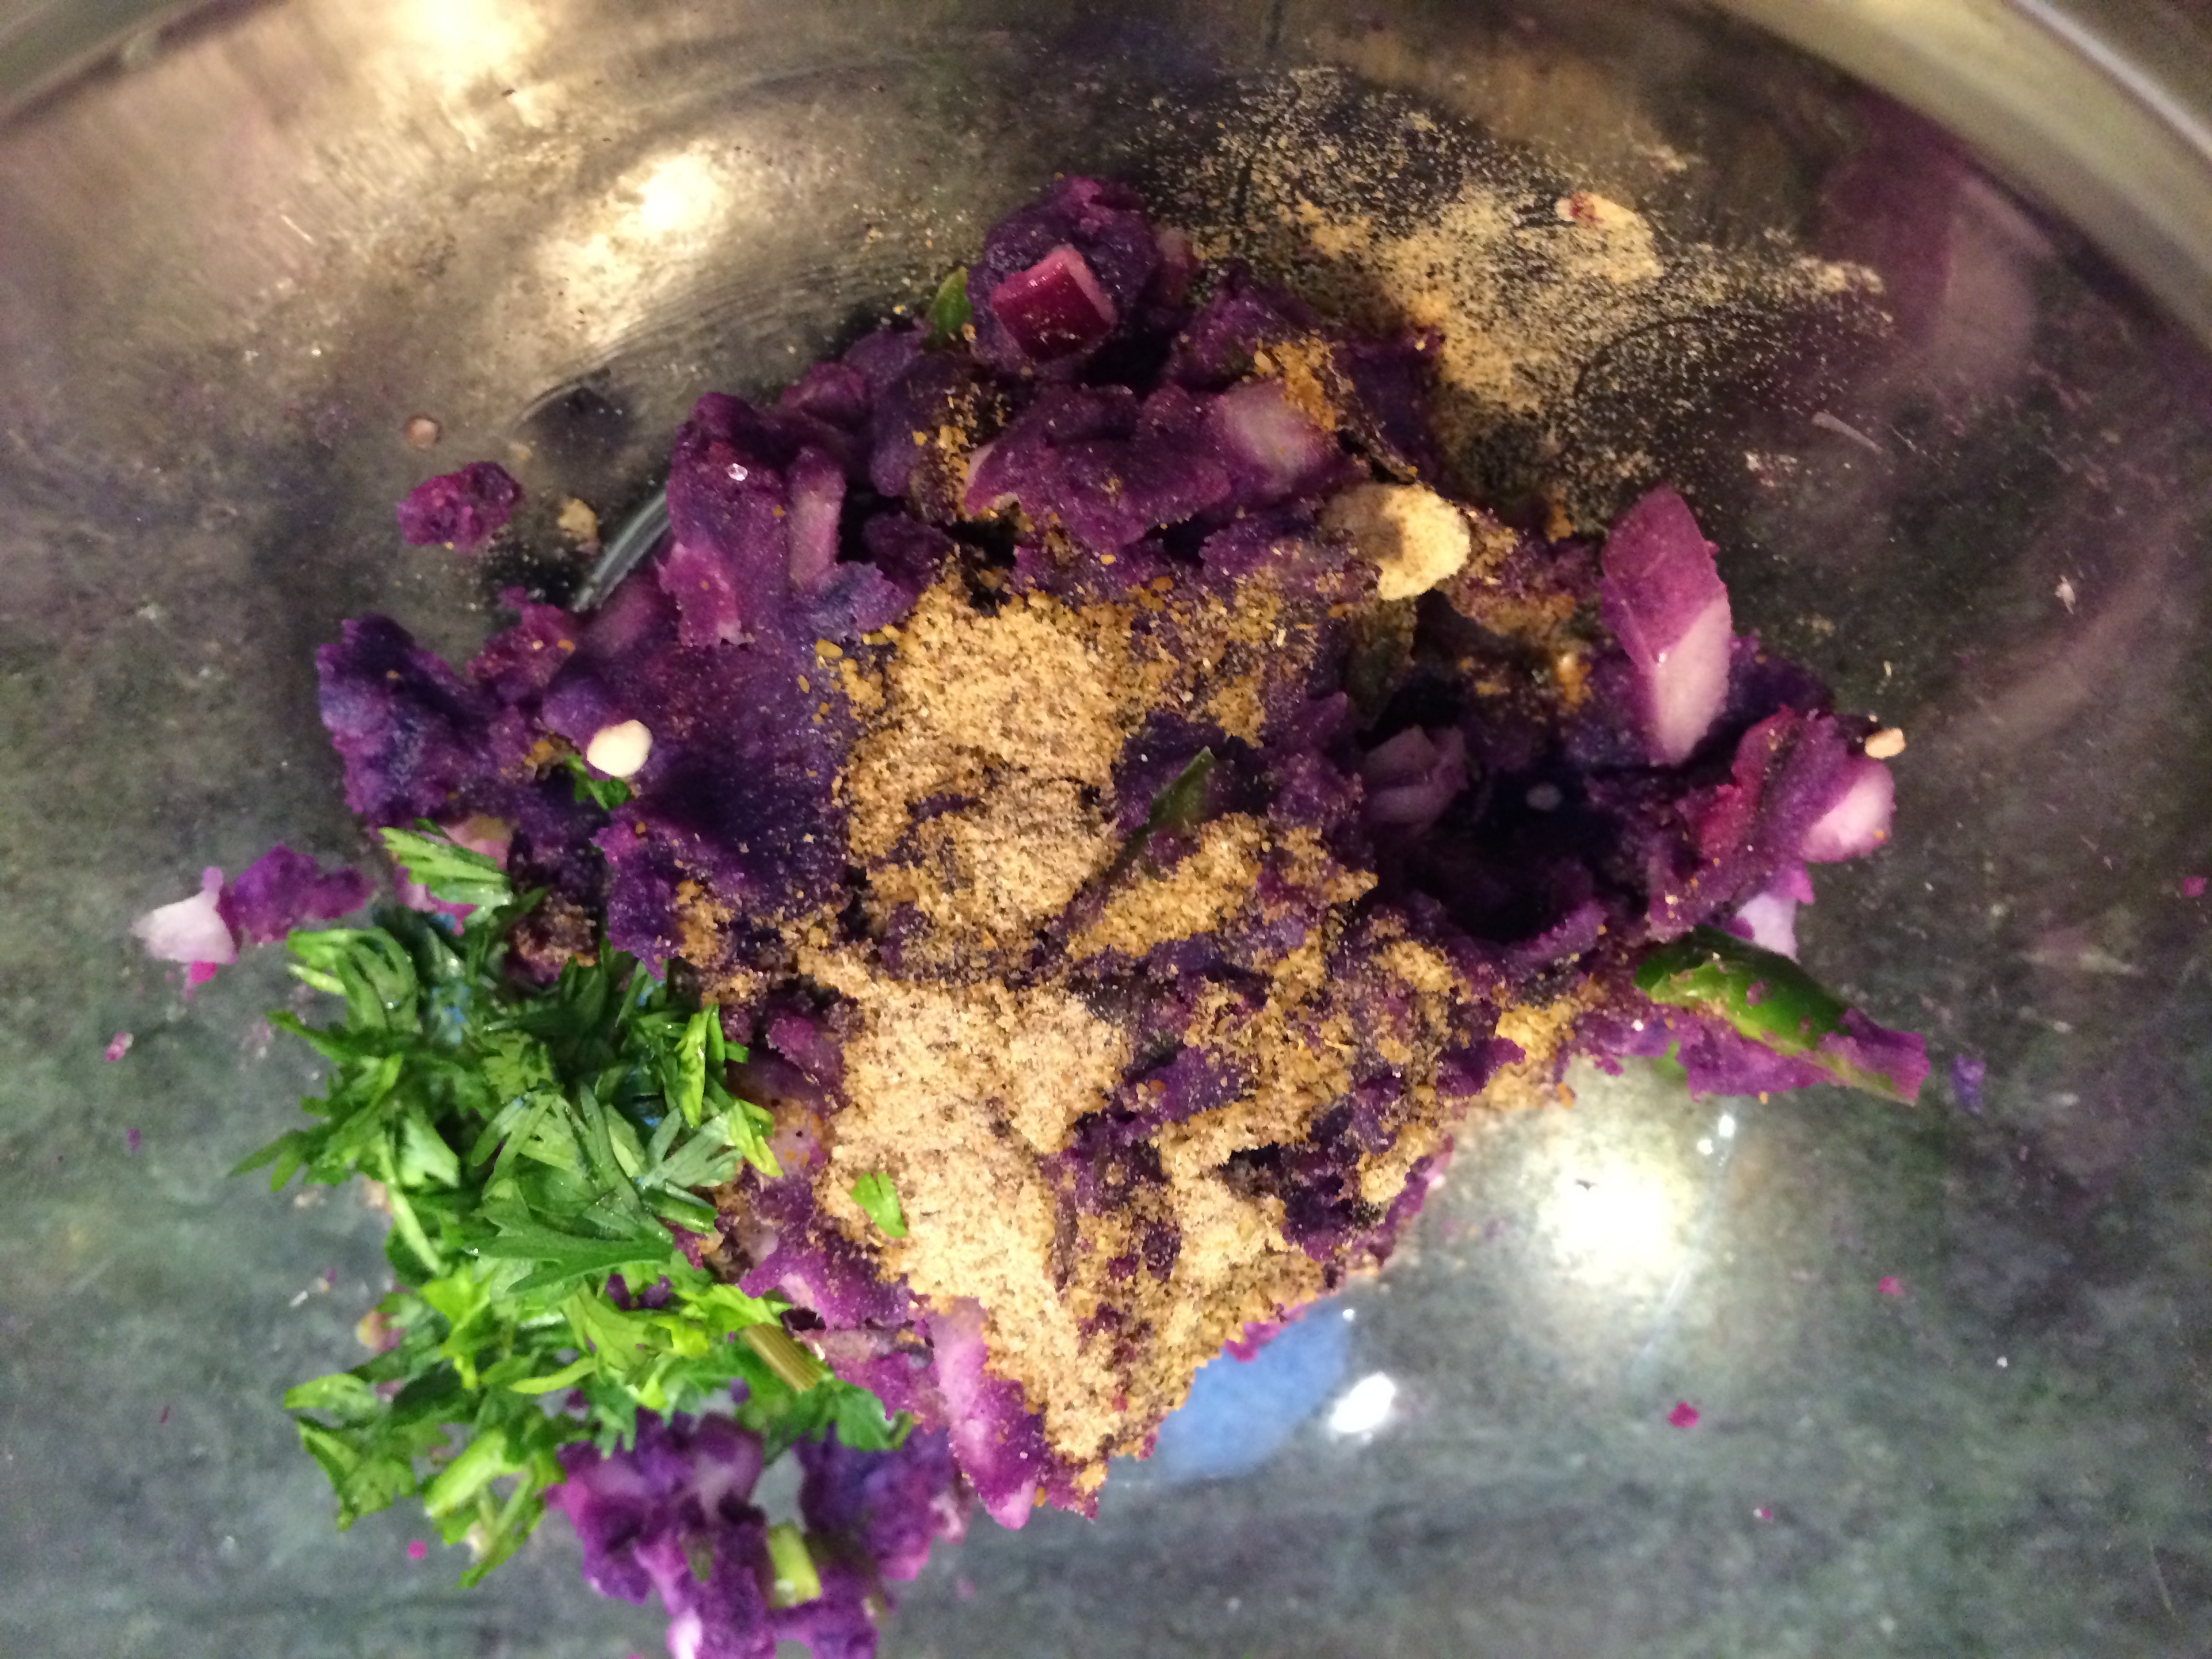
Method for potato filling:
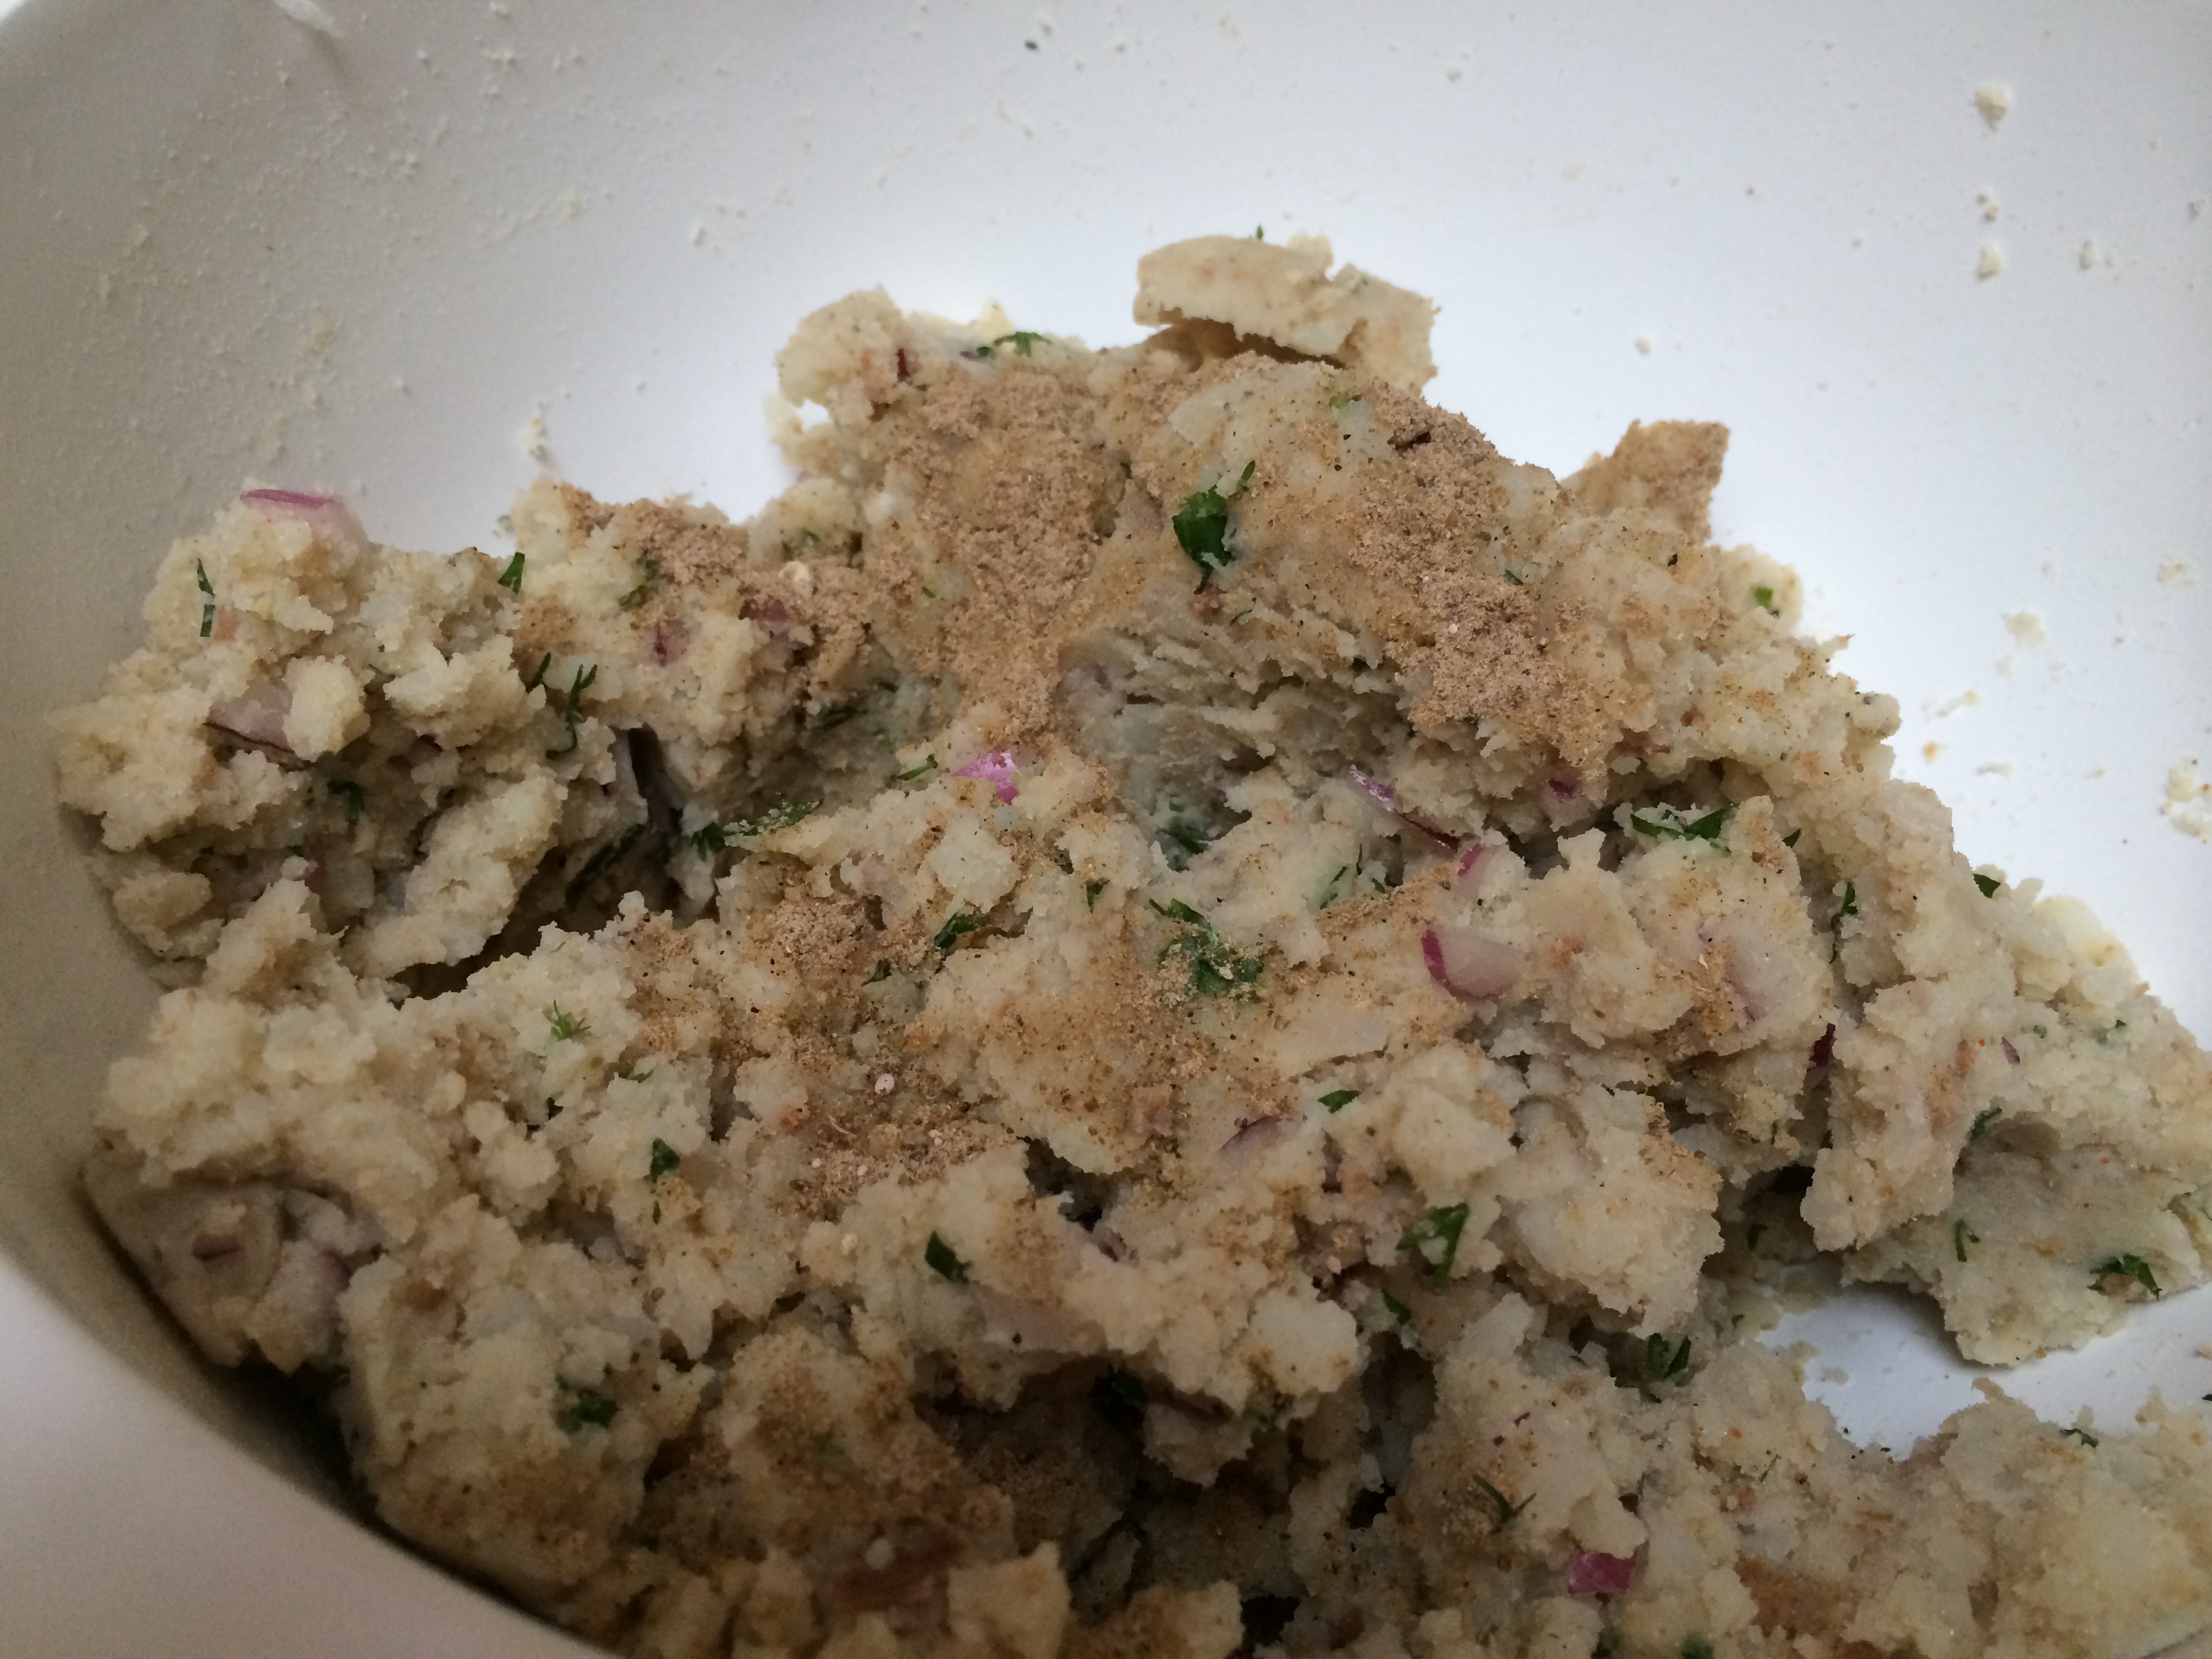
Microwave the potato until it is soft. Mash it, peel and all. Mix in the other ingredients, squeeze it into a sort of dough, and divide into two disks. The filling is ready, each disk will go into one paratha.

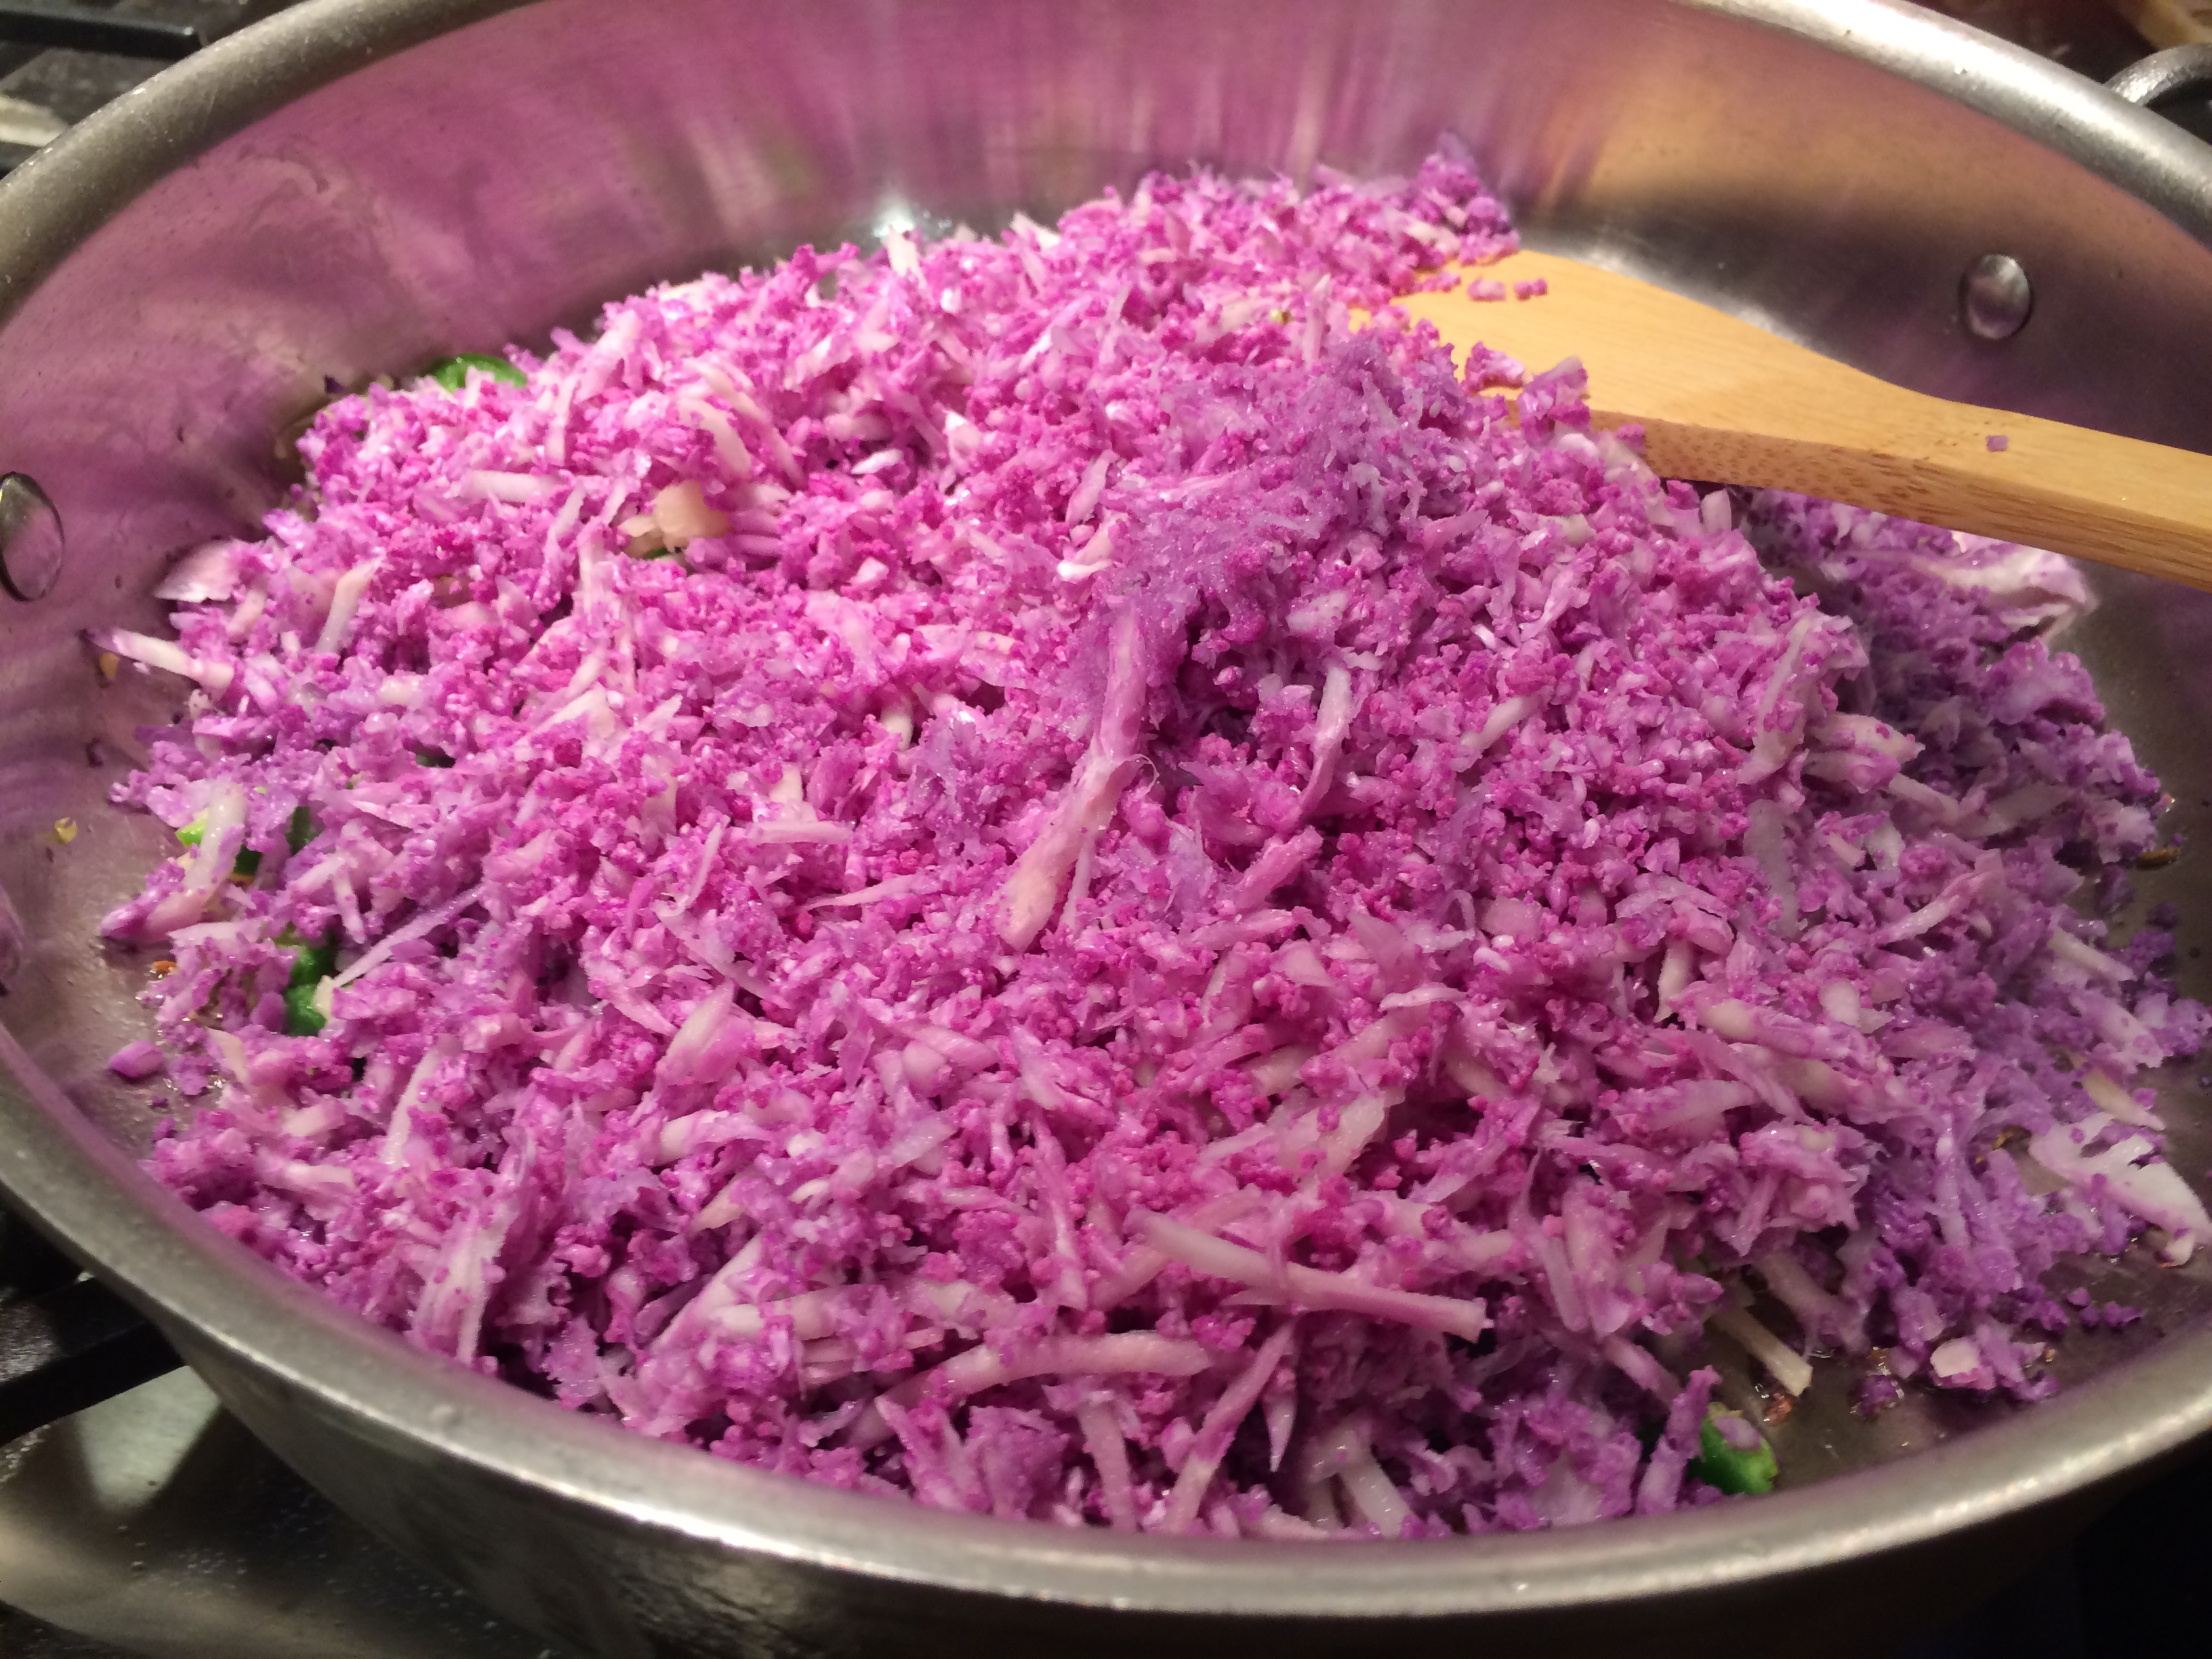
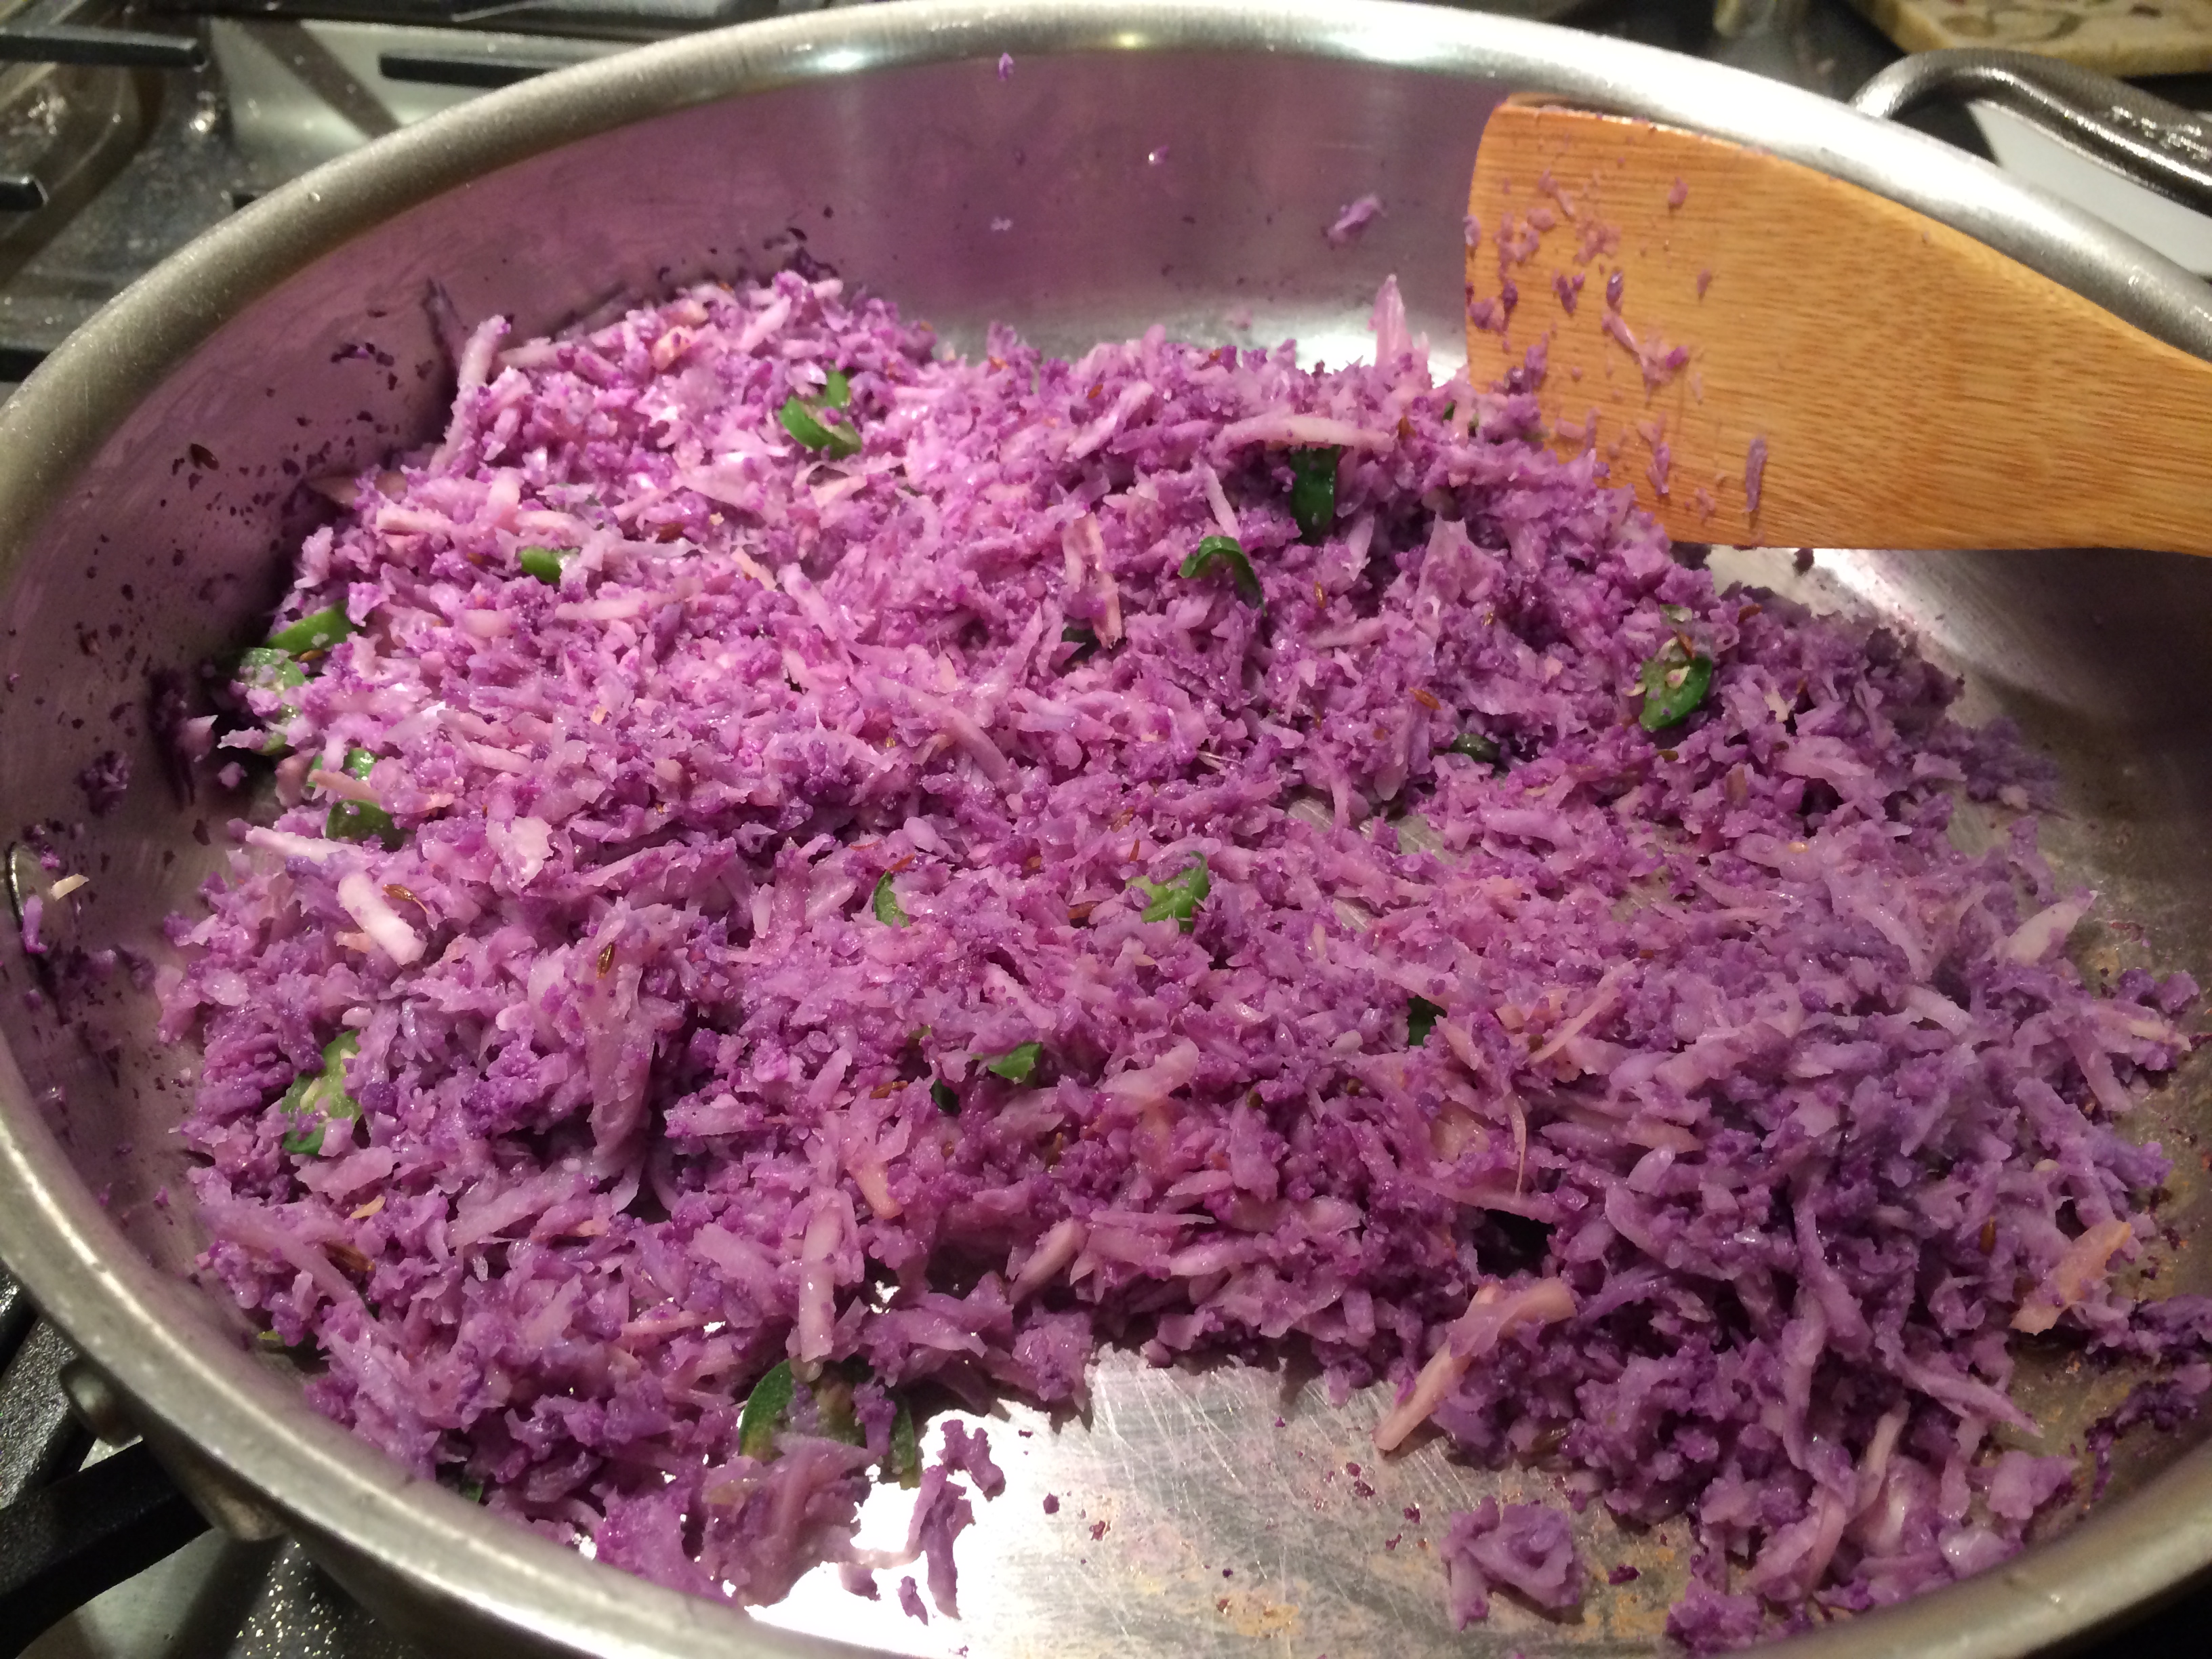
Method for cauliflower filling:
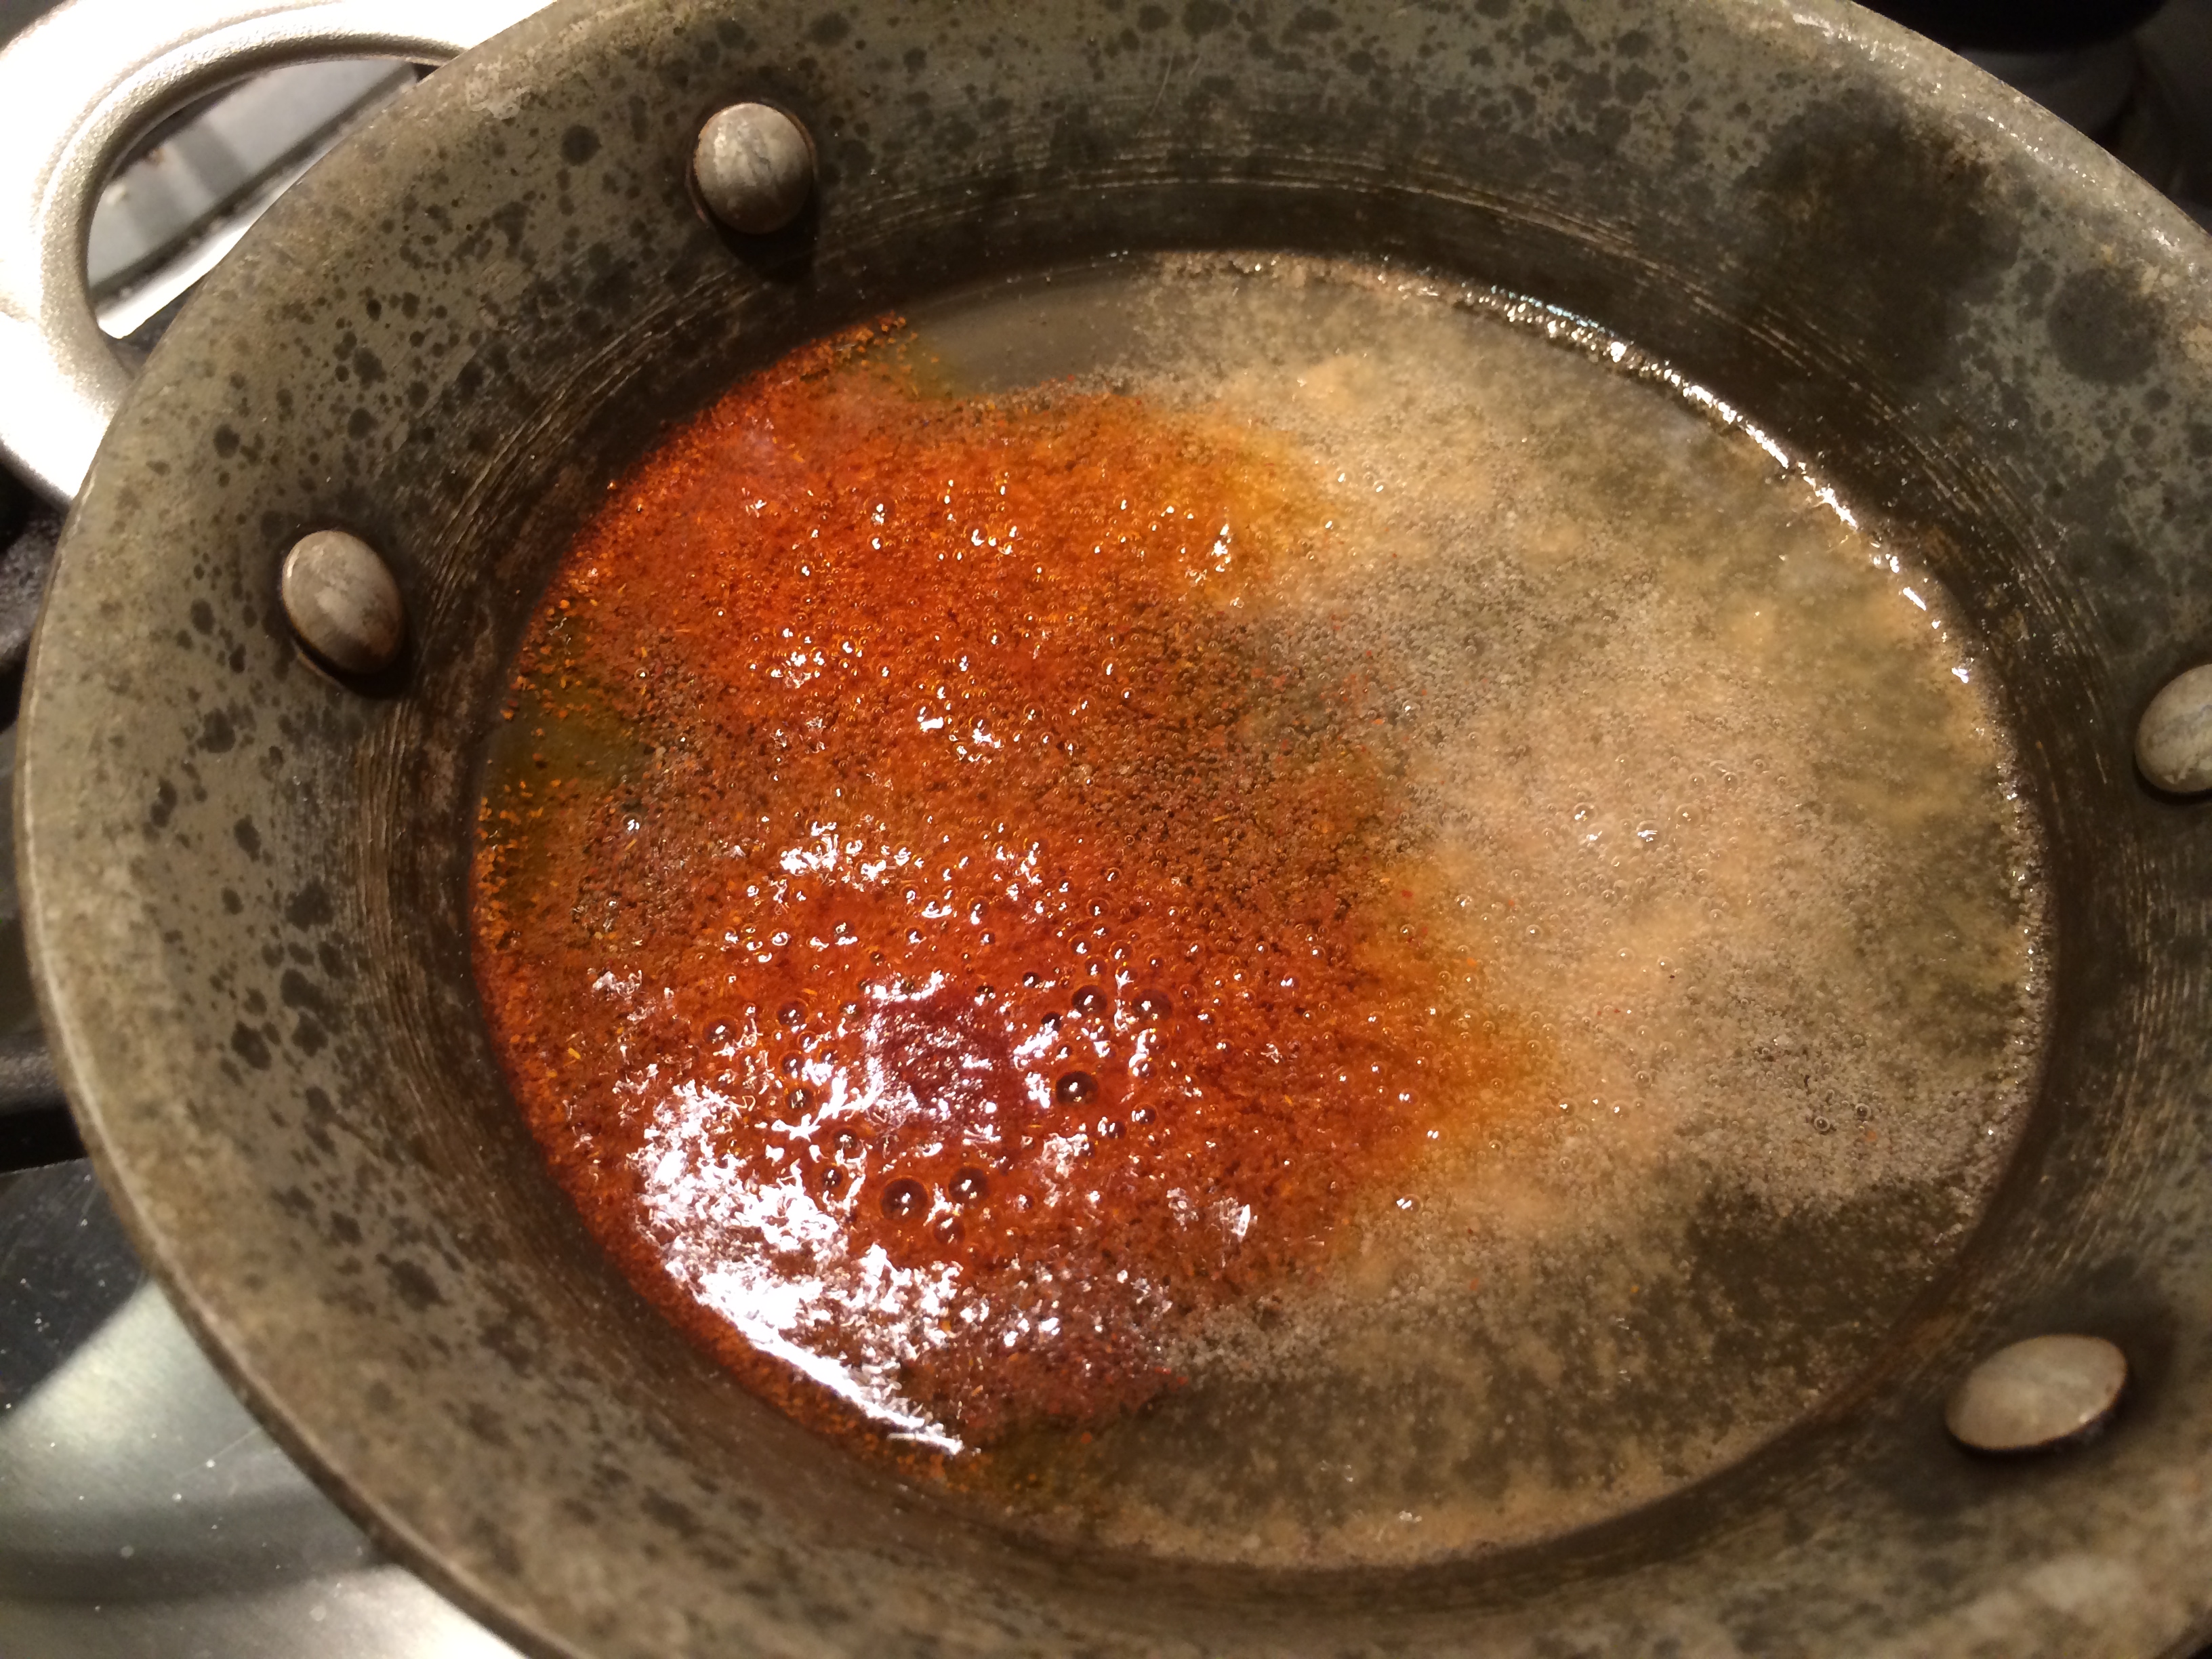
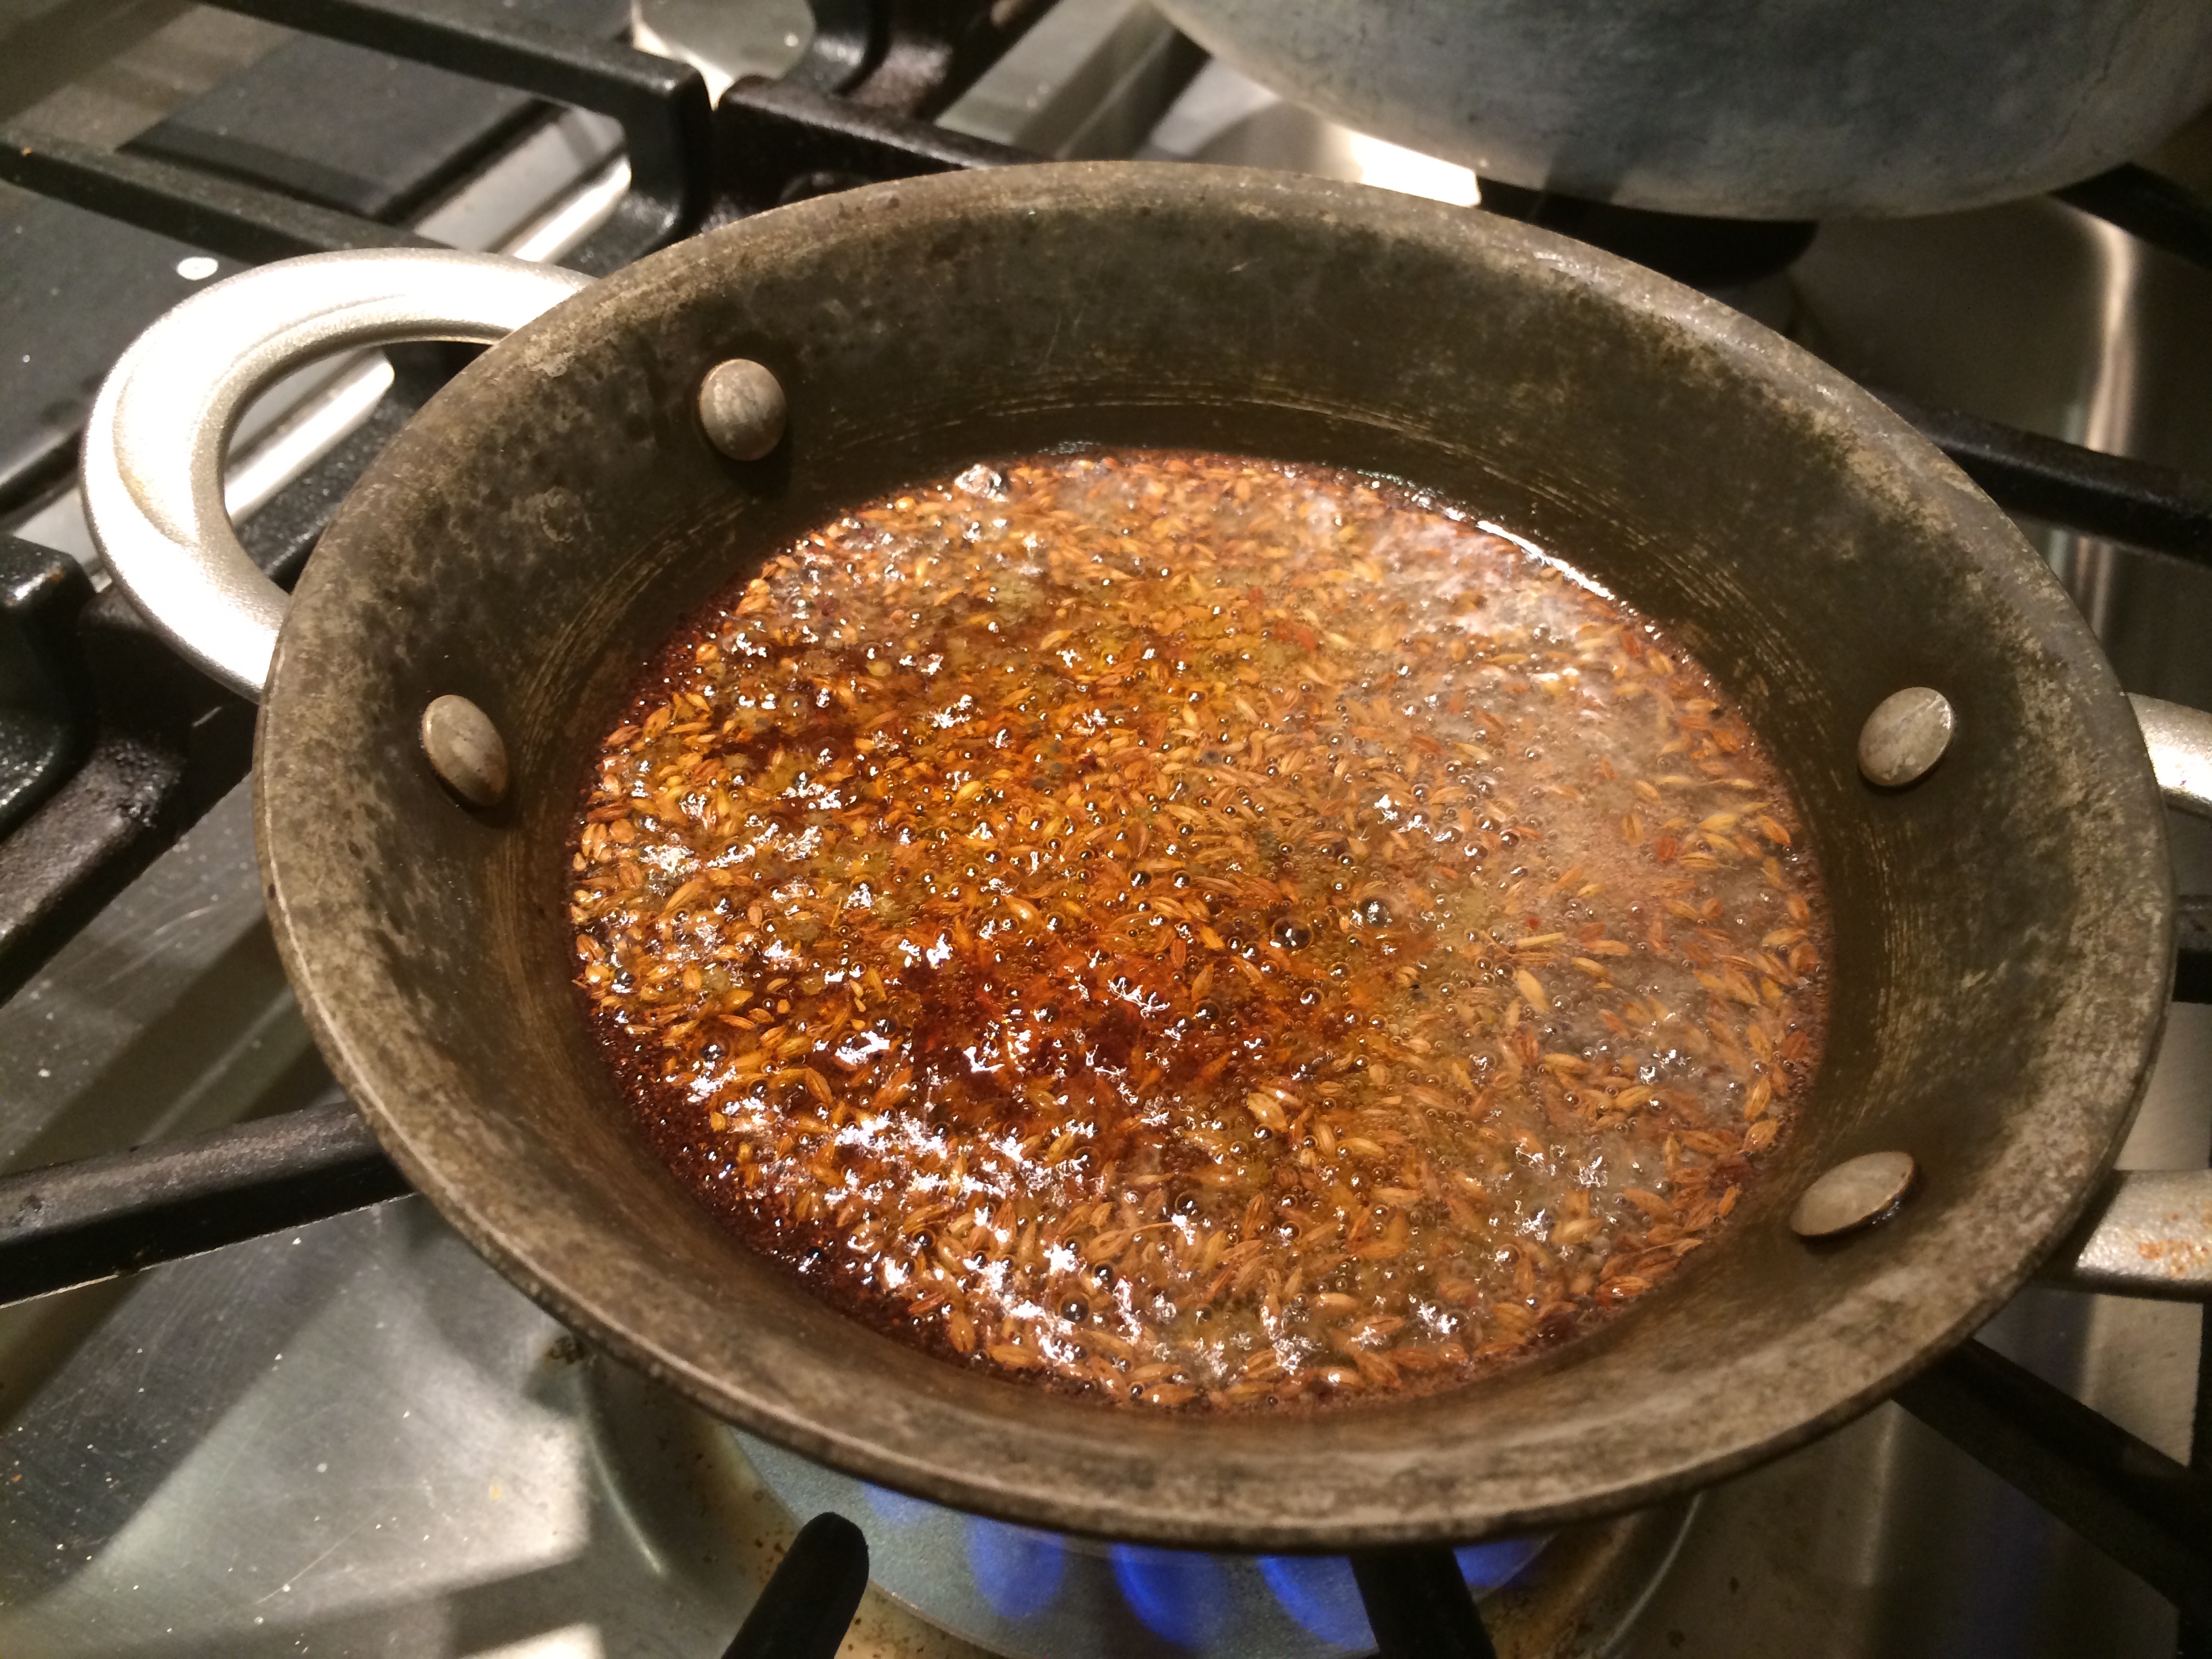
Grate the cauliflower, mince the ginger and chili. Heat the oil in a large thick-bottomed pan on medium heat. When it shimmers put in the asafetida and the cumin. When they sizzle put in the ginger, chili, and grated cauliflower. Stir to coat with oil. Add the salt and the chaat masala. Raise to heat to nicely dry the cauliflower. It is very important to get the cauliflower to be as dry as possible, or it will make your life hell while rolling out the parathas. When it is dry enough, turn off the heat and let it dry.


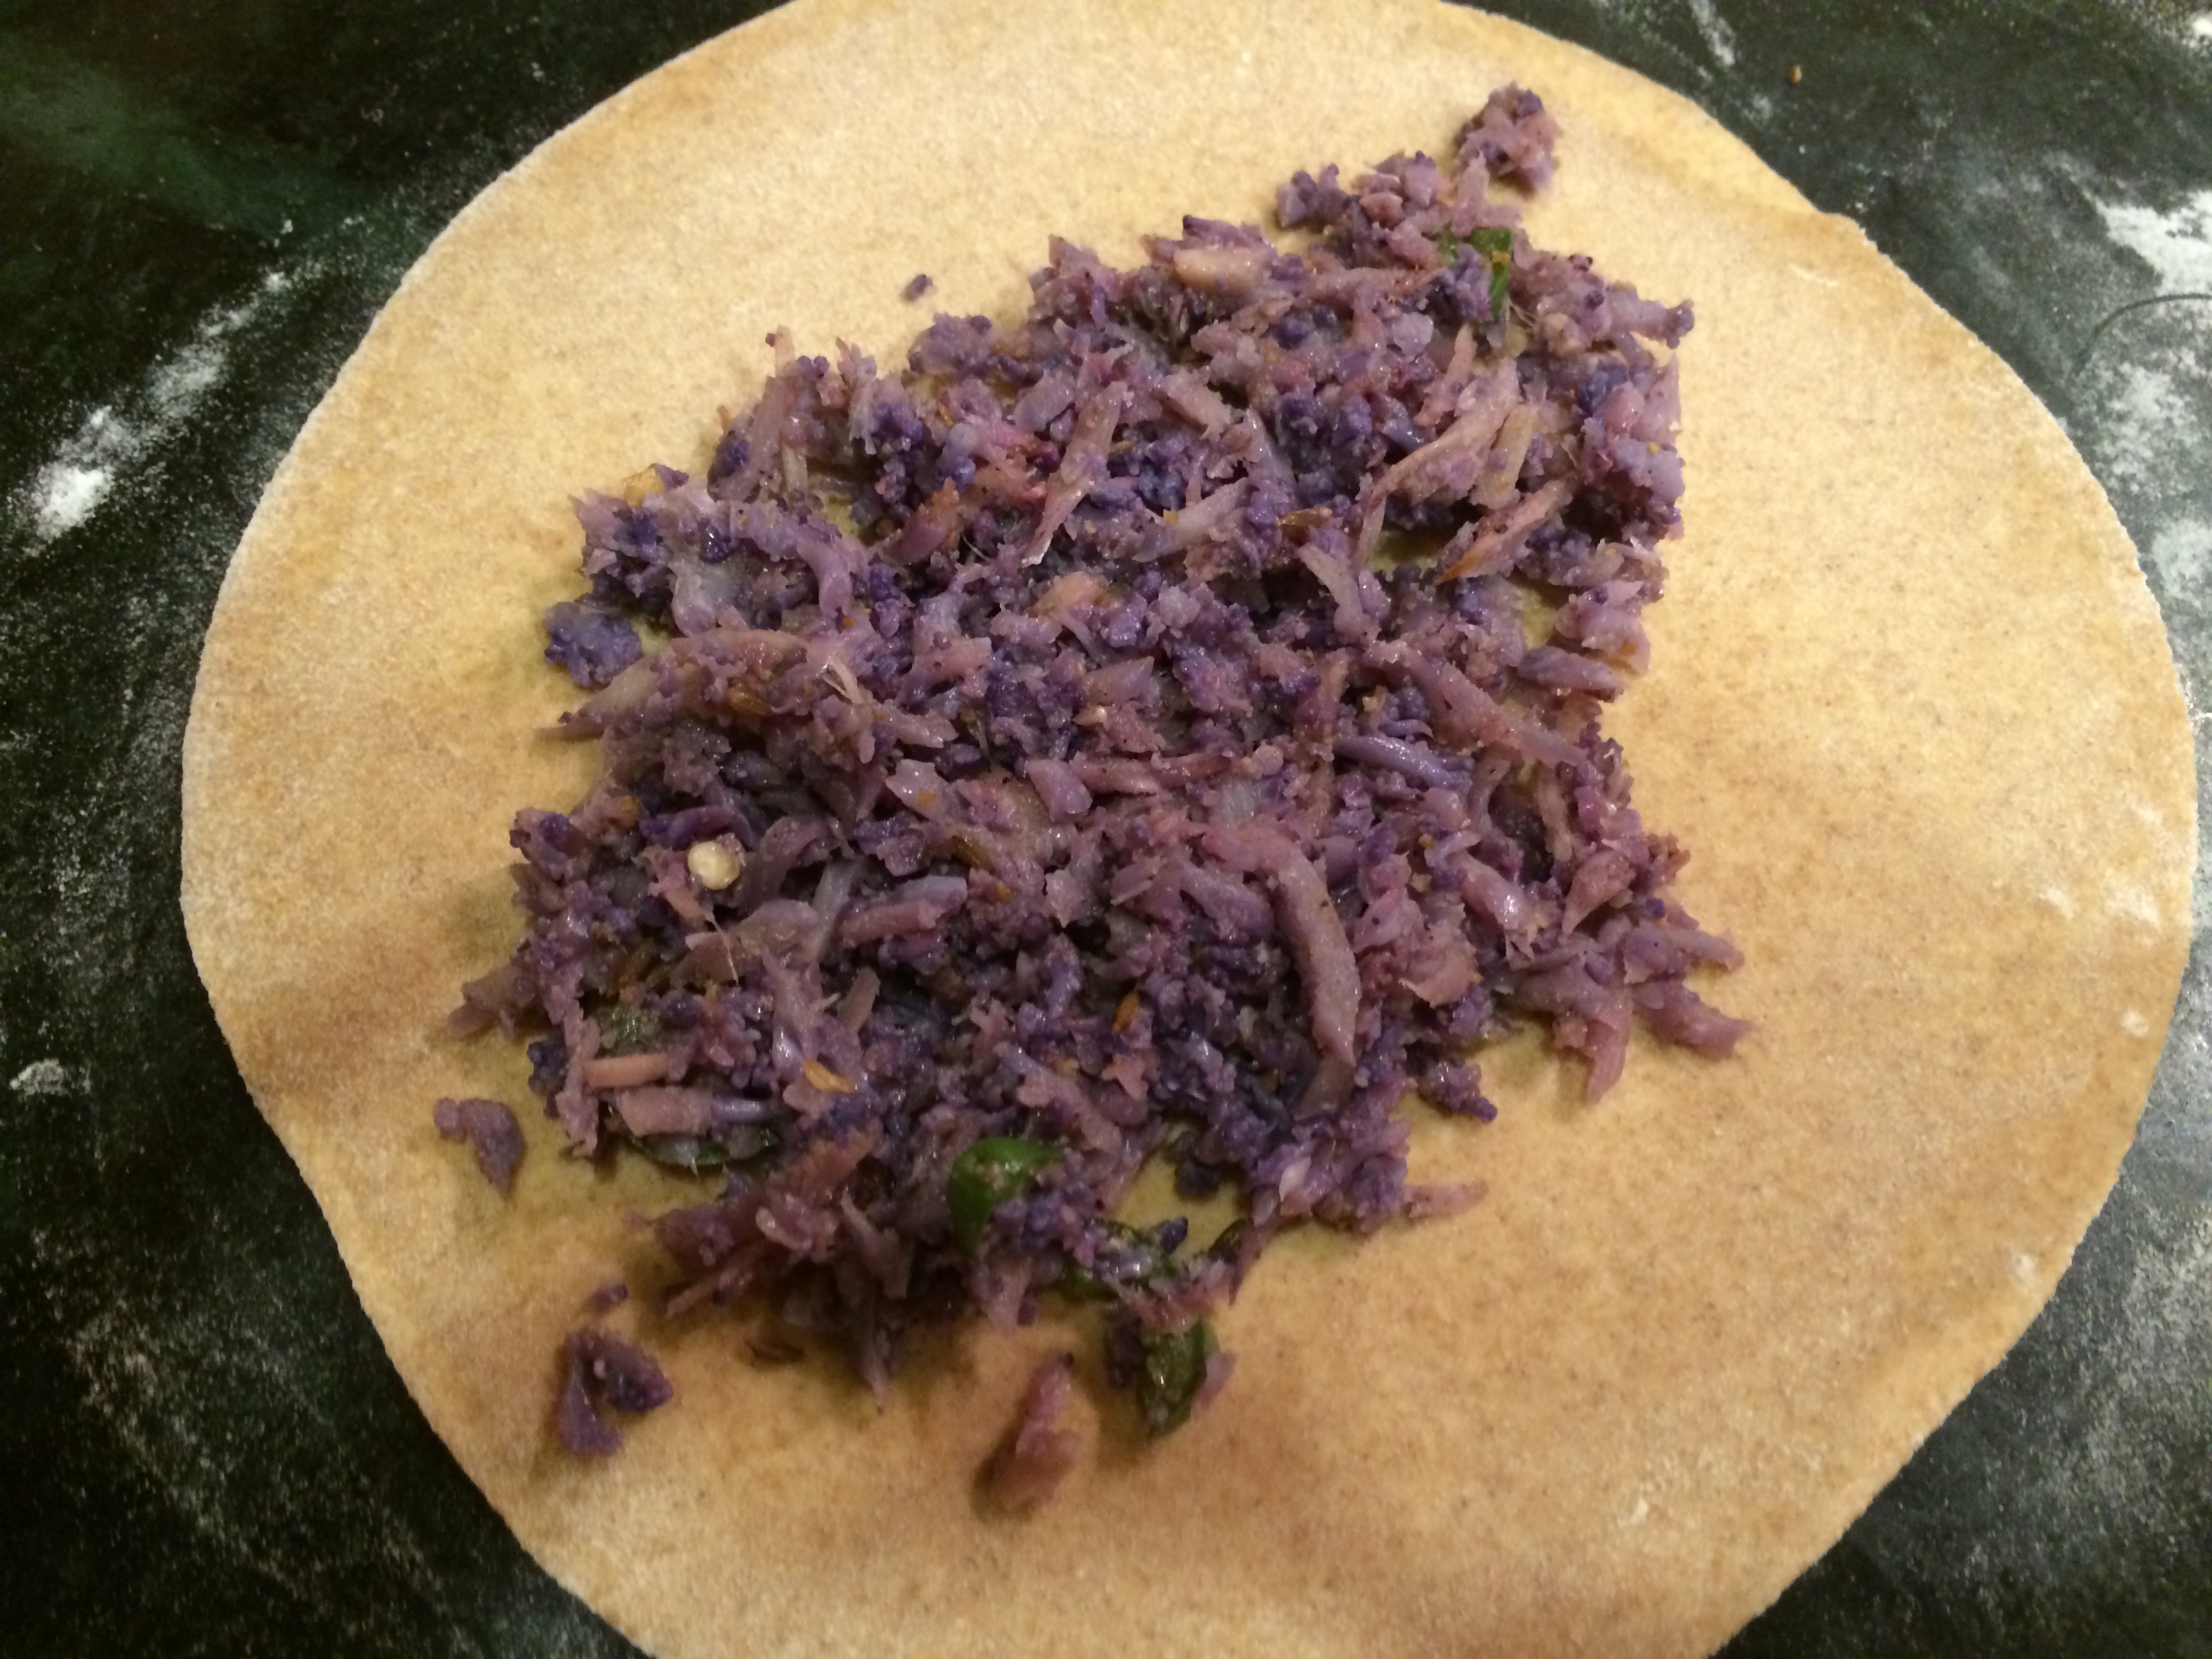
Method for composing the parathas:
Roll out a roti about 6 inches in diameter. Place the right amount of filling in the center. For the cauliflower it is about 3 heaped tablespoons, for the potato filling it is about a 2 – 3 inch disk of potato. Gather up the edges of the roti and give it a squeeze. Flatten the pouch into a disk and start rolling it flat with the filling inside.


While rolling parathas the ever-present danger is that the filling will come squeezing out like toothpaste out of a tube. One must learn to avoid that. One way is to use a very gentle hand while rolling — you don’t want a few long, weighty rollings, instead many quick, darting, gentle rollings. Use dry flour as needed to patch up holes.
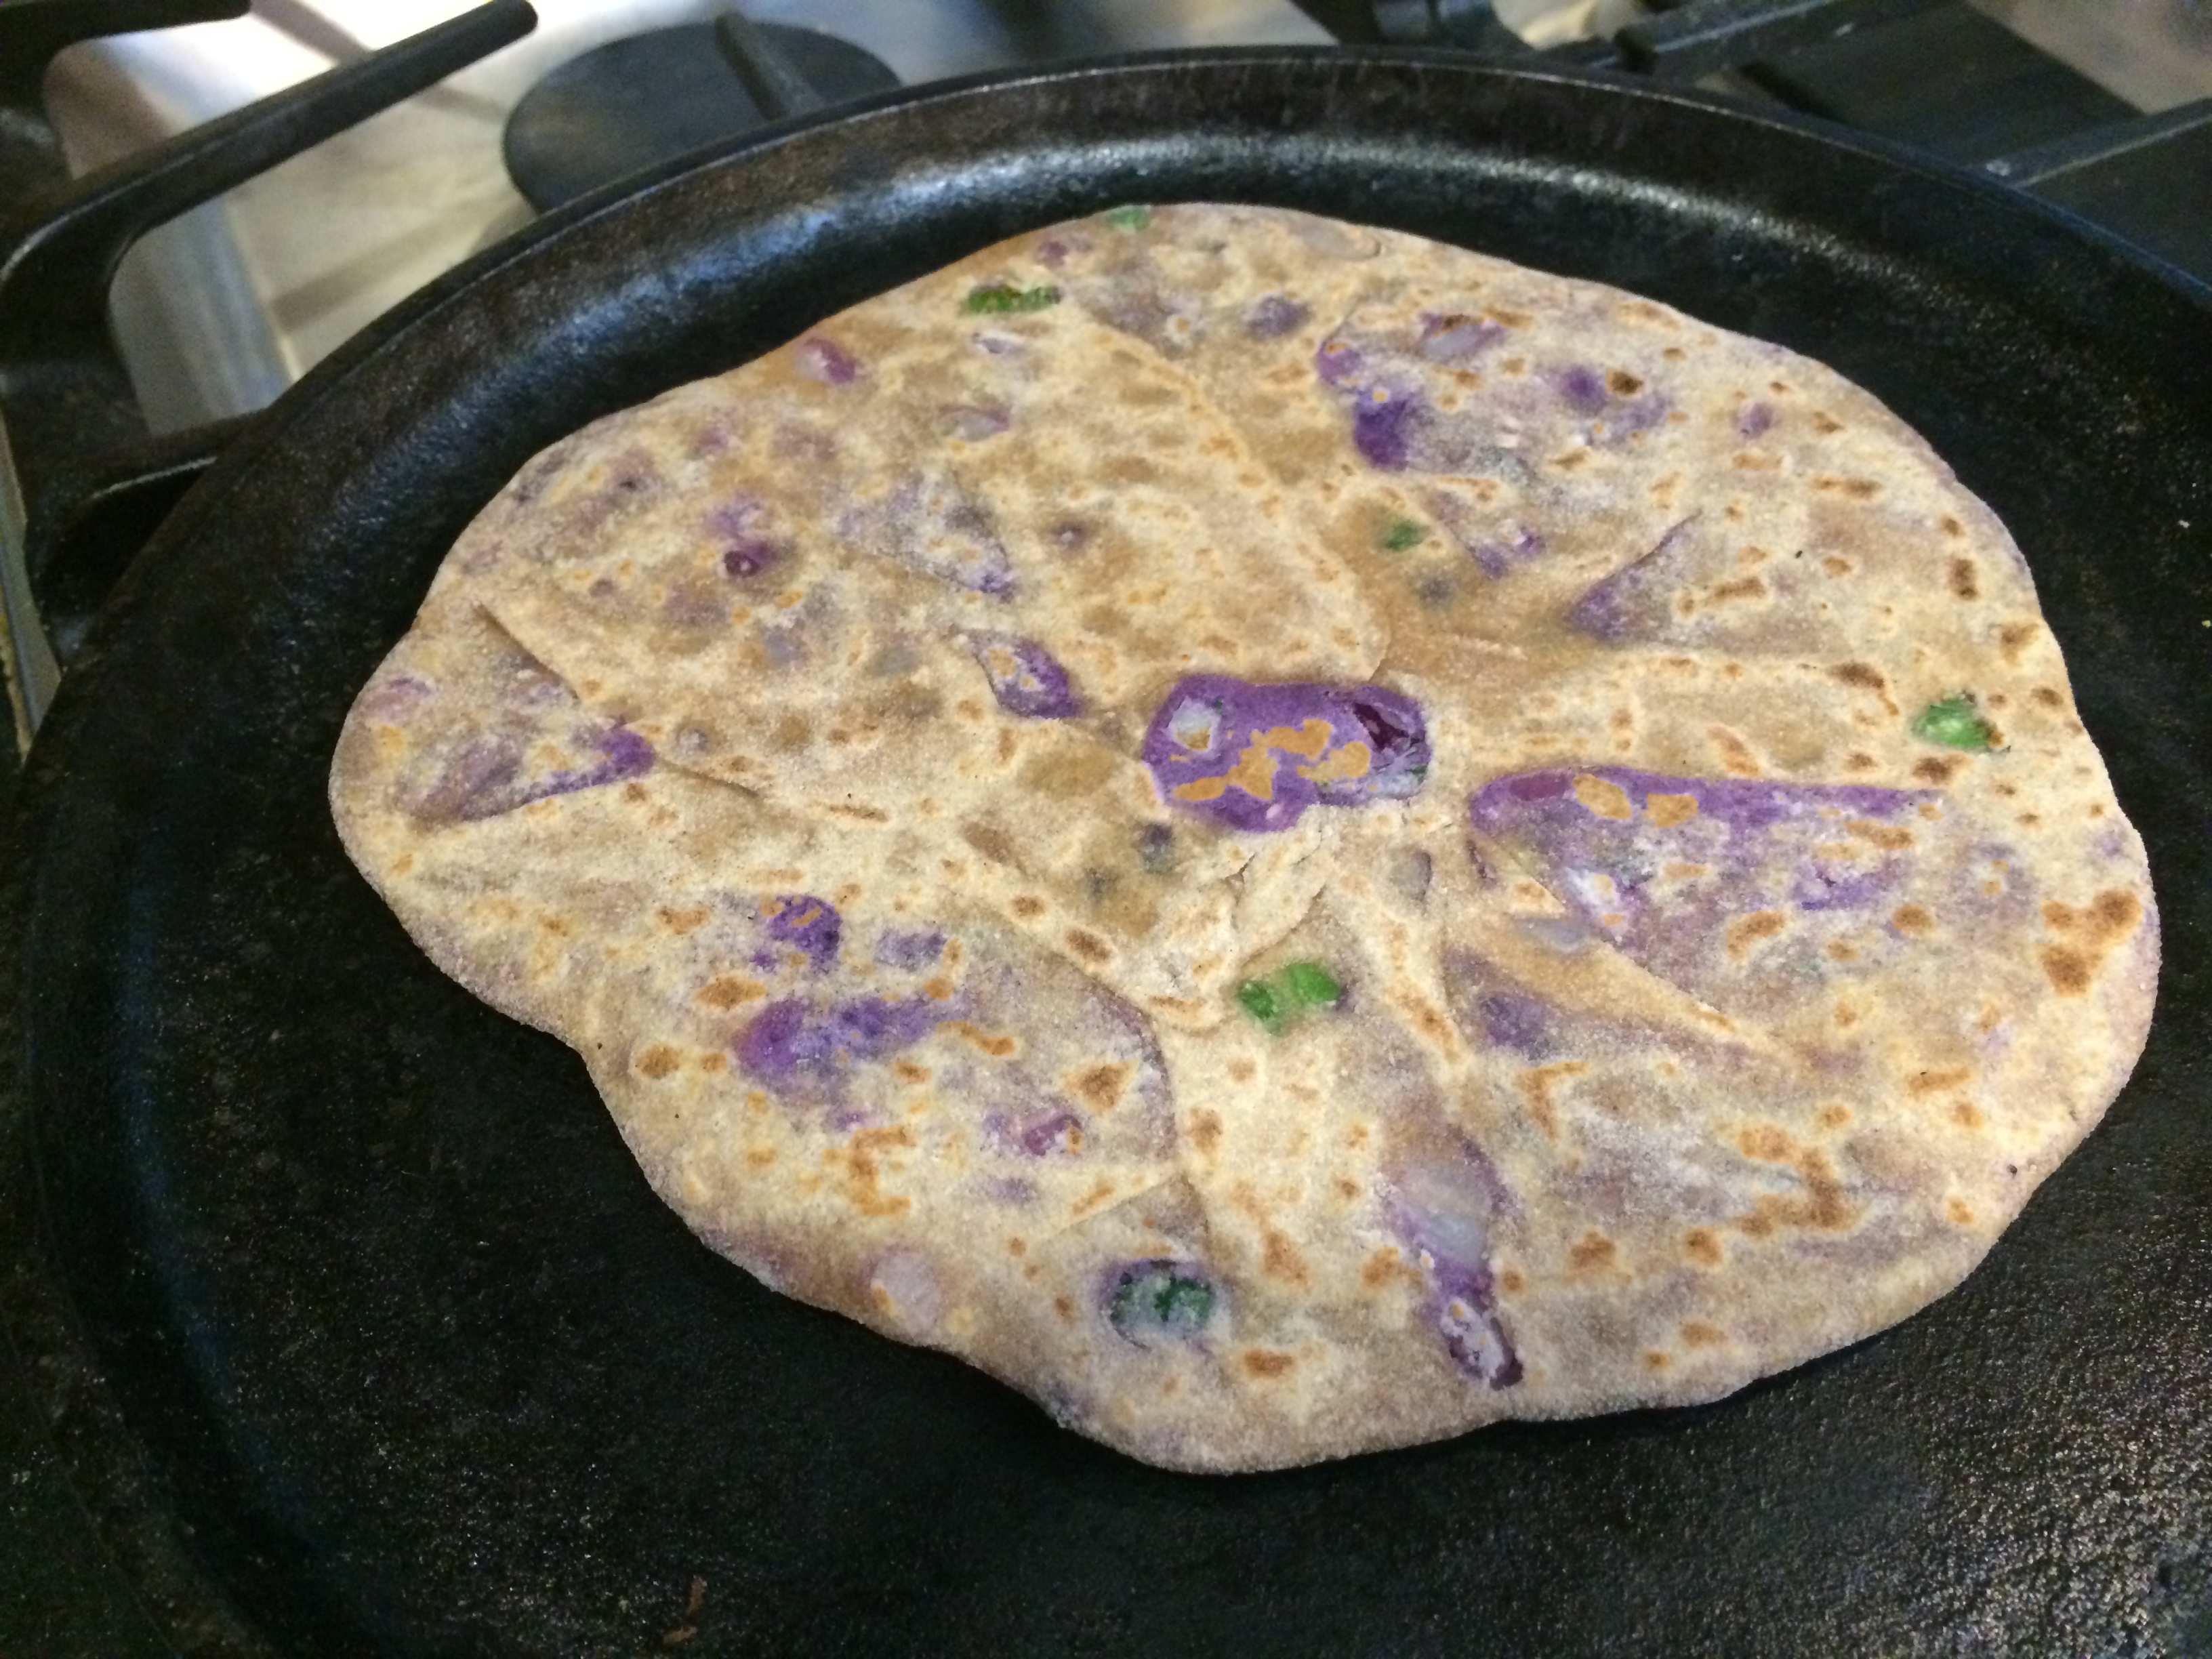
The ideal paratha, when rolled out, has such a thin roti cover that one can see the filling peeping out in various places, but it doesn’t actually fall out. Keep your eye on that ideal.
Meanwhile have a cast-iron griddle or tawa going on a medium-high flame. Slap a prepared paratha on. After 30 seconds, the top surface will seem a little set. Flip it over. Wait 30 seconds. Now spread a bit of oil or ghee over the top surface and flip it over for another 30 seconds. Repeat. In total, each side has been cooked dry twice, then cooked with oil twice.

While one paratha is cooking, did you think it was time to stand around and have a coffee break? No, my dear, get busy rolling out the next one. When one gets practiced one can have two griddles going at once.

Have it with some plain yogurt on the side, nothing else is needed.