Falafel with chili paste and tzatziki
Let’s say you are a human being who has encountered a bean for the first time. I’m speaking of a bean with a hard shell, the kind that looks more like a pretty rock than anything to do with food. Your mission — find a way to turn it into food. What do you do?
You could boil it, of course. Boil it and boil it and boil it. This will work, and you will get a nice mushy meal.
Or you could keep that bean dry, and grind it into a fine powder. Then, you can use the resulting flour in all kinds of batters and doughs. This works too.
What else? Well, some creative people in the middle east decided on a third route. Soak it overnight, and when it is plumped up, grind it, and fry the resulting mash. This time it will be more like a dough that clumps together, rather than a fine powder, because the beans have drawn in all that water and gotten rather plump and soft with it. The only cooking the notoriously hard-to-cook bean will get is at the end, frying in a pan. Is that foolhardy? No, the soaking did most of the work.

“Il Falafel di Ramallah” by OneArmedMan – Own work. Licensed under Public Domain via Wikimedia Commons
Well, well, falafel! That is what a falafel is, and the bean in question is the garbanzo bean (a.k.a. chickpea).
(Cooks in India discovered this trick also, but with a different bean: vadas are made by first soaking the split urad bean overnight and then wet-grinding it after).
Falafel, though, is made out of the whole garbanzo bean, soaked overnight. Parsley, onion and garlic are ground up along with the garbanzo for flavor. The resulting mash is bound with flour, or left as is. Balls made of this mash can be deep-fried or, as I did, patties formed in one’s palms can be shallow-fried. The result — an outside surface that is crunchy and satisfying, while the insides are still pliable and savory to the hilt.
Falafel: street food and mezze
Now you will agree that this is a pretty neat invention. Nifty, even. Tucked inside a pita bread, drenched with chili pastes and salads and strong stuff like onion, it makes a convenient item to eat while holding in one’s hand without ceremony. This is why falafel is known as the king of street food all over the middle east.
San Francisco has its own share of immigrants from all over the world, and of course we have our share of falafel food trucks and hole-in-the-wall restaurants. Some are famous for their hot sauces, others for their pita, and yet others made their name for the pickled or fried vegetables that they tucked into the pita pocket.

Erstwhile Kan Zaman restaurant in SF (source: http://Pakibarbie.blogspot.com)
Some serve falafel not as a sandwich or a wrap, but as one of a platter full of appetizers known as mezze. (This word, by the way, comes from the Persian mazze, the root of the Hindi mazza, meaning ‘fun’). One particular restaurant that ran for years near Haight Ashbury — and one that I sorely miss — served their falafel this way, on a giant brass platter with embossed designs, while you lounged on floor cushions and smoked flavored hookahs, and watched a raucous belly dance. Much as I love falafel, that was not the highlight of this particular establishment — it had so many others.

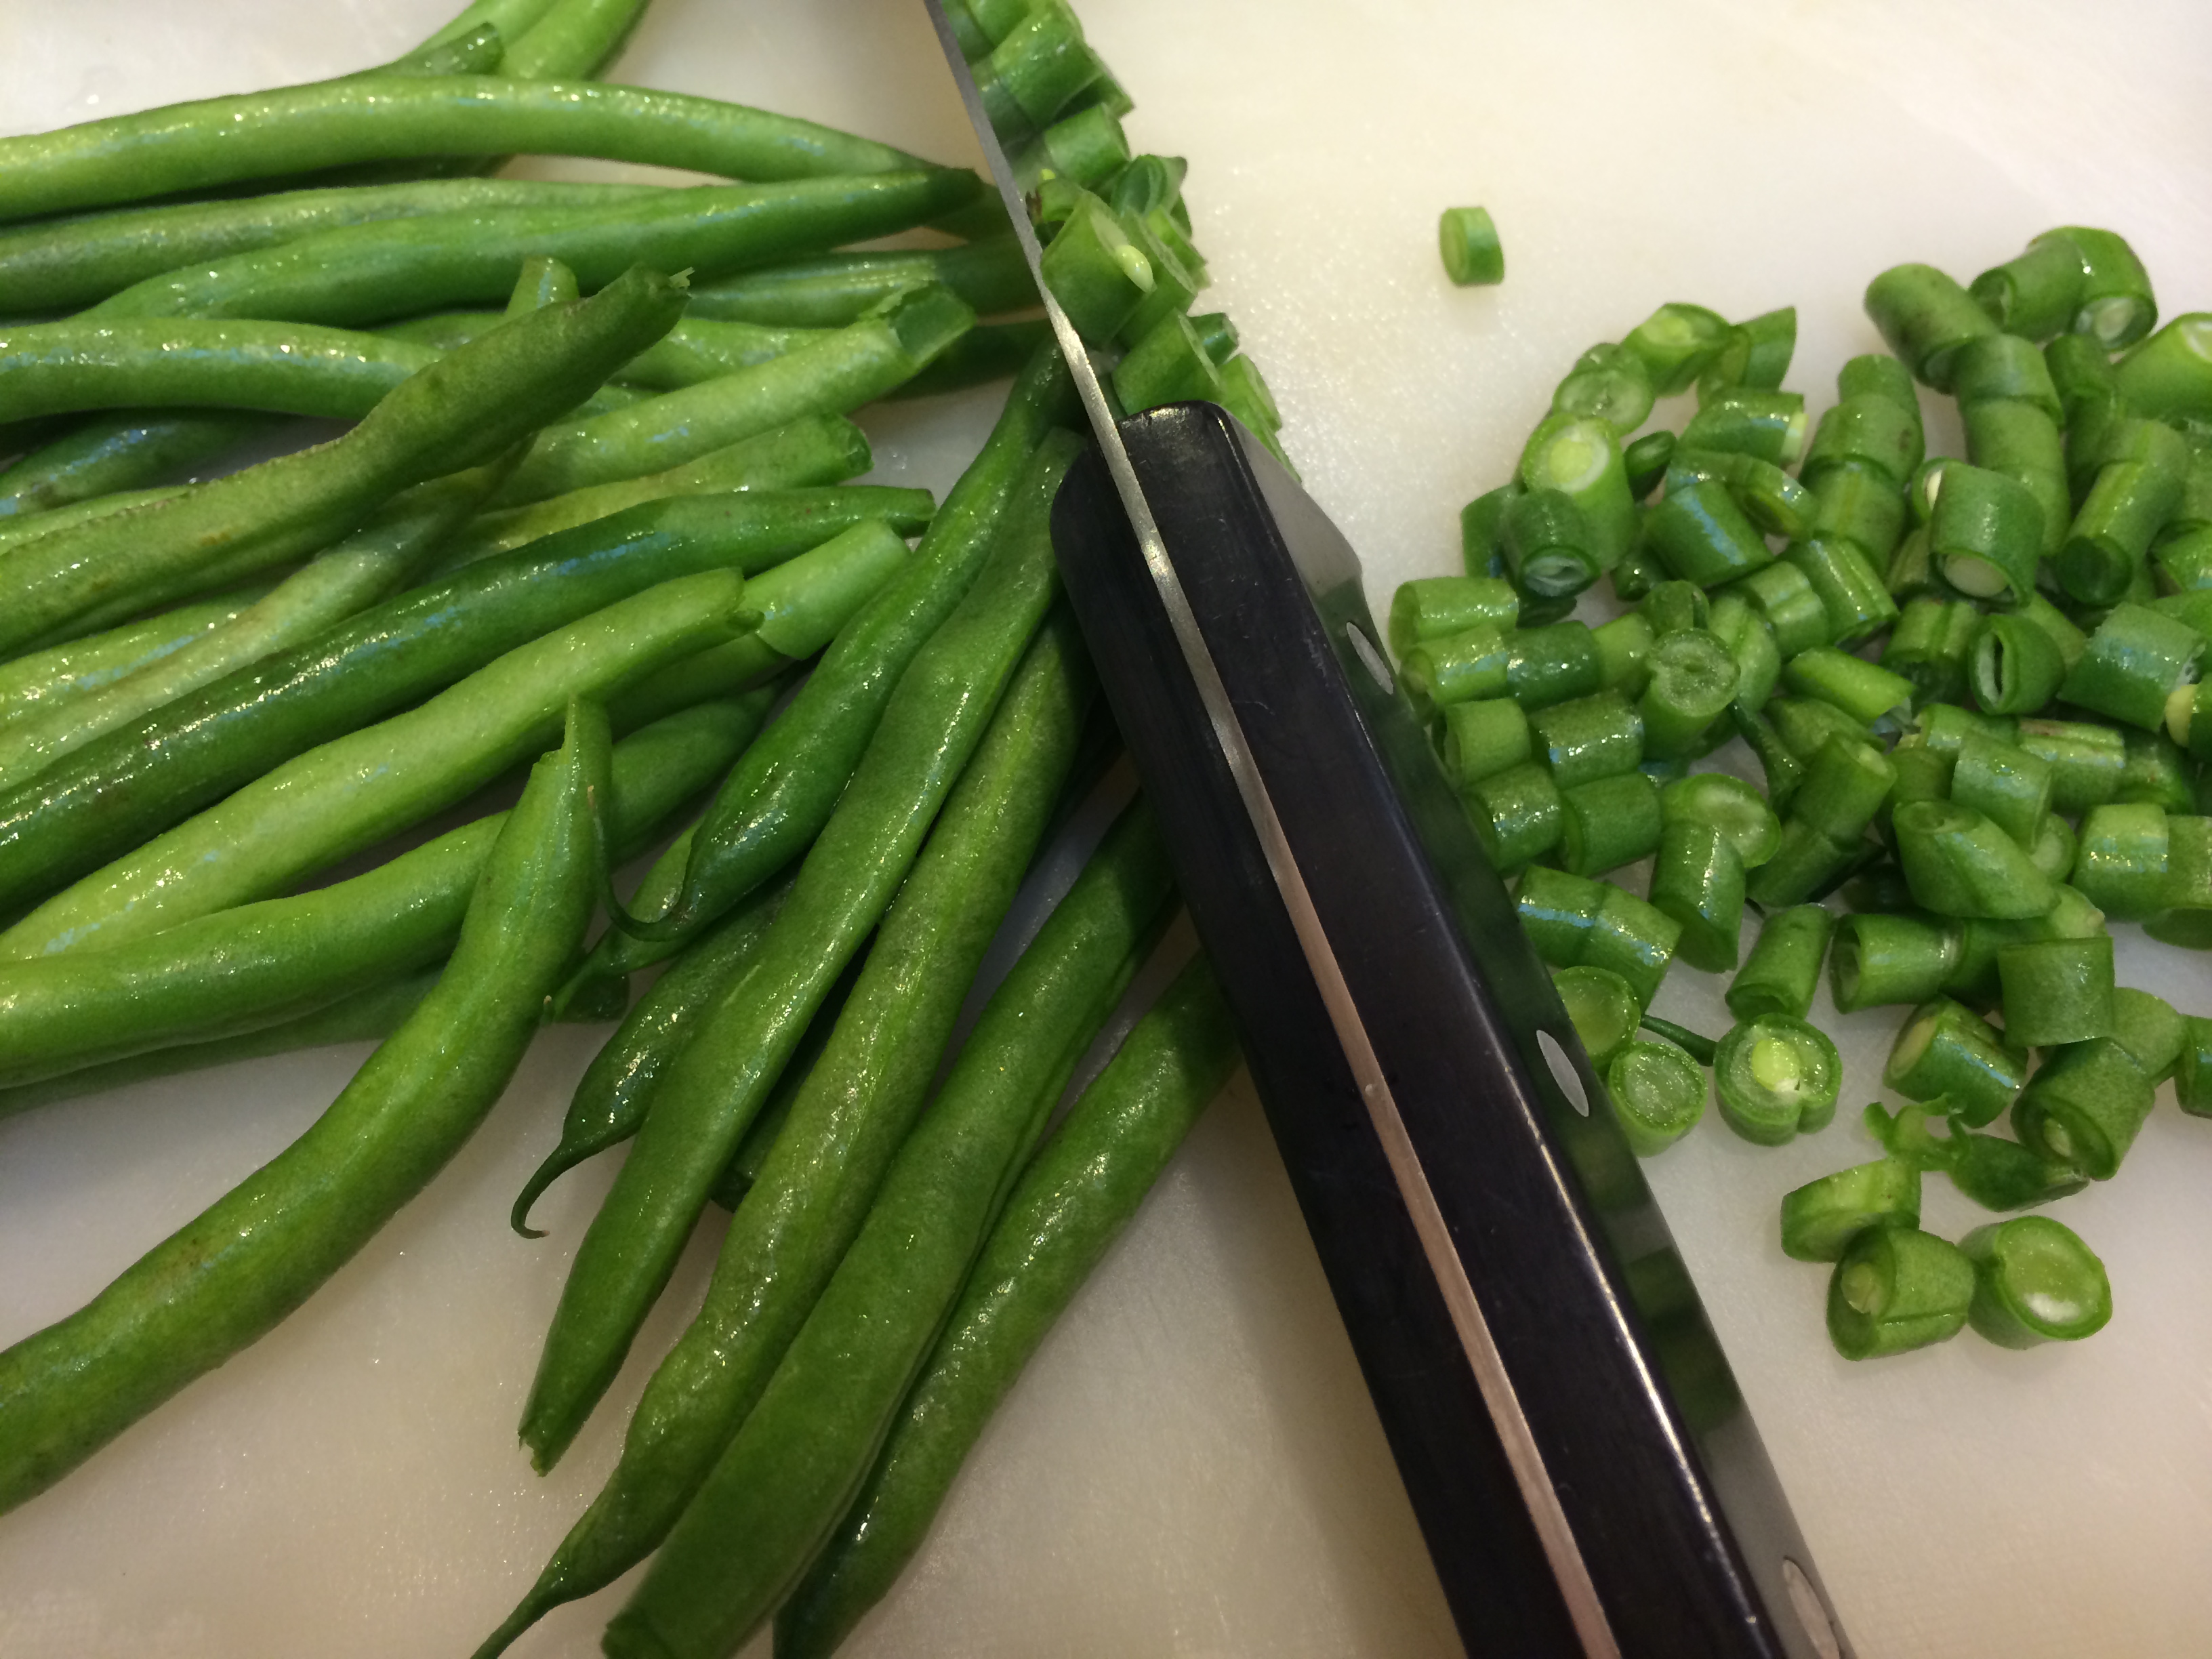
Soaking garbanzo beans and other ingredients

Everything in food processor
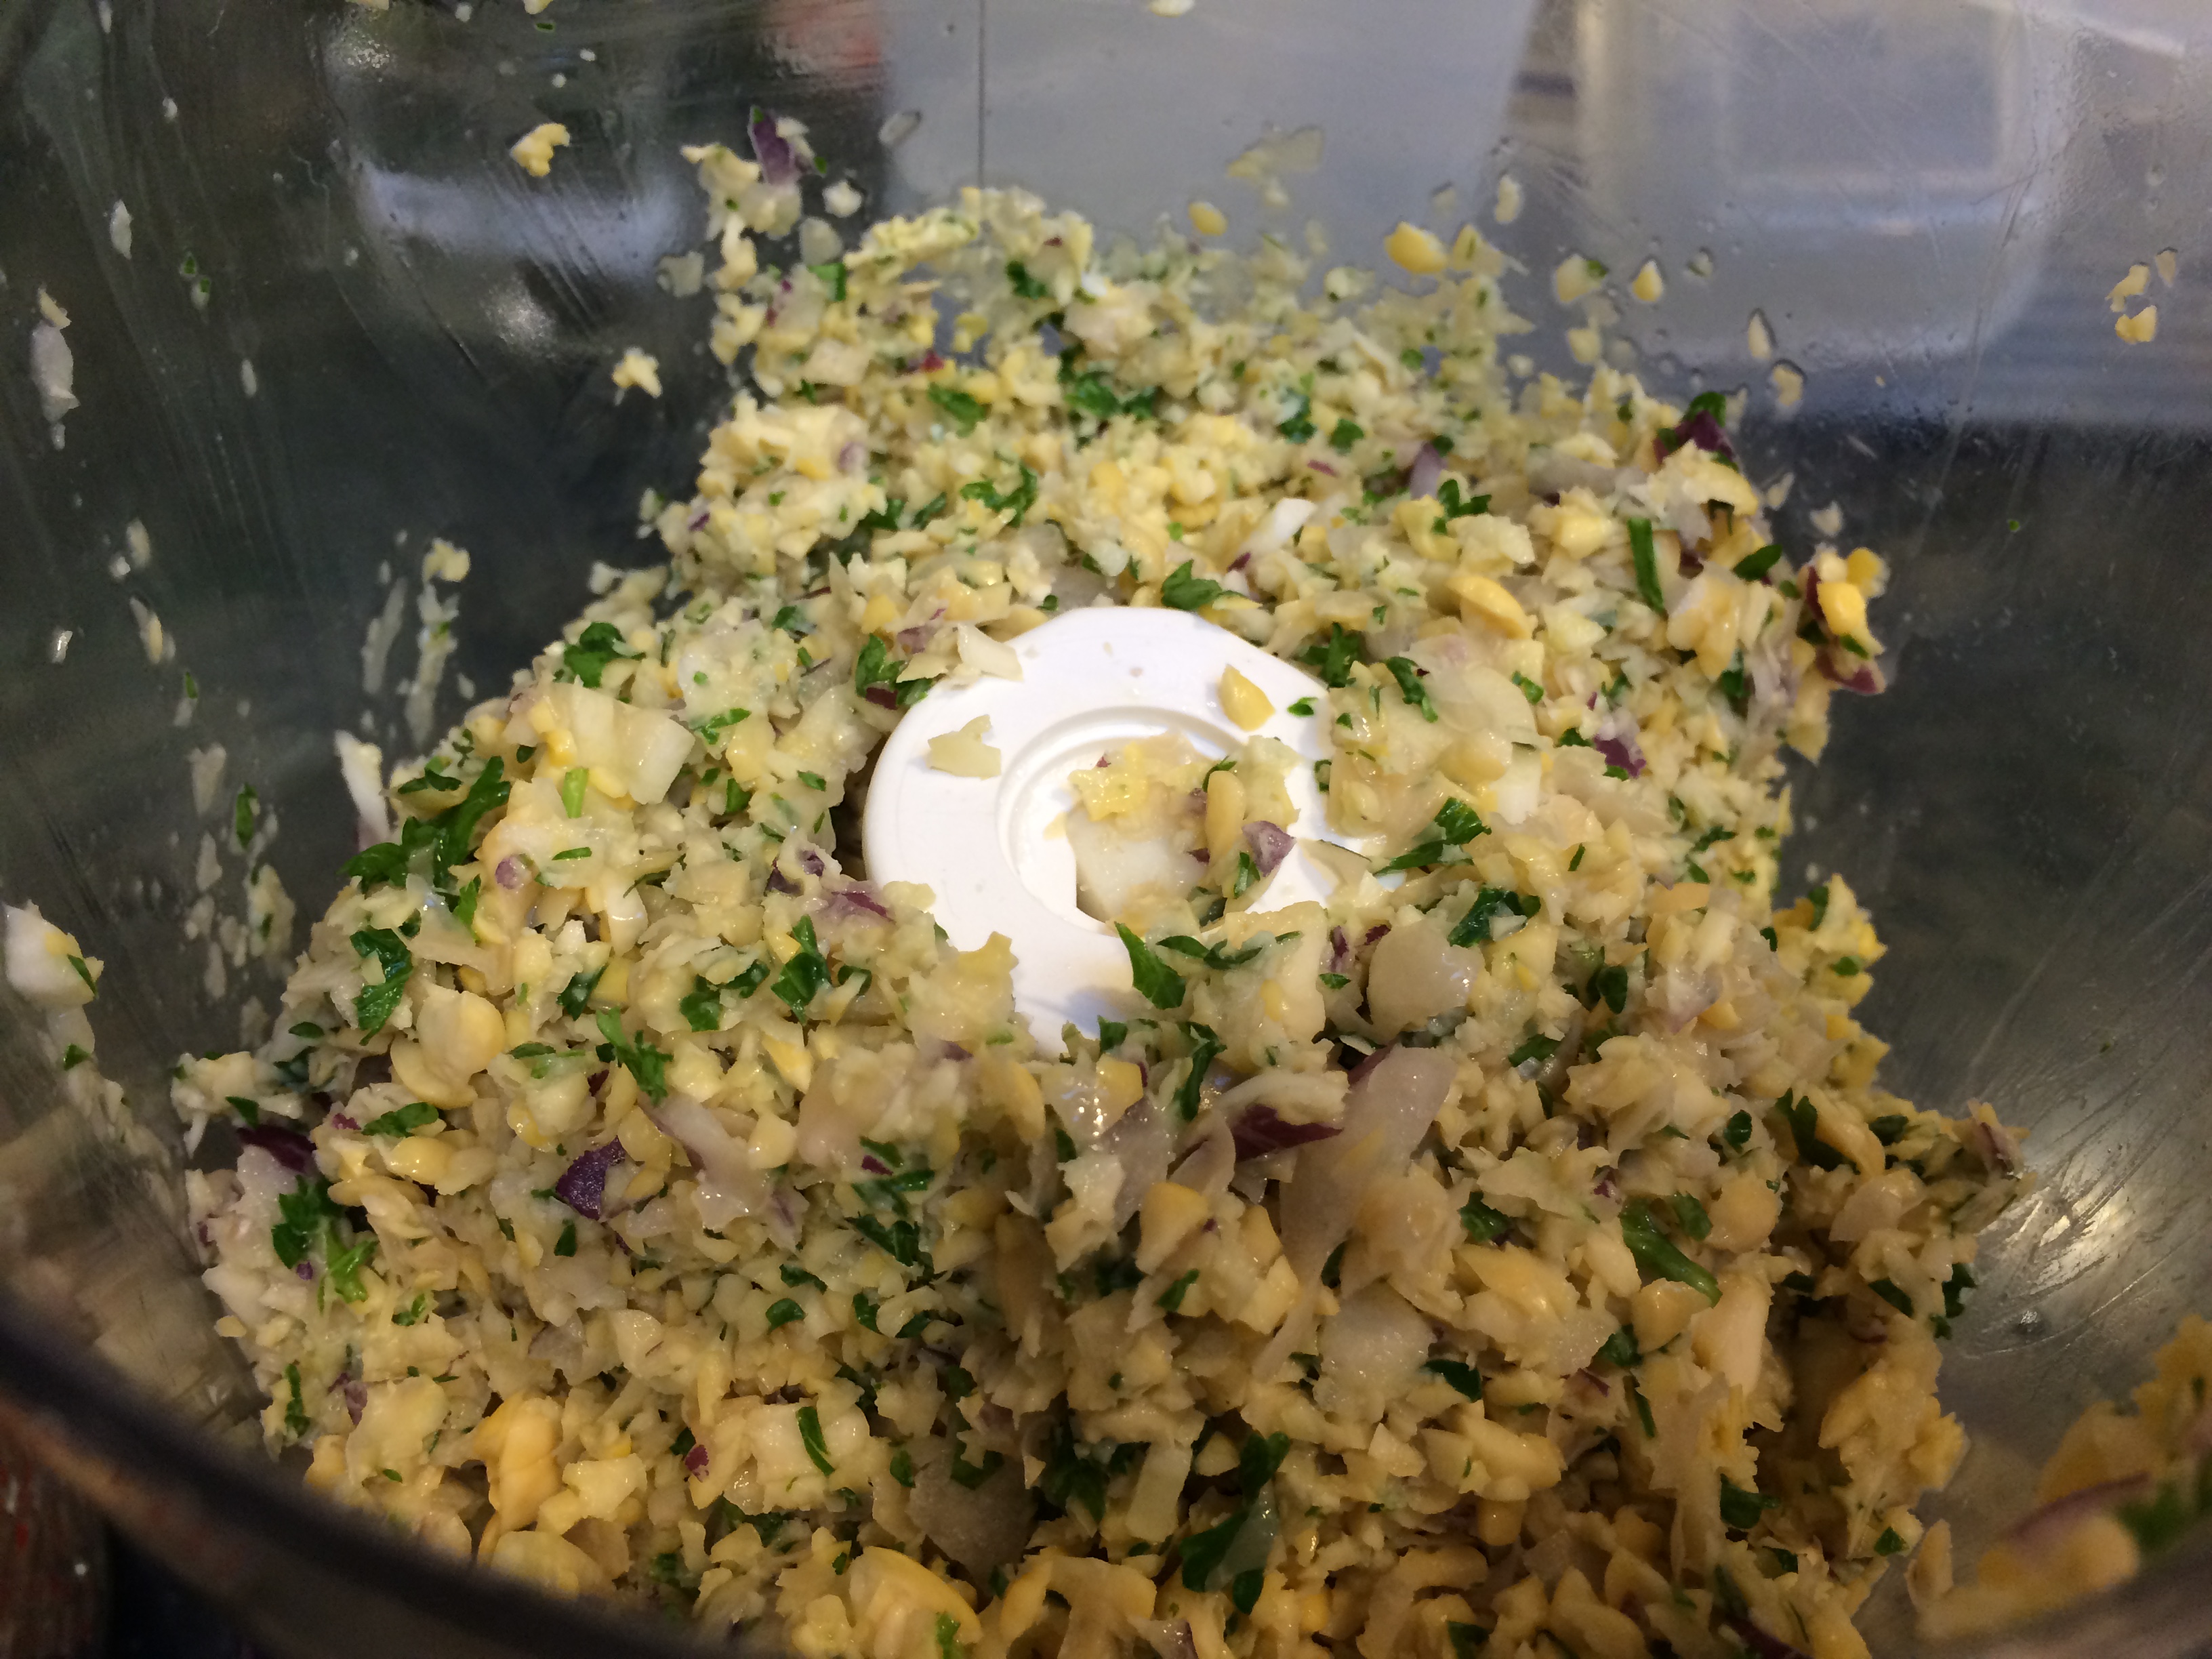
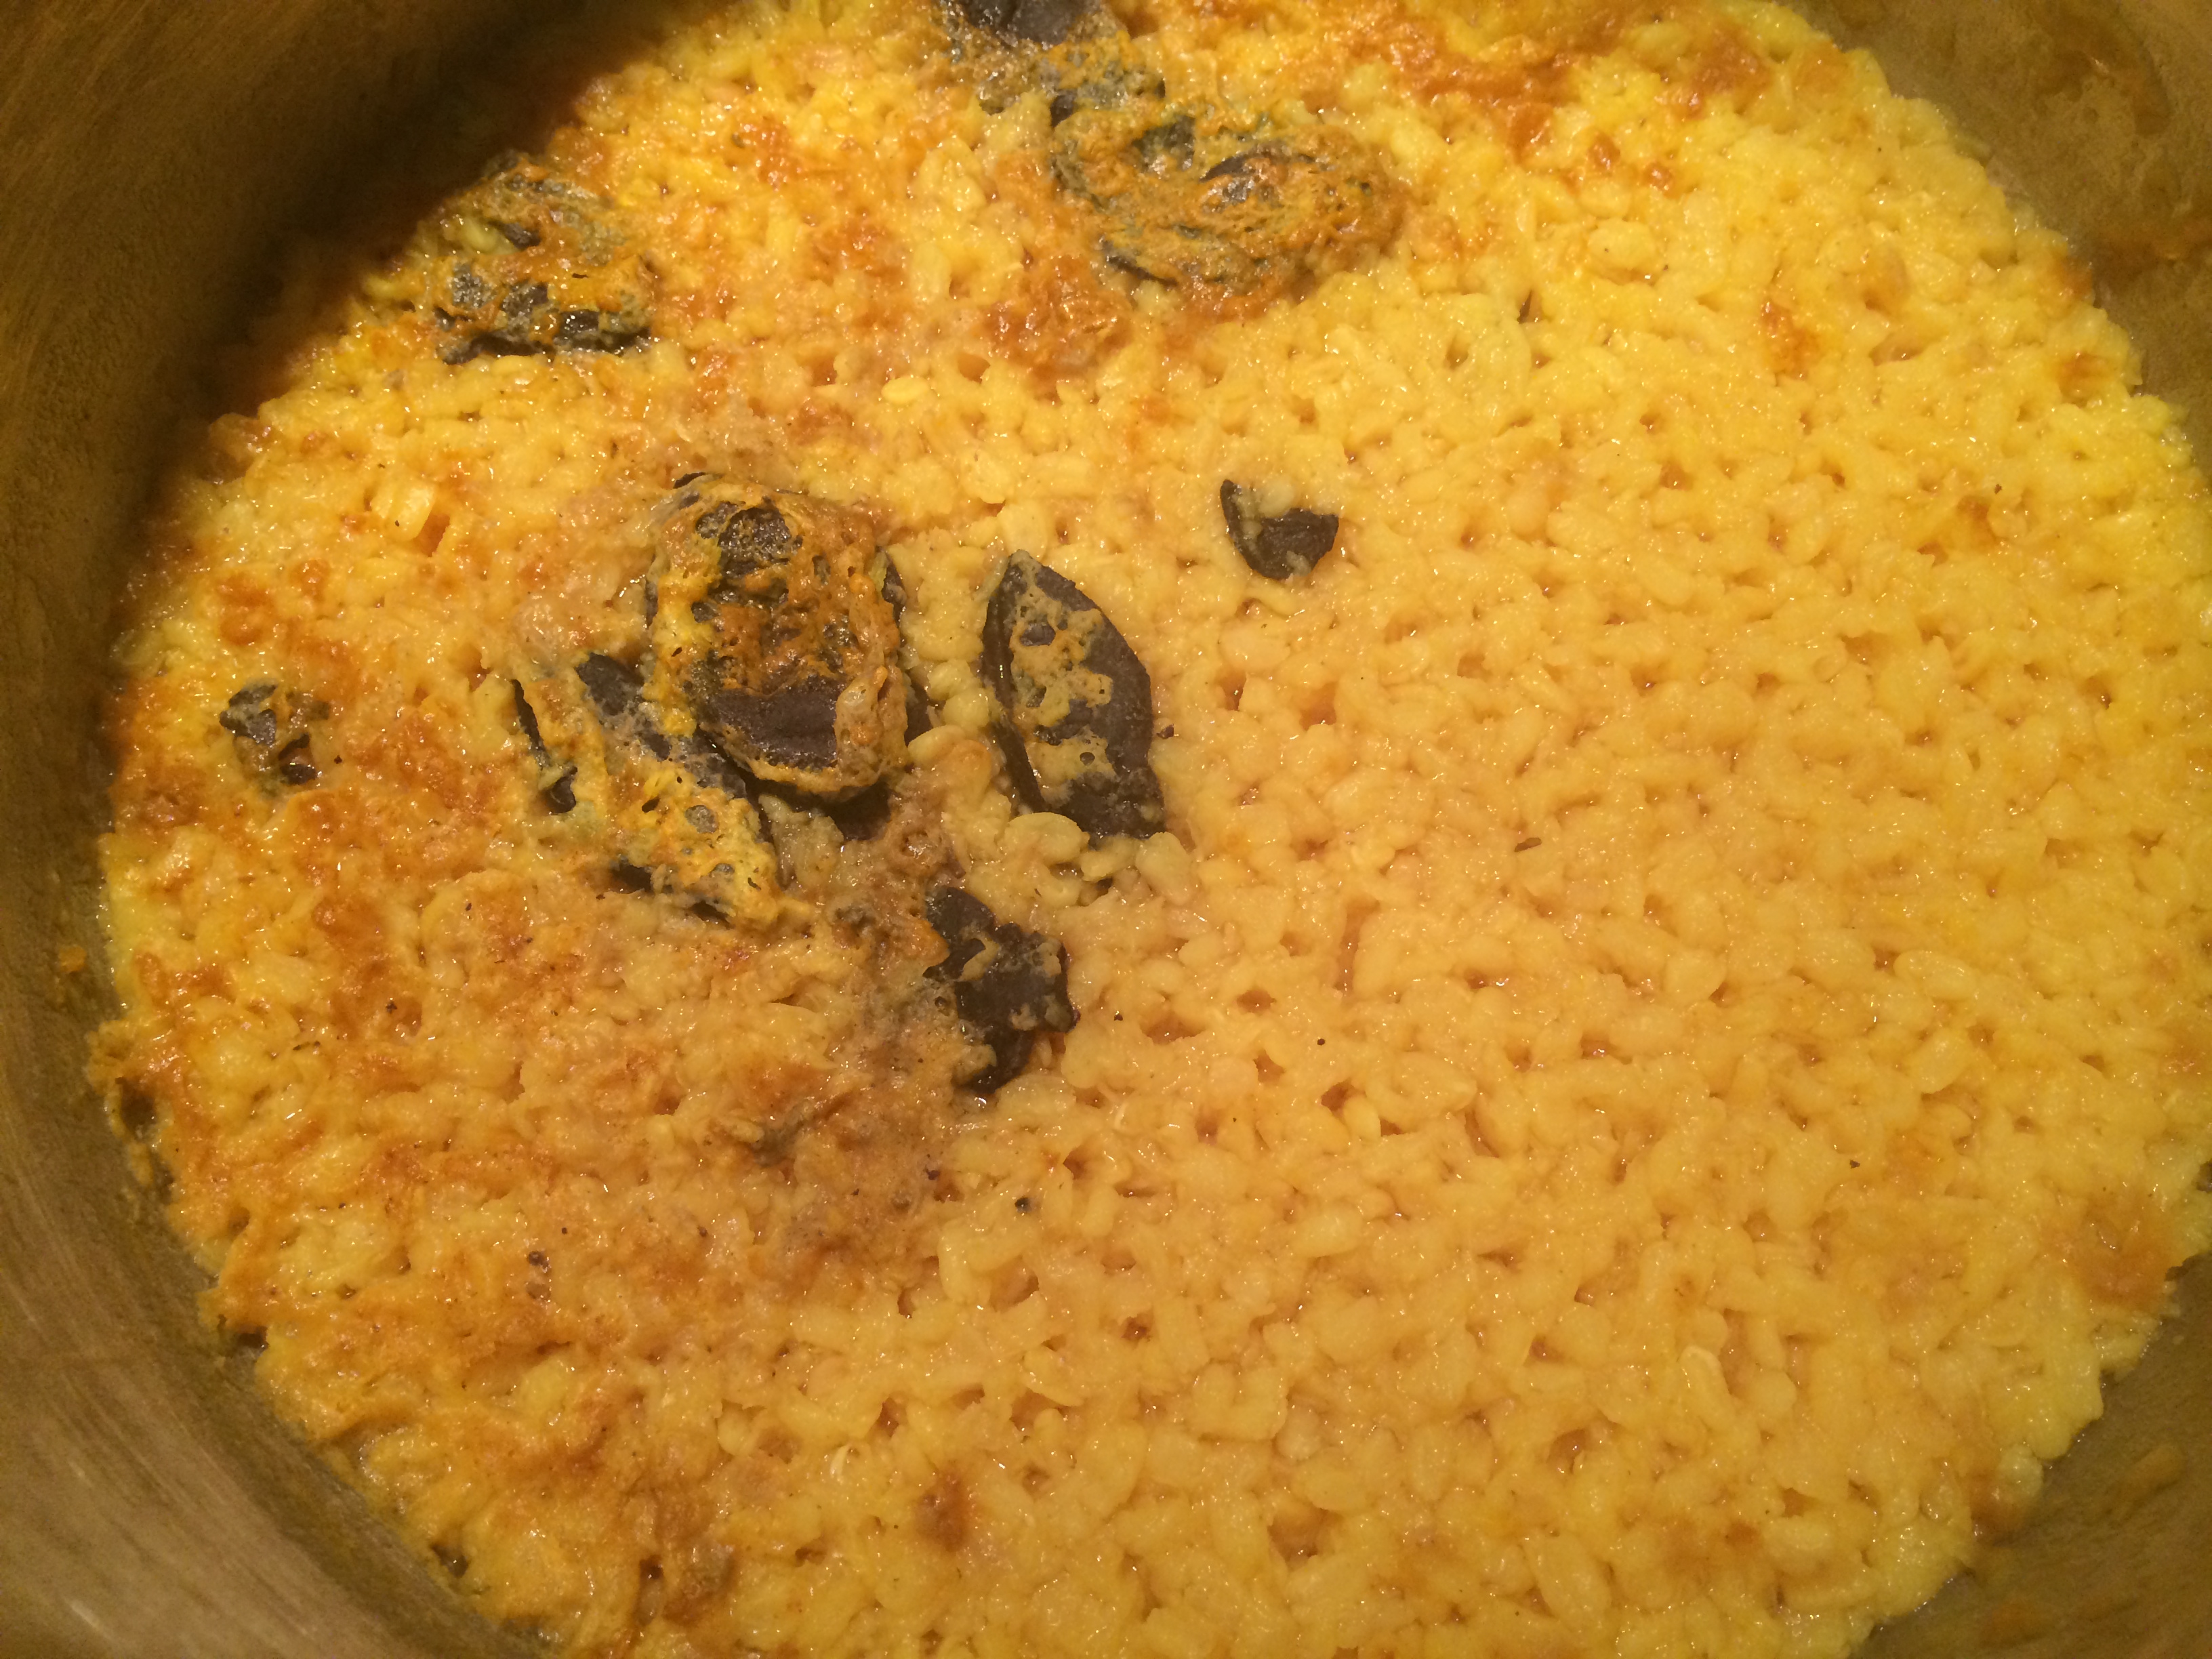
Ground up mash

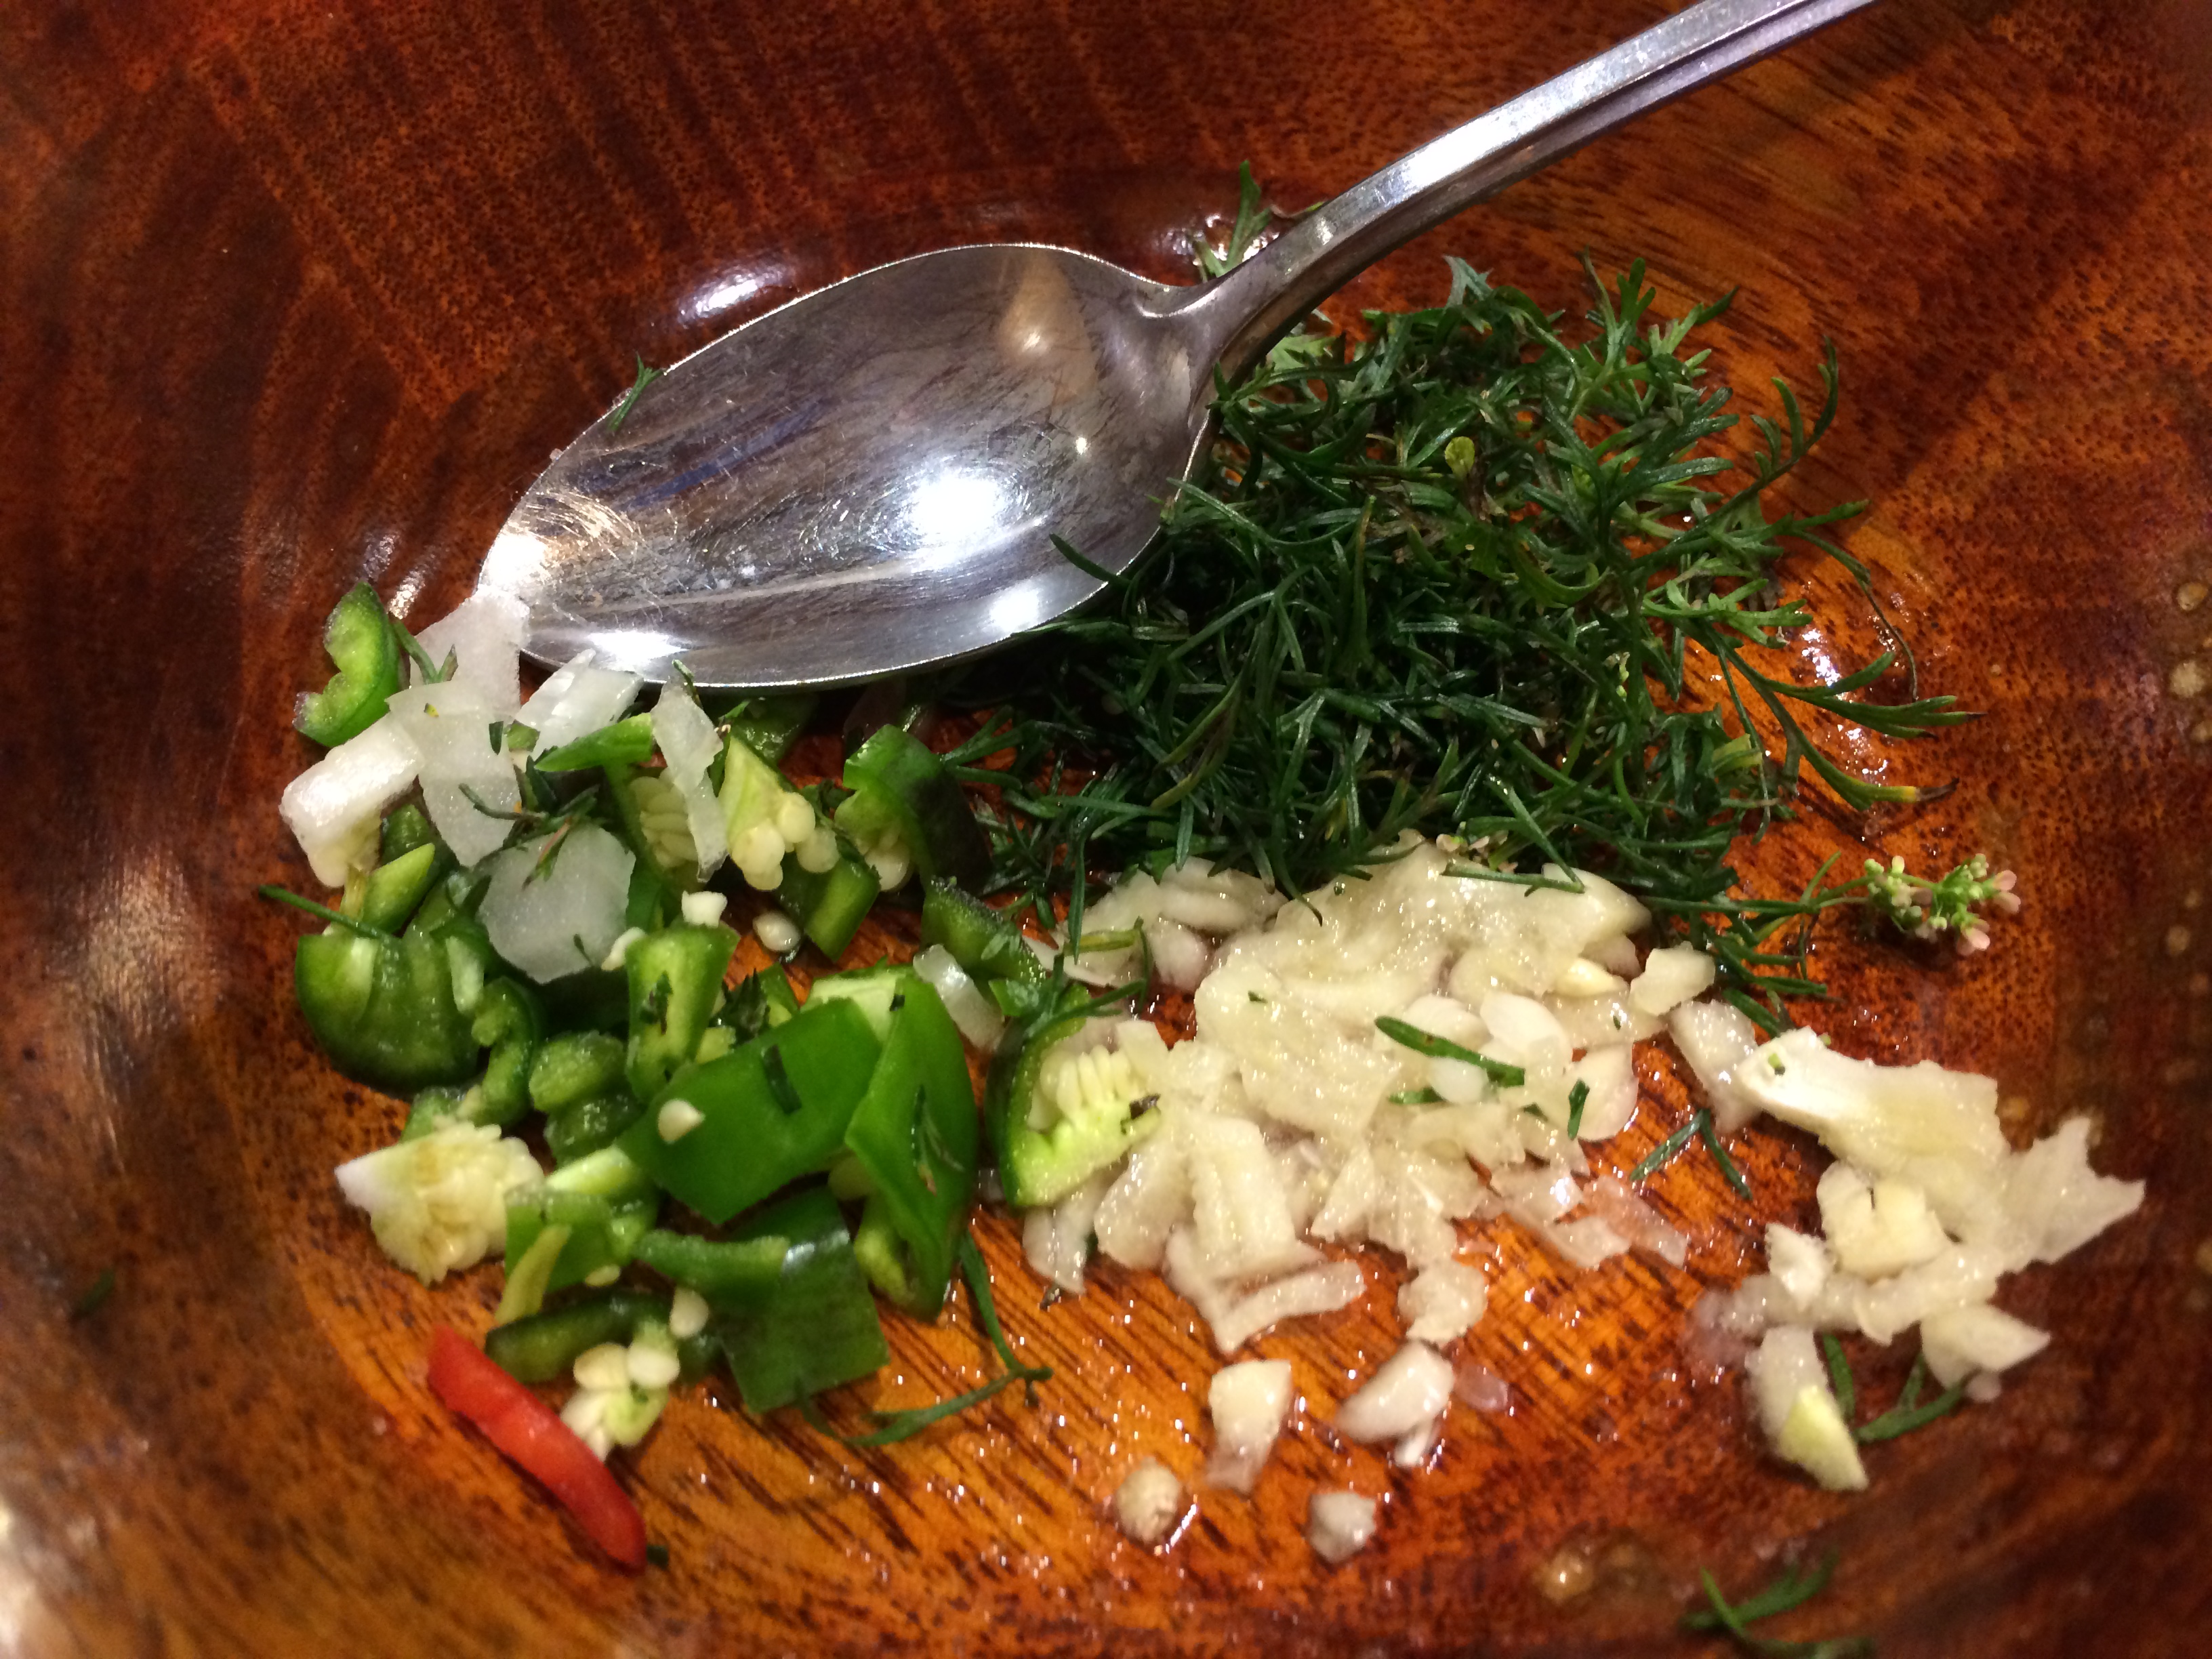
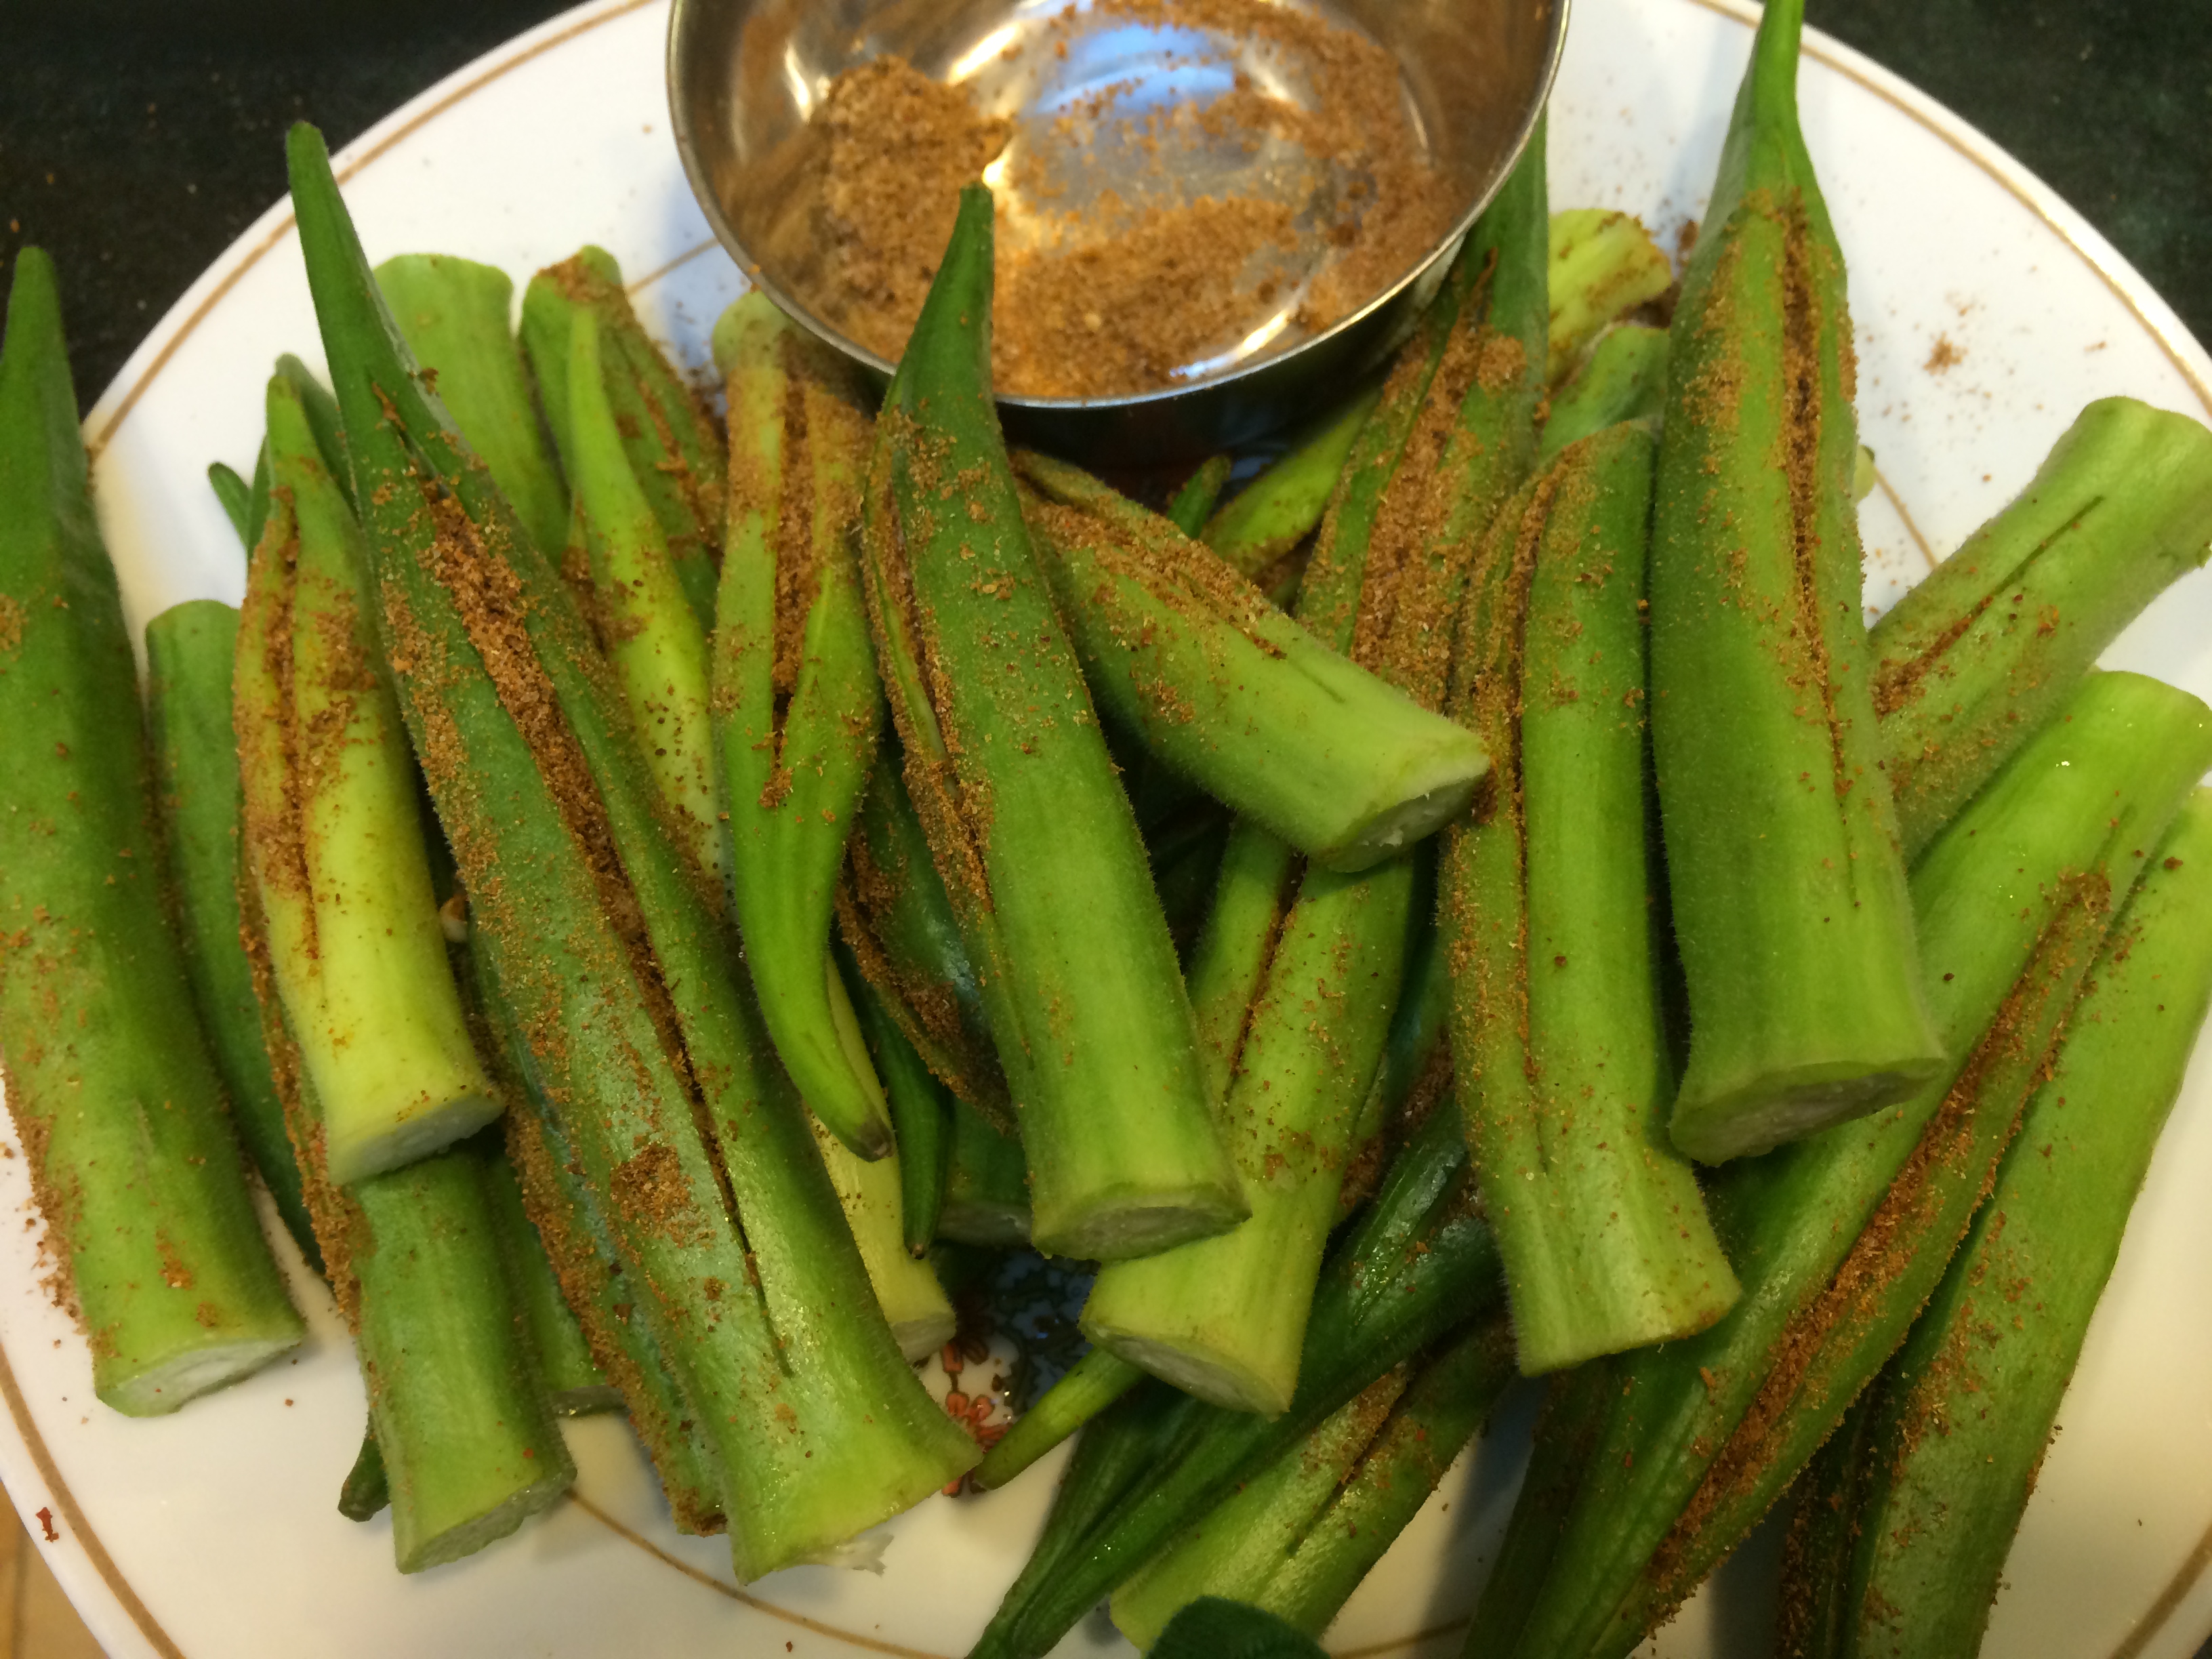
Add some spices

Mixture
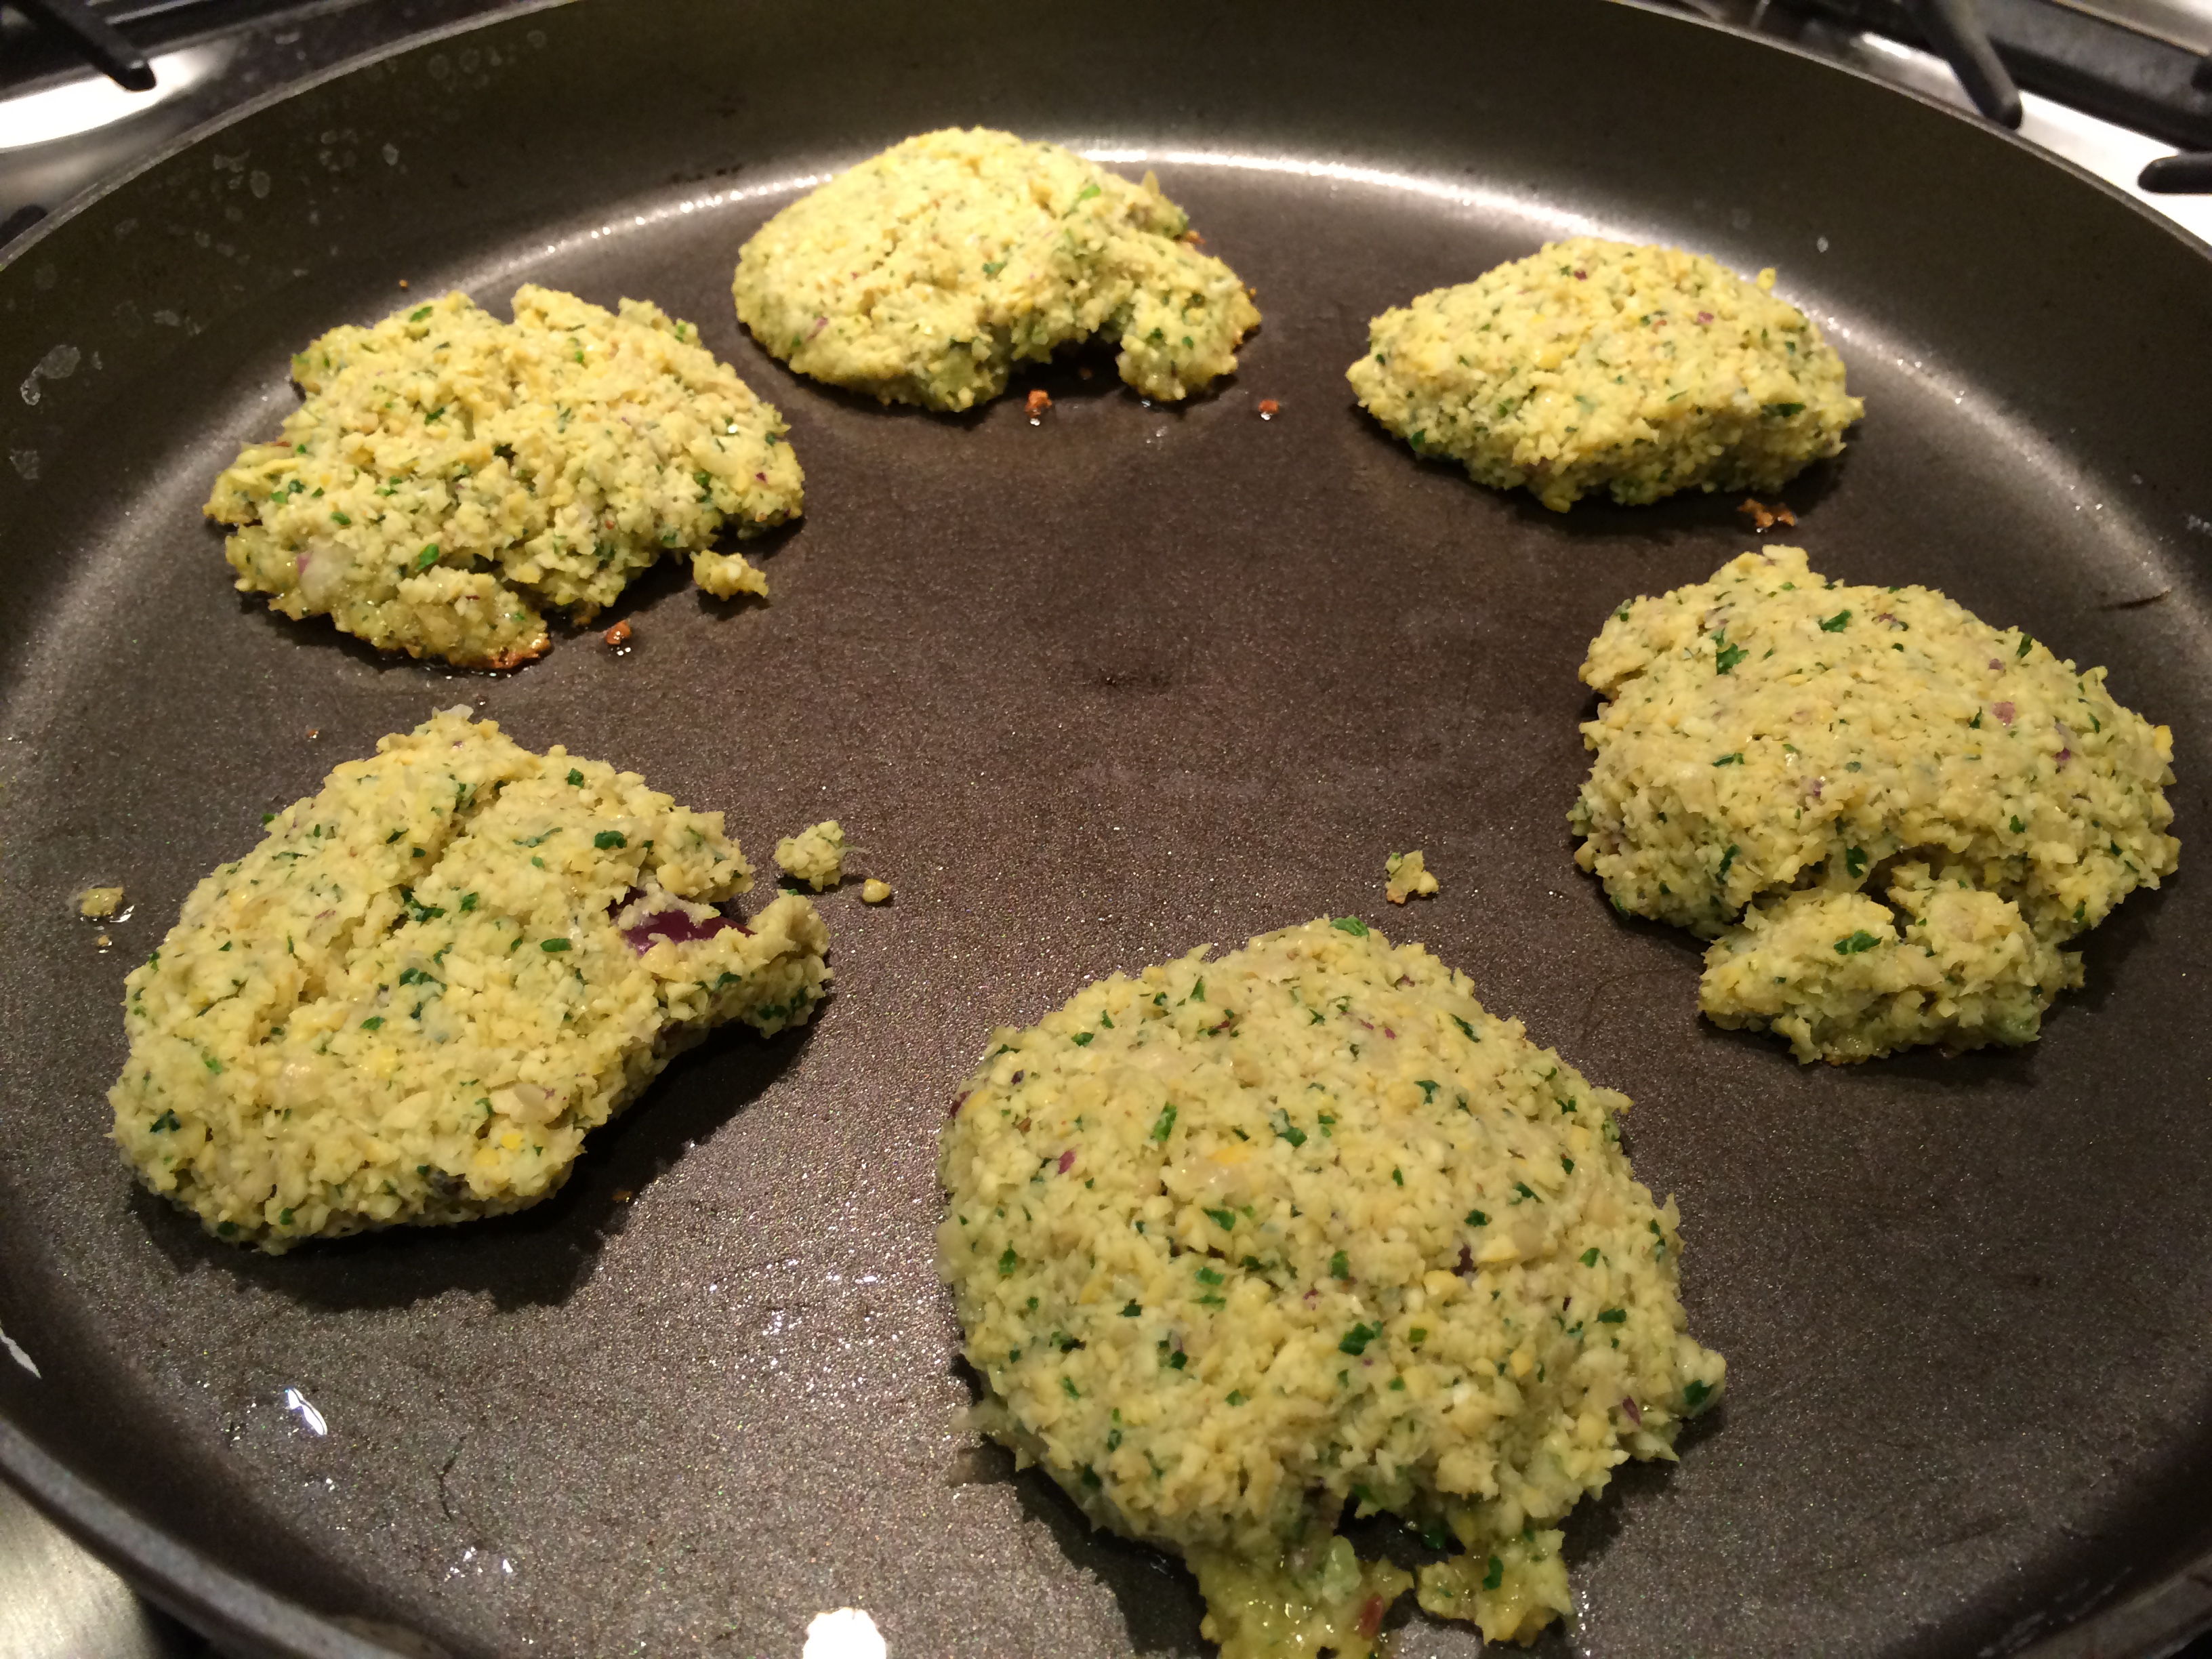
Pan-fry
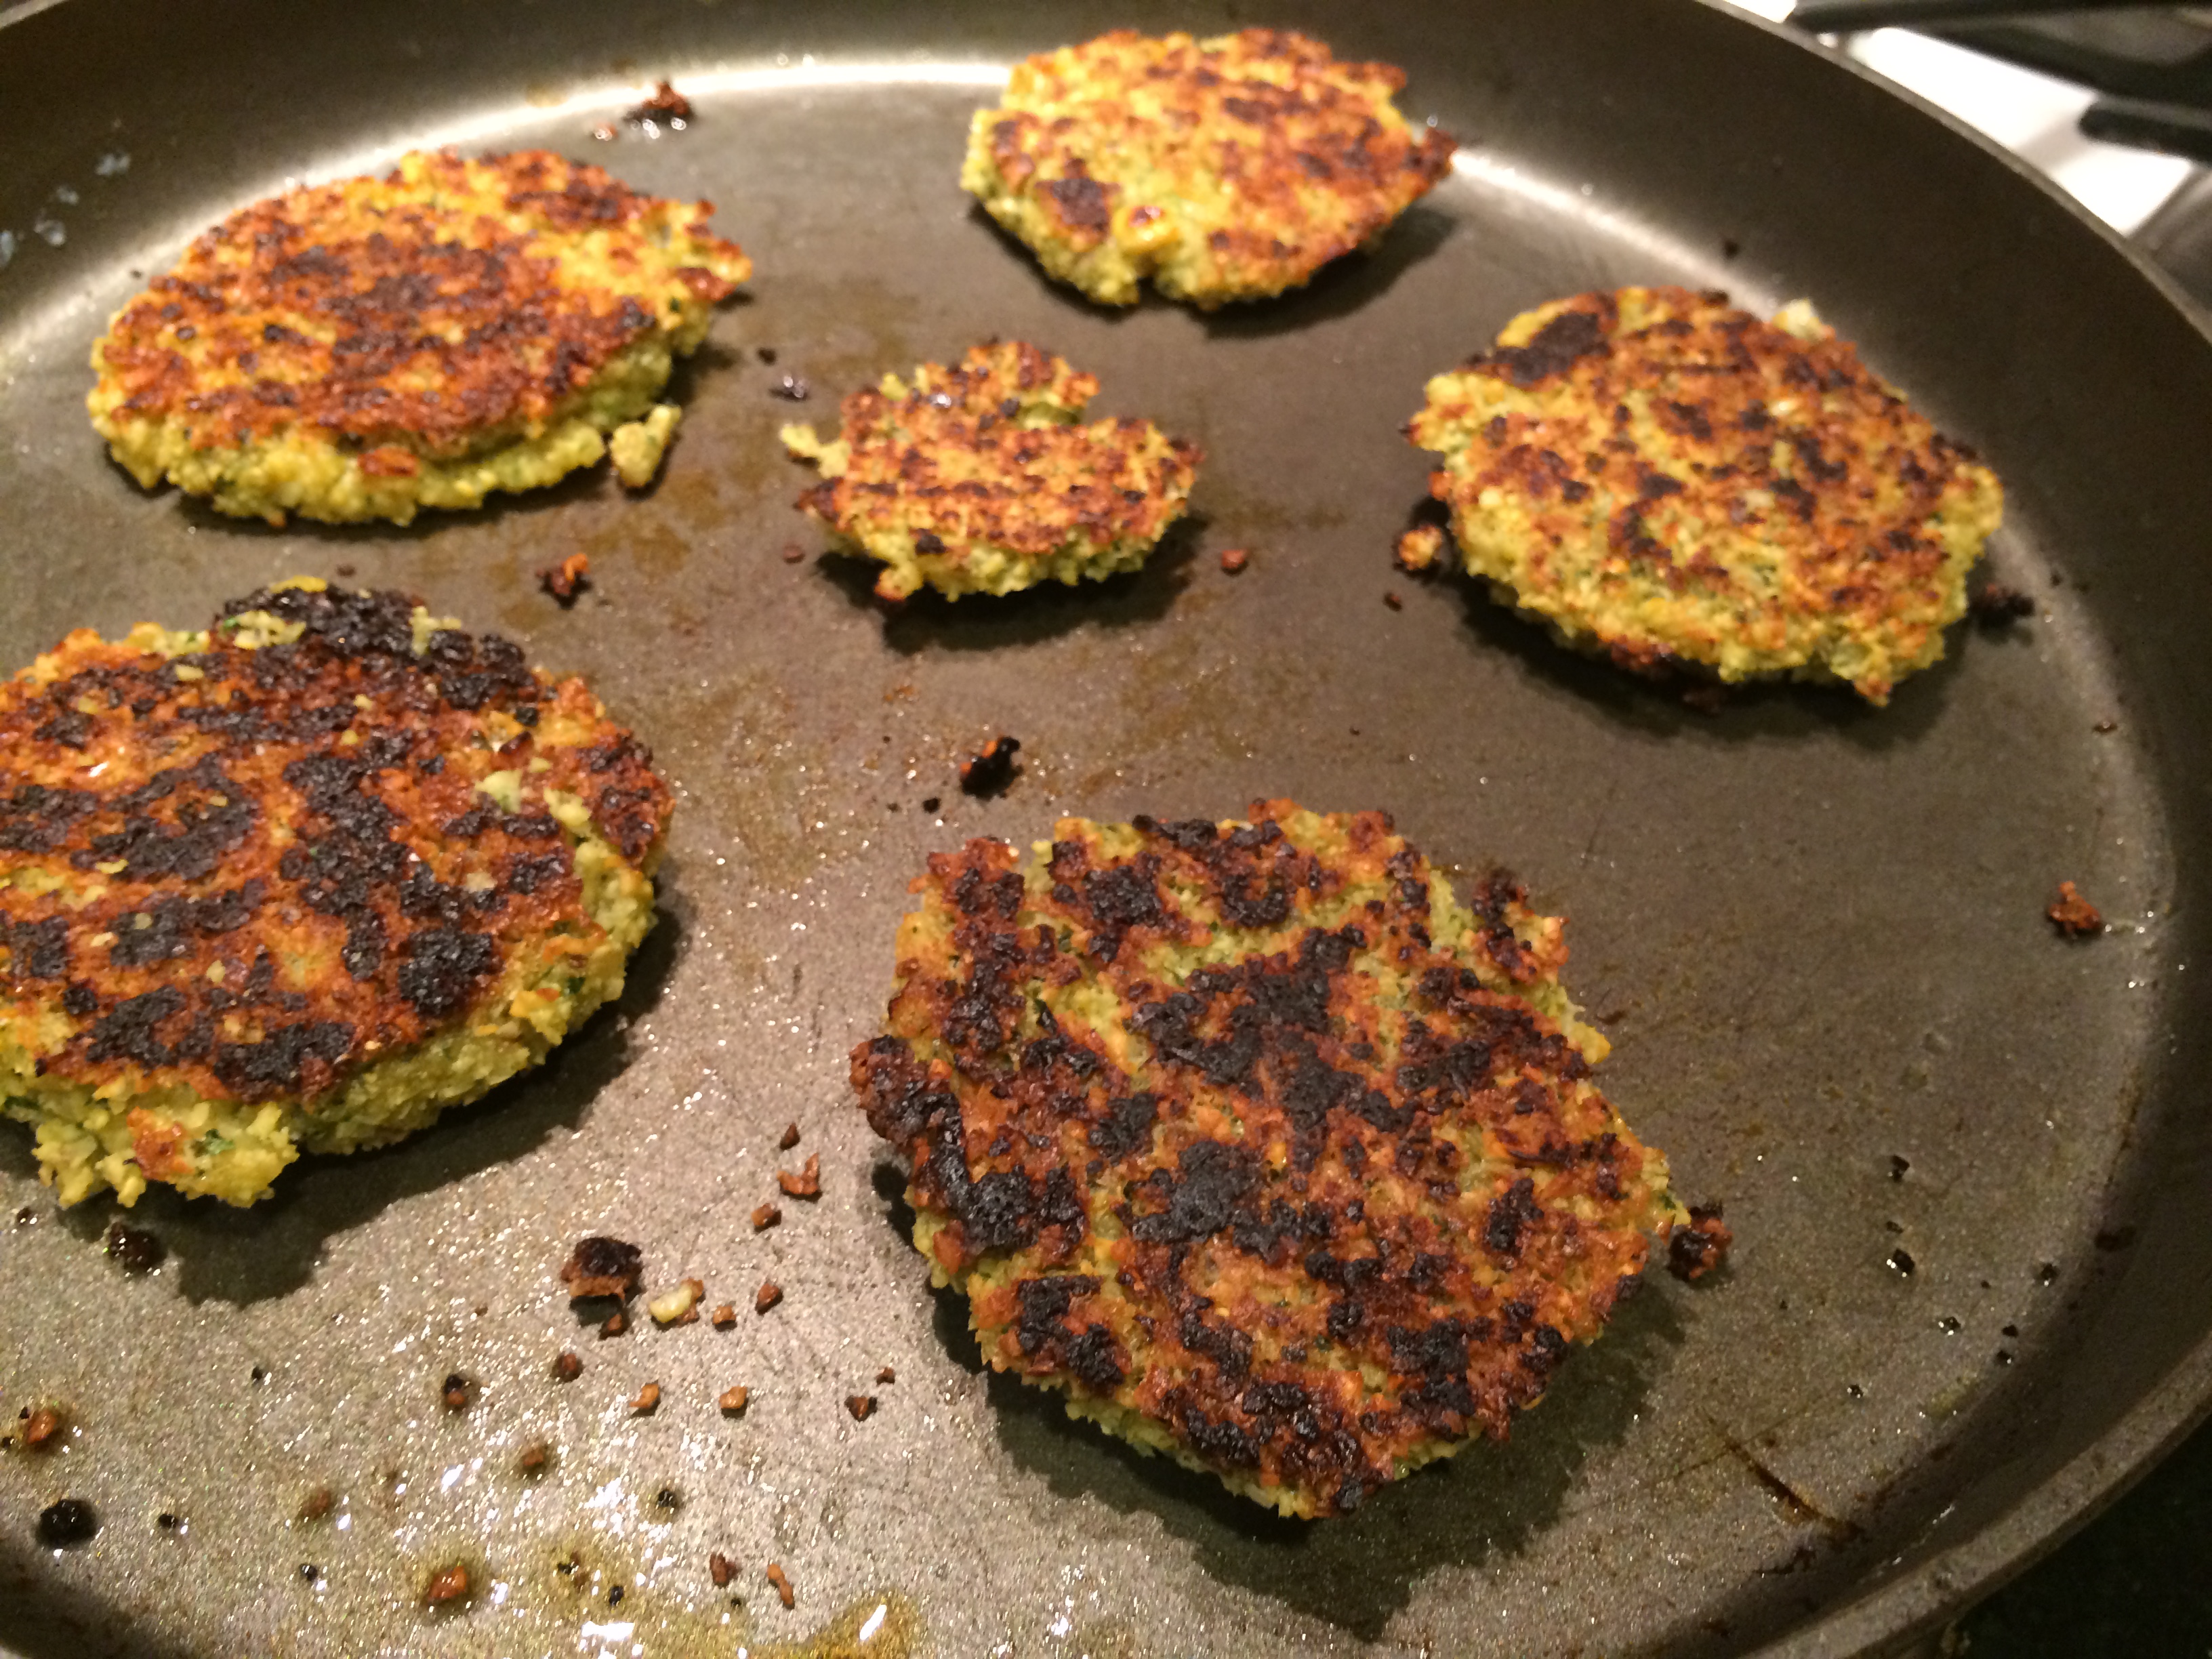
Flipped

Stacked up
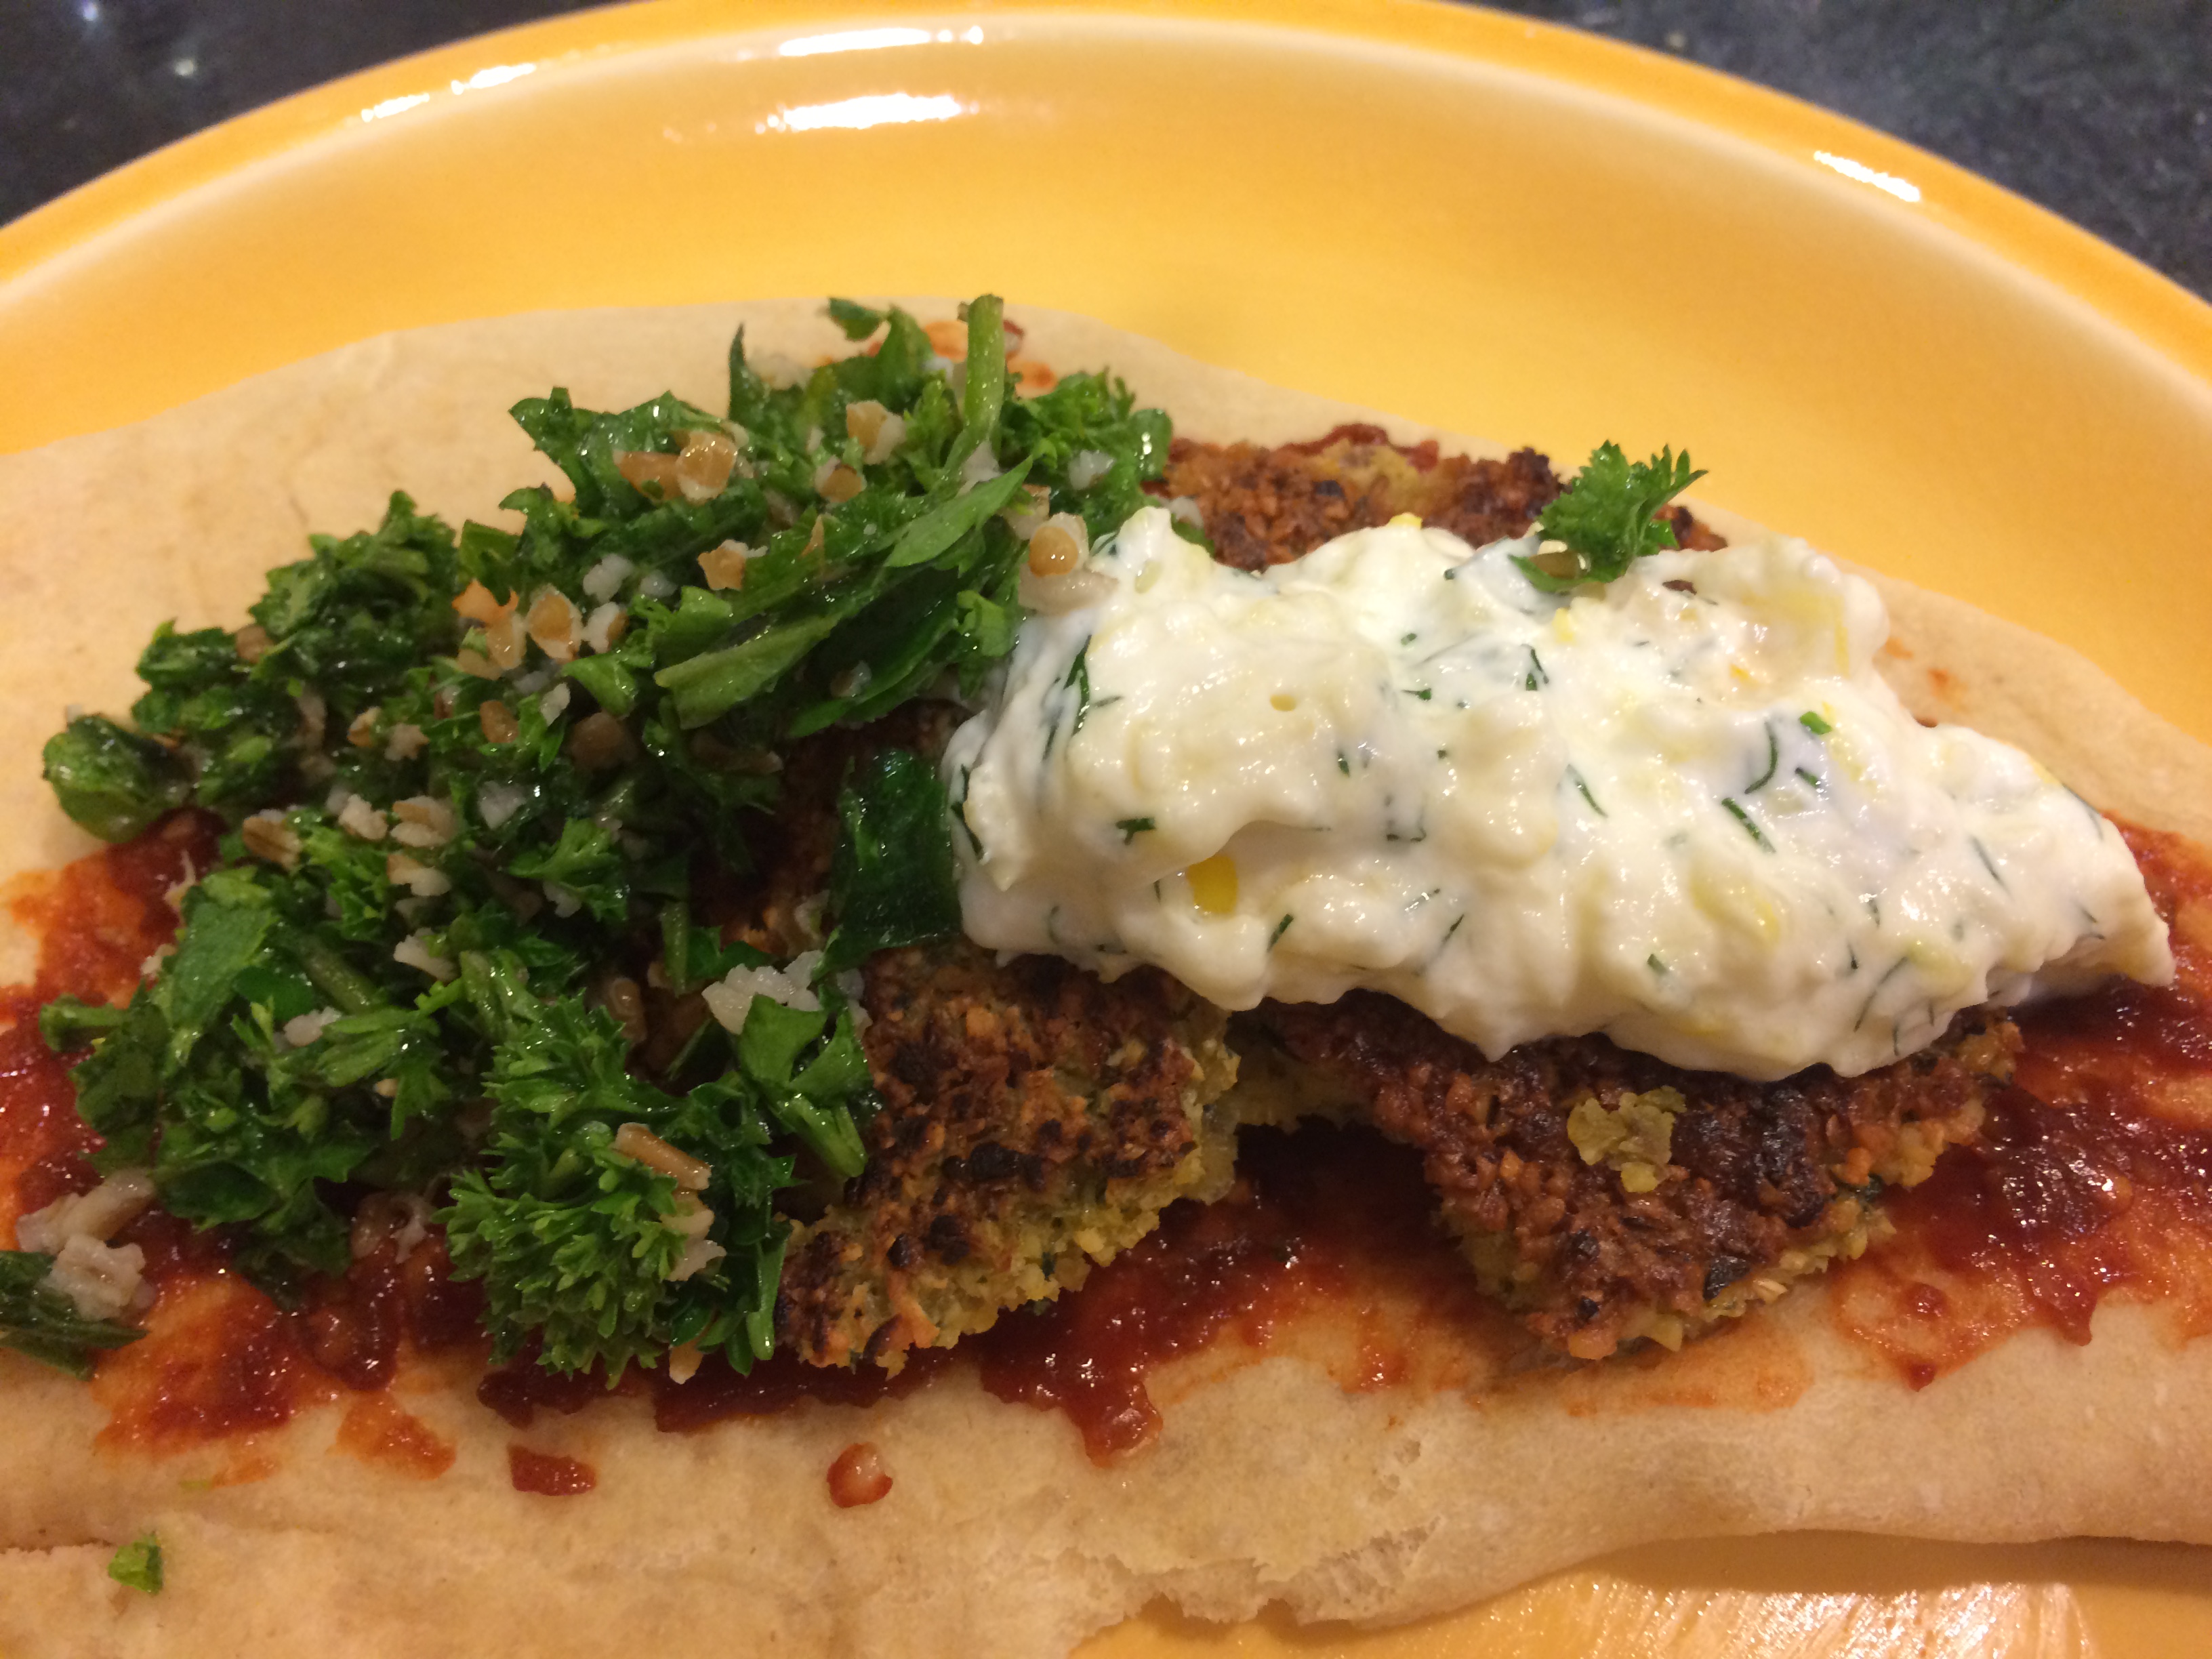
Served on pita
Falafel
Ingredients:
- 1 cup dry garbanzo beans (a.k.a. kabuli channa, a.k.a chickpeas), soaked for 8-10 hours
- 1/2 a medium onion
- 3 fat cloves garlic
- 1/2 cup loosely packed parley leaves
- 1 teaspoon salt
- 1/2 teaspoon paprika or red chili powder (optional)
- 1/2 teaspoon roasted cumin powder (optional)
- Oil for pan-frying
- 1-2 tablespoons all-purpose flour (optional)
Method:
Soak the beans overnight in four cups of water. The next day, they will have swelled enough to fill up almost the entire container. Drain and rinse.
Roughly chop the onion and garlic. Rinse, dry, and take tough stems out of the parsley. Put the beans and vegetables into a food processor, but make sure that everything is well-dried — one does not want extra liquid in the mash. Add salt and the optional spices. I needed two batches of processing.
The resulting mash should be able to clump together, and yet, not be dripping with liquid. At this point, you can add a tablespoon or two of dry flour if you like to bind it. I skipped this step.
When you are ready to fry, get a wide, thick-bottomed pan, preferably non-stick, nicely hot. Add oil generously. Spread oil on your hands and form the patties within your palms. You will need about a golf-ball sized amount of mash for one patty.
Lay it flat on the pan. It will sizzle. Press it flat with a spatula. When the underside seems browned (this will take about five minutes on medium-high heat), put a few drops of additional oil on the top (uncooked) surface of each and flip each gently. Another five minutes and you are done.
Alternatively, you can form balls and deep-fry them. You should make doubly sure that the mash is binding well with the added flour if this is your approach.
Have as a side or in a pita with tabouli (recipe forthcoming), chili pastes, and tzatziki (recipe forthcoming)
(Click here to find me on Facebook and here on Twitter.)

I submitted this recipe to the Virtual Vegan Linky Potluck!