Winged beans sauteed with red-chili garlic paste
The other day, walking through the farmer’s market, I had one of those moments that stops you short in your tracks. I saw an odd sight. I raised a trembling finger and exclaimed — with some rich feeling, I might add — ‘what on earth is that?’
I saw bunches of long frilly green pods sitting next to a whole pile of long frilly green pods. I walked over to the stall where they had already caused a minor stir.
Now The Odd Pantry is no stranger to odd vegetables. It has covered, with delight, the scruffy taro and the anatomical fiddleheads. This one though was new. Completely. At first glance I would have guessed it was a type of seaweed. I could just picture it in great rippling ribbons underwater.
But upon asking the lady of the stall, they turned out to be long beans — yes, legume pods that grow on vines — that had four rows of frills all along the length. Winged beans.

The winged bean
I asked the lady how one would go about eating them.
‘Well,’ she said. Long pause. She looked at me, judging how far to go. ‘Salad, stir-fry.’
Hm. Tight-lipped. The bird was caged but wouldn’t sing. I pressed her for more information. Placing my hand tellingly on my purse, I grilled her for the goods. ‘Out with it,’ I said, noting that she was starting to wilt.
Then it all came tumbling out. She broke off a piece for me to try. Hmm — tastes like — a vegetable. Maybe a fresh green bean of the French sort. ‘Make a paste of garlic and red chili,’ the lady said. ‘I’m Pilipino and that is what we do.’
A man walked up with a cloth shopping bag. ‘You Indian?’ he said to me, waggling his eyebrows. Yes, indeed, I am.
‘You know saag?’ he continues. Eyebrows doing a proper jig, now.
‘Intimately,’ I reply.
‘You cook it like saag!’ he says like a punchline, rifling through the bunch of winged beans.
Hm. I think I’ll stick with what the lady said.
Winged beans (Psophocarpus tetragonolobus)
This has become a habit. The Alemany Farmer’s Market will introduce me to a brand new vegetable that then turns out to be a complete miracle plant, so much so that you would think the Department of Marketing this vegetable is making stuff up. What else can you think about a plant that offers so much?
- Every part of it can be eaten. From a New York Times article: ‘Theodore Hymowitz, an agronomist at the University of Illinois who is a member of the Academy’s panel on the winged bean, said, ”it’s like an ice cream cone – you eat the whole thing.”‘
- Excellent source of vitamins, minerals, protein, calories.
- It can grow in nutrient-poor soils
- The seeds can make a coffee substitute
- The leaves can be a tobacco substitute
- Can produce a milk like soymilk
- The milk from the beans can be fermented into tempeh
- Mushrooms can be grown on the dried pods
- Can be boiled, roasted, stewed, stir-fried, eaten raw, or in soups
- Can be grown as animal fodder, and used as a cheap source of protein for fish farmed for food
There is also an enduring mystery about winged beans — nobody has found the wild form of it. Given its wonderful qualities it isn’t surprising to find it cultivated in any resource-poor traditional culture that can grow it. It is grown for its roots in Burma, in South East Asia for its pods, in great variety in New Guinea (where the winged bean has developed a fondness for the mountains).
But the wild form of it has never been found. Where is it really from? Some guess Africa because most of its relatives come from there. Some guess New Guinea because it just seems so at home there. Perhaps the wild form has become extinct. Who knows? Entire careers in botany could be made or broken on this one fact. So if you see a wild winged bean growing somewhere out on your travels, call someone!

Winged bean roots for sale in Burma. (source: Wikimedia Commons user Wagaung own work)
Winged bean stir-fry
I figured I would stir-fry the winged bean pods using some South East Asian ingredients. Shrimp paste is often used in these cuisines, and I didn’t possess any, so I used anchovies to replace that missing umami flavor. Also, fish sauce. This is a light salty liquid that is extracted from the fermentation of fish. It is a great replacement for soy sauce that can instantly take a dish from tasting Chinese to tasting more tropical, reminiscent of islands and bays and inlets and other such watery waterworlds.

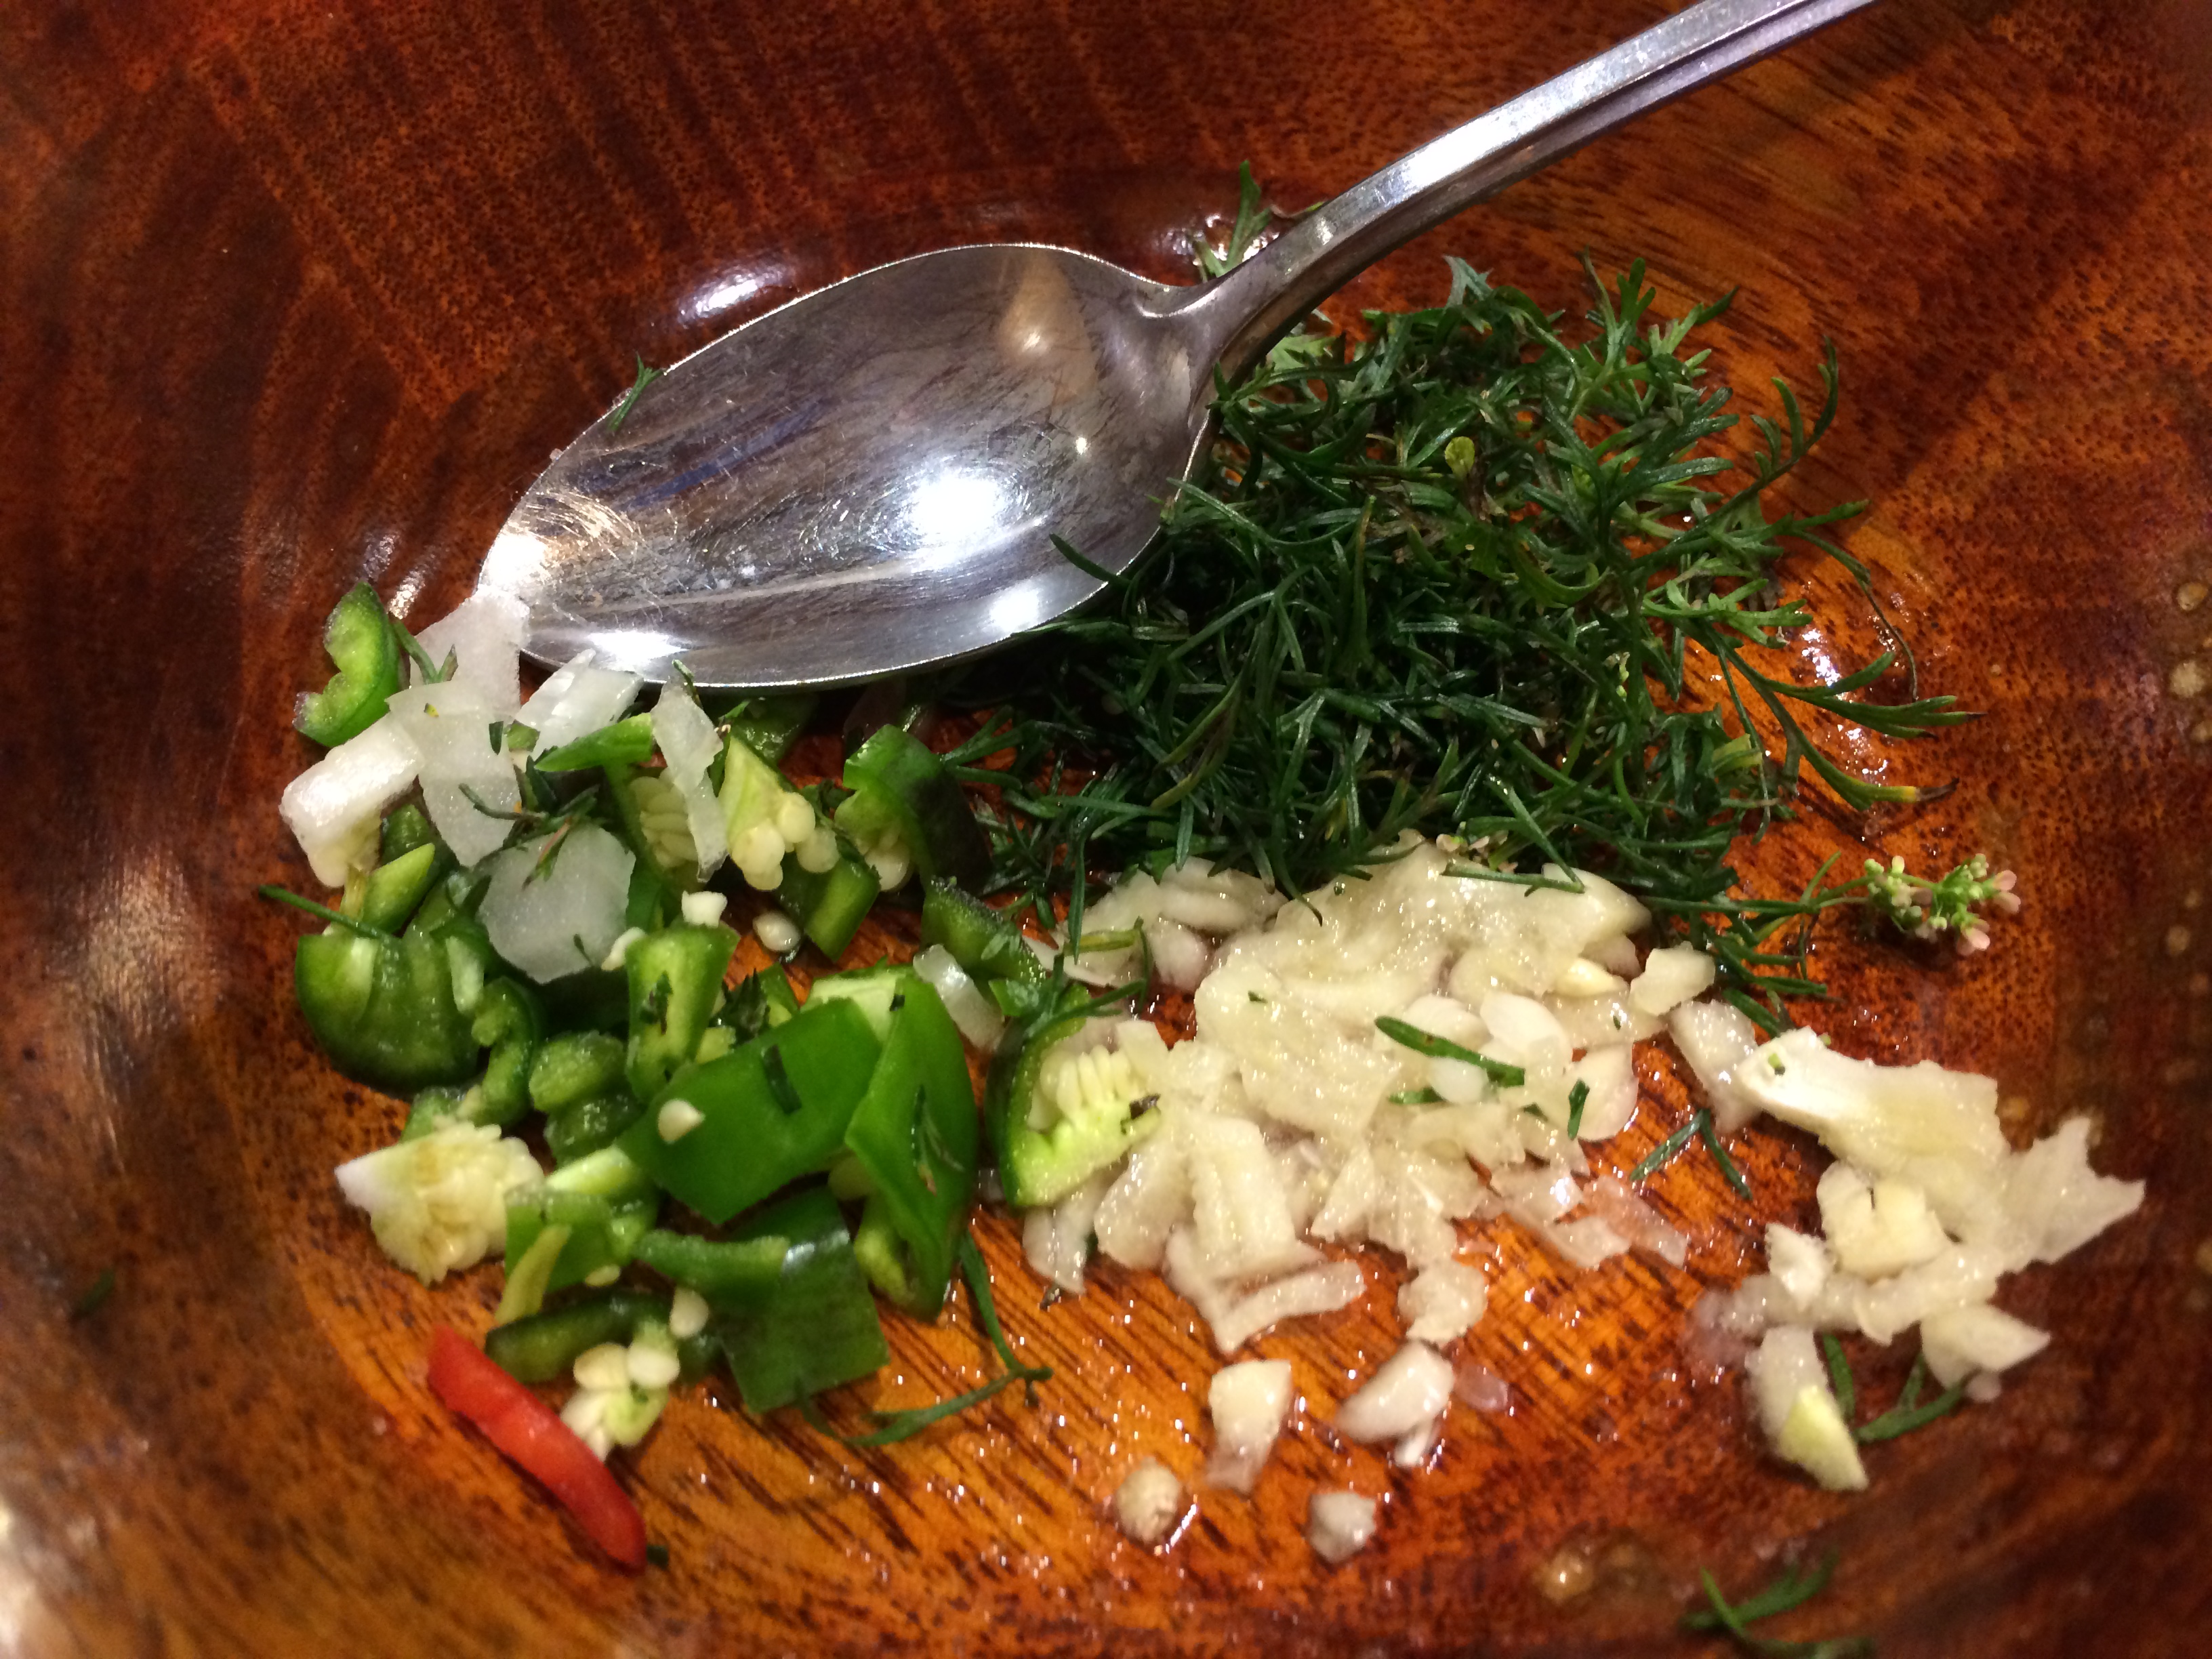
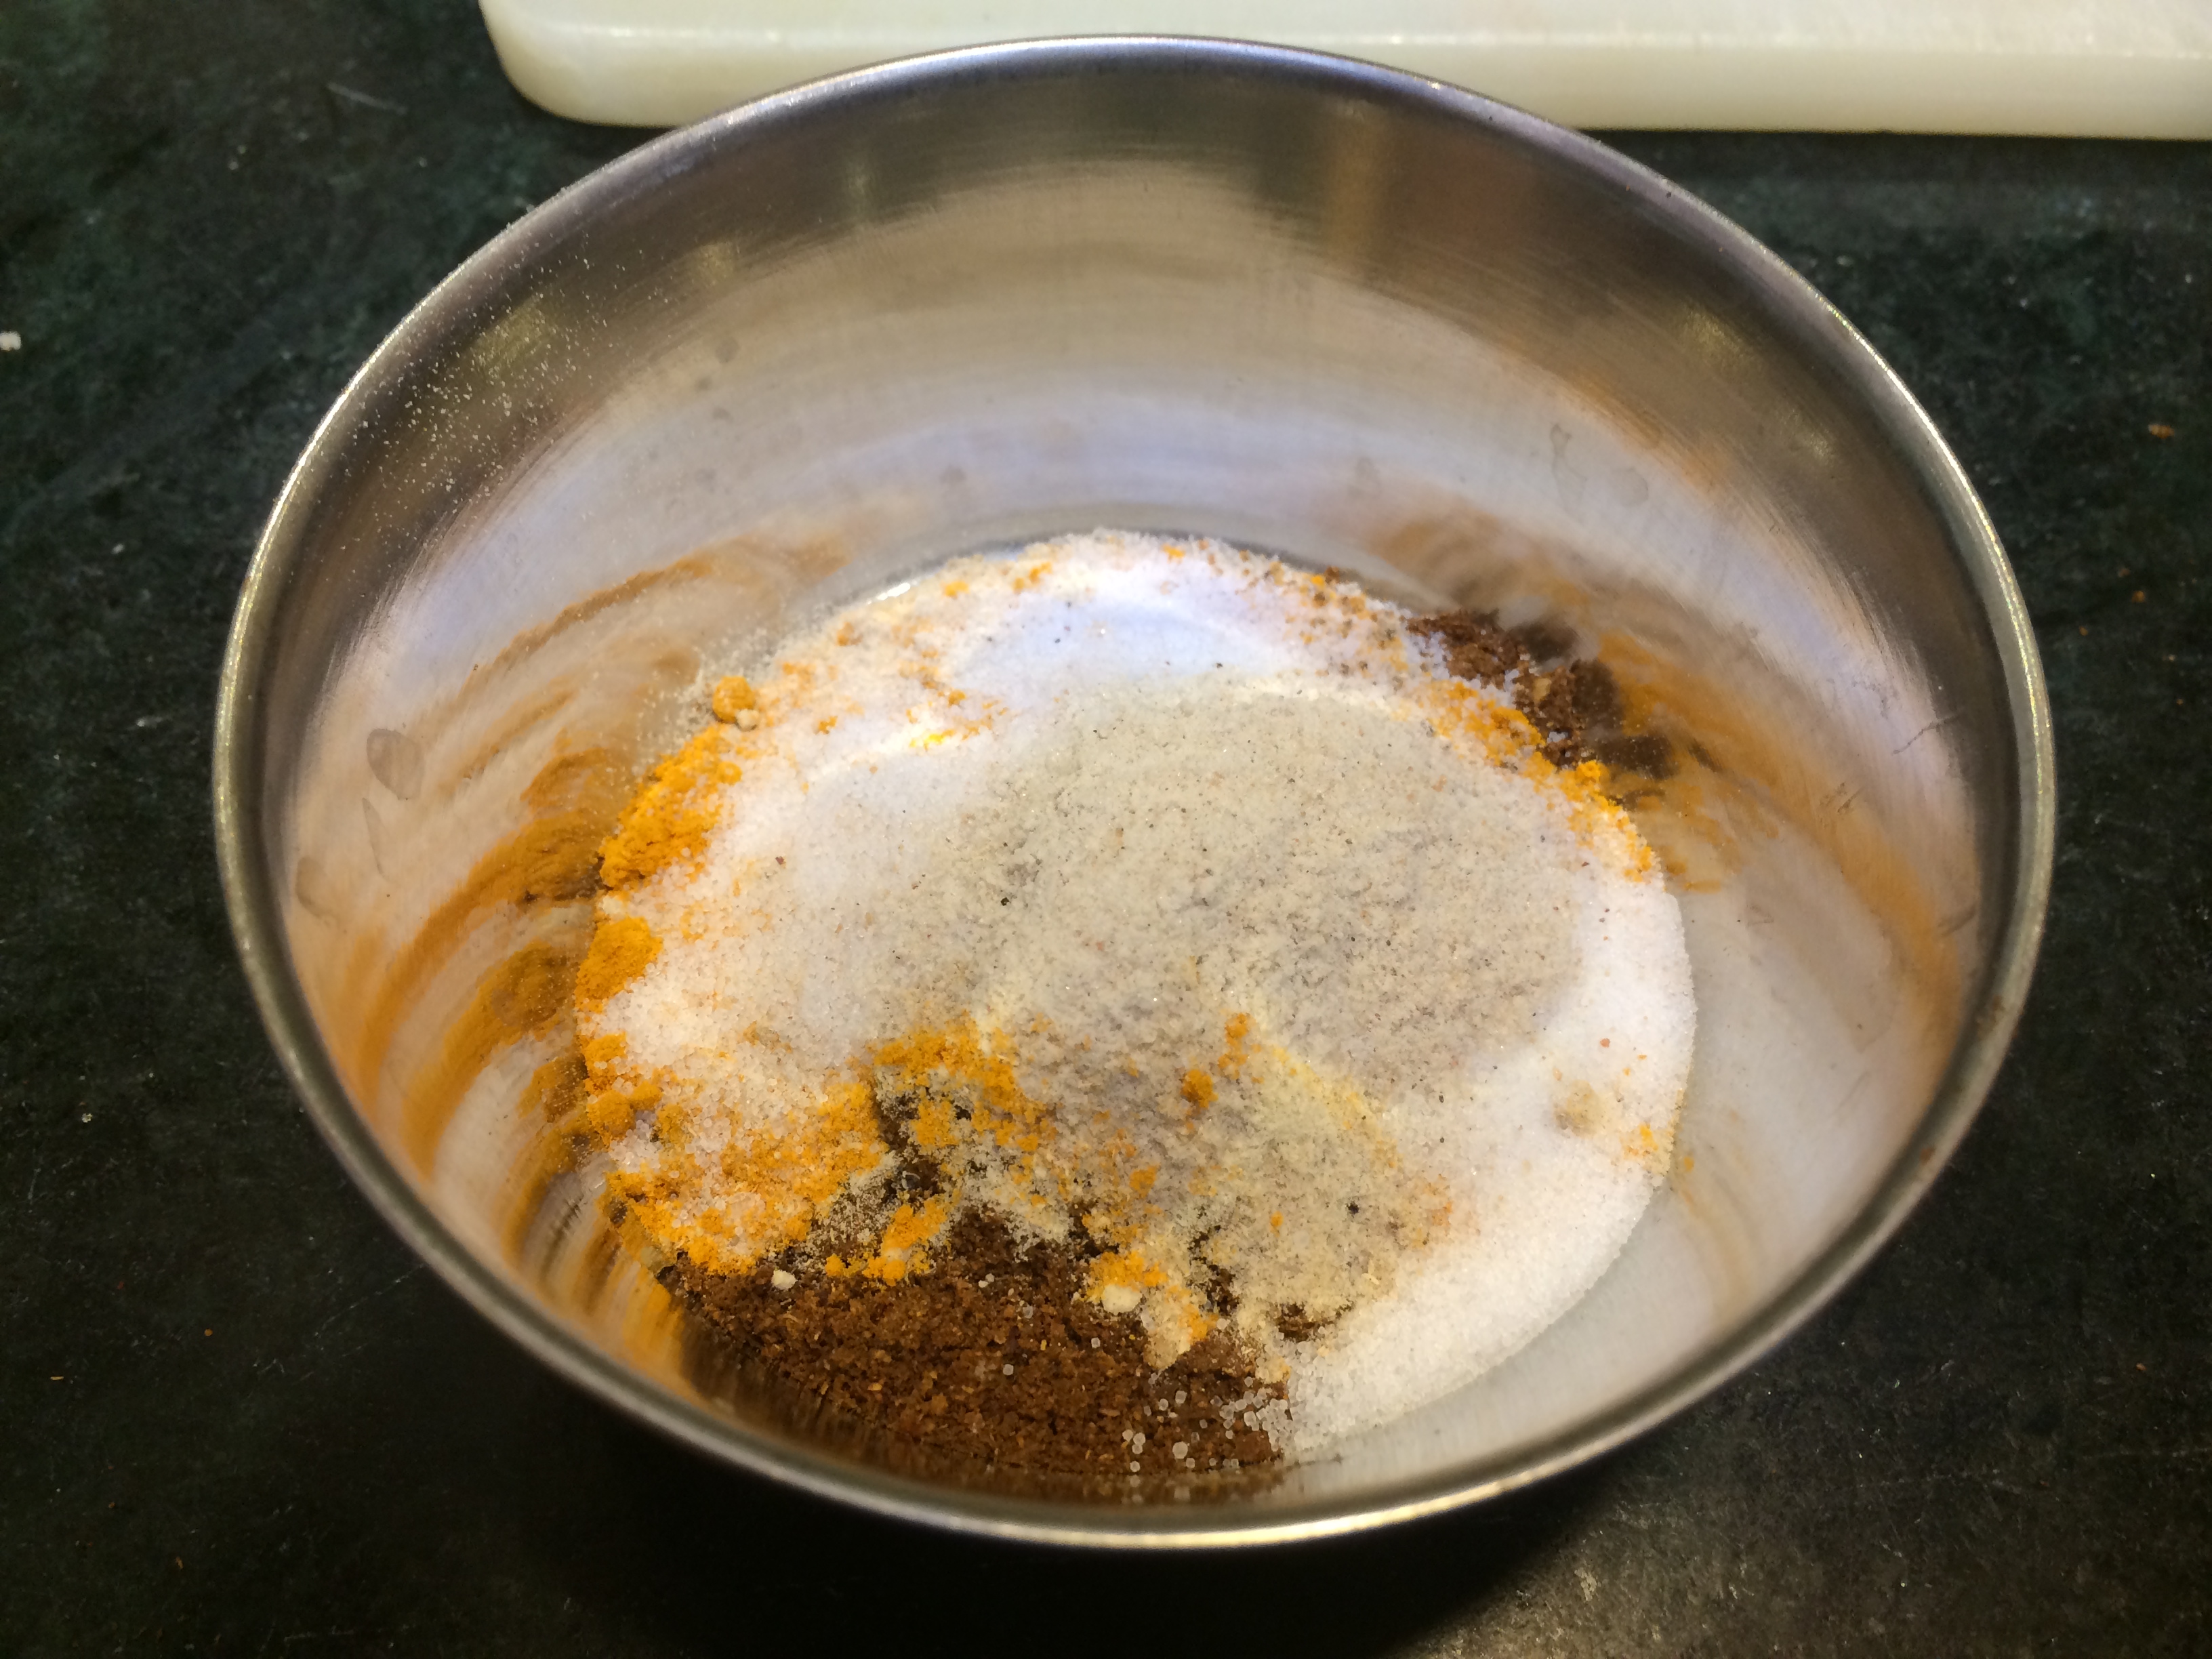
Garlic and red chilies
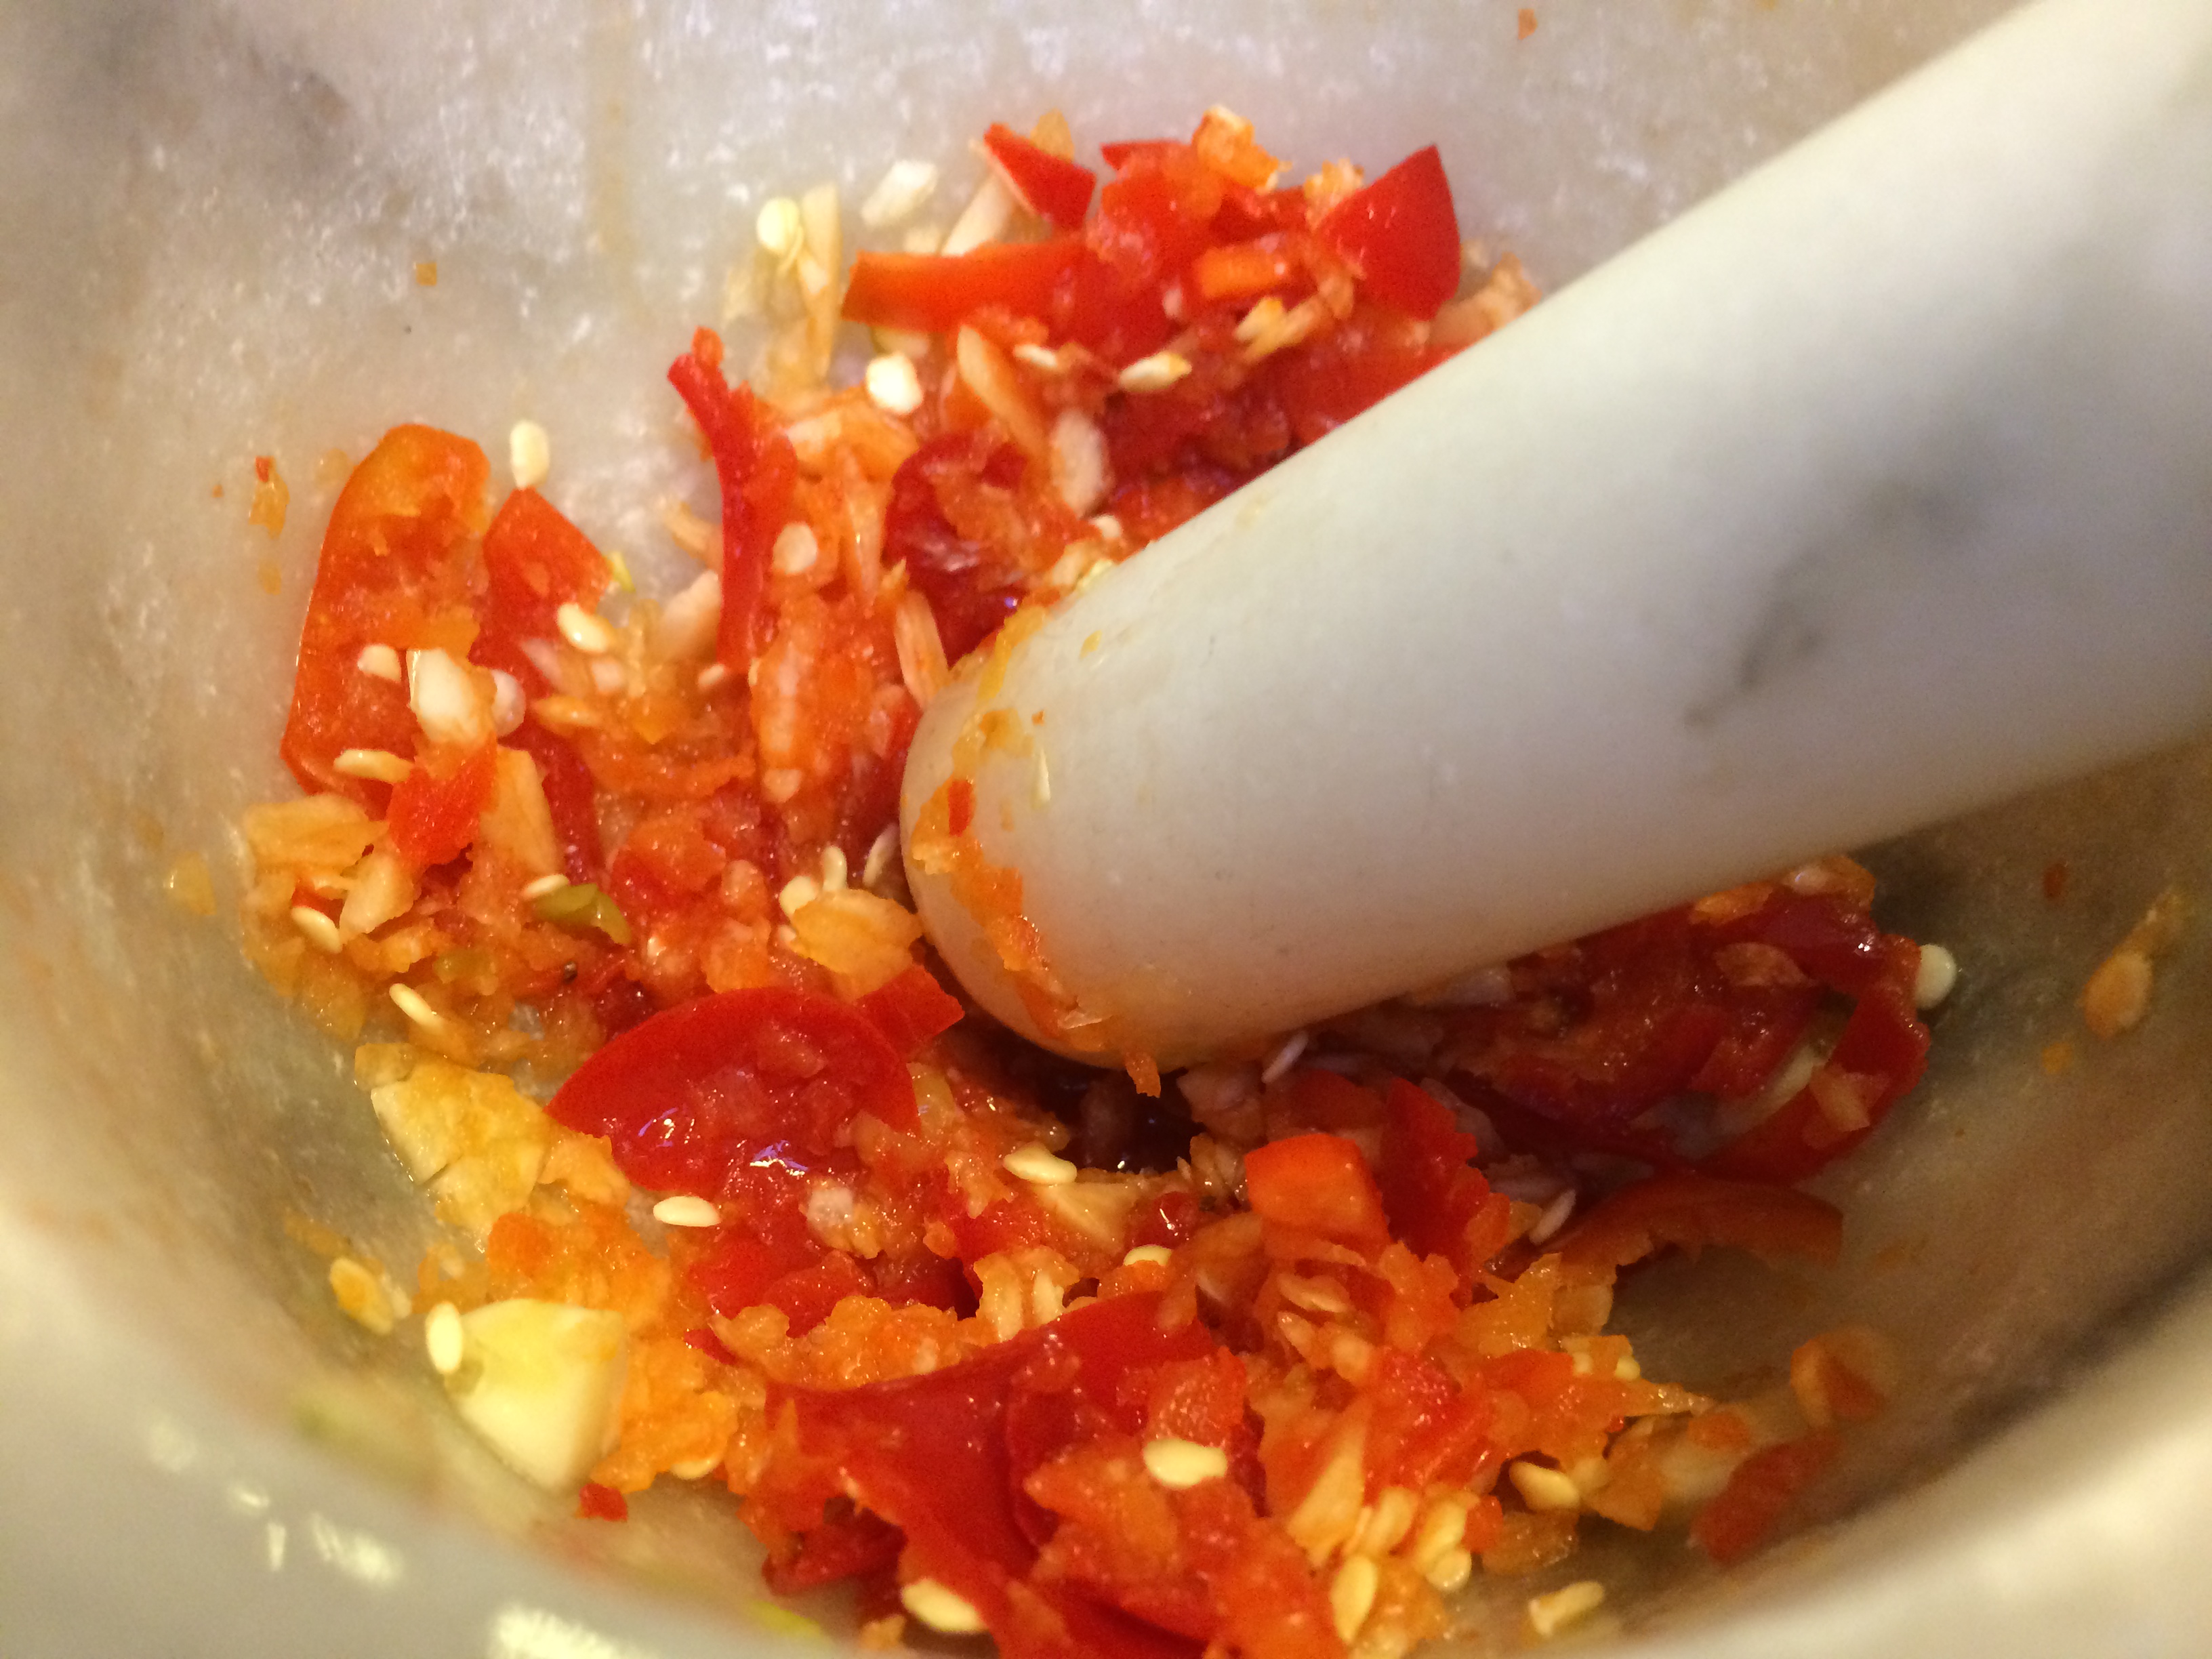
Pound it

Anchovies too

Paste

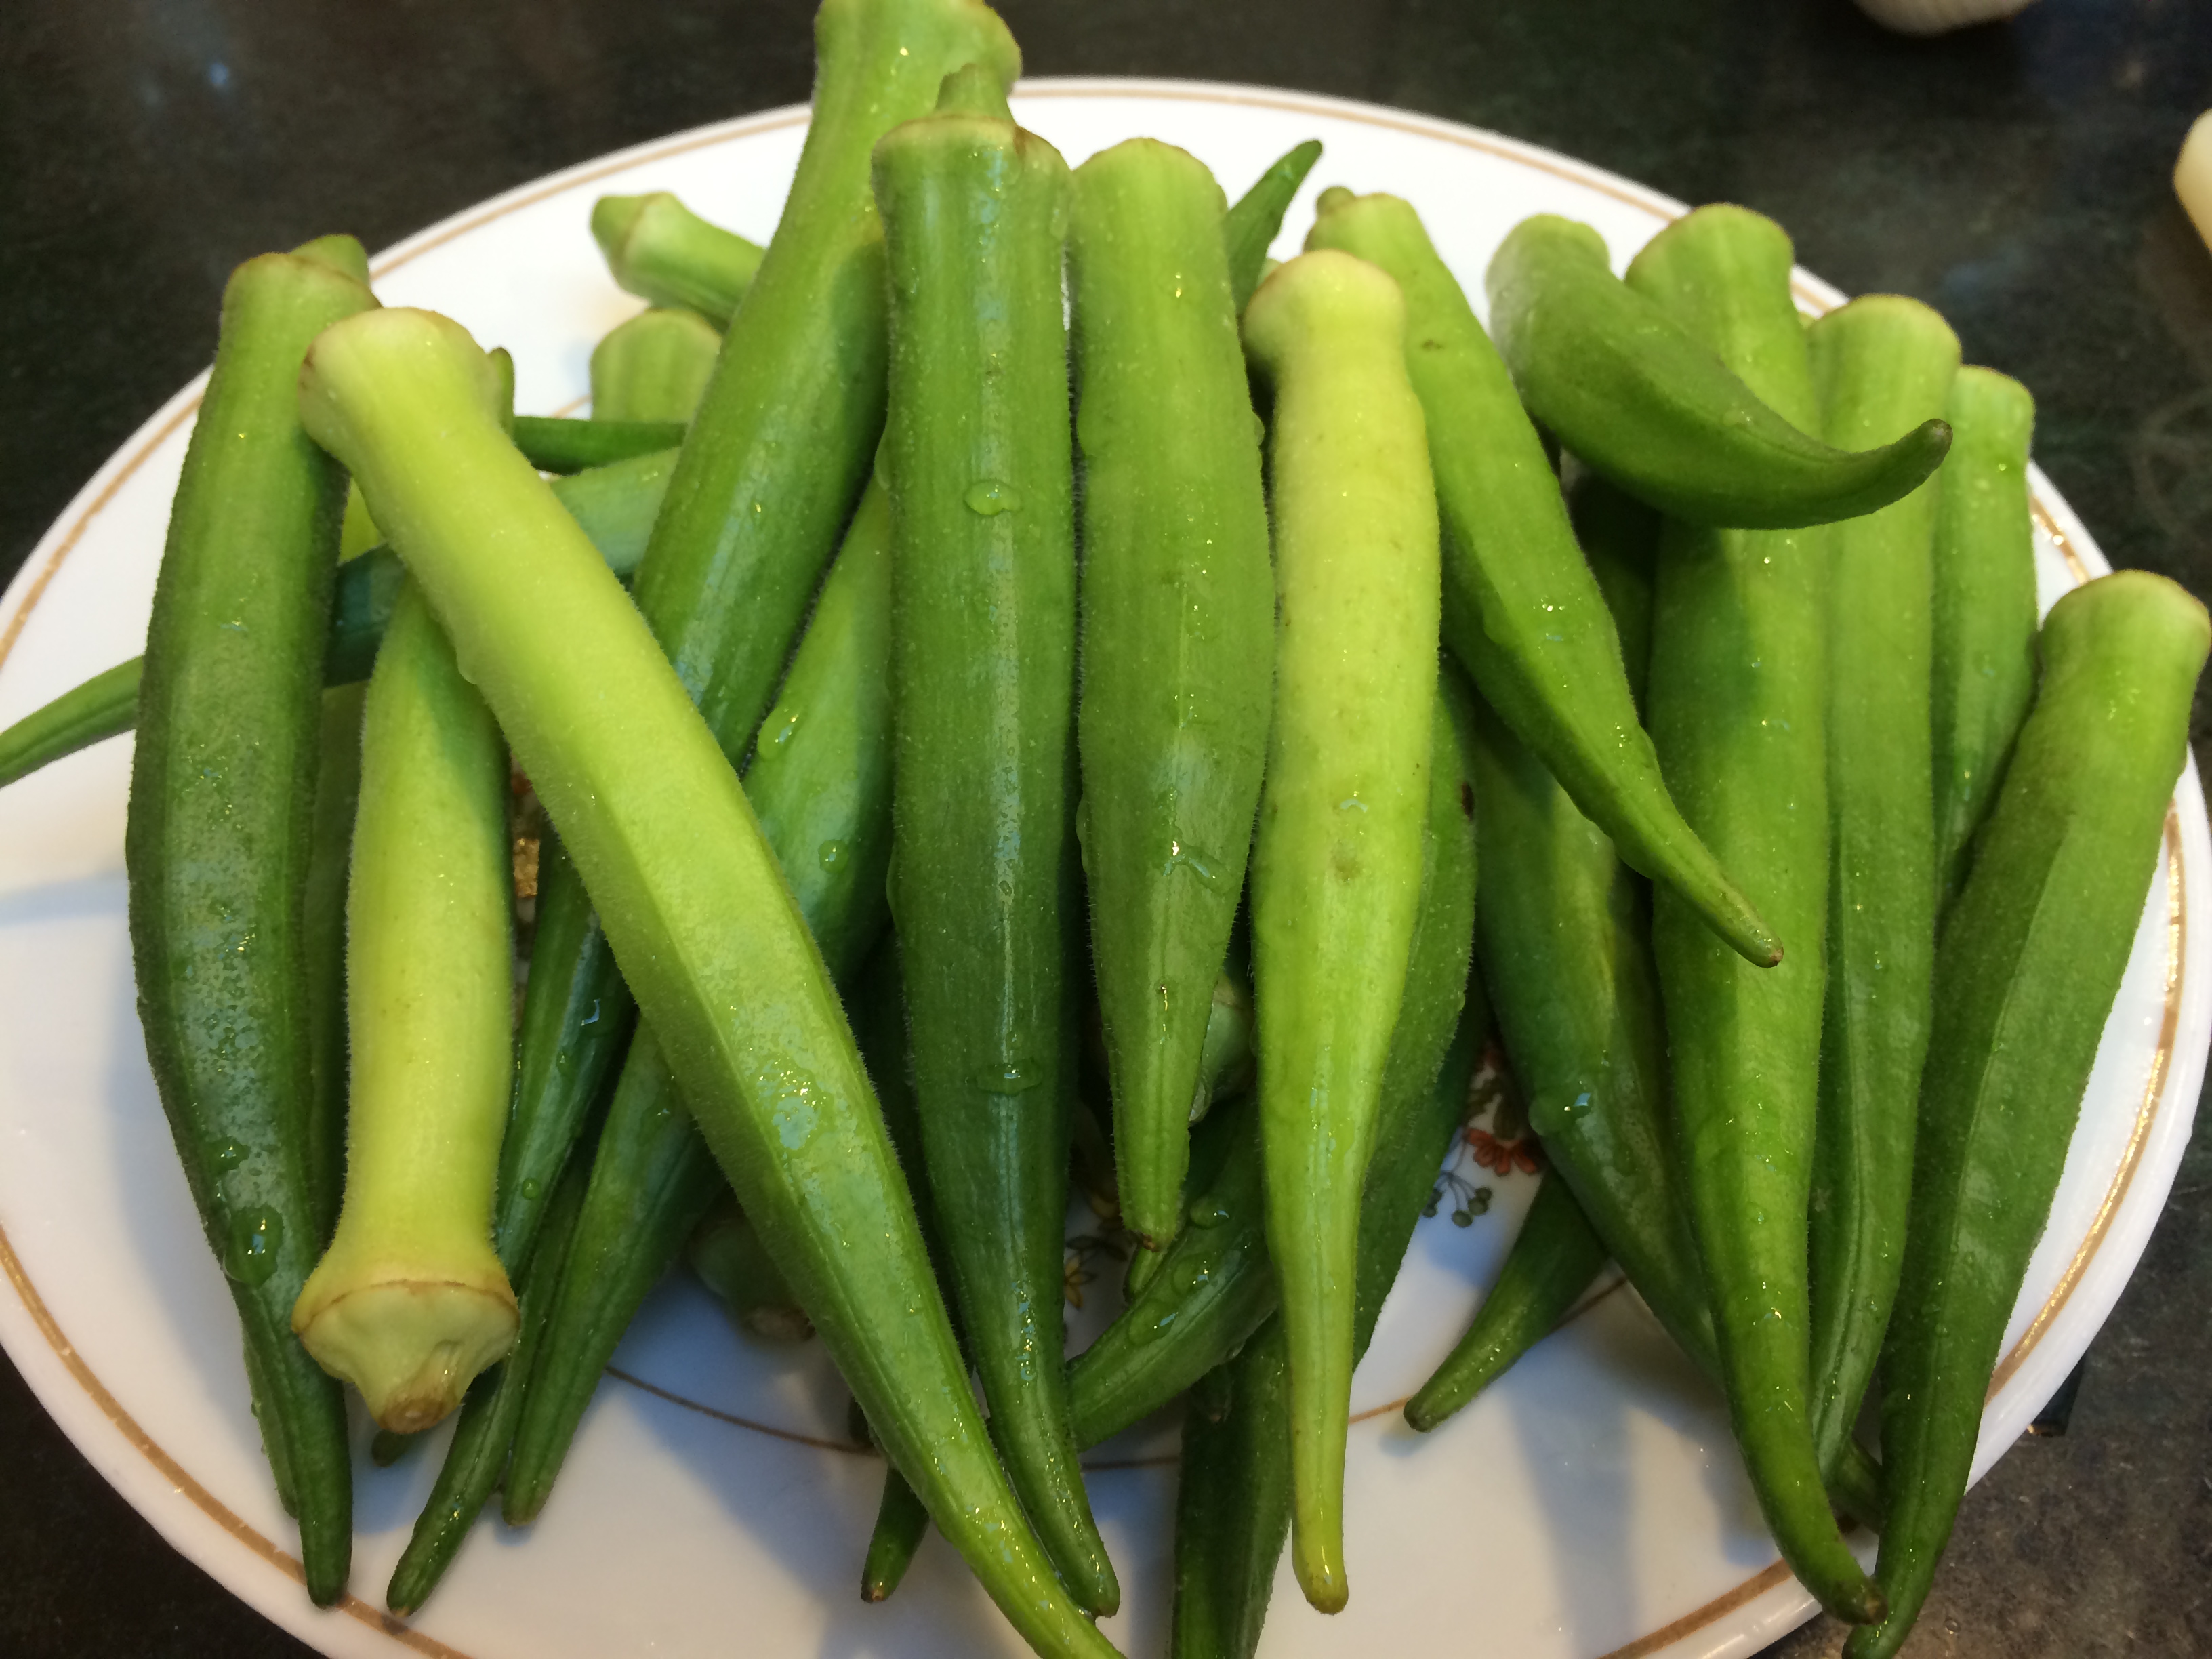
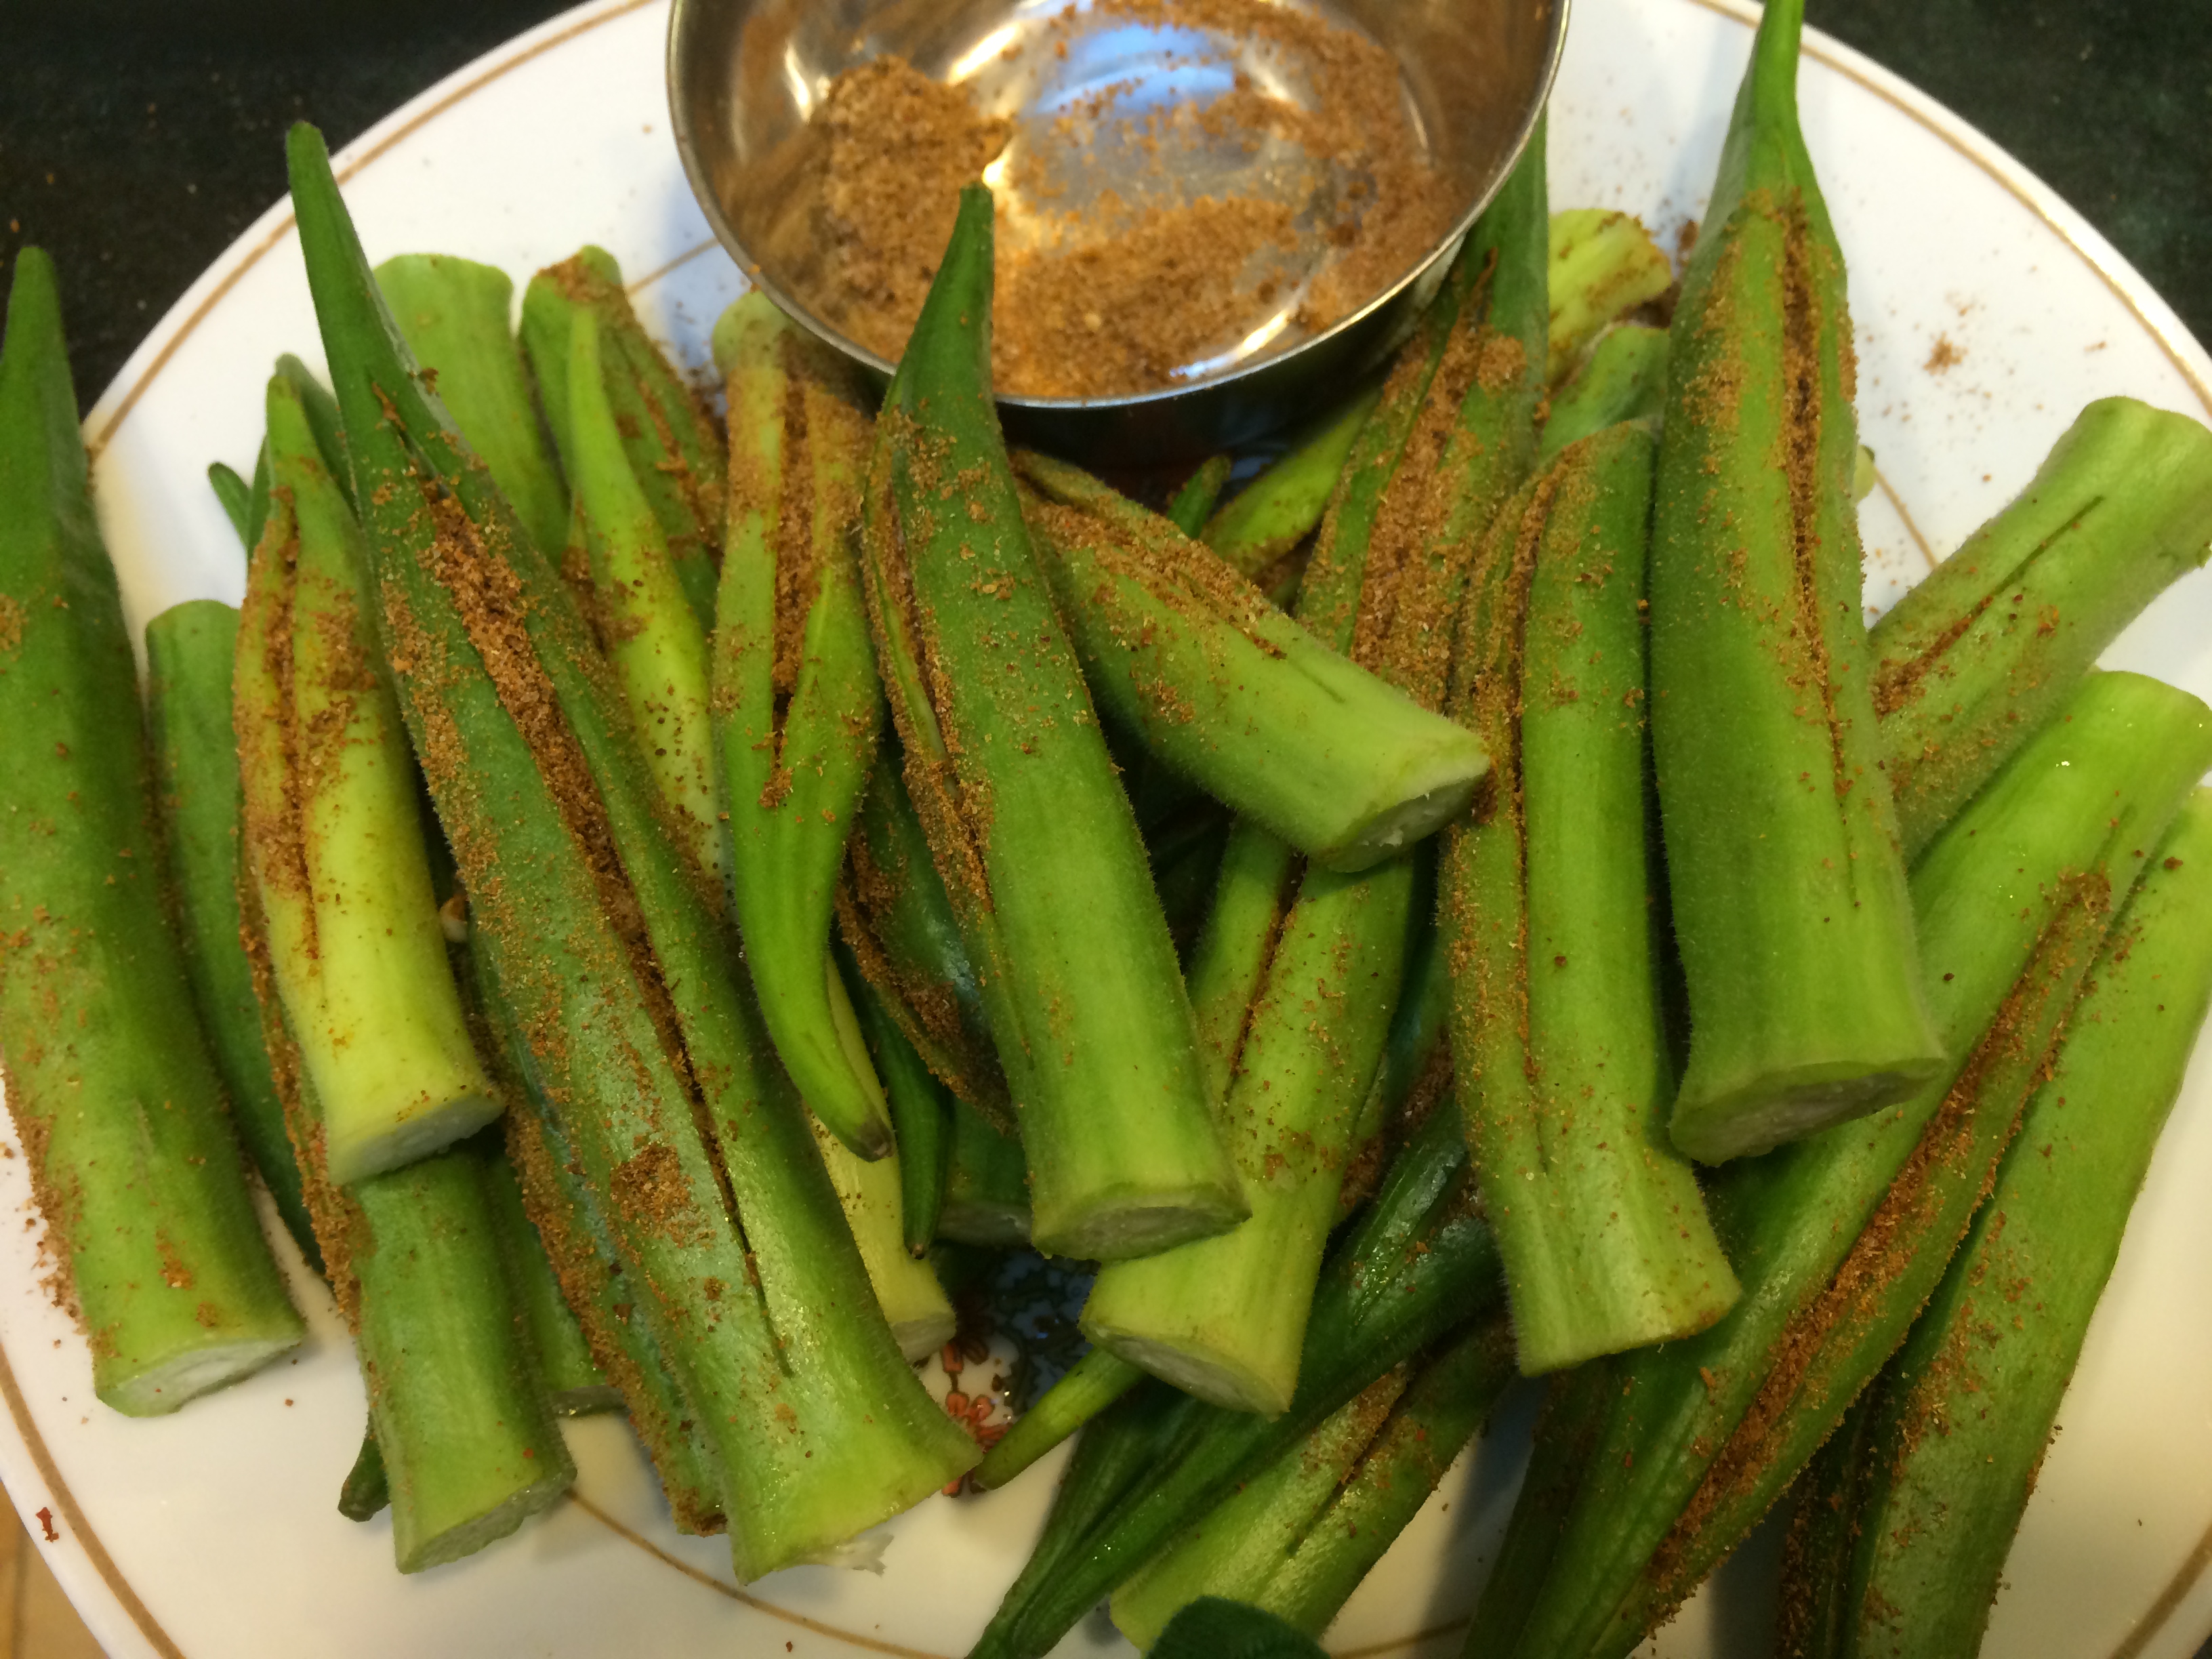
Slice the winged beans

Saute

Sauteed
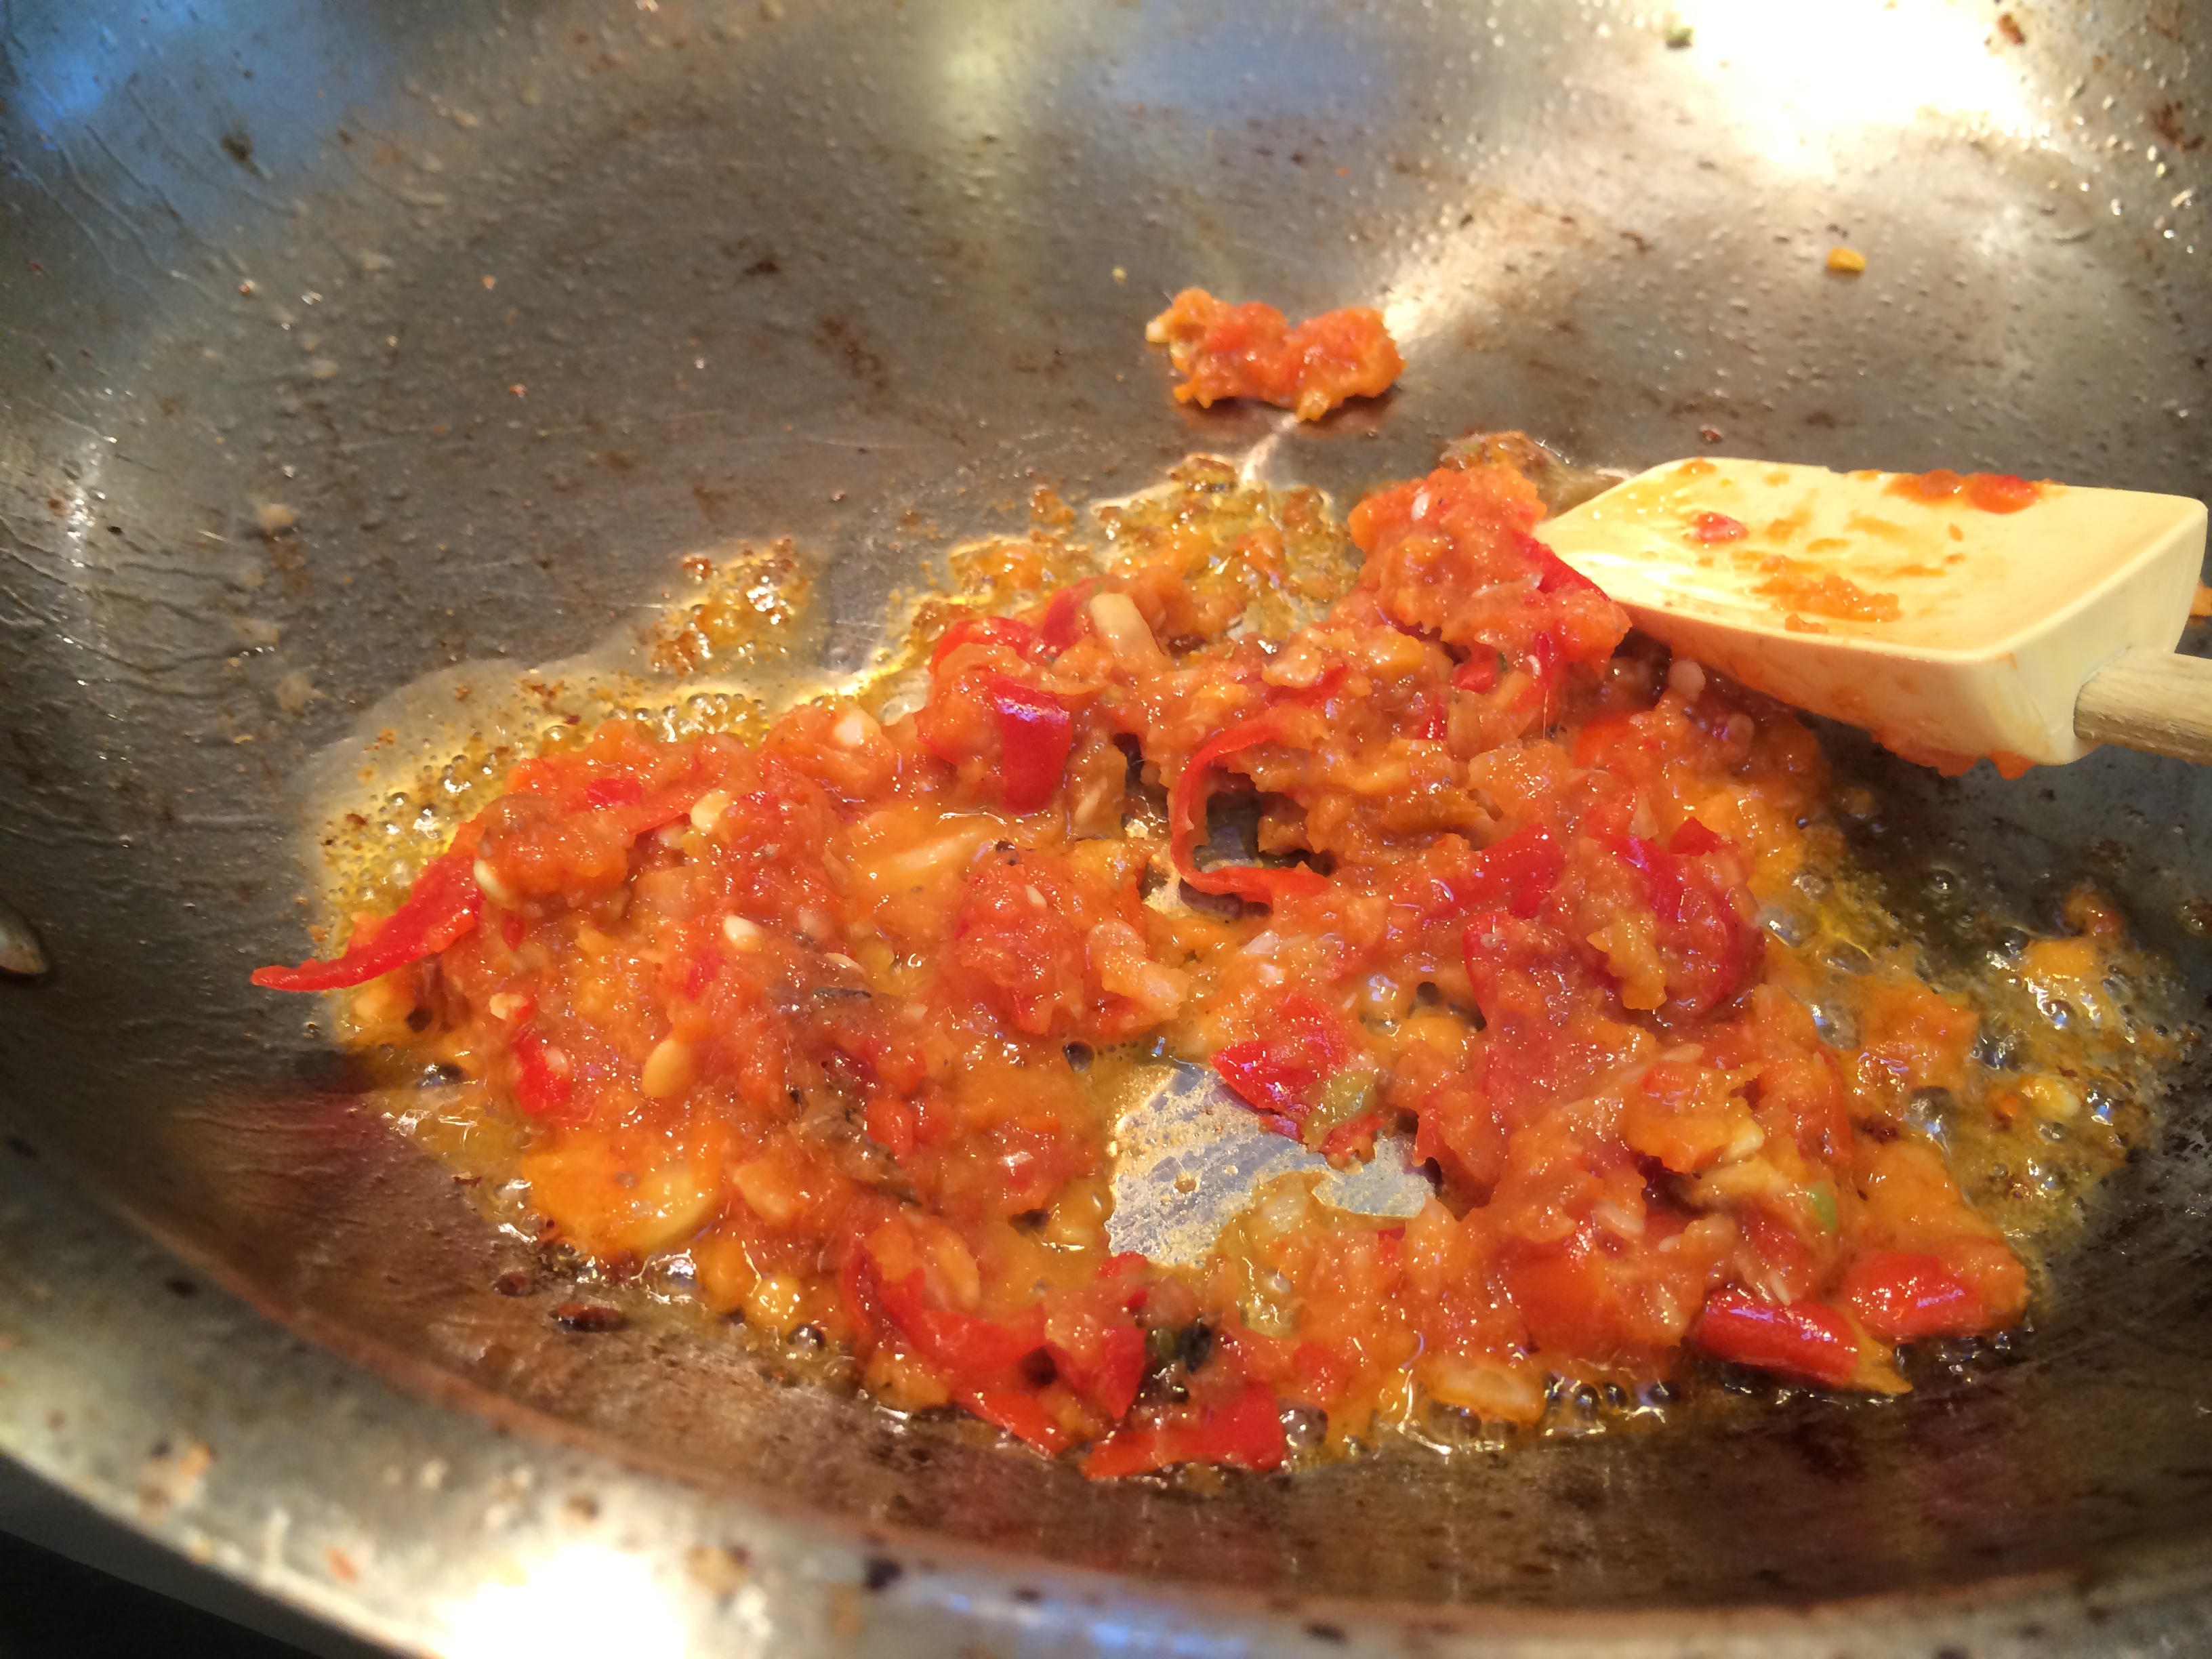
Fry paste

Fried paste

Enter the beans and fish sauce
Winged bean stir-fry
Ingredients:
- 3-4 cloves garlic
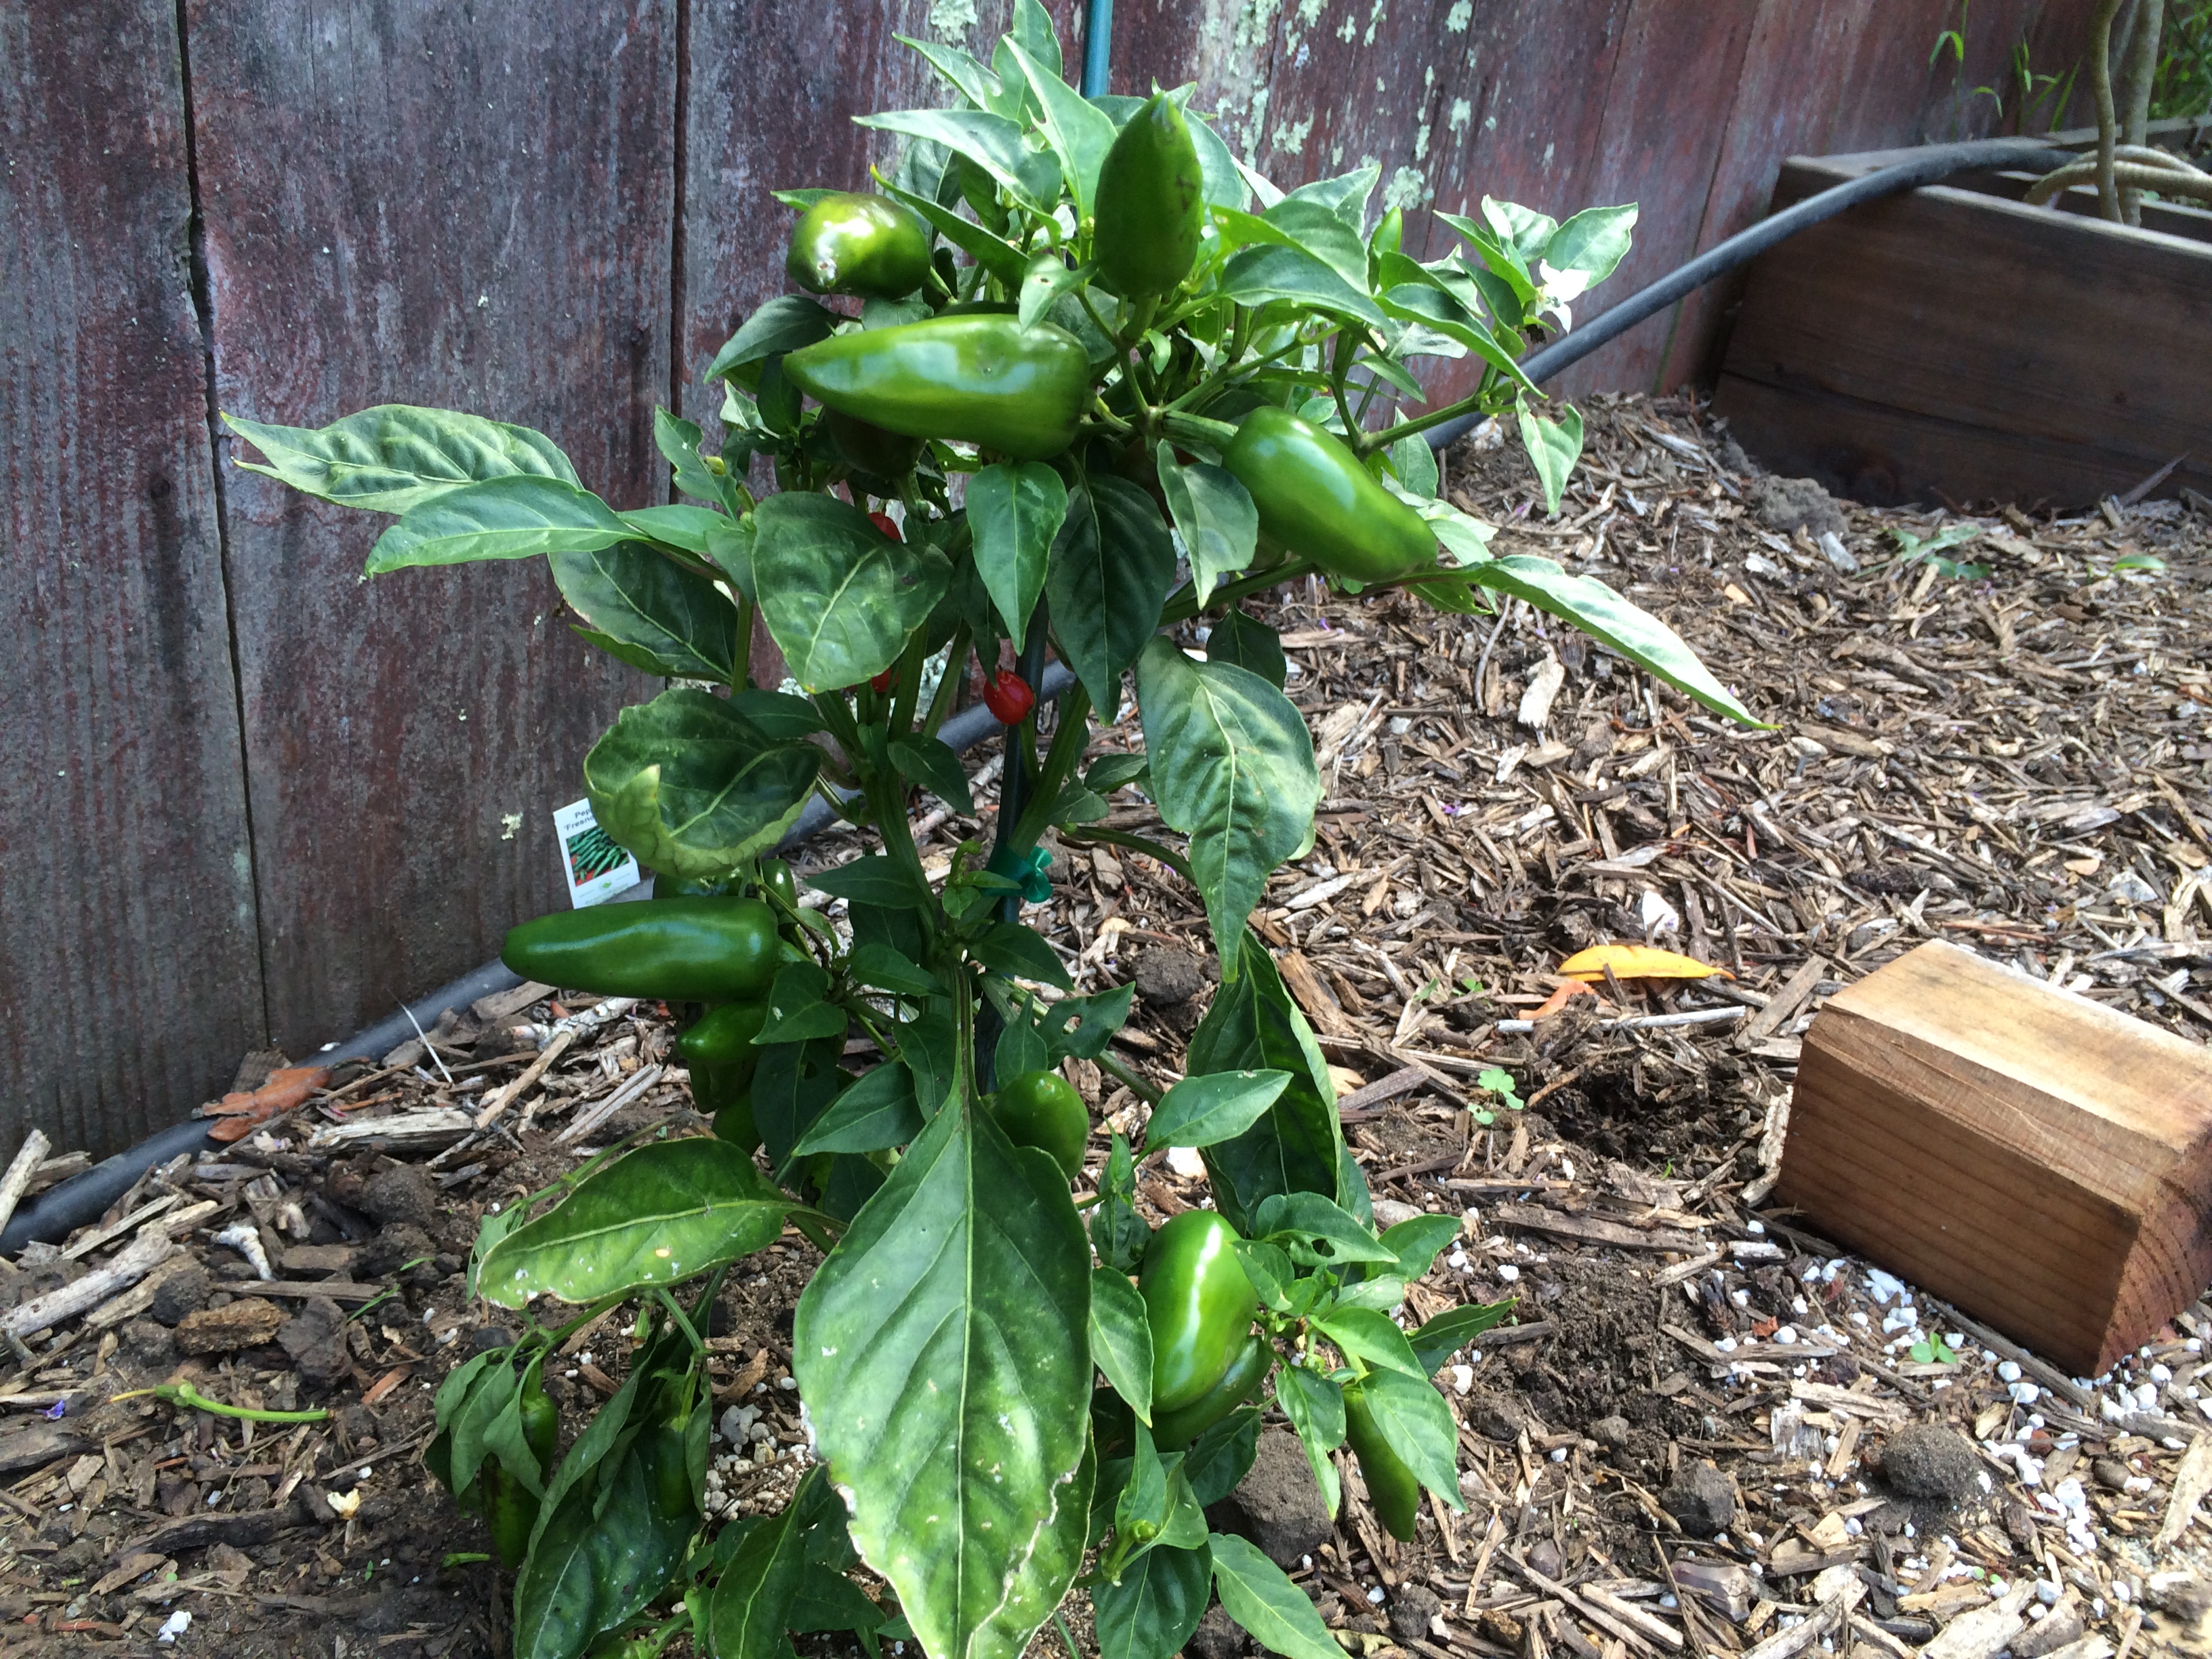
- 1-4 fresh red chilies, or according to taste (use fresh green if you can’t find fresh red, I got mine from my garden)
- a few anchovies (packed in oil)
- 1 pound winged bean pods (green beans or asparagus would make a good substitute)
- 1 tablespoon fish sauce
- 1 – 2 tablespoons oil (I used sesame oil)
Method:
Make a paste of the garlic, fresh chilies and anchovies in a mortar and pestle. Takes about 7 minutes, not too bad. Wash, trim and slice the winged beans lengthwise. If you are using green beans or asparagus, just trim them and leave them intact.
Meanwhile heat half the oil in a wide thick-bottomed pan. When it shimmers put in the winged beans. Stir-fry them on high heat for a few minutes until the frills look a little browned. Remove them with a slotted spoon or tongs.
Add the rest of the oil and fry the paste. It will take a few minutes for it to dry out and for the oil to separate. Watch it carefully and use medium heat to make sure it doesn’t burn. Once this is done, put the winged beans back in, add the tablespoon of fish sauce. Stir to coat the beans with the paste and fish sauce, cover for a few minutes to steam before serving.
(Click here to find me on Facebook and here on Twitter.)


![IMG_2365[1]](https://theoddpantry.com/wp-content/uploads/2014/06/img_23651.jpg)