All right, Americans, I will admit it, you are better at naming recipes than us Indians. The dish called ‘sookha aalu’ which is made in different guises all over India means nothing but ‘dry potato’. Descriptive, yes, but lacks a certain punch.

American marketing geniuses
Then the American marketing geniuses come in, and decide that any recipe name is improved by bunging in the word ‘home’. And on top of that, they came up with the word ‘fries’…. “Guess what guys, we won’t include the word ‘potato’ at all…a light touch…a bit of indirection.”
Genius! Home fries. My point here is that India has legions of most excellent sookha aalu recipes and really they are almost exactly what people in America recognize as home fries, except with Indian spices. Here is my version, and it is most delectable.
Sookha Aalu, Indian home fries
Ingedients:
- 1 large red potato or 2 medium or several small.
- salt to taste
- half a teaspoon mustard seeds
- half a teaspoon red chili powder
- half a teaspoon coriander powder
- 1 teaspoon dry mango powder (aamchur) or substitute with lime juice
- 2 tablespoons oil
Method:
Rinse the potato and remove the eyes. Microwave it for 5 minutes or so, or long enough to almost cook it right through.
When it comes out of the microwave, wait till it is cool enough to handle, and cut it into pieces. First, Do Not Peel. If you do you will regret it. The crisped up peel is definitely the most appealing part of this dish.
Next, think about the shapes of the pieces. You could do cubes, if that is your fancy. Don’t make them bigger than about half an inch in width. Or you could do slices, about eighth of an inch thick. Either way works, but choose a method and stick with it, unlike me, I chose slices, then switched to cubes, then had a bit of a hodge podge.
Heat oil in a non-stick pan. When it shimmers put in the mustard seeds. When they pop put in your cut up potato. Stir them around on medium-high heat. Sprinkle salt over in two stages — once, after you have tossed the potatoes with the oil, and next, after a few minutes, and more stirring.


You will see them begin to crisp and brown in a few minutes. Keep stirring once in a while, and cook in all for about ten minutes. Towards the end of cooking time, sprinkle on the chili powder, the coriander powder and the dry mango powder. Adjust for salt and you are done.


![IMG_0533[1]](https://theoddpantry.com/wp-content/uploads/2013/09/img_05331.jpg)
![IMG_0535[1]](https://theoddpantry.com/wp-content/uploads/2013/09/img_05351.jpg)
![IMG_0539[1]](https://theoddpantry.com/wp-content/uploads/2013/09/img_05391.jpg)
![IMG_0540[1]](https://theoddpantry.com/wp-content/uploads/2013/09/img_05401.jpg)


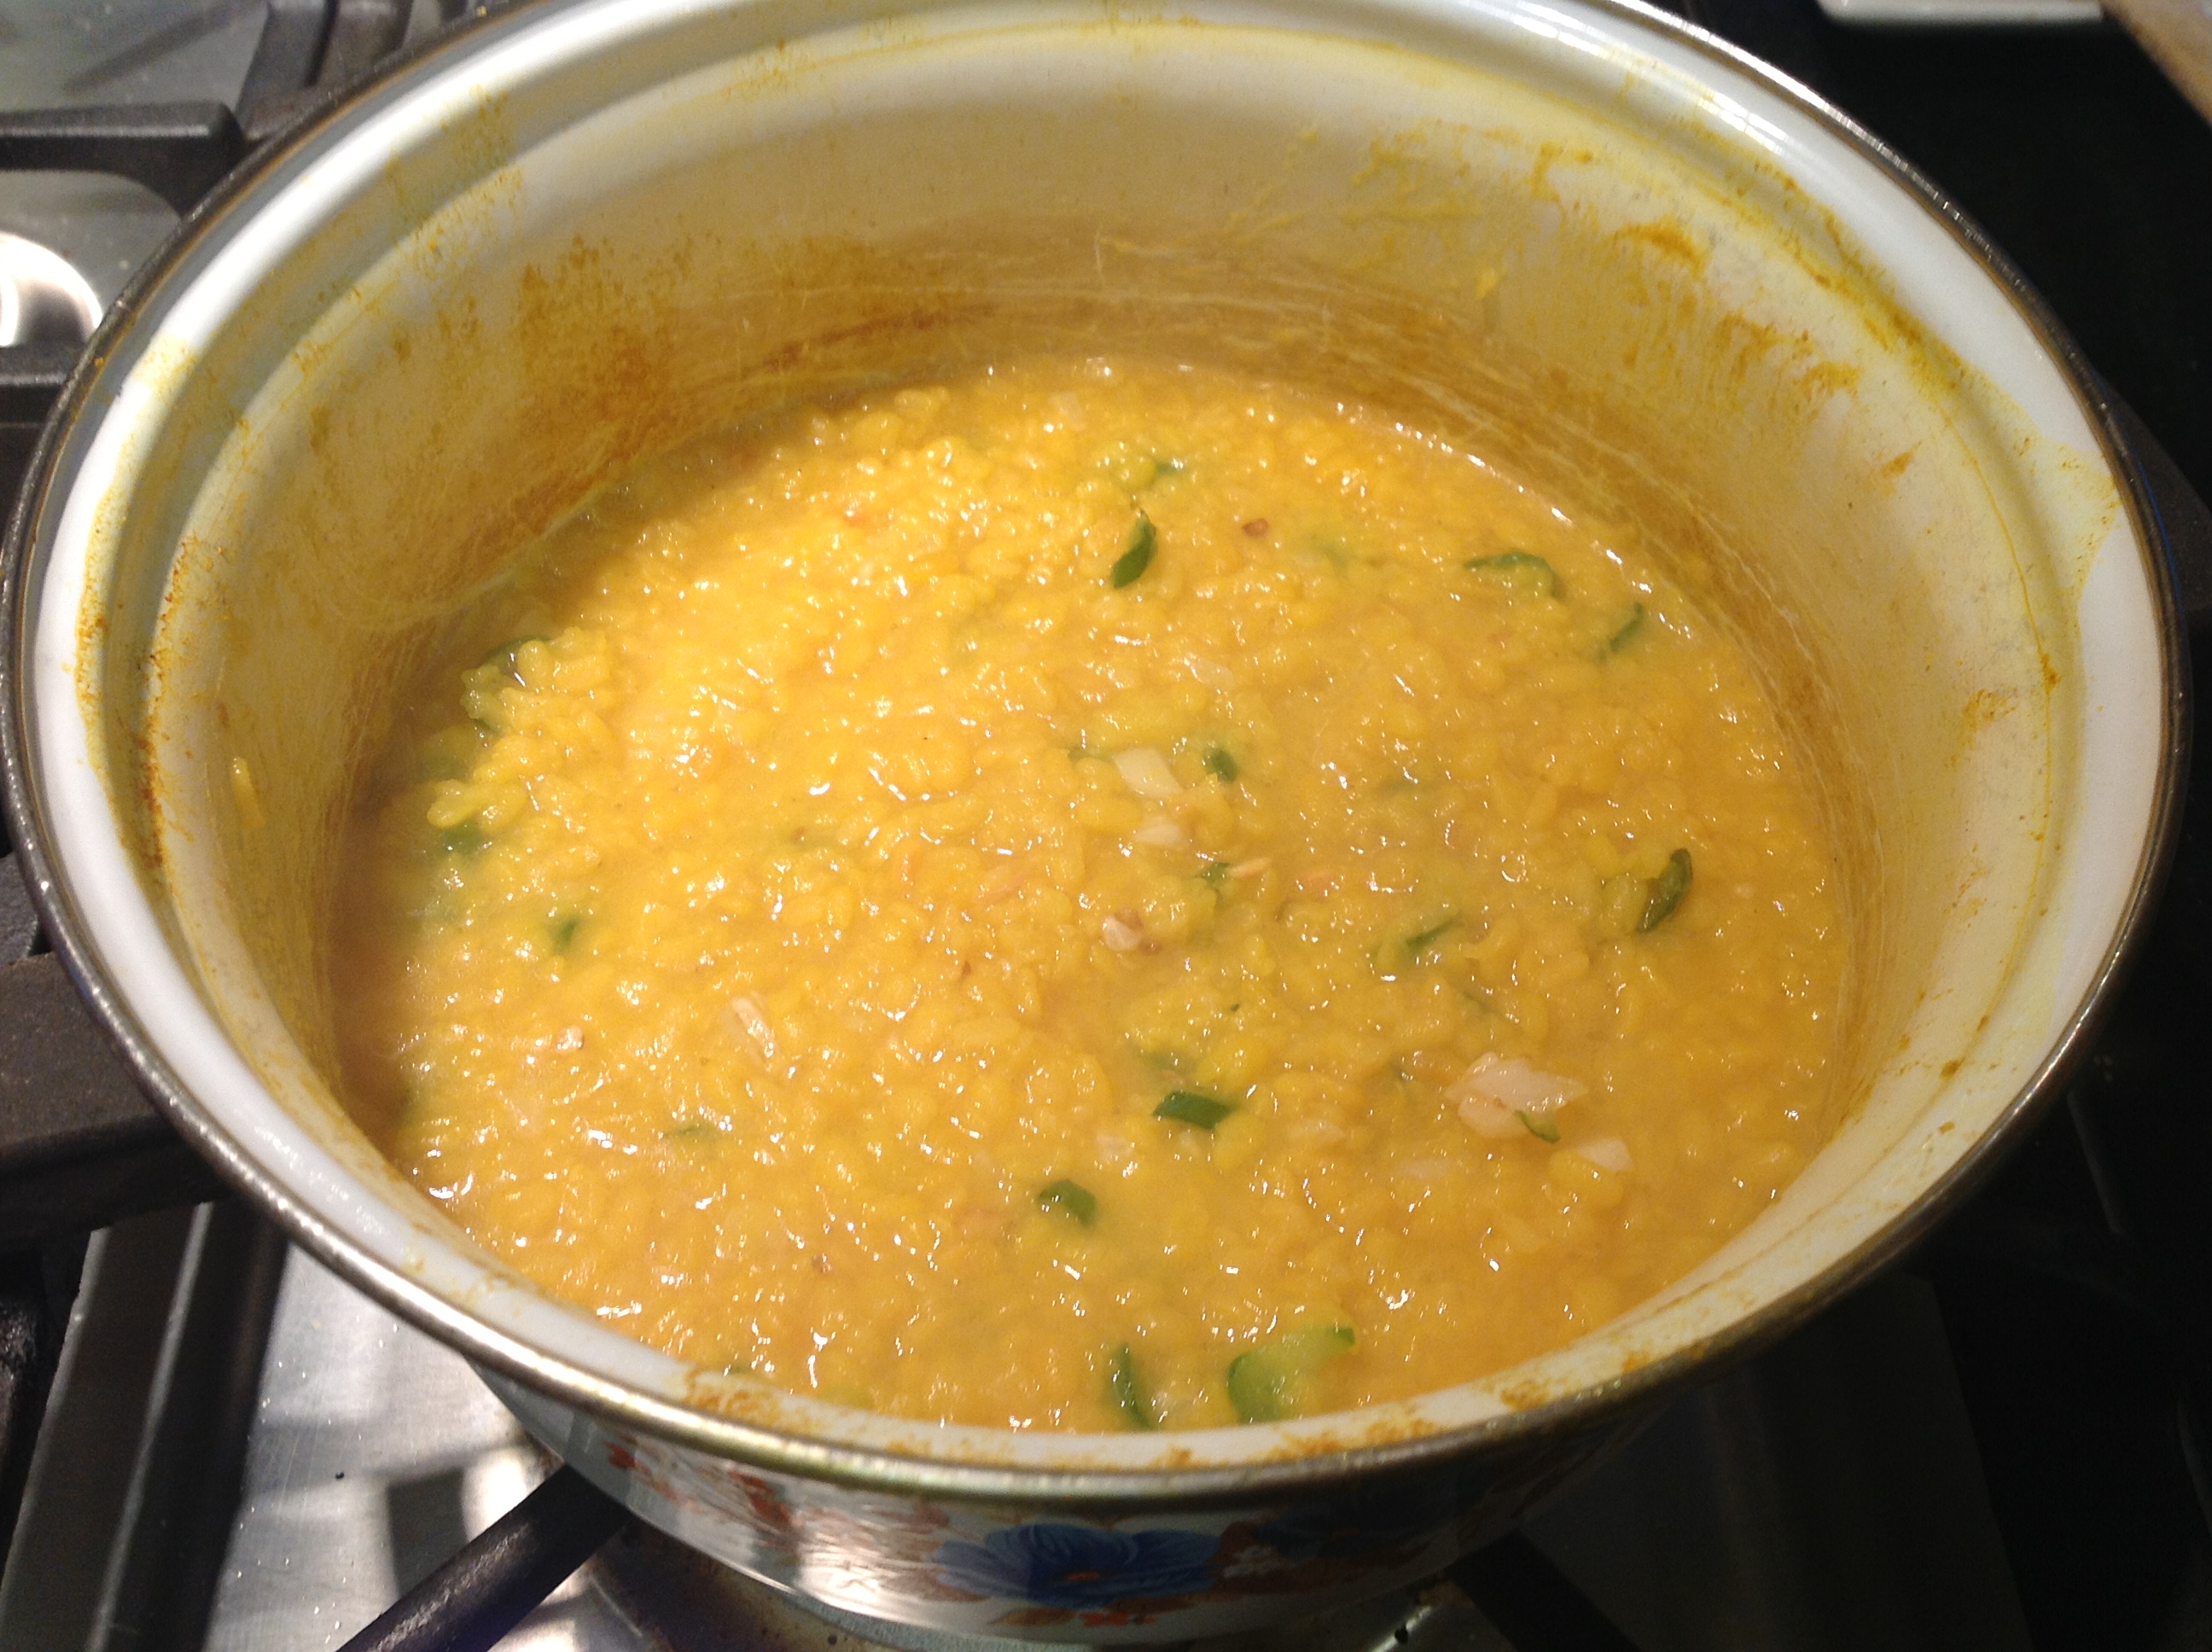
![IMG_0544[1]](https://theoddpantry.com/wp-content/uploads/2013/09/img_05441.jpg "Rice with spinach dal")


![IMG_0521[1]](https://theoddpantry.com/wp-content/uploads/2013/08/img_05211.jpg)
![IMG_0522[1]](https://theoddpantry.com/wp-content/uploads/2013/08/img_05221.jpg)


![IMG_0498[1]](https://theoddpantry.com/wp-content/uploads/2013/08/img_04981.jpg)
![IMG_0499[1]](https://theoddpantry.com/wp-content/uploads/2013/08/img_04991.jpg)
![IMG_0500[1]](https://theoddpantry.com/wp-content/uploads/2013/08/img_05001.jpg)
![IMG_0501[1]](https://theoddpantry.com/wp-content/uploads/2013/08/img_05011.jpg)


![IMG_0465[1]](https://theoddpantry.com/wp-content/uploads/2013/08/img_04651.jpg)
![IMG_0468[1]](https://theoddpantry.com/wp-content/uploads/2013/08/img_04681.jpg)
![IMG_0466[1]](https://theoddpantry.com/wp-content/uploads/2013/08/img_04661.jpg)
![IMG_0469[1]](https://theoddpantry.com/wp-content/uploads/2013/08/img_04691.jpg)
![IMG_0470[1]](https://theoddpantry.com/wp-content/uploads/2013/08/img_04701.jpg)
![IMG_0474[1]](https://theoddpantry.com/wp-content/uploads/2013/08/img_04741.jpg)
![IMG_0475[1]](https://theoddpantry.com/wp-content/uploads/2013/08/img_04751.jpg)


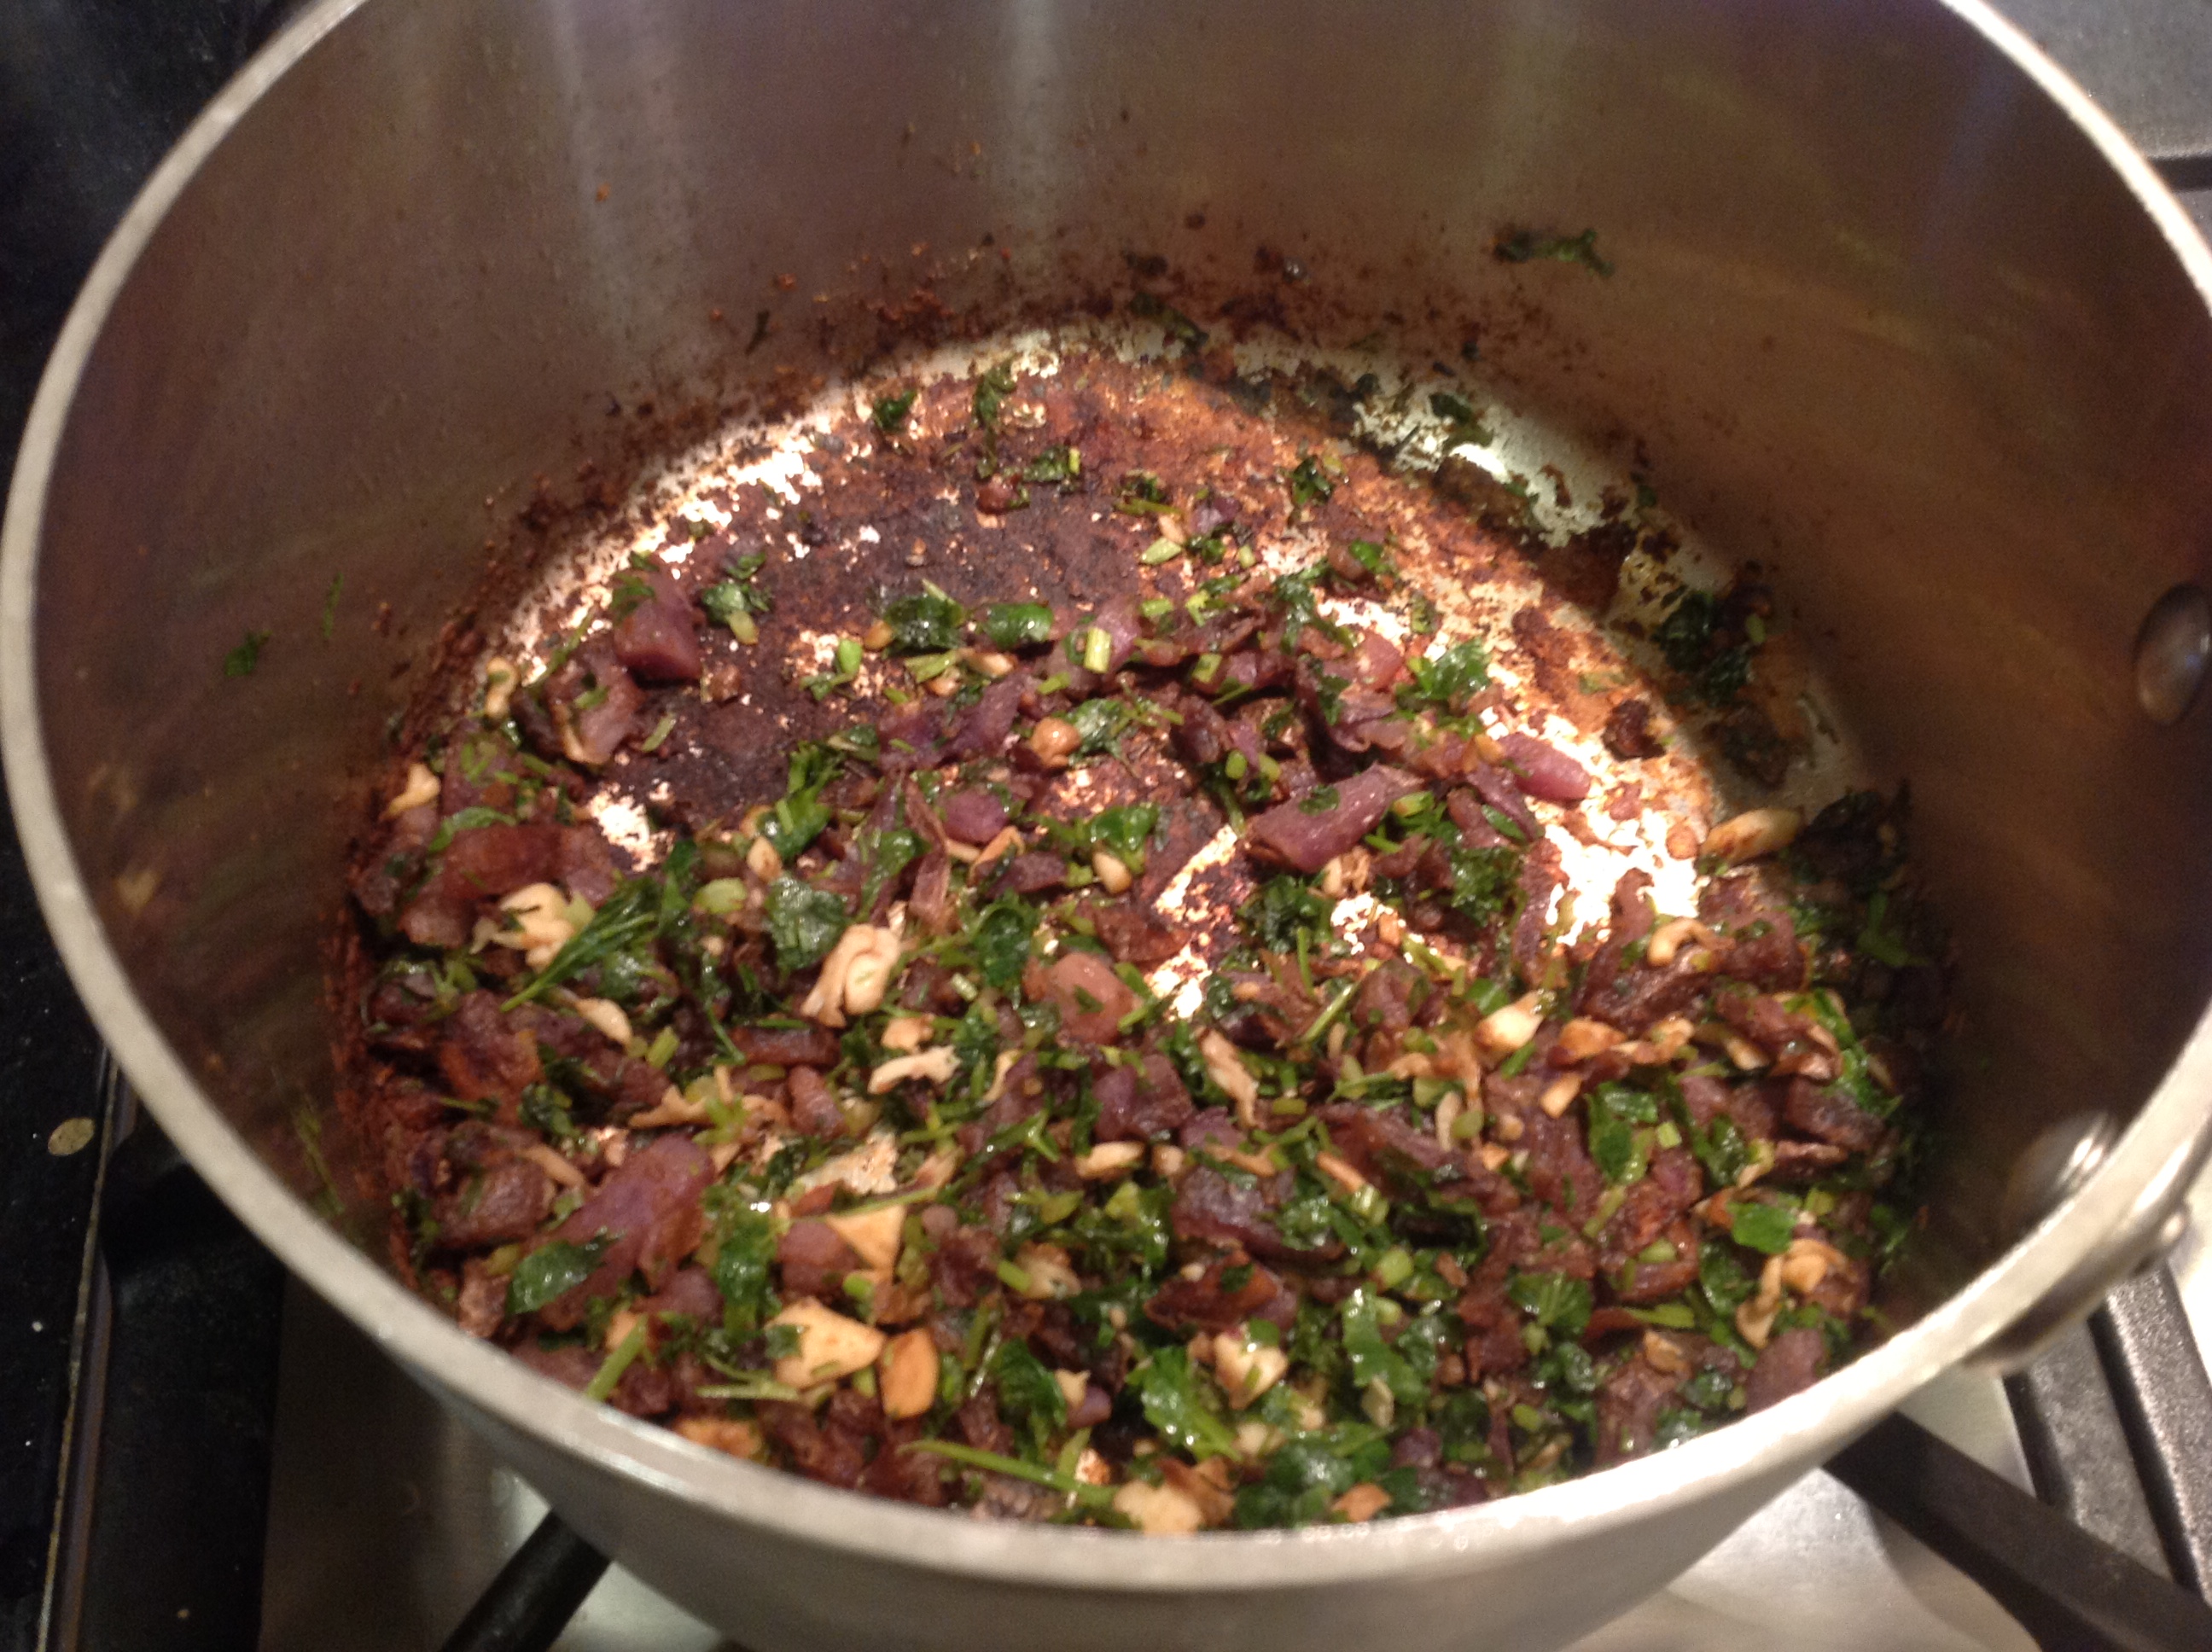
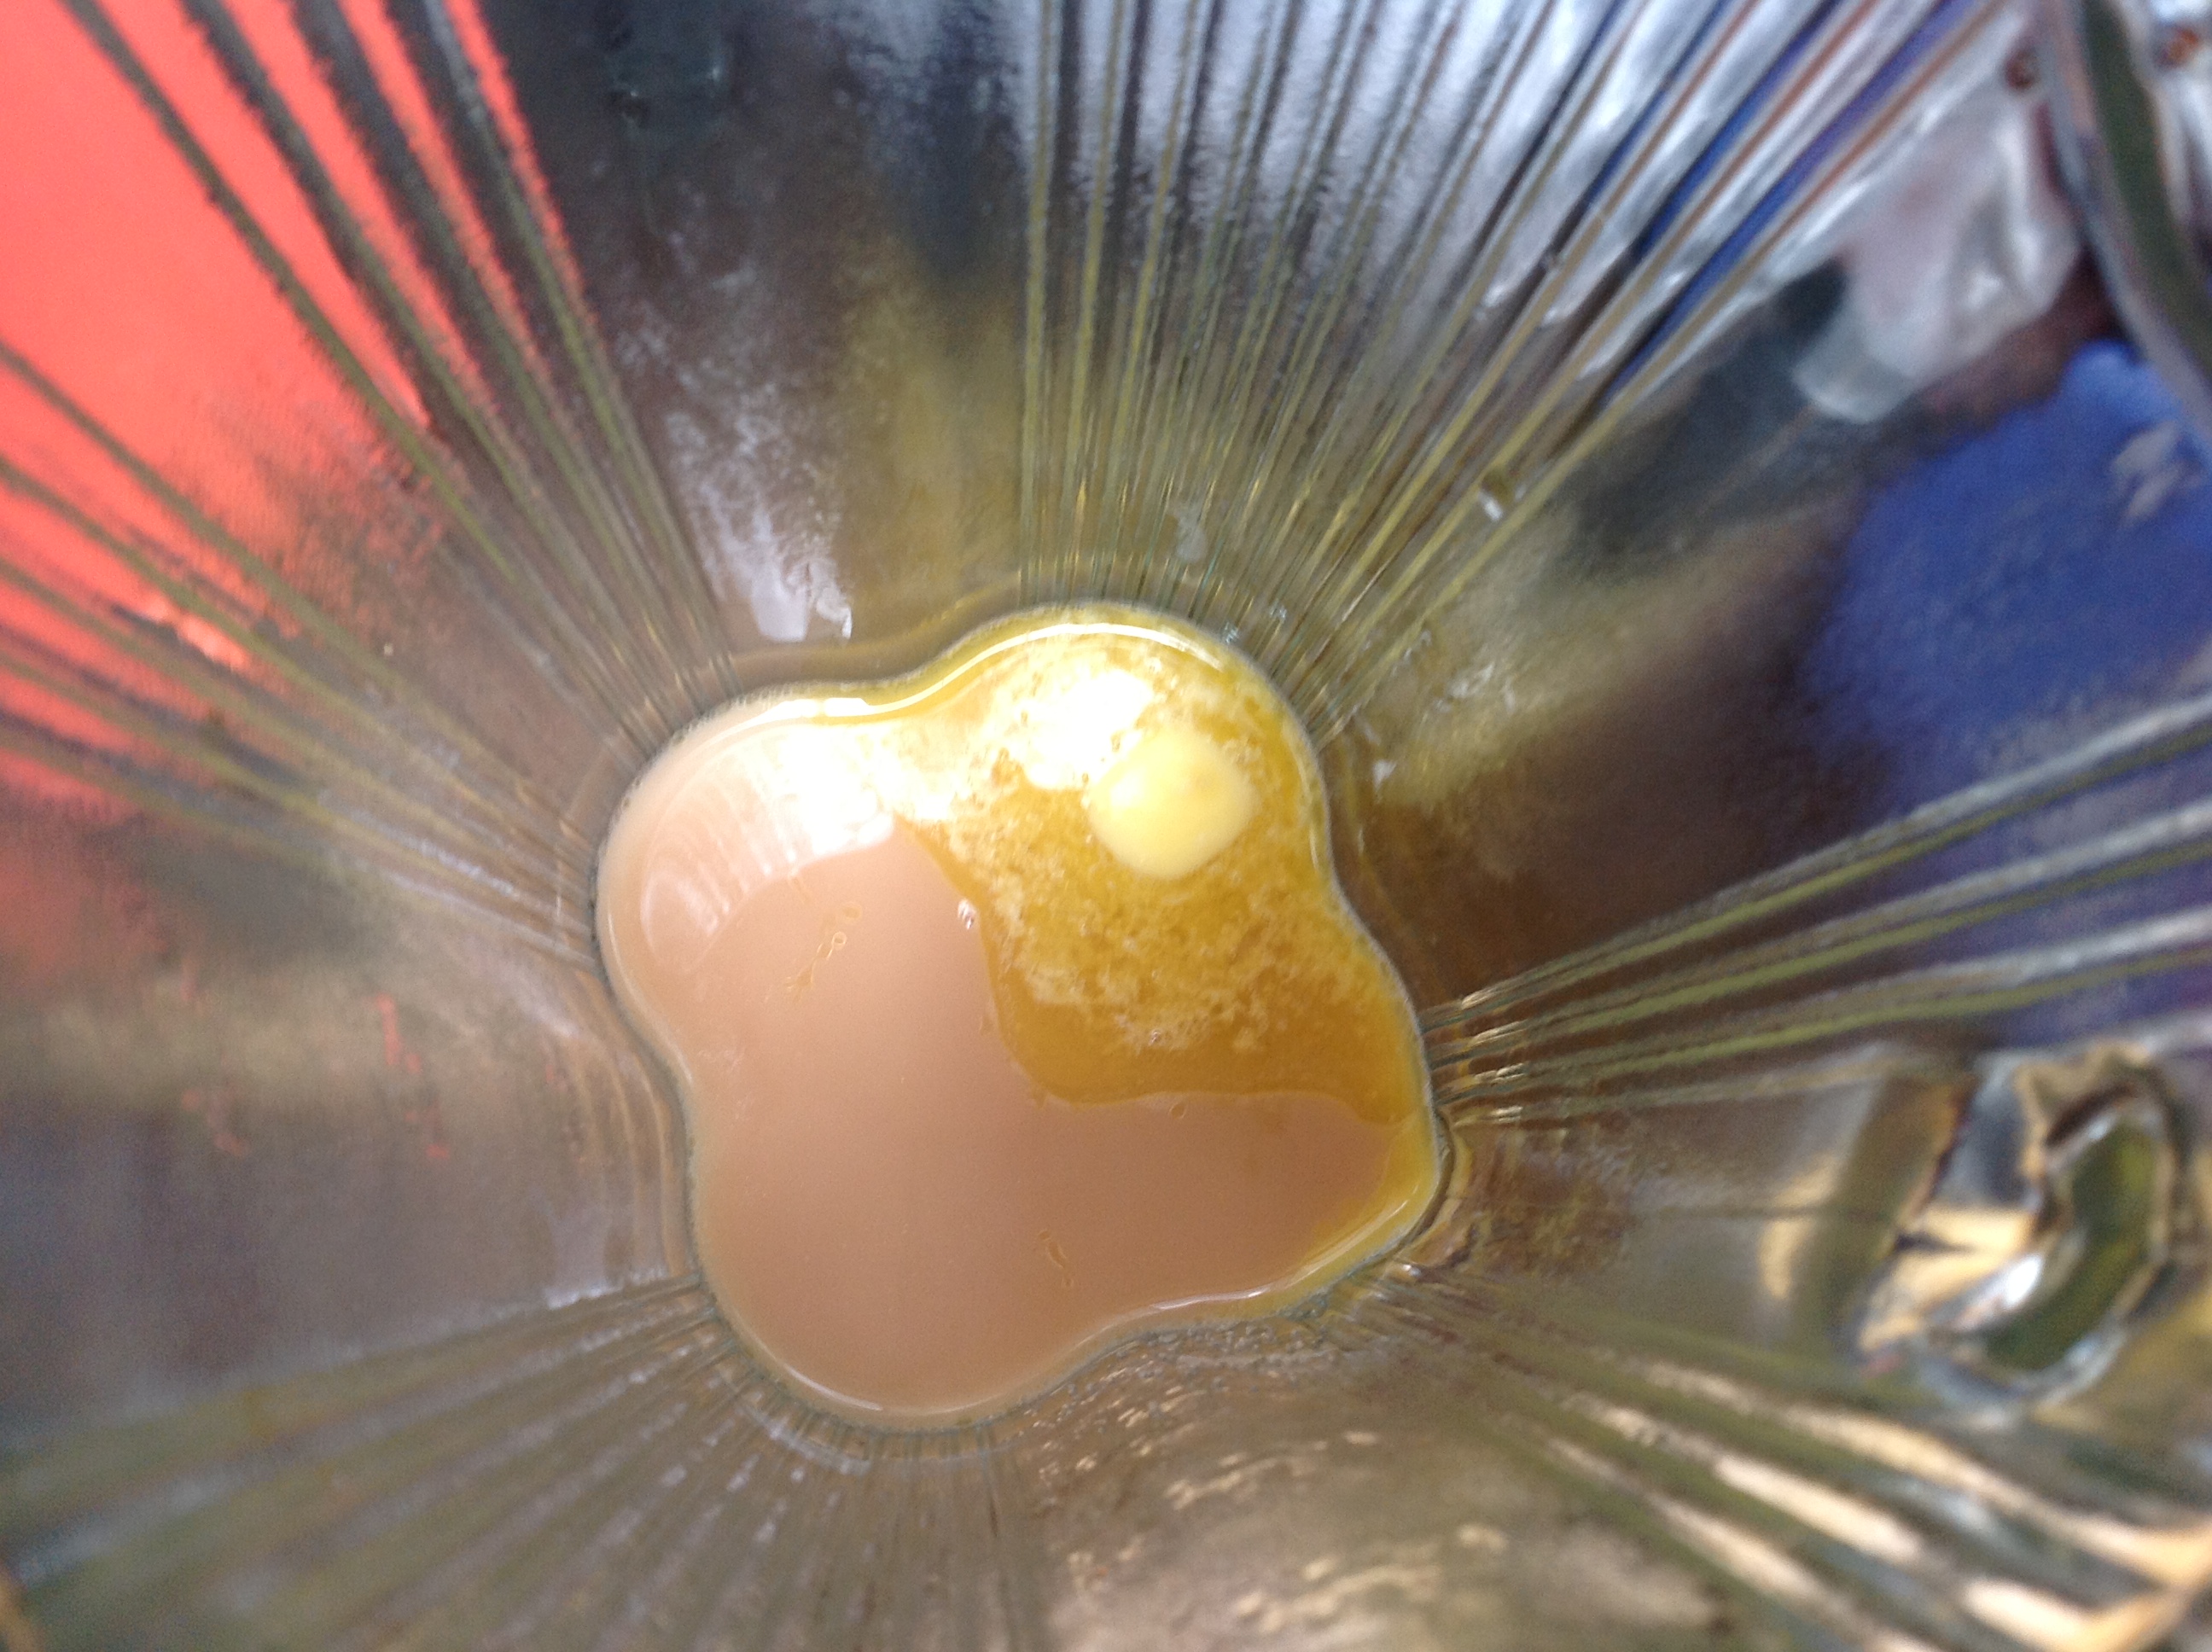
 Soup fond nicely browned and water added

![IMG_0459[1]](https://theoddpantry.com/wp-content/uploads/2013/08/img_04591.jpg)
![IMG_0462[1]](https://theoddpantry.com/wp-content/uploads/2013/08/img_04621.jpg)