Moong dal served with radish cucumber salad
People have been eating locally long before it became a ‘thing’ and got its own hashtag. Thousands of years back essentially everyone was a locavore. All food was made out of plants that grew in the backyard fields or roots and shoots gathered from nearby forests. And sometimes a couple of these backyard ingredients came together in recipes that have remained classics.
I like to think of it has the boy-next-door and the girl-next-door getting married. How can a dish like that not be comfort food!
One such ingredient from the West coast of India is mung bean. There is more information about it here. This recipe calls for the split, dehusked form.
The other locally grown ingredient from the same region is the Indian mangosteen fruit. It grows mostly wild around the wet evergreen forests. The website Aayi’s recipes focuses on recipes from the Konkan coast and has great information (and pictures!) about it here. I have to admit that unlike that author, I did not grow up lobbing fresh mangosteen fruit at my brother. In fact I have never seen a fresh one, as far as I know. I had a city upbringing, and we obtained the dried and blackened rinds of the fruit in a bag. This is how it is used in this and in most other recipes.

Dried rind of Indian mangosteen, kokum
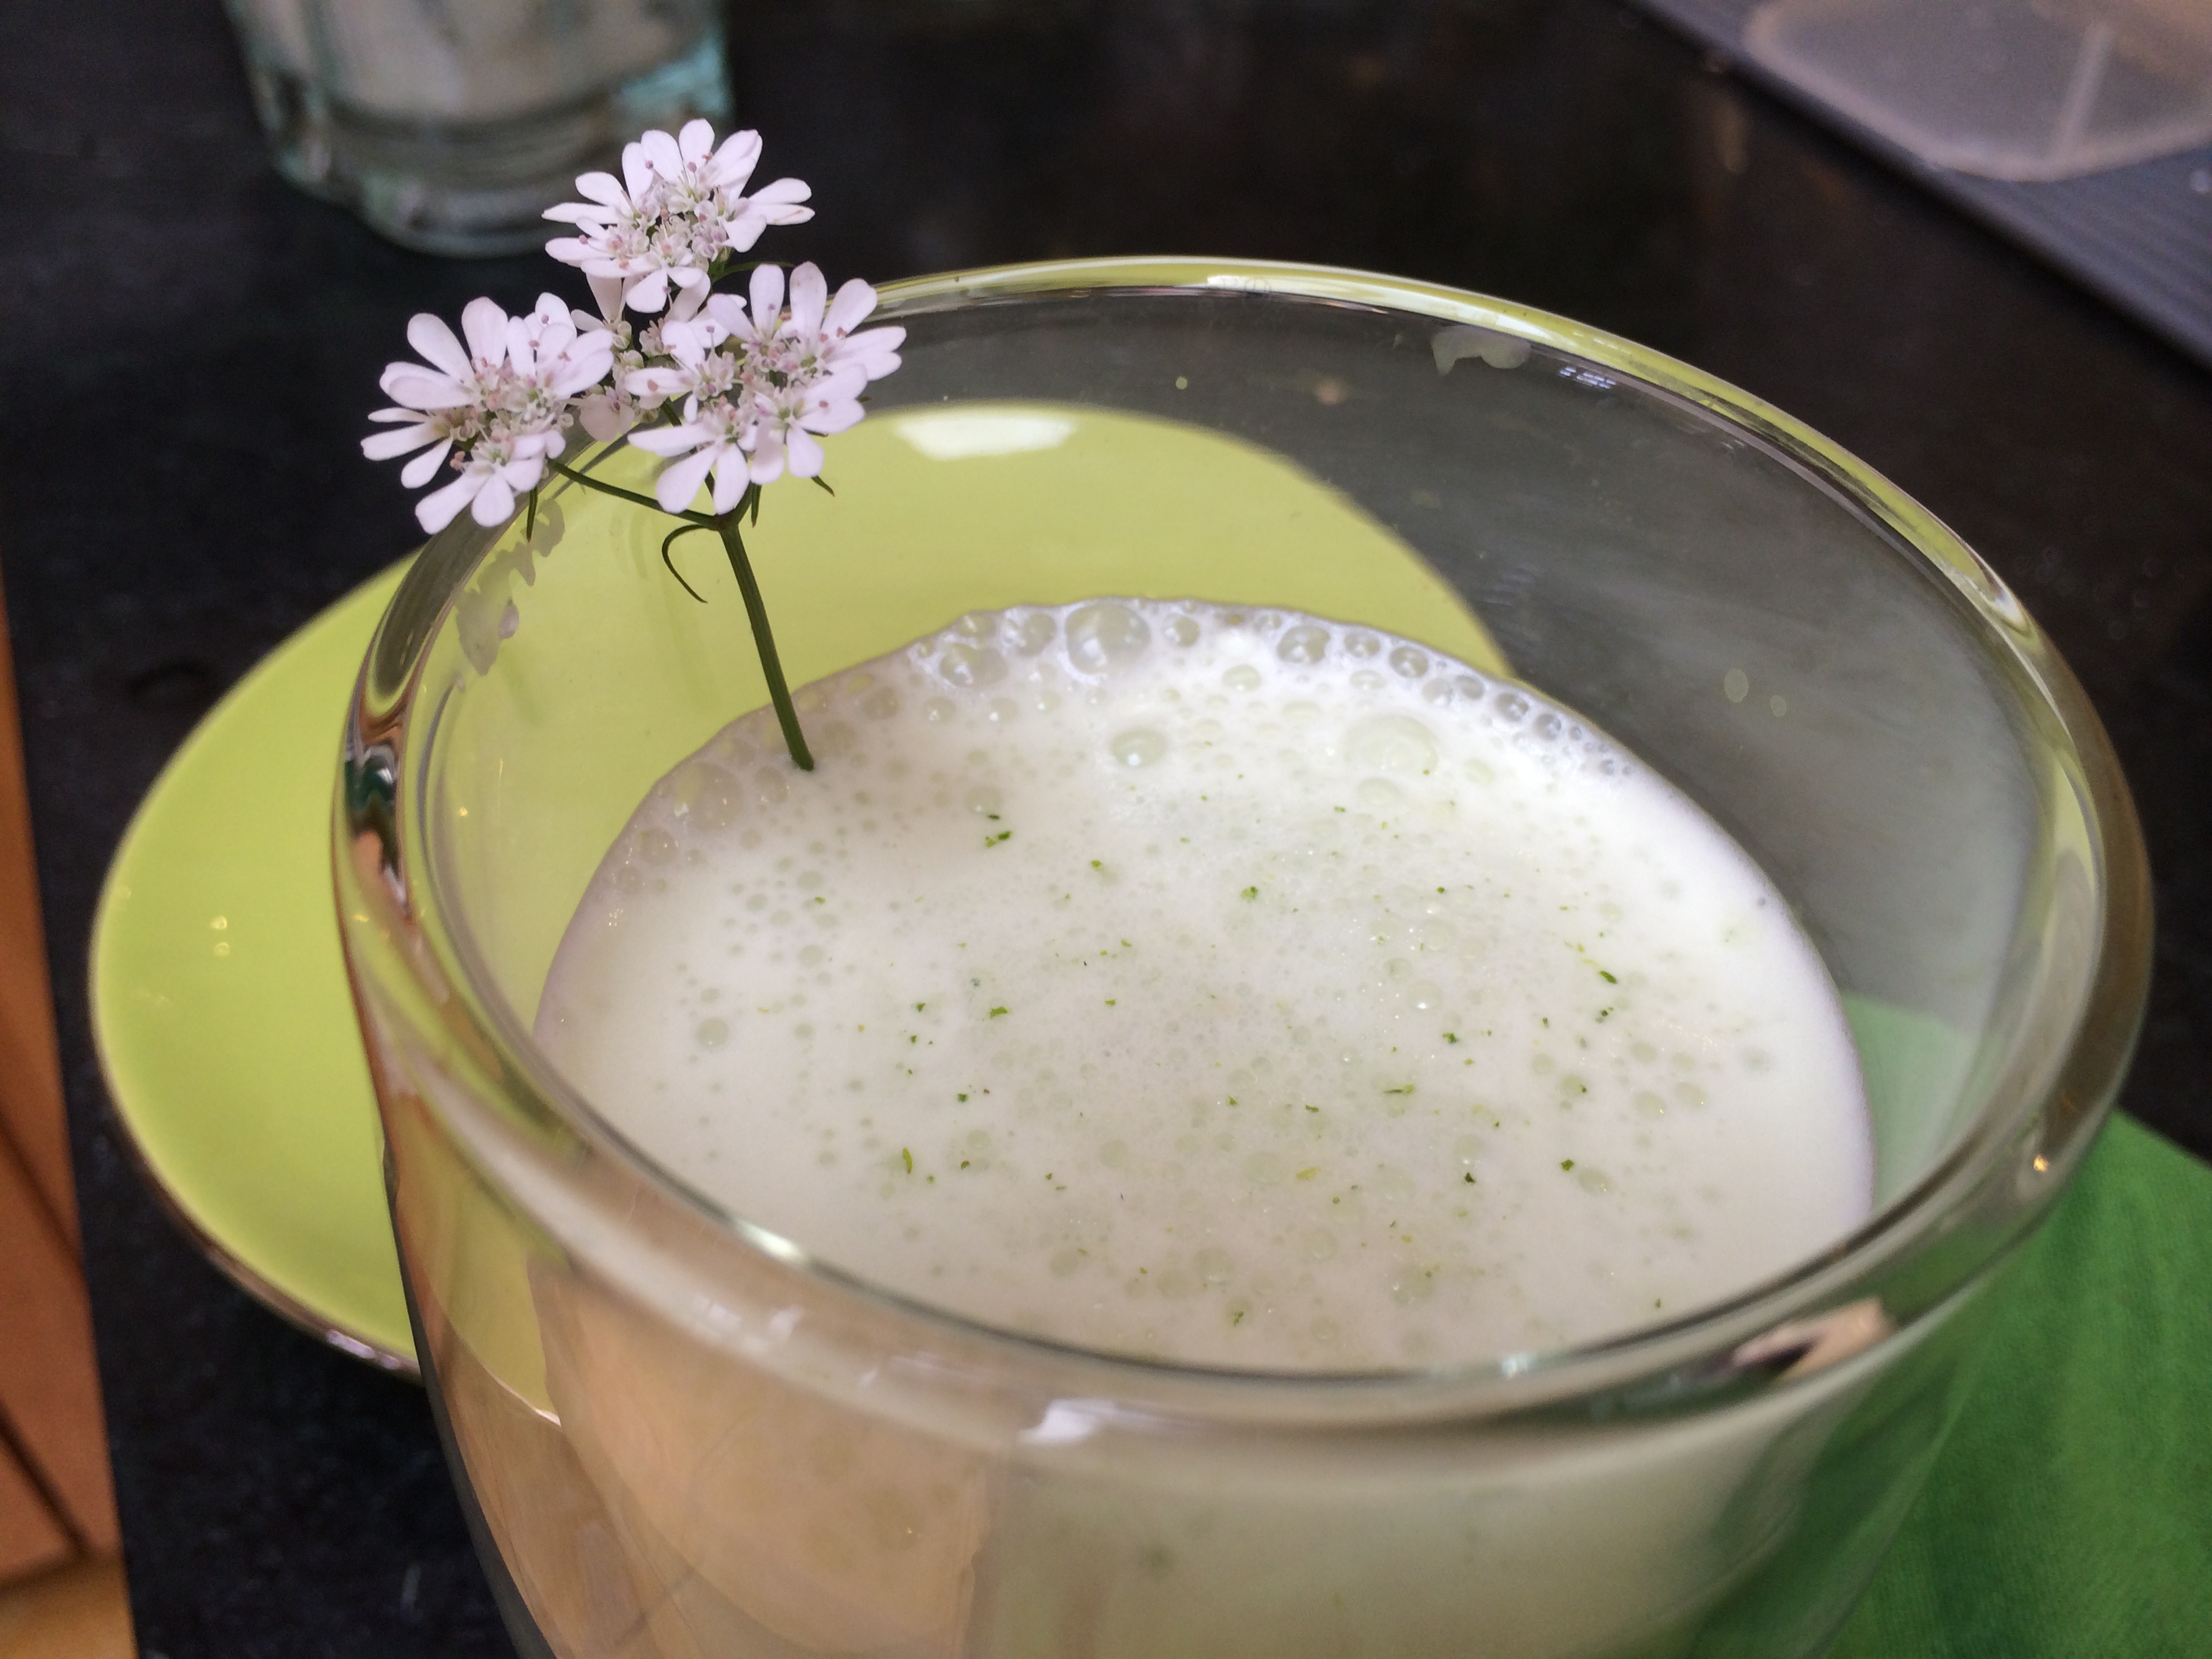
I can only imagine the sizzle and joy when these two ingredients first came together in a pot. Moong dal cooks into a creamy yellow pulpy thing, and the added rind of mangosteen (kokum) adds a very subtle sourness in a way that cannot be replaced by lemon or other souring agent. This dish is made more liquid to go with rice. There are no sharp flavors here — it is pure comfort food. When I was a child I enjoyed making it more bland by mixing it with some plain yogurt.
Some pictures to show the process.

Soaked and drained dal, turmeric, kokum together in a pot

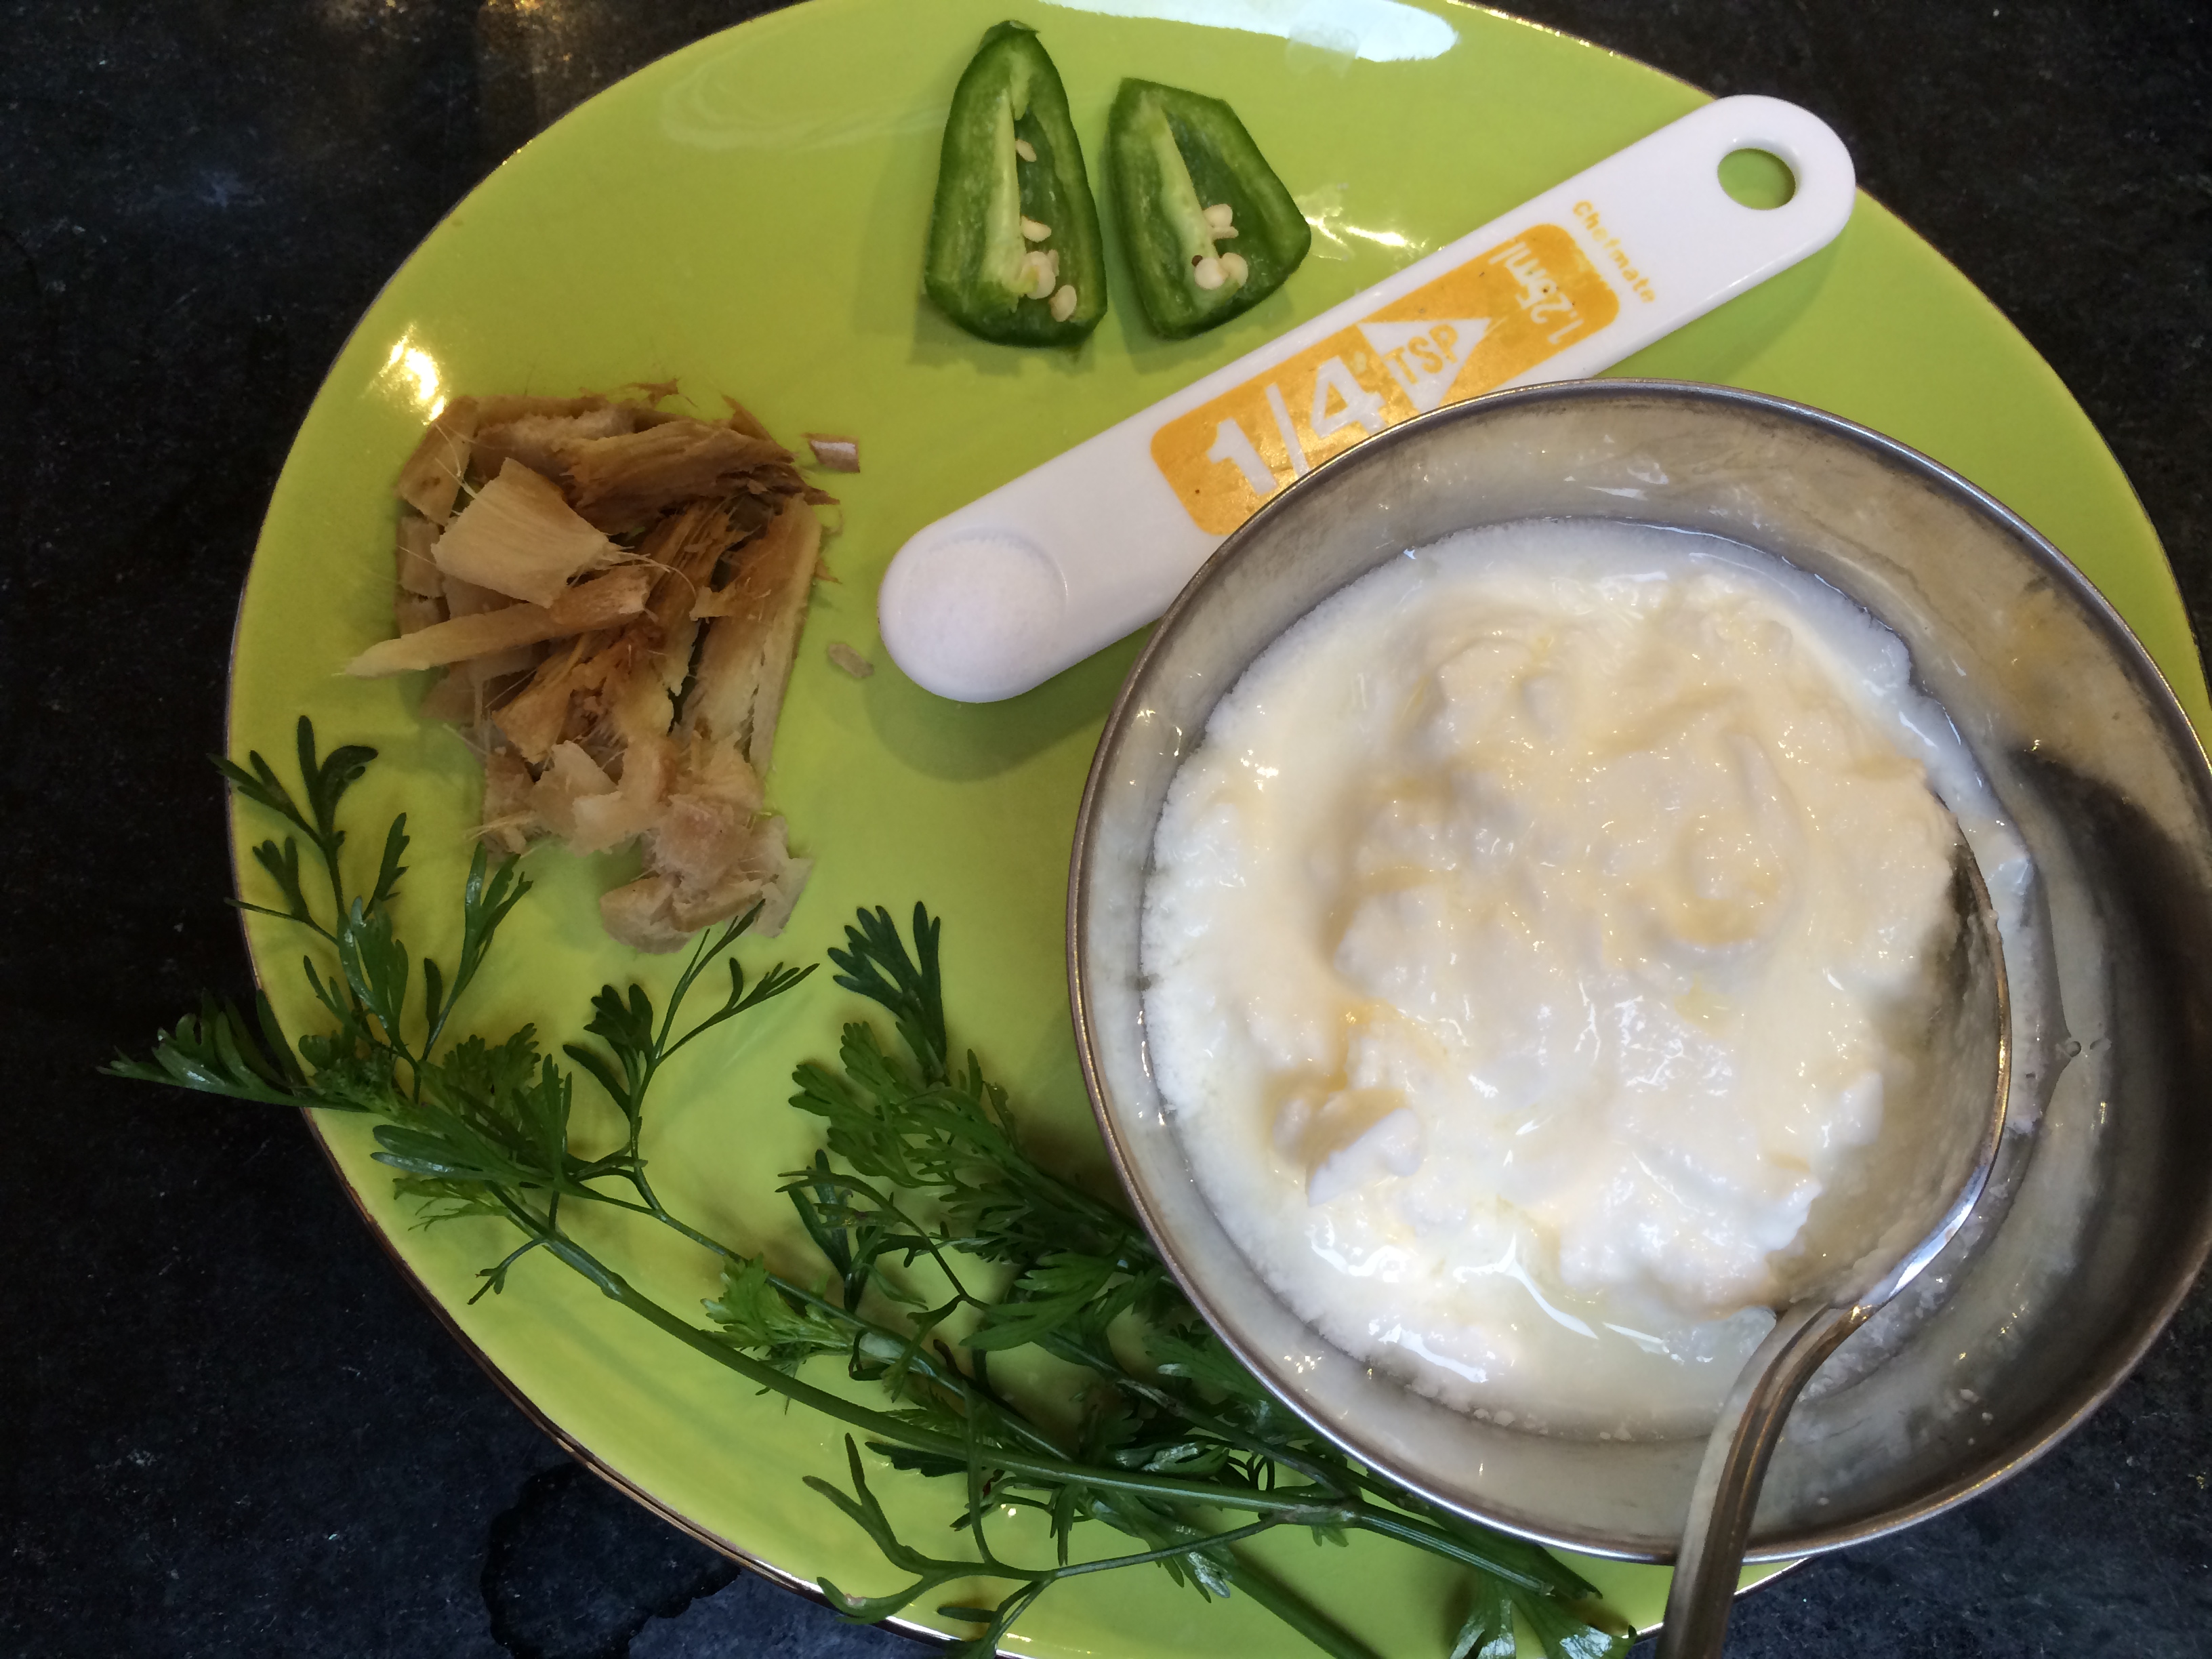
Herbs for moong dal, prepared
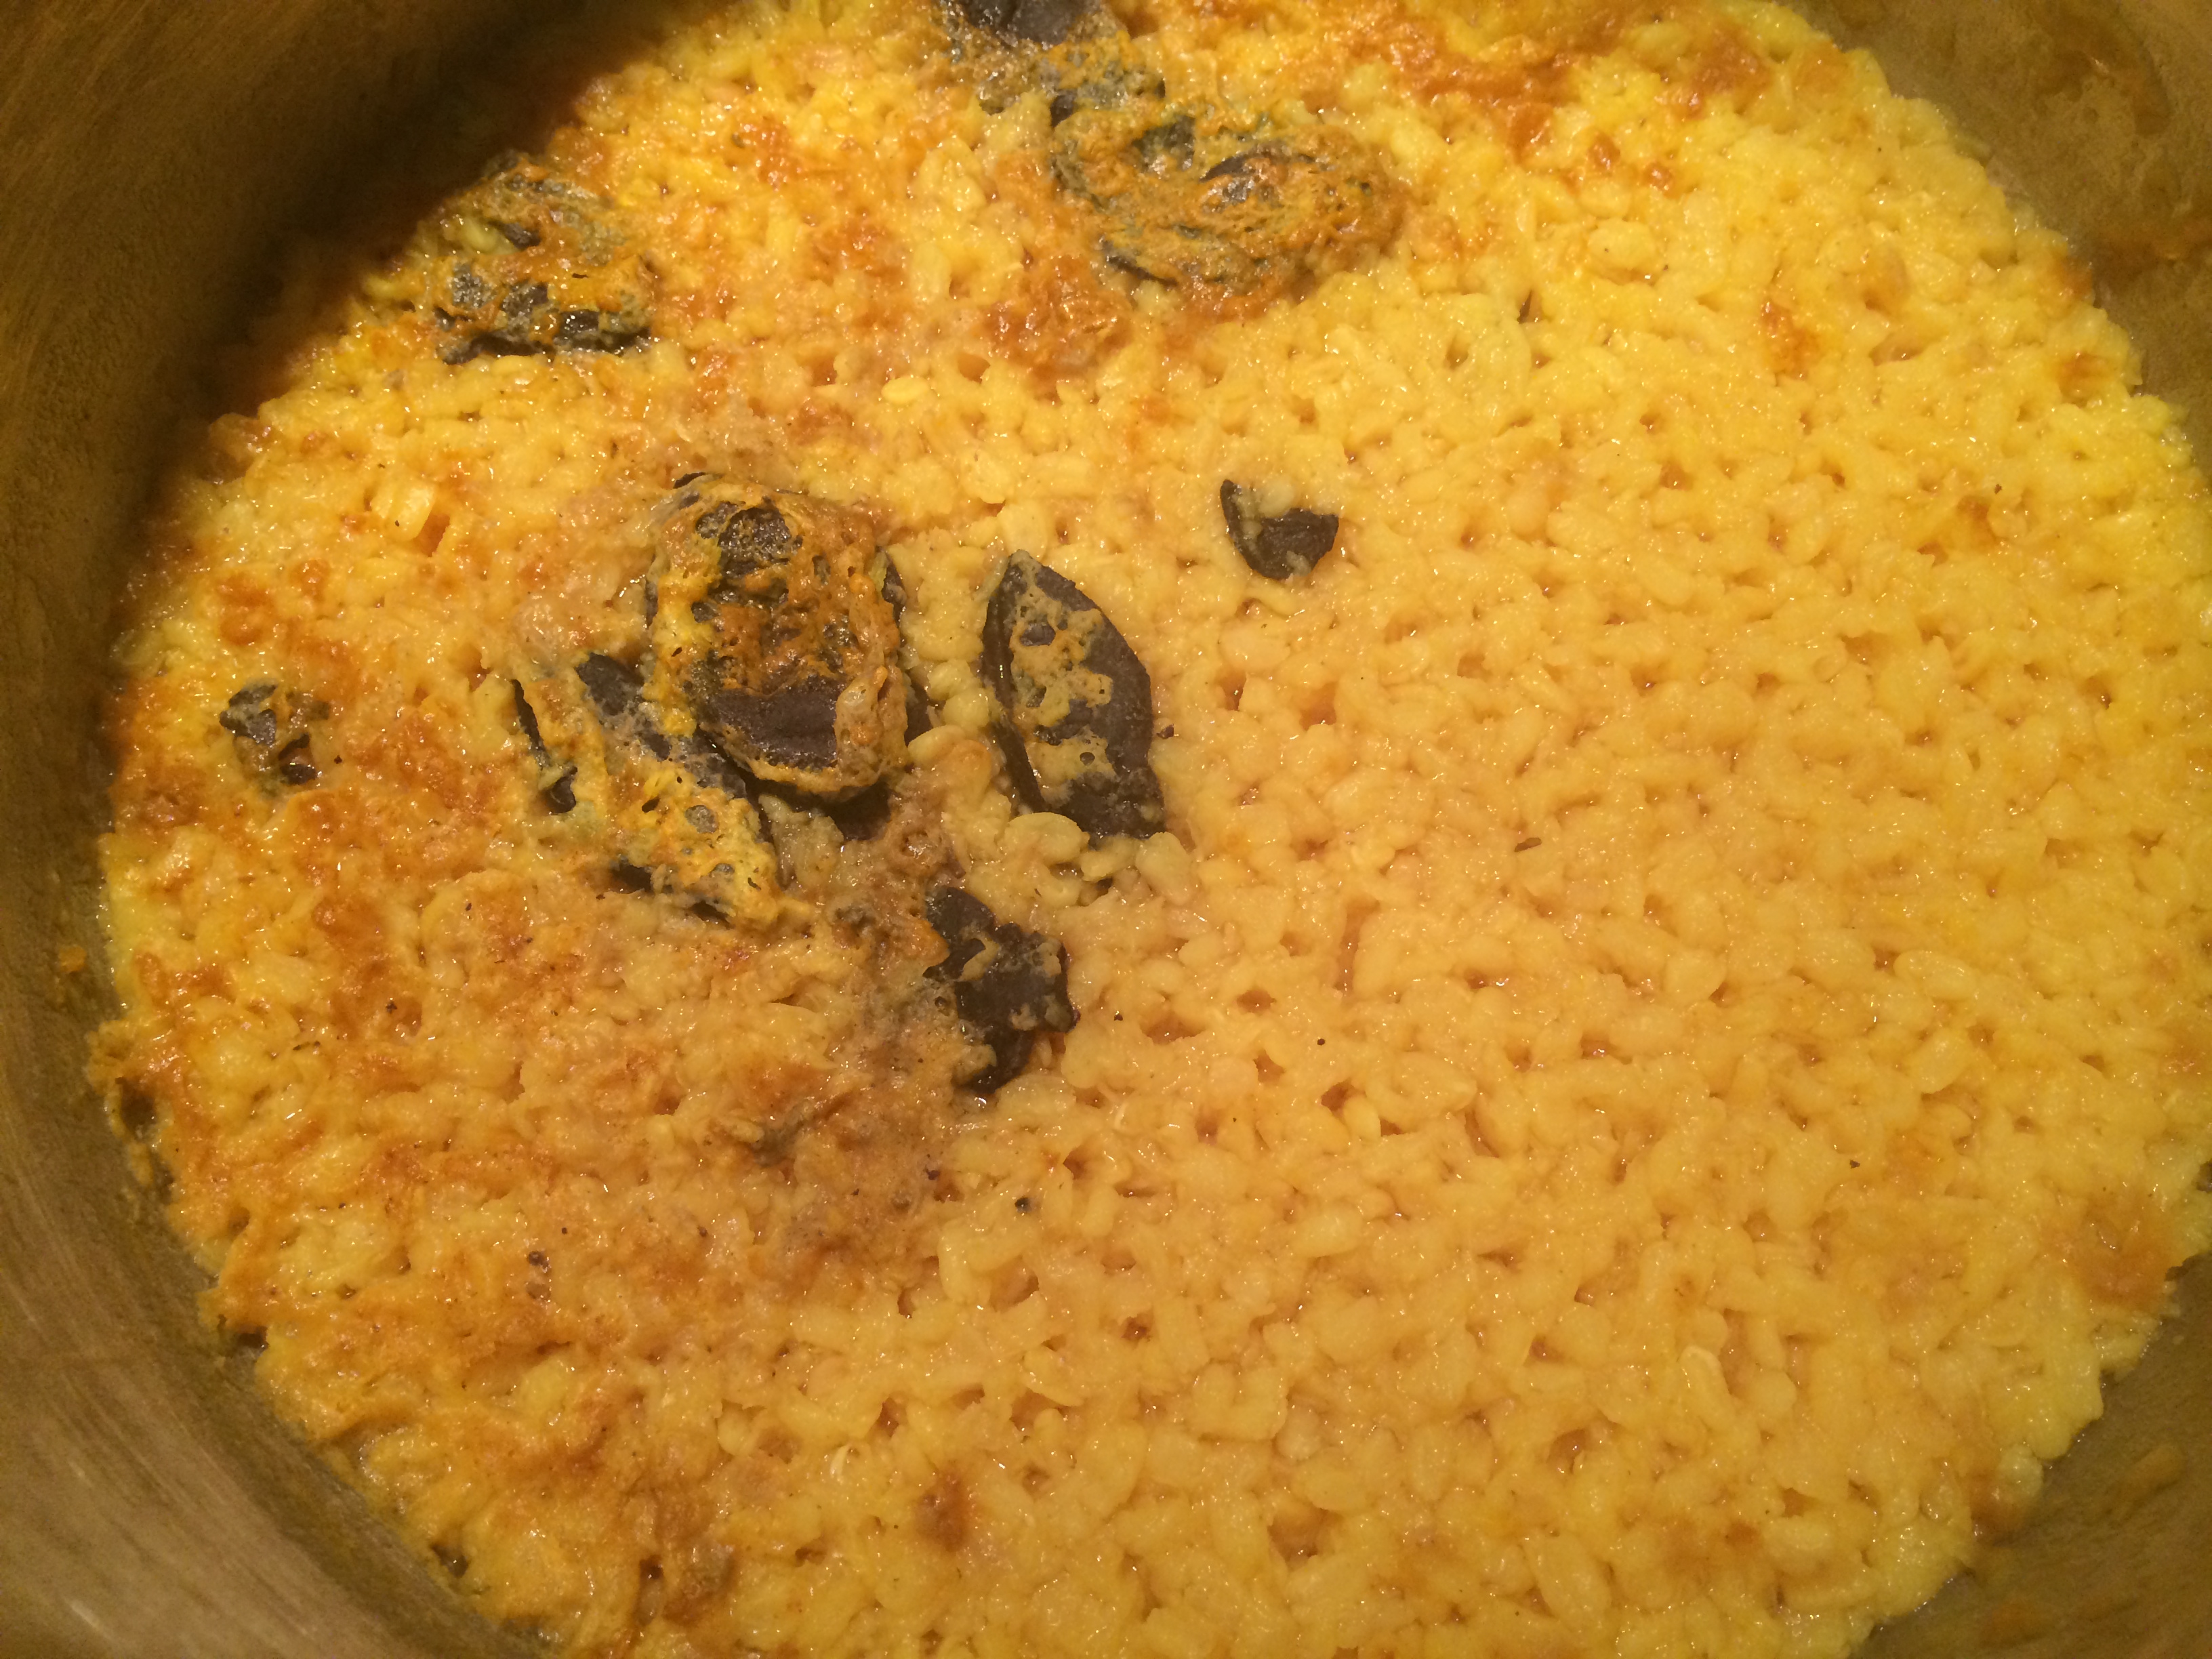
Moong dal, cooked

Herbs, sizzling

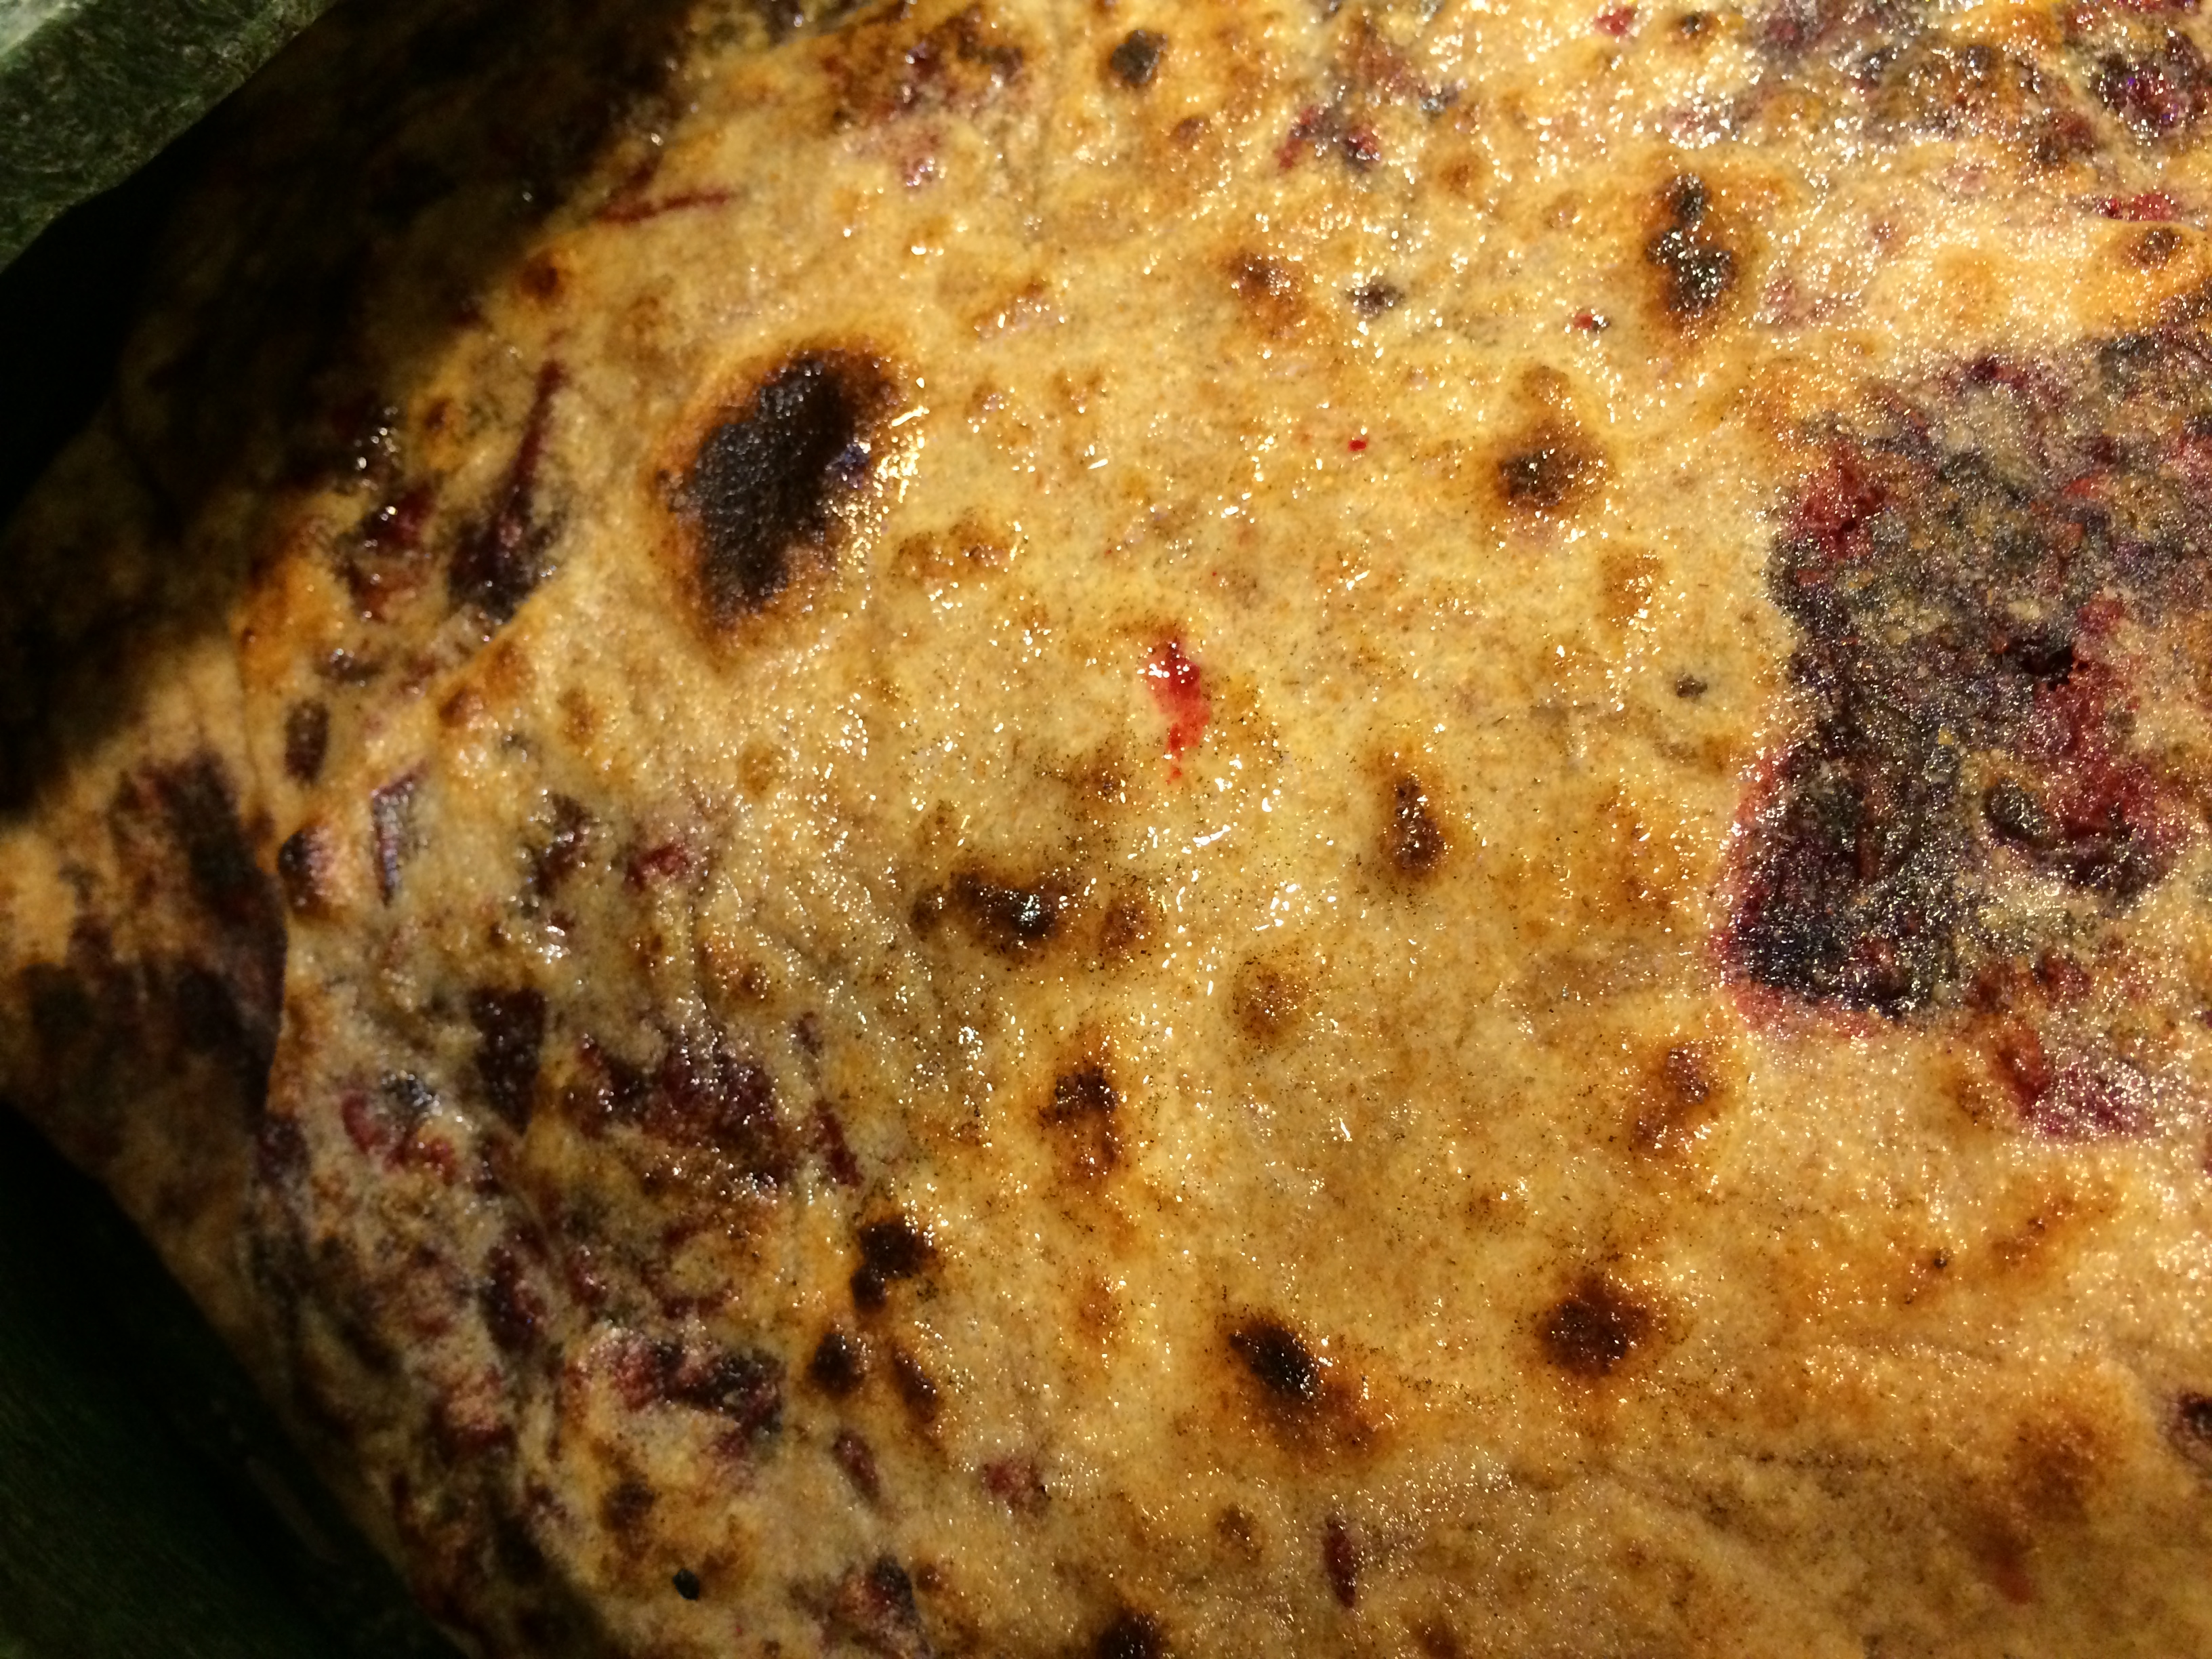
Moong dal all done
Moong dal with kokum
Ingredients:
- 3/4 cup dehusked and split yellow moong dal
- 5 or 6 pieces of dried rind of mangosteen fruit (kokum)
- 1/2 teaspoon turmeric
- 1-4 fresh green chilies (I used serrano)
- 4-5 large cloves of garlic
- 5-6 curry leaves, if you don’t have them leave them out
- 3/4 teaspoon mustard seeds (optional)
- 2 tablespoons oil
- 3/4 teaspoon salt
Method:
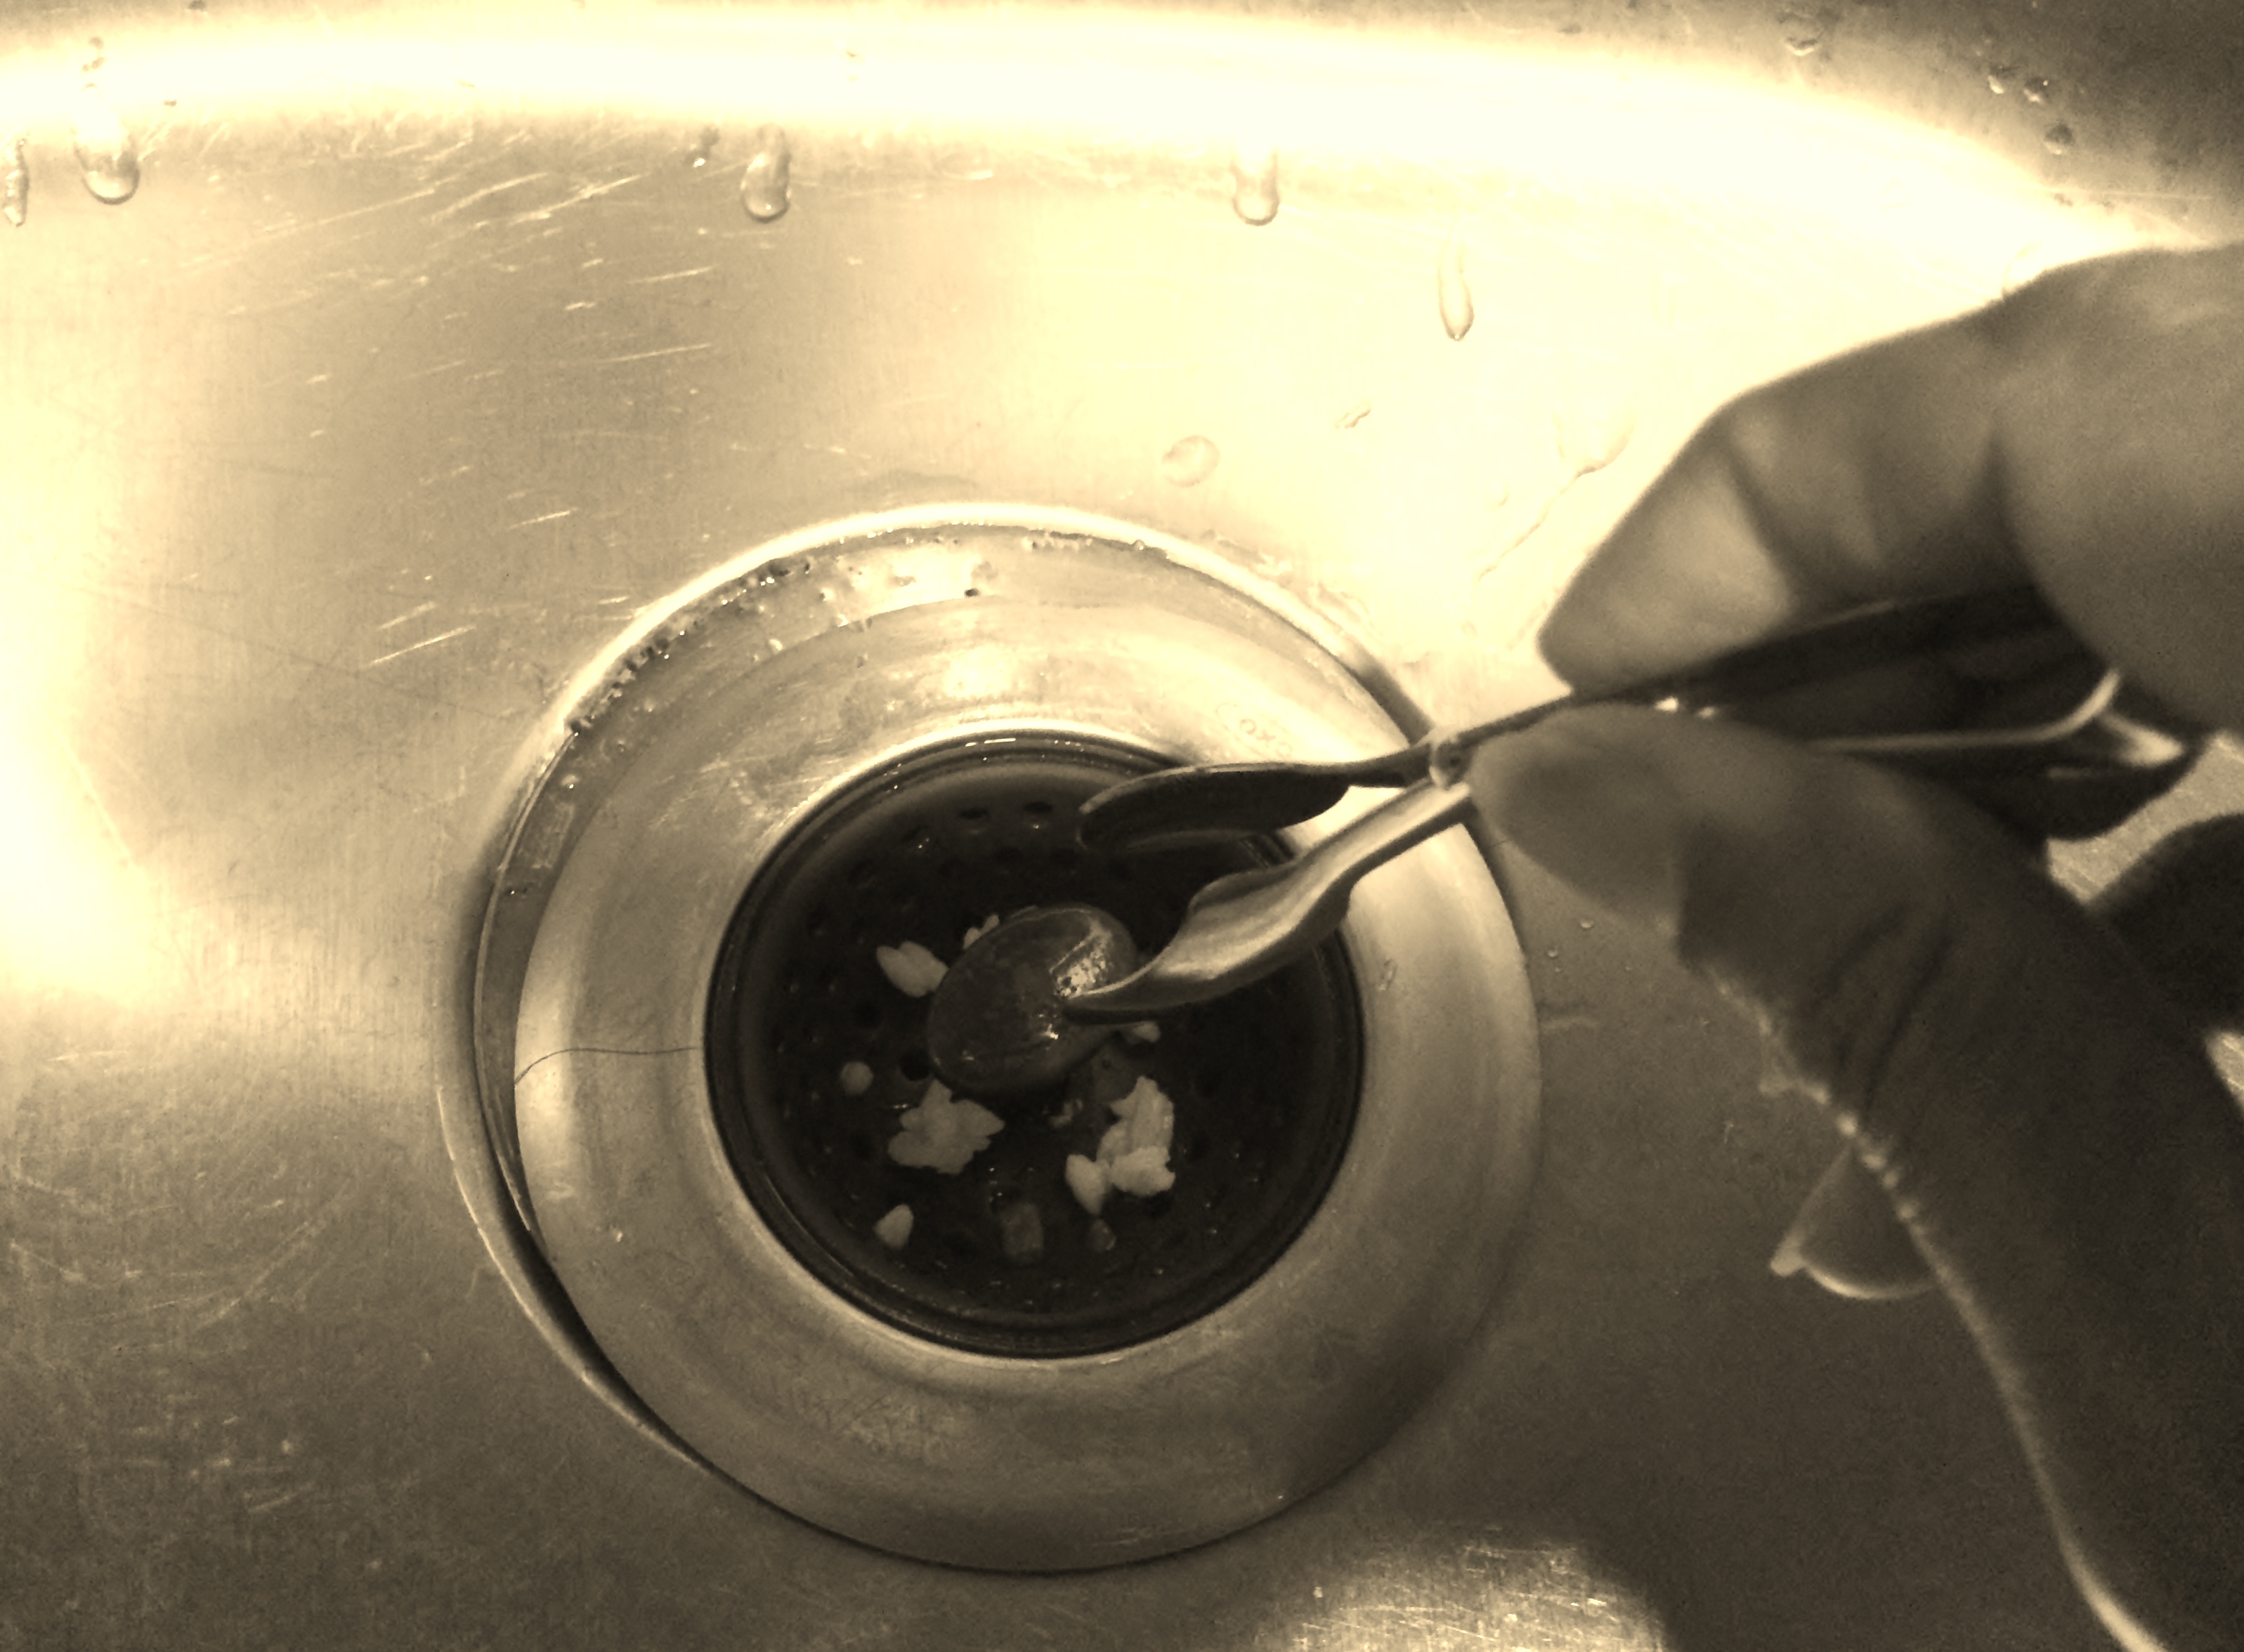
Rinse the dal in several changes of fresh water, running your fingers through to free up the loose starchy powder, until the water runs somewhat clear.
Put it in a pot along with the turmeric and the kokum and three cups of water. Bring it to a boil, then let it simmer for about an hour, partially covered. Or, you can use a pressure cooker, cooking under pressure for 15 minutes.
Once the dal is cooked down to being completely mashable, whisk the liquid to make it creamy. Add salt and turn it off, covered.
At this point, let’s start the tempering. Slice the garlic and the chilies. Just for the fancies, I sliced one of my chilies and simply vertically halved the other. Heat the oil in a small thick-bottomed pan. When it shimmers, put in the mustard seeds. They will presently pop. The rest of the fresh herbs, chilies, garlic, curry leaves go in. They will sizzle and cook. When done, turn off, pour the oil over the dal, and stir it in nicely.
Cilantro for garnish if you like. This goes well with white rice, with some salad or relish of fried stuff alongside.