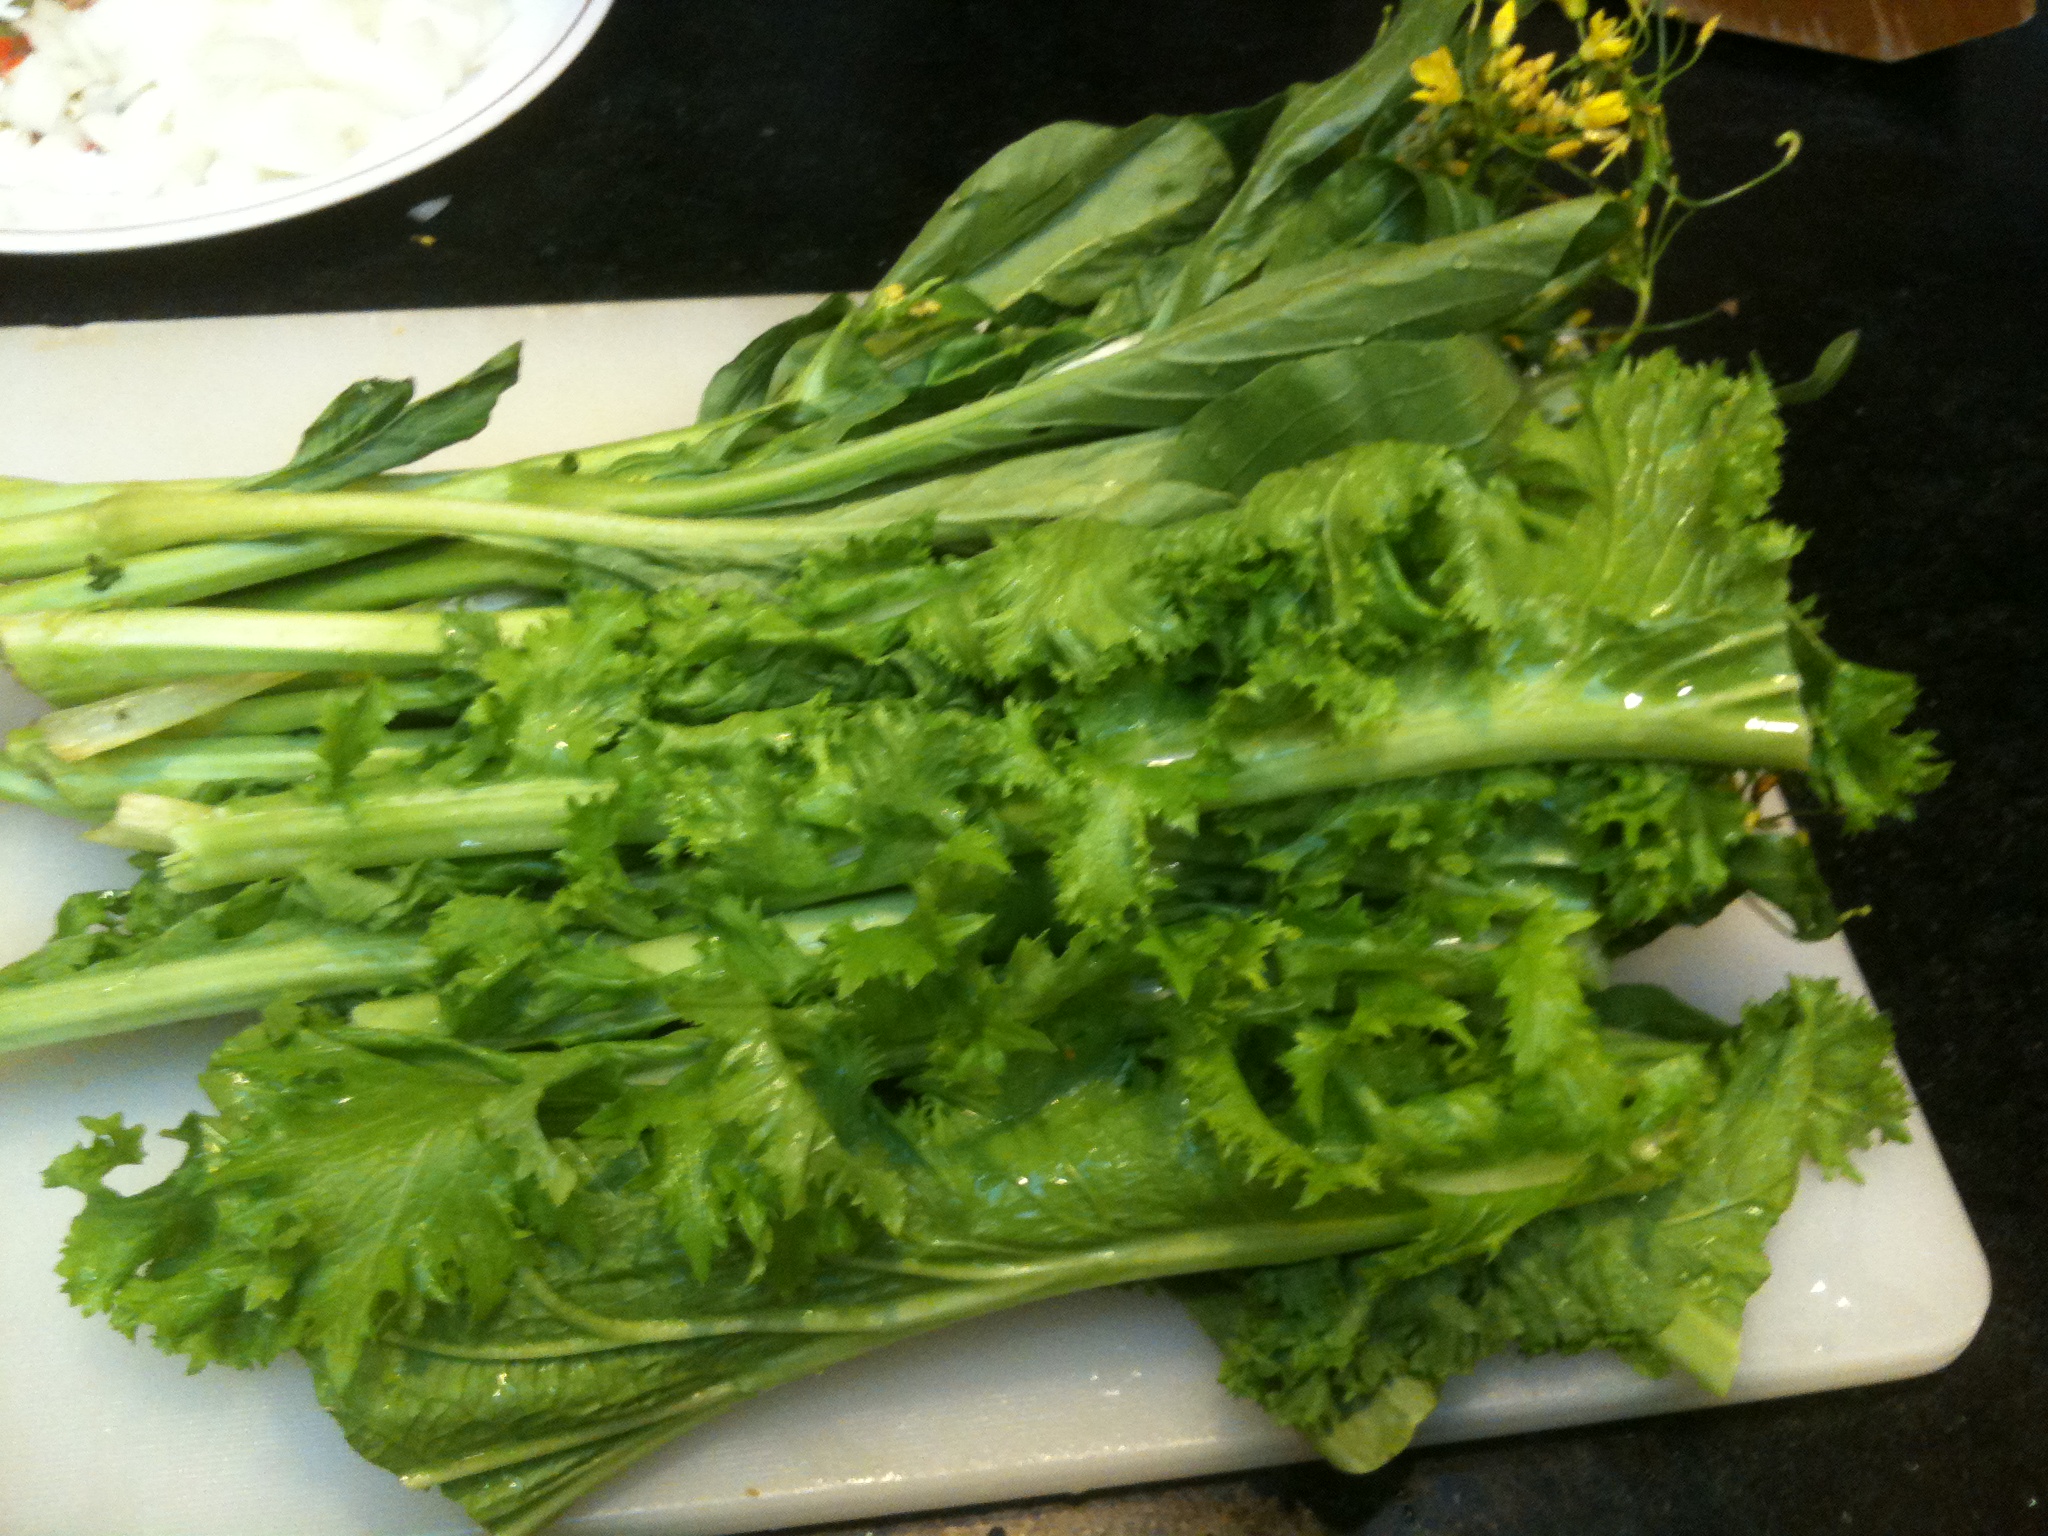
Broiled tomato soup in potato oyster mushroom fond

Broiled tomato soup

Broiled tomato soup

Bright red tomatoes

Bright red tomatoes

So here I am, with bright red tomatoes at the ready, thirsting for some soup. But no chicken broth in the house. Of course one can use water, but I do need to add back in some of that lovely savoriness that a broth would have added.

So I choose a multi-pronged attack.

a) Saute oyster mushrooms into the base. This takes care of the missing umami taste.

b) Brown tiny potato cubes in the base of the pot, to add some of that Maillard goodness.

c) Broil the tomatoes before adding them in to the soup, to add the caramelized flavor of the browned skin.

d) Add some milk/cream at the end to add in the missing protein flavor. Also adds creaminess.

e) Add some Worcestershire sauce, which basically being bottled umami flavor, is a bit of a cheat. The interesting thing here is that one of the ‘natural flavorings’ used in this sauce may be asafetida (heeng), which is used extensively in Indian cooking. And yes, I can vouch for its umami-ness. Among its ingredients is tamarind, also an old stand-by in Indian cooking. I guess those British did pick up a few tidbits about Indian food in the 200-odd years they spent hanging around us.

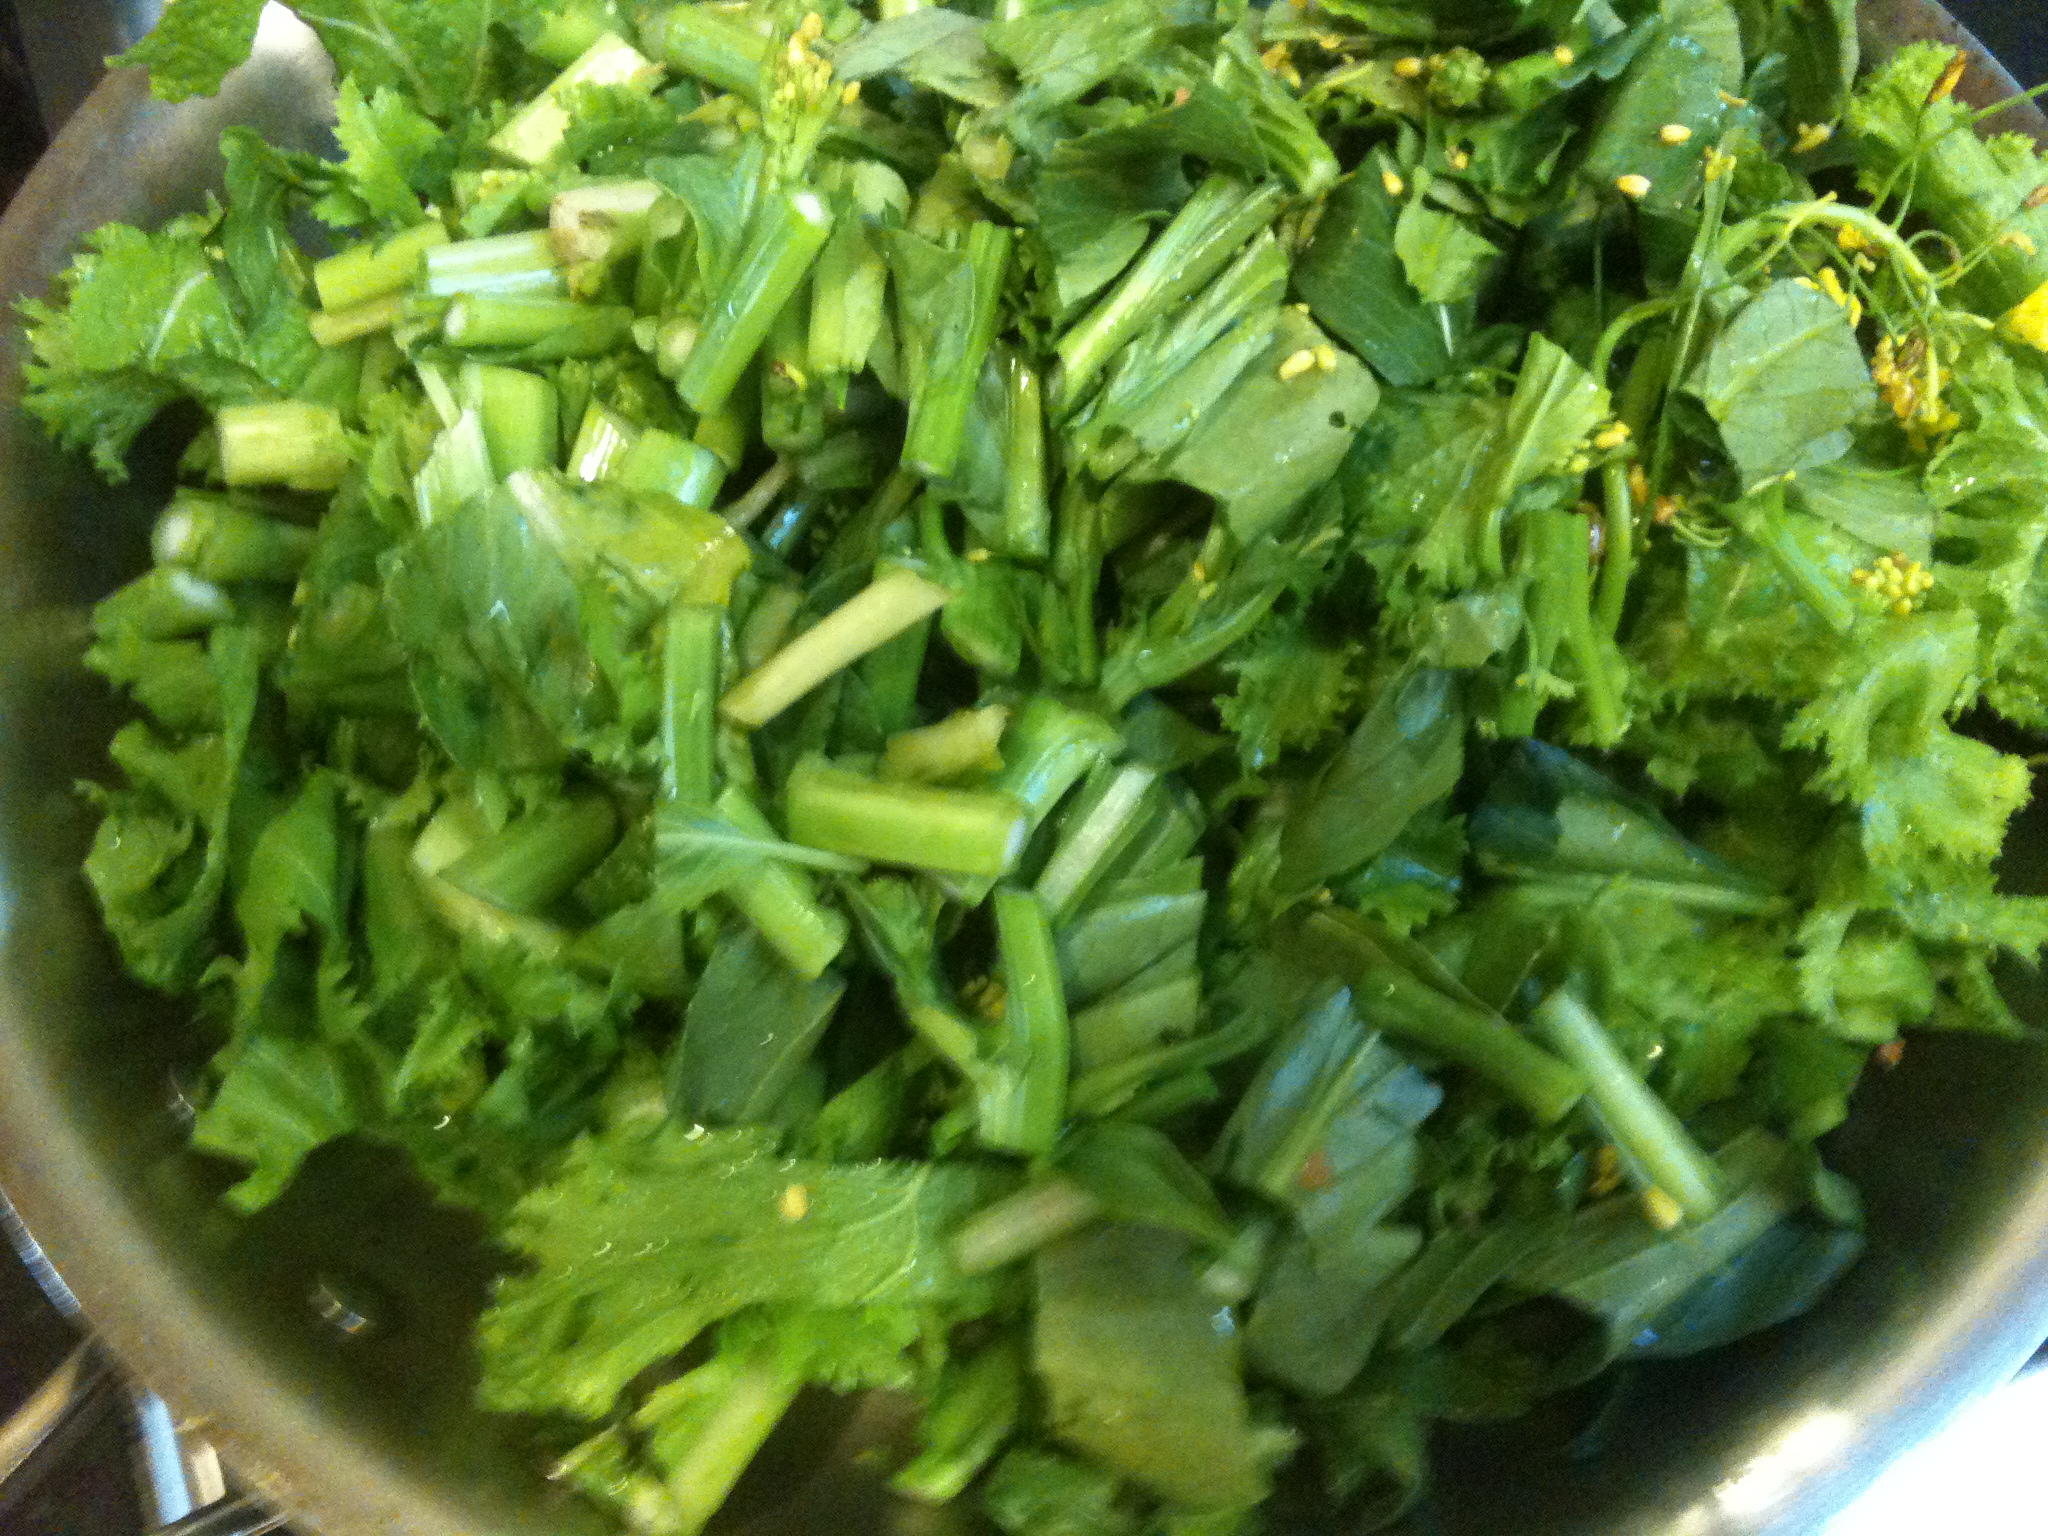
Oh — and for an aromatic, parsley. Just parsley.

Ingredients:

Handful of chopped parsley

Fistful of chopped oyster mushrooms

One medium potato (new red or purple) chopped into small cubes

Six small tomatoes

Olive oil – some

Salt to taste

Worcestershire sauce – one teaspoon. Substitute with red wine or balsamic vinegar.

Quarter cup milk or cream.

Method:

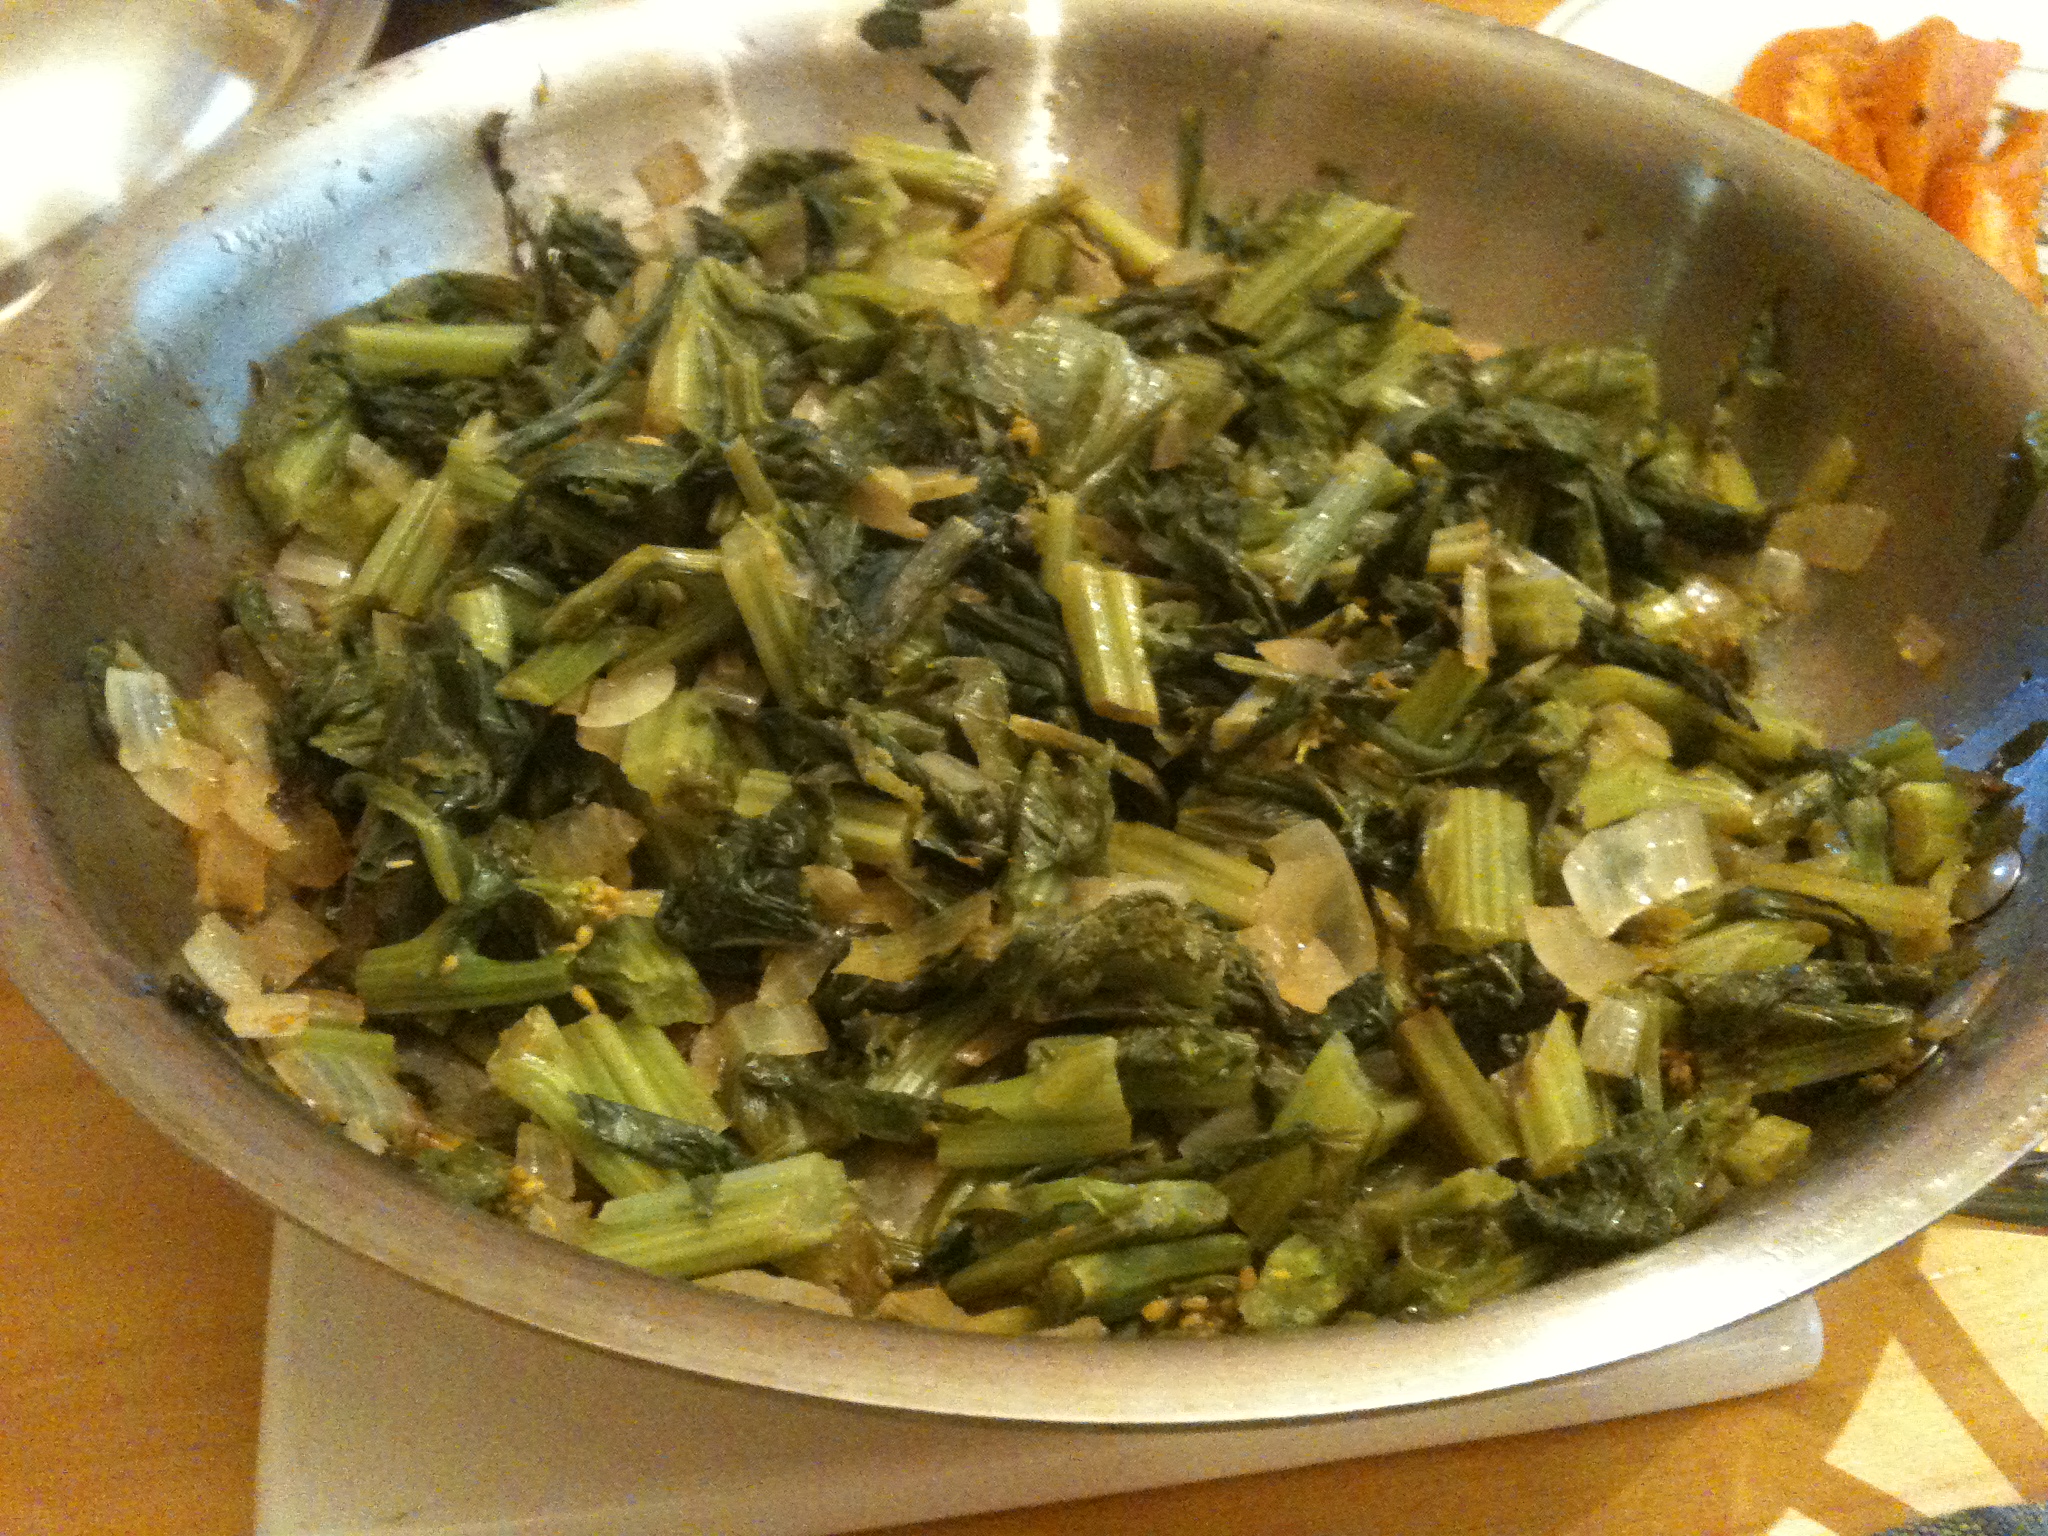
Heat 2-3 tablespoons of oil in a thick-bottomed pot. Add potato cubes to it and a sprinkle of salt. Saute on medium-high heat for about 10-15 minutes. The potato will start to brown and stick to the bottom of pot for dear life. Let it brown, then dark brown, do not worry. We will deglaze off all that stuck goodness later.

Potatoes browning

Potatoes browning

When it seems that it is on the verge of actually just charring (you do not want that), add in the chopped mushrooms. They will sweat and unstick some of the potato fond. Oh, yes, that is exactly what ‘fond’ means — the foundation or base of a sauce. After a few minutes the mushrooms will have sweated and shrunk. Now add in the minced parsley. Cook, stirring occasionally. You can cover it if you like, to get it to sweat more. Now sprinkle in the Worcestershire sauce, and stir, to deglaze some more.

Minced parsley and chopped oyster mushrooms

Minced parsley and chopped oyster mushrooms

Soup fond nicely browned

Soup fond nicely browned 
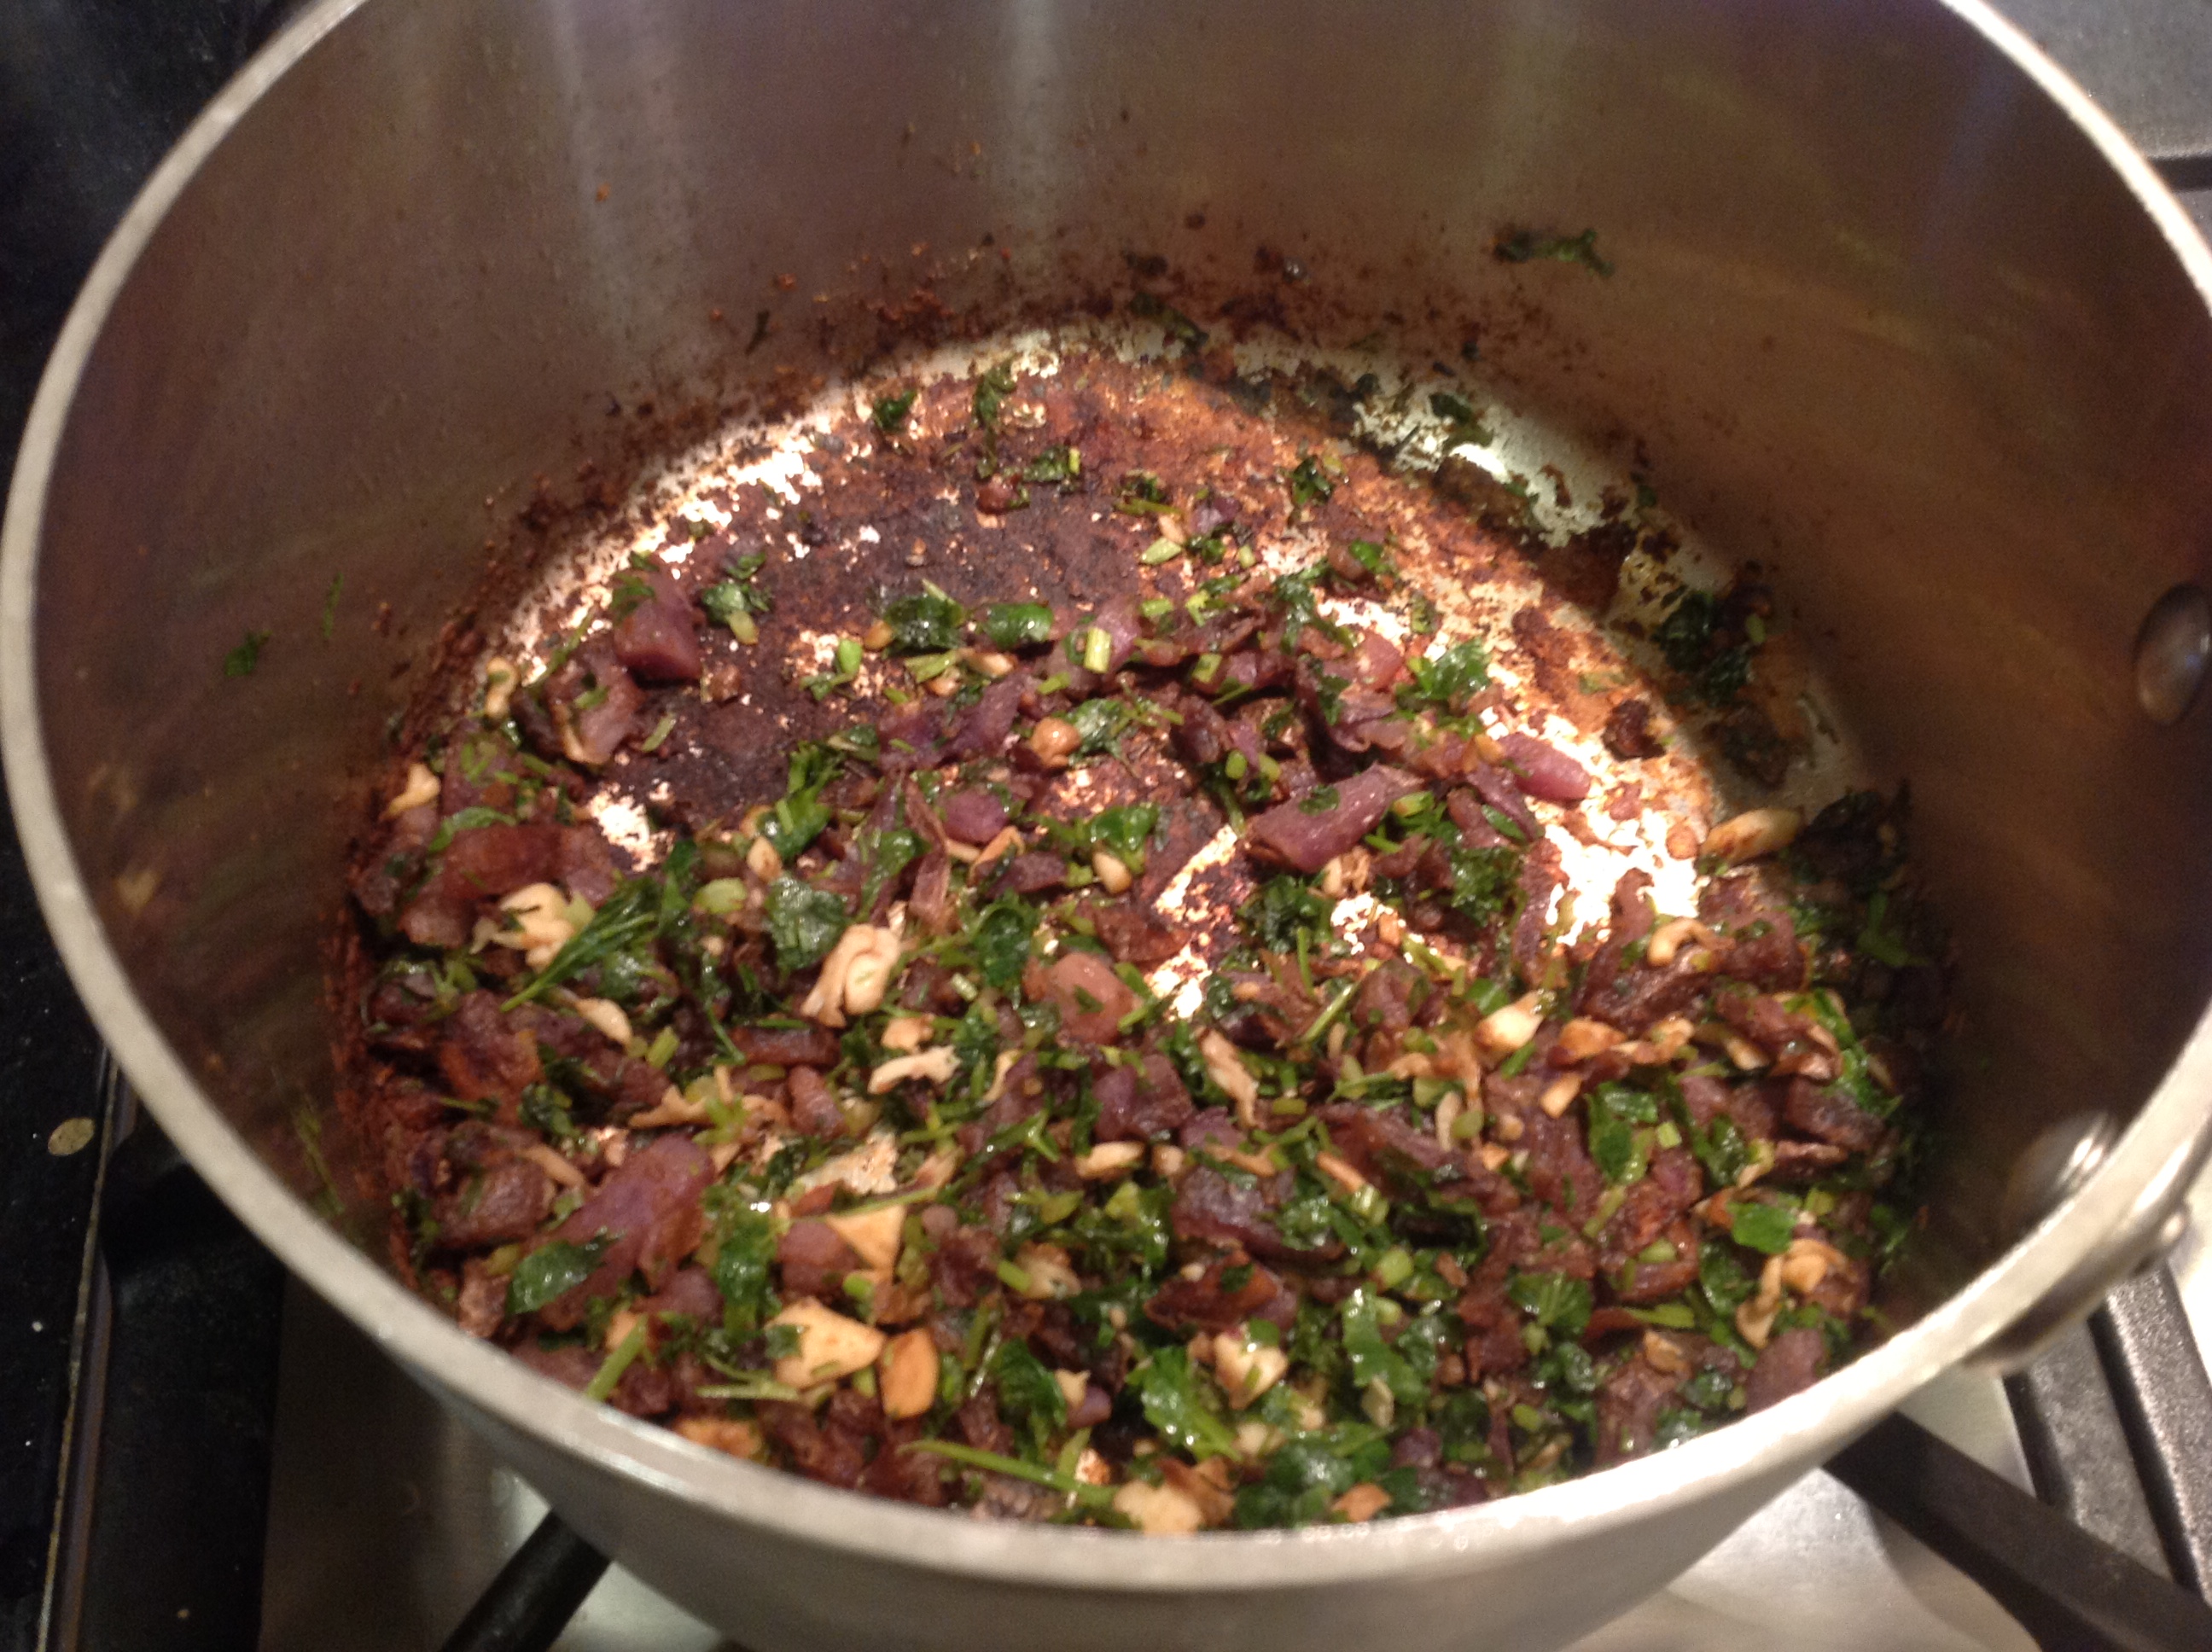
Soup fond nicely browned and water added

Once the mixture looks — I don’t know, kind of soup-base-y, put in a cup and a half of water, bring to a boil, and leave at a very gentle simmer, uncovered.

Halved tomatoes with olive oil

Halved tomatoes with olive oil

Meanwhile, rise and stem the tomatoes. Cut them in half, place face down on an oven-safe dish, and rub olive oil all over them. Broil for 7 minutes or until the skin has wrinkled and charred. Take them out of the oven. You can peel them if you like but I left the peel on. Puree them and toss into the soup.

Broiled tomato halves

Broiled tomato halves

Simmer the soup another ten or twenty minutes, check for salt and blend again if you like it smooth. Add milk and just heat through (do not bring to a boil at this point, because otherwise it will curdle).

IMG_0459[1] IMG_0462[1]

Serve! Possible garnish: shaved parmesan cheese, croutons, parsley, chives. And, I didn’t miss the chicken broth at all.

Cauliflou, cauliflower, cauliflowest

I adore cauliflower. I know, that is not a statement one is likely to hear often. But I do. That strong sulphuric smell when I steam and then roast cauliflower is enough to send me into a tizzy. I grew up on rice steamed with cauliflower for lunch every week day, and I tell you, you haven’t smelled white rice cooking until you’ve smelled it cooking with cauliflower.

All right, all you unsympathetic ears. I made this dish for a housemate once, and he said he had never, before then, actually enjoyed cauliflower. Plus there are the incredible cancer-fighting, DNA-repairing traits of cauliflower that it shares with its cruciferous brethren like broccoli, cabbage, kale, and so on.  So here is a simple way that can be included in any Indian meal, with chapatis or naan, with rice and dal; or with any Western meal that has strong flavors as the vegetable side. Or — what the heck — put it in a burrito.

Presenting Gobi Masala done in a Sindhi way.

Ingredients:

Half a head of cauliflower, rinsed and chopped into thin florets, none wider than half an inch

Half a teaspoon whole cumin seed

Few sprinkles of asafetida

Half a teaspoon red chili powder

Half a teaspoon turmeric powder

One teaspoon coriander powder

One inch piece of ginger minced

One-two serrano chilies, sliced

One medium tomato, choopped

Salt to taste

Chopped cilantro to garnish

Method:

Heat 3 tablespoons of oil in a thick-bottomed pan on medium-high. When it shimmers, put in the asafetida, the cumin seeds, and the red chili powder.

cauliflower 002

Gobi masala : spices

They will sizzle presently. In go the ginger and serrano chili. They will start to look blistered.

cauliflower 003

Gobi masala: ginger and chili looking sizzling

Now it is time for the cauliflower to go in. Stir to coat with the oil. Sprinkle with salt. Stir occasionally, while leaving the pan uncovered, on medium-high.

cauliflower 005

Gobi masala: cauliflower coated with oil and spices

Fifteen minutes later, some of the florets will show some translucence on the stems, and some browning on the buds.

cauliflower 006

Gobi masala: some browning on florets

Now, put in the coriander, turmeric, and tomatoes, some extra salt to taste, and stir to coat the florets once again.

cauliflower 007

Gobi masala: tomatoes added

Cover, lower the temperature to medium, and let it cook for another ten minutes. At the end, garnish with cilantro.

cauliflower 014

Gobi masala: complete with garnish

I have a bitter and prickly friend…

…that I would like you to meet. It goes by many names — bitter gourd; bitter melon; karela in Hindi; ku gua in Chinese; but more properly, it is known as Momordica charantia. I know, Dear Reader, that you don’t appreciate my bitter and prickly friend. I apologize if you are one of the handful who do appreciate the karela (Hi Rashmi!) but I can probably count the lot of you in Roman numerals that I’m actually quite weak in.

But I’m about to tell you that if you enjoy the occasional hoppy beer; if you don’t freak out about some frisee in your salad; or like some strongly brewed coffee, or better still, your shot of espresso; and who besides my seven-year-old doesn’t like dark chocolate? — you will probably enjoy the Momordica. Plus, its got some major diabetes-fighting skills.

toor dal and karela 004

Karela is an oblong, prickly, warty fruit of a vine that originated in India, from the same family as the various melons, pumpkins, squashes and cucumbers. The resemblance in looks to the rest of its cousins is clear, but the taste, I believe, is rather unique. It is picked and eaten while it is still green. For years I assiduously peeled and seeded the gourd before preparing it, but lately I realized that both the peel and the seeds are edible, and in fact, in this preparation, the seeds add a welcome crunch. I’m all for cutting out steps from food preparation, so now when I prepare karela, I rinse them, slice them, and I’m good to go.

There are many preparations of the karela that add spices and tang to mitigate the bitterness. This method utilizes another trick — it crisps them up. At some point I will write up other, more complicated recipes for bitter gourd, but this is the simplest, and very, very addictive.

Step 1: slicing.

toor dal and karela 005

Rinse, dry and de-stem the bitter gourds. I used three of the smaller Indian variety. With a sharp knife, slice them up into eighth of an inch slices, peel, seeds and all. Don’t worry if you lose a few seeds while slicing. It is more important to keep an even thickness of slice than to get it to be exactly an eighth or a quarter of an inch wide, so that they all cook evenly.

Step 2: saute.

Heat a couple tablespoons of oil in a wide, non-stick pan. A crepe pan, or dosa pan, if you have such, would be ideal. If not, any Calphalon will do. When the oil shimmers, lay out the slices in a single layer, like so:

At this point, lightly salt around the slices, and wait for about 10 minutes, motionless. Oh — you can move, but keep the slices motionless. You might press down on one or two of the recalcitrant slices to ensure touch-age.

toor dal and karela 007

Step 3: flip.

toor dal and karela 015

As for when to flip the slices over, I would say this — be fearless, and have patience. You might see some start to brown at the bottom. Peek at a couple if you like. At any rate wait ten minutes on medium-high heat. Use a spatula and a fork, one in each hand (the fork to give you leverage), and start flipping. Drop a few more drops of oil on the pan and swirl around. Sprinkle some salt on this side as well. Be conservative, you can always salt more later. Let them cook another five minutes.

Step 4: Remove and add spice.

toor dal and karela 017

At this point, most of the slice will be done and crisped up. Remove them into a plate, and toss with a few sprinkles of red chili powder. If you want to do like the street vendors in India do, make cones of newspaper, throw the karela in it, sprinkle the red chili on, and give it a few hearty shakes while holding the flaps closed. Enjoy.

Efficient butternut-tomato soup

A quick and easy soup that can be done quickly for a weeknight dinner but does not sacrifice flavor at all. This amount of soup was enough for four as a soup course, or for two as dinner.

Step 1: Squash.

butternut squash soup 001

Start with about half a medium butternut squash. Or you could go with pumpkin, but as you can see, I went with butternut. Put some water on the dish and stick it in the microwave for 5 minutes.

Step 2: Deseed and peel.

butternut squash soup 002

The squash comes out softened and partially cooked, as seen above. Cut in half across, it becomes very easy to deseed with a scoop-shaped spoon, as pictured below. As far as the seeds go, I like to chomp on a few of them as they are, the shell and the pith notwithstanding.

butternut squash soup 006

The peel easily pares off with a sharp paring knife. Chop up the flesh into cubes and have it ready to go into the soup.

butternut squash soup 008

Step 3: Aromatics.

I used an inch-long piece of ginger and chopped it into thin strips thusly.

butternut squash soup 004

Now, heat about three tablespoons of extra virgin olive oil in a pot and saute the ginger strips, along with one bay leaf, for a few minutes.

Step 4: Broth and everything else

butternut squash soup 009

Throw in the squash, along with one chopped tomato. I used an orange tomato, not in order to match the squash, but just because that’s all I had. Also put in 3 cups of chicken broth, some salt to taste, and bring to a boil.

Keep it at a healthy simmer for about fifteen minutes.

Step 5: Soupify and correct seasoning.

Now, the soup is ready for its journey through the blender. Pull out the bay leaf first of course! Once smooth, you have the choice to strain it. We did, but used a strainer with rather large holes, to make it easier on ourselves. Return the soup to the pot, and check for salt, and also sweetness. I found the squash I used somewhat lacking in sweetness, and added a few squirts of balsamic vinegar to complement it. Heat it through, mix it, and serve.

butternut soup 2 001

Stemming the tide of mustard greens

When we first brought our mustard seedlings home, they were petite and unassuming. Planted them in the ground, and given San Francisco’s freakishly warm weather, we soon had curly monsters threatening to swamp the house. Naturally we set about consuming them as fast as we could.

fennel 015

Mustards after a lot of rampaging

Harvested an entire meal’s amount to make Punjab’s famous ‘sarson ka saag’, which means ‘greenish pulpy thing made out of mustard’. It was good, but made not a whit of difference in the amount of curly monsters in the garden.

Soon we were eating sarson ka rice, sarson ka pasta, sarson ka…everything.

On the way, I learnt an important lesson about cooking mustard greens that the Punjabi chefs learnt thousands of years ago. Unless you cook and puree the mustards, the curls in the leaves — which are quite tough, by the way — will interlock and will not separate, and you either get a mouthful of mustards all clumped together, or you get none at all. Pureeing after cooking makes them luscious and even. So here is the basic technique for the Punjabi sarson ka saag, and then my other variations.

Sarson ka saag

Step 1: is the most important:boil and puree.

synthesis pancakes and welcome home salad 004

Mustard greens washed and chopped

Rinse, roughly chop a bunch of mustard greens. Put them in a pot with a quarter cup water, salt, half an onion, roughly chopped, two green chilies, roughly chopped, and a quarter cup chopped cilantro. Bring to a boil, cover, simmer and cook for about fifteen minutes, or until the mustards are no longer bright green. Cool for a few minutes and puree in a blender, although there is no need to make it completely smooth.

Step 2: Seasoning

I couldn’t tell you if every villager in Punjab uses this set of seasonings, but this is what I used, and it was good. I heated two tablespoons of ghee in a small thick bottomed pan on medium-high. Then put in a teaspoon of cumin seeds and 3-4 cloves of garlic, minced. Also half a teaspoon or more of red chili powder. Once they sizzle and the garlic looks cooked (not browned), put in two tablespoons of besan (chickpea flour) and stir. I think the more typical ingredient here is cornmeal so if you have that, use a quarter cup of that instead. Allow the besan (or cornmeal) to roast in the oil for a few minutes. Then empty the seasoning into the mustard puree and stir.

sarson ka saag - mustard greens puree

sarson ka saag

Step 3: Simmer a little longer

Check for salt and add more if needed. Simmer a little longer to meld the flavors and fully cook the besan. Sprinkle some lemon juice over the top (inauthentic ingredient alert). Serve with roti/chapati.

Sarson ka pasta…bucatini with mustard greens

Step 1: boil and puree

Here I boiled the greens with just a quarter onion and some salt. After about fifteen minutes of simmering, I roughly pureed them in a blender. Keep it aside.

Step 2: Seasonings

For the oil, I used about four tablespoons of extra virgin olive oil. Heat it in a large pan on medium. Without waiting for it to heat, put in four large cloves of garlic, minced; three anchovies from a jar; and a few sprinkles of cracked red pepper. The anchovies, as they cook, will melt into the sauce, and add a delicious umami, proteiny flavor. Wait till they sizzle; break up the anchovies with a wooden spoon; then empty the pureed greens into it. Simmer gently, stirring, for a few minutes

Step 3: Pasta

Meanwhile, get a big pot of salted water to boil; once it boils, put in half a pound of bucatini (this is enough for a dinner for two). Wait till it is almost done to al dente, then fish out the pasta with a pasta spoon and put it into the greens along with a few good sized ladles of the pasta water. Use your judgment here — if the greens aren’t saucy enough, add a little more pasta water. Stir nicely to break up the clumps of mustards to combine with the pasta water and turn it into a sauce. Remember the sauce has to coat the pasta, not remain in clumps at the bottom. Stir to cover the pasta with the greens, cover the pot and simmer for just a minute or two. Turn off heat; pour some fresh XVOO on the top, and parmesan shavings if you like, and serve.

This makes a wonderfully light green sauce for the pasta that looks as nutritious as it, in reality, is.

Seeking the heart of fiddlehead ferns

If anyone ever asks me why this blog is called the ‘odd’ pantry — it is named so for vegetables like fiddlehead ferns. When one first encounters them on the grocery shelves one isn’t even really sure what kingdom of life they belong to. They could be worms — no, more like caterpillars — or maggots — curled up. They could be giant microbes, like the spirogyra we learned about in school. They might be seaweed. Have a look:

iPad 064

Are we really supposed to eat that thing?

Fiddlehead ferns are the baby fronds of various types of ferns. They are harvested wild, not cultivated, which explains their rarity on the shelves. But when you happen to see them, grab some, because they are full of fiber, omega-3’s, potassium, and so forth. I believe the fiddleheads one sees in California are the ostrich ferns.

To clean them, soak them in warm water for a few minutes to shake the dirt off, rinse, and do this again. I don’t think you can get all the brown off (at least I wasn’t able to), but not all the brown stuff is dirt. Do snip off the brown tips of the stems.

Having never tried them before, I had to guess about their taste and how to cook them.

First, I tried a method very much like in this recipe. Good, but the fiddleheads don’t seem to char very easily; and, they have a slippery and chunky texture which needed a stronger set of seasonings to stand up to it, I thought.

So second, I tried a different method, which I thought was better.

Step 1:

ipad hijinks 012

Cut them up in about half inch sized lengths.

Step 2: Saute

Heat about 2 tablespoons of oil in a pan on medium high. When it shimmers, put in mustard seeds; wait till they pop, then put in the fiddleheads. Stir. They will go from looking like this:

ipad hijinks 016

to looking like this in a few minutes of medium high sauteing.

ipad hijinks 017

At this point, I threw in some onions. This time I cut them in thin strips, by first halving the onion, giving it one cross cut from root end to stem end, and then slicing it as narrowly as I can. Put them into the pan and stir for a minute.

ipad hijinks 018

Then it is time for half a teaspoon turmeric, red chili powder, and the salt.

ipad hijinks 019

Now the problem with the slippery texture of the fiddleheads is that spices don’t stick to it. So, we need glue in the dish, that the spices will combine with, and that will stick to the ferns. What ingredient is a good glue? Hmm…I used sesame seeds,  ground up, about a third of a cup (super useful to keep a coffee grinder around, just for spices; takes just a minute for jobs of this sort).

Step 3: Braise.

ipad hijinks 020

Stir the sesame seed paste with the fiddleheads, add a half a cup of water, and there — we have the glue that we wanted. One teaspoon of tamarind paste goes in. Stir, cover, simmer on low for about ten minutes, and what we have is this:

ipad hijinks 024

How did it turn out? Well, we had it as one of the sides with roti, for dinner. I thought it was yummy.

But I don’t think my quest for the heart of fiddlehead ferns is over yet. This dish was good but didn’t show off their quintessential fiddlehead-ness. I will be trying other ways to cook them…watch this space.

Roasted fennel

I have no idea why I planted so much fennel. We don’t much care for it in salad, and although my daughter loves chomping on the seeds, I’m not going to let it go to seed, because it is a noxious weed in California. So why did I do it? There’s all the fennel, waving in the breeze (hi fennel!) that I have to do something with.

fennel 012

Last afternoon I pulled out one entire plant, mostly to allow the mint hiding under the fronds to get some some sun. Cut out the leaves and the roots, and this is what I was left with: 3 bulbs.

fennel 001

Don’t they look like three buddies? The short and stout one, the tall and skinny one, and the one right in the middle? Slice them up an eighth of an inch thick, and you end up with this:

fennel 002

I love how pretty the insides are — the symmetrical petal shapes that emanate out of the center. I focused on one particularly pretty slice below:

fennel 004

This is one of those recipes where I wasn’t sure what I was going to do until I had done it. I knew baking in an oven was involved, salt and olive oil too. So I started with that. Rub a few teaspoons of XVOO all over them with your fingers. Sprinkle with some salt to taste. Then, squirt a few squirts of lemon around. Now for juicy vegetables roasted in this way where one expects some browning, some crunch on top is desirable. I went with cracked coriander seeds (just pulverized a bit, not ground up completely); and, scanning the pantry shelves, I saw almond meal, so I used that as well. A teaspoon of cracked coriander sprinkled on top, and a teaspoon of almond meal spread around. This is what I ended up with.

fennel 009

Into the oven it goes. Set to bake at 425 F, for 20 minutes. This is what comes out:

fennel 011

In retrospect, I could have gone higher on the oven temperature, perhaps 450 F next time?

It made a very nice vegetable side for two. It would also be great on pizza or focaccia. The fennel was still a little sweet and crunchy on top. I loved the lemon but it does make it a little intense, so if one prefers less intensity in flavor one could leave it out.

Oh — and this recipe would be great with belgian endives — a similarly juicy and crunchy vegetable.

Shishito (or padron) peppers with okra

You often see shishito peppers for sale in those little plastic boxes in grocery stores; they look so tempting, but it is often a struggle to know what to do with them. They are not hot at all, and take very well to grilling.The idea is that you pop the whole thing in your mouth and pull out the stem.

I have tried that method, and they were good, but not very versatile, being mostly suited as finger food or appetizer. What does one do with them when one isn’t having a party with a platter full of appetizers?

Well this simple recipe did the trick. It can go with any Indian meal, be a filling in a sandwich, be the vegetable side for a heartily seasoned piece of fish, etc.

I also got to use up the leftover okra in the fridge; and far from being filler, it went very well with the at once dark and bright flavor of the shishitos. In fact, I might have discovered a soul bond between these two vegetables.

Step 1: Wash, prepare and slice the vegetables.

seyal and shishito and oat pancakes 043

I used one pint box of the peppers and about the same amount of okra. Rinse and air dry the vegetables; take the stem tops off. Then, slice them into even-sized slices about half an inch wide.

Step 2: Dry-saute.

seyal and shishito and oat pancakes 046

I use the same method of dry-saute that I used in this recipe: A way with greens. That method quickly pulls the surface moisture off the vegetables, and sears them; and I believe seals the rest of the moisture in. If grilling is good, this is a facsimile and works in the same flavor profile. Don’t stop the dry-saute until you see many hearty brown spots and the vegetables look completely dry. Something like this:

seyal and shishito and oat pancakes 049

Step 3: Saute.

seyal and shishito and oat pancakes 052

Now comes the oil. I use pure olive oil for these high heat methods, because the smoke-point of extra virgin is quite low and would work better with a gentle simmering. Clear a spot in the pan, put in the oil, watch it shimmer instantly (because the pan is hot); then stir in the vegetables, thus giving them their first true saute. Now add salt to taste and keep the contents of the pan moving every minute or so. The saute process lasts about five minutes.

Step 4: The seasoning.

I chose a simple, simple seasoning method for this recipe, that hardly betrays its Indian origins. Use two kinds of heat — a healthy amount of black pepper, and some red chili powder. Either could be skipped. I also added a teaspoon of dry mango powder (aamchoor). Most pantries don’t have this, so some squirts of lime juice would work too. Stir for half a minute, while still on a hot pan; then turn off.

We had it with rotis, but it could go with rice and dal, be fabulous in a raita once the vegetables have cooled; or insert them between two slices of focaccia with some avocado, lettuce and cheese.

A way with greens

Greens 006

How does one cook greens? There are many, many ways to make an insipid, gray mess, and an equal number of ways to undercook them so one is chomping on fibrous stems, peeling them out of one’s teeth. Wouldn’t it be wonderful to have them nicely cooked, with a requisite amount seasoning, and maybe — dare one hope — a roasty flavor that you get when vegetables are delicately charred?

Yes, there is a way. The problem with throwing chopped up greens into a saute pan with oil is that they are usually so moist, that instead of being charred, they steam. Good in its way, but no comparison to that elusive charred flavor.

The secret of this recipe is that one dry-sautes the greens in a hot, flat pan, with no oil in it. Do that first, until the greens are bone-dry and starting to show brown spots on the stems at least. That is where the charred flavor is hiding. Once you see that, and smell the roasty aroma, put in your cooking fat, the salt, the spices, and there is no way to go wrong.

Step 1: Collect, wash, chop the greens.

An kind of medium-hearty greens would be ideal. What that I mean by that is, not collards — they probably take too long to cook. And not spinach or arugula, since they will turn to minimal slime in no time. That leaves the broad middle spectrum of kale, mustards, rapini, chard both red and white, and some older radicchios and endives if one enjoys a slight bitterness. I know I do. Nowadays some grocery stores (of the better kind) carry a braising mix, which is a smattering of greens too old to be salad. This way with greens is ideal for the braising mix.

Wash them nicely and chop into half-inch long strips.

Step 2: Dry-saute

Greens 008

Heat a wide, thick-bottomed pan on high heat. I use one of All-Clad’s saute pans, with a stainless steel interior. Calphalon will work but is not necessary, and do not use teflon. You don’t want non-stick, you want stick. The greens can go on the pan even before it has started heating up.

At first the greens will be piled high. Soon the layer at the bottom will start to wilt and shrink. Use tongs or those handy pincer-tools too turn them over every minute or so, until all the greens have had their tryst with the heat, and have wilted. The moisture from washing is also evaporating away. As they get to be bone-dry, they will start charring. If you used a cruciferous green (kale, mustard, rapini) you will start to smell that sulphuric smell of roasting broccoli, which I love.

Greens, when they are wilted:

Greens 010

Step 3: Oil and seasoning.

At this point, the pan is very hot, and any oil poured on it will immediately sizzle. Clear a little spot and put in a few tablespoons of cooking oil. Before sauteing the greens in it, put in your seasoning. There are various combinations that work well together.

1. Red chili powder and half an onion, chopped

2. Mustard seeds (half a tablespoon), garlic, red chili flakes

3. Just lots of black pepper, lemon juice on top

Once the seasoning cooks in the oil, all that is left is to stir the greens to coat them with the hot oil, add salt to taste and cover, while continuing the cook on a gentle flame for a few minutes until the greens are done.

Greens 016