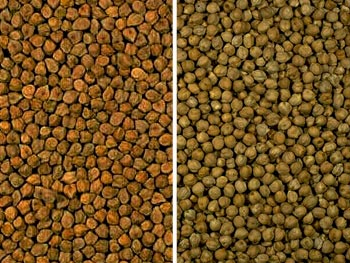
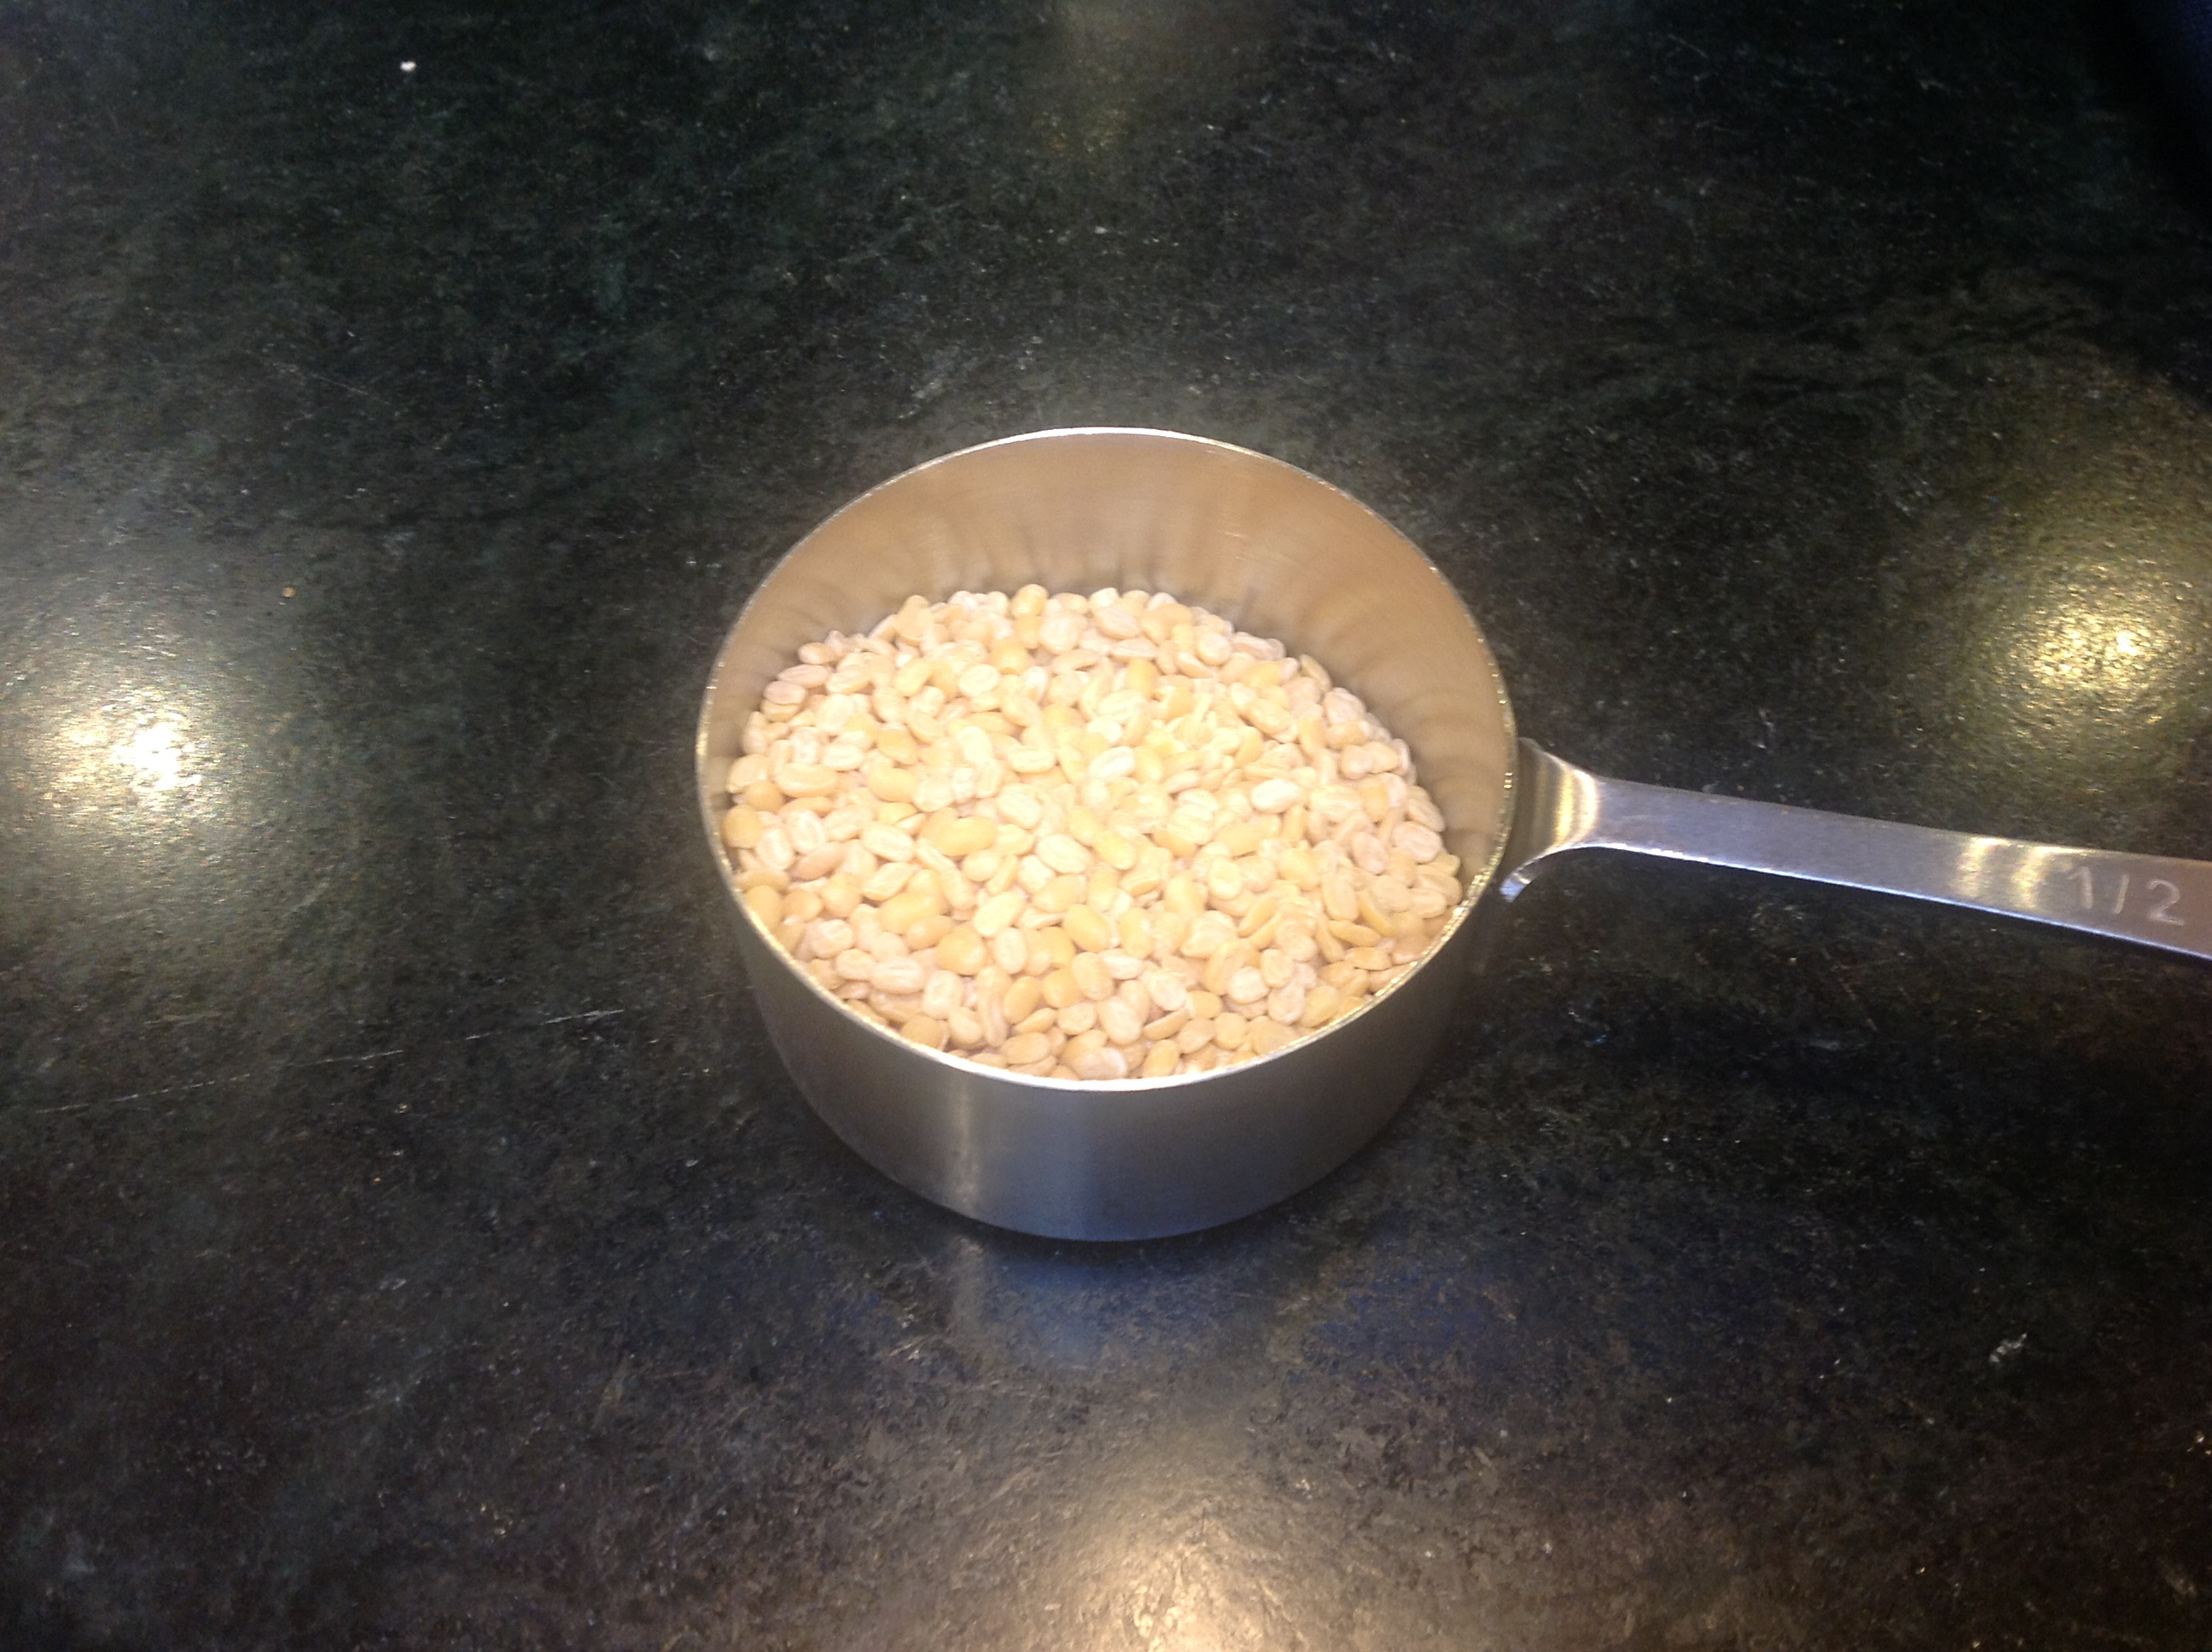
My mother always said that South Indians are much smarter than the rest of us simpletons because they eat a lot of urad dal. This is a bean I have mentioned before. It is alternatively called black gram or Vigna Mungo; this is what it looks like:

Vigna mungo, black gram, urad dal: whole on the top, split and dehusked on the bottom.
It is closely related to the more well-known moong dal (mung bean), they are both in the Vigna genus, which means they are about as closely related as…say…the polar bear and the grizzly bear to each other. Urad dal, though, has a blacker husk, and white (not yellow) underneath.
Even though this bean is eaten as a dal all over India, its most interesting use is in the fermented cakes and crepes of South India — idlis and dosas. In order to ferment it, the lentil is first soaked and ground thoroughly, and mixed with rice batter.
Fermentation of the Lactic Acid type
Let’s take a little digression into what fermentation does to the batter.

Fermentation
- The mixture is kept warm, and you know what happens when you leave something out of the fridge — a whole jungle gets started in it.

Jungle
- Creatures like lactic acid bacteria, yeast, and bacteria that like to breathe air. They do battle, and one-by-one, are felled. The air-breathing bacteria (we know them as ‘contaminants’) are killed off right away, while soaking. The yeast also goes nowhere (unless you cheat by adding commercial yeast, which basically sends reinforcements to the yeast faction). The salt kills off many other weaklings.
- What wins out is a certain lactic acid bacteria called Leuconostoc mesenteroides; and it brings a lactic acid bacterium friend, called Streptococcus faecalis.

Leuconostoc mesenteroides
- These guys get busy stuffing their faces with your batter. They mostly gorge on the sugars and starch.
- You know what happens when creatures eat — they produce stuff. All right, let’s get graphic — they excrete. One thing they produce is lactic acid, which is responsible for the pleasantly sour taste of idlis and dosas. Another thing they do is pass gas — in this case, it is carbon dioxide. This gas — CO2 — which is also responsible for the bubbles in bread, soda and beer — makes the batter rise and become fluffy. The cool kids call this ‘leavening’.
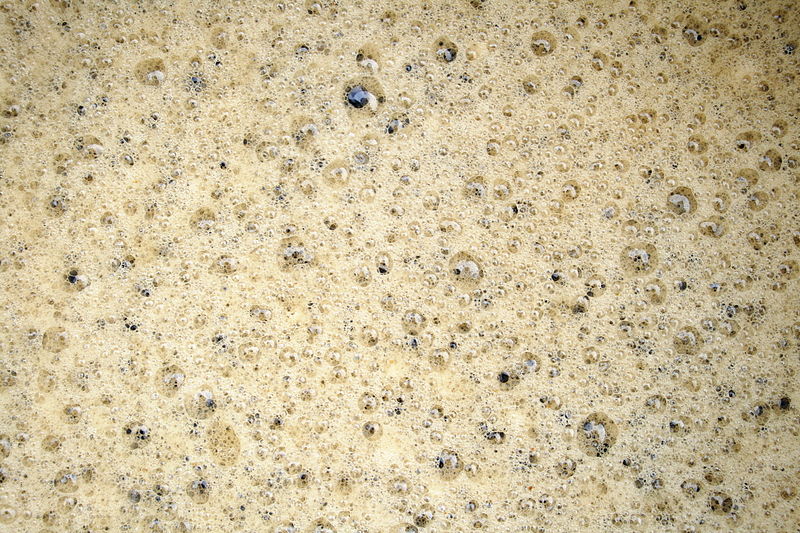
CO2 bubbles
- They also somehow increase the amount of vitamin B1, B2 and B3 in the batter.
- Even though beans and dals of all types are really good for you, they also come with a bit of a sting in the tail — they have some ‘anti-nutritional’ properties which prevent your body from absorbing the goodness. Well, fermentation reduces those bad things.
- One of the anti-nutritional properties of beans are those that cause you to…you know…flatulate. So the beasties in your batter are helping you from doing that too much, which is a good thing.
So now I’m thinking that my mother was wrong…it is not just urad dal that makes you smarter; it is the little beasties that ferment it.
Idli / dosa batter
Ingredients:
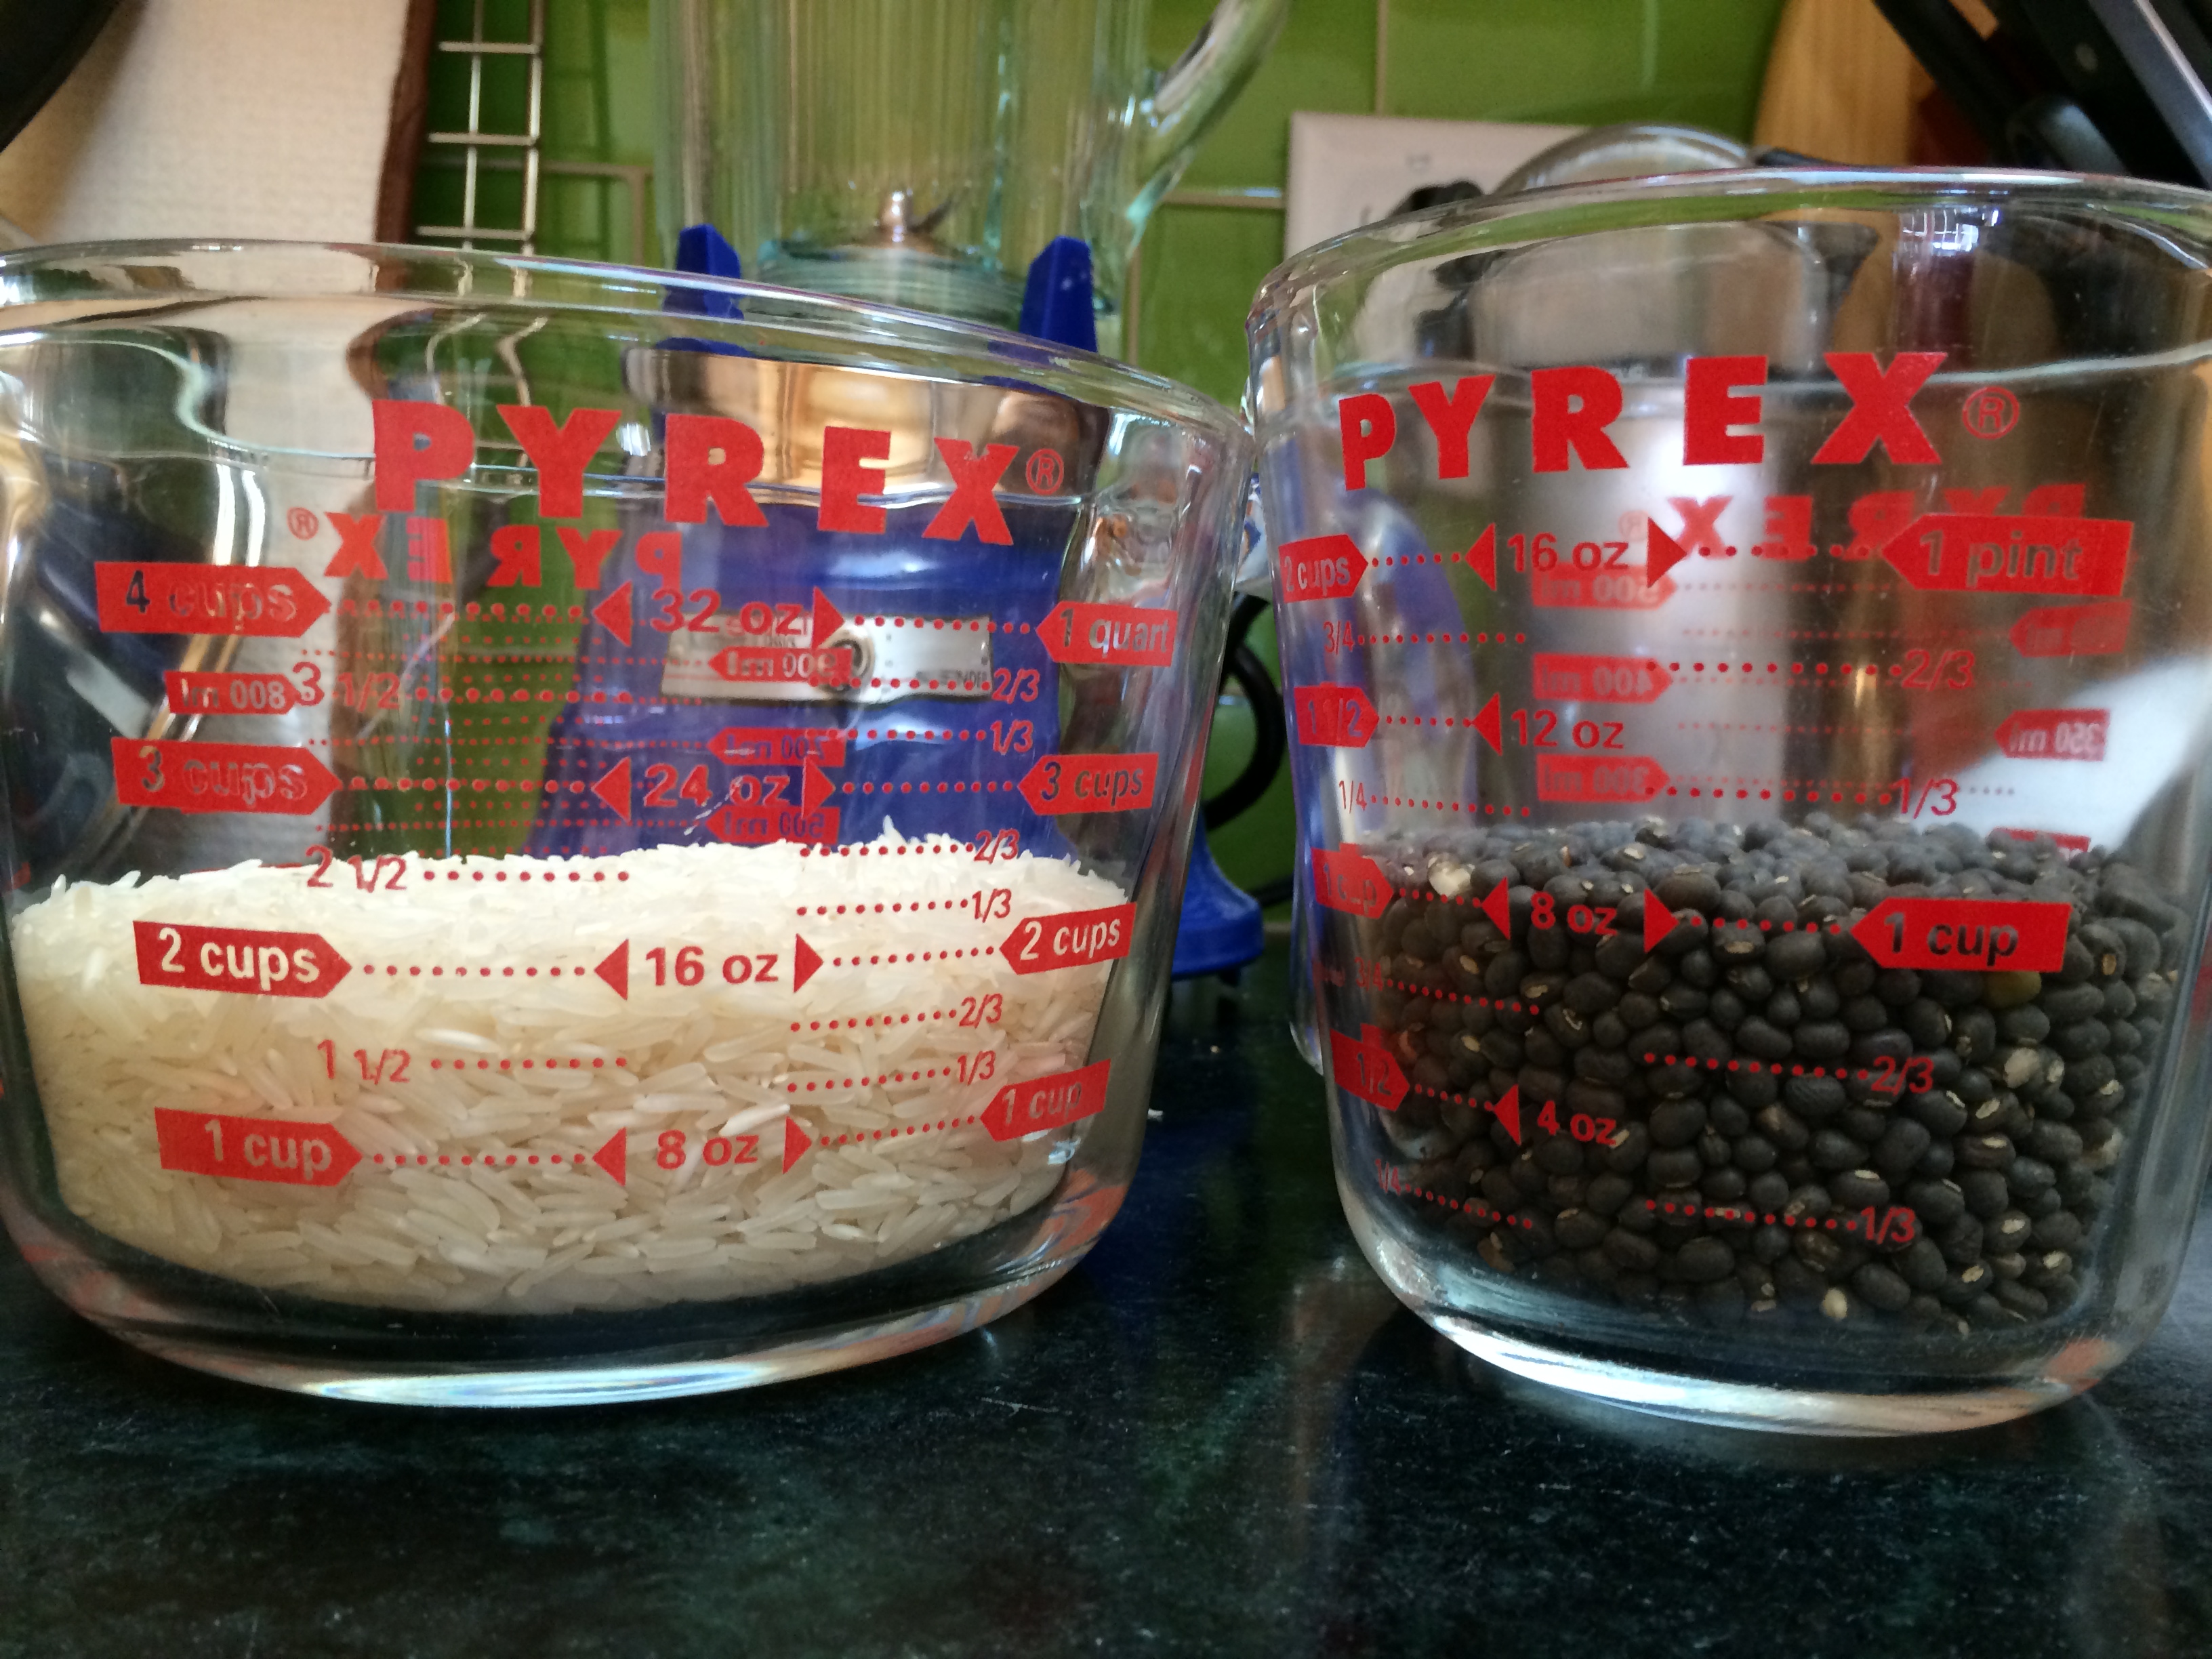
- 1 cup urad bean, whole, skin on (I used whole grain to add that extra bit of nutrition to it).
- 2 cups uncooked white rice (I used basmati but a short or medium grain white rice would work as well or better).
- (in general a 1:2 ratio or dal to rice works well; you can experiment with 1:3, but don’t alter it more.)
- 2 teaspoons salt (lactic acid bacteria finds salt very congenial, unlike yeast).
Method:
Rinse the dal and rice once in plain water and drain. Now leave them to soak in very generous quantities of filtered, room temperature water, separately. You must leave them for at least six hours; but I let them soak for more than twelve.

At the end of this time, the rice will have almost doubled, while the beans will have almost tripled. The black gram beans will have become lighter into a green, as seen below:

Black gram (urad dal), soaked
Now it is time to grind them separately. I used my trusty blender. This is not the ideal choice, because there is a chance the blades get overheated and kill the beasties. The ideal would be a stone grinder (also known as a wet grinder). Maybe someday I will make the big bucks and spring for one of those. In the meantime, I slum it with my blender (that I got for free from American Express). I have never had a problem.
Let’s do the rice first. I drained it, and added a cup of fresh filtered water along with it. Blend it for about 4 minutes, with breaks. The end result will be a thick white liquid. When you squeeze some between your fingers, you should feel tiny grit, which is the ground up rice. You are not trying to get this to be perfectly smooth. Tiny grit is what you are looking for. Empty it out into a very large bowl, that will be used for rising.
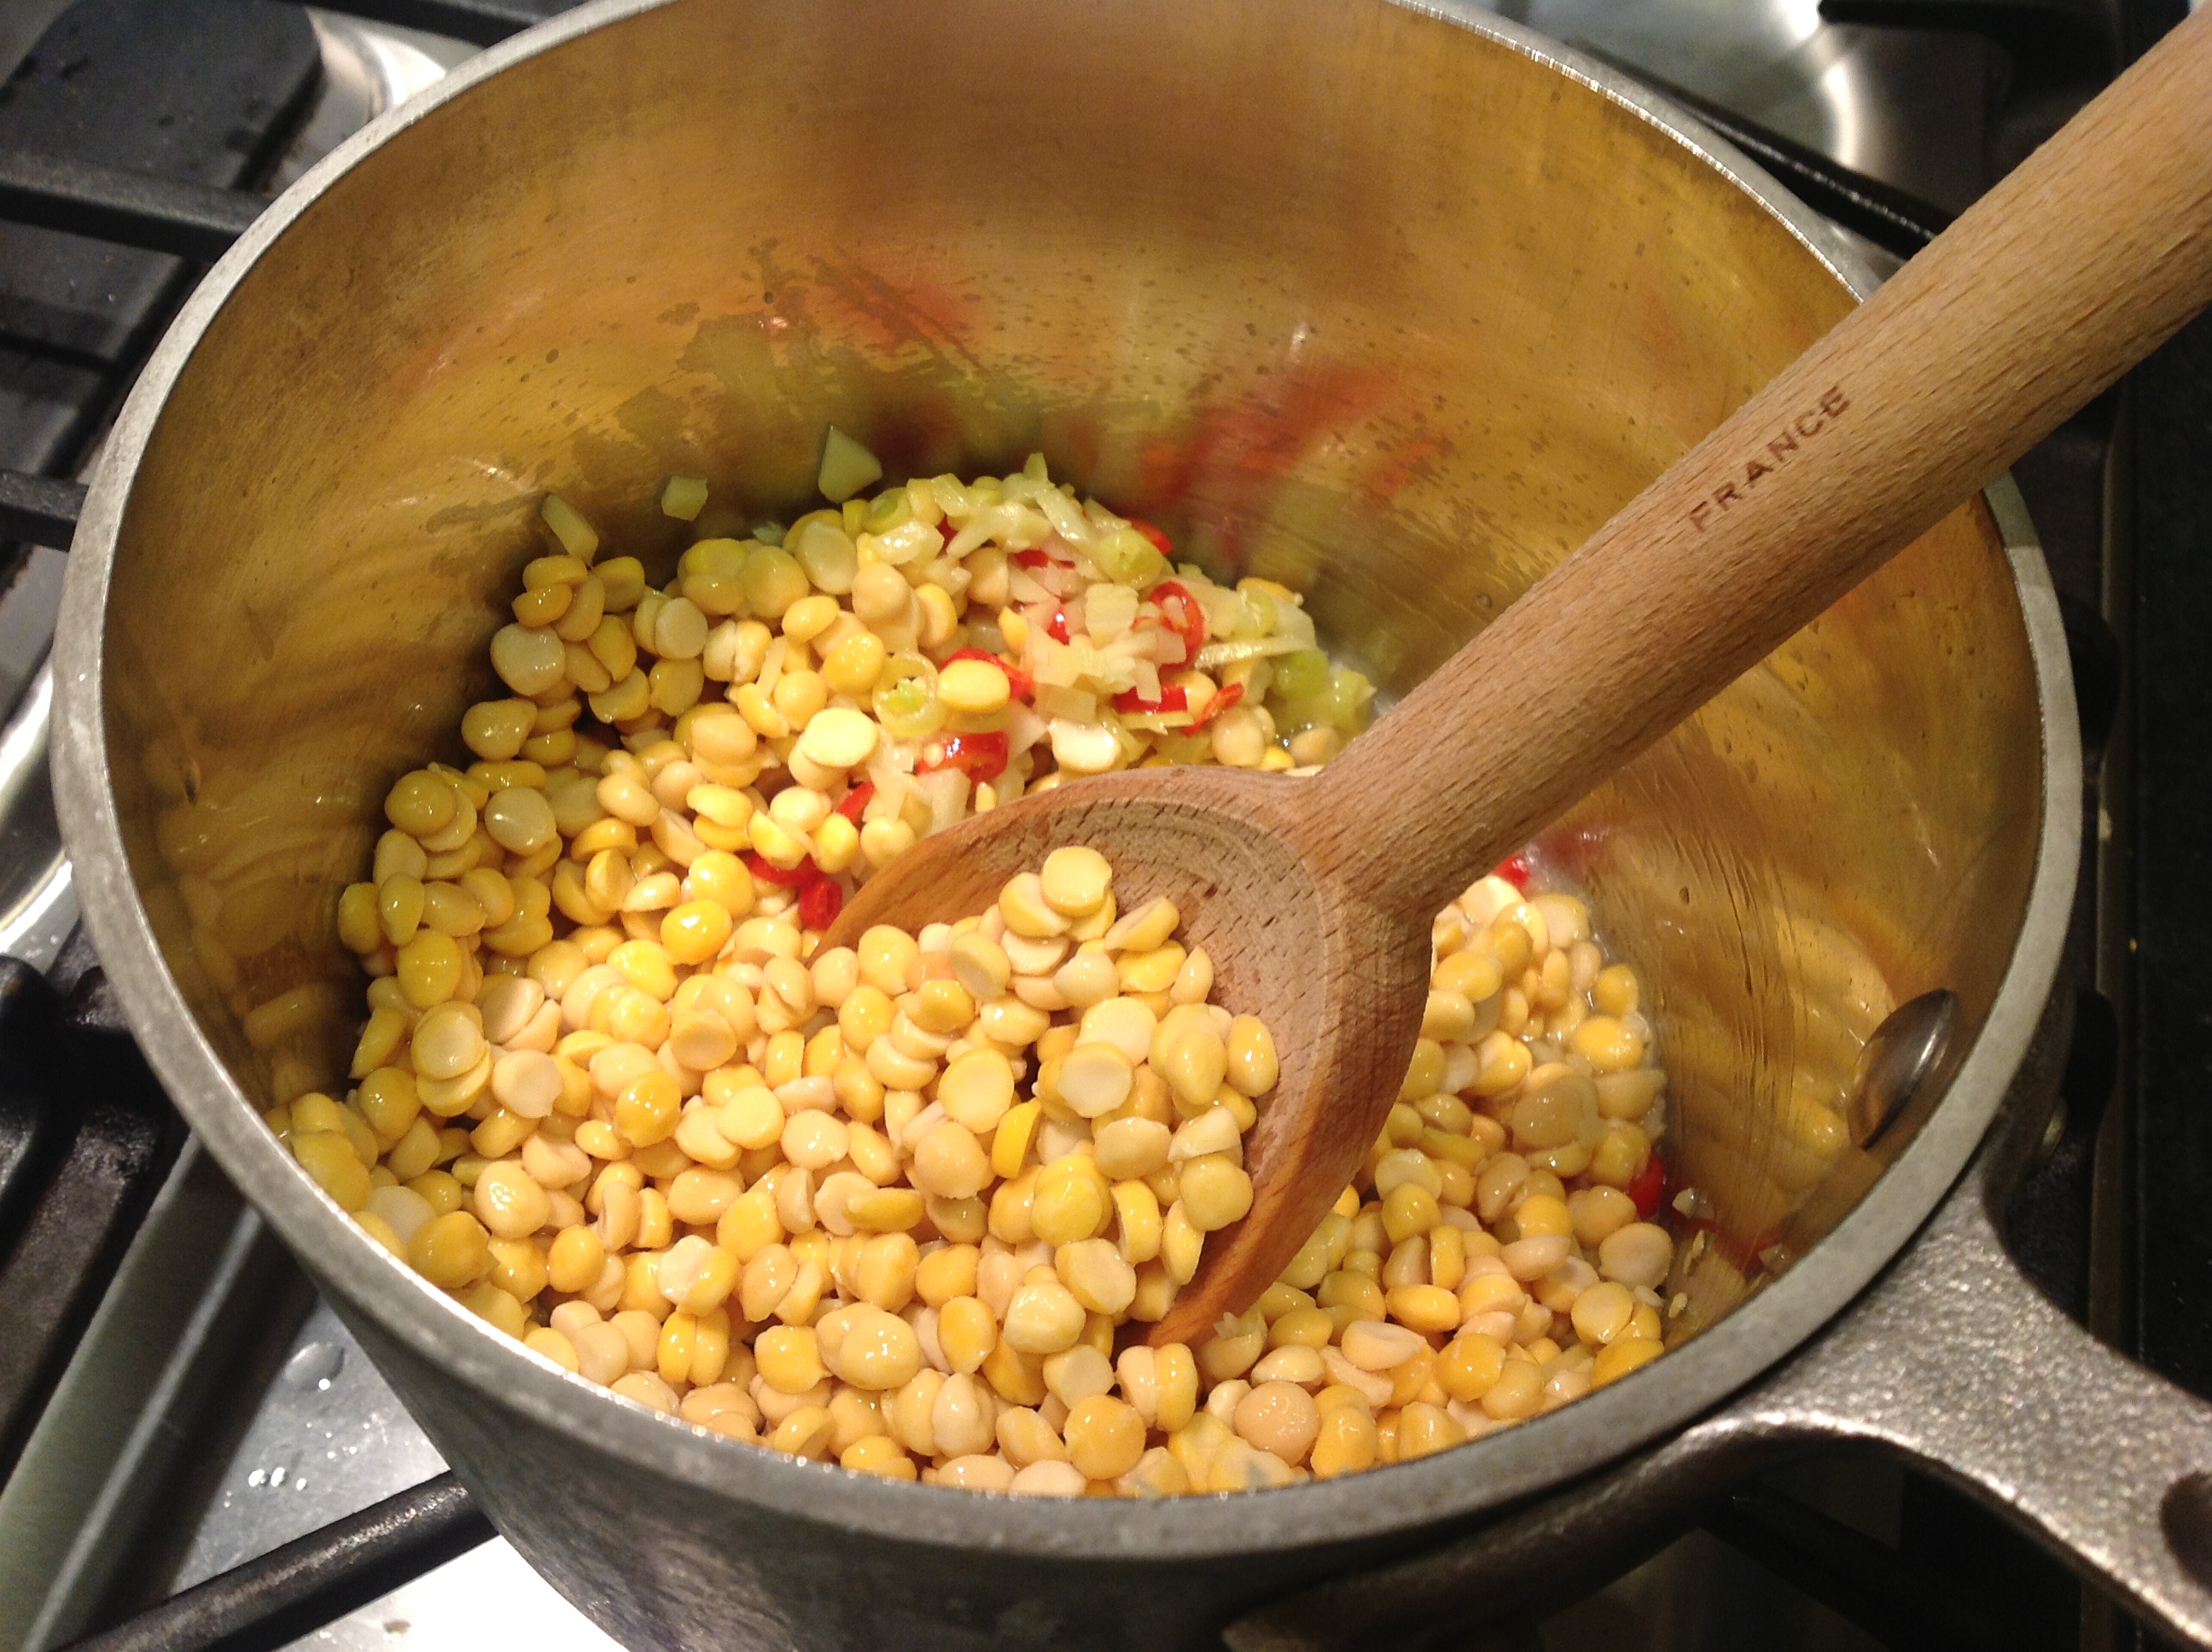
Next let’s do the drained dal. This time you will need to add a cup and a quarter of water to the blender. Blend for about 4 minutes, with breaks. The batter this time will be fluffier and not as watery. When you feel it with your fingers, it should feel smooth, not gritty.
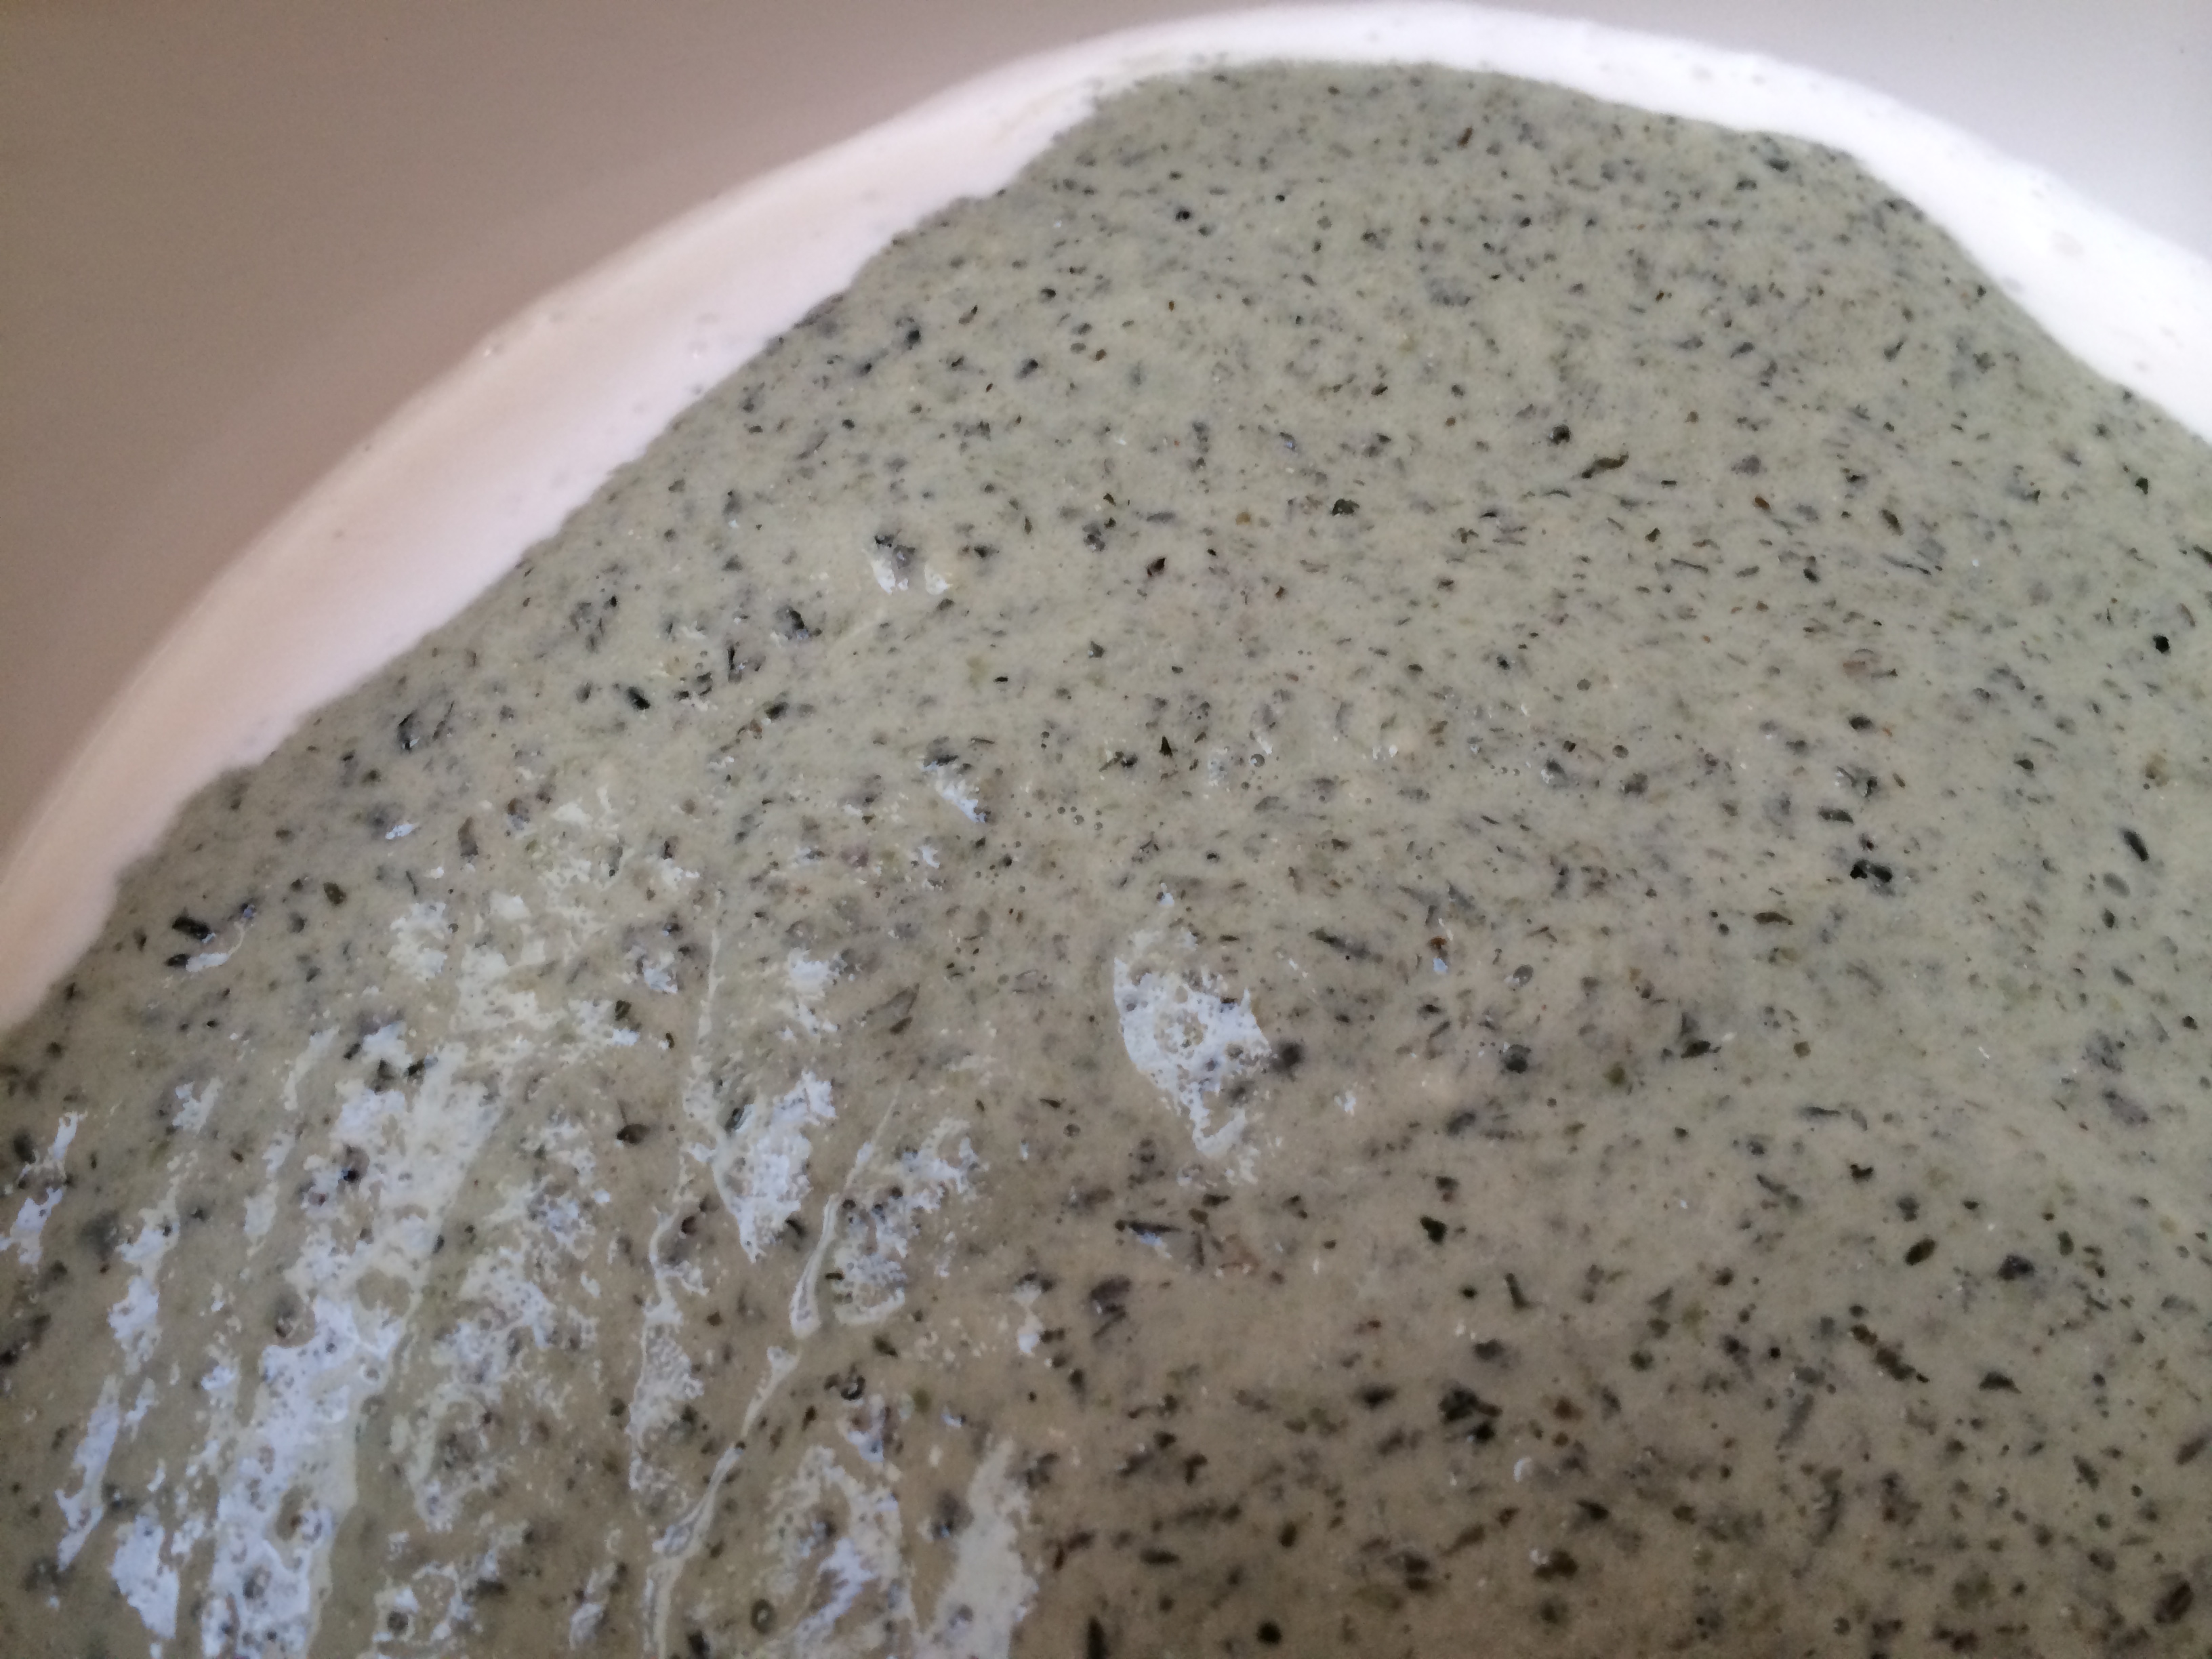
Black gram (urad dal) batter mixing with rice batter
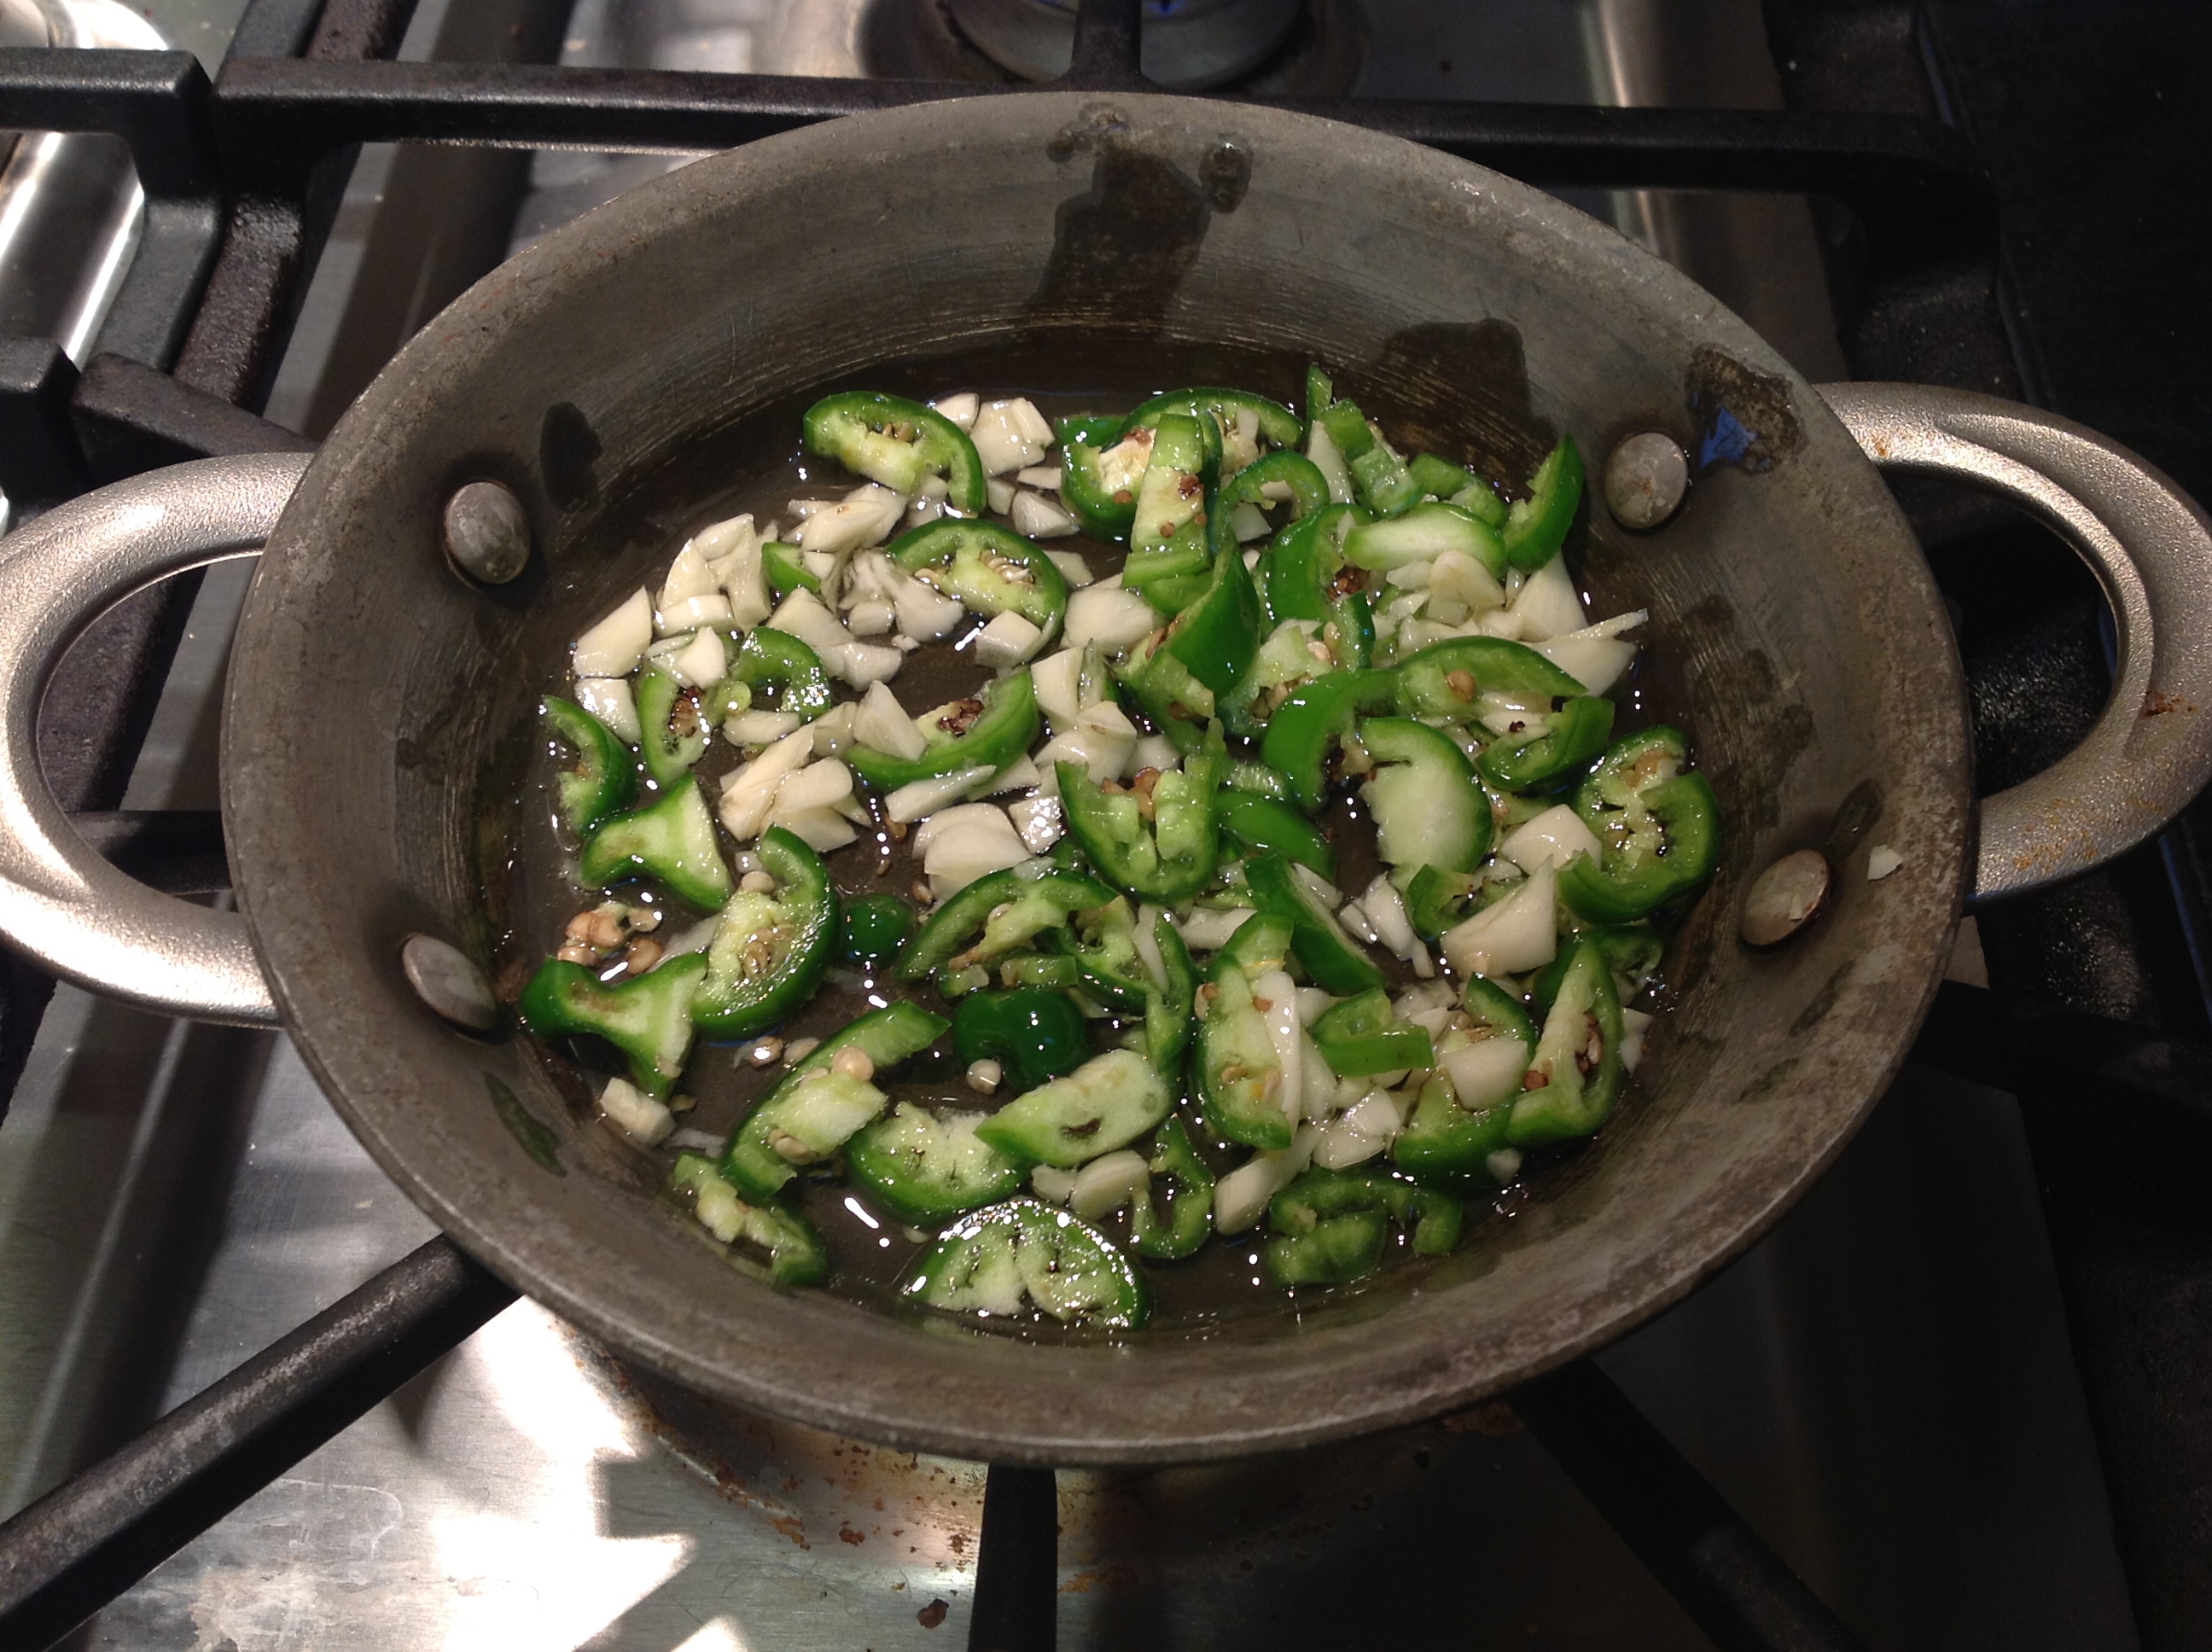
Pour the dal batter in along with the rice batter. Add 2 teaspoons salt. Mix it with your hands; this is one of those instructions that every South Indian mother imparts to her children; as far as I am aware, no scientist has tested why this is so. The beasties are already on the bean, so it isn’t that. Could it be that this step imparts warmth? In any case, using your clean (but not sanitized) hand, gently stir the batter to combine. Leave it covered in a corner in your kitchen.
Now. I left it at room temperature in San Francisco, but the ideal is room temperature in South India, which would be in the nineties Fahrenheit. So if you like, you can leave it in the oven to rise, with either the oven light on to create warmth, or, after turning on the oven to about a 110 F and turning off. In a warm oven with the light on, this will take 12 hours.
Room temperature of about 70 F worked fine for me, but it did take longer.
In about 12 hours I raised the lid to take a whiff — oof! Wet socks, toe jam, belly button cheese…not sure what else it reminded me of. Clearly, my batter had developed a yeast infection. Be not squeamish, ye of little faith! Put the lid down and keep going.
Now I am not sure if this is typical, but it sure smelled like the batter went through a yeast infection phase on its way to a proper lactic acid bacterial infection. It could be that because I do so much bread in my kitchen (including sourdough) that the little yeasties are floating about just dying to get their naughty little hands into stuff.
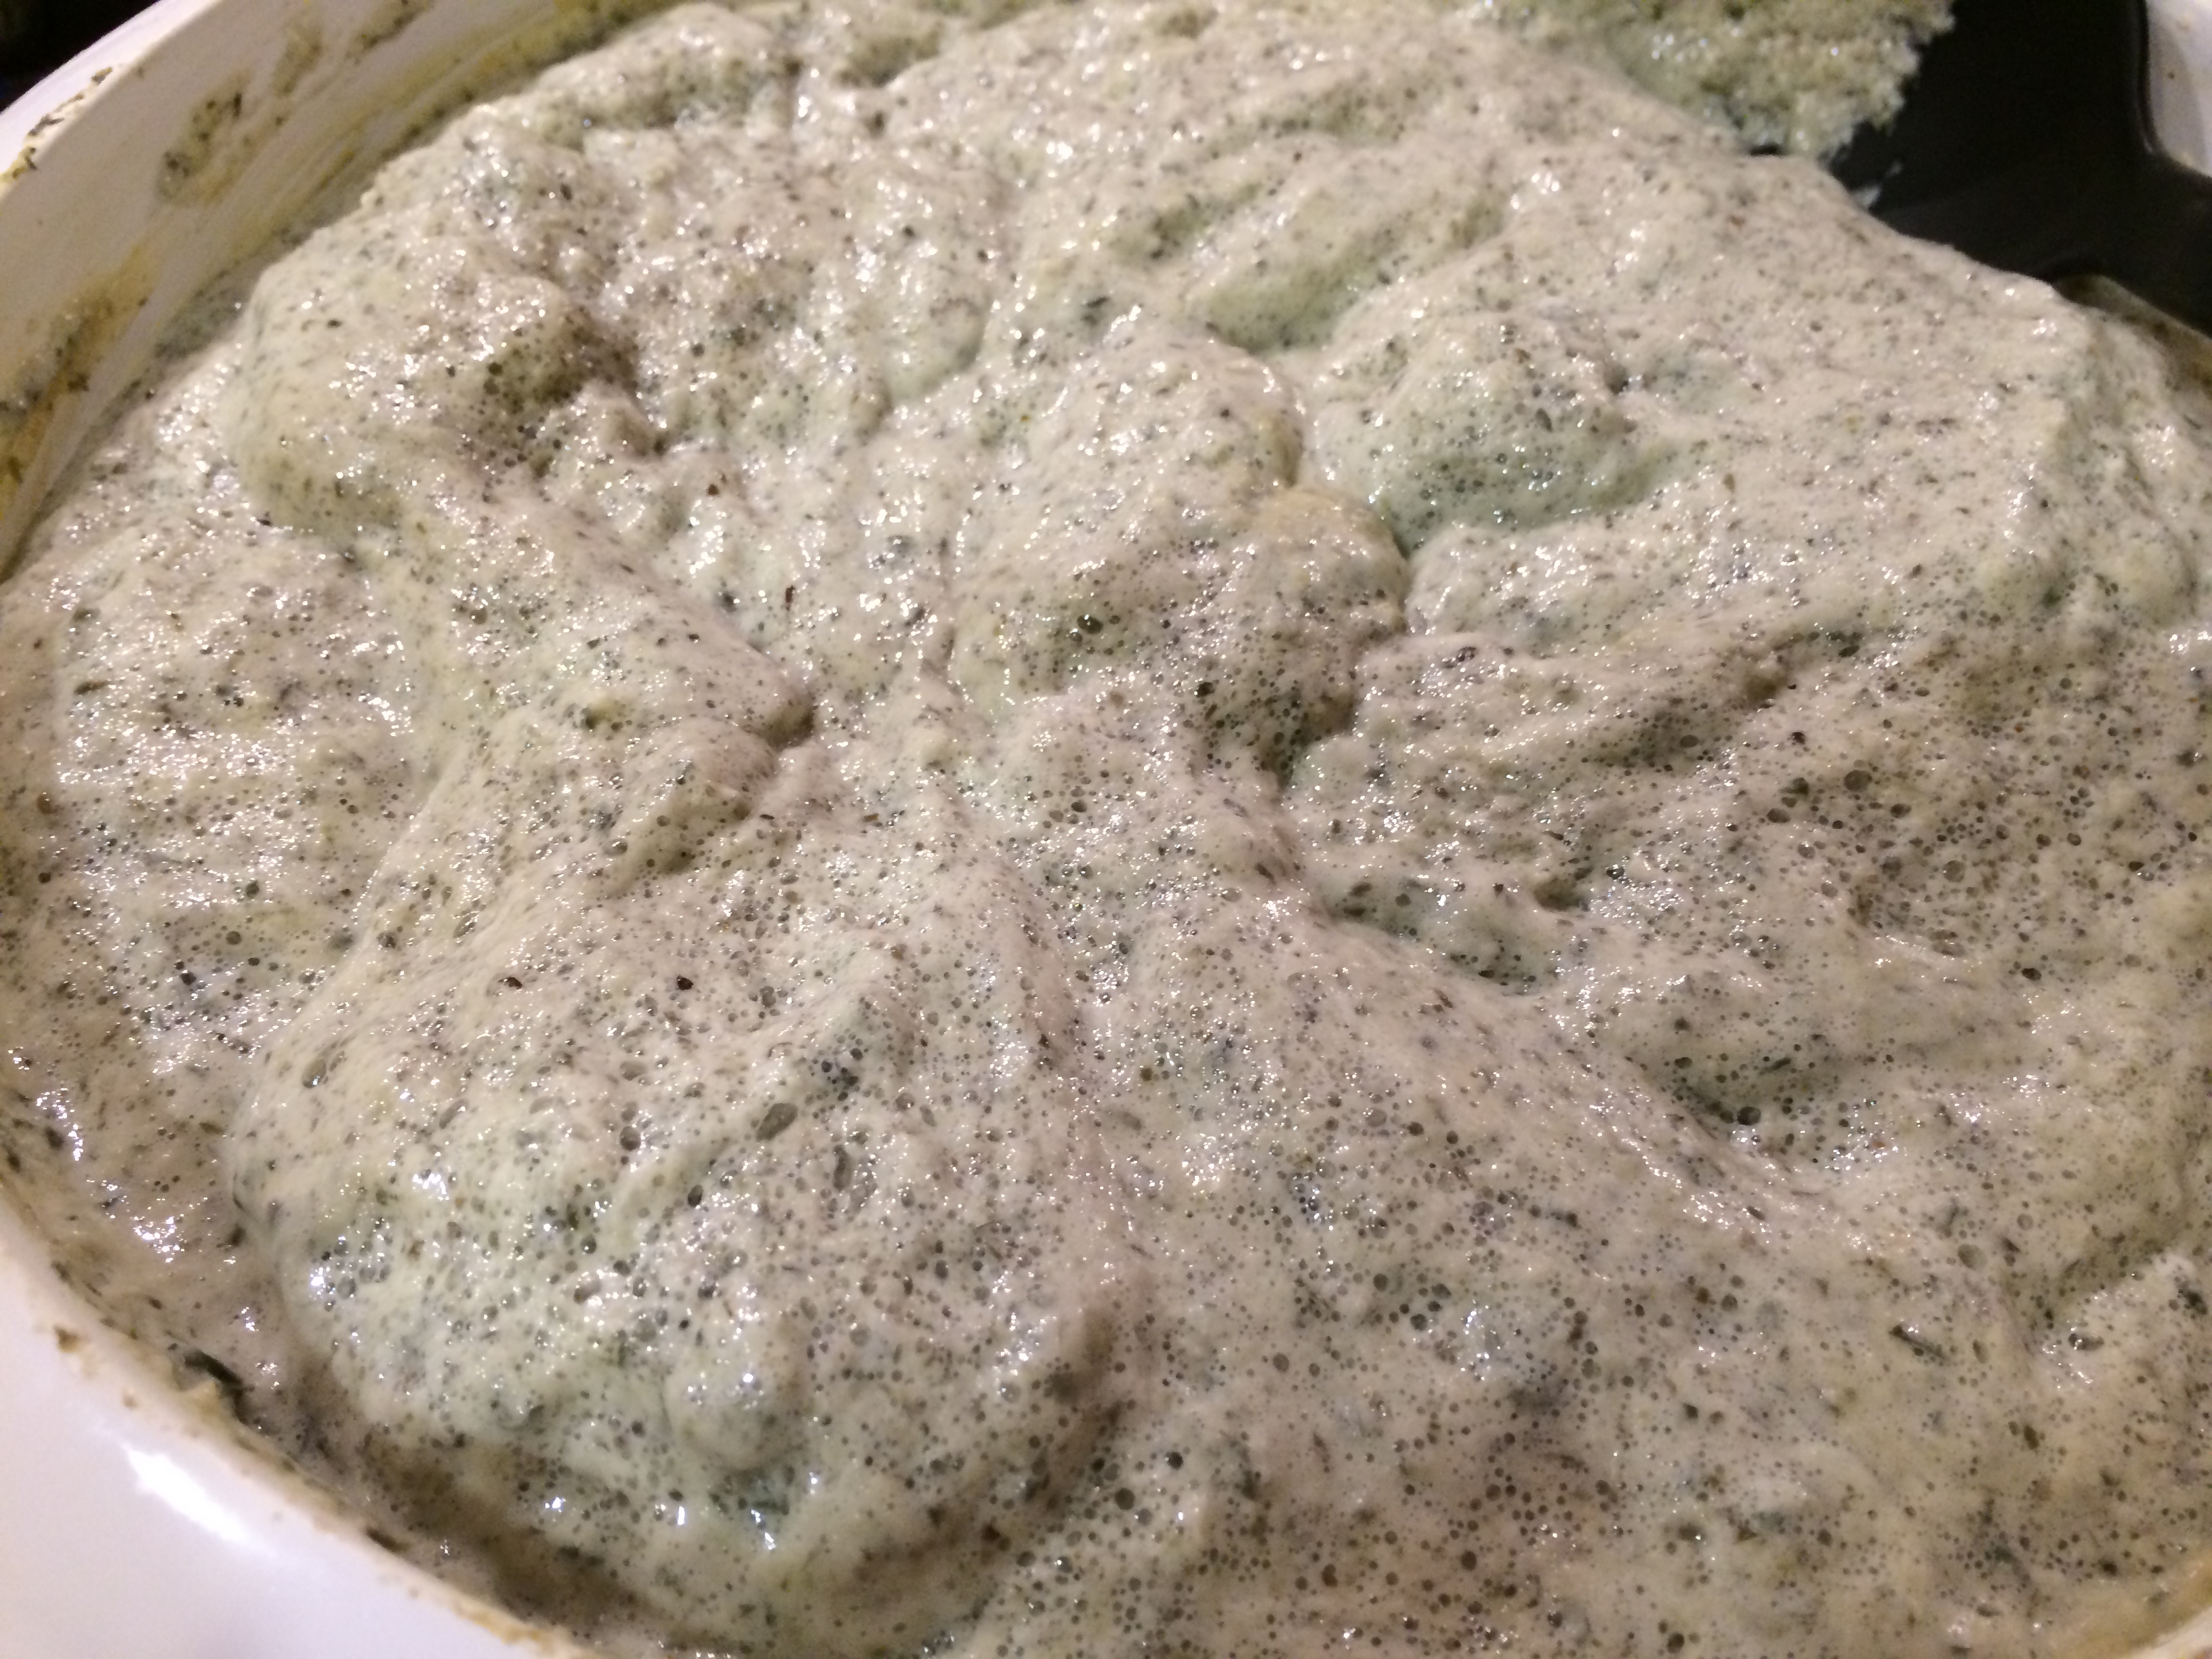

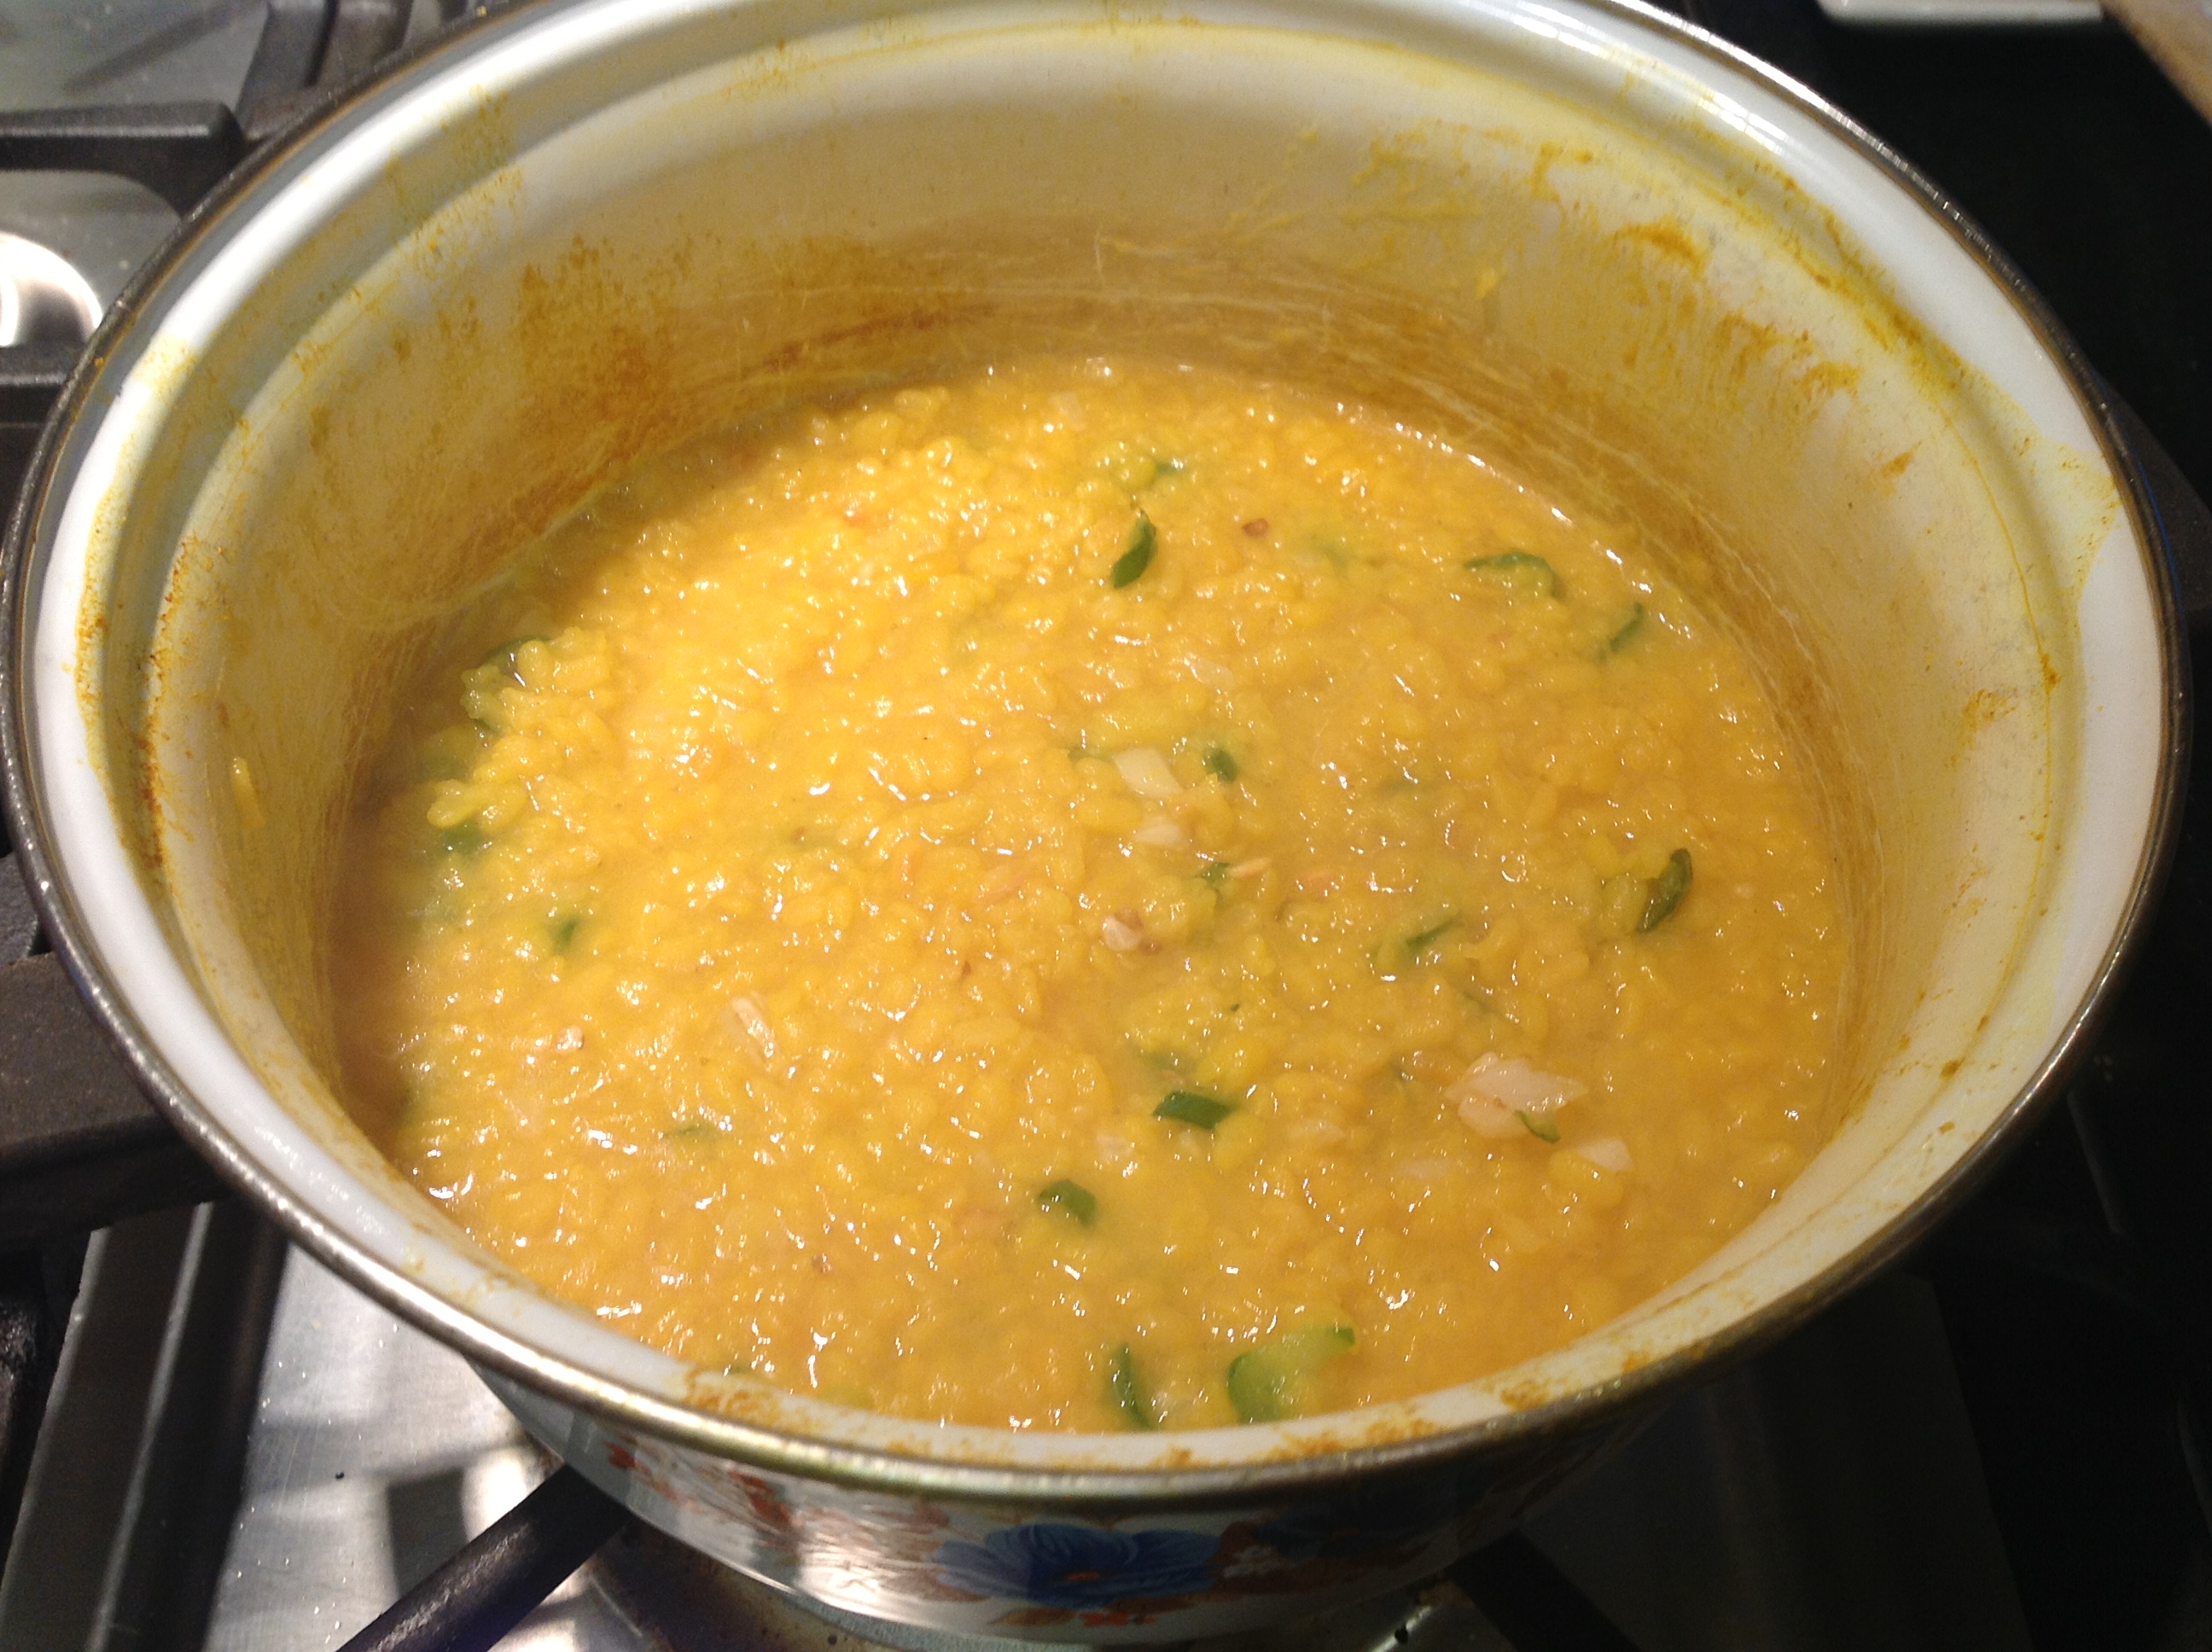
Risen idli/dosa batter
In any case, within about 24 hours of rising, I certainly smelled some of that lactic acid goodness — it smelled sour. It had risen to almost double the original size. The batter was ready.
Idli cakes
Ingredients:
- 3 cups idli batter from above (this will make one dozen)
- Idli steamer which usually comes with 12 perforated cups
- some oil
Method:
Rub a bit of oil on each of the idli trays. Pour about a quarter cup of batter on each. Now place it in a pot with water to about a couple inches already at a boil; cover, turn it down to a simmer, and steam the cakes for about 12 minutes with the lid on.


Idlis are great with any manner of chutney on the side, or sambhar (dal made out of pigeon peas and its characteristic spice blend).
Dosa crepes
Ingredients:
- 1 cup batter (this will make about 4 decent sized crepes)
- 4 teaspoons oil
Method:
Thin out the batter with about a third to half again as much water. So if you start with a cup of water, use between a third of a cup to half a cup extra water. Basically, the batter should flow easily, much like crepe batter.
Heat a wide nonstick pan on medium high heat. Spread about a teaspoon of oil around. Now, we pour about a third of a cup of thin batter and spread it.
Spreading dosa batter into a nice thin layer is an art form. Here is what you need to know.
- You don’t have to have a thin layer. But the thinner you spread it, the more crisp. Until you achieve that pinnacle of thinness, crispiness and paperiness — paper dosa.
- If you pour batter on to a hot pan, it will immediately congeal and instead of spreading, you will get a rubbery mass. So the pan needs to be hot while cooking, but cool while pouring on. Traditionally people have used the onion trick — rub half a cut onion on the pan to cool it down. I used the French way of lifting it off the flame as I pour the batter on.
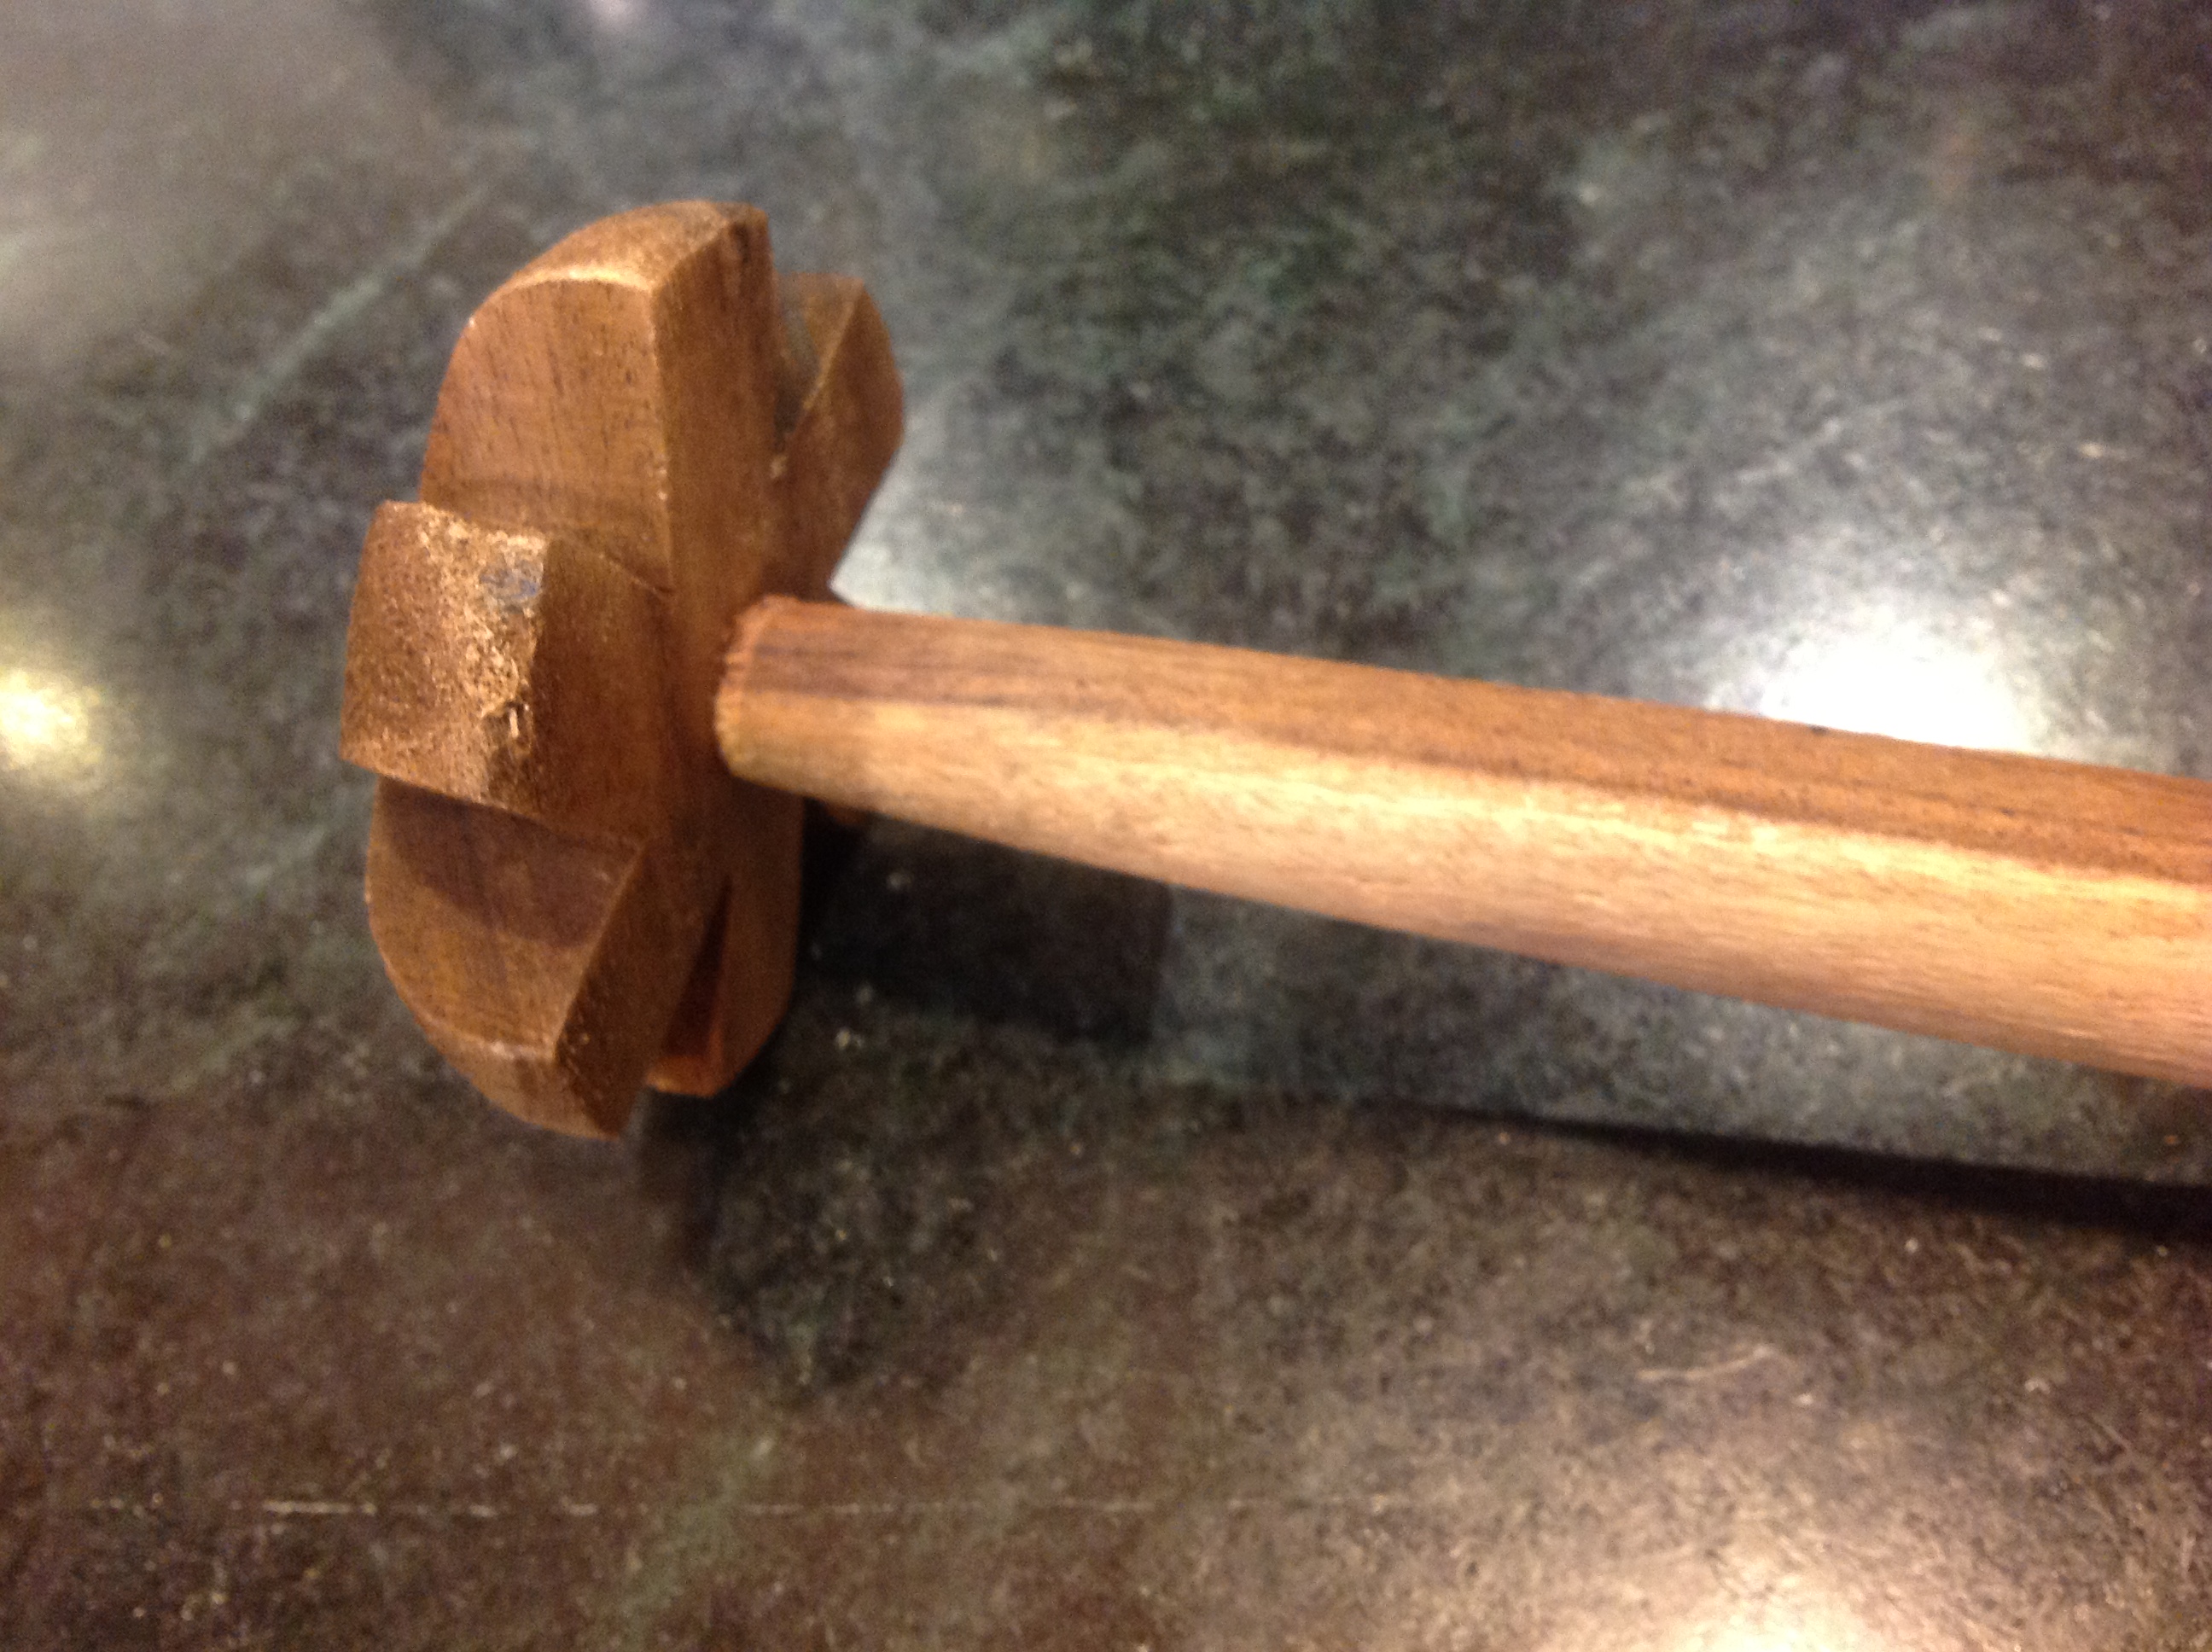
- To spread it, people have traditionally used a spiral motion — take a flat ladle and spread the batter around with its bowl in a spiral fashion. Once again, I used the French method of tipping the pan this way and that to spread it.
In some places, the batter will be spread so thin that it is lacy.

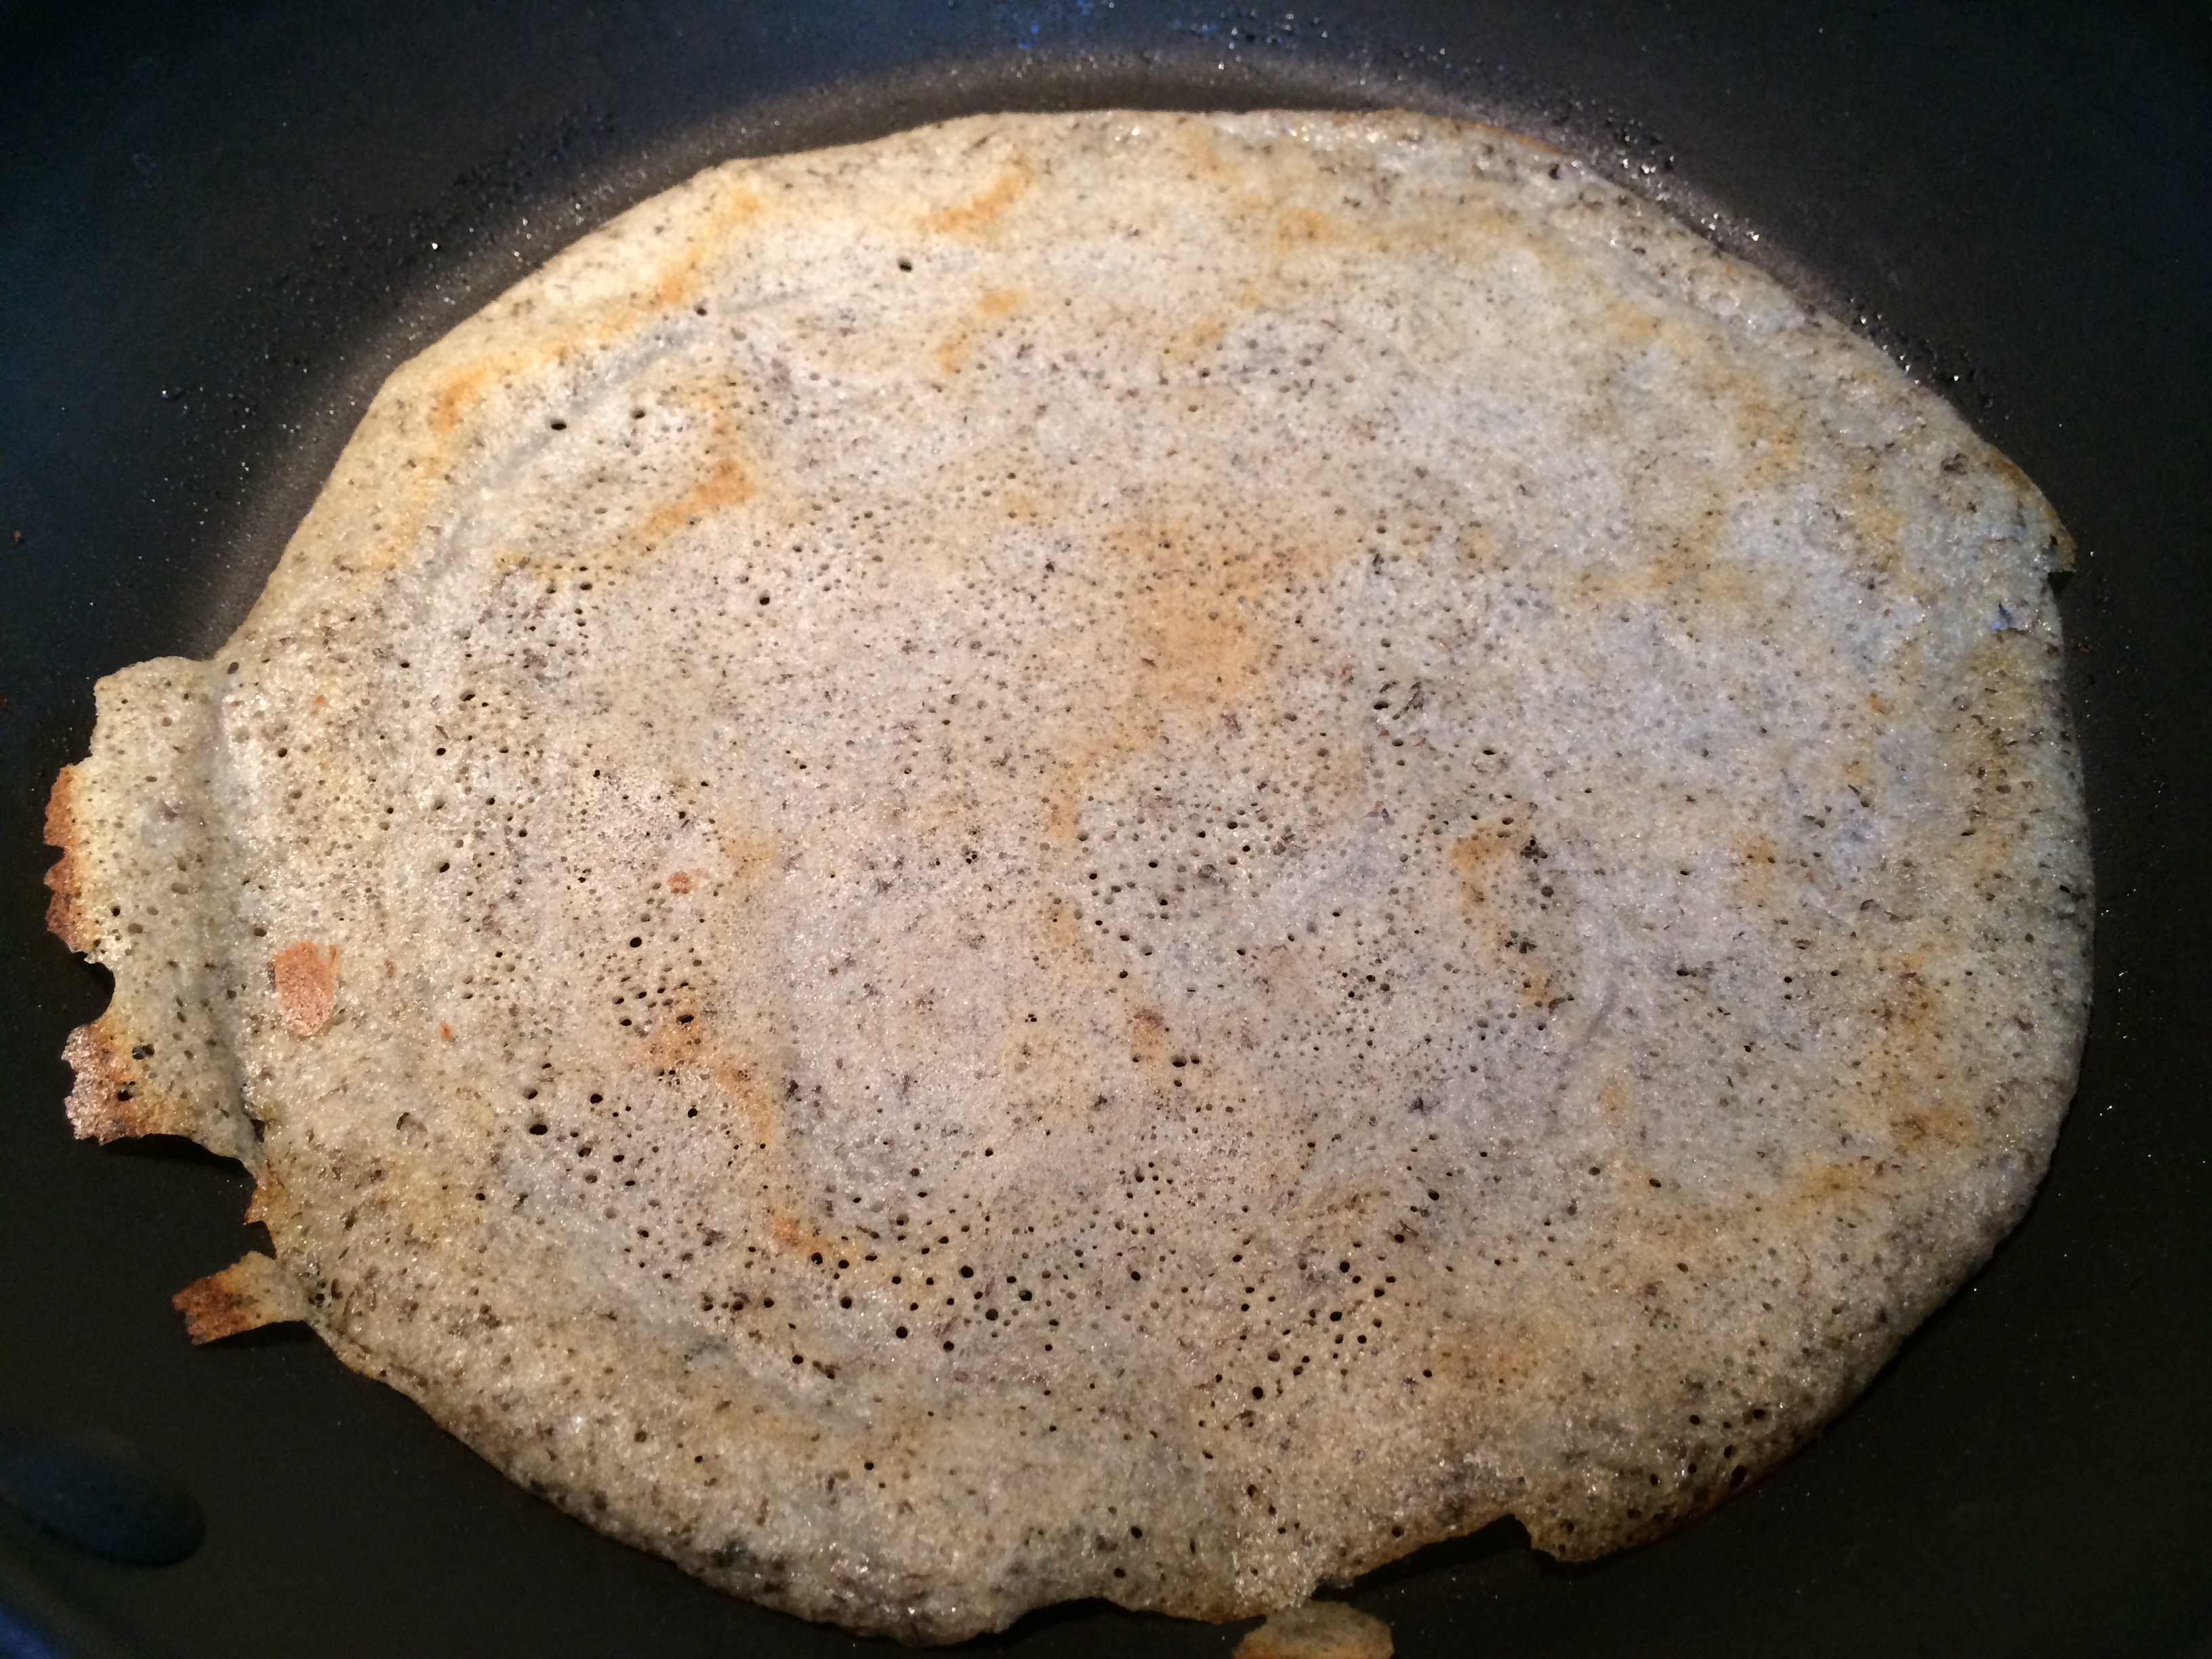
Cover with a lid and cook on high heat for about three minutes. Or four. At this point, the underside will definitely look brown and crisp. If you try to lift it off, the crepe will easily peel off; even the thin lacy parts. You can cook it on the other side if you like but it is not strictly necessary.

Lacy, crisp edges of dosa after I took a bite
Dosa can be eaten with similar accompaniments as idli; chutneys, sambhar; or really any manner of vegetable or meat viand. The South Indian restaurant standard is to make a wrap with a potato preparation inside.
Enjoy, and thank you beasties!


![IMG_0533[1]](https://theoddpantry.com/wp-content/uploads/2013/09/img_05331.jpg)
![IMG_0535[1]](https://theoddpantry.com/wp-content/uploads/2013/09/img_05351.jpg)
![IMG_0539[1]](https://theoddpantry.com/wp-content/uploads/2013/09/img_05391.jpg)
![IMG_0540[1]](https://theoddpantry.com/wp-content/uploads/2013/09/img_05401.jpg)


![IMG_0544[1]](https://theoddpantry.com/wp-content/uploads/2013/09/img_05441.jpg "Rice with spinach dal")


![IMG_0465[1]](https://theoddpantry.com/wp-content/uploads/2013/08/img_04651.jpg)
![IMG_0468[1]](https://theoddpantry.com/wp-content/uploads/2013/08/img_04681.jpg)
![IMG_0466[1]](https://theoddpantry.com/wp-content/uploads/2013/08/img_04661.jpg)
![IMG_0469[1]](https://theoddpantry.com/wp-content/uploads/2013/08/img_04691.jpg)
![IMG_0470[1]](https://theoddpantry.com/wp-content/uploads/2013/08/img_04701.jpg)
![IMG_0474[1]](https://theoddpantry.com/wp-content/uploads/2013/08/img_04741.jpg)
![IMG_0475[1]](https://theoddpantry.com/wp-content/uploads/2013/08/img_04751.jpg)