Easy peasy black-eyed peasy

A nice and creamy black-eyed peas recipe. Its greatest virtue is its simplicity. None of that lengthy caramelizing of onions, no tomatoes, just simple, simple, simple.

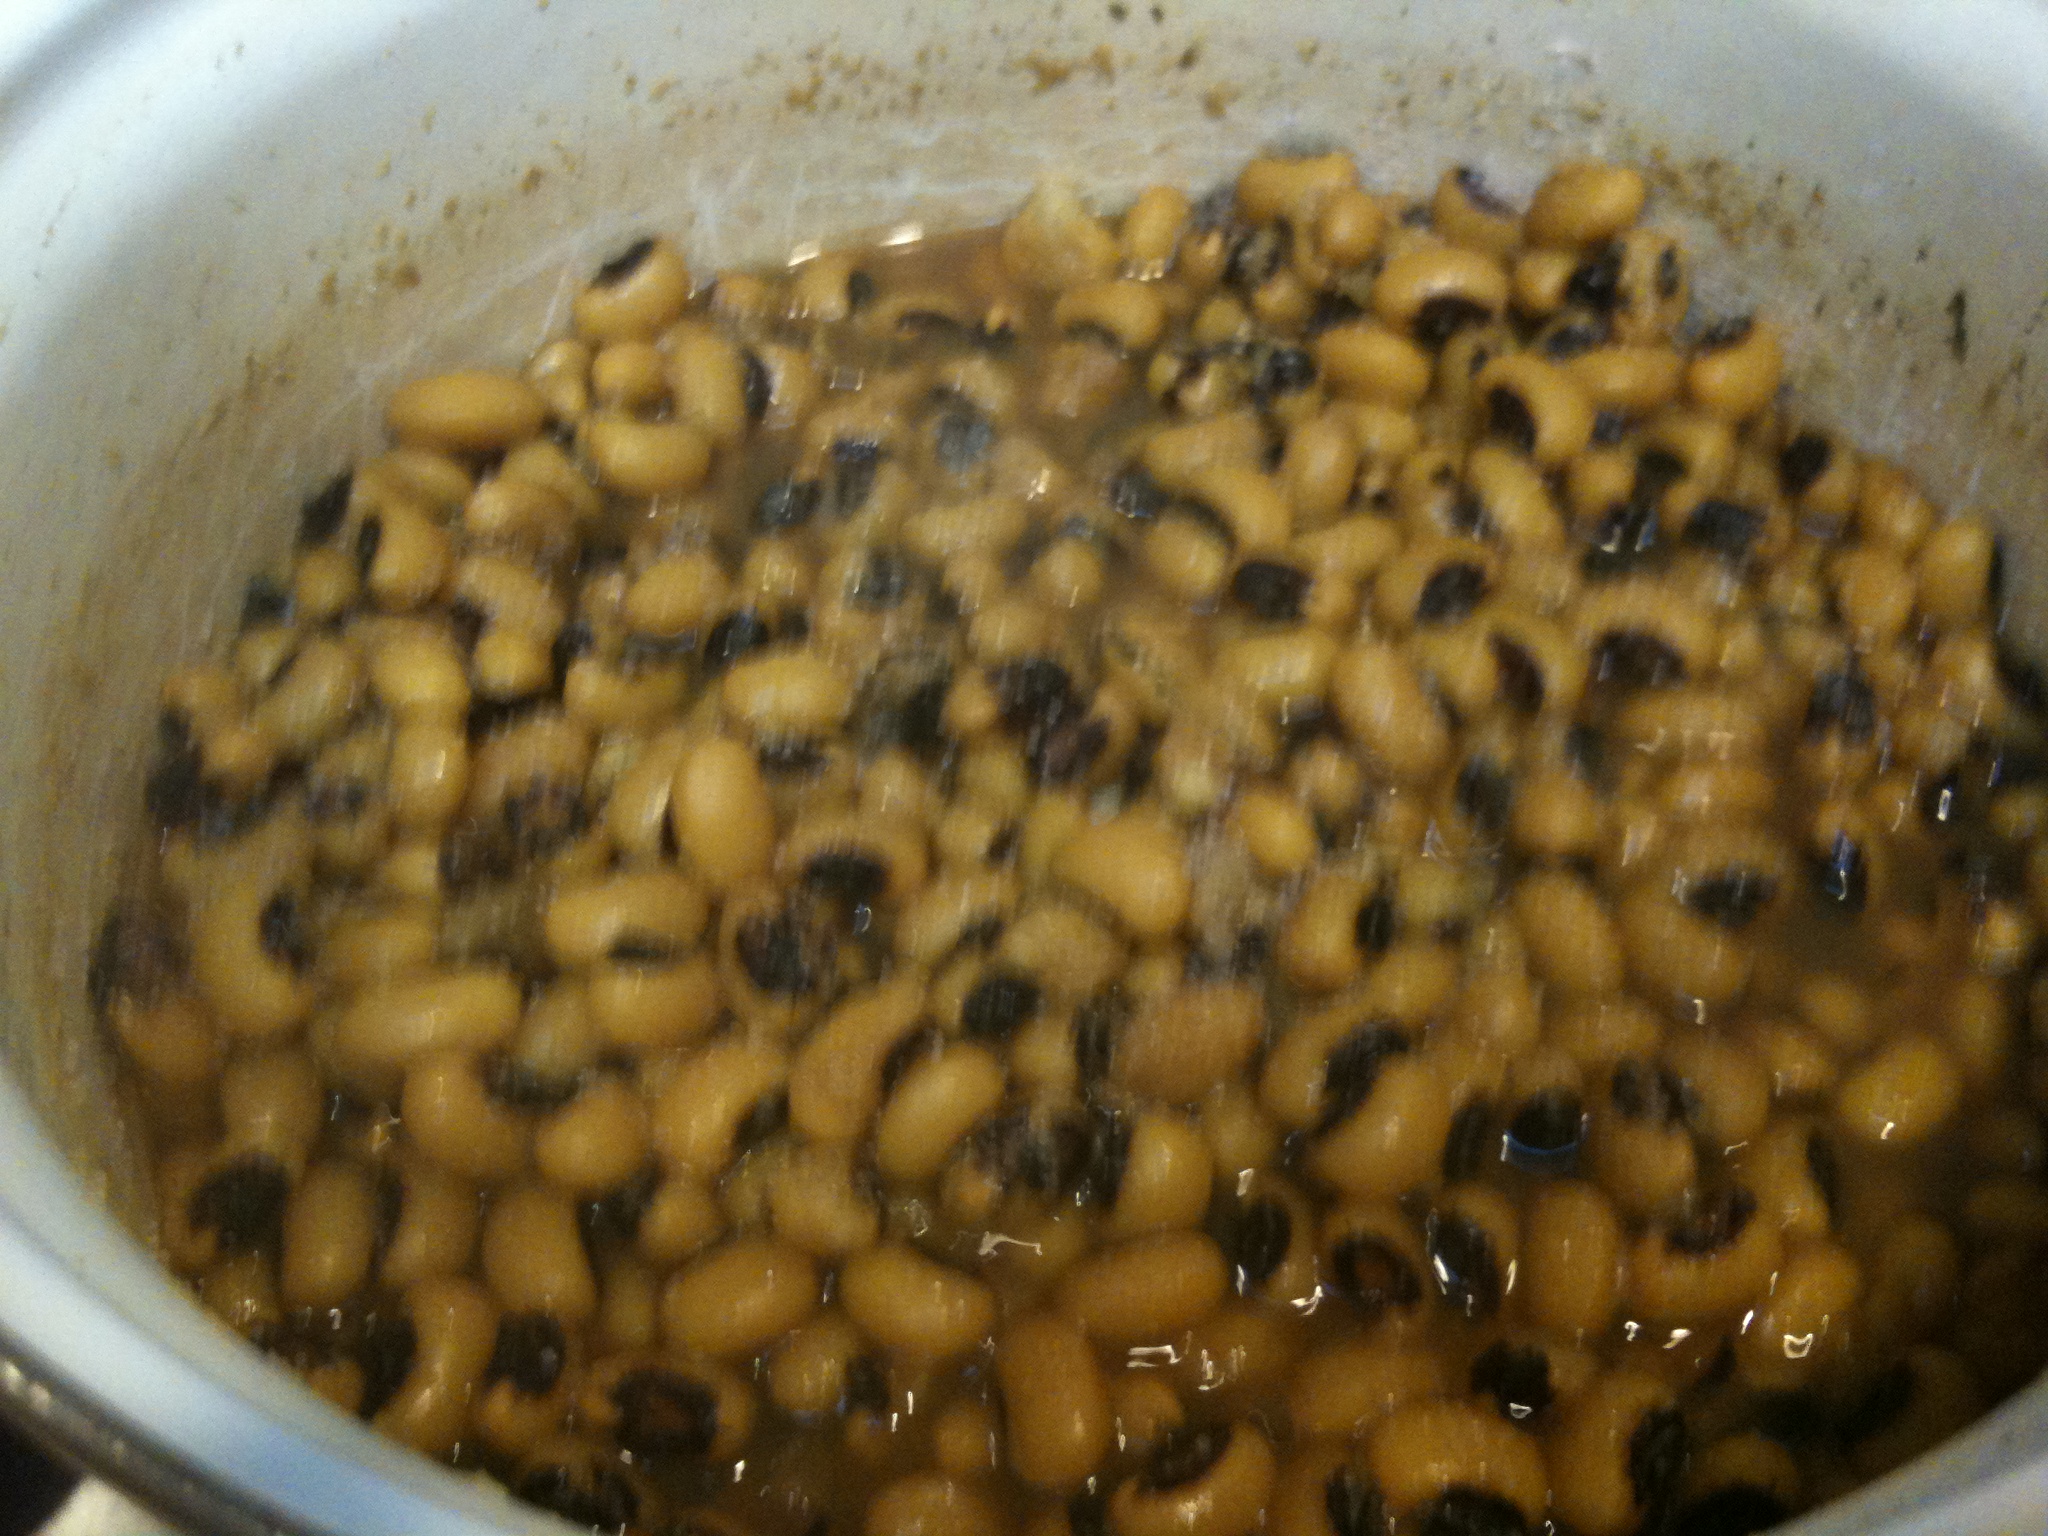
Step 1: Half cup of black-eyed peas — soak either overnight or for an hour in near-boiling water. Its volume will quadruple. As seen below — I started with half a cup.

Image

Step 2: Boil:

Drain the peas and put it into a pot with half a teaspoon of turmeric and one and half cups of water. Cover partially and bring to a boil. Turn down to a simmer, keep it mildly bubbling away for about an hour. They may not look much different but if you squeeze one pea it should be very very squish-able. Add salt to taste and either turn off the flame or keep it on very low.

It will go from this:

Image

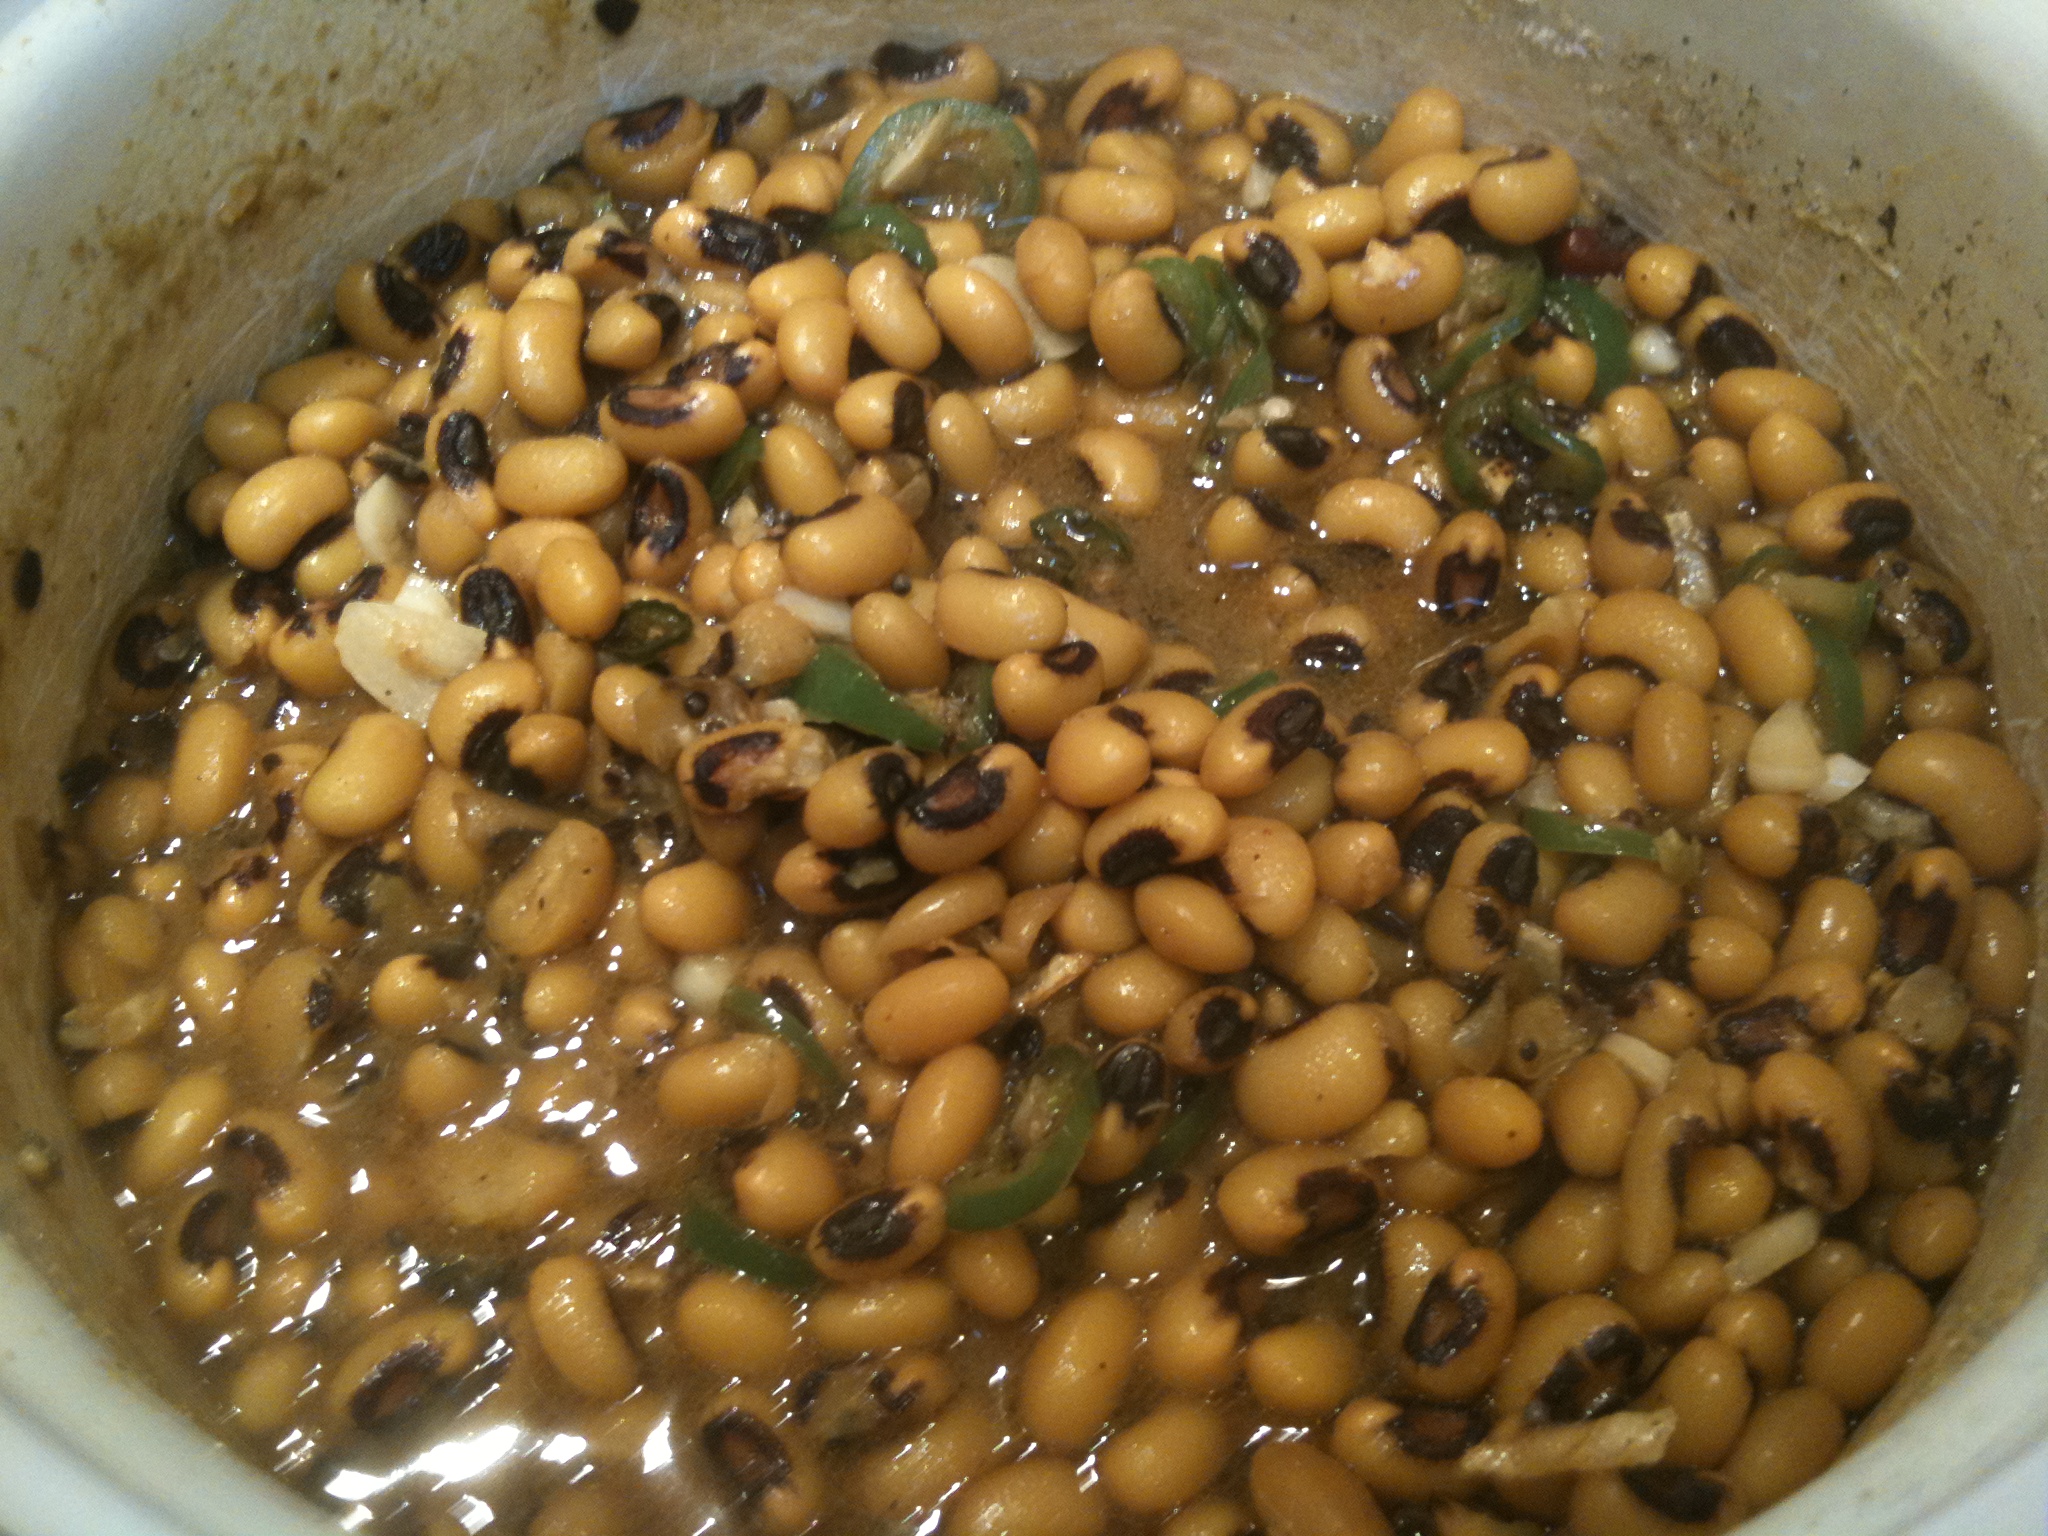
To this in 45 minutes to an hour:

Image

Step 3: Seasoning

This is the set of seasonings I used: Mustard seeds, red chili powder, garlic and serrano chili. No fuss, no muss. Heat a few tablespoons of oil (I use pure olive oil) to a thick-bottomed pan and heat it on medium-high till the oil shimmers. Throw in a teaspoon of mustard seeds. Wait till they start to pop, then a half a teaspoon of red chili powder. It will darken immediately. Put in a few cloves of garlic, chopped, and a fat and juicy serrano chili, sliced into thin rounds. Stir to coat with oil.

At this point the heat should not be very high, or the garlic will burn. Let it cook for a few minutes until the chili and garlic look somewhat shriveled. Turn off the heat and pour the contents into the black-eyed peas. Stir.

If I had curry leaves, I would have added about 5 of them along with the garlic and chili.

Image

Step 4: Finishing.

At this point the only task left is to draw the right creaminess out of the cooked peas. If it is too watery, boil off some of the water or crush some peas with the back of a spoon to meld into the liquid. At any rate let it sit with the seasonings for ten minutes or so to combine the flavors. Garnish with chopped cilantro if you wish. Or, lemon juice, parsley, chives? Go for it. Basil? No, not quite.

As you can see, I didn’t garnish at all.

Image

We had it with chapatis, which is really the only way.

Sour mango pickle

Image

At last, after years of disappointing attempts, I made a good mango pickle.

I really appreciated that wholesome flavor — I could recognize the taste of the sour mango through the pickling spices, and taste the  sharpness of mustard oil. And the fennel seeds maintained their crunch.

Step 1: Prepare the mangoes. Start with three big unripe mangoes (Kent is fine) that are still green and hard although they may have grown to their full size. I only say this because it may be difficult to obtain the smaller half-grown ones outside of India (or a farm). Inside, the color should either have no flush of orange at all, or a slight peach tint. Wash them, dry them thoroughly (wait a while so they air dry a bit), then cut them up into half-inch side cubes or whatever that shape is. I don’t feel the need to peel but I did remove the seed. If the mangoes are a lot smaller, cutting right through the seed is fine.

Step 2: Collect whole spices.

Image

Combine 1/3 cup fennel seeds, 3 tbsp fenugreek seeds, 2 tbsp black pepper (whole) and 2 tbsp nigella seeds in a mortar and pestle to crack them slightly (no need to pulverize).

Step 3: Combine mango pieces with dry spices.

Image

Lay out the mango pieces in a flat tray. The idea is that we are going to sun-dry them in this format, so keep that in mind. Put in the whole spices. Also add: 1/2 cup sea salt, couple teaspoons (or more) red chili powder, couple teaspoons turmeric. Mix thoroughly with the mango pieces.

Step 4: Sun-dry for a period of 4-6 days.

Image

So, our mango pieces are coated nicely with the spices. Cover them with a few layers of cheesecloth and put it out in a sunny window. Once a day, open the cloth, give them a stir, spread them out and cover with cheesecloth again.

What is going on with the mango as they sun-dry? You will see them slowly alter: they start to shrivel and turn a little translucent. In fact, they are cooking in slo-mo.

I believe what happens is that the salt draws out the moisture from the mango, and the sun dries them out. In tandem, the sun and the salt are cooking them. When you stir the mango each day, you notice the moisture trapped on the shady side of the pieces, while the top surface — the part that is exposed to the sun — is dry. We turn them to expose all sides to the sun over a period of a few days.

Here is a series of pictures that shows the progression. Day 1 is above.

Day 2:

Mango pickle 2 003

Day 3:

Mango pickle 3 002

Day 4:

Mango pickle 4 002

Day 5:

Mango pickle 5 004

Do you notice how the mango pieces turn more leathery, more translucent, more shriveled over the days? In essence, they start to cook.

Step 5: Cover with oil

The last step is the easiest — empty the mango pieces into a clean, completely dry glass jar. Pour mustard oil over it until it comes at least a half inch above the topmost layer of mango. Shake the jar to settle the contents. Cover, place in a sunny window for another few days, shaking once each day.

Enjoy.