
I have before rather blithely thrown around assertions about how easy it is to make yogurt at home. Room temperature, time, blah. blah. So, madam, how about you put your money where your mouth is, hunh? Hunh?
Fine. Let’s do it. And in the process, get answers to a few persistent questions.
Those of you who hire a house cleaner — you know how easy it is to have your house cleaned, right? You prepare the house and leave. They come over, do the job while you are out working, whooping it up, or waiting watchfully outside the door. Come back home and enjoy your clean house.
Did you do any hard work? No — you waited. Of course, you had to hire the cleaners and set things up for them. But you didn’t actually dust a single chair or sweep a single room. Someone did though.
Delegation! That is what making yogurt is about. We delegate the making of yogurt to the lactic acid bacteria. We ourselves do nothing but wait while they are about their task. Of course my analogy breaks down somewhat because the lactic acid bacteria are not really hard at work with their dustpans and brooms, but rather simply enjoying a meal. It is as though you hired house cleaners to come over and dine at your house, and magically when they were done eating, your house sparkled.

Yogurt-making process
The picture above describes the process.
- Milk is full of two kinds of proteins floating about in the liquid — casein and whey.
- It also has a special type of milk sugar called lactose
- We add in yogurt starter, which contains lactic acid bacteria. They simply love to dine on the lactose
- As they do so, they give out lactic acid
- The lactic acid amount in milk builds up over time, turning the whole thing somewhat acidic (sour) — you see how it turns yellow?
- In that acidic (sour) environment, the casein knots of protein relax and spread out into long strands. Once they are all open they knit with each other into a web that traps the whey proteins and the liquid in milk. This is why the curds are jelly-like.
The experiment
Enough theory. Let’s get to action. In my home in Bombay we made a batch of yogurt every night. Most times it was delicious but every once in a while we would have a runny mess that us kids refused to eat. What went wrong? I have also made yogurt at home in California many, many times. Sometimes with spectacular success. Other times not. Why?


The ideal yogurt recipe is this: Heat milk to 185 F (scalding), wait till it cools to 110 F (warm). For each cup of milk, add a tablespoon of whipped yogurt and stir. Keep it warm for about 8 hours.
But what happens if you add less starter? What if you skip the step of heating to scalding first? Will room temperature work, just take longer? Time for…
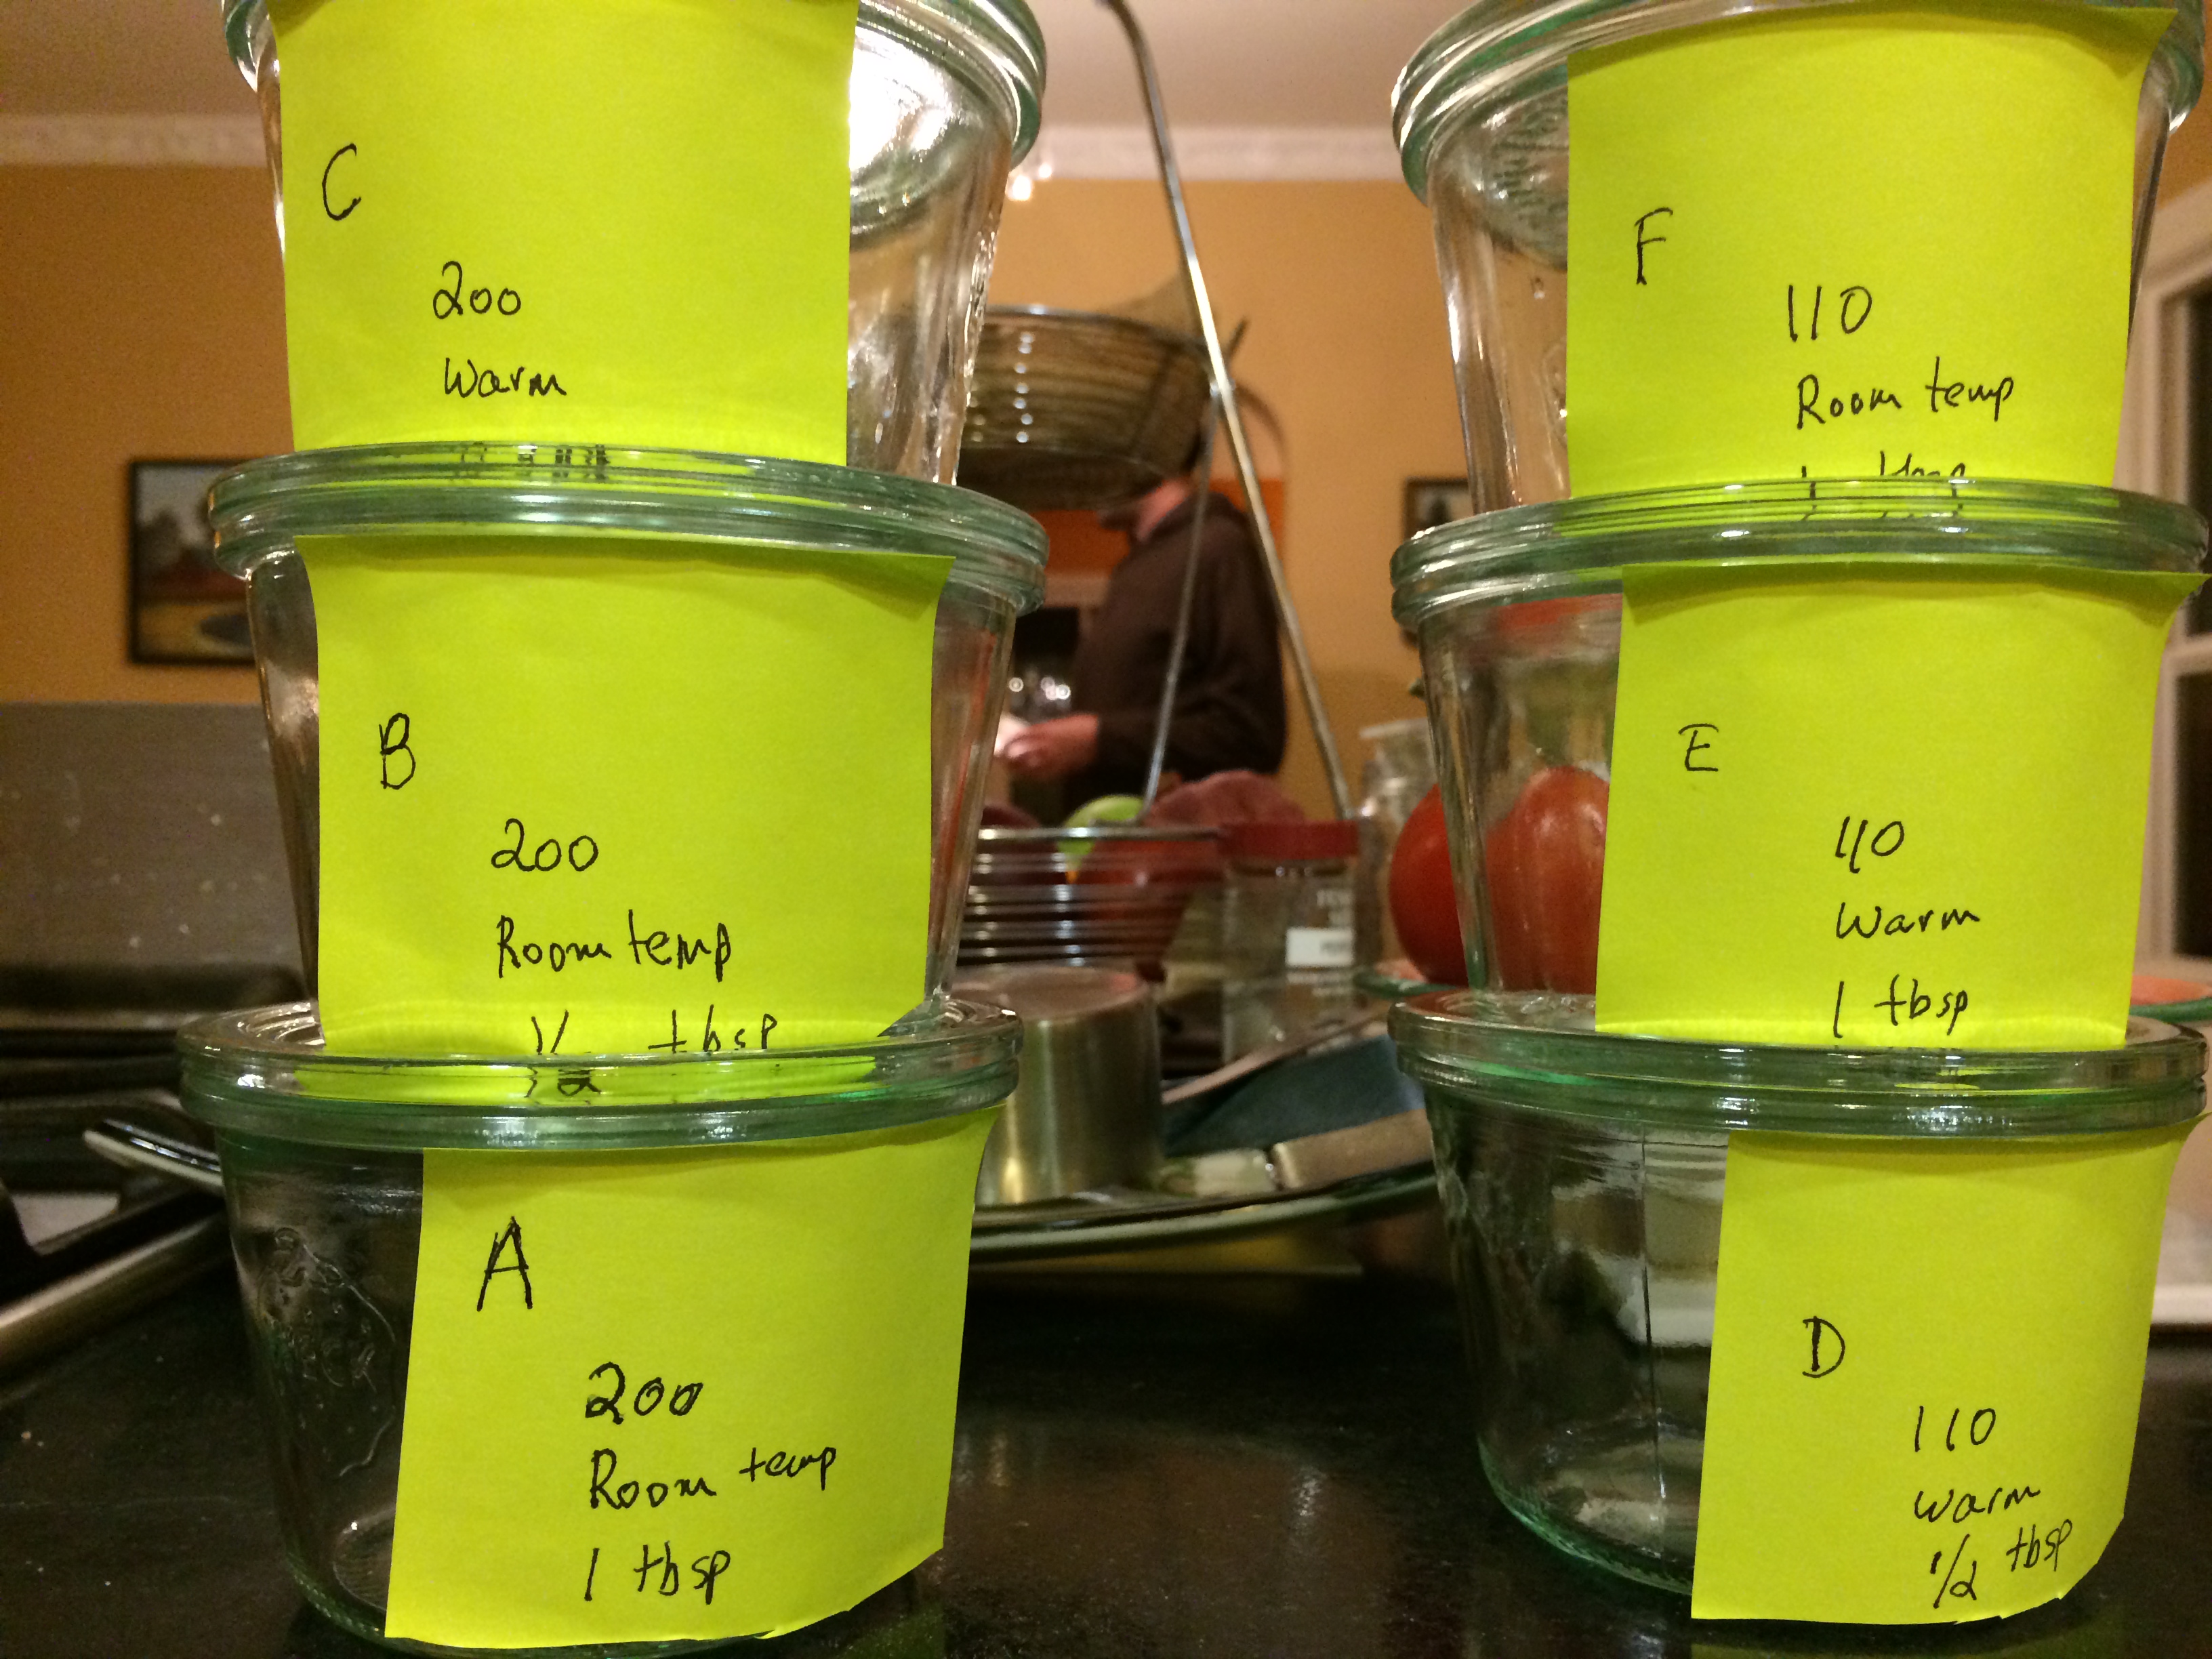
The experiment! I made 7 cups of yogurt:
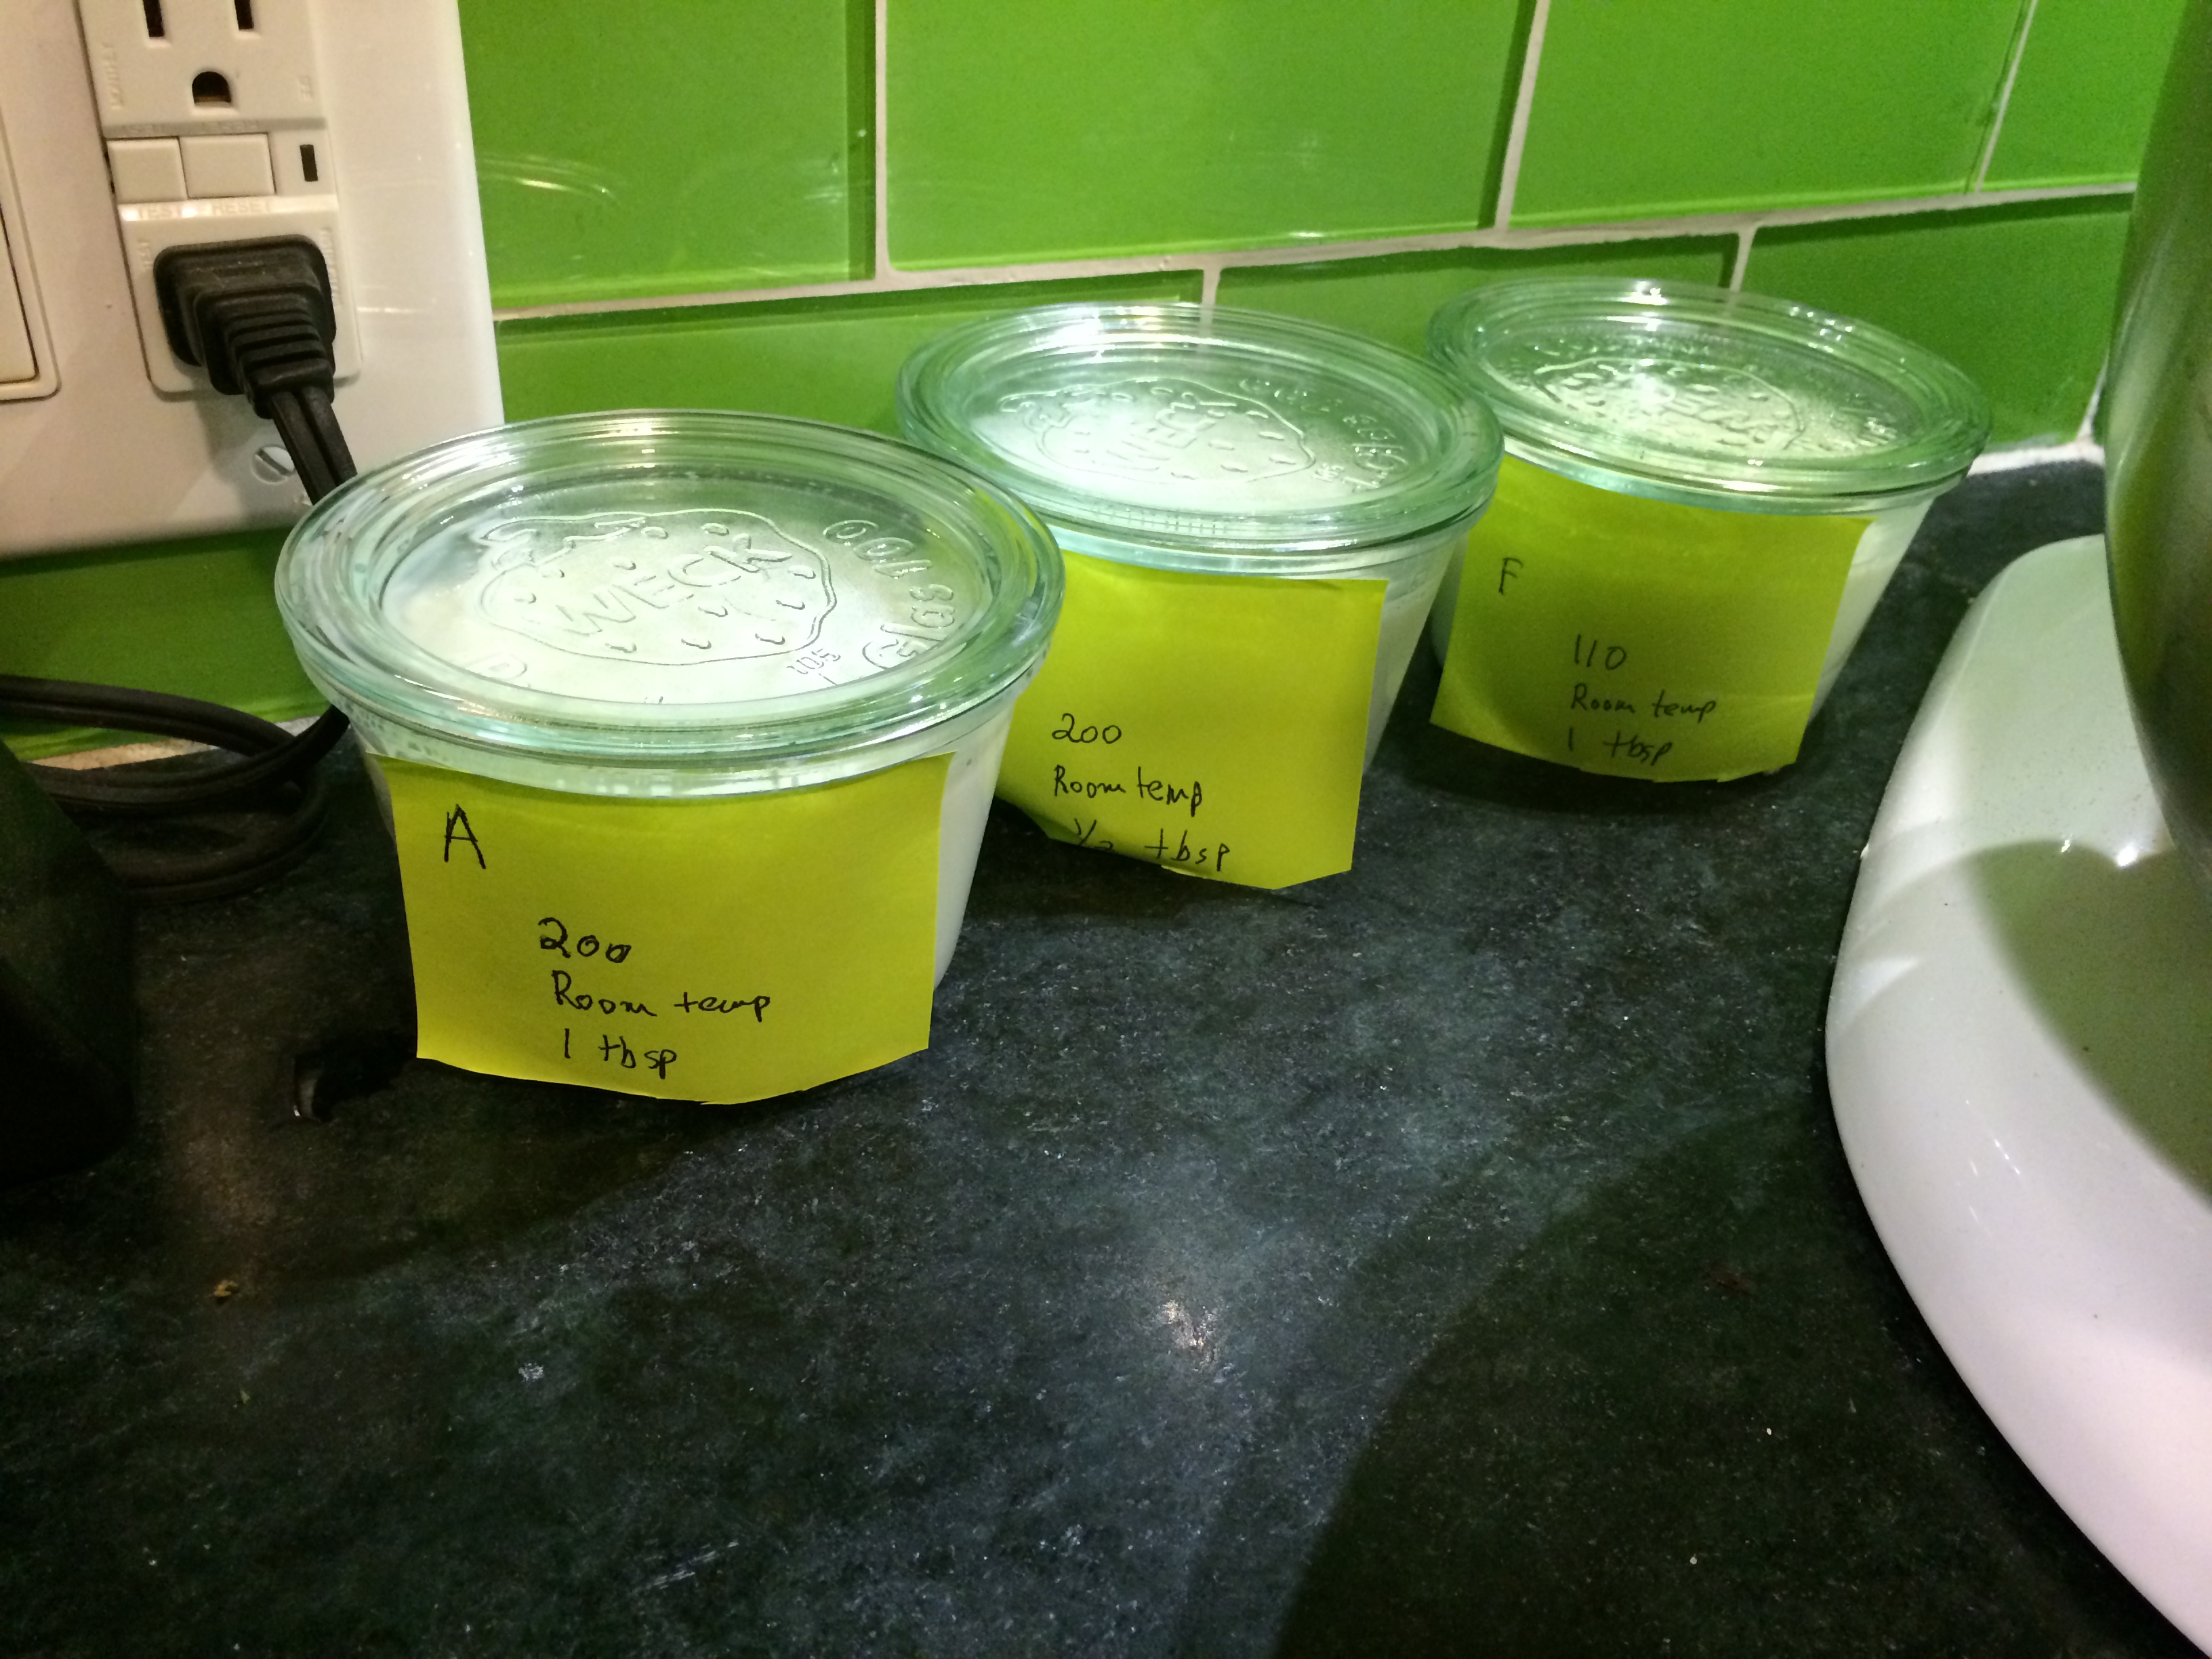
Cup 1: Left at room temperature to set, not scalded first, one tablespoon starter
Cup 2: Left at room temperature to set, scalded to 185 F first, half tablespoon starter
Cup 3: Left at room temperature to set, scalded to 185 F first, one tablespoon starter
Cup 4: In warm oven to set, not scalded first, half tablespoon starter
Cup 5: In warm oven to set, not scalded first, one tablespoon starter
Cup 6: In warm oven to set, scalded to 185 F first, half tablespoon starter
Cup 7: In warm oven to set, scalded to 185 F first, one tablespoon starter
The Results:
The most important factor that good yogurt depends on is warmth while leaving it out to set. In my home in San Francisco room temperature is around 70 F. The first 3 cups, that were left out on the counter to set, turned out terrible. It took 2 – 3 entire days for them to set, and those that eventually did, had by then developed off flavors. Cups 1, 2 and 3 ended up down the drain. To avoid that fate, yogurt must be set in a warm environment!
The second factor that mattered was whether milk was scalded up to 185 F first, then cooled, or was it just warmed up to 110 F directly. Funny thing is, yogurt formed either way. But the yogurt that formed when milk was scalded first was firmer with a more even texture. The reason for this is: when milk is scalded, some of the whey proteins get relaxed (denatured), and they help the casein proteins form a more even web, rather than clustering together. The actual effect of this is that when milk has been scalded first, the yogurt is firmer and more even, while if it hasn’t been scalded, the curds are more clumpy and separate from the whey.
The third factor — whether we used one or half tablespoon of starter, hardly seemed to matter at all. If the other two things were done right, you could not detect a difference. For the borderline cases, one tablespoon helped it some. It did not solve all problems though.
The Ideal Yogurt:
Now I am equipped to give you the most ideal yogurt recipe as tested by my household.
Start with whole milk. And if you are starting with store-bought yogurt, make sure it says ‘live cultures’. Warm up an measured amount of milk till the point it starts to rise and foam up. Turn it off. Wait till it cools down to just lukewarm. If you want to be precise, the first temperature is 185 F and the second temperature is 110 F.

Fine. Turn on the oven to about 150 F or so. Turn off as soon as it reaches that, and turn on the oven light. Leave it on. Put the milk in the jar that you want the yogurt to set in. For each cup, put in a half tablespoon of stirred yogurt and stir to meld. Cover and leave in the warm oven for at least 6 hours. In 8, 10 or 12 hours, it will turn more and more sour, so it depends on your preference. Store in the fridge thereafter.
I have often woken up in the morning and, completely forgetting I have yogurt setting in the oven, turned it on with melted plastic lids, ruined yogurt and other disastrous results. So now, I use oven-proof glass Weck jars, and put a sticky note on the oven to remind myself.

No more accidents. Just good creamy sour yogurt which is not accidental at all.


Nice, scientific approach! I use the same method that you have so well described. I have noticed that yogurt bought from an Indian store (Desi natural dahi) works best as starter. Once whole milk experimentation works, any low-fat or fat-free versions would work out equally well.
LikeLike
I have been using Nancy’s yogurt which is available in San Francisco with great results…but only for the first time. Since then I use starter from my own yogurt. Thanks for stopping by!
LikeLike
This is a great scientific approach to making dhai. I almost always make a mess with the heated milk so mine comes straight out of the fridge. but then i live in India that makes a lot of difference.
LikeLike
I got decent yogurt without heating it up to scalding too…plus in India milk is boiled every morning anyway, right? We used to do that in my childhood.
LikeLike